After the successful releases of Sd.Kfz. 6/3 Diana and Sd.Kfz. 6/2 with Flak 36 Bronco models brings us the pioneer version of the vehicle. This version could carry up to 18 soldiers and usually towed a trailer with engineer equipment or as Ive seen on a couple of images online a boat!
Box contents
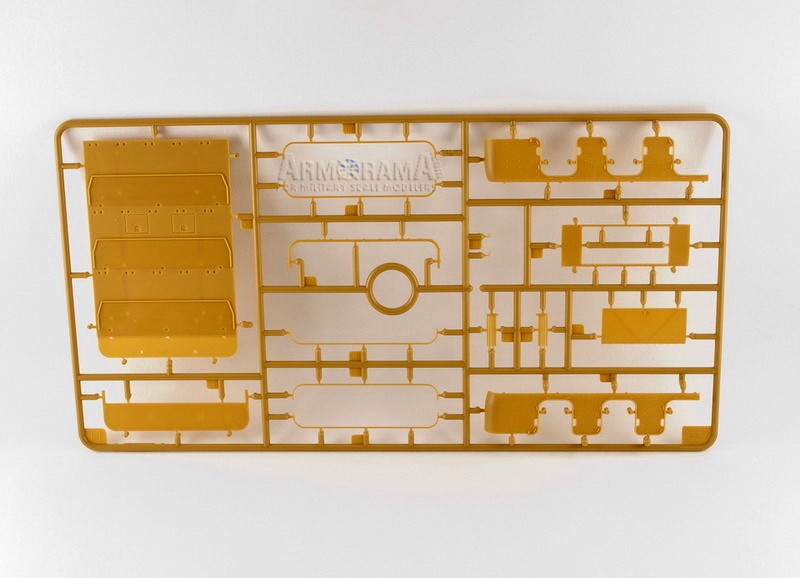
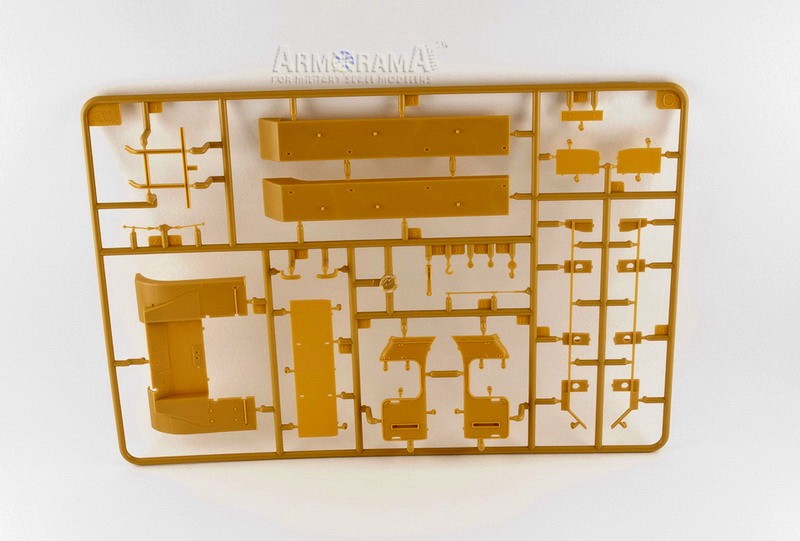
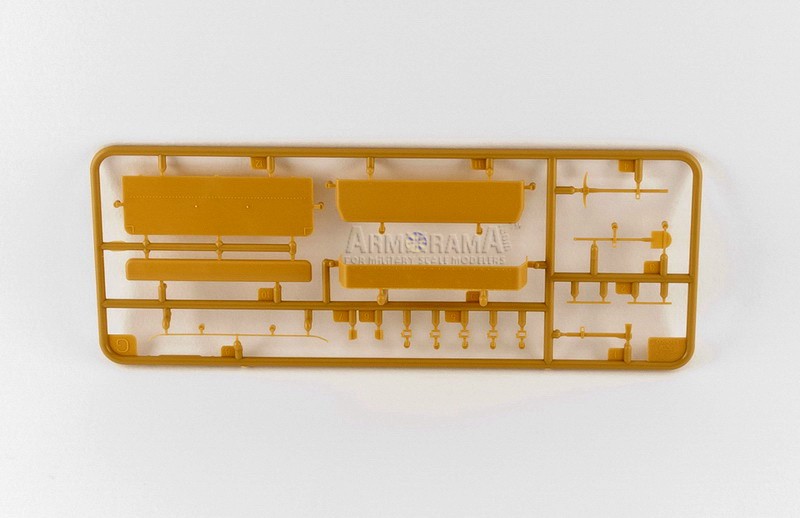
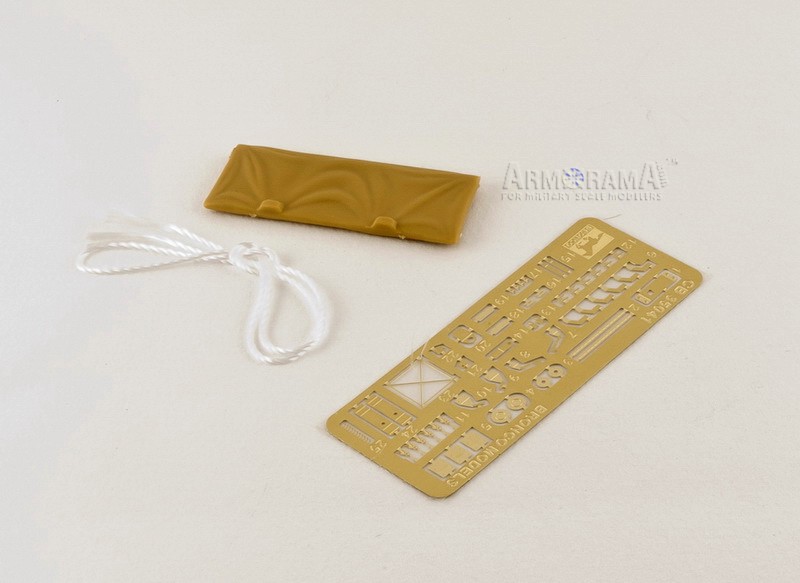
The model kit comes in a cardboard box with an artwork on top. The box itself is so huge that it couldnt get it in my light box! Inside you will find a colored instruction, plus extra page with corrected painting and marking details, a poster with artwork (anyone using them?), 1 PE fret, decal sheet, a piece of string, 1 clear plastic sprue and a lot of tan plastic sprues. Chassis parts, engine and several others were already included in the previous kits, while the parts for the rear section of the half-track, personal equipment and a tarp are completely new.
The build review
I havent built Broncos kits for almost two years and when I opened the box I was really impressed with the improvement in detail level, molding standard and overall quality of the kit. The most difficult aspect of the assembly is handling of small and tiny parts that can be broken or damaged during removal from the sprues.
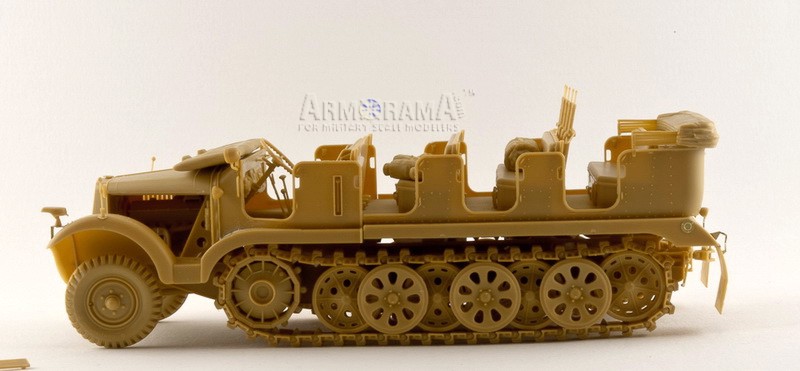
Chassis and suspension
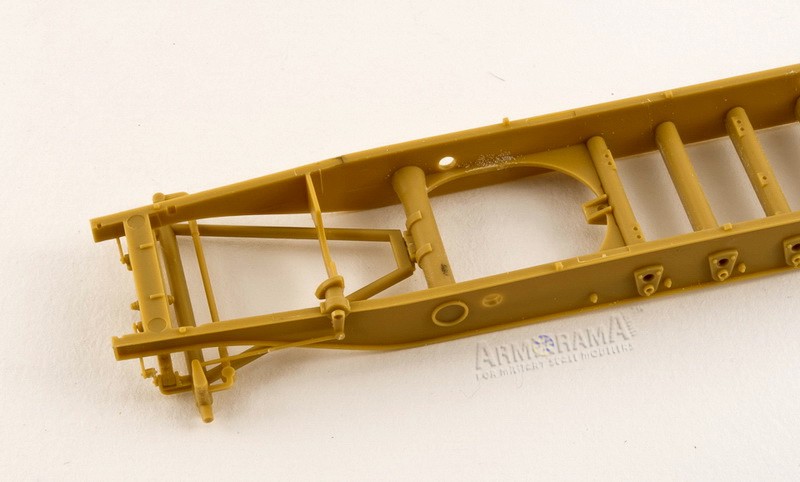
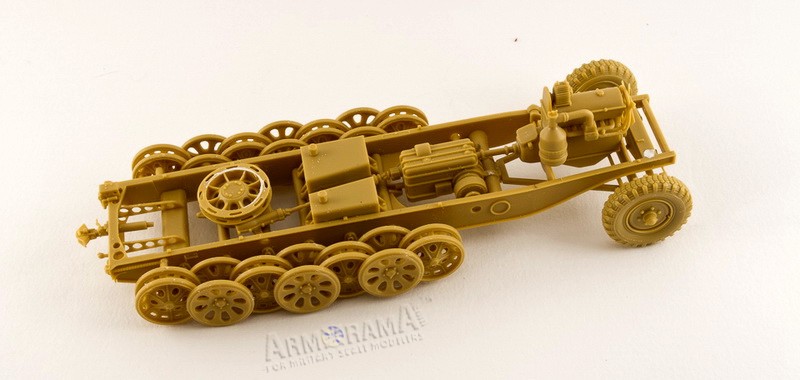
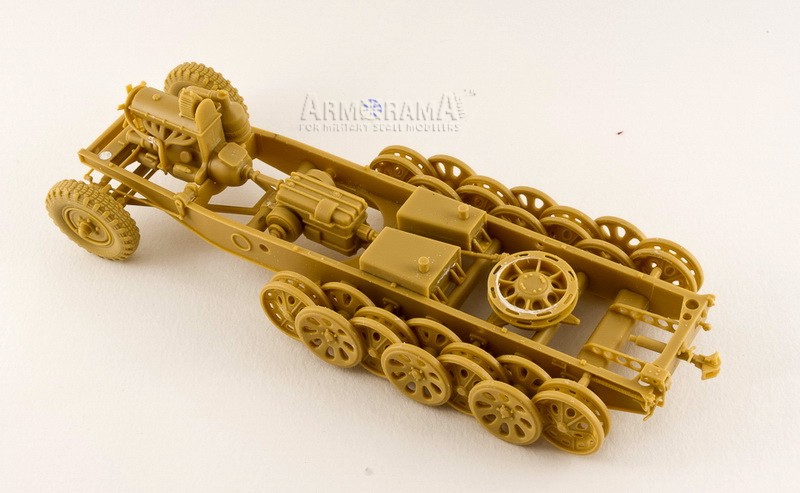
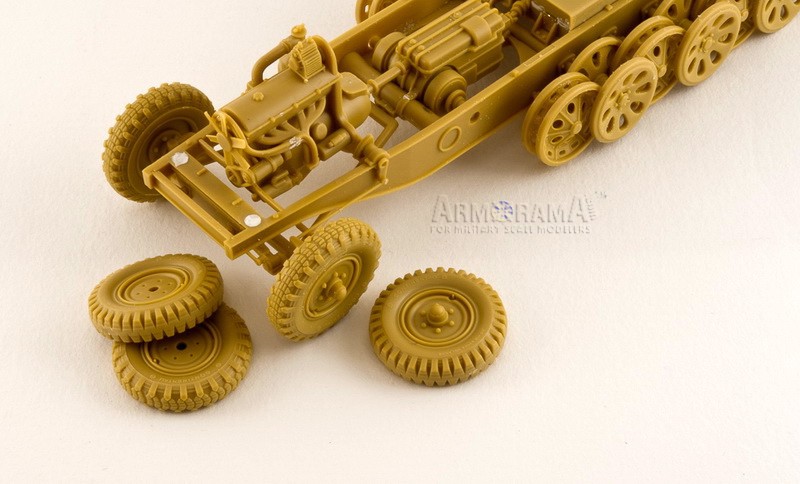
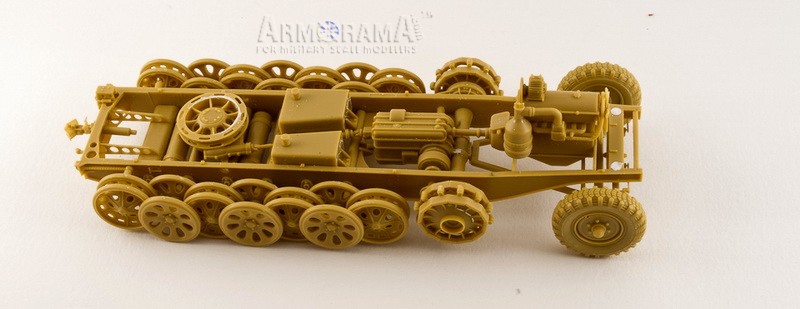
BN9 chassis comes as one part which has excellent detail on all sides. There are location points for the torsion bar covers, road wheel axles, engine, gear box, radiator and front fenders. After the torsion bar covers are glued the winch motor with a cable drum and complex tow cable guide are assembled. Bronco offers to use the included string for a cable, but I think that it is too thick and should be replaced with thinner material (or maybe I dont know how to handle the included twine?).
Next are the 2 fuel tanks that have PE parts for better detail, gear box and an engine. The compressed air tanks are not mentioned in the manual but the parts are present on sprue A and you can glue them to torsion bar covers as per review images.
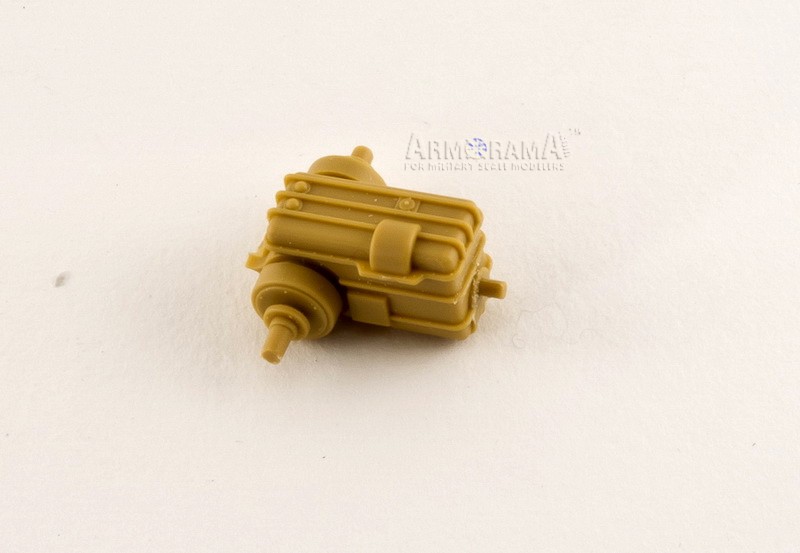
Included engine NL 38 TUKRM is very well detailed but, unfortunately, is incorrect for the pioneer version based on late chassis and should be replaced with after-market HL54 TUKRM if any would be produced later (none is available at the time of the review).
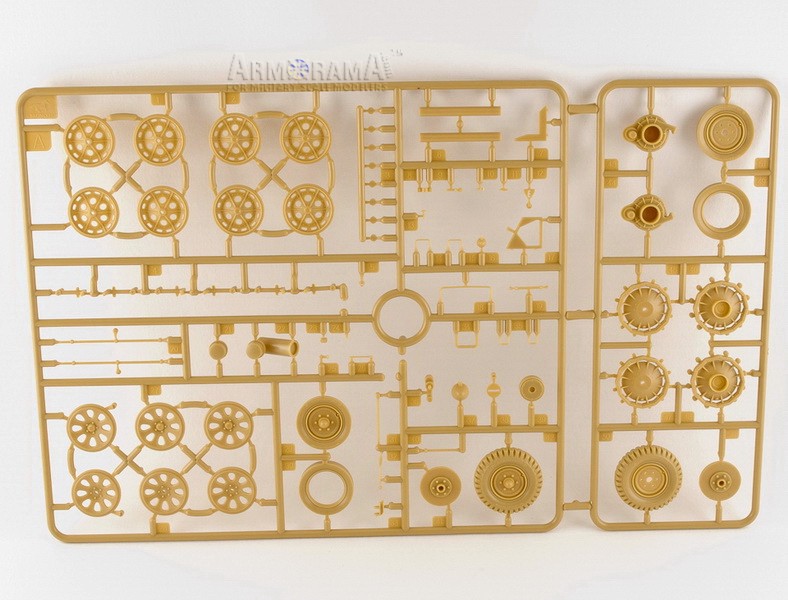
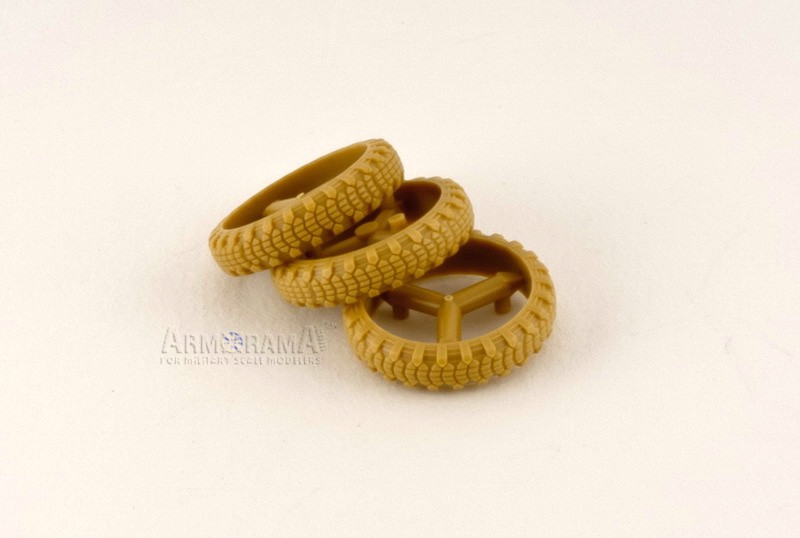
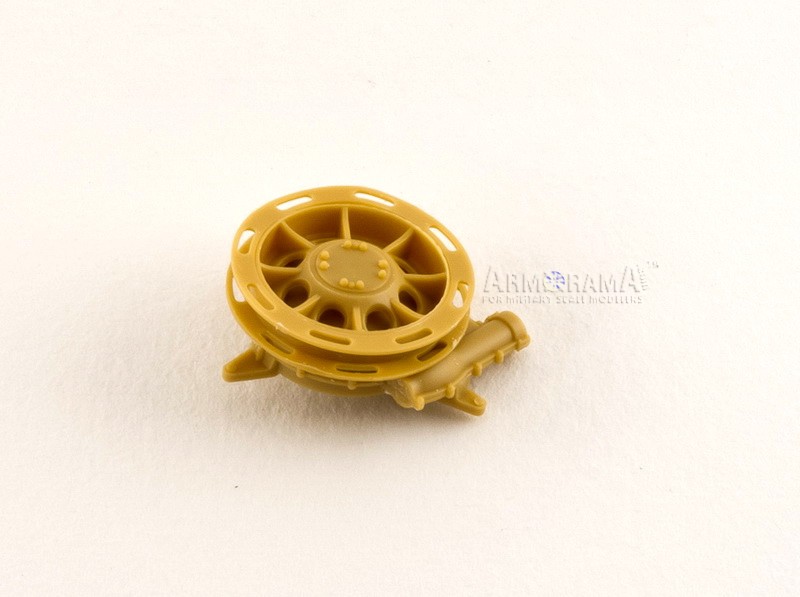
Front axle suspension is nicely detailed and not movable after the assembly. For the front wheels there two types of tires included early and late. Early type is molded with the disk and for the late one you have the tire pattern separately from the disk and tires central part. The axles of road wheels have great detail and a location tab that would be unseen when glued to the vehicle. If you would like to modify the height of the suspension corresponding to different vehicle load simply remove this tab and adjust the axles to desired position. The idler tension mechanism is made of several parts, including PE and looks exactly as on the reference images.
The road wheels themselves feature correct detail and are supposed to be movable according to the instruction but I find it really difficult to do. There is a pin cap (part A3) that must be glued to the axle when the inner part of road wheel is located on it and the axle is a bit too short to get completely into this cap. At the end I glued the wheels to the axles for better stability.
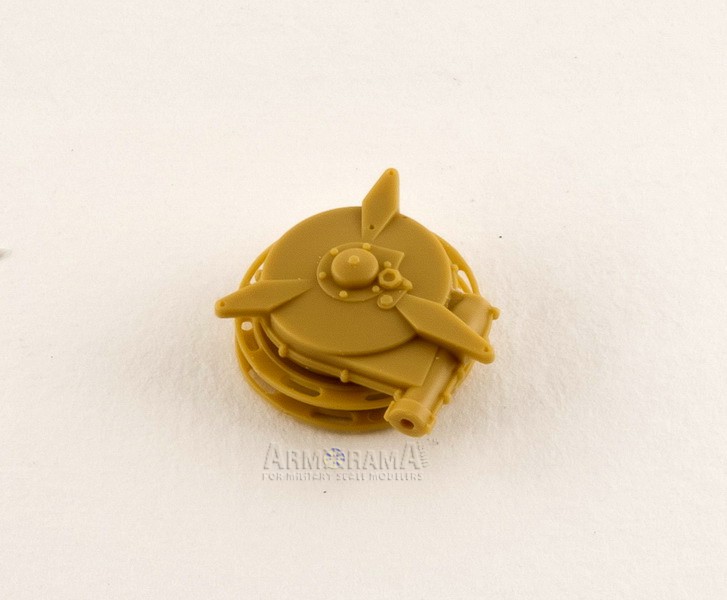
The drive sprockets and final drive housing have correct size and form for BN9 chassis. Again there is a small pin cap that allows having sprockets rotatable and this one goes without trouble. Small rollers on the drive sprockets are the best Ive seen in plastic on German half-tracks so far!
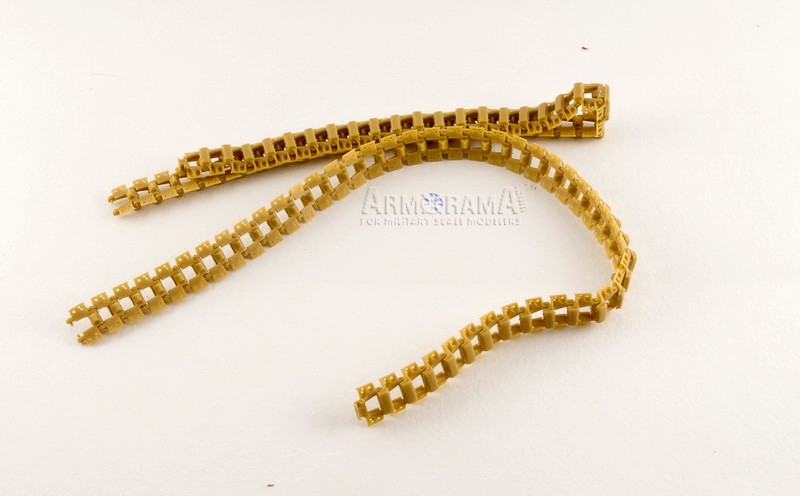
The tracks come as individual links and will be workable after assembly providing natural sag. There are 45 links per side and I left the last track pad unglued to ease the painting. Otherwise you need to have the final drive housing unglued to the chassis. The pin marks are located underneath the track pads so almost no clean-up is required here, just remove the track pads accurately from the sprues.
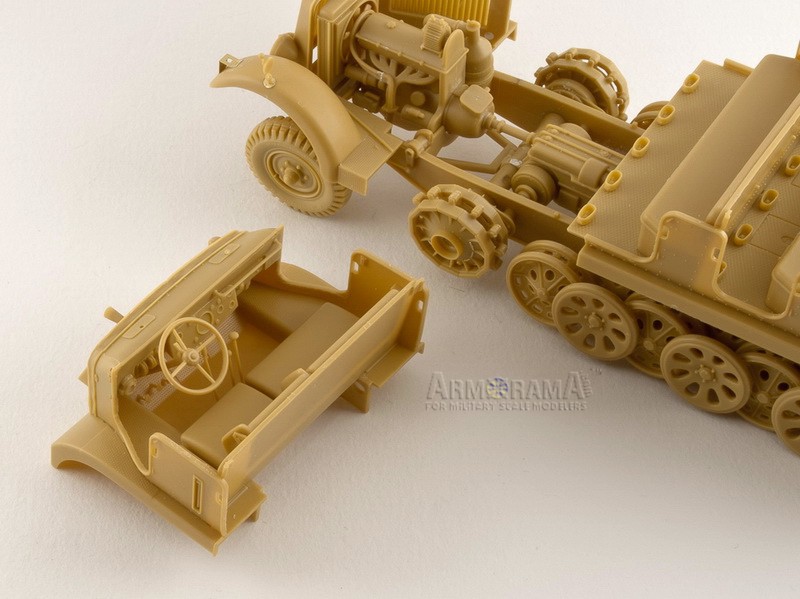
The engine compartment and the cab
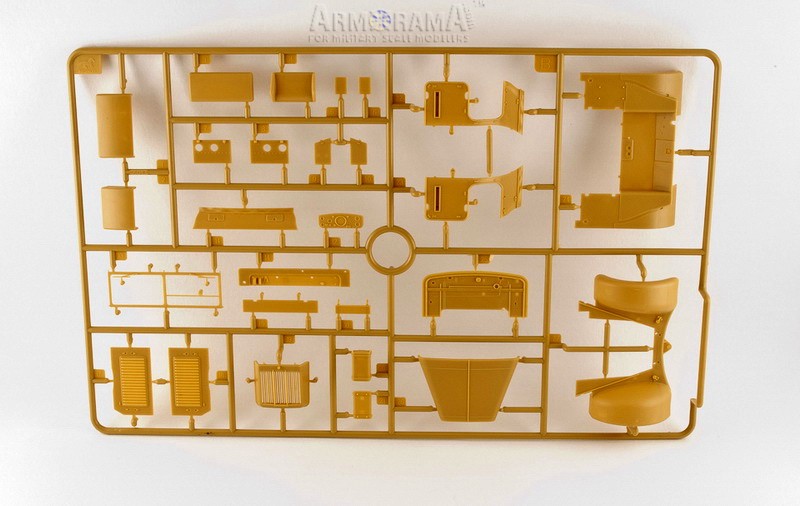
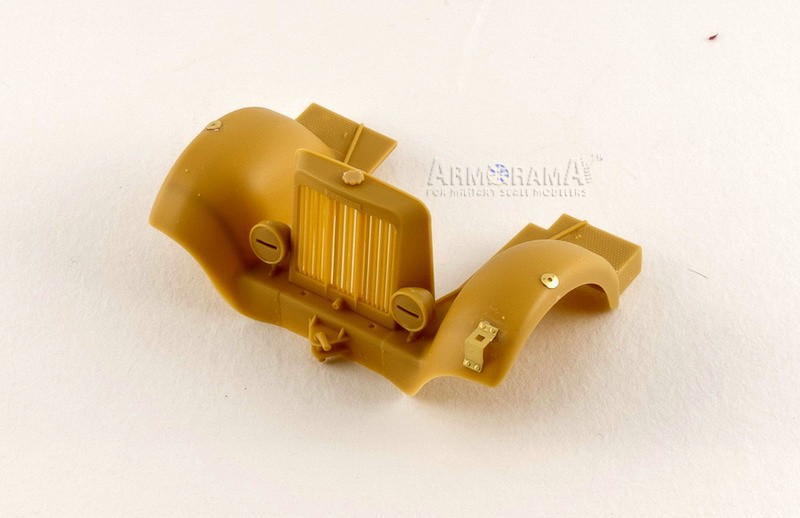
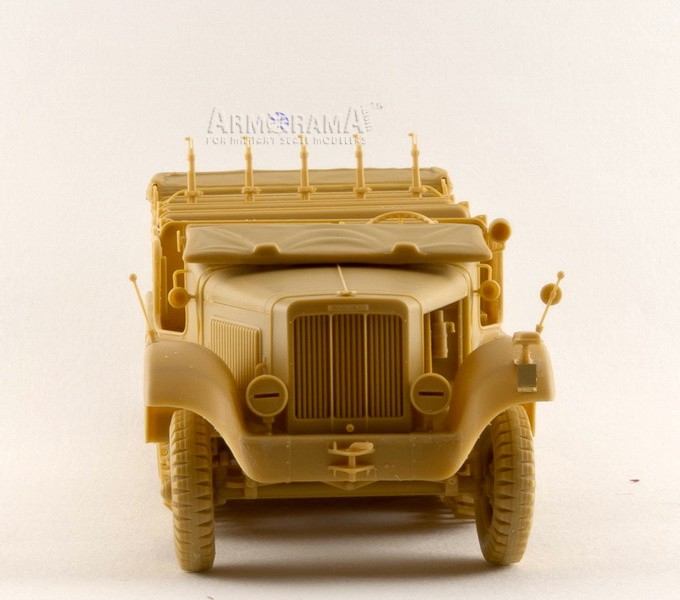
The fenders come as one part and have realistic thickness. The holes for the width indicator poles as well as for the flag (if you wish to add it) must be drilled before assembly. Apart from that, included are the etched brackets for the indicator poles, Notek light with PE mounting bracket, front lights (can have a clear lens or a cover), tow shackle and a front license plate. The plate has nice bolt detail but appears too thick to me and I would prefer replacing it with a PE one.
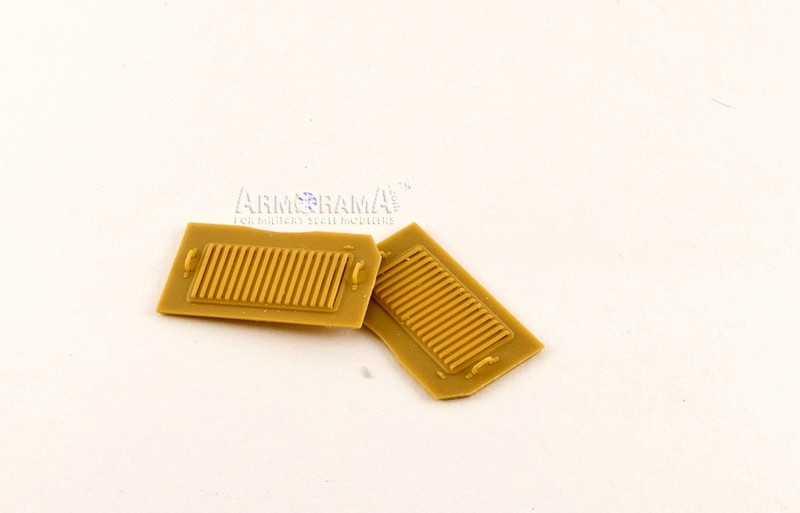
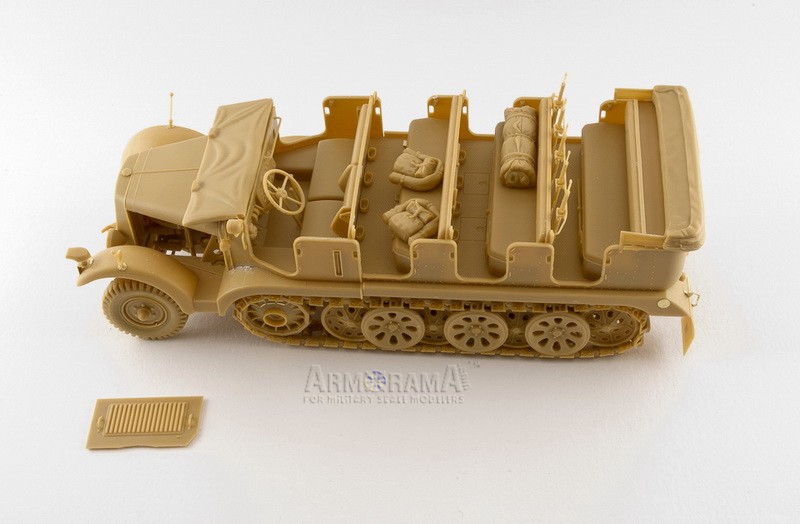
After building those small parts the radiator housing is attached to the fenders. The louvers are molded open (isnt that great?!) and the manufacturers logo is present (Bussing-NAG). Finally, there are two engine compartment side panels also with nicely molded open louvers, 2 separate handles and brackets that fix them to the crew steps.
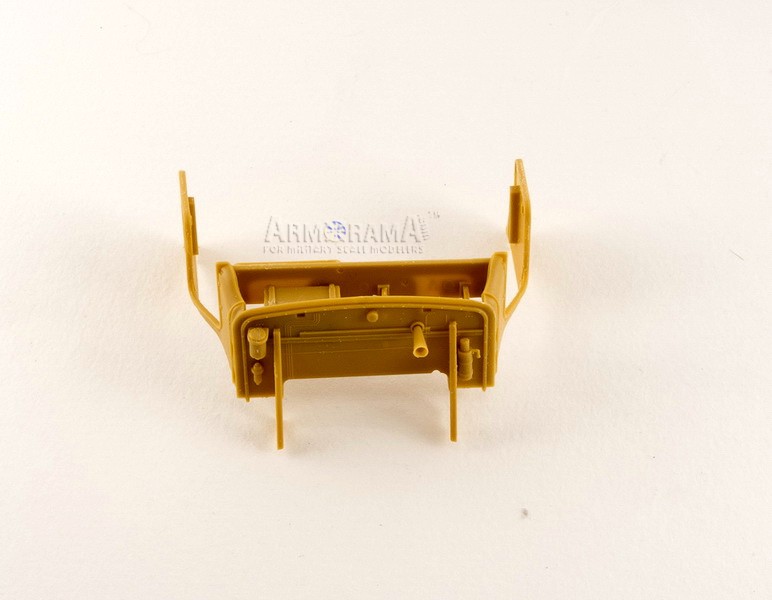
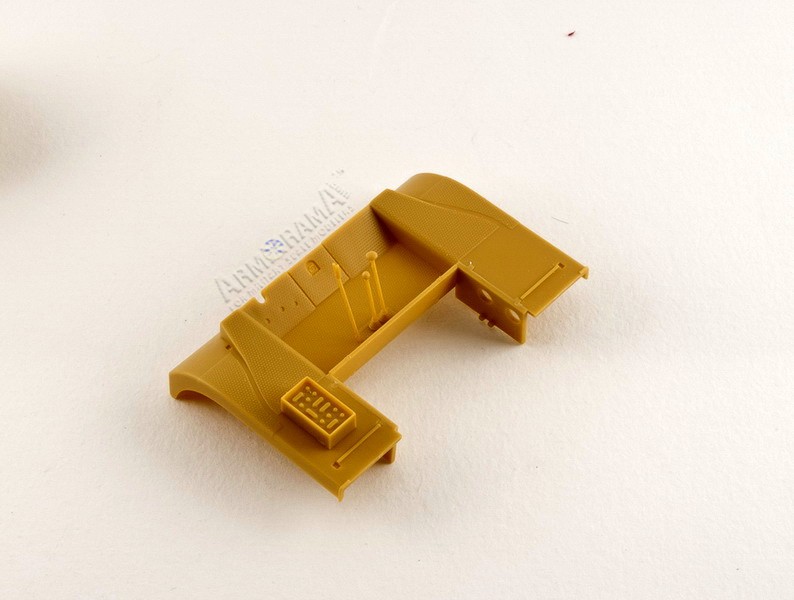
On the rear of the engine compartment you have a firewall with molded wiring, a horn and support brackets. On the cabs side of firewall there is an instrument panel that has nice detail and all the decals for the dial faces are included in the kit. Underneath the instrument panel there is a two-part oil tank and in the front a steering wheel with amazing finger grips on the rear side.
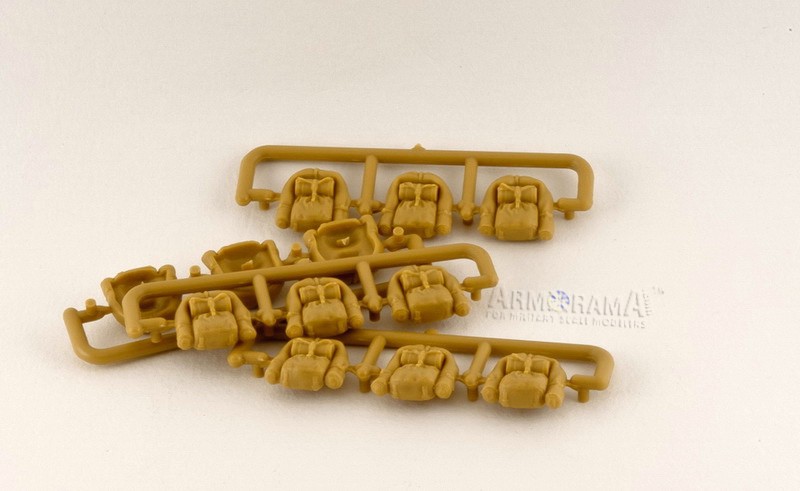
Other details included in the cab are the gear and hand brake levers, pedals (which are undersized and must be substituted with styrene scratchbuild or PE), seats for the driver and 2 crew members, battery with a removable cover and excellent side panels which are very thin and have realistic detail on both sides. The back of the seat has 2 location points for the crew rifle rack; do not remove them by mistake. On the left side panel there is a location point for the big searchlight and the smaller lights should be glued on both left and right side panels. All of them have clear lenses.
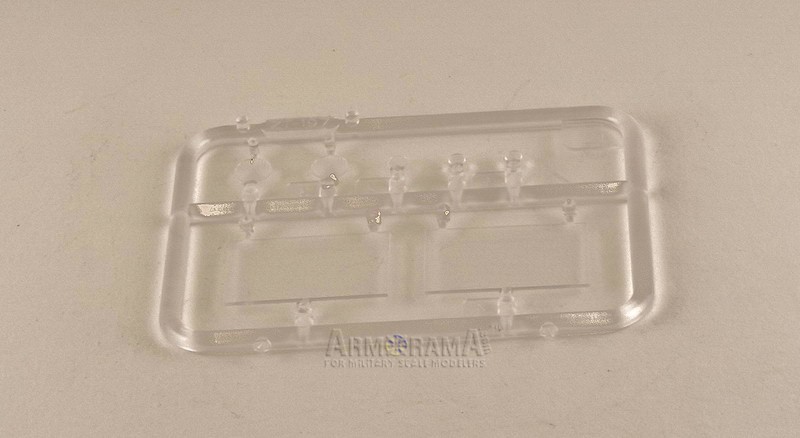
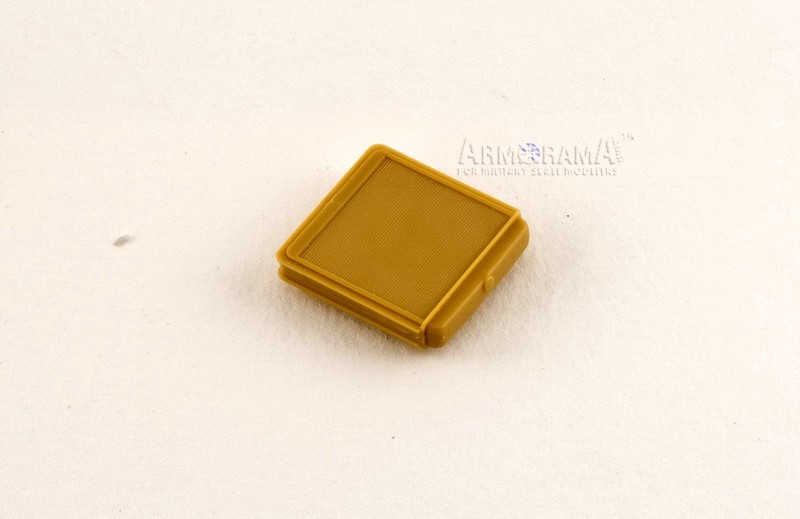
The windscreen is very delicate and be sure not to remove some detail while removing it from the sprue and clean-up. Included are 2 glass sections, wiper motors and PE brackets for the opening windscreen section (not movable on a model). If you choose to have a canvas covered windscreen you will avoid a difficult task to glue the windscreen to part A11 inside the windscreen posts to make it movable (or simply ignore that and glue the windscreen in a desired position).
Ive read online that there is an dimensional issue with the instrument panel and thus the side panels have incorrect contour and the windscreen is too narrow due to that. I dont have plans of the vehicle so I cant say anything about that, but I believe that this information is correct.
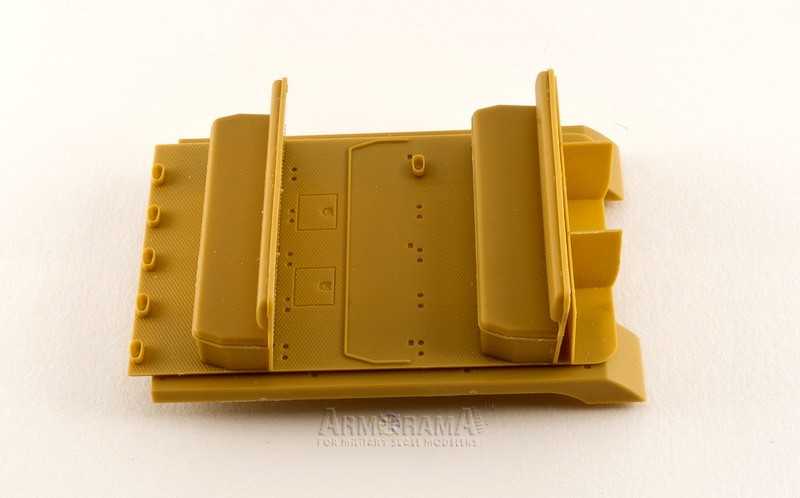
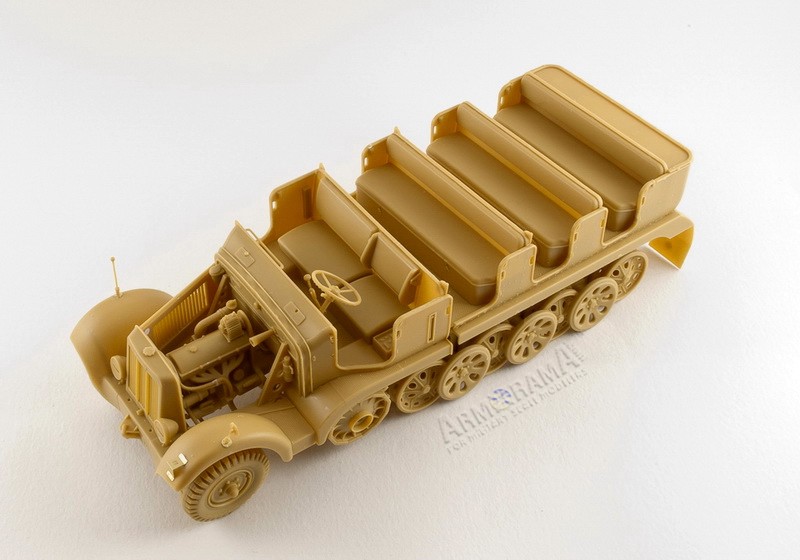
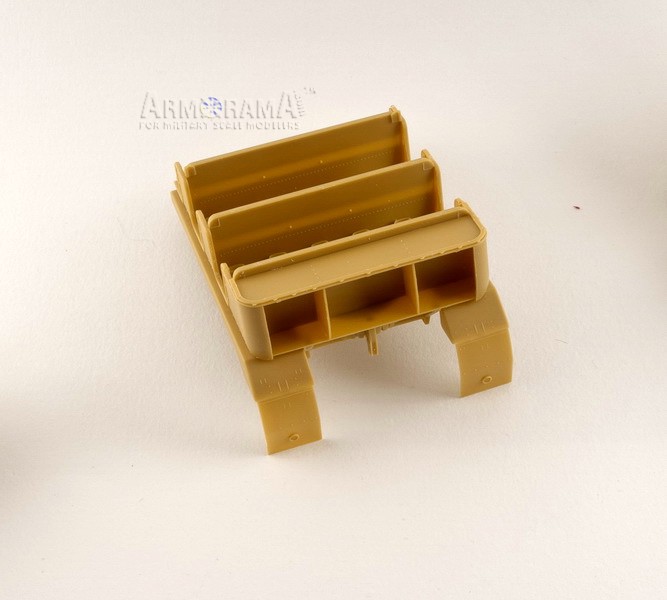
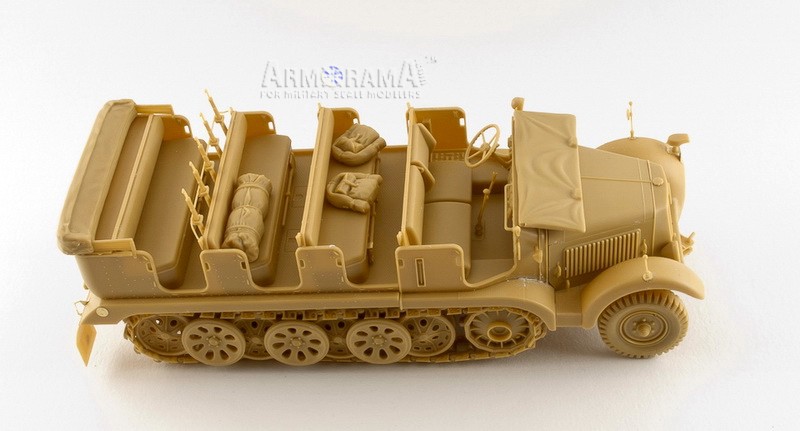
The rear part of the vehicle
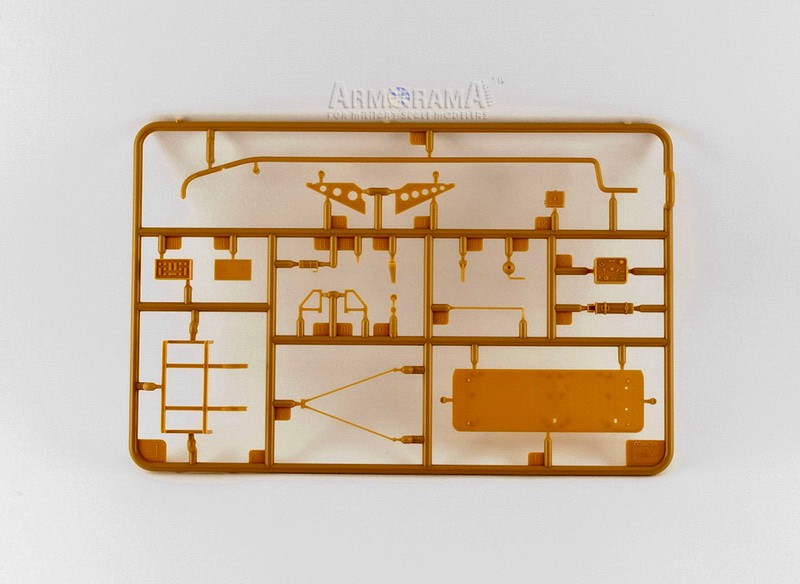
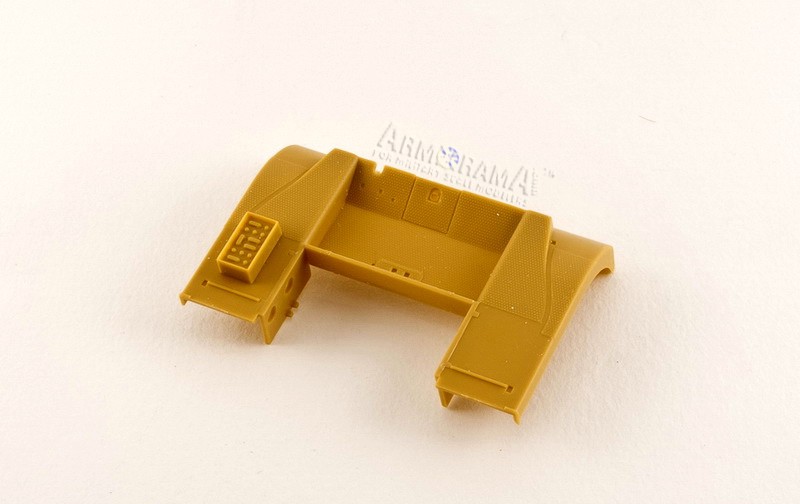
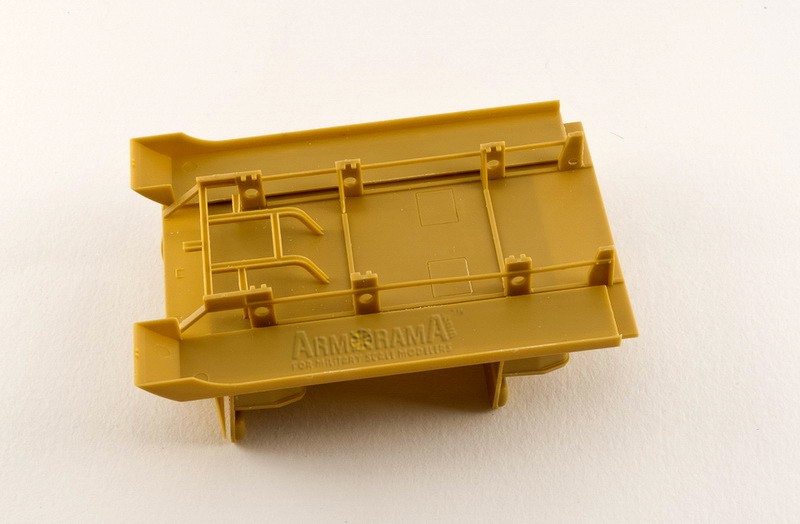
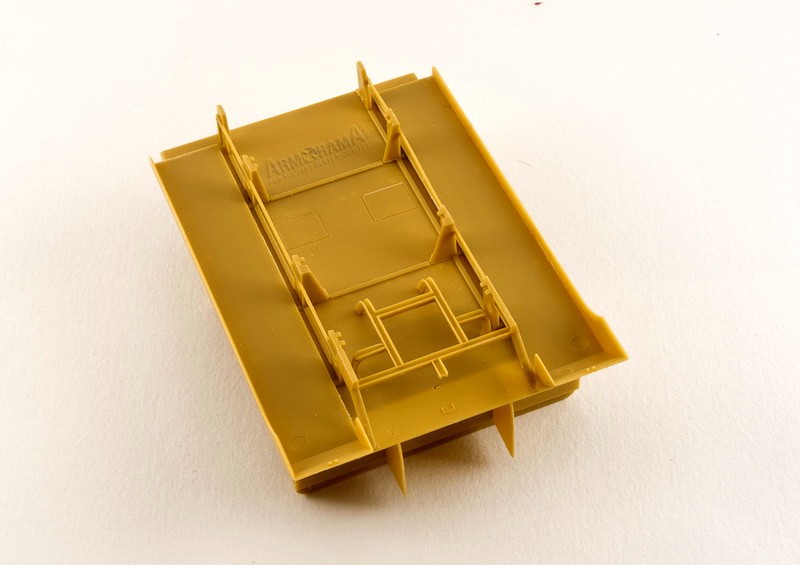
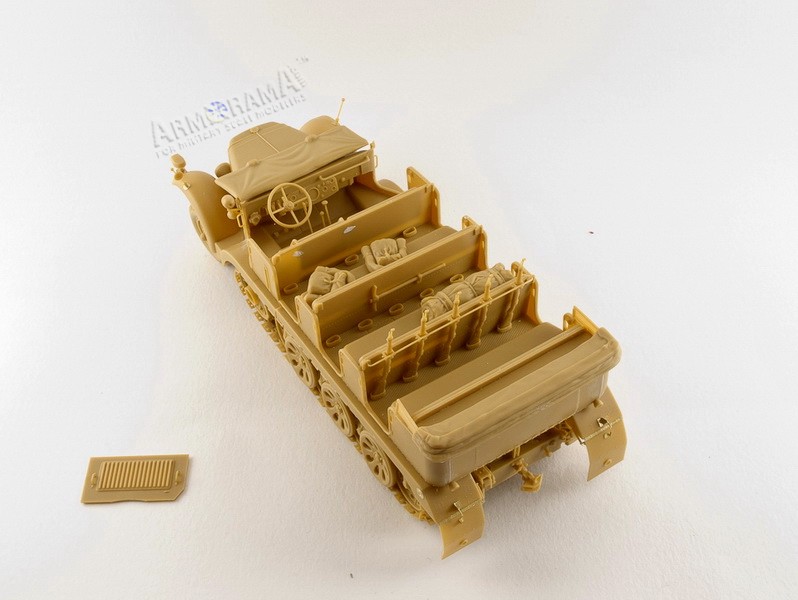
The rear body of the vehicle consists of the floor with side fenders, crew seats with rifle racks, side panels and rear panel with storage. The side fenders have mud flaps with many small PE parts for extra detailing. Underneath the floor there is a spare wheel rack and as with the front wheels you have a choice of early or late tire pattern.
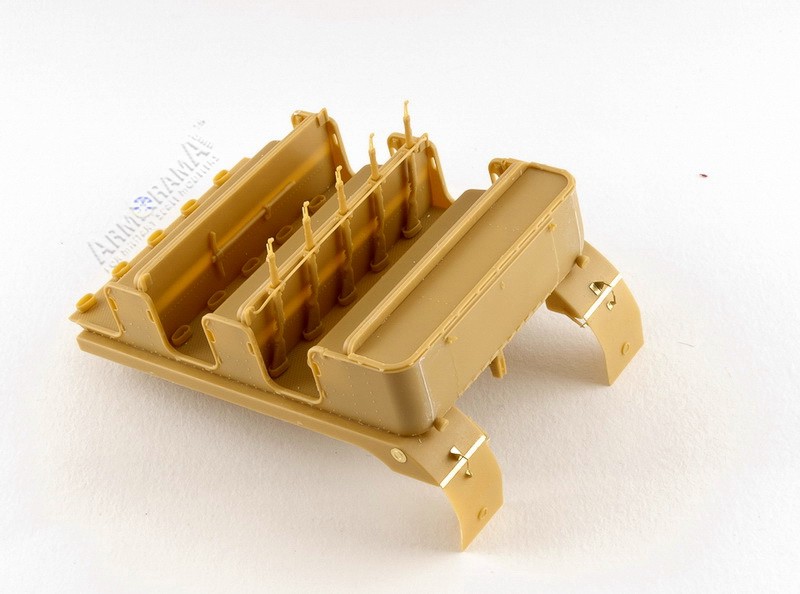
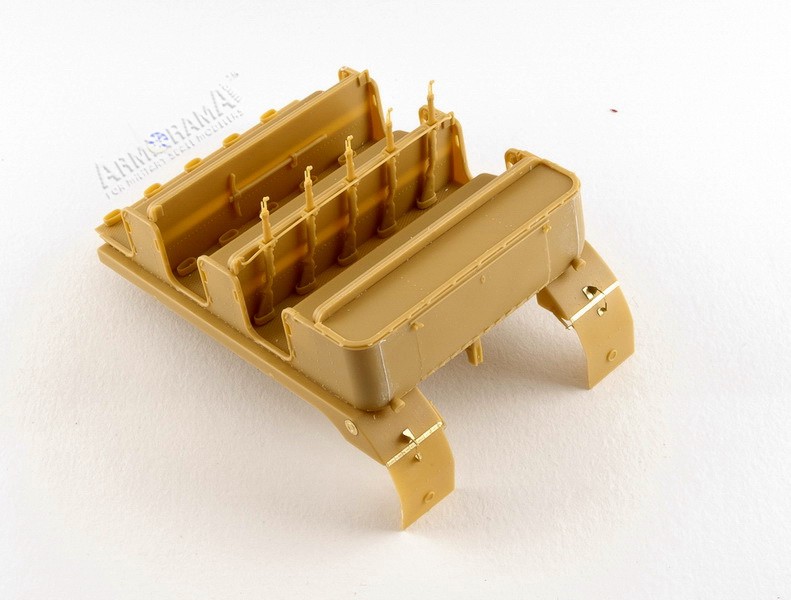
Before you assemble the seats be sure to drill the holes for the OVM tools and remove location marks for rifle rack from the last row of seats. I found it easier to glue the seats in the following consequence glue the upper part of the seat to the bulkhead, glue the lower base to the floor, add PE locks to the lower base, glue the bulkhead to the floor and lower base, glue the seat and attach the tools. The floor brackets for rifles can be glued to the floor before or after the seats, it doesn't matter.
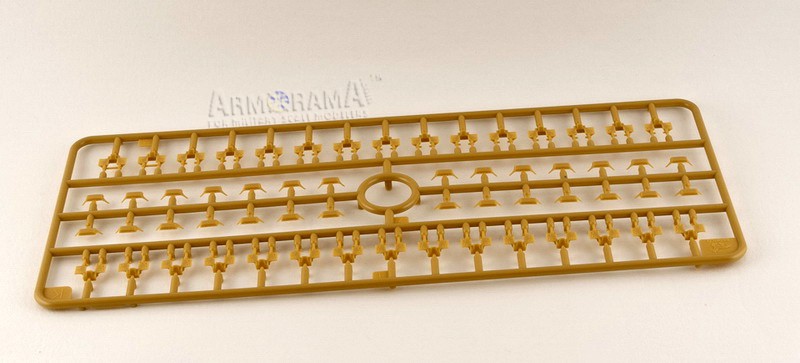
The rifle racks themselves have fine detail and have a support beam and 5 rifle clamps. Included in the kit are 15 Kar98K rifles and you cannot remove them after you glued the rifle rack to the seats. Definitely, this can be improved with PE clamps (I've seen a kit from Voyager) and rifle slings (Inside the Armor or Alliance Model Works maybe?)
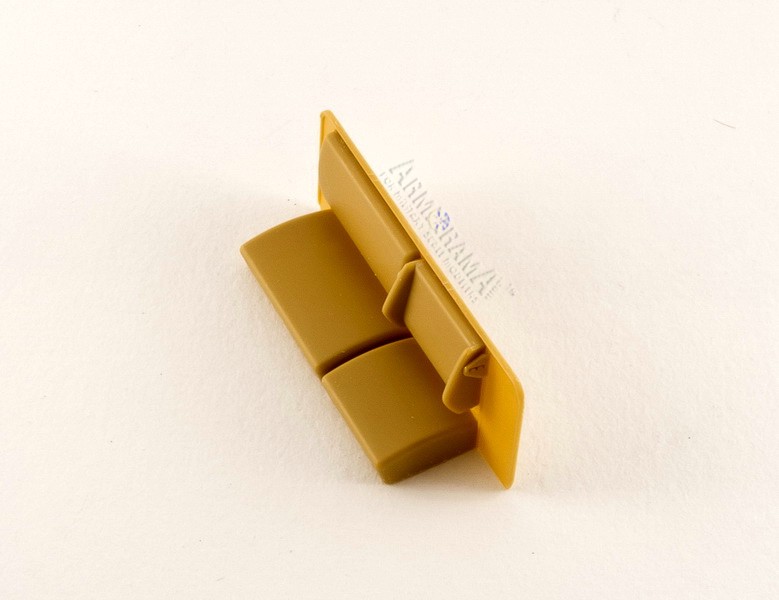
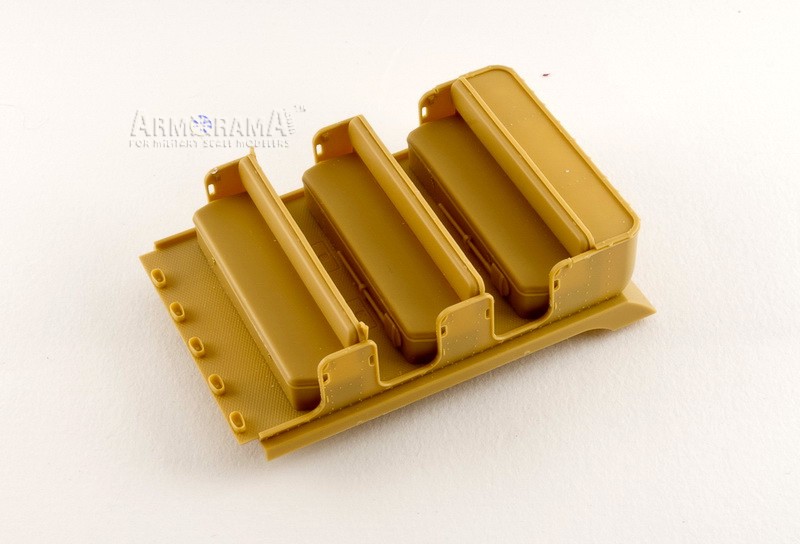
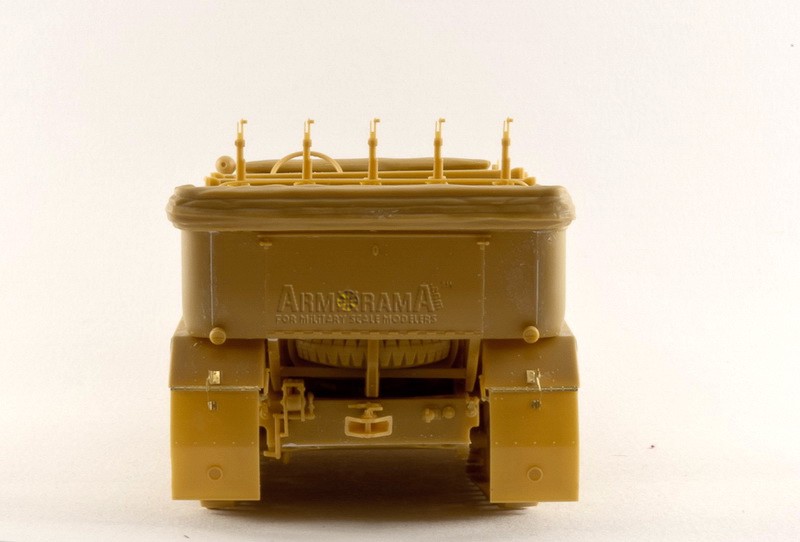
After the seats are done the side panels and rear storage compartment are constructed. Here I had gaps between the rear panel and the door that were eliminated with careful filling and subsequent sanding. The door has nice detail on both sides and Bronco offers to choose between opened and closed position. In case you would like to have it opened don't forget to find suitable chains that were holding the door on a real vehicle.
Finishing options
As mentioned above you have 2 different types of front (and spare) tires and 2 types of rear lights. I assume that early type tires correspond to early type rear lights and vice-a-verse (at least this is what I see per reference images). In case of early type rear lights, the position for the rear license plate is not marked and one can put it directly on the back of the vehicle.
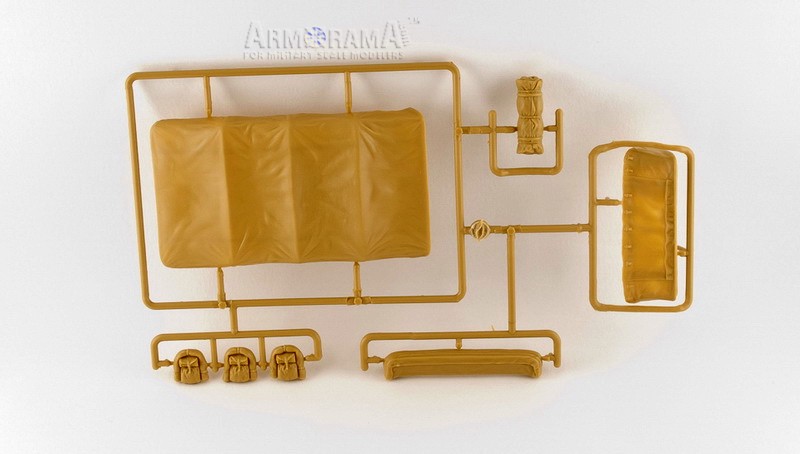
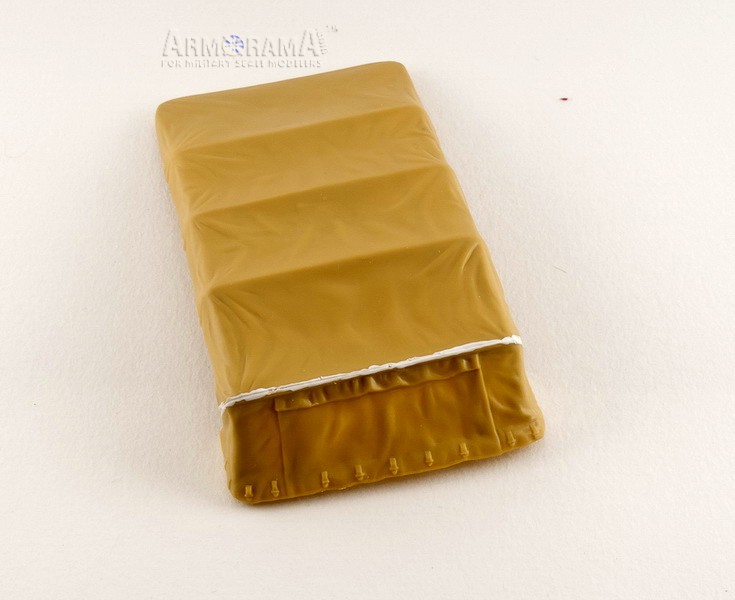
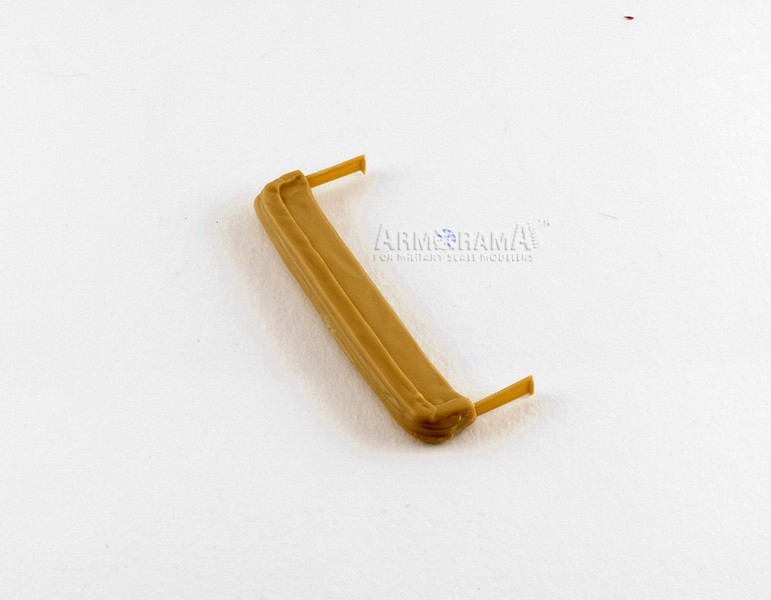
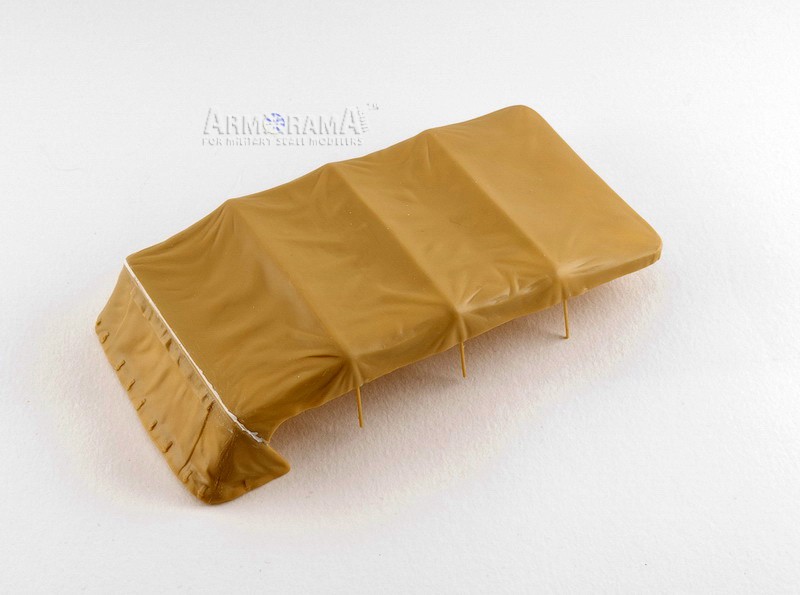
Apart from that you have 2 options for the tarp fully closed vehicle or open one. Although the detail on full tarp is excellent I prefer the opened vehicle since you can put a lot of personal equipment (several items are included already in the kit) and weapons together with a crew (Dragons half-track riders, for example).
After all, it fully depends on the vehicle you would like to depict. A half-track on a diorama from the frozen meat campaign (Moscow offensive) should definitely have the full tarp and not an open top.
Painting and markings
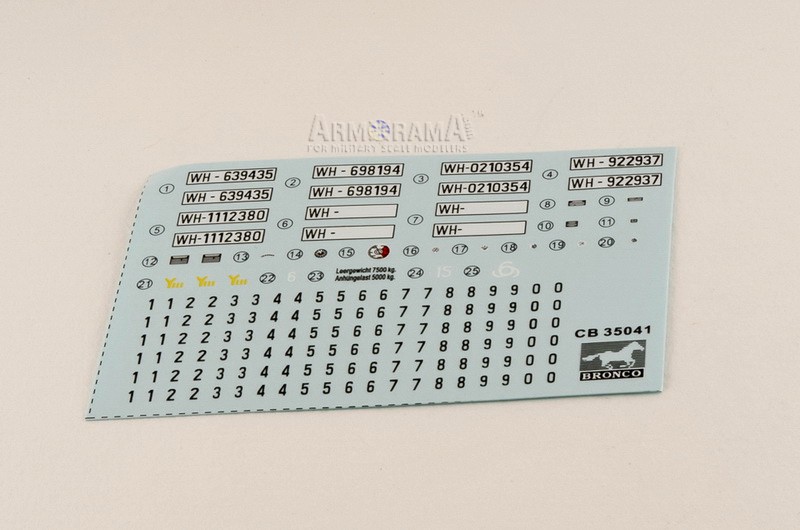
The decal offers you 5 pre-designed registration plates with 4 vehicles in plain panzer grey. The alternative painting variant is a half-track used by Afrika korps (DAK), which can be seen in WM №287 (see ref. list). Additional decals include 2 custom license plates and some divisional marks making the finishing options wider. Please note that there is a separate sheet of paper named correction.
Conclusion
Overall this is a great kit and I enjoyed constructing it. However, I cant recommend it to beginners since there is a large number of small and tiny parts that would require delicate handling. Not to forget - there are some dimensional issues with the cab of the half-track but if you dont bother about that and just want a nice looking Sd.kfz.6 model go for it.
References
Wydawnictwo Militaria No.287, mZgkw 5t Sd.Kfz.6
SUMMARY
Highs: Great detail, many options included.Lows: Complicated assembly (for some) and dimensional issues. Verdict: Recommended to experienced modelers.
Our Thanks to Dragon USA! This item was provided by them for the purpose of having it reviewed on this KitMaker Network site. If you would like your kit, book, or product reviewed, please contact us.
It's a shame to see issues with this kit, as I was very happy to see Bronco bring out the 6 series.
It will be interesting to do a head-to-head comparison when the Trumpeter 6 hits store shelves.


Comments