Introduction
Cyberhobby is specializing on releasing exclusive items, so this model of StuG. III Ausf. G initial production is not an exception to the rule. You might ask me what can be specific about the self-propelled antitank gun that was one of the most produced tank destroyers of Germany during WWII, well, this one is really special and it has a very interesting story.
So, the new Cyberhobby kit is dedicated to a surviver StuG. that was taken up from the marshy land in Russia in April 2002 and due to natural conservation it was almost in original war-time condition, with all OVM tools on it and of course original paint. (See video from the club that found it here on
YouTube video)
Unfortunately the governmental authorities havent done anything to preserve this unique finding and it was standing in the park of the city Saratov for some years -
Dishmodels Walkaround
After being rusted, equipment was taken out and sold in 2007...and the vehicle repainted last year!
It seems to me that Cyberhobby (Dragon) did a great job with modifying their previously released initial production model (
review here) to represent this famous StuG. III. Apart from minor issues in the instructions and the tracks (see review text) I couldnt see any discrepancies from the original vehicle.
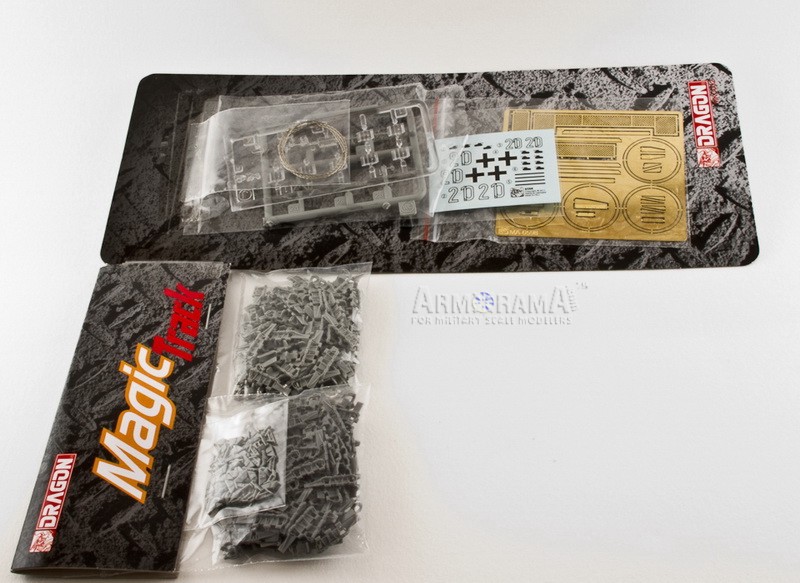
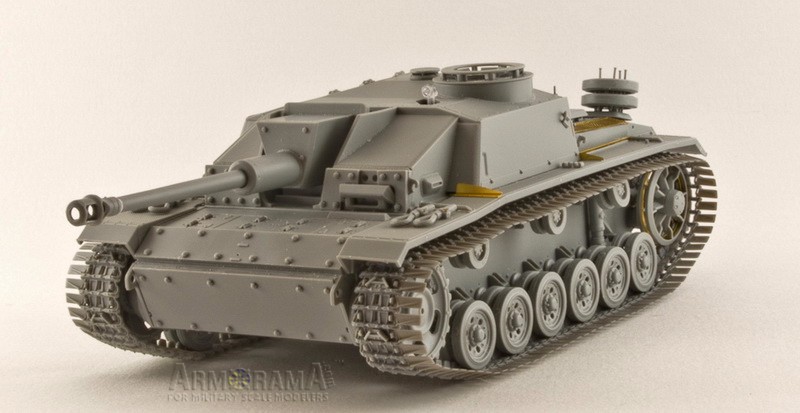
Box contents
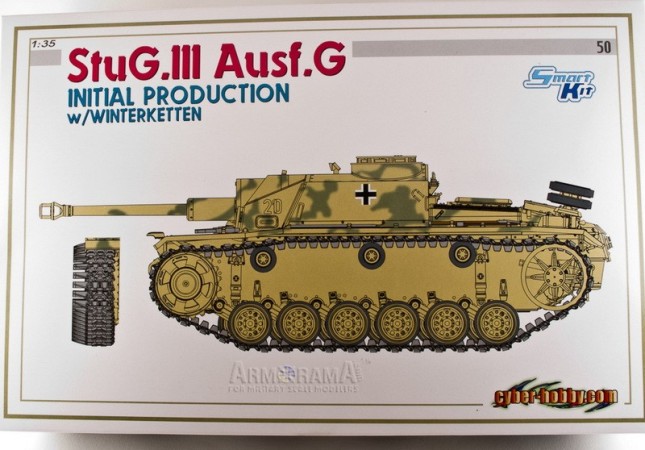
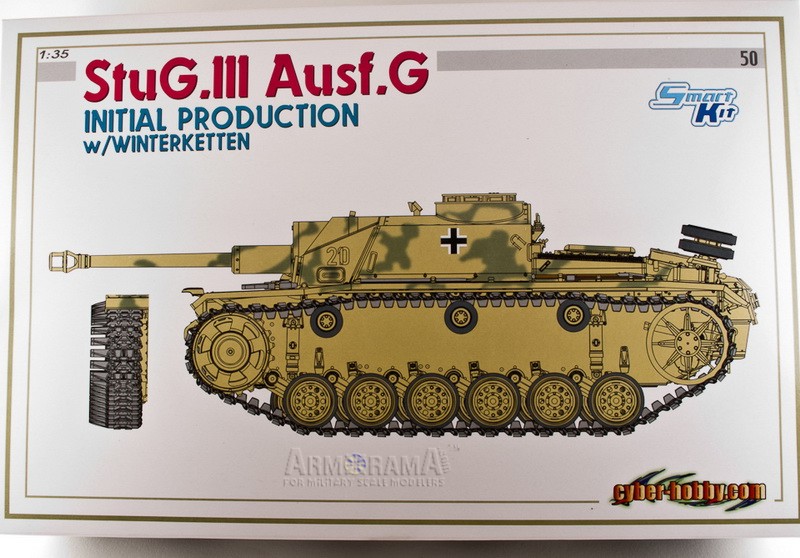
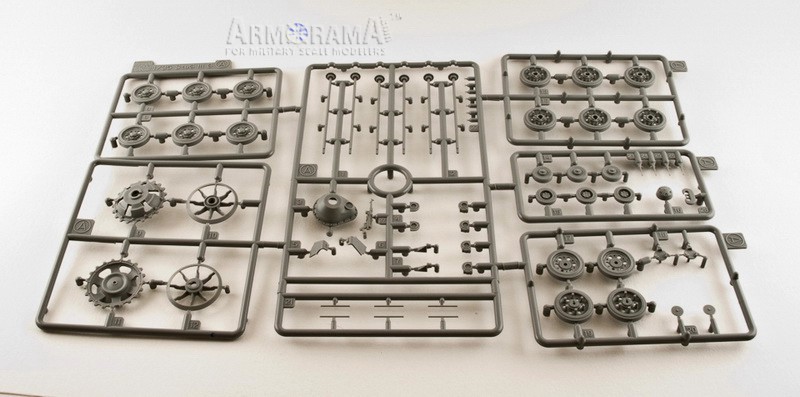
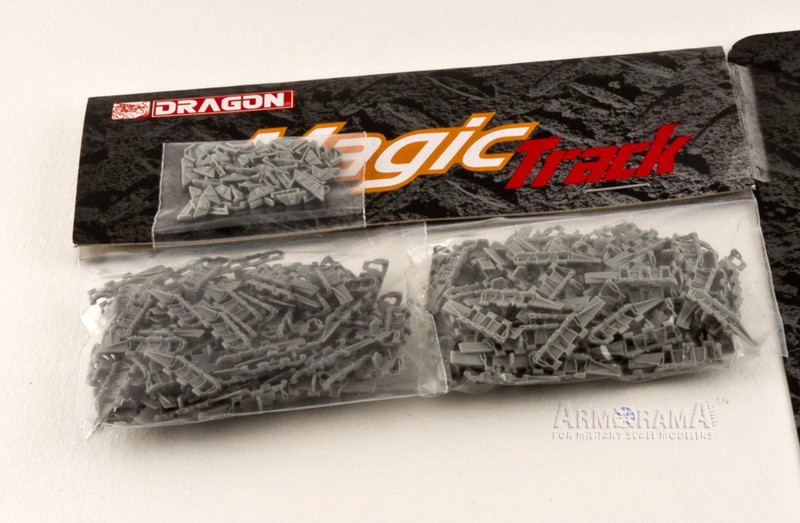
The model comes in a cardboard box with a standard Cyberhobby boxart on top and kits features printed on sides and bottom. Inside you will find the grey and clear styrene sprues plus styrene lower hull packed in individual bags as well as complimentary Dragon card with PE fret parts, decals, 2 bags with winterketten magic tracks, 1 bag with ice cleats and a piece of metal wire.
Needless to say the quality of the kit is up to modern Dragons standard, molding is superb and you will enjoy building this model (I finished it OOB in 4 evenings)
Review
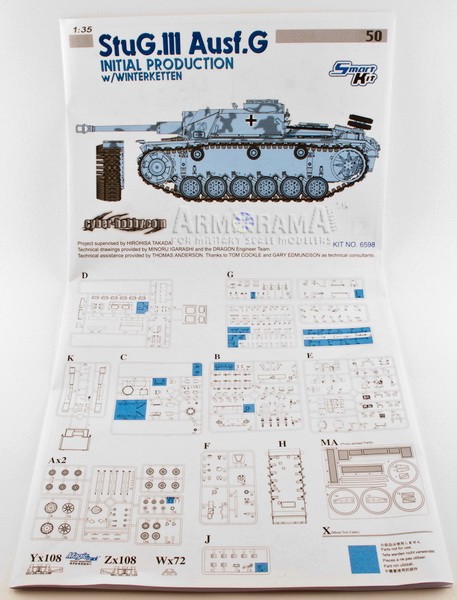
The instruction has usual exploded view drawings and requires attention since there are wrong part numbers and incorrect suggestions (I am wondering why those flaws are always present, cant there be someone who builds a model and tests that instructions are OK?). Please be careful and check everything before gluing.
Since there is a
build review of StuG. III G Initial production at Armorama, I will focus mostly on crucial parts, wrong part numbers and specific issues regarding the prototype vehicle.
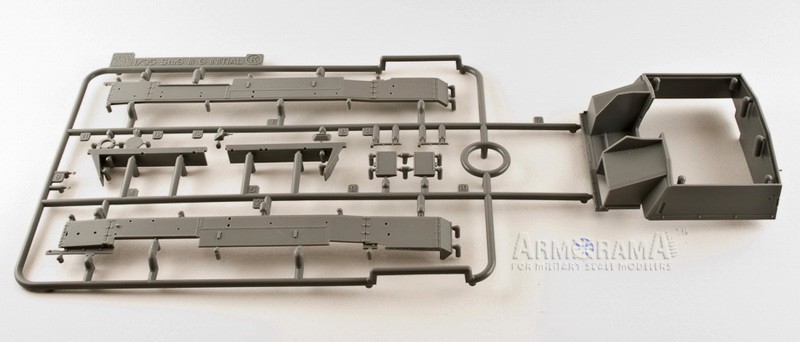
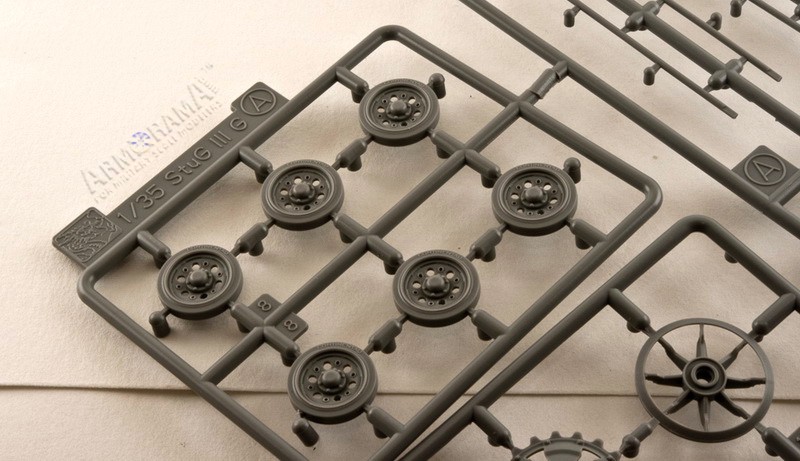
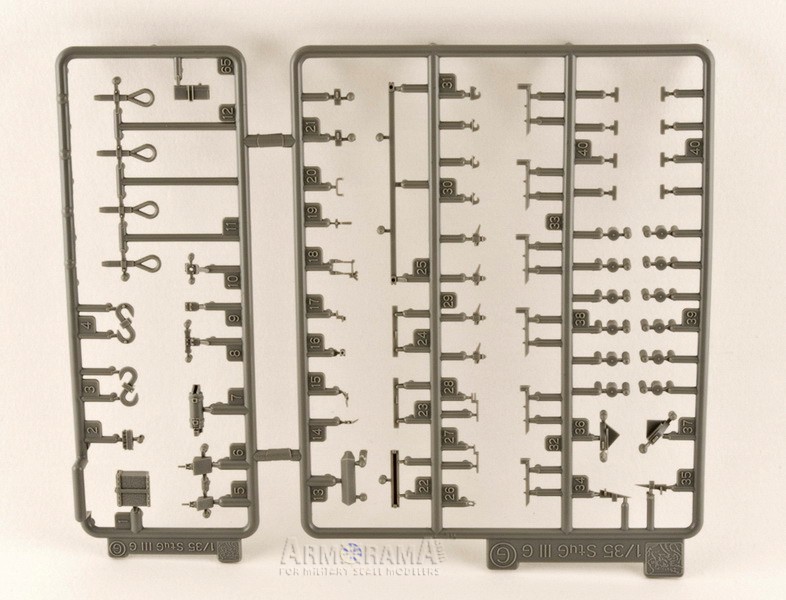
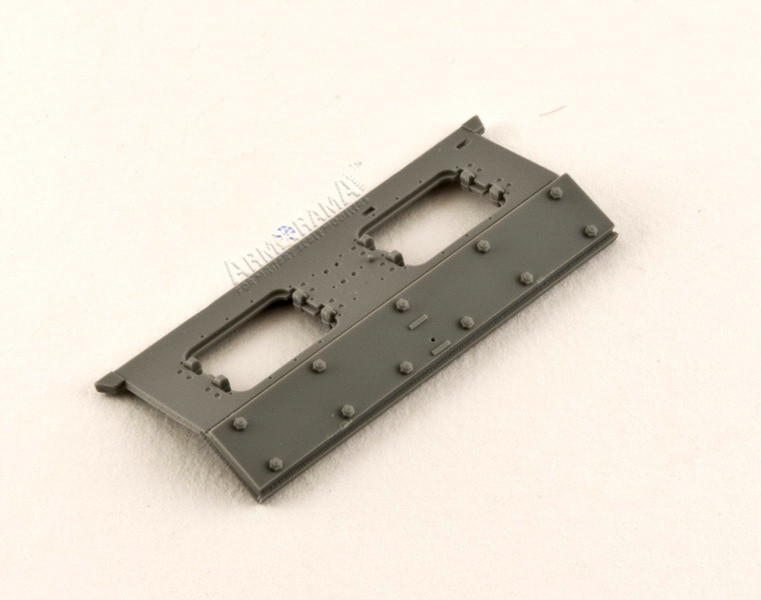
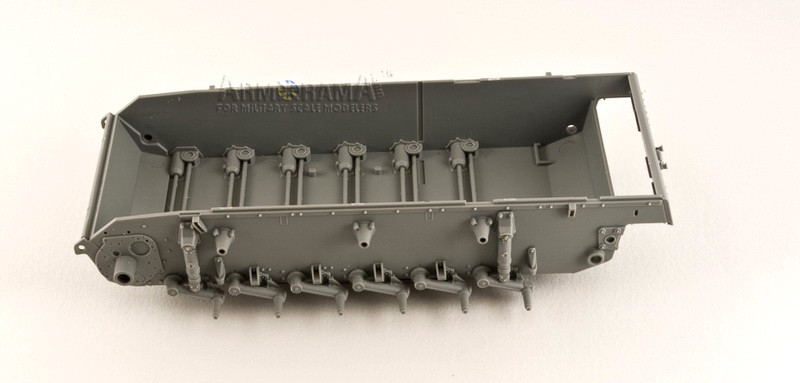
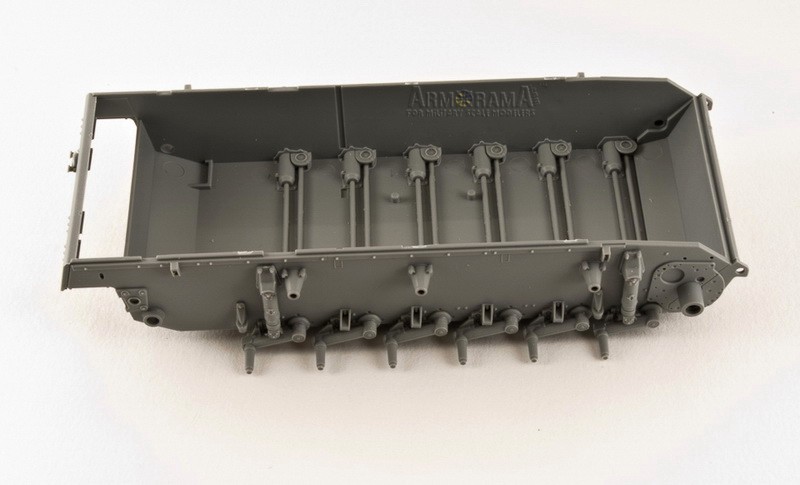
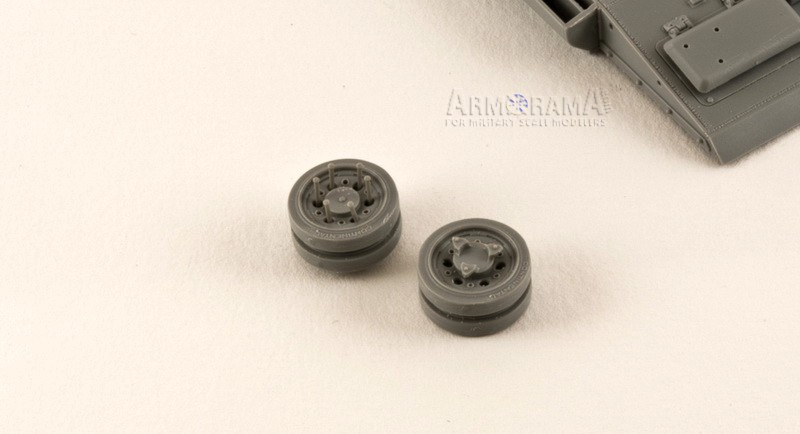
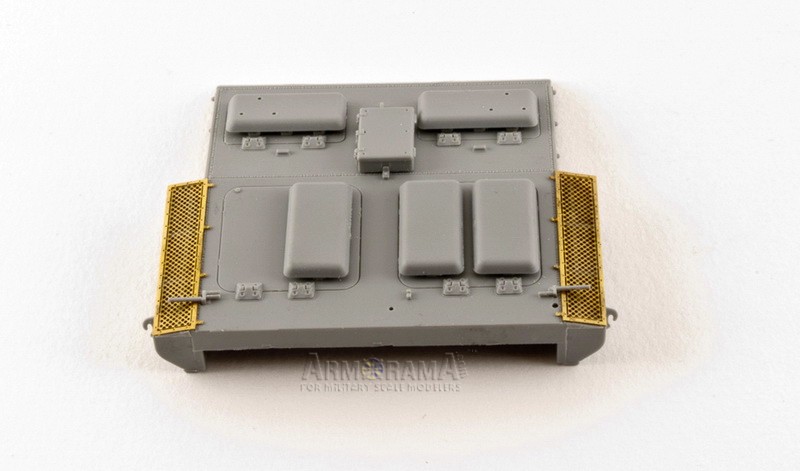
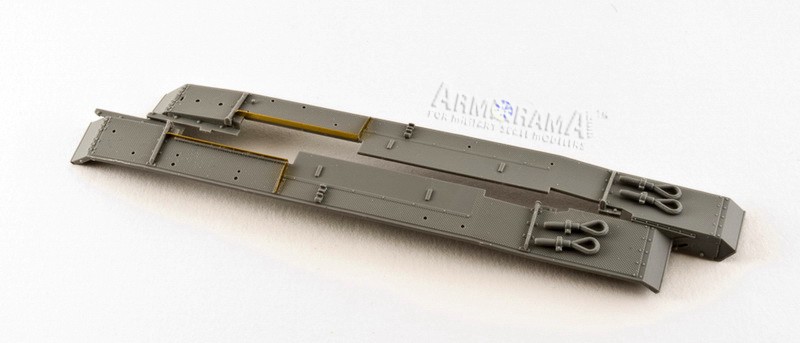
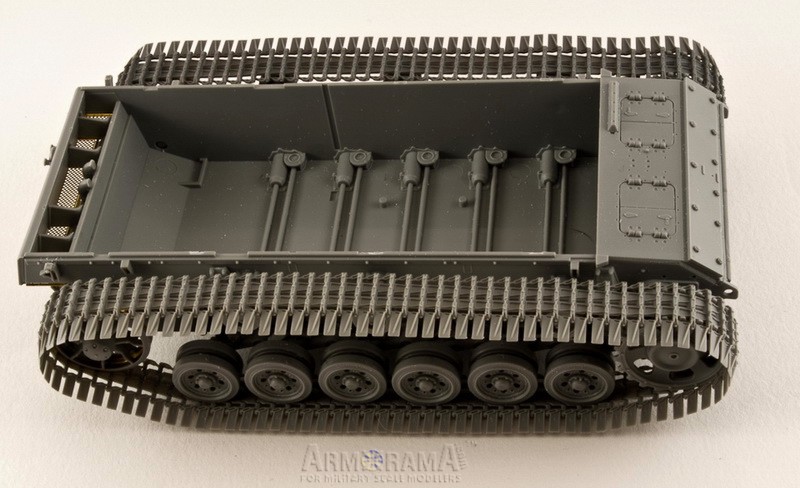
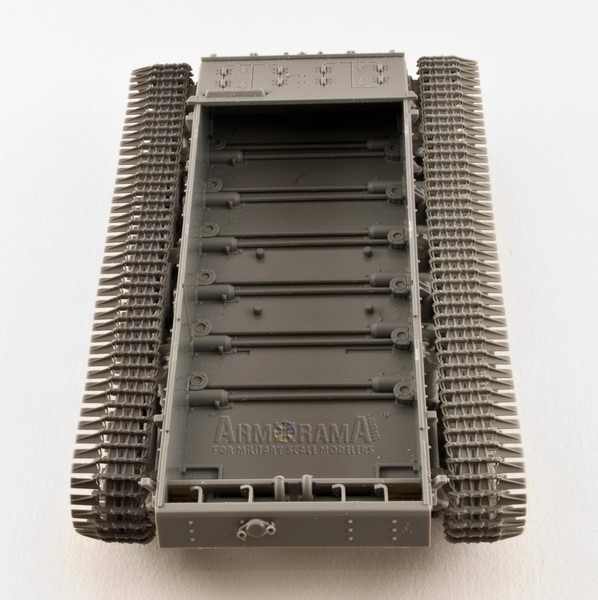
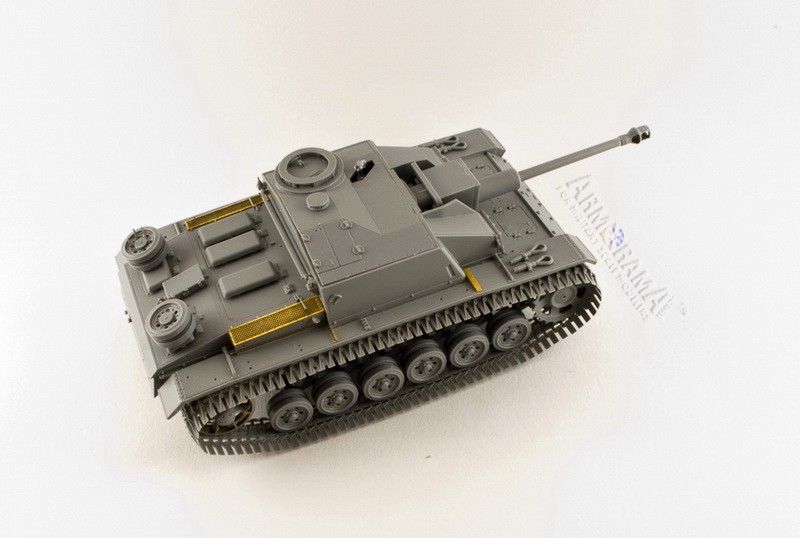
Steps 1-6, running gear, lower hull and fenders
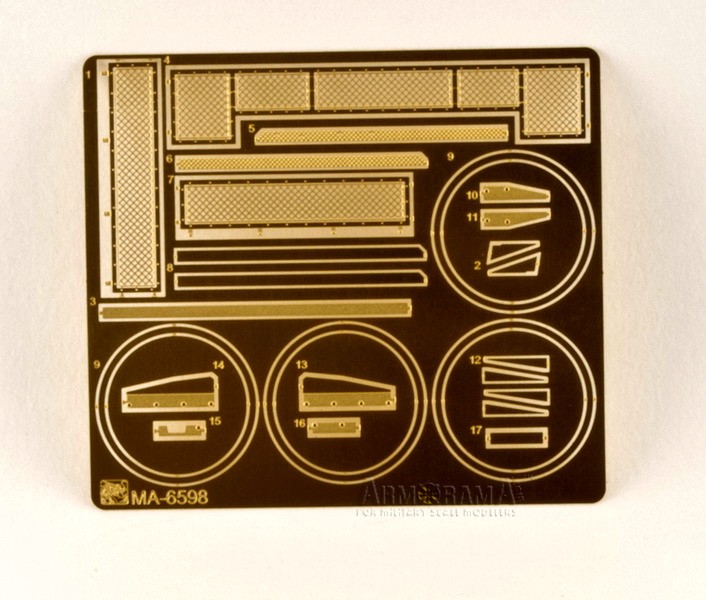
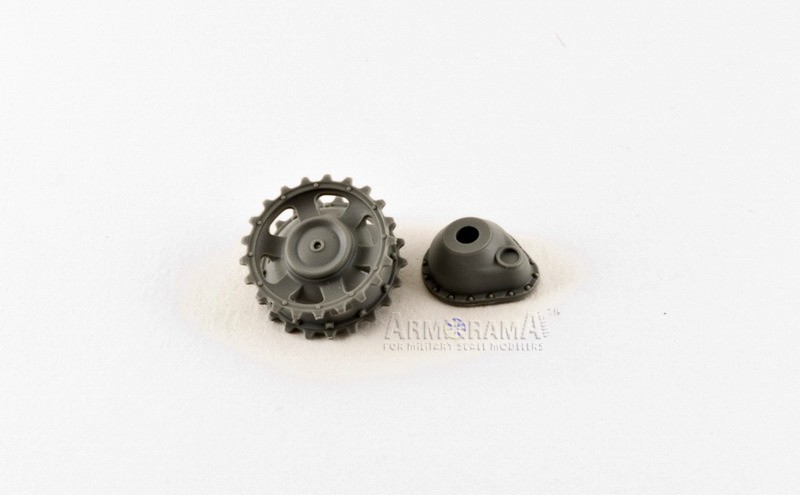
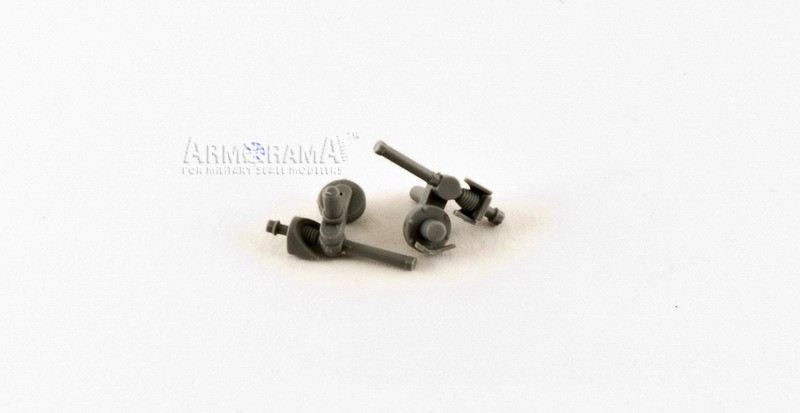
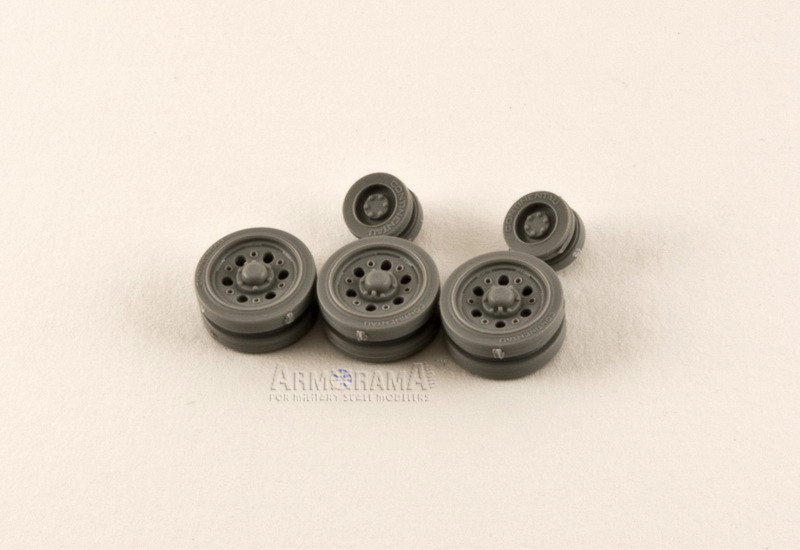
Construction begins with building the road wheels, the drive sprockets and the idler wheels. All parts have excellent detail and the Idler wheels have PE inner rings. Dont forget to correct with model knife the manufacturers logo (should be CONTINENTAL) on the tires of the road wheels and the support rollers. Another thing that caught my attention here when fixing the torsion bars inside the lower hull note that not all of them are fixed with part A4 the 1st right one is fixed with B18! Construction of swing arms, torsion bars and shock absorbers goes without trouble and all those parts are beautifully detailed.
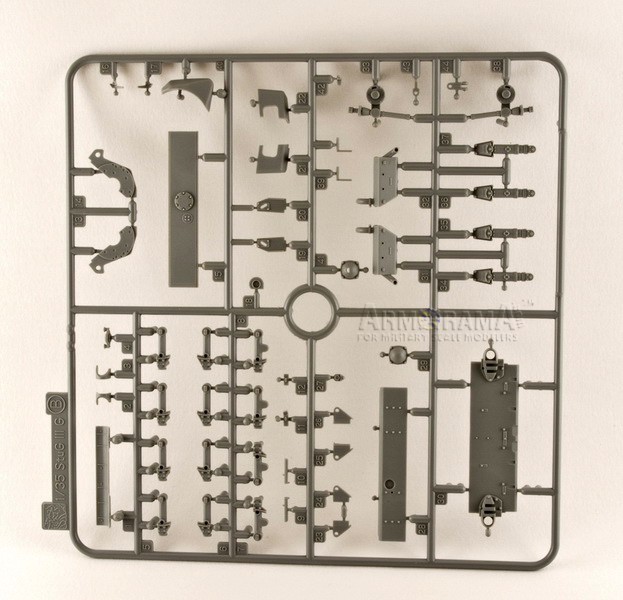
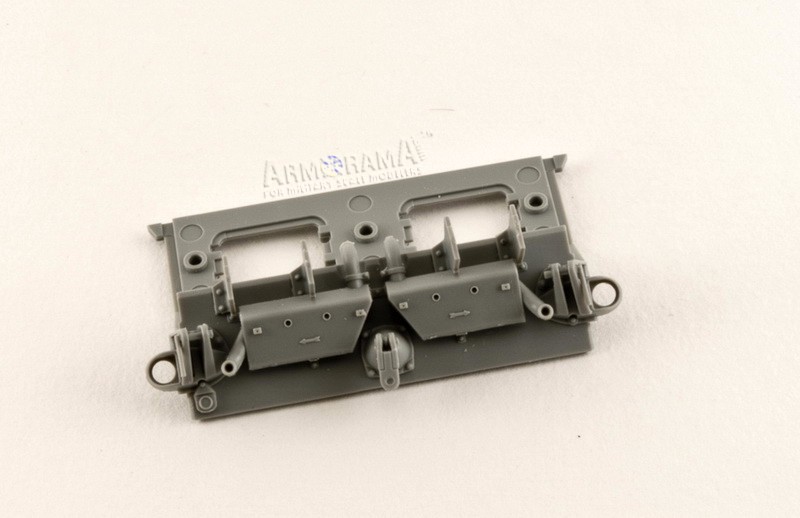
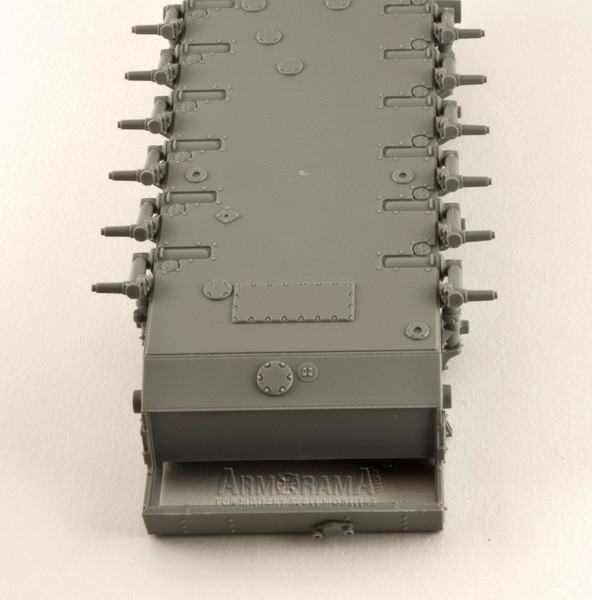
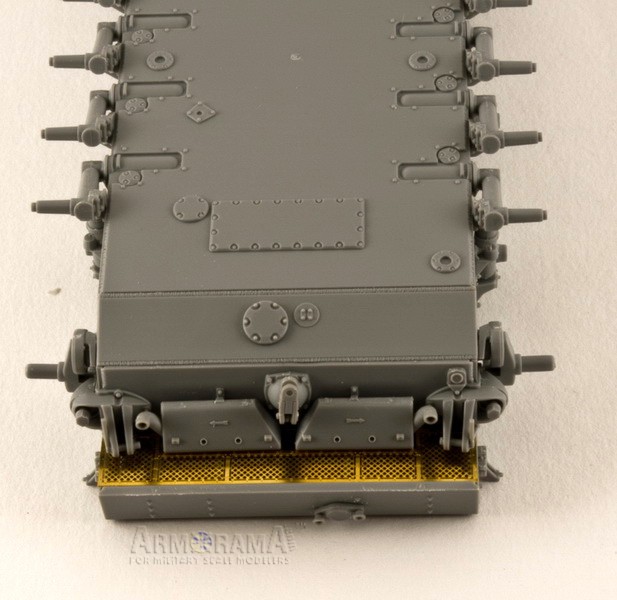
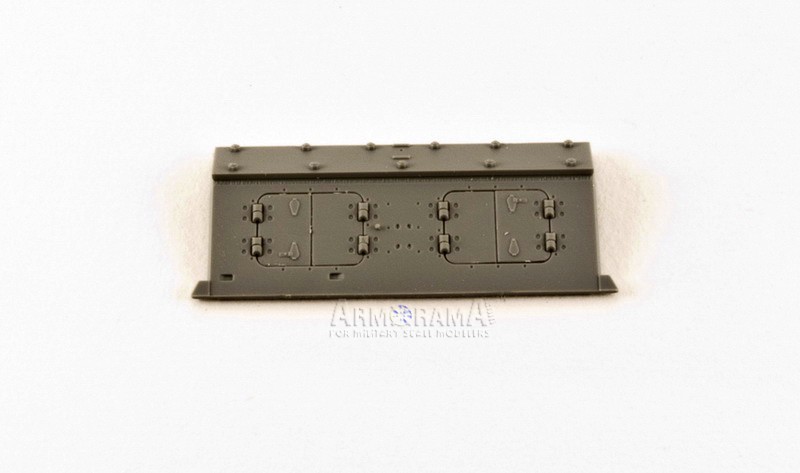
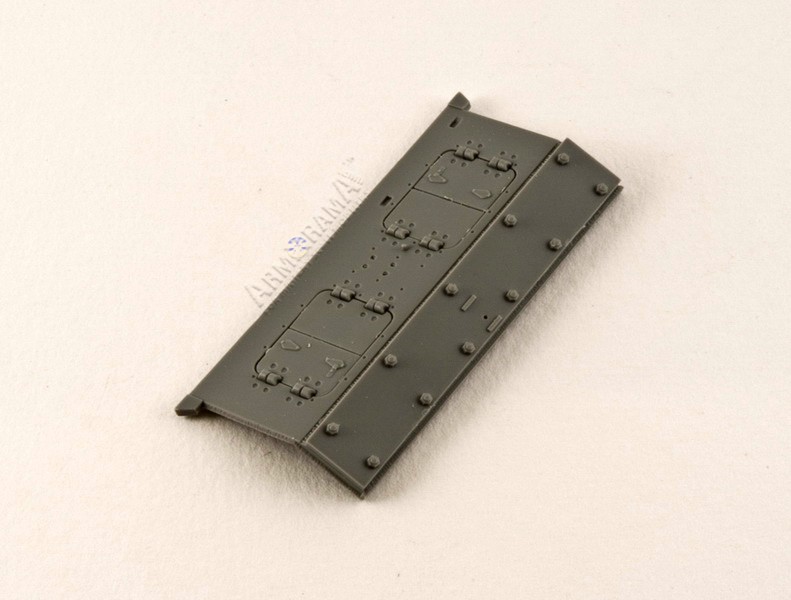
In step 3 you will assemble rear armor plate with the exhausts and there are some wrong part numbers B41 is B43 on the sprues and vice a versa. If you would like to depict the survival vehicle do not glue parts B21 and B22 they are absent on it.
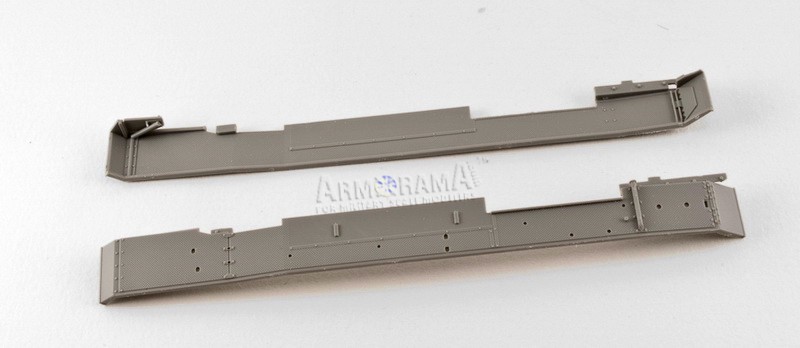
Fenders come as one piece and have detail on both sides without any pin marks. Tool clamps come in plastic and depending on what you would like to depict (war time vehicle or rusted reference) you can either use them or substitute with PE from any aftermarket company.
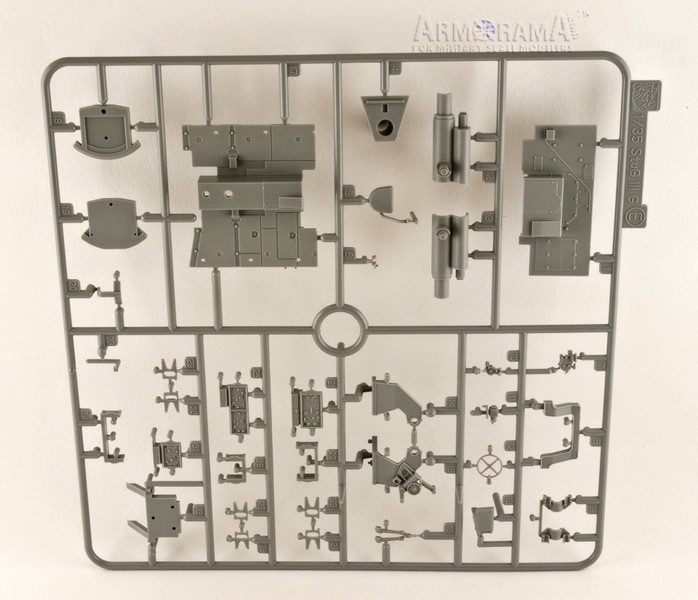
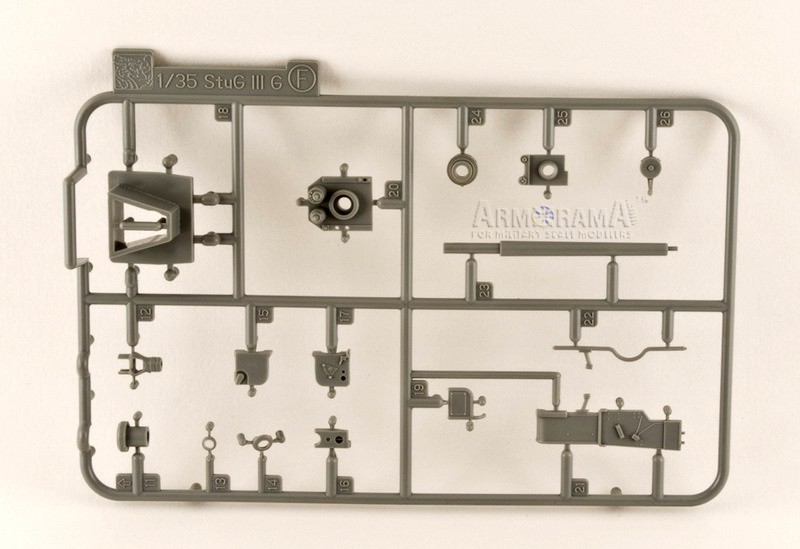
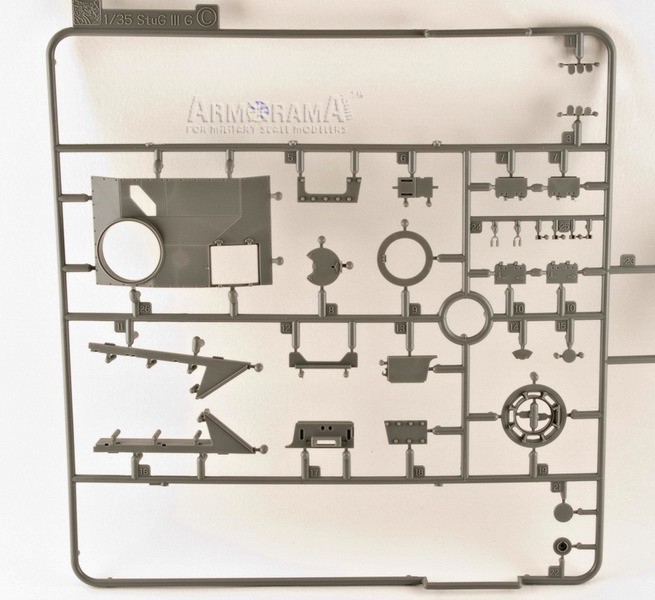
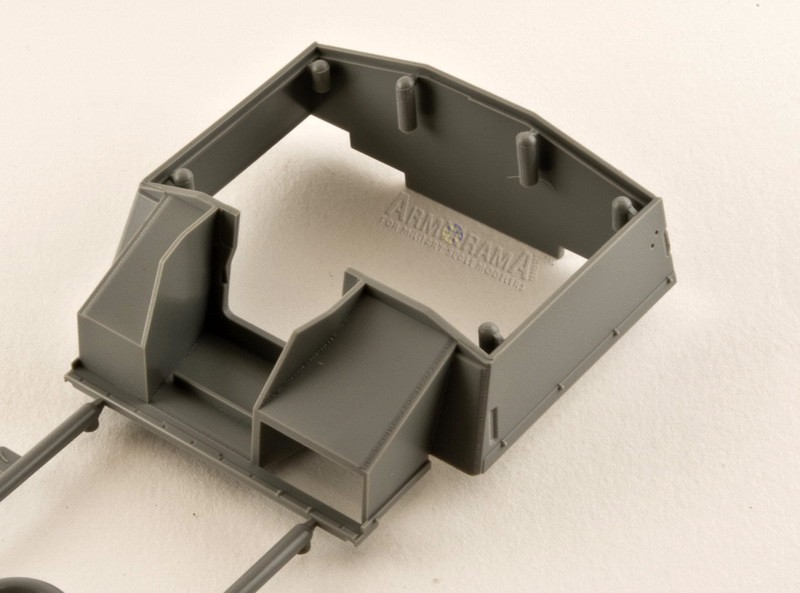
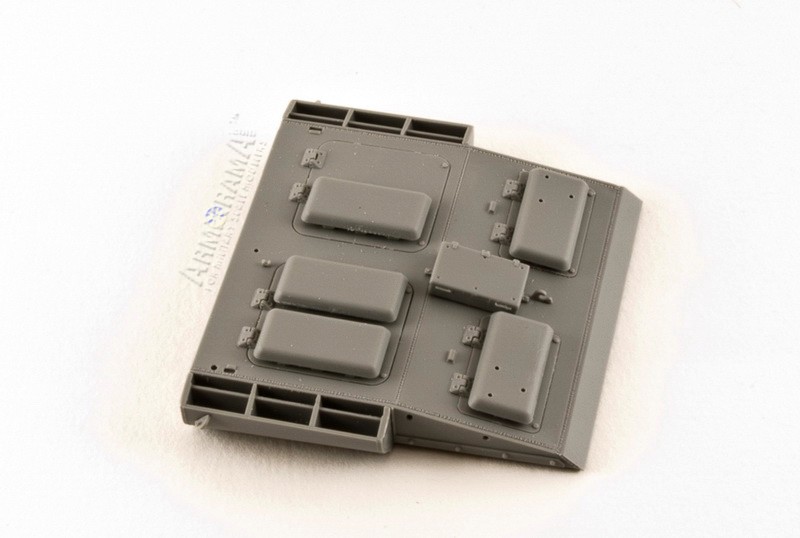
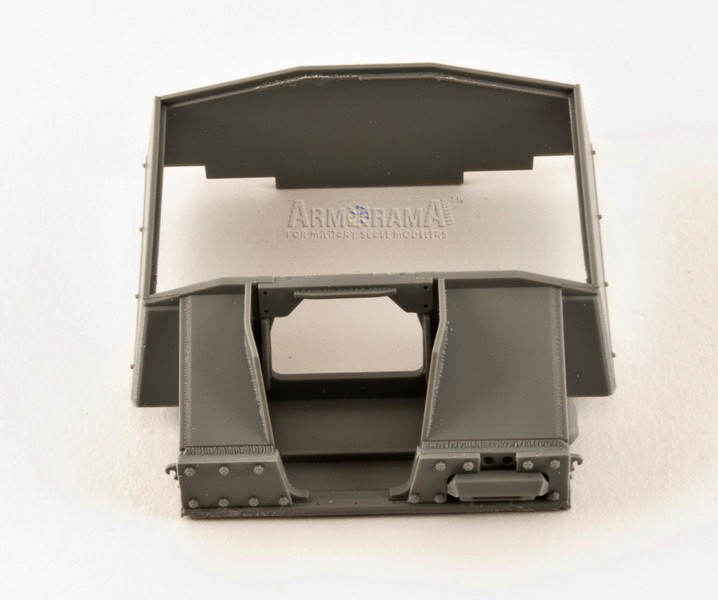
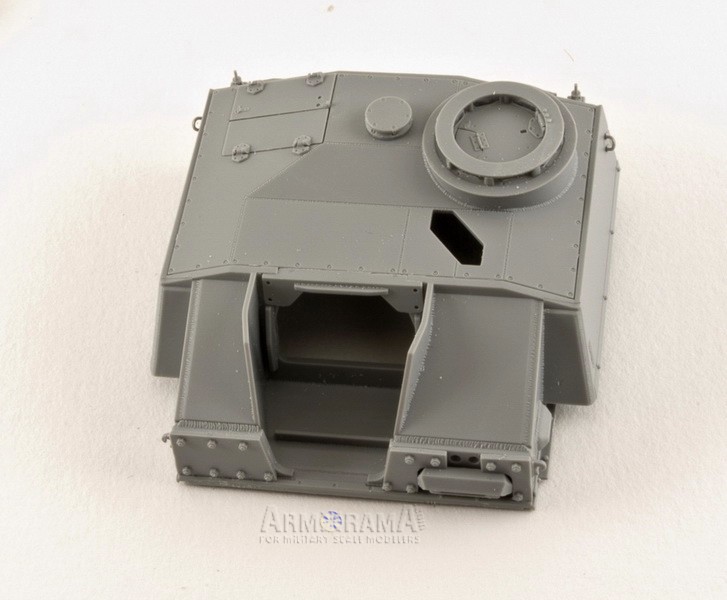
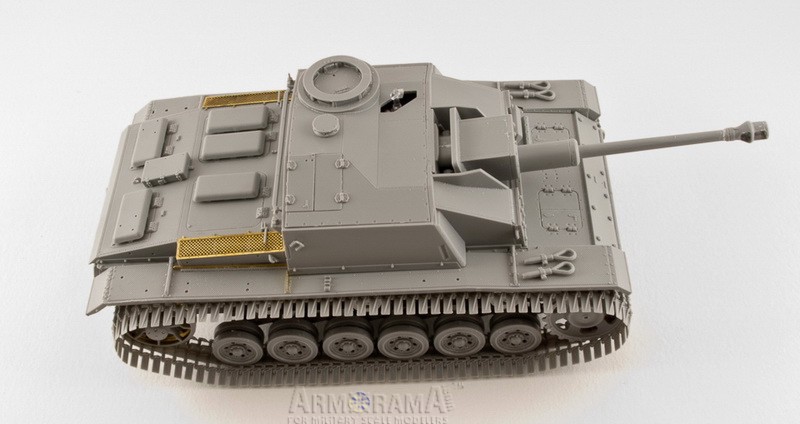
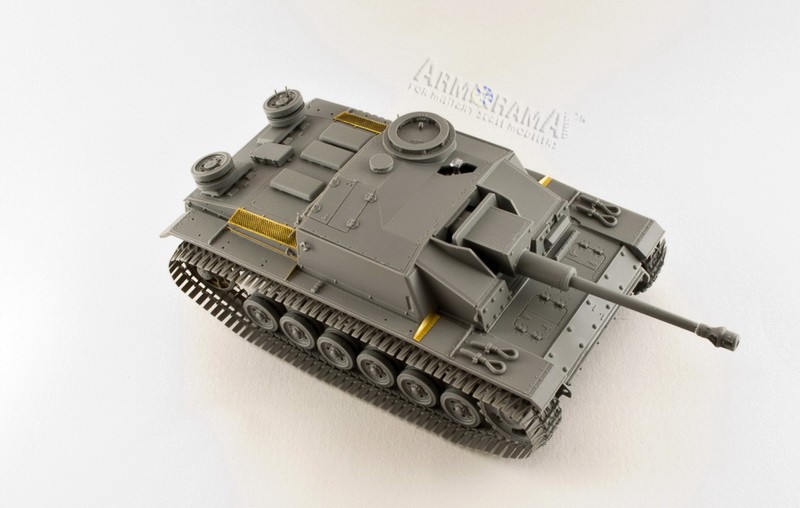
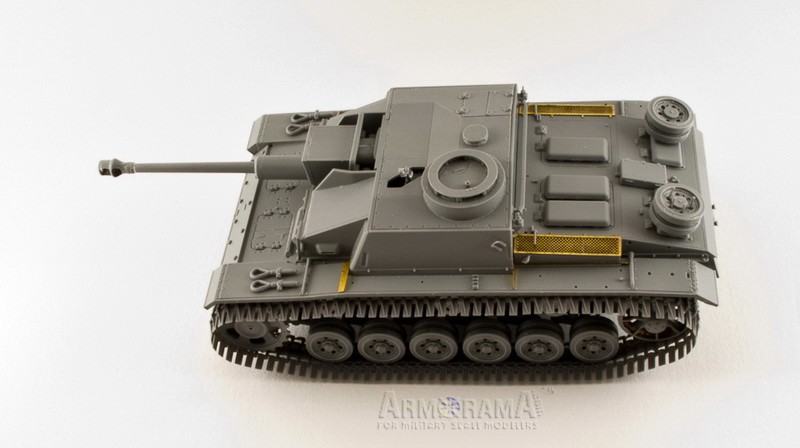
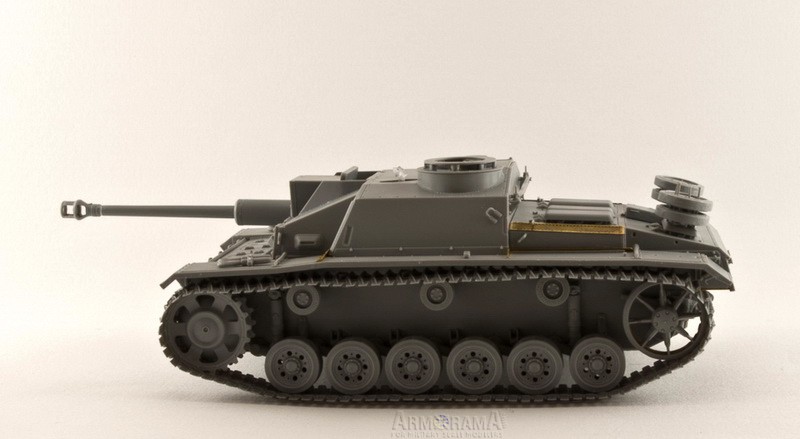
Steps 7-14, the casemate, rear armor
The casemate parts have excellent weld and bolt detail and here you will note the differences with the previous release (6320): no movable cover for gunners periscope, view-port on the left side of driver, ventilation fan on the casemate roof instead of rear wall as well as absence of the shield for MG34 on the roof.
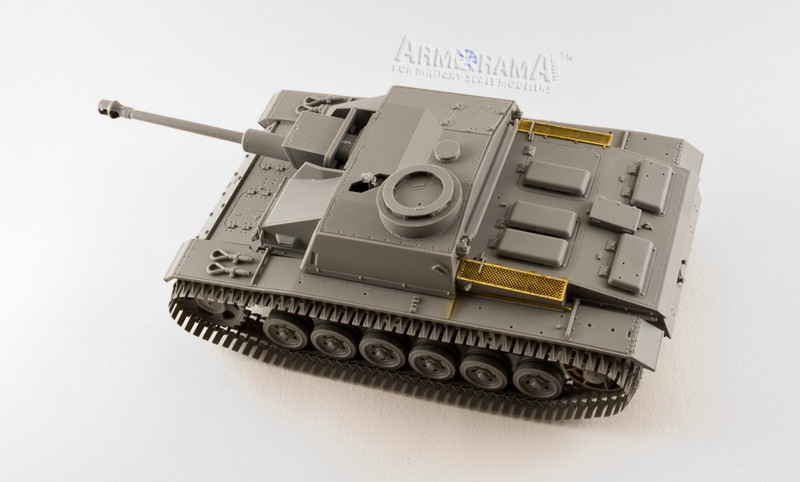
These steps contain lots of instruction errors: wrong part numbers for D15 and D16 (follow the drawings and not the numbering); G6 is an incorrect right side antenna mount use K13 instead; do not remove small latch on the C4 part it should be present on both roof and loaders hatches; dont be confused with the movable cover for periscope present on drawings it was copy-pasted from previous release.
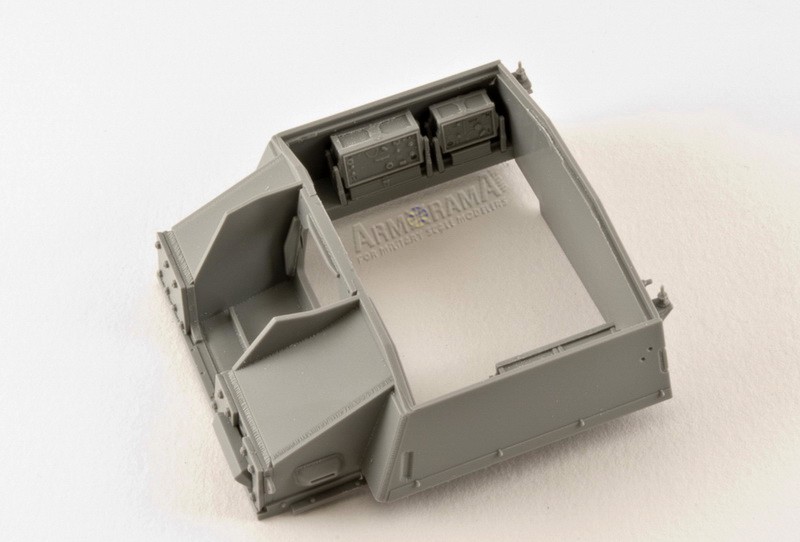
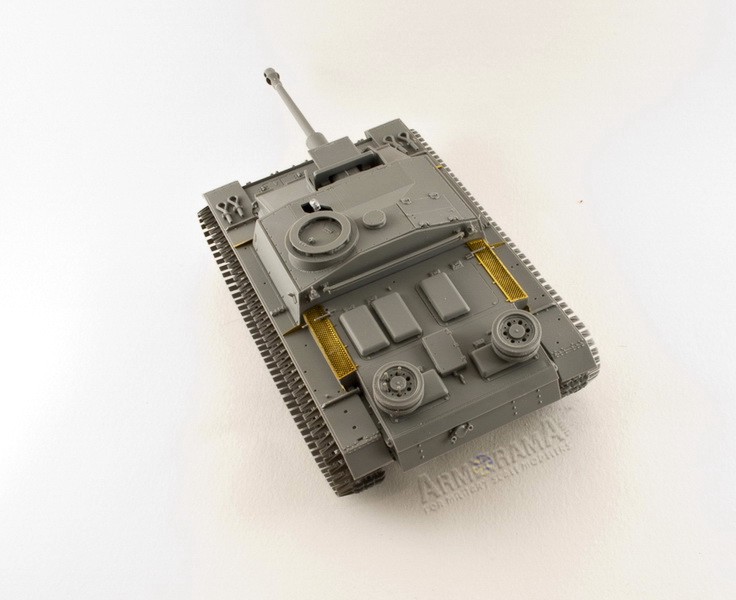
Otherwise no problem here, hatches can be assembled closed or opened to show the basic interior provided as well as nicely detailed inside of the commanders cupola with 7 periscopes and additional binocular periscope. Engine deck has PE air intake meshes and features excellent detail. If you decide to close the hatches simply skip gluing all handles from the inside (as I did) and I would strongly recommend not gluing the casemate roof before you are done with the gun assembly.
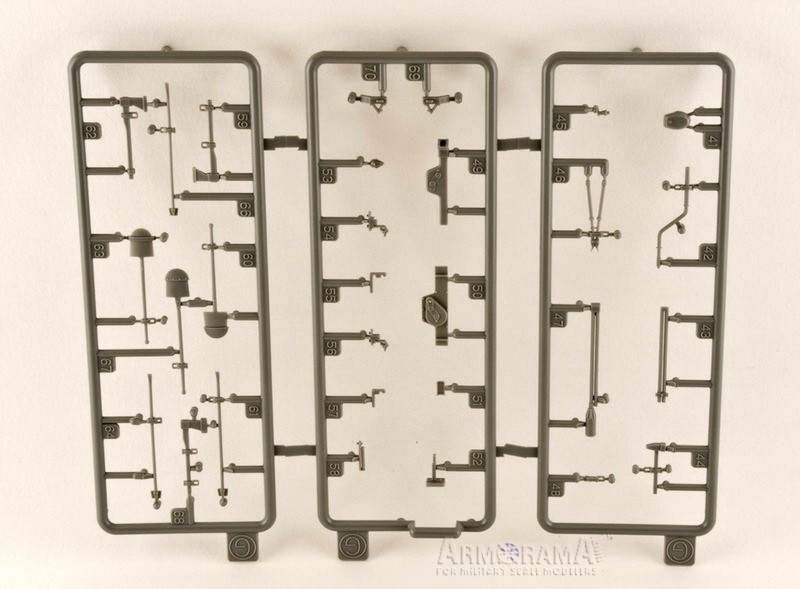
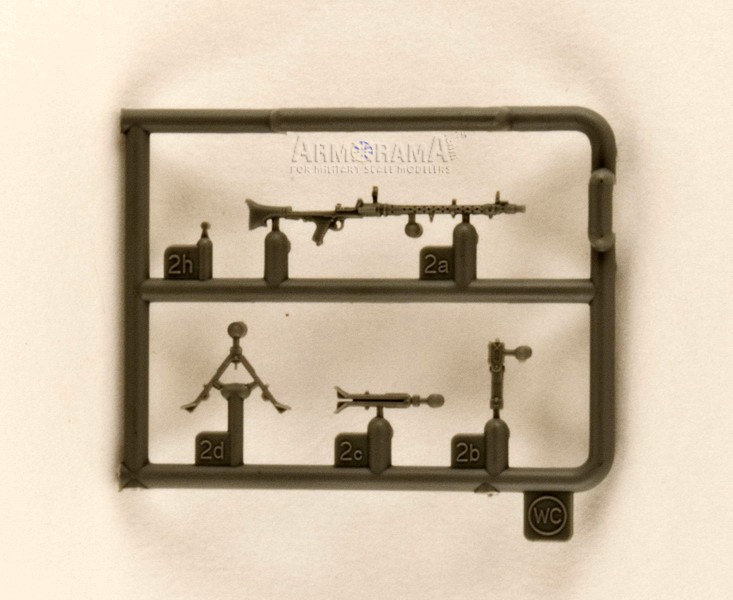
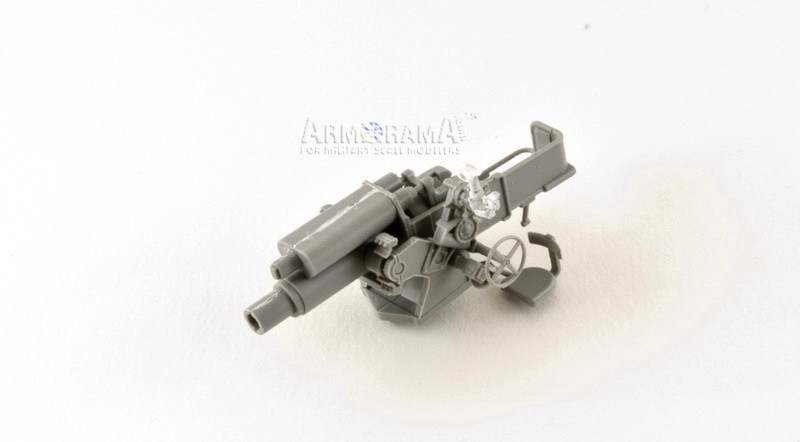
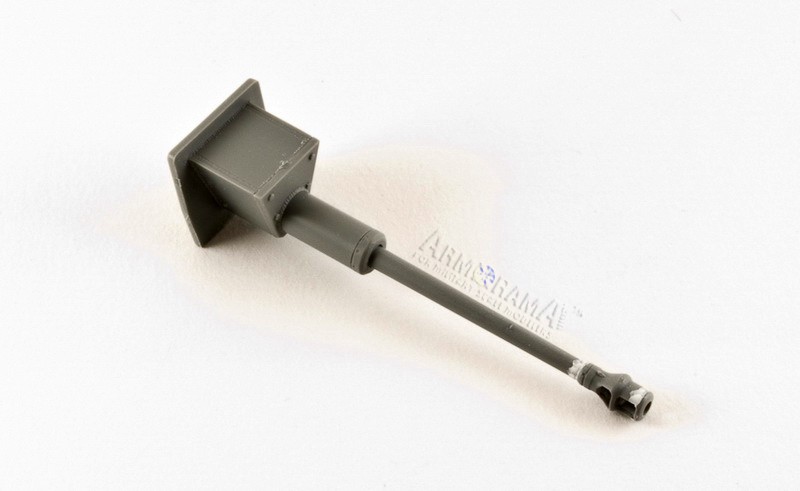
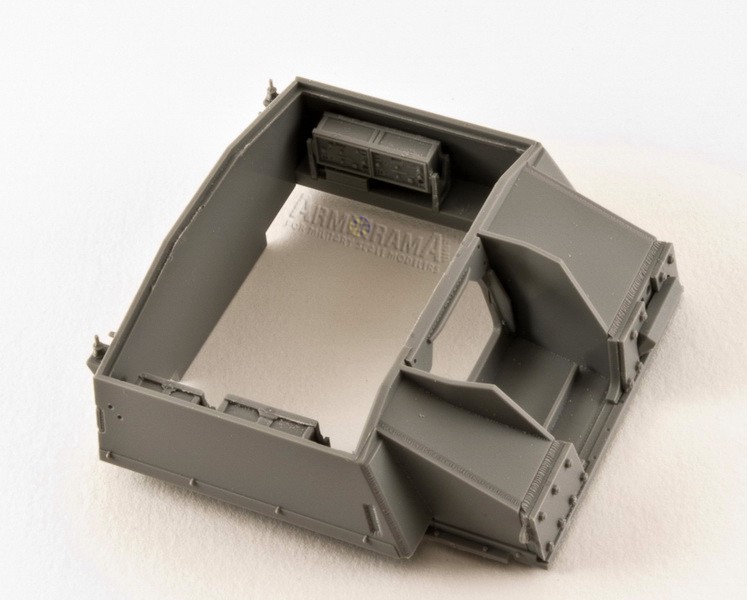
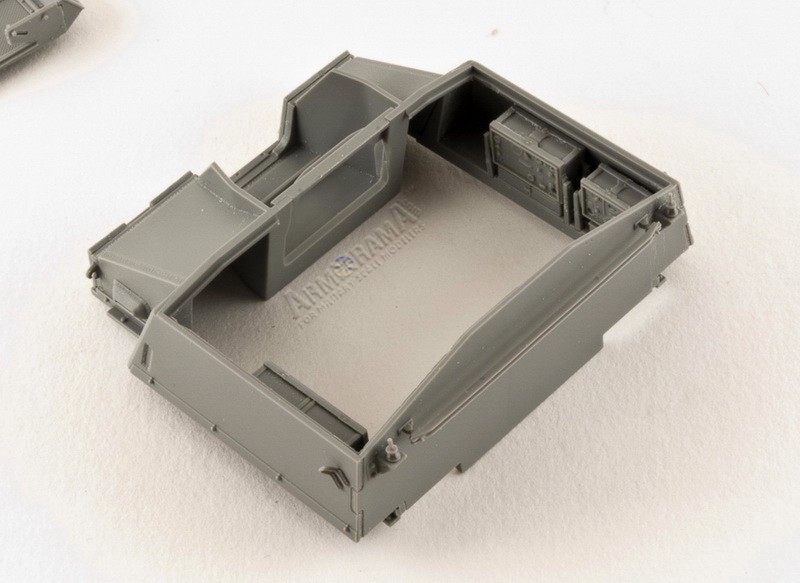
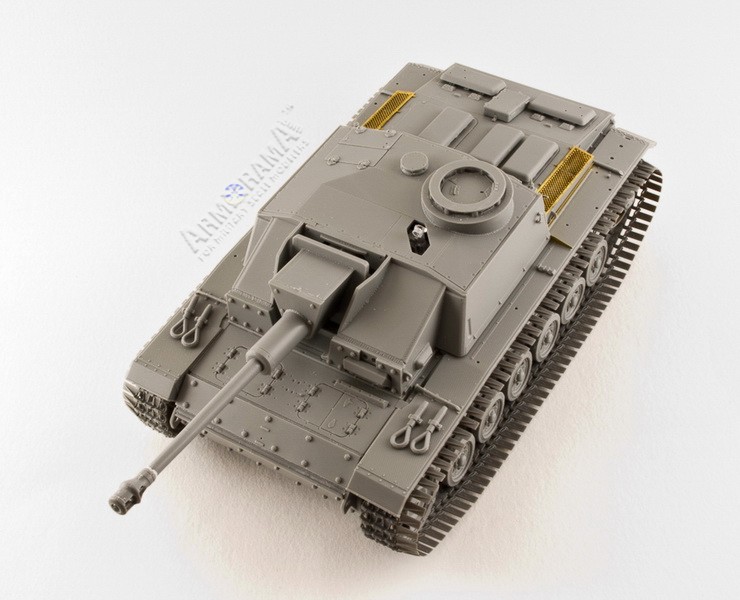
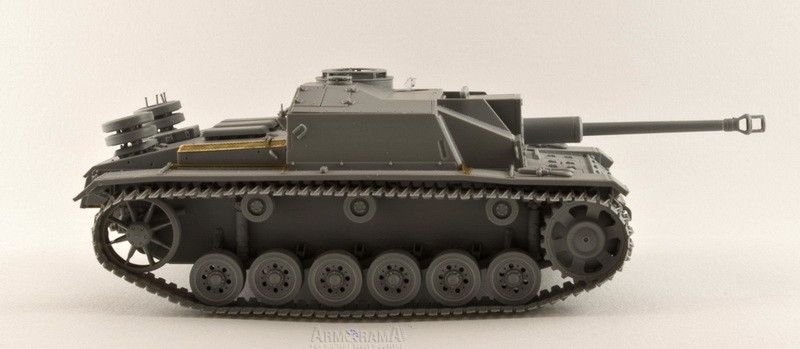
Steps 15-19, the gun, the interior and completion of the model.
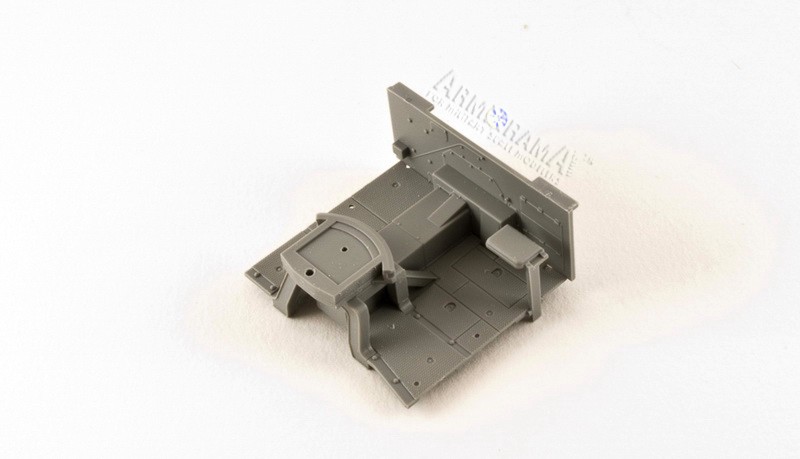
The gun StuK40 7.5cm is given in a complete detail gun mount, gunners seat, gun cradle, elevation wheels and gun sight. Engine firewall is also present together with part of the floor plate. Some of the gun parts require filling and sanding (F15 F17, E3 E2). In my case I added some putty between the muzzle brake and gun barrel too.
Unfortunately there is no drivers compartment included as well as interior is lacking everything apart from the radio units. This is not a problem if you close everything, but if you dont you have to search for resin products.
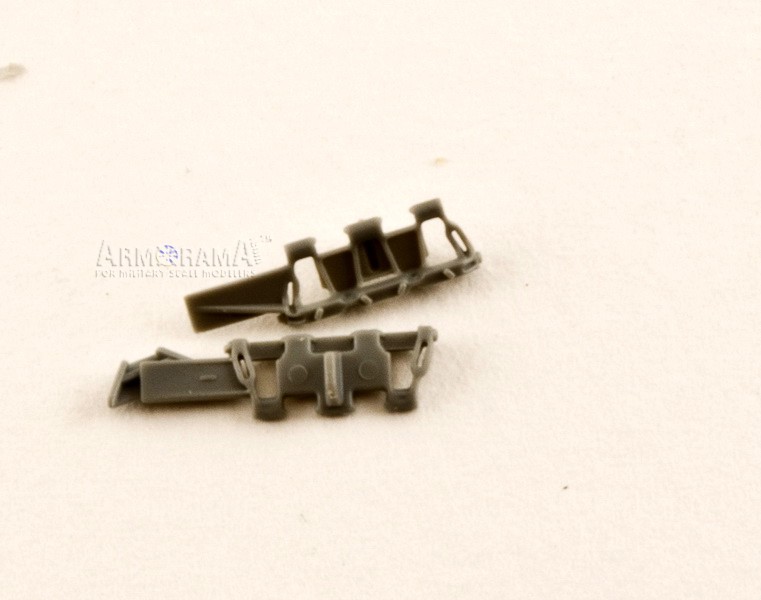
Before completing the model the winter tracks must be assembled. Those are individual magic tracks and are provided in different shades of grey to distinguish between left and right sides. Ice cleats can be glued in a regular pattern as per instructions or as you can find per references. And here comes the surprise - if you look carefully on the reference images of the survival vehicle you will notice that it has right side tracks on both sides! That means that to model exactly the same vehicle you will have to order extra set of tracks somewhere.
To finish the model and avoid problems with alignment I did the final steps in the following consequence - glue the front armor plate, assemble winter tracks without gluing the wheels, remove the tracks and the wheels, glue fenders to the casemate, insert the interior part into the gun into the gun mantlet, glue the interior to the hull, glue the casemate and the fenders to the hull, glue the engine deck.
Painting and markings.
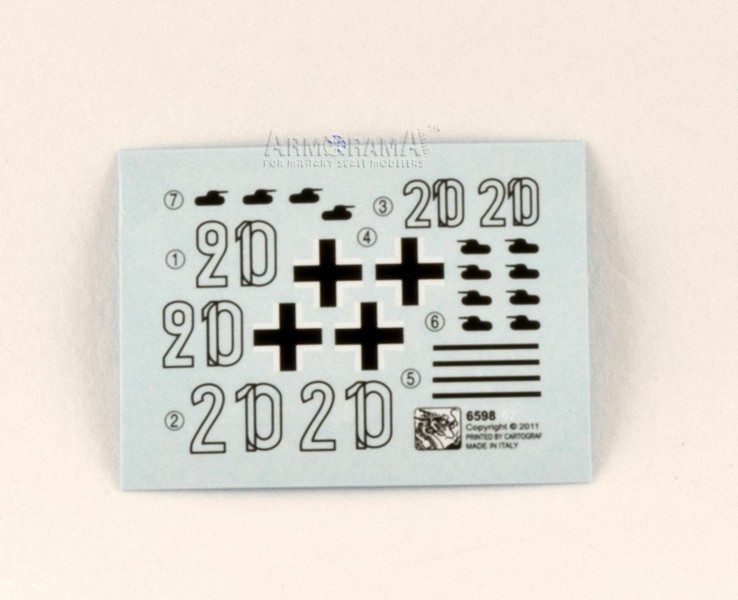
The decal sheet from Cartograf is of an excellent quality and includes accurate markings for 2 variants.
First vehicle belongs to StuG. Abt. 1, Kharkov 1943 in whitewash on top of dark yellow and the other one is the swamp-survivor from the unidentified unit. The latter can be painted as per instructions in either khaki green camouflage on top of dark yellow or with extra whitewash on top. Having said that much about the history of the survival vehicle one should not limit the paint options to the suggested variants feel free to make it rusted or just taken out from the swamp!
Conclusion
Cyberhobby brings us a great kit with a very interesting story behind. The model looks great if build out-of-the box and gives a modeller a lot of painting opportunities.
References
Sturmgeschuetz; Panzer Tracts 8
Panzer III & Its Variants; Walter Spielberger.
Walkarounds as per text


Comments