Introduction
Great Wall Hobby, a subdivision of Lion Roar, continues to strengthen their position on the market with one more variant of sWS (heavy army carrier) with Flak 43, this time based on general cargo vehicle. This particular version seems to be a field conversion and the only photographed half-track can be seen on 3 pictures in Panzesrwrecks 6 and I am even not sure if there were more vehicles converted.
Box contents
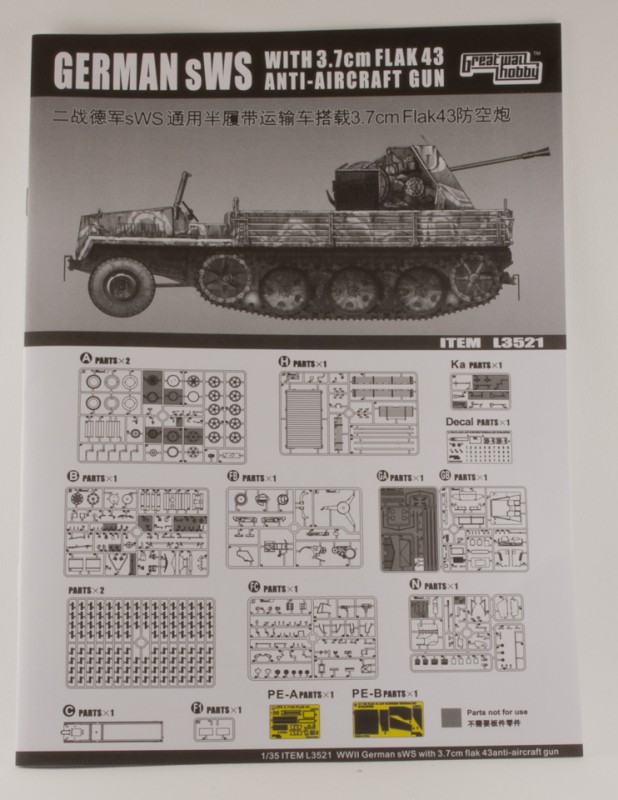
The kit comes in a big colorful cardboard box with nice artwork with a good reference image in the background. Inside you will find:
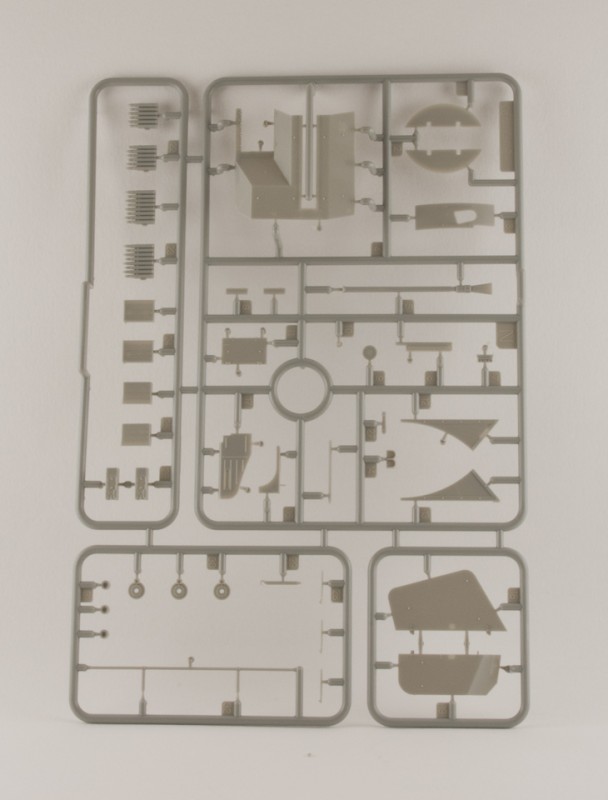
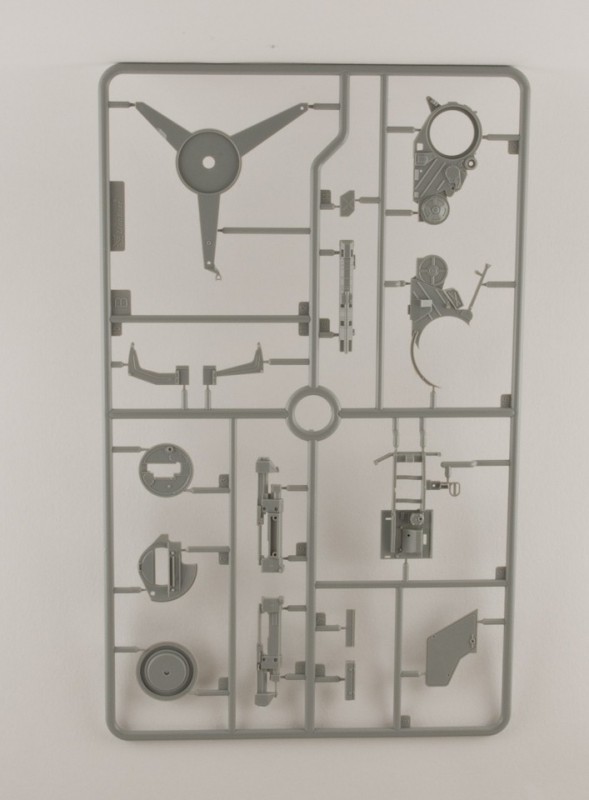
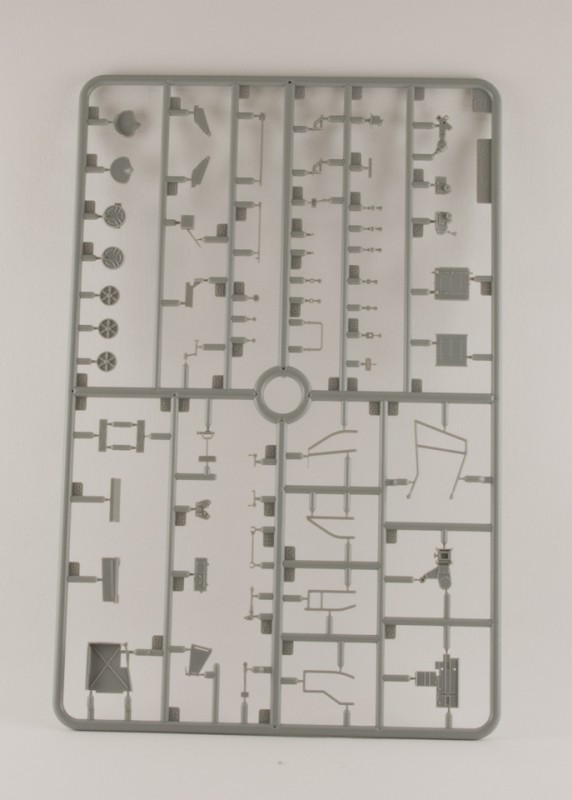
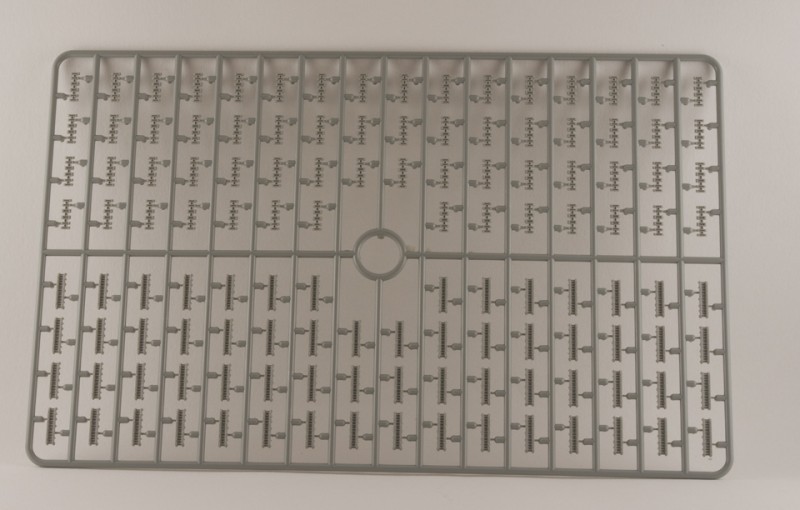
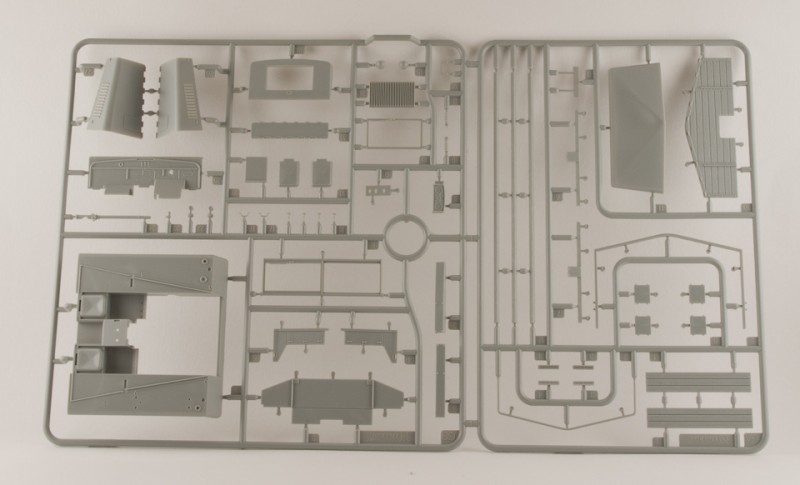
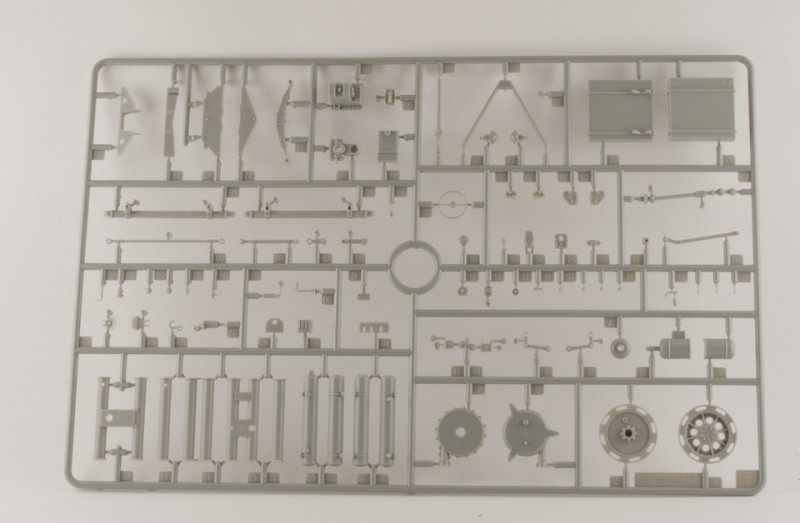
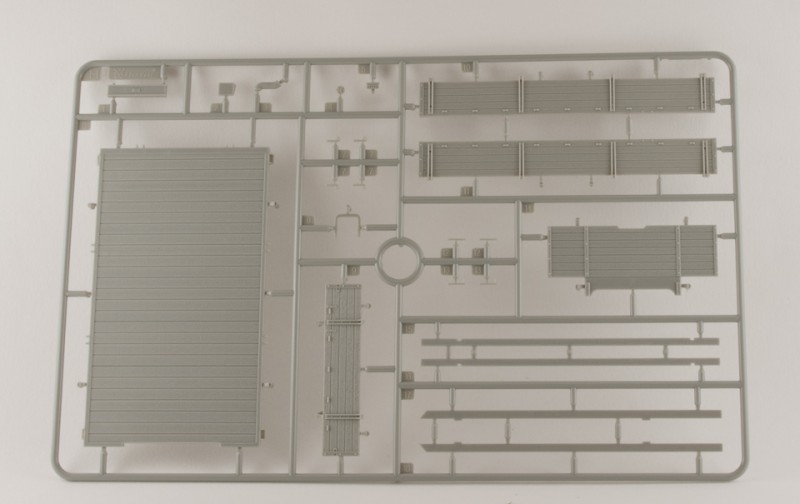
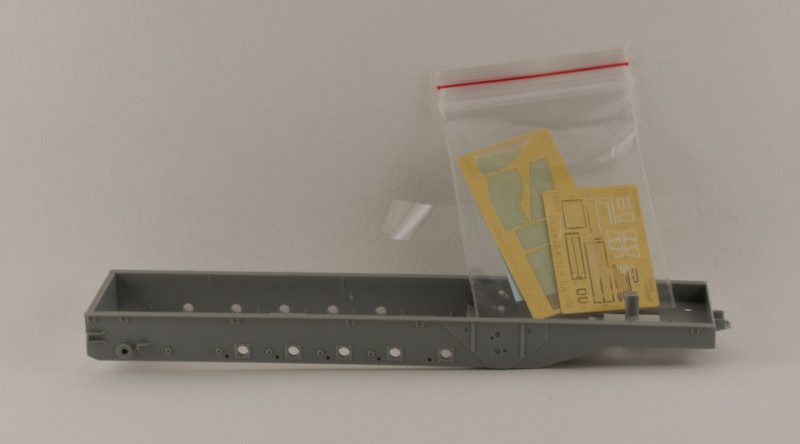
12 plastic sprues
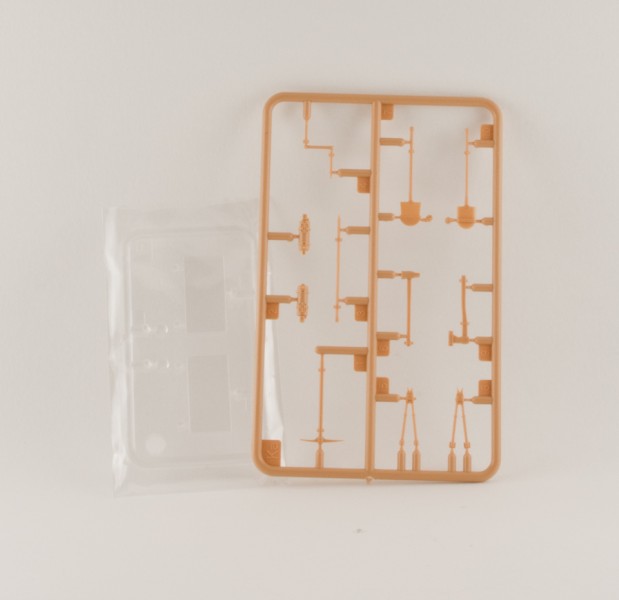
2 small PE frets
1-piece chassis
decal sheet
10-page instruction and a colorful painting guide
the review
Since GWH previously released both a general cargo version of sWS (kit #L3512, reviewed
here), and an armored cab sWS with Flak43 (#L3516, reviewed
here), this new kit is actually a mix of those two existing ones. Most of the parts will be used in the build, and the only leftovers are some track links, alternative idler and sprocket wheels, and parts of the wooden cab. The last could be used as a source of wood for your other builds, since the texture is really good.
Step-by-step build
The instructions are very clear, so you dont have to guess how a part is supposed to be placed. Surprisingly there are no wrong part numbers, either! You can easily compare the detail level and sharpness of the pieces with recent Dragon kits in molding quality, and the fit is excellent. Pin marks are rare, and the model overall requires only a little clean up.
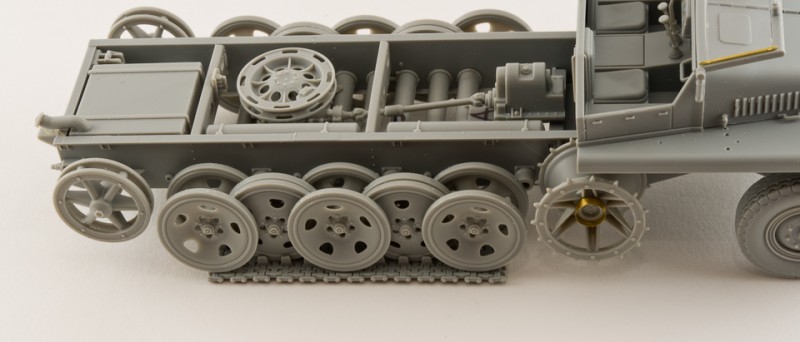
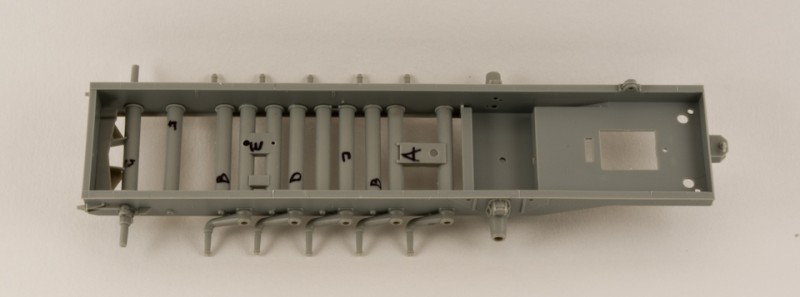
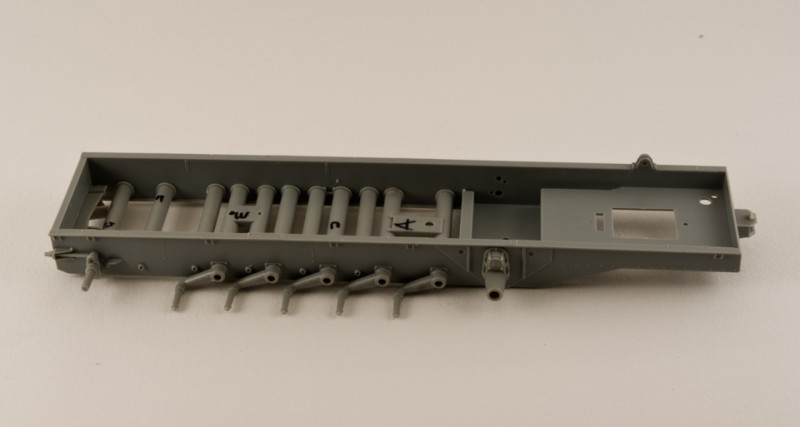
Steps 1-7: chassis and suspension
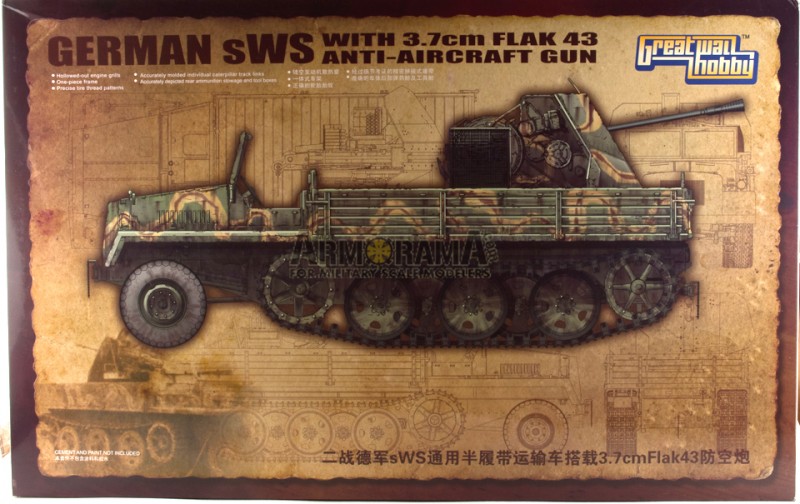
Construction begins with the torsion bar covers, and care should be taken to glue their lower parts in the correct orientation, since they have location marks for the chassis. It is advisable to write sub-assembly letters on them or risk getting lost gluing them into the one-piece chassis. Next come the road wheel axles which have different orientations on left and right side (sWS had some really interesting technical solutions). The idler axles with idler adjustment mechanism have some great detailing, too.
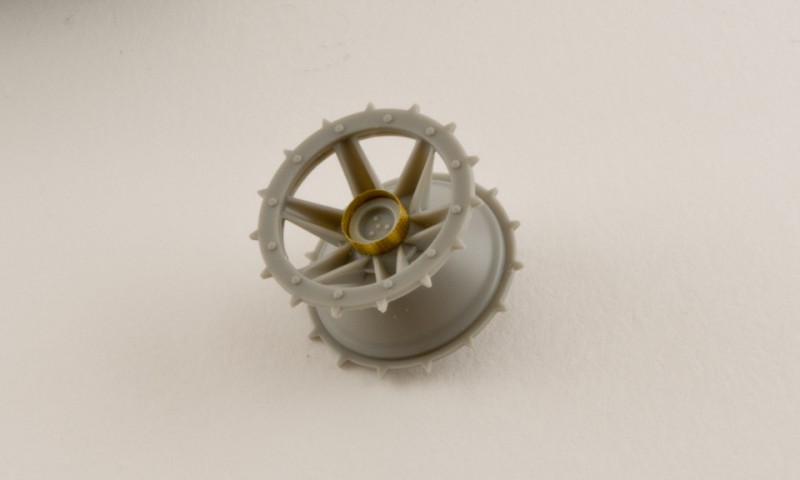
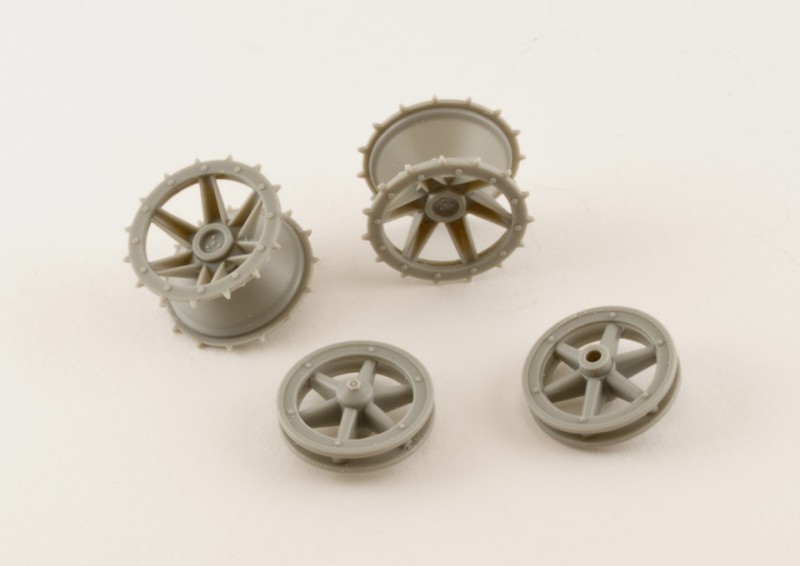
Step 3 deals with the front axle, and here extra care should be taken to make the wheels steerable. Ive read that some modelers experience problems with the alignment of the front axle if they dont build this assembly directly on the chassis. But in my experience it worked fine as per the instructions. Sprocket parts alignment can be tricky both between the teeth on the inner and outer part, as well as the bolts on parts A22 and A21. The etched ring bent well without annealing I used a rolling set from the Small Workshop.
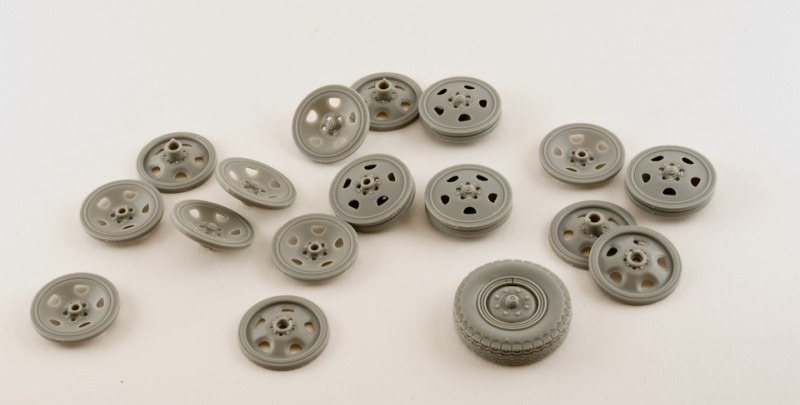
The front tires are made up from 6 parts, and are the best Ive seen in plastic so far. What I would advise here is to glue the outer parts of the tires (A1-A3) first, then clamp them and put aside while they dry. Do the same with inner parts (A4-A6). While those are drying, continue with the assembly of the central hubs. After that, insert the central hub into the outer part (A1-A3), glue and wait until it dries completely. Only after that, attach the previously-assembled inner part (A4-A6), clamp intensively and glue. Otherwise the tires can split, or so Ive heard.
In step 5 when the front axle is glued to the chassis, assembly of the steering linkages takes places. I dont understand how they are supposed to move if you do everything as per the instructions; they will simply fall apart when moved. I just glued them.
The road wheels assembly is pretty straightforward, and I glued them to the axles for easy track assembly (leave the idlers and sprockets unglued and you will be able to paint the tracks separately).
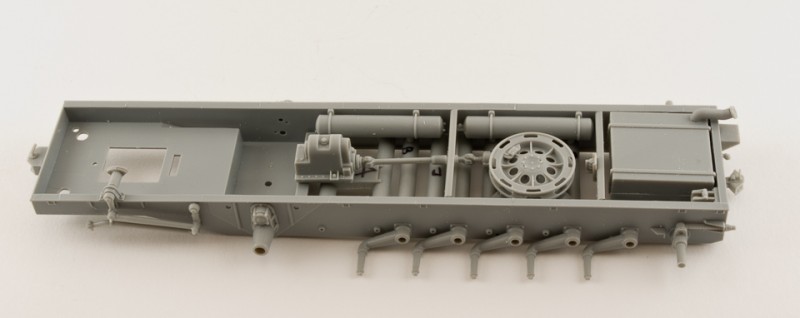
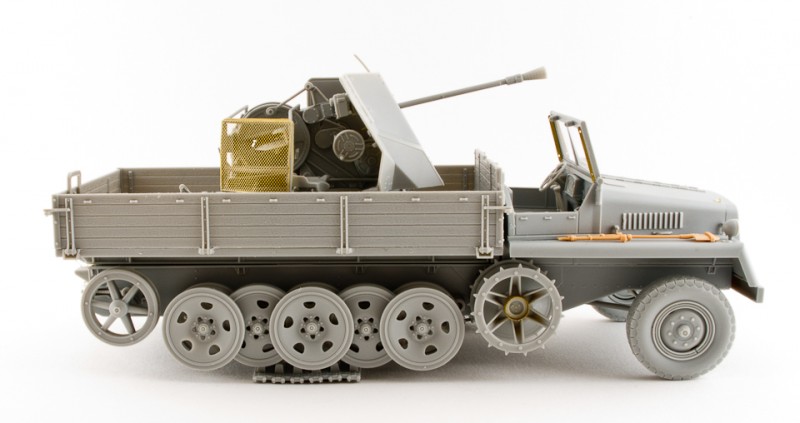
Next comes the towing pintle that has a correct shape; the winch with its motor, the cable drum and a roller but no cable; the fuel tank with a PE chain on the lid, and the 2 compressed air tanks.
Overall I havent experienced any problems during those steps and the only obstacle is the complicated front tire assembly that requires patience.
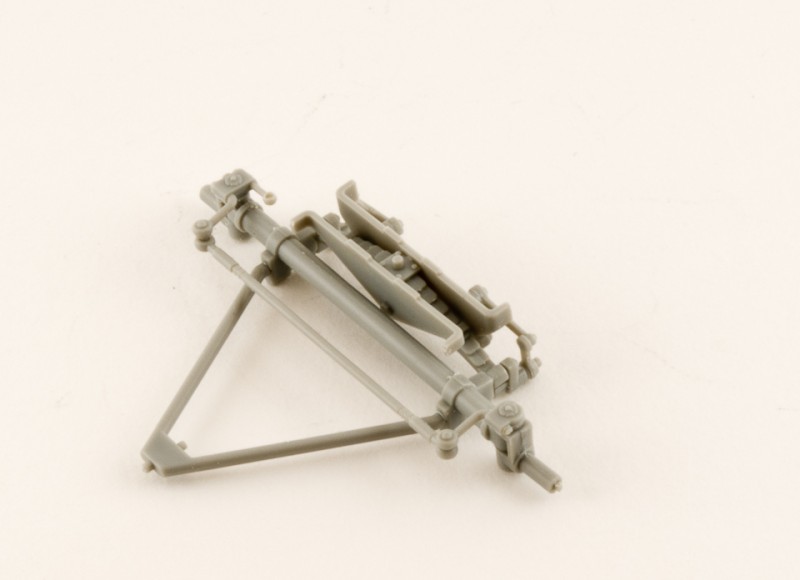
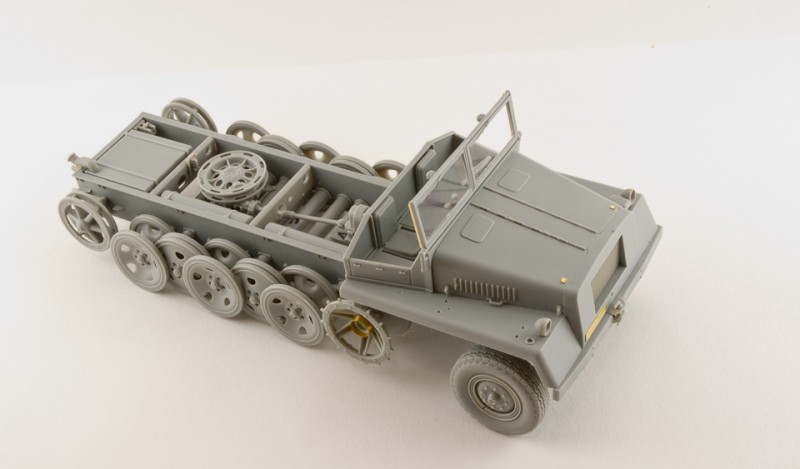
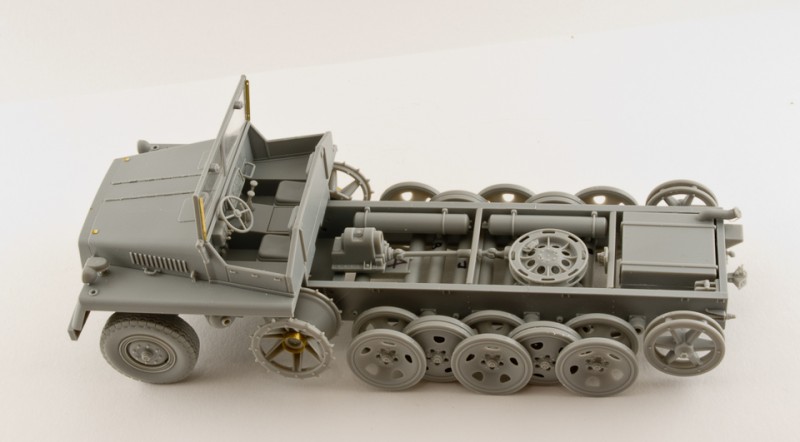
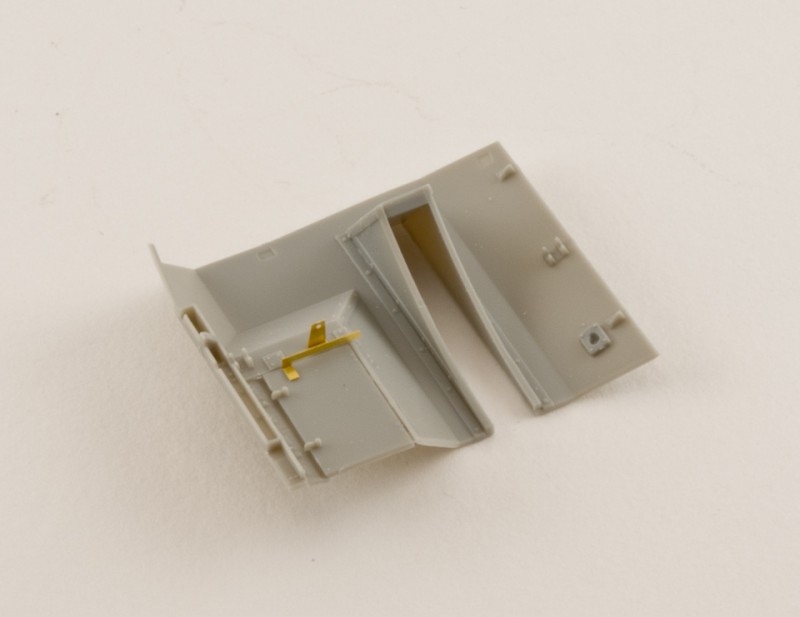
Steps 8-10: the cab and the rear cargo bed
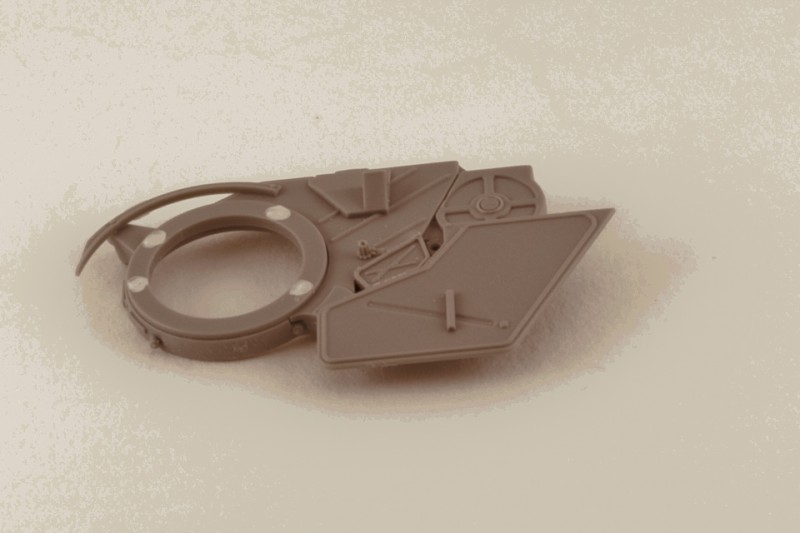
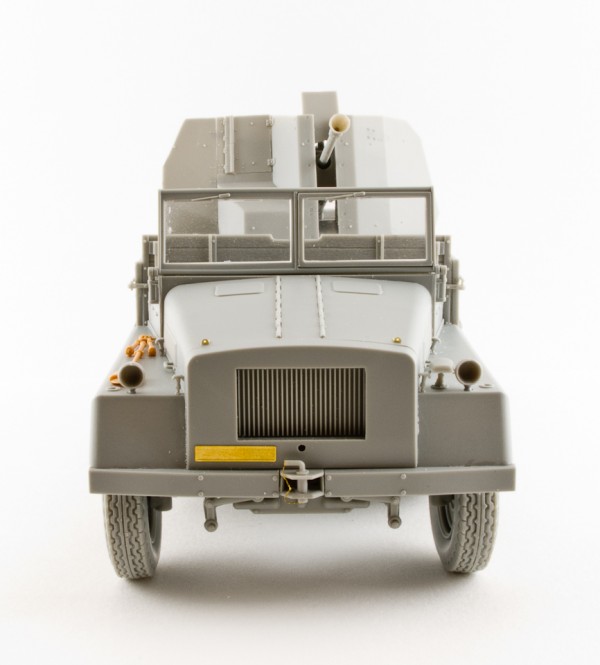
The fenders come together with the cab floor, and this part has some pin marks on the inner side of the fenders which must be filled with putty and sanded, or just left untreated if you plan heavy weathering. The firewall has excellent detail on both sides, but unfortunately, there is no engine and radiator included (those are available separately from GWH). Three pedals, 2 gear levers, a handbrake, crew seats and an instrument panel with decals are provided. The locating ridges for the radio on the right-hand side of the firewall should be removed. Engine compartment doors have nice open louvers that add detail to the model, and the windscreen is movable.
Unfortunately the OVM tools come with molded clamps. I would substitute those for PE, as well as the width indicator poles.
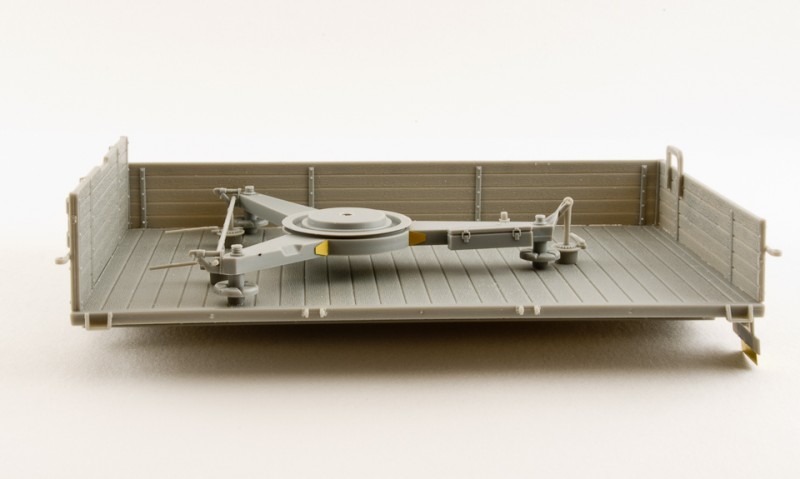
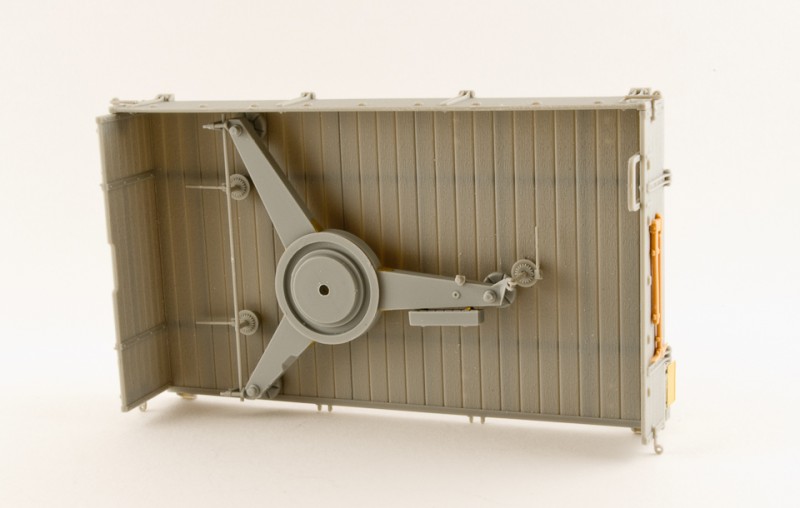
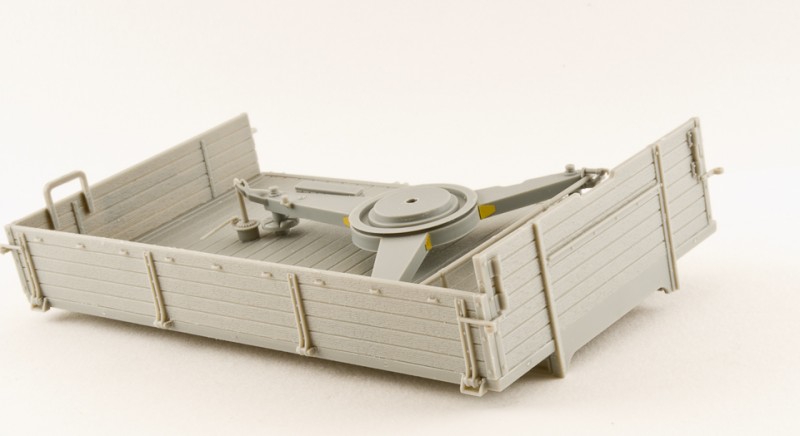
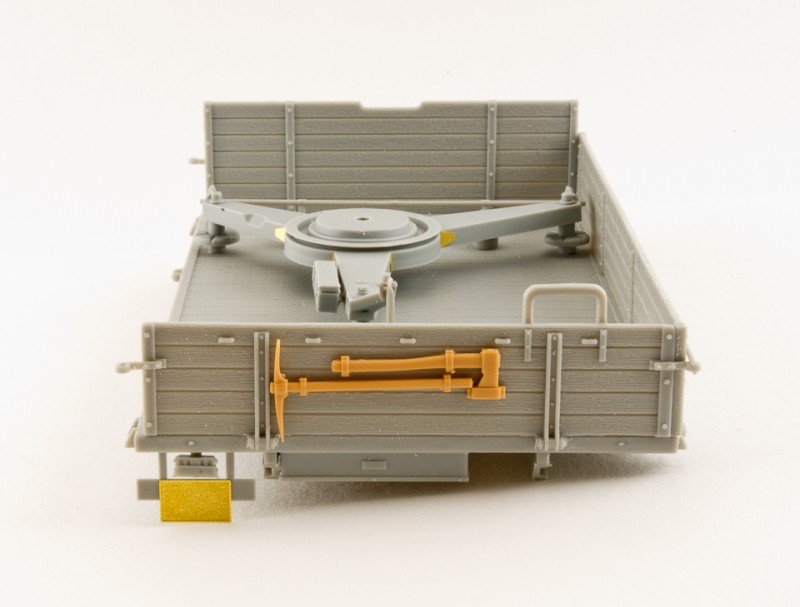
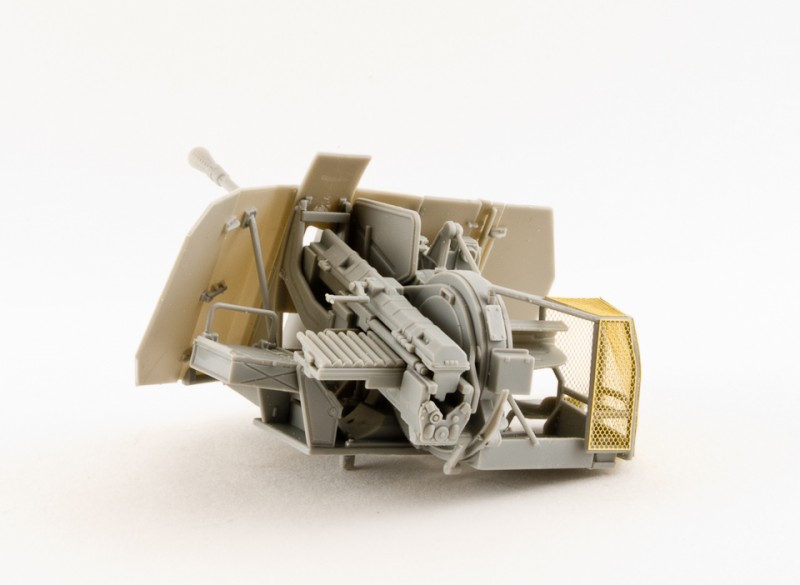
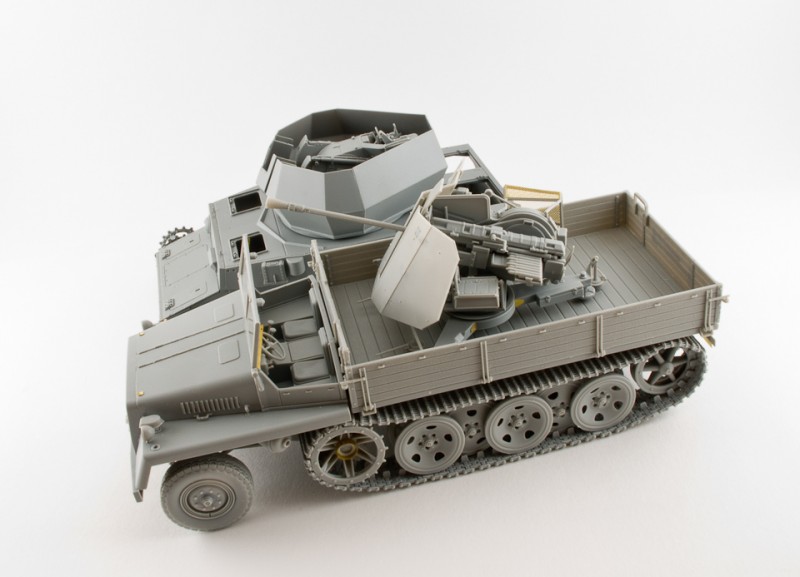
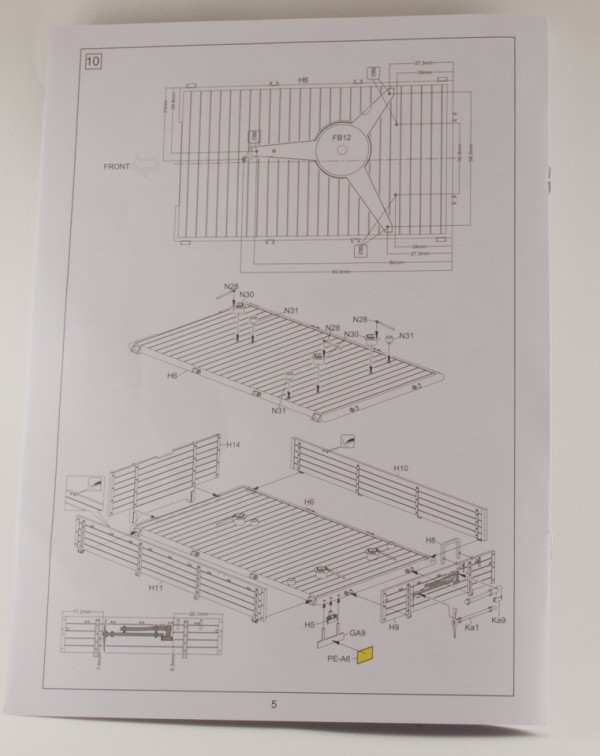
Extra care should be taken when building the rear cargo area. As can be clearly seen on images in sources like
Panzerwrecks 6, the gun should be positioned towards the front of the vehicle and not reversed. Interestingly the prototype also has no basket attached to the gun, and it is not possible to turn the gun towards the rear of the vehicle with the basket.
In researching the vehicle, I have found an error in the instructions: If you want to do the model according to references, turn the scheme the other way around and mark the location of the holes to be drilled. I took first a 0.4mm drill bit, tested that the gun base can be easily aligned, and then enlarged those holes with a 1mm drill. Check everything twice and attach the gun mountings. I think it is great that those holes are not pre-marked on the floor because if they would have been there the modeller would have to fill them in and then drill the correct ones.
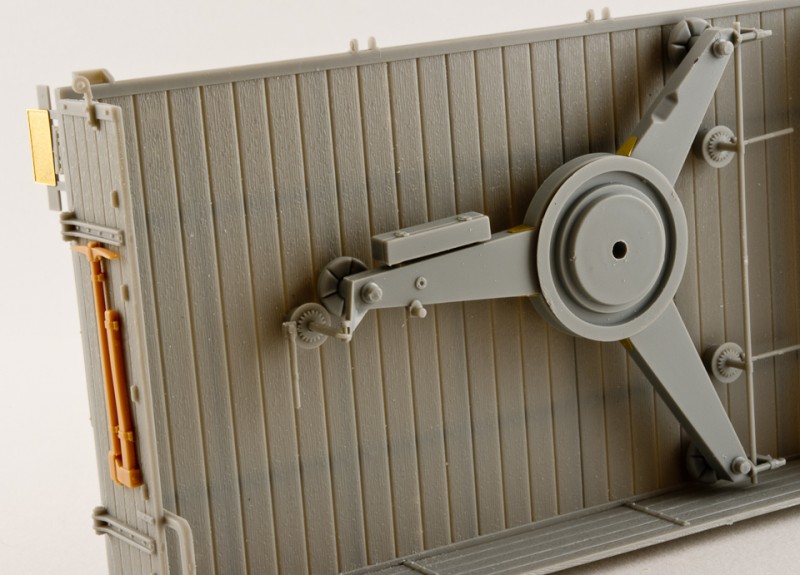
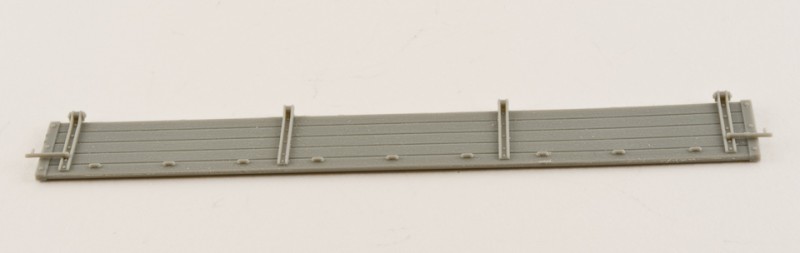
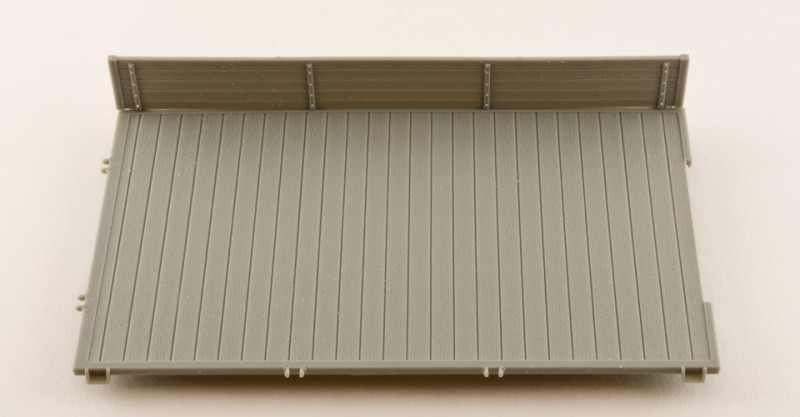
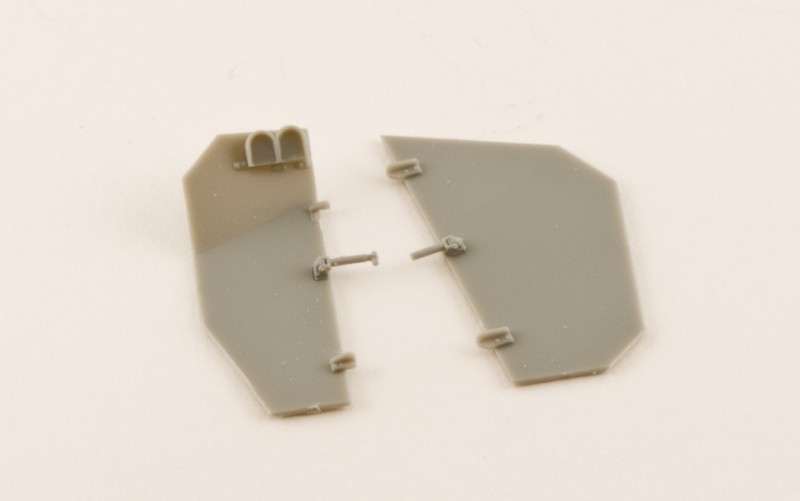
Otherwise the floor and side panels have excellent wood texture, and the side panels can be assembled opened or closed.
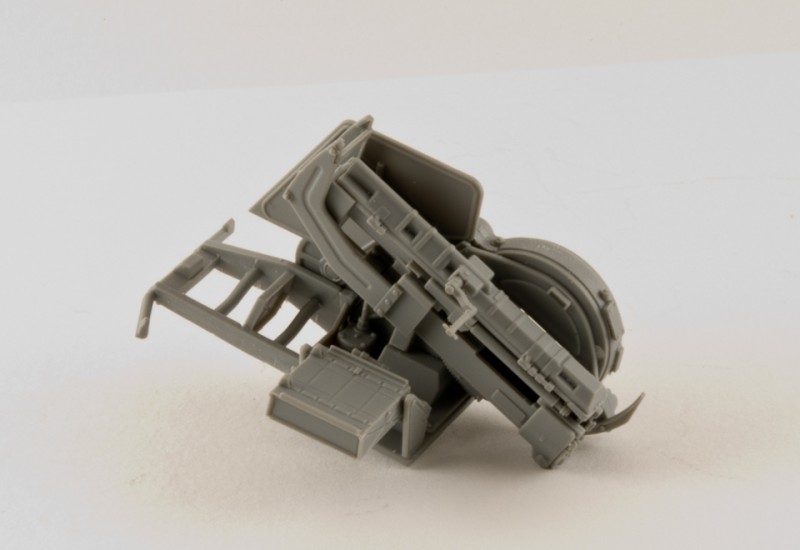
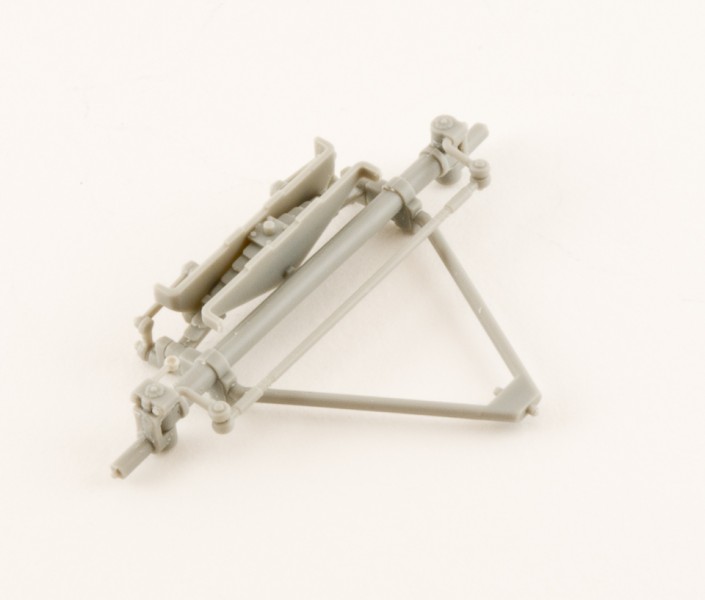
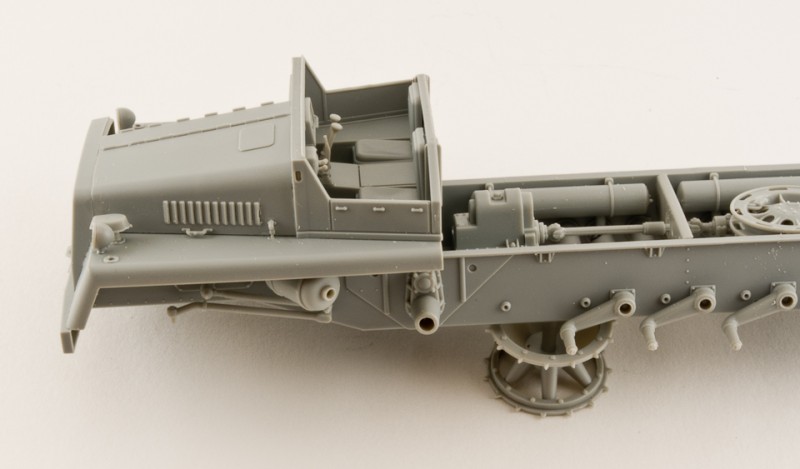
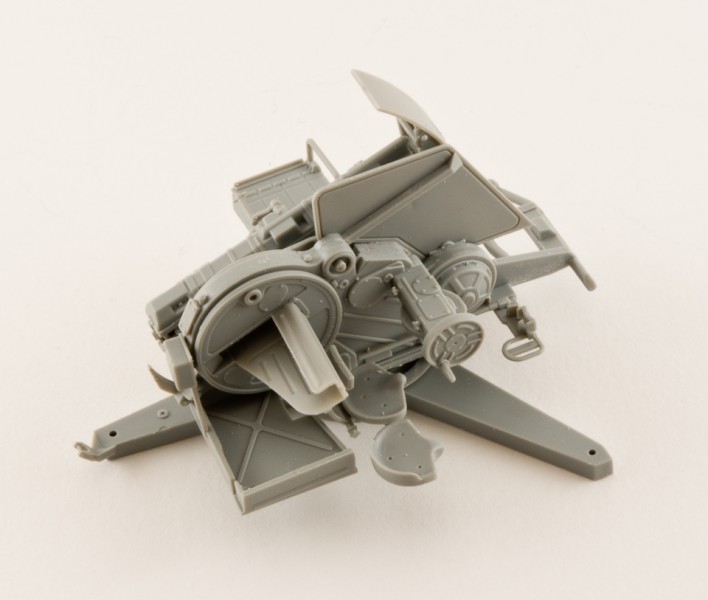
Steps 11-17: FlaK 43 and completion of the model
The gun itself has very nice, sharp detail and features many parts. The barrel is made in plastic and many will likely replace it with a metal one. In any case, the holes in the flash suppressor can be drilled out.
Be sure that you place part FC20 in place and glue it only to the gun sight parts. The gun mounting (FB16) has some pin marks that must be filled and sanded. I trimmed part FB9 a bit before inserting it into the three-leg platform. This improves ease of rotation; since it still folds tightly, I havent glued it to part N9 until after painting.
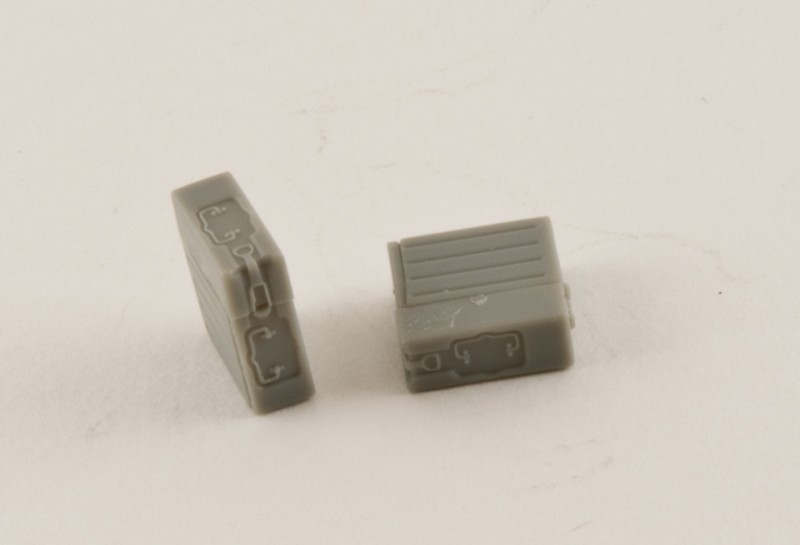
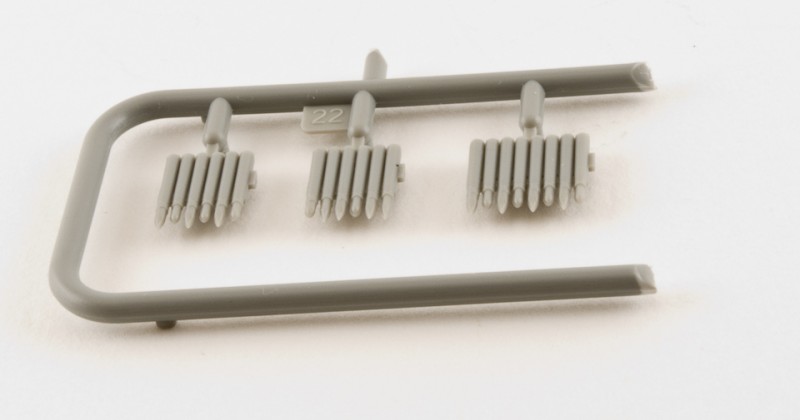
There are 2 ammo boxes and some ammo included in the kit. What I dont understand is why there is a mix of ammo in one clip and why the 6-round clips are included, too those were used on the Flak36/37?
The gun shield has a realistic thickness, and the side shield sections can be glued opened or closed. Note that the shield corners must be cut a bit according to the instructions. The shell collector basket can be demanding for some modelers, but I managed to glue it with CA gel-type glue (I like the Panduro Hobby, UK brand), again without annealing.
The tracks come as individual plastic links with great detail but must be removed from sprues. There are 2 parts with and without the guide horns, The latter have a raised pin mark that must be removed. Otherwise they are like magic tracksalign them on the table and glue in sections: under the road wheels, around the drive sprocket and idler, and finally the upper section. One sprue has enough track links for 1 side.
After you are done with the tracks, you can paint the different sections (chassis, cab, cargo, tracks and the gun) separately.
Painting and markings
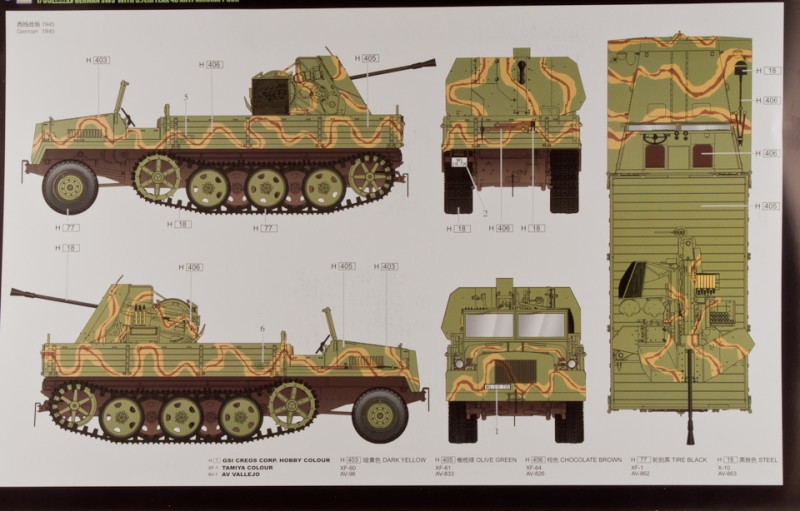
The decal sheet includes instrument panel dials, front and rear number plates with custom numbers, and vehicle load information. The painting guide is based on reference images, and features overall olive green with dark yellow and chocolate brown camouflage on top. The paint chart includes Vallejo, Tamiya and GSI creos brands.
Conclusion
I think Great Wall Hobby did a Great kit! Apart from the wrong position of the FlaK 43 and incorrect ammo, I cant find any flaws. The model looks attractive and huge (comparable to the size of a Tiger tank!), and I definitely recommend it to any modeller interested in WWII half-tracks.
If you would like to add some detail, the upgrades available include the engine (from Great Wall Hobby), a turned metal barrel and PE gun shields. Alliance Model Works, Griffon Model and others have FlaK 43 ammo and ammo racks.
References:
Panzer Tracks, Vol. 22-3 by Jentz & Doyle
Piet Van Hees website about the sWS


Comments