When the Germans developed a replacement for the 8-wheel GS series of armoured cars that had evolved to include artillery support and anti-tank vehicles they decided to start with a common chassis purpose-designed to adapt to all these different roles. The resultant 234 ARK vehicle eventually came in four models - 234/1 was a basic open-turreted reconnaissance car with 2cm Flak38, 234/2 was a closed-turret combat hitter with the 5cm L60 tank gun from the later Panzer III, 234/3 was infantry support with the short-barrelled 7.5cm gun in an open-topped hull, and the 234/4 an up-gunned open-top tank killer with the 7.5cm Pak40. Other models were planned but not built.
A long time ago Italeri turned out a series of kits covering all four of the 234 variants that are occasionally re-popped. They feature two common series sprues for the hull and suspension, and a variant-specific sprue for the turret and/or weapon. Since then, Dragon came on the scene and offered modern kits of them with exceptional detailing that puts the older Italeri kits in the shade. However, the Italeri kits are still widely available and can be found comparatively cheap, so this review aims to show what to expect if you choose to build that stash-queen rather than look for the better DML version.
Review
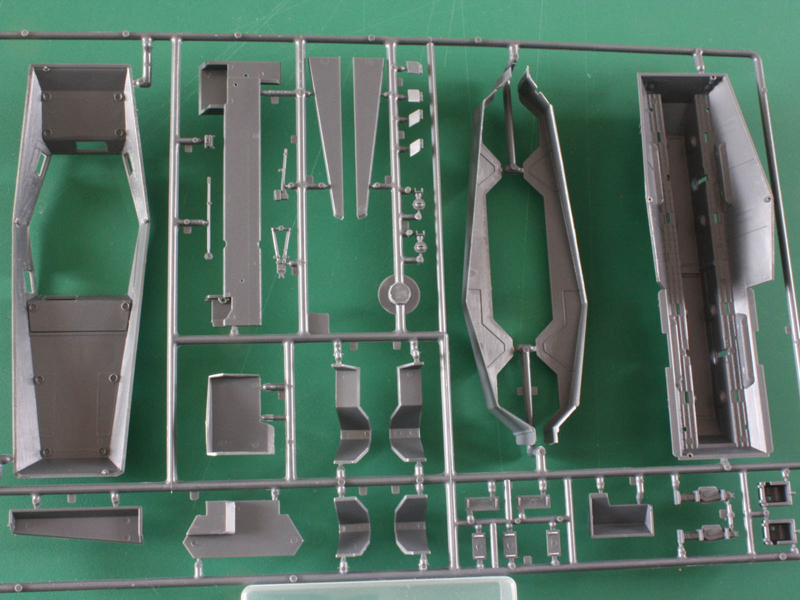
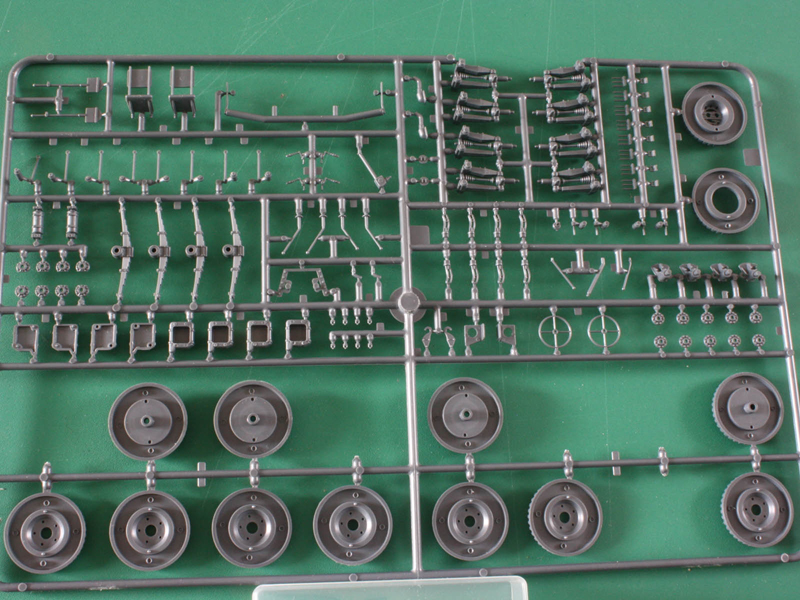
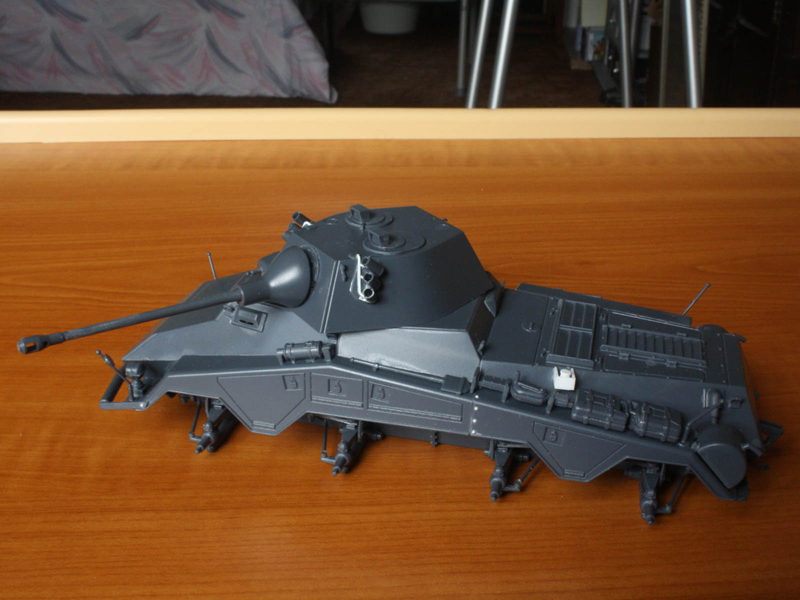
The 234/2 Puma kit contains three large sprues with 205 parts in grey plastic, as well as a decal sheet and instructions. Parts are well moulded in a hard-ish plastic typical of Italeri, although some of the detail is a tad soft compared to todays standards. There are a few sink holes (on the visors, jacks, and suspension arms) but little flash given the age of the tooling. Ejector pin marks are present but generally not a problem.
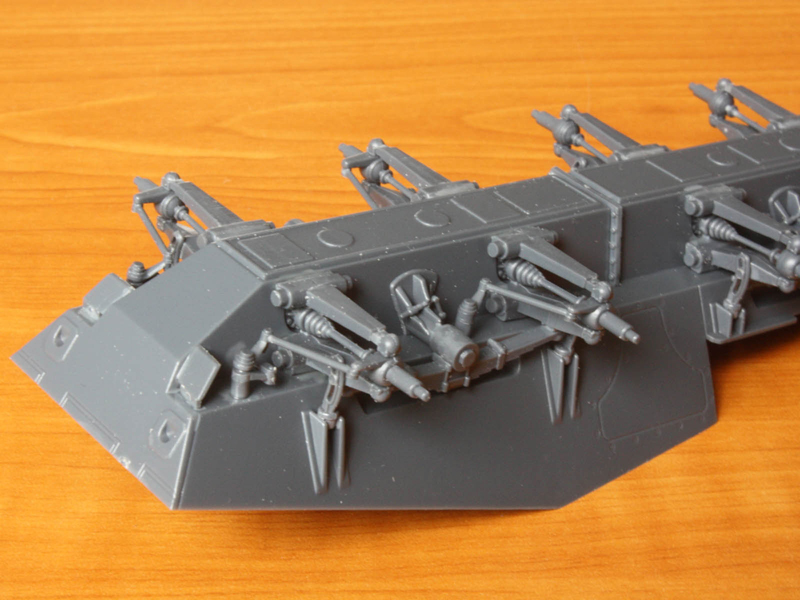
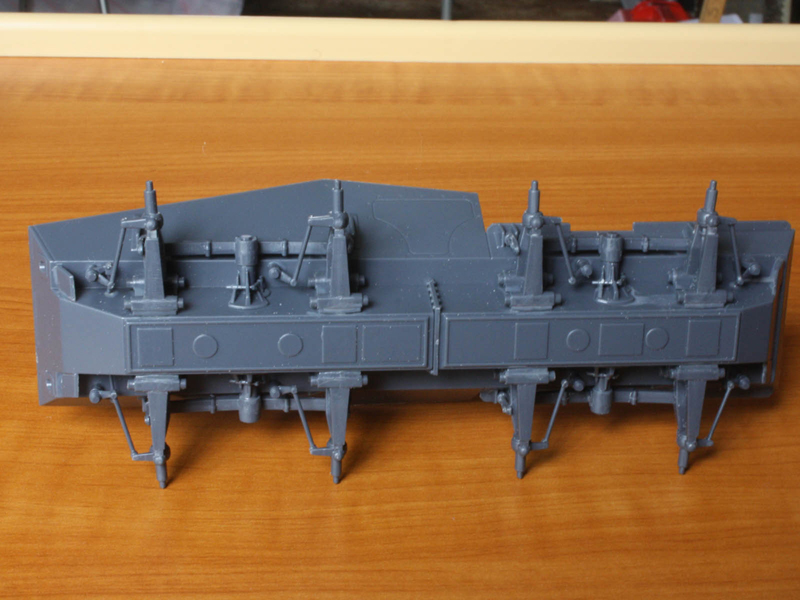
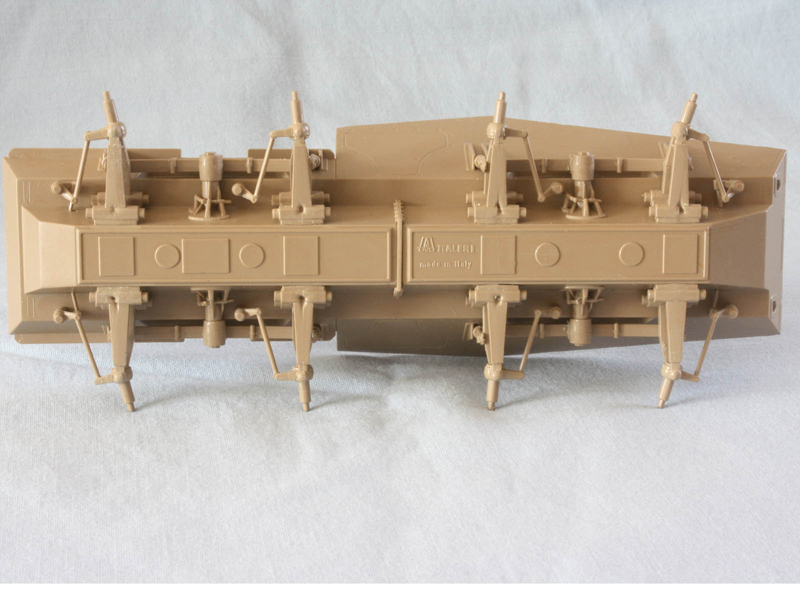
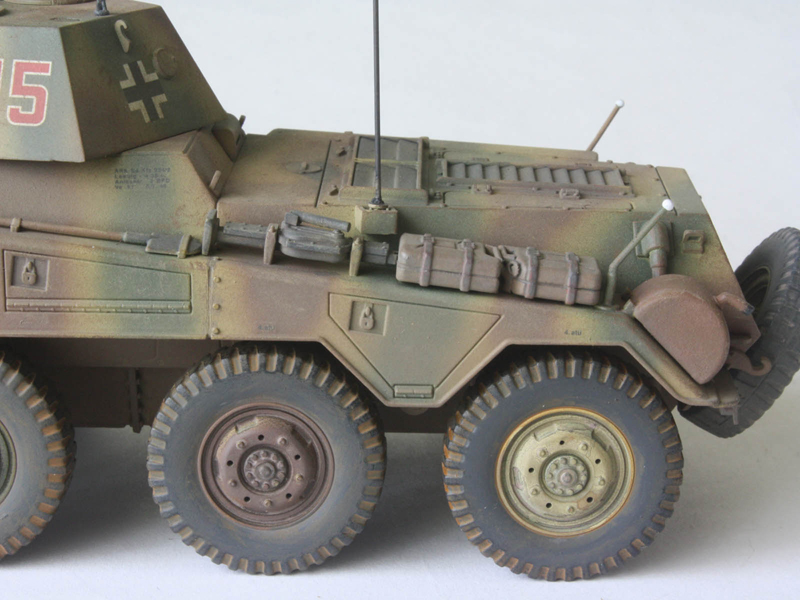
From the bottom up, the suspension is fairly complete except for brake lines. Each wheel station is made up of a one-piece casting that incorporates upper and lower suspension arms as well as drive shaft and hub. The leaf springs are single parts incorporating the central pivot. And the highly-visible steering arms are all supplied. Typical of wheeled vehicles the steering is fixed in the straight ahead position. However, this looks easy to alter. As an 8-wheeler, great care will be needed to ensure all wheels touch the ground the suspension arms are single pieces that cannot easily be adjusted for height once the glue sets. The parts are also a bit simplified in their details (especially lacking lots of fine bolts and bracket details around the various parts) although the main components are all present in some form. The wheel rims have five crescent-shaped vent holes around the edges, but some wartime photos show a two-vent type that is not included. The tyres are of a variety sometimes seen in wartime photos but more common on preserved vehicles. There is a more common tread type in the action shots, which might be available from the AM crowd.
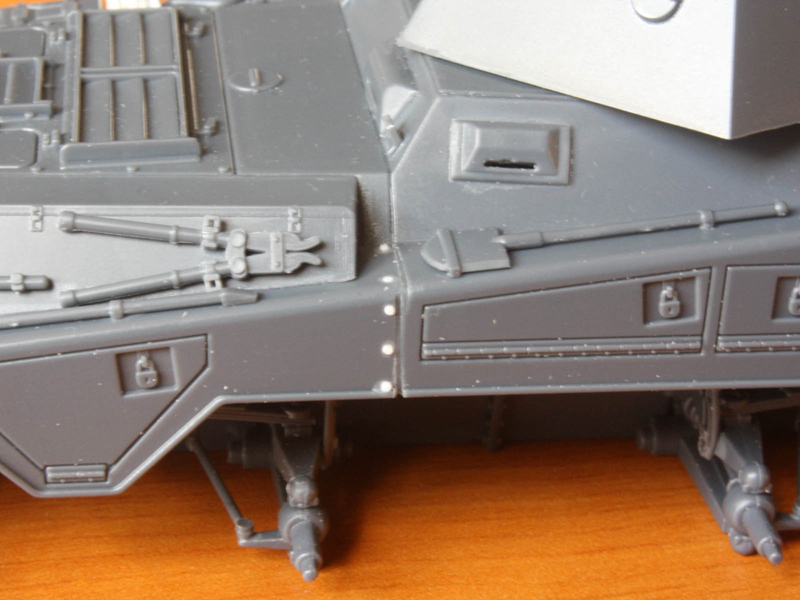
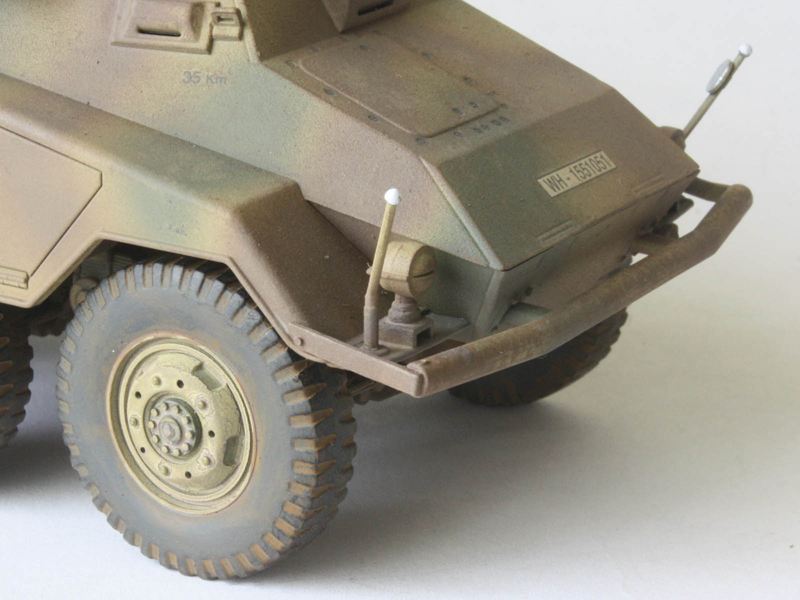
Moving up to the fenders, these are of the four-compartment variety, although the ARK series also used versions with only two stowage compartments. These come with all the tool boxes moulded shut. Detail is good (including padlocks!) but diorama possibilities are limited. The real fenders came as two parts (front and rear halves) that were bolted together around the point where the crew and engine compartments meet, so the kit parts should have a seam and bolt heads that line up with the back of the superstructure. Sadly these would need to be added, as they arent included. Other folks have pointed out that the fenders are too narrow, but I cannot confirm it. On top of them the external stowage is a problem. The fuel cans are terrible, lacking the central groove typical of jerry cans, and they should be mounted on a metal crib. Replacing the cans and adding the cribs from strip stock will vastly improve the model. The jack is typical of Italeri, crude with poor details. It can be improved with effort, or replaced. And the tool clamps are at best lumpy and inadequate. The Puma supposedly had a set of gun cleaning rods mounted on the left-hand fender which Italeri missed (these are easily scratched from plastic rod) but the few available photos Ive seen of Pumas from the correct angle show no such rods or racks.
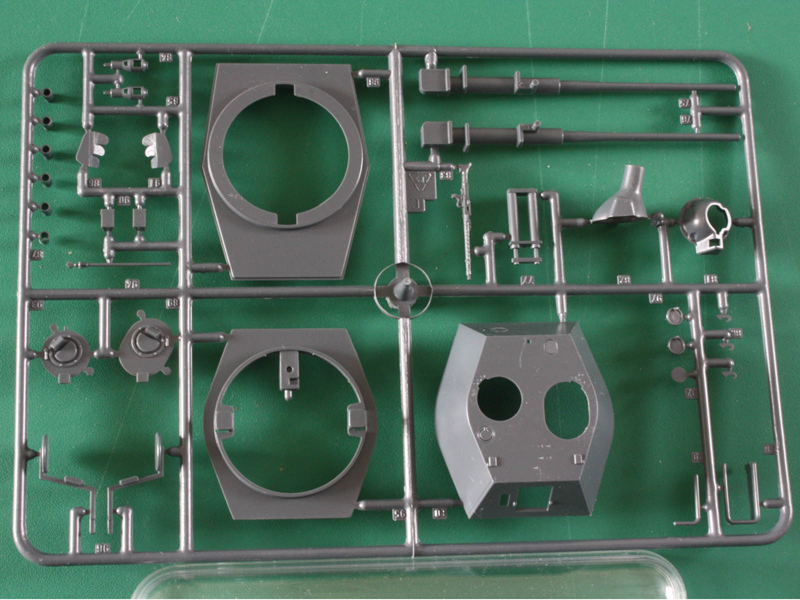
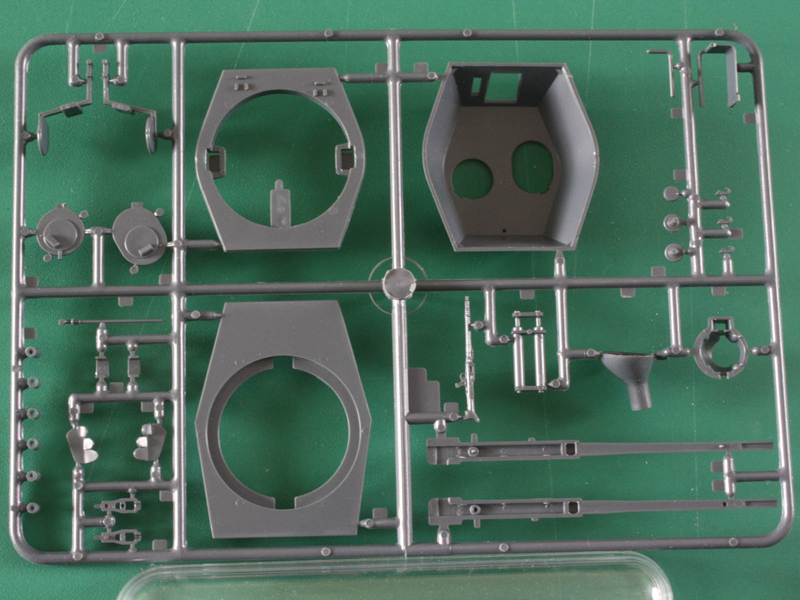
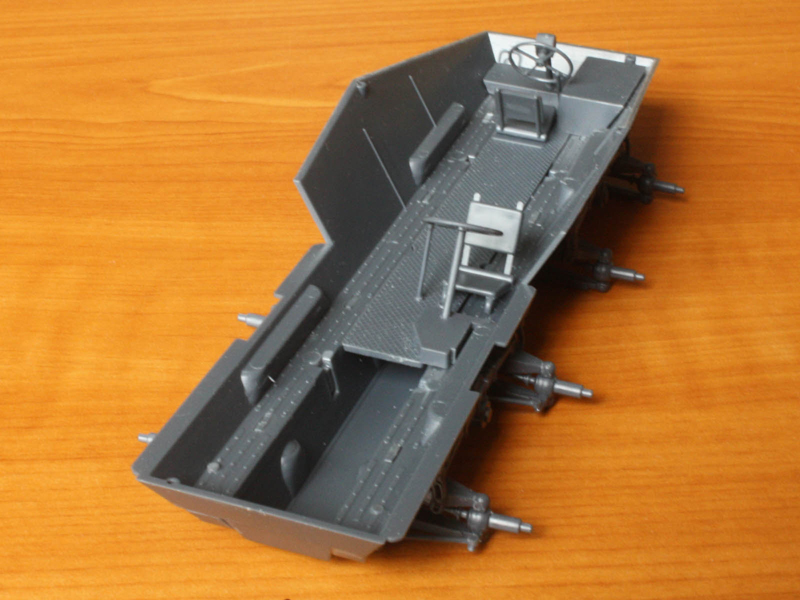
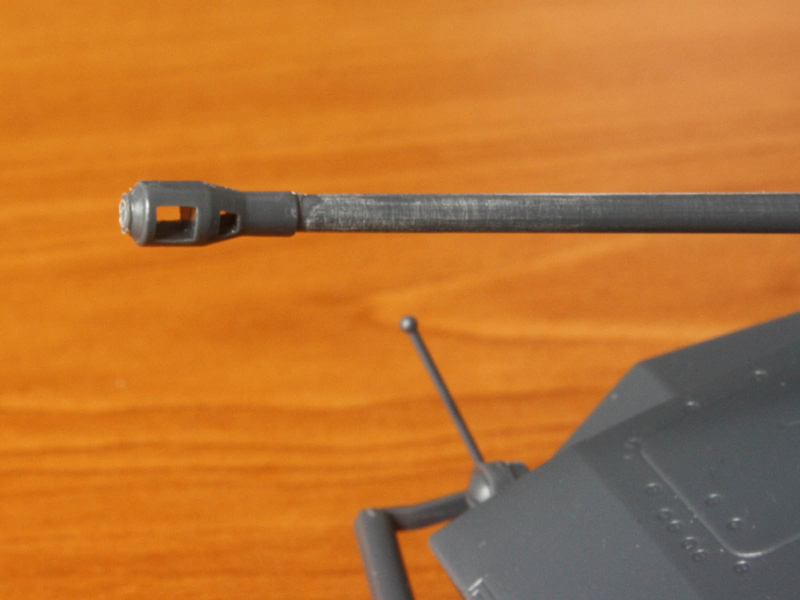
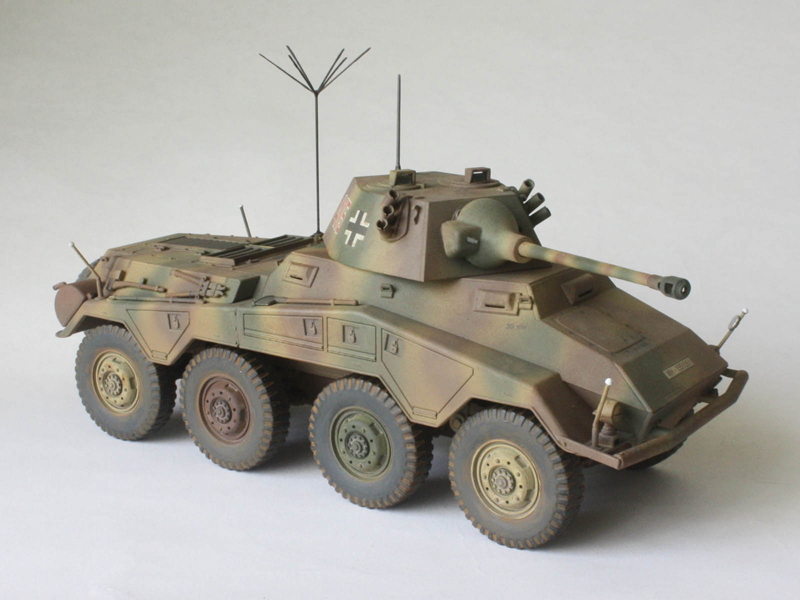
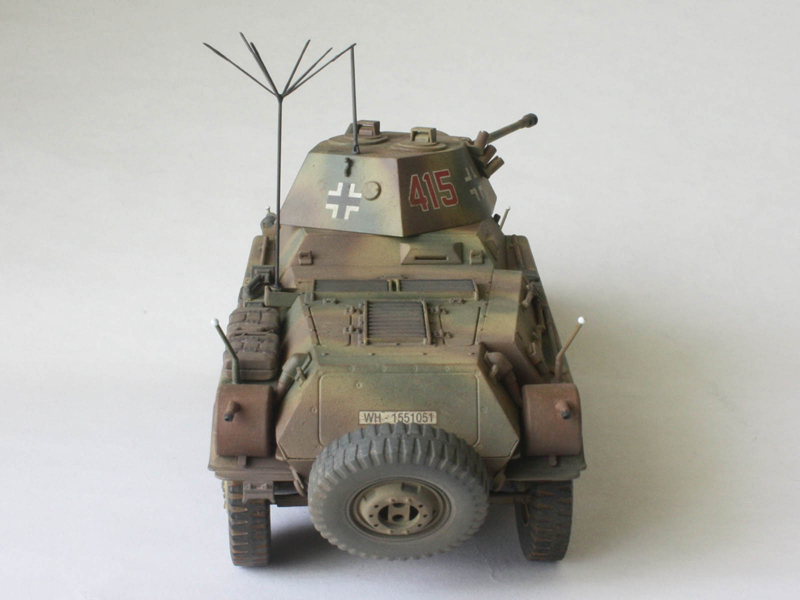
Up on deck the detail is good, but the hatches and vents are moulded on. The visors, which are separate, lack the interior details that would be visible if positioned open so might as well have been moulded in place. The top of the hull is a separate plate on the turret sprue so the /1 and /2 variants can use the same hull. The one big omission is a star antenna for command units such as seen in both decal options.
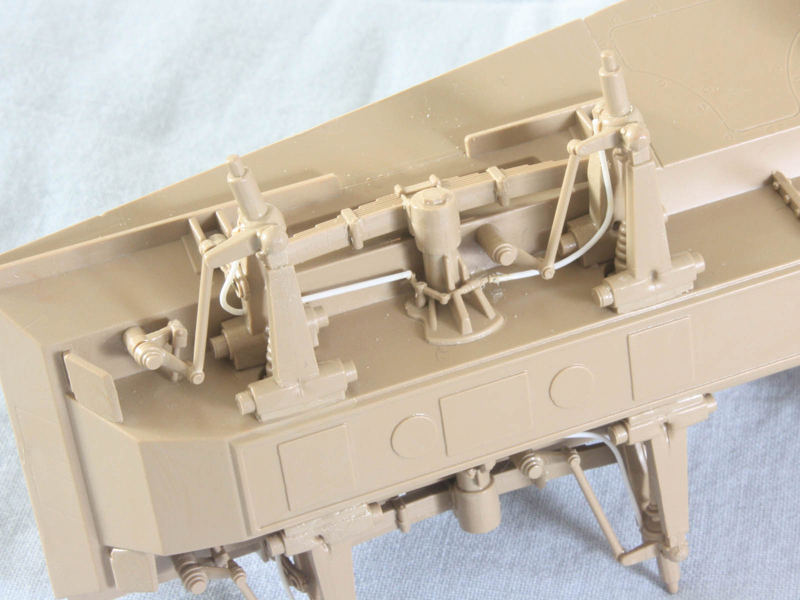
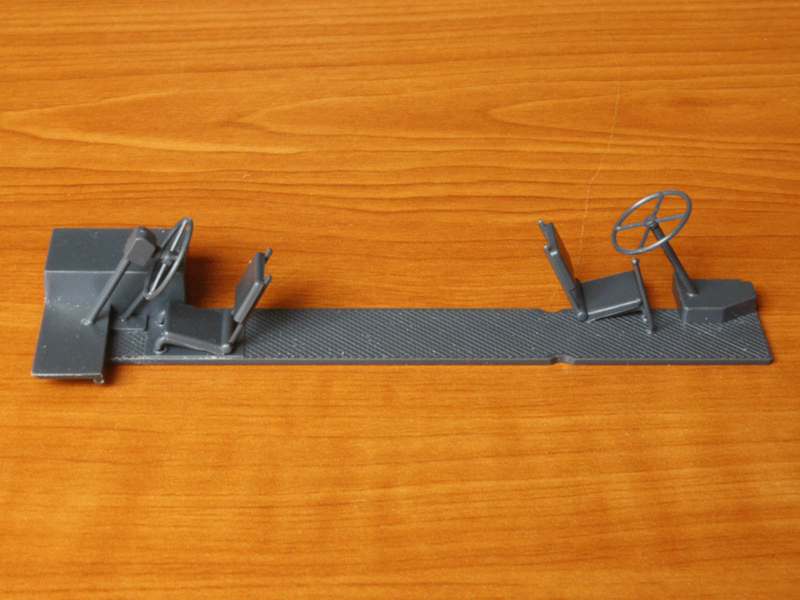
Dropping inside, there is a tread-plate floor and a seat, steering wheel, and gear lever at either end of the main compartment. Note that there are no pedals or instrument panels. The seat details are not terribly accurate, and there is no interior stowage such as ammo racks etc. And the boxed-in covers for the complex steering gear that should run down each side are conspicuous by their absence. This is acceptable on the relatively closed 234/2, but makes the open-topped /3 and /4 variants a problem.
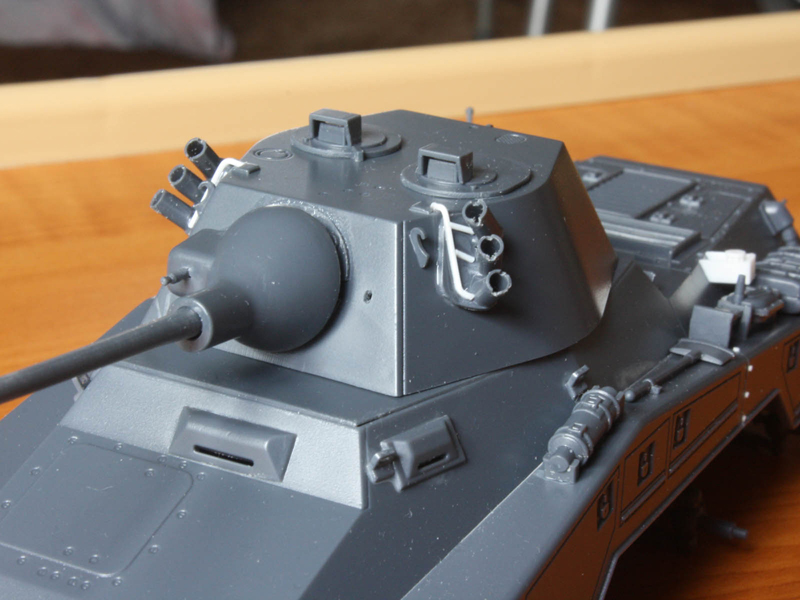
The Puma turret is pretty good in shape. It lacks a gun sight on the front plate (marked by a small hole next to the mantlet on the left side in photos) and horizontal casting scars on the mantlet sides, but is otherwise complete. Note however that the only photos I could find that clearly show these casting scars are of a captured and abused Puma with turret number 1111, and that one shows other evidence of horizontal scraping damage along the gun and turret side so I am not entirely convinced the scar wasnt just part of the same damage event. Others have pointed out that the barrel is undersized, but without a real one to measure I can live with it. Besides, adding a replacement eats away at the financial advantage over the DML kit. Inside, there is a gun breech with shield, and two crew seats. The smoke dischargers need to have notches cut in the top, and wiring added. The roof vent is moulded as an oval grilled depression, but the only overhead shot I can find shows it as circular. The hatches have lumpen periscopes moulded in, but the undersides seem a bit short so leaving hatches open will require work. There should also be a cylindrical periscope in front of the commanders hatch that retracted into the turret Italeri added engraved detail to show it retracted but DML offer a raised option in their kit. Finally the hatch hinges are oddly done, but look ok when installed.
Decals:
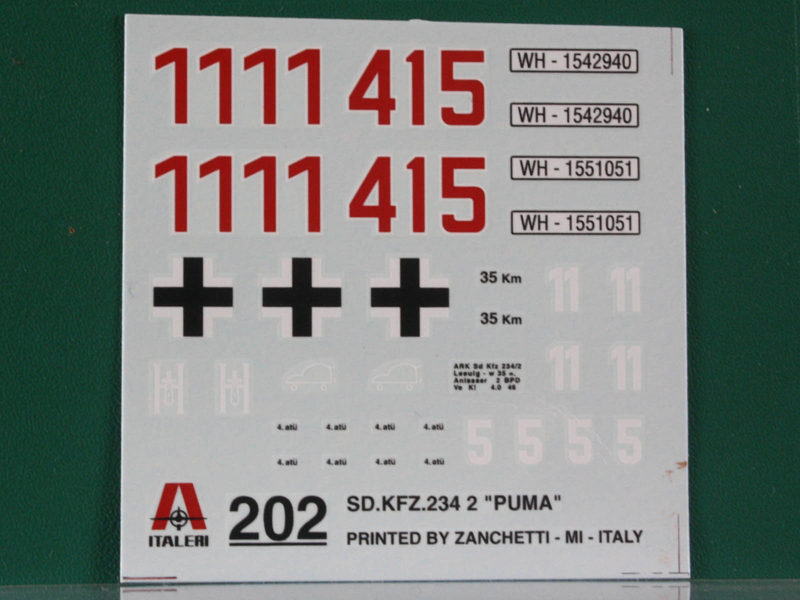
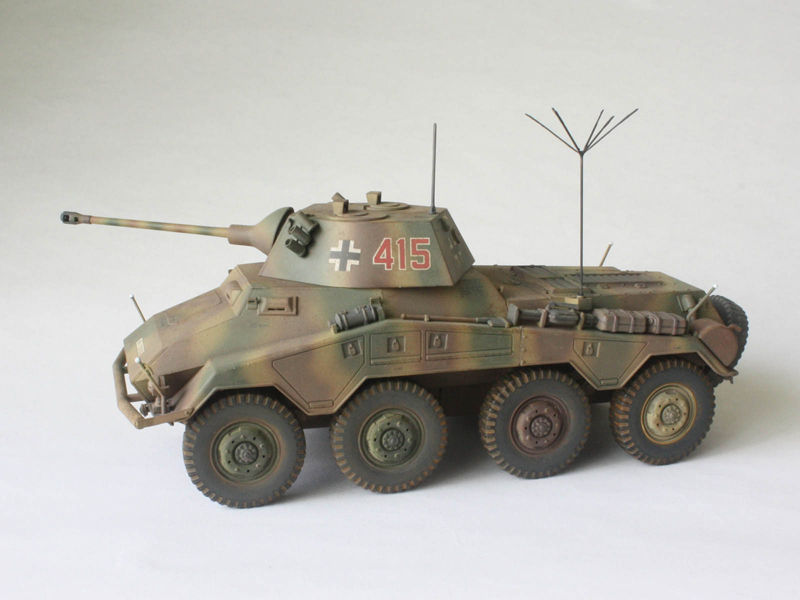
Decal options cover two vehicles seen in Horst Scheiberts book on the Puma (Schiffer Publishing, 1994). In the case of turret number 1111 it is a shame the US Army shipping stencils seen in the photos are not included.
The build
While most of the kit goes together as the instructions suggest, there are a few things worth mentioning. First was that I chose to turn the wheels on mine ever so slightly. The real ARK vehicles had eight-wheel steering, with the rear two wheel pairs mirroring the movement of the front two pairs. That way, it drove exactly the same in reverse as it did going forward. For example in a sharp left turn, the front pair of wheels turned all the way over to the left (as expected), and the second pair turned left roughly half the angle. The third pair would turn to the right to match the half-way angle of the second pair, while the fourth (rear-most) pair turned all the way to the right to match the front pair. Thus, the four wheels followed the edge of an imaginary circle, unlike so many post-war 8-wheelers where the two rear axles stay fixed straight ahead. To make this happen I used a chisel blade in my knife to gently separate the wishbones from the hub at the bearings (illustrated here on Italeris 234/1 kit in tan plastic), then I gently bent the prop shaft just behind the hub and re-cemented the parts to set the new angle. The steering linkages will also need to be bent slightly at the joints to match. Lay out all the parts first, as it gets very confusing and its easy to get it wrong! On the 234/1 I also added some brake lines from 0.020 Evergreen rod, but these arent very visible on the completed model so I left them off the Puma.
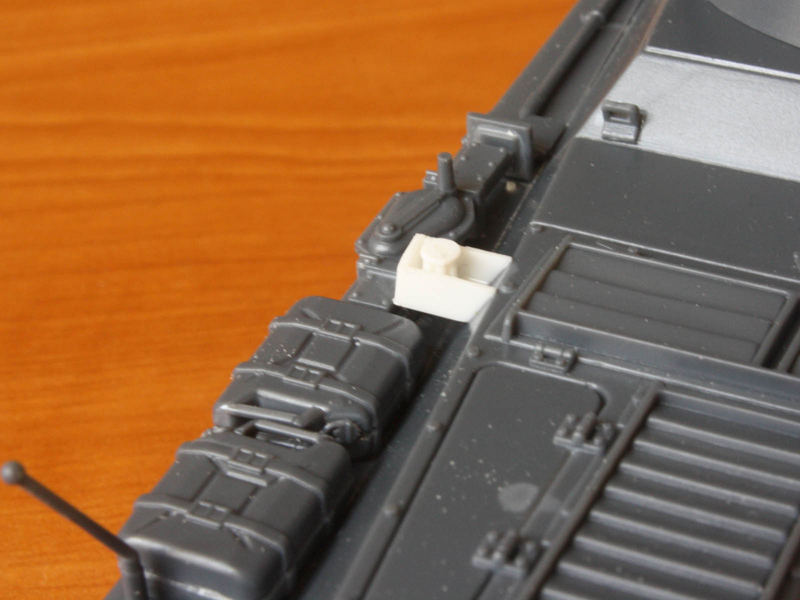
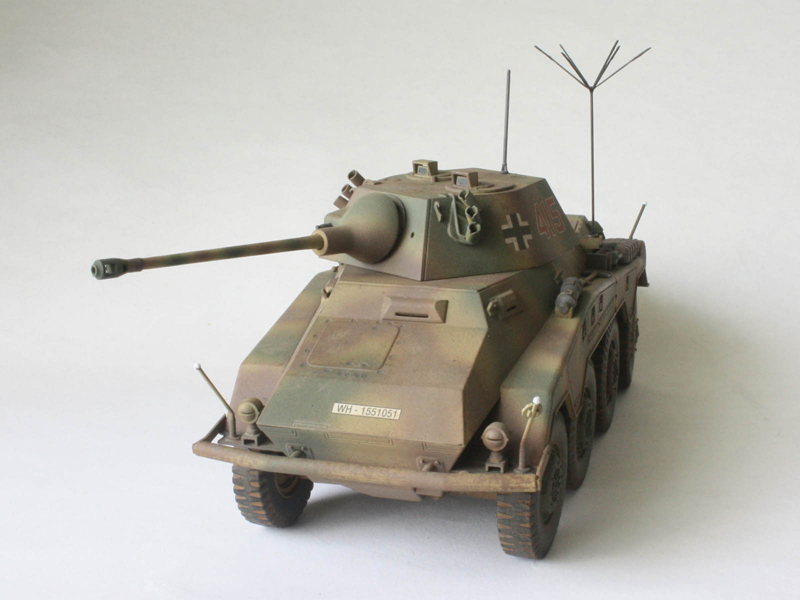
Up on the fenders I used a razor saw to gently cut a groove where the front and rear sections of fender met. Then I drilled holes to force in some 0.030 rod to form the bolt heads. (Hex rod would be better, but at this size the roundness doesnt show.) Where the bumper brackets meet the fenders I drilled through and used more rod to replicate the bolt, doing so after the part was glued in place. I also added four bolts to the brackets moulded on the front where the bumper attaches. The other hull modification was a scratch-built mount for a star antenna on the left rear flank. (The antenna itself used a DML etched umbrella on a length of piano wire.)
The Italeri fuel cans are a problem. Since the photo I was modelling of 415 showed no cans at the front I was able to use the parts from the two cans that come as halves, bevelling their mating edges to get that characteristic jerry-can groove. The other four one-piece cans are junk. (On my 234/1 I replaced the lot with cans from the Italeri Jerry Cans set #402, and scratched up straps from strip plastic.)
For some reason Italeri has never managed to offer a good-looking German vehicle jack. This one is a bit crude, but for want of spares I tweaked the handle a little and used it. Im not proud
Up on the turret I drilled a small vertical slot for the gun sight next to the mantlet. I also added some wires to the smoke launchers from plastic rod, but in retrospect fine wire would have been better.
The wheels stayed off for painting, as did the antenna on the turret and the star antenna. When I came to add the decals I found they released a talcum-like whitish substance from the decal sheet, and this stuff was under the clear decals. I used a paintbrush to carefully rub it away in the water as best I could without losing the decals (those tyre-pressure markings are tiny!), but it still made getting a good set rather difficult I used multiple coats of Micro-sol and attacked them with a stiff stippling brush repeatedly over the course of a week to get rid of any silvering. (I find this is a common fault with Italeri decals )
Conclusion
The obvious comparison is to the Dragon model, which is a generation newer, far more accurate, much better detailed, and more complete than the Italeri kit, but also at least twice the cost. With moderate kit-bashing skill and a few jerry-cans the Italeri model can still turn out nice, but be prepared for a little extra work to get a decent result.
SUMMARY
Highs: Looks like a Puma! Easy to build. Can be found dirt cheap.Lows: Simplified suspension, mediocre tools (terrible clamps!), some detail issues.Verdict: Worth building if you find it going cheap or already own one, but not the best Puma on the market in 1:35.
About Tom Cromwell (barkingdigger) FROM: ENGLAND - EAST ANGLIA, UNITED KINGDOM
A Yank living overseas on a long-term basis, I've been building tanks since the early '70s. I relish the challenges of older kits (remember when Tamiya was "new"?...) because I love to scratch-build.
have made a couple of these over the years, great fun easy build I thought - very very basic kit when you look at the fare out there today, but you still get a pretty decent job if you raid your spares box to replace some of the worse kit items!


Comments