Introduction
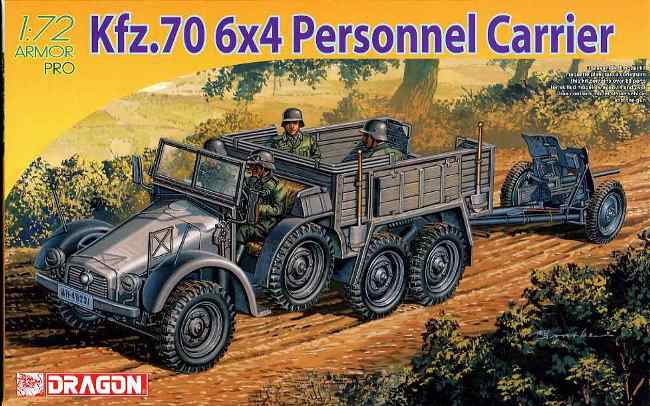
The Kfz.70, unofficially referred to as the Krupp Protze, was a six wheeled light utility truck used by the German military in World War II. Powered by a 3.3 liter 4 cylinder horizontally opposed, air cooled engine, the Protze entered production in 1933. Numerous sources suggest that around 7,000 were produced before production ceased in late 1941 or early 1942.
This 6X4 light utility truck was produced in numerous body styles, including the personnel carrier represented by this kit. It is not uncommon to find pictures of this vehicle towing light artillery pieces including the PaK 35/36 included in this kit.
The subject of this review is the 1/72 scale
Dragon Armor Pro Kfz. 70 6X4 Personnel Carrier, kit number 7377.
Contents
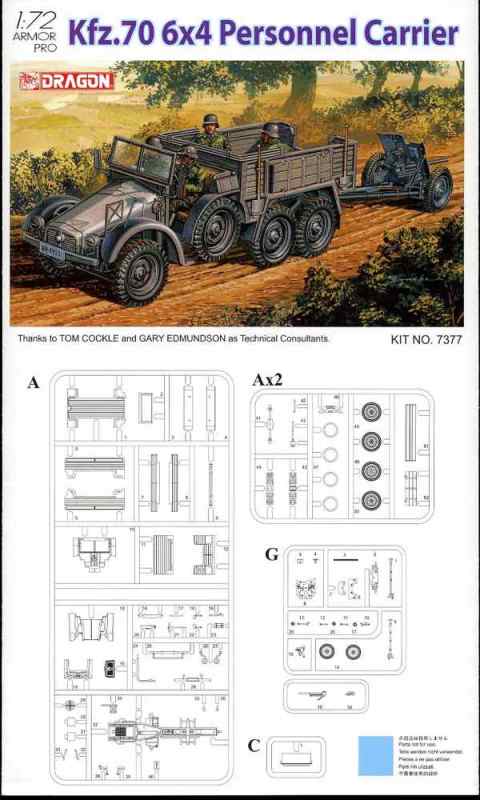
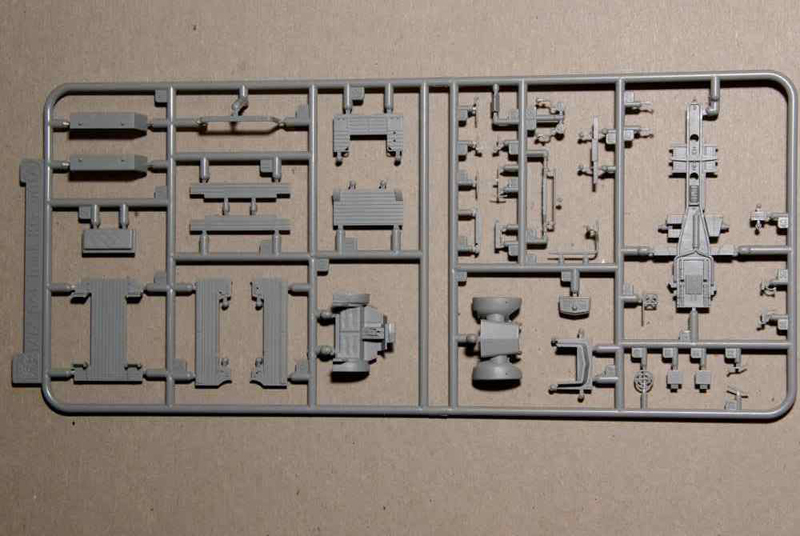
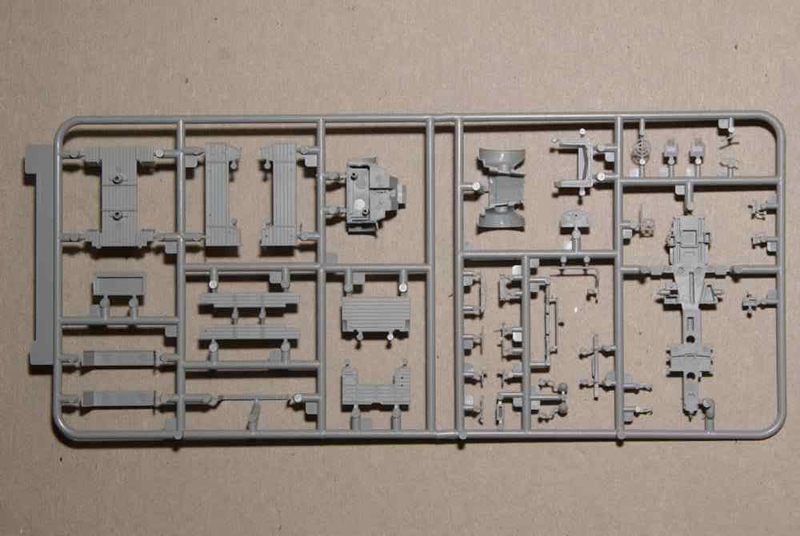
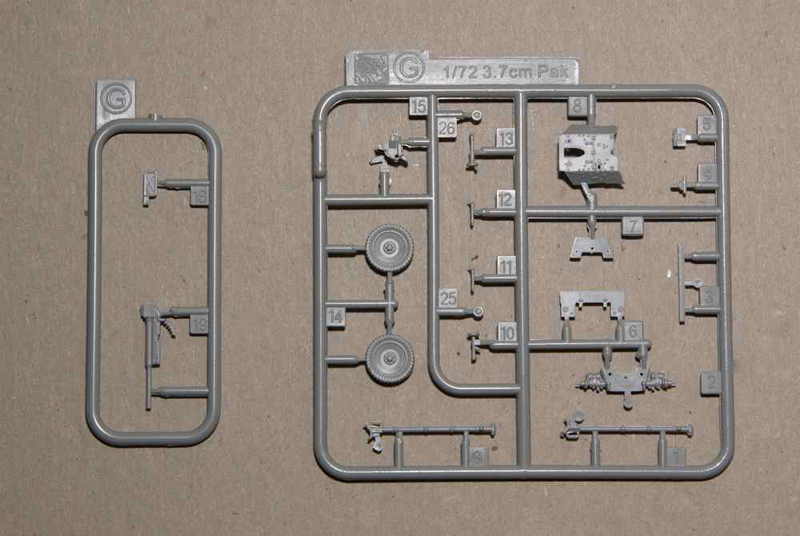
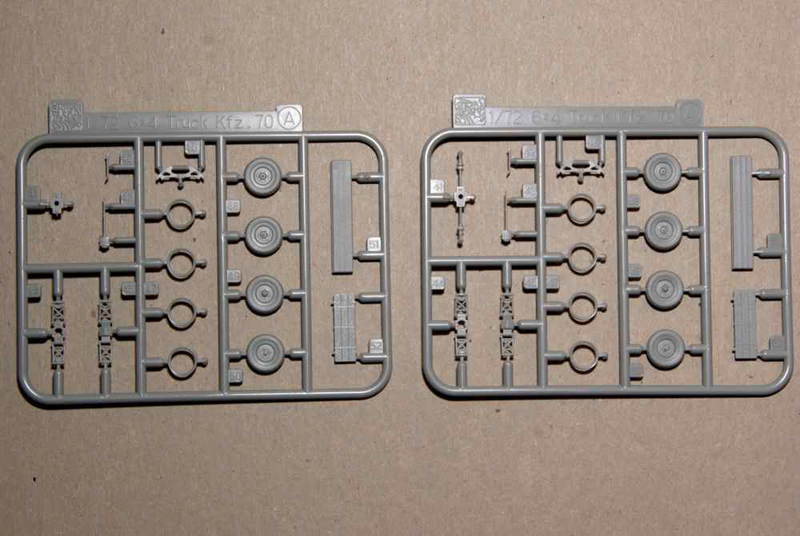
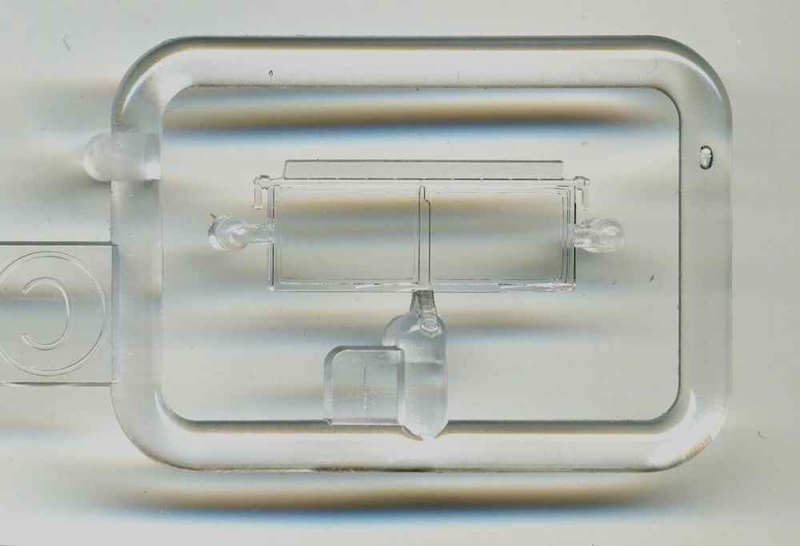
Contents of the box includes five bagged sprues of typical Dragon light grey styrene. On a typical Dragon accessory card can be found a bag containing a single sheet of Cartograph decals for three vehicles and a bag containing a small clear sprue with the windshield. A total of 72 parts on three sprues are used to build the truck and two sprues with 21 parts are for the PaK 35/36. While not listed on the instructions, only 19 parts form the completed gun while two parts are optional.
A single page, six sided instruction card with parts plan, three and a half pages of build diagrams and one page of paint/decal instructions are also included. The build diagrams are standard Dragon exploded view drawings broken into eleven construction steps. The first ten deal with the truck and the last with the gun.
Review
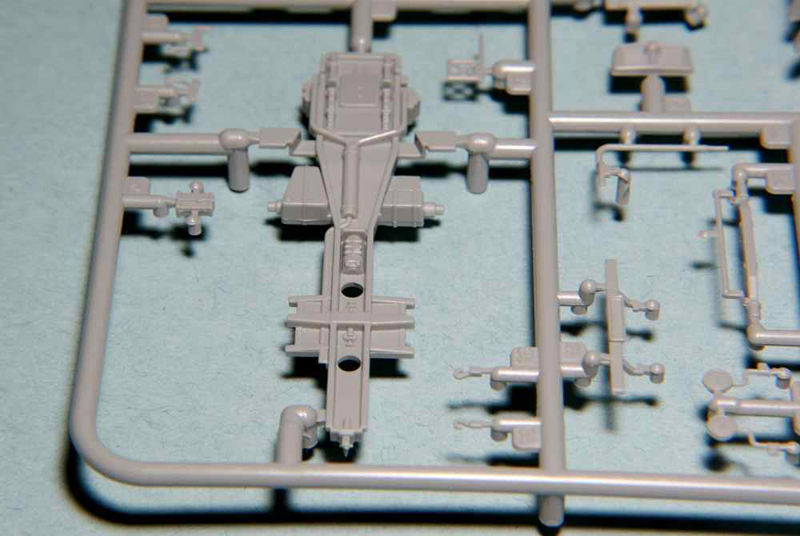
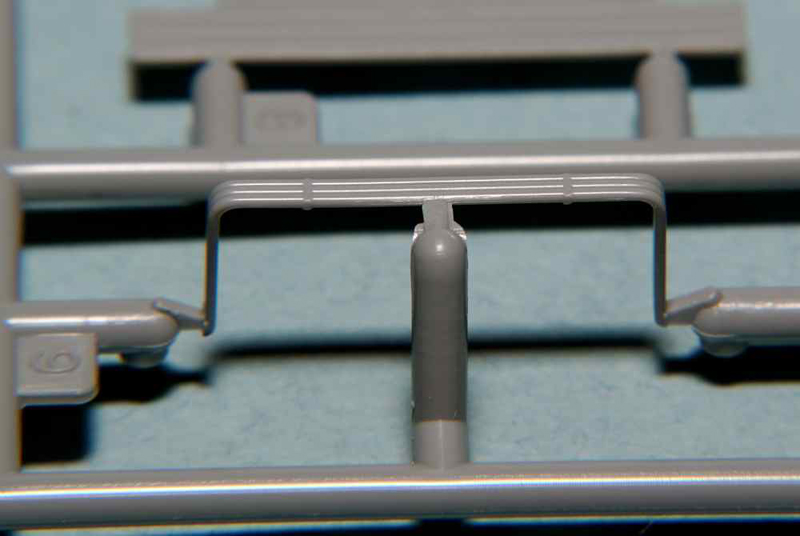
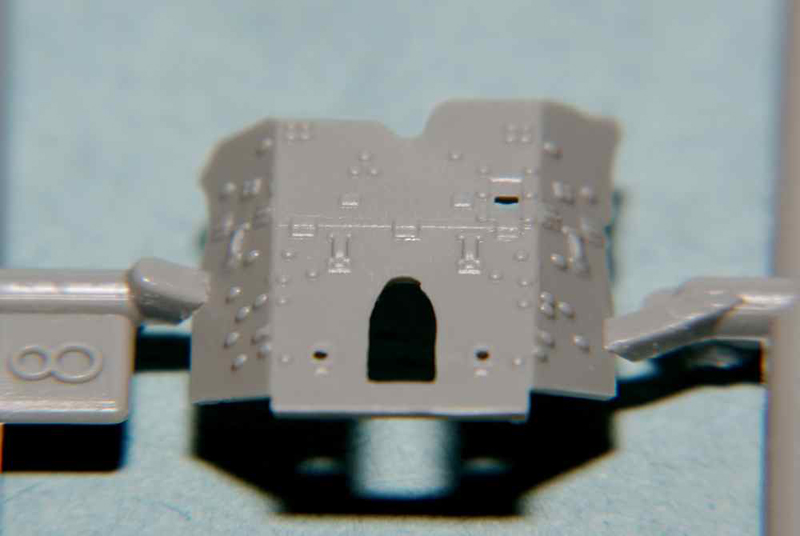
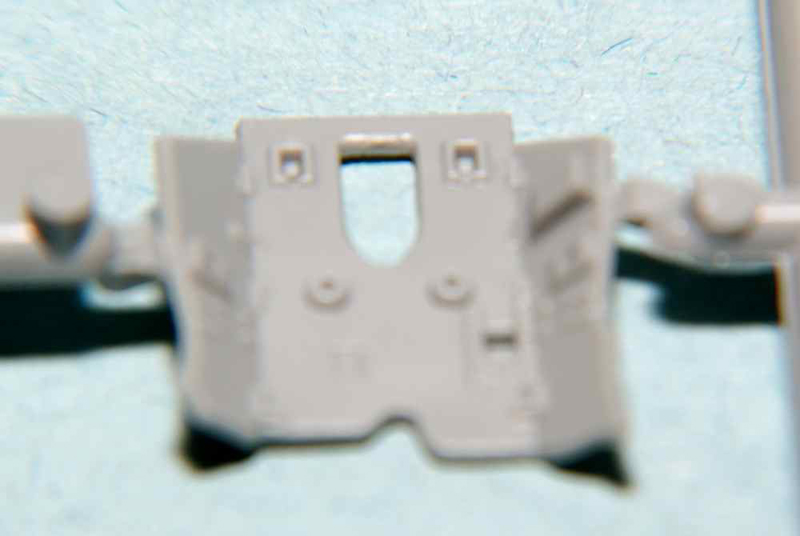
As I have come to expect from Dragon kits, flash is virtually non-existent and mould seam lines were very light and can, in most cases, be removed with a light scraping using a sharp hobby knife. Ejector pin marks are minimal for the most part and where they do appear, they are mostly on internal surfaces that will not show after construction. This is particularly impressive when one sees that Dragon was able to mould the large cargo bed panels without any such marks that would need to be dealt with.
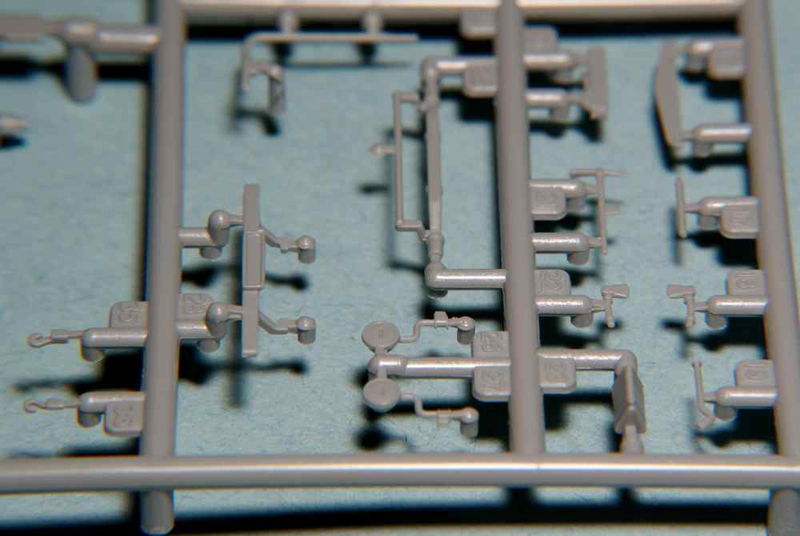
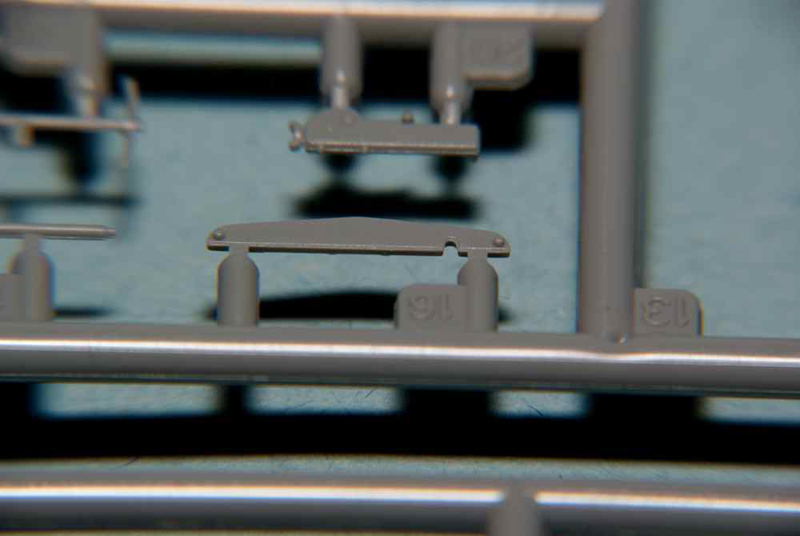
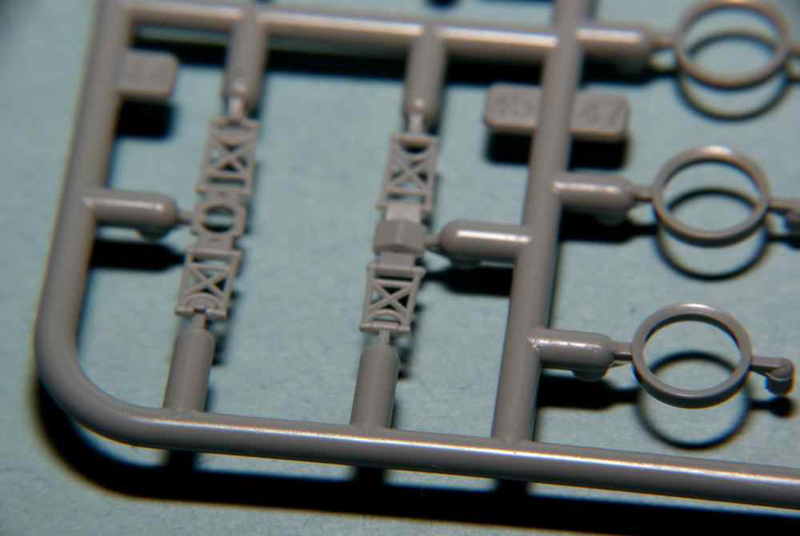
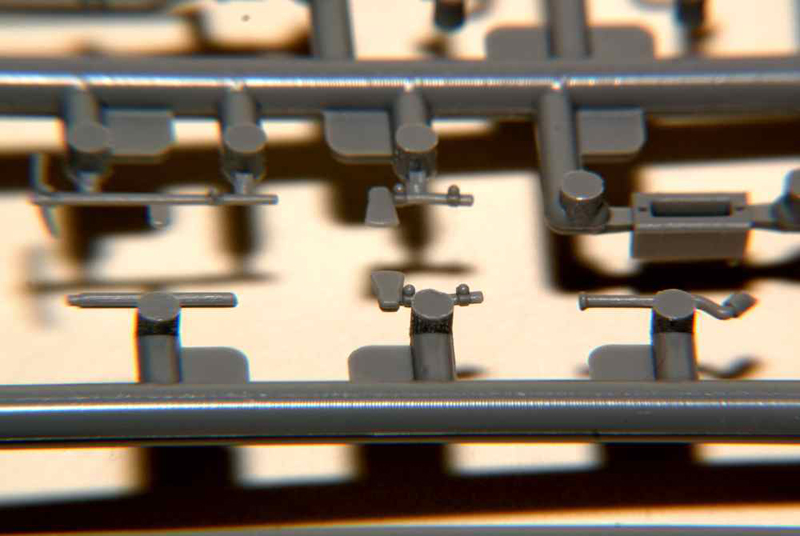
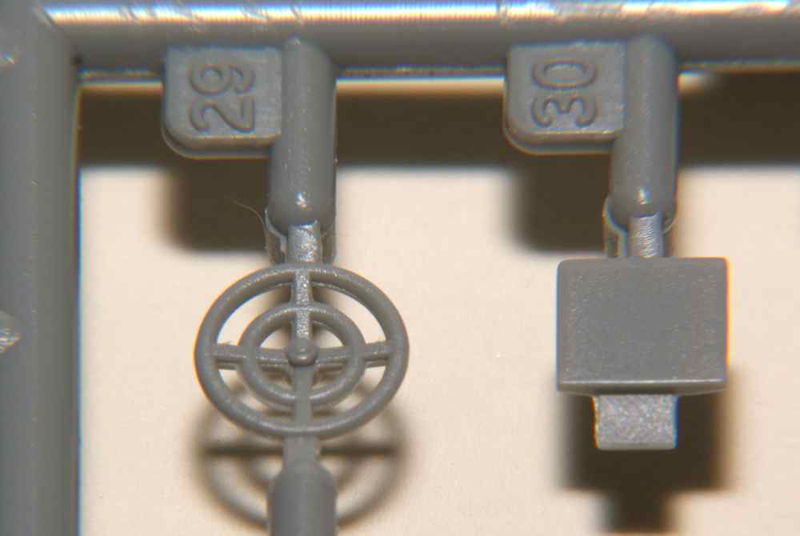
As with other Dragon kits that I have reviewed, some of the sprue gates for the smaller parts were rather thick where they attach to the part. This will require definite care when separating them from the sprue tree. However, with this kit I also saw that some gates for small parts were themselves quite fine and delicate. A definite improvement over some of their older offerings. All in all, the moulding and details on the kit parts is as good as we have come to expect from Dragon.
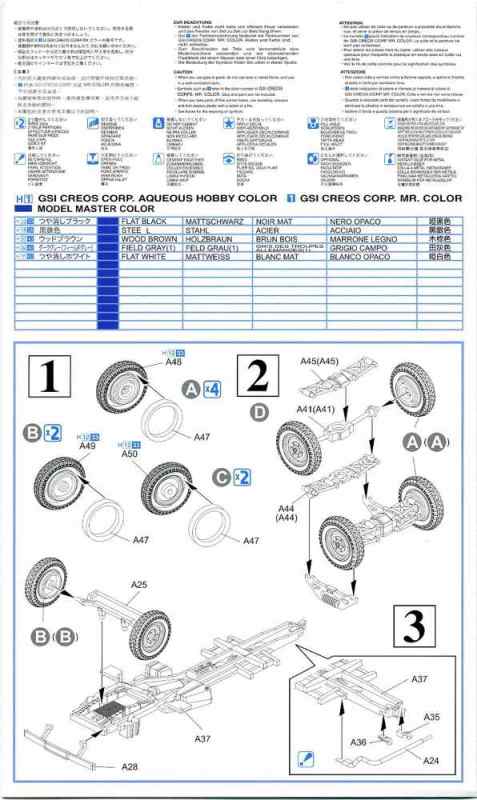
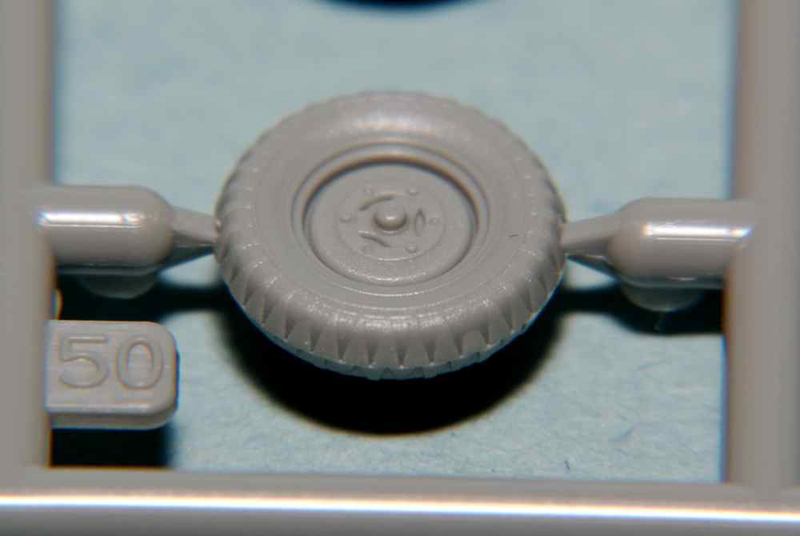
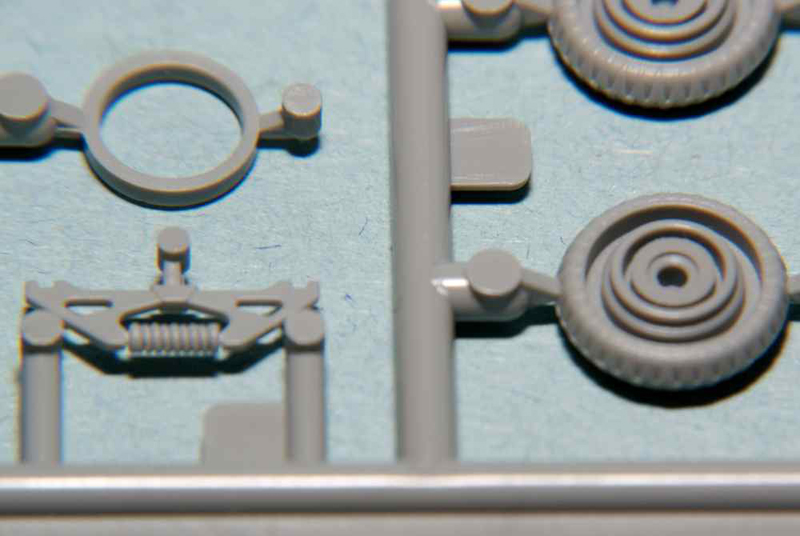
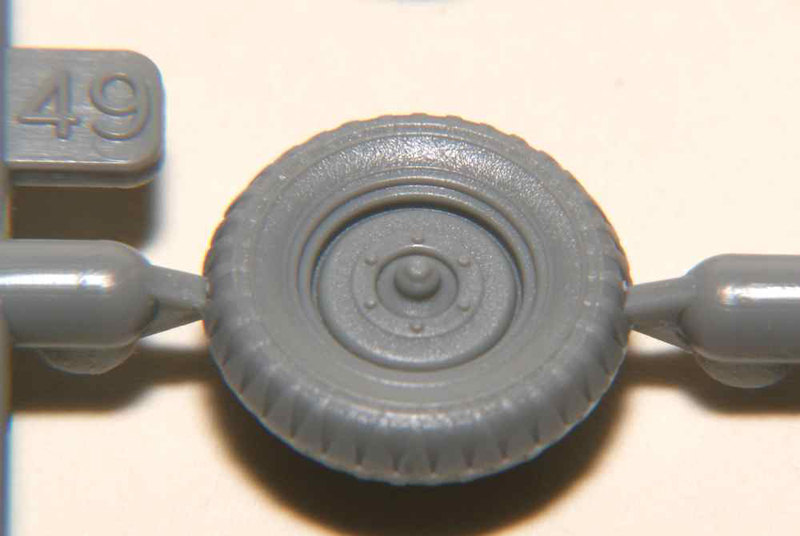
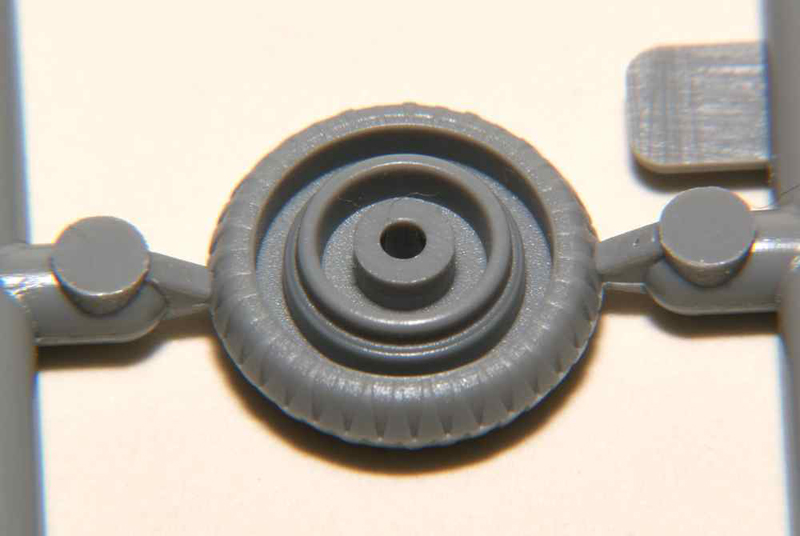
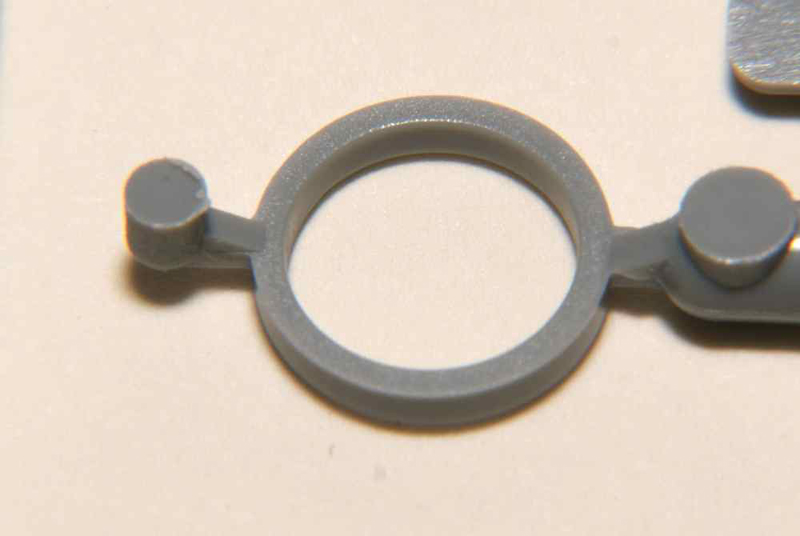
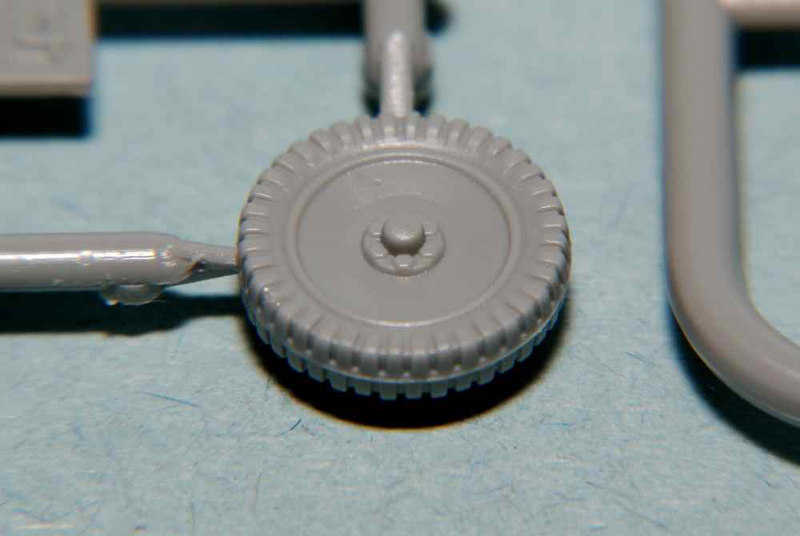
The first instruction step involves the preparation of the eight wheels that will be used for the truck. This step is further divided into three additional subassemblies. The A set involves preparing the four wheels that are meant for the rear two axles. The step B wheels are meant for the front or steering wheels and step C for the two spare tires. All three constructions are similar in that an inner wheel rim is attached to each wheel. However, the builder must be aware that each of these wheels have slightly different inner faces where they attach to their respective axles. It will be crucial to not lose track of which subassembly belongs in which location.
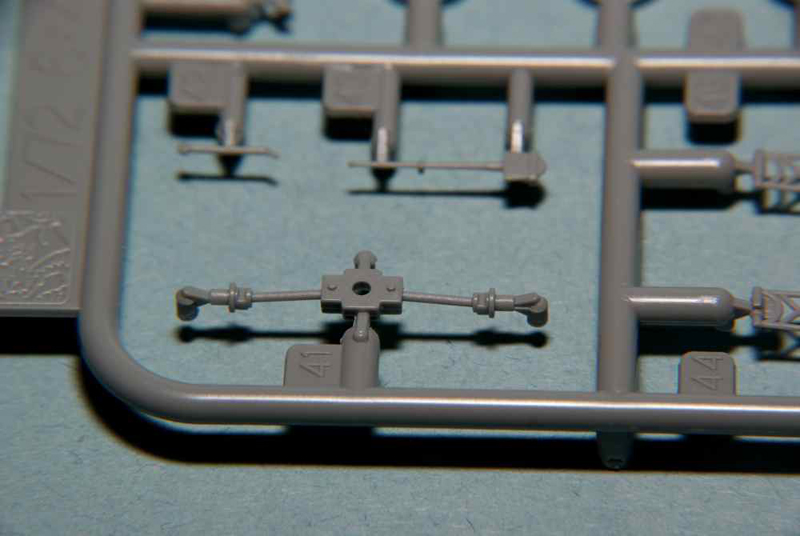
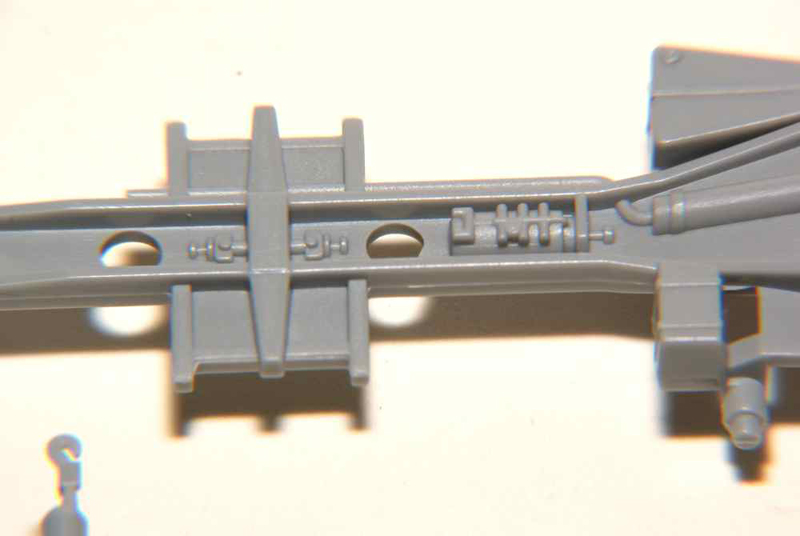
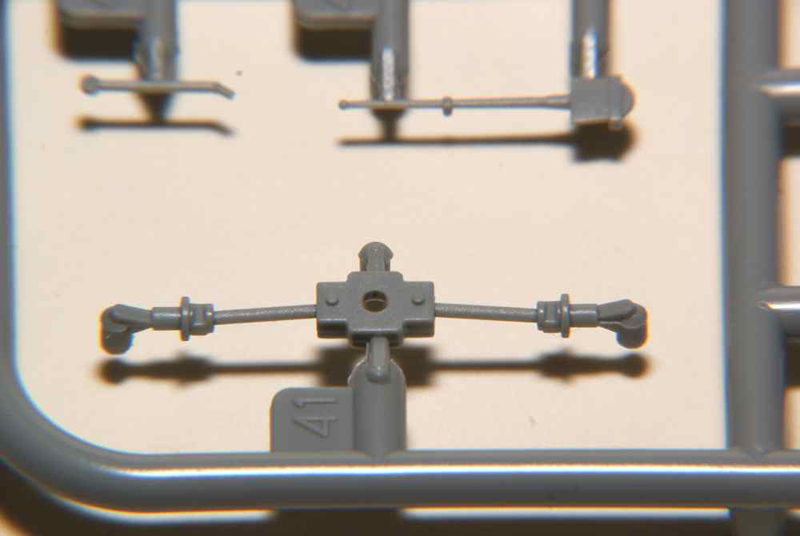
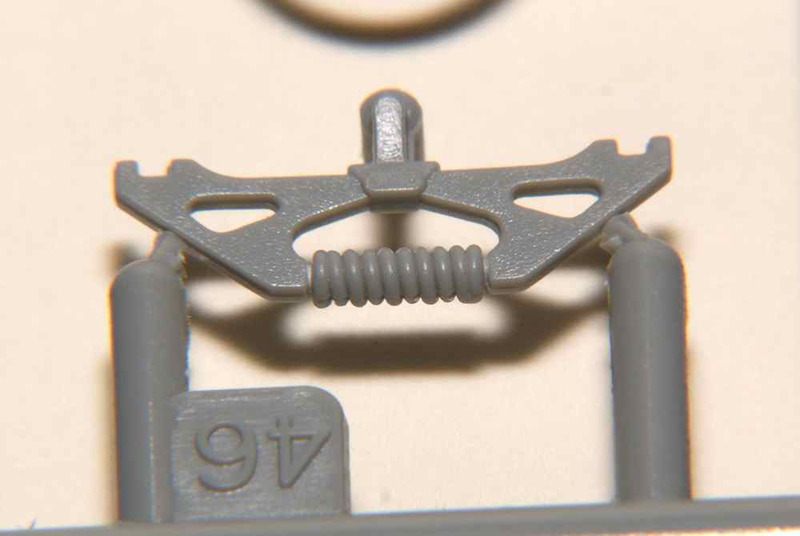
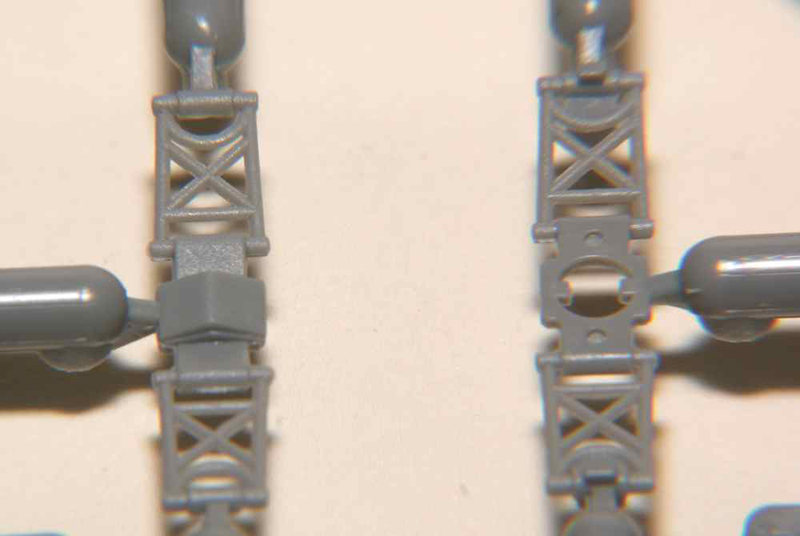
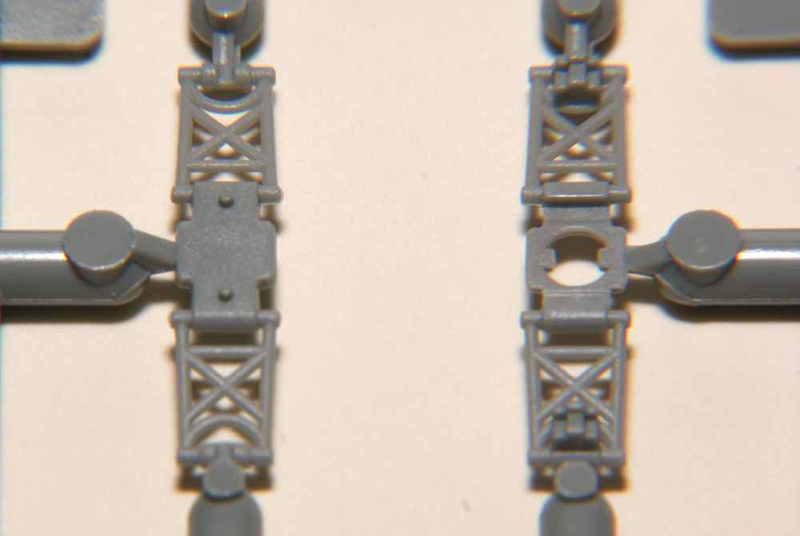
Step 2 involves the total assembly of the rear two axles and their suspension components. Please note that the parts numbered 41 to 52 are all located on one of two medium sized sprues labelled A. Upper and lower connecting arm parts (parts #44, #45) are attached to the upper and lower surface of each separate transaxle (part #41). Sets of locating pins and their respective holes are provided to ensure proper alignment of the parts. Each of these two separate suspension subassemblies is referred to in the instructions as subassembly D. These in turn have the wheels added to them and will be attached to a spring/connection arm component (part #46) that will later be attached to the truck frame. In a glaring omission, the instructions do not have a reference number for part 46. It should also be noted that several of these parts will require a specific orientation when being attached. Failure to get everything just right will lead to problems further along in assembly.
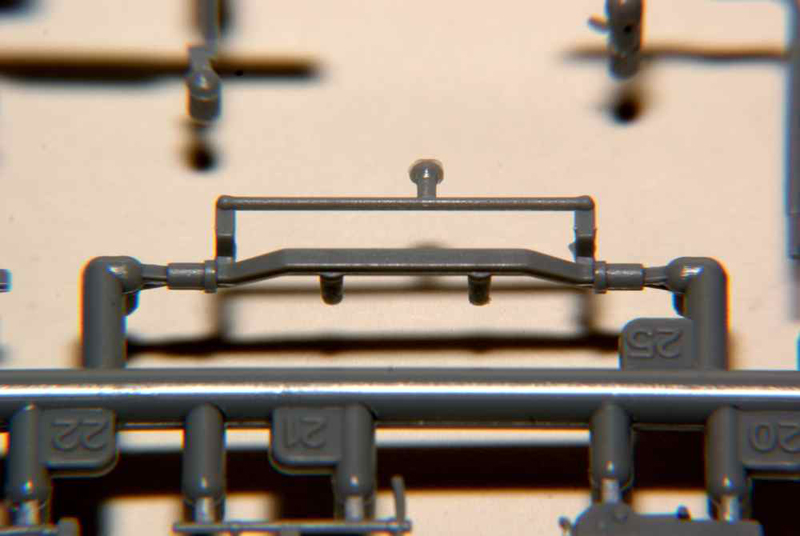
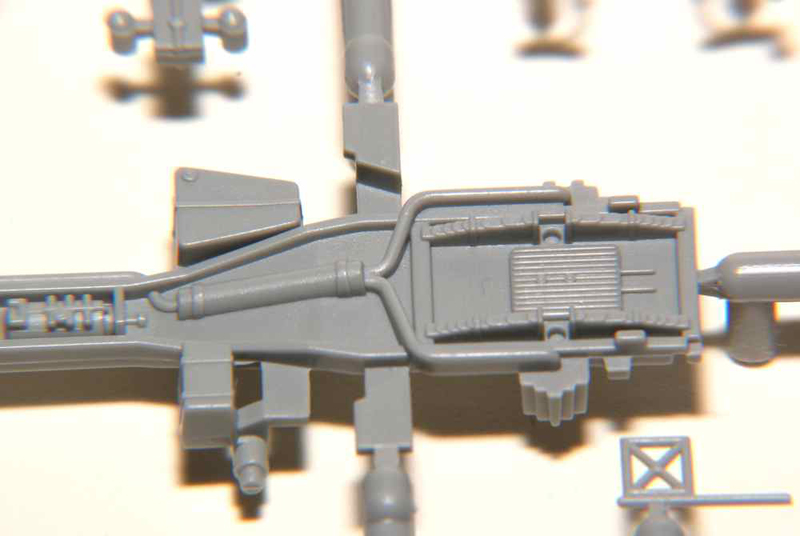
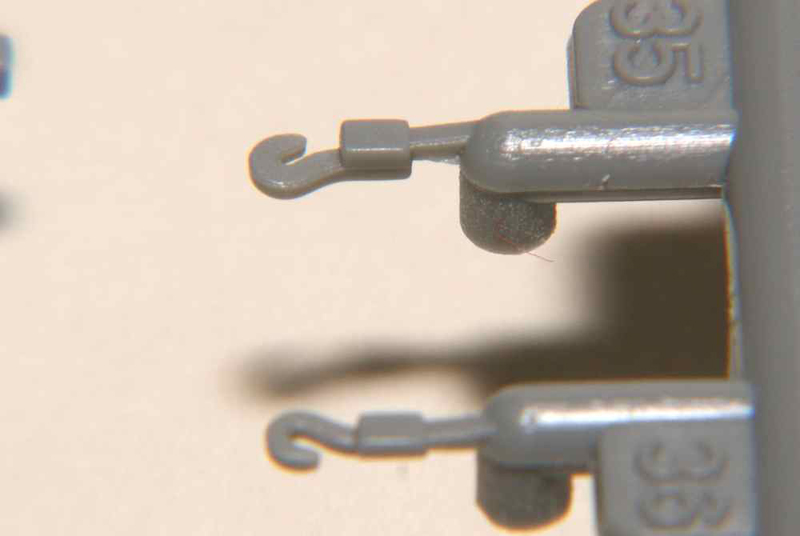
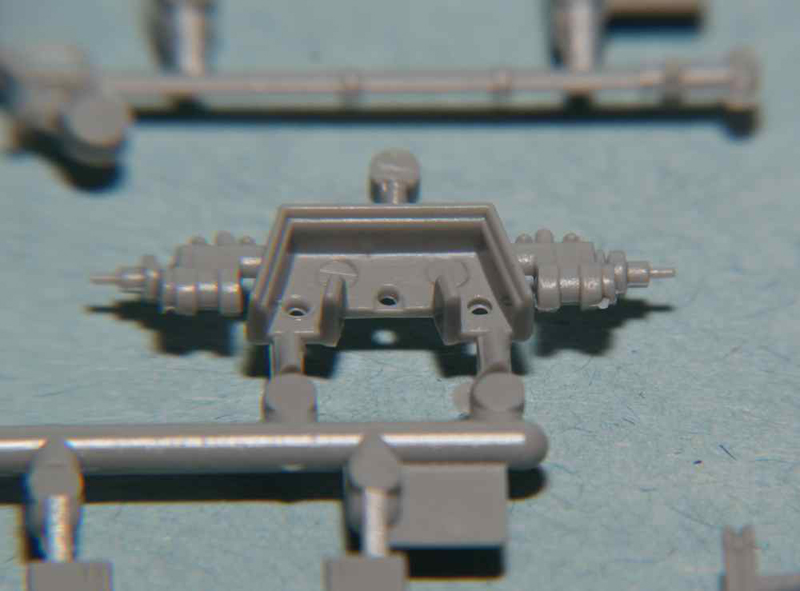
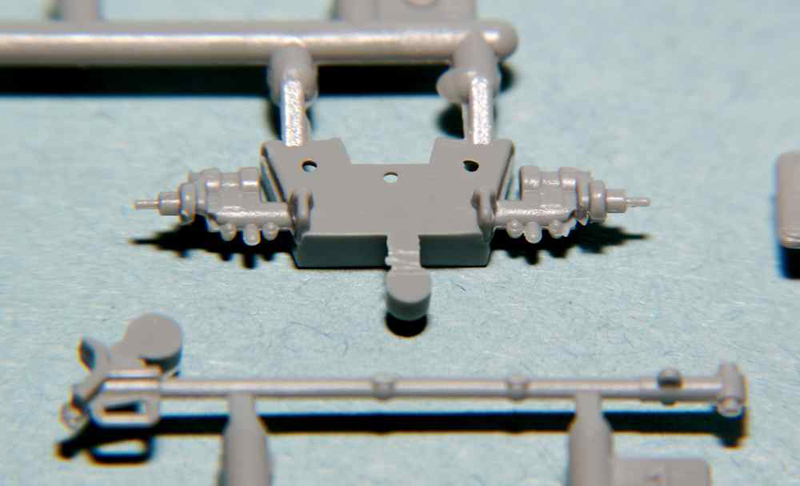
With Step 3 the front axle and wheels are attached to the truck frame. A few more detail parts are also added to the frame, namely the muffler, rear tow hooks and front bumper. Again, the modeller should be forewarned to make sure that they get the parts orientation correct.
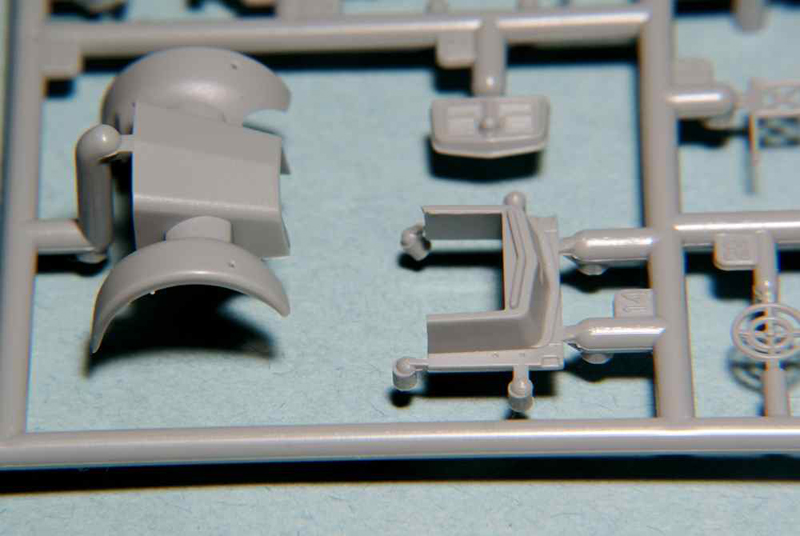
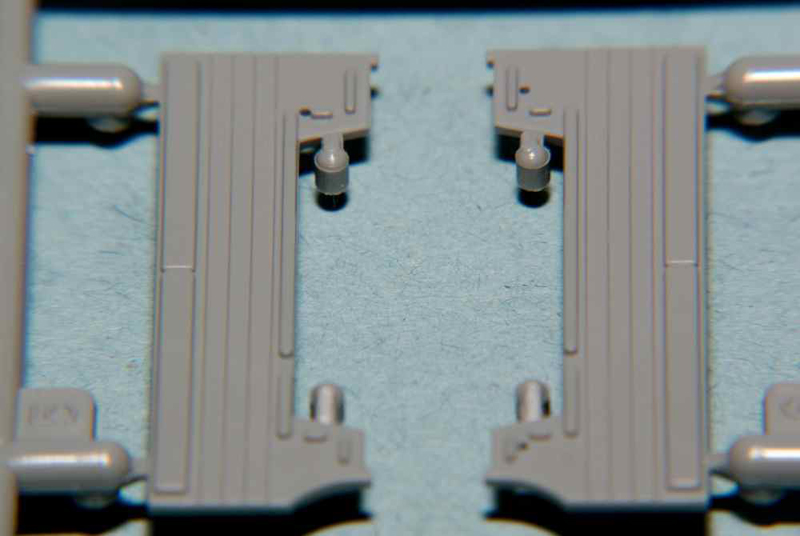
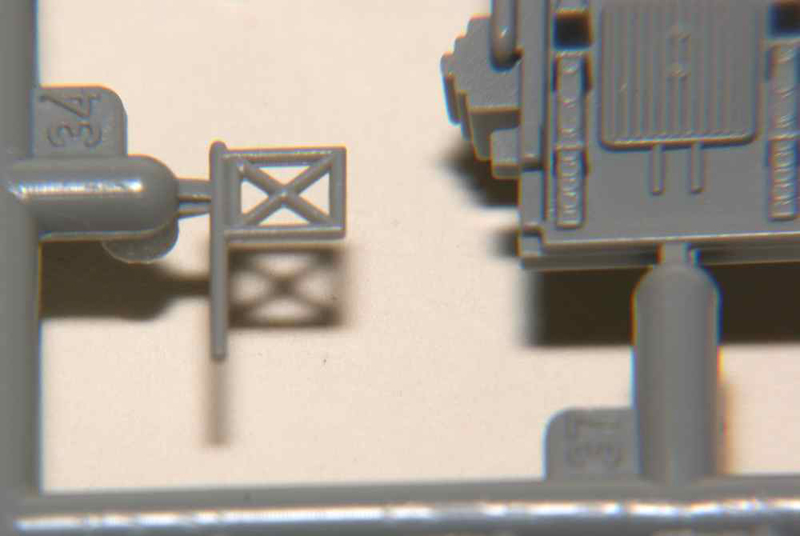
Steps 4,5 and 6 comprise the assembly of the truck rear cargo bed. If the modeller follows the instructions I can see no major difficulties arising in this step. Of course, depending on the individual, the assembly order may be varied to ease construction. One pleasant surprise was that all the tools (shovels, axes, pick) are represented as individual pieces and not moulded on as in other kits.
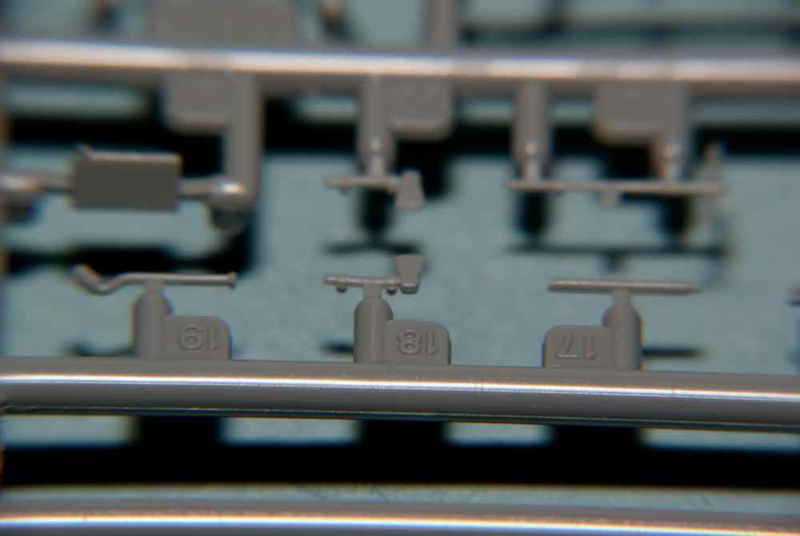
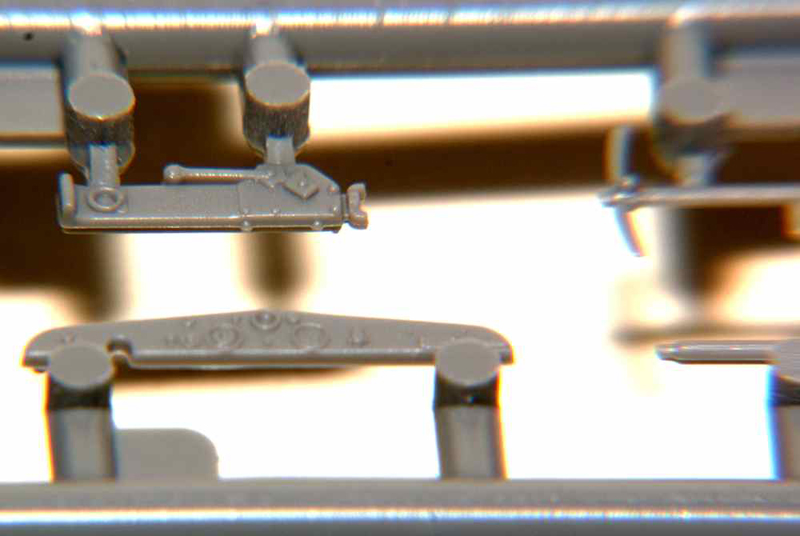
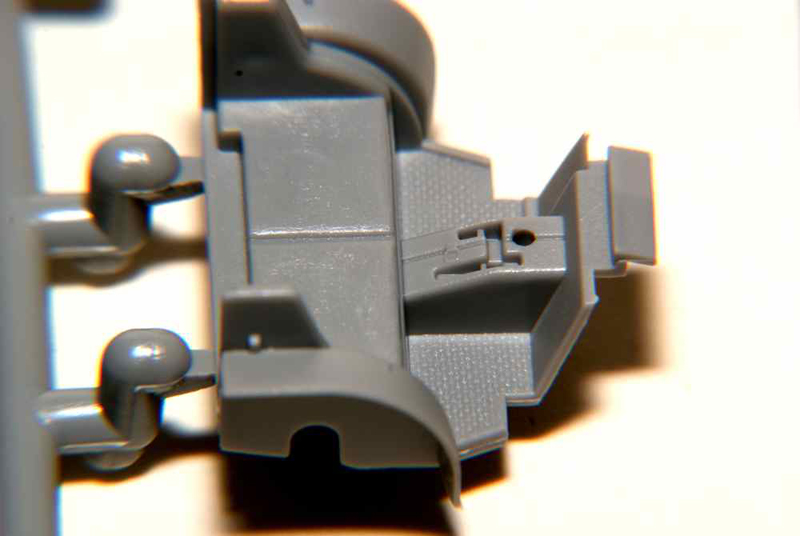
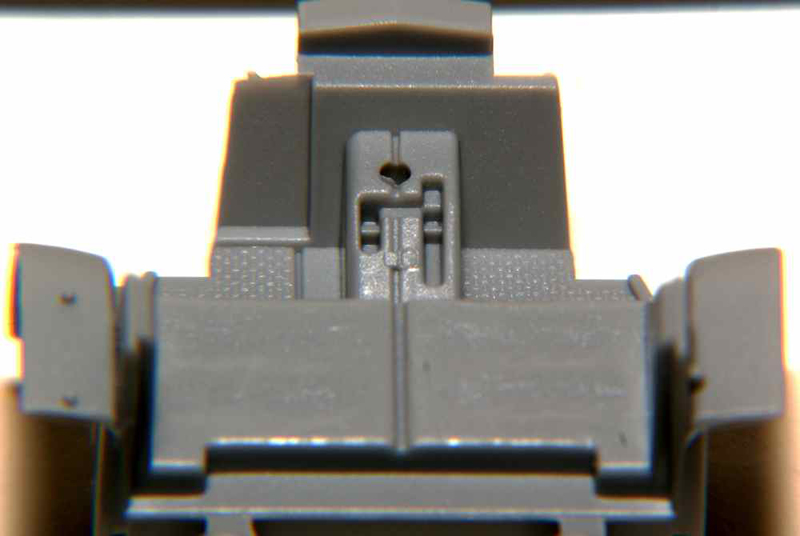
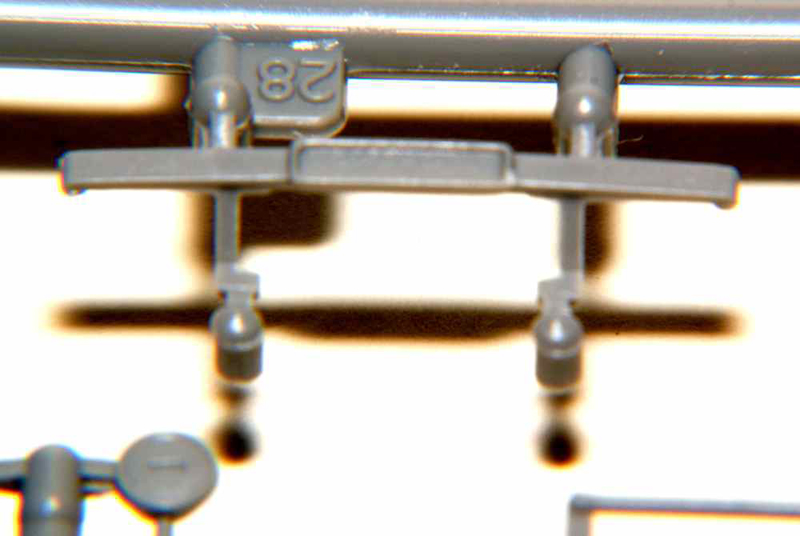
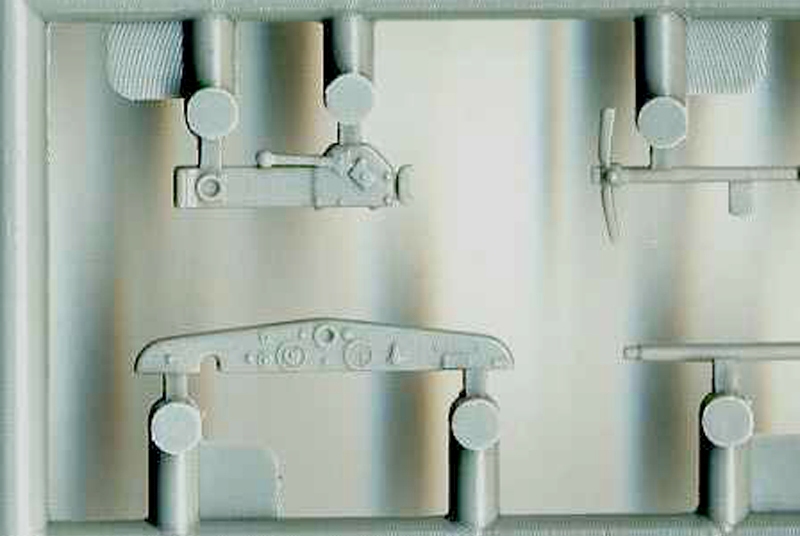
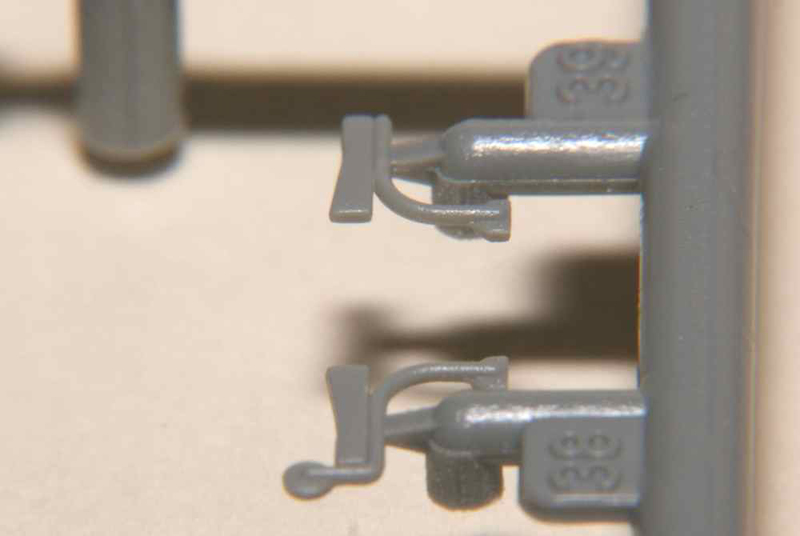
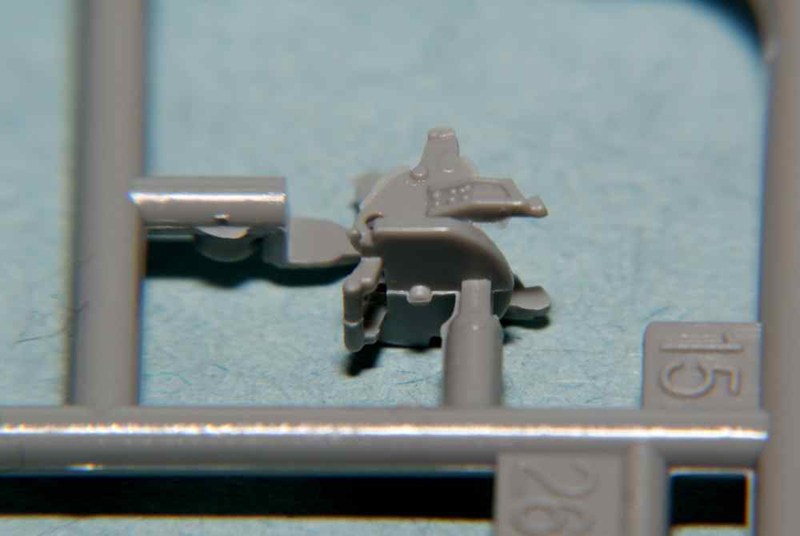
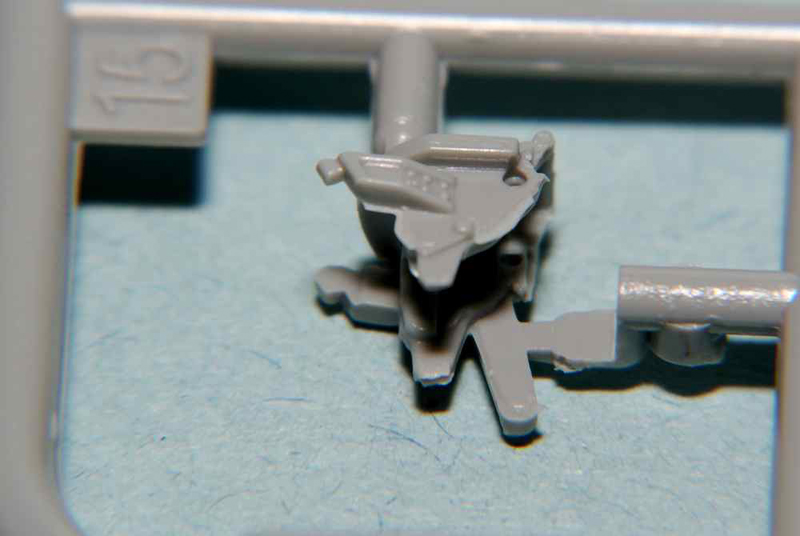
During steps 7 and 8 the front drivers cab and engine compartment are assembled and detailed. Everything from the small yet finely detailed dash board to side view mirrors, a jack, side markers and other storage are attached. There are three levers that are meant to be positioned upon the front transmission hump. The gear shift lever is to be the centre mounted item and has an appropriate hole to insert it into. What appears to be a parking brake handle and a third knobbed lever fit into recesses just below and outside of the gear shift. These are quite small and closely situated so care will need to be taken with locating them. Details, from a texture on the leather portion of the seats to a fine tread pattern on the floor plates, are finely represented.
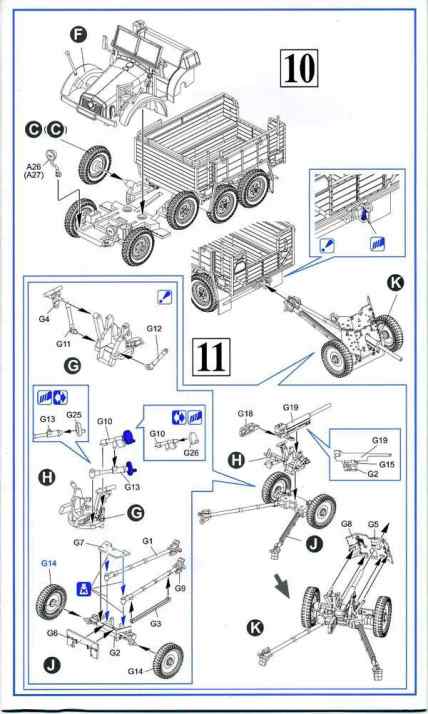
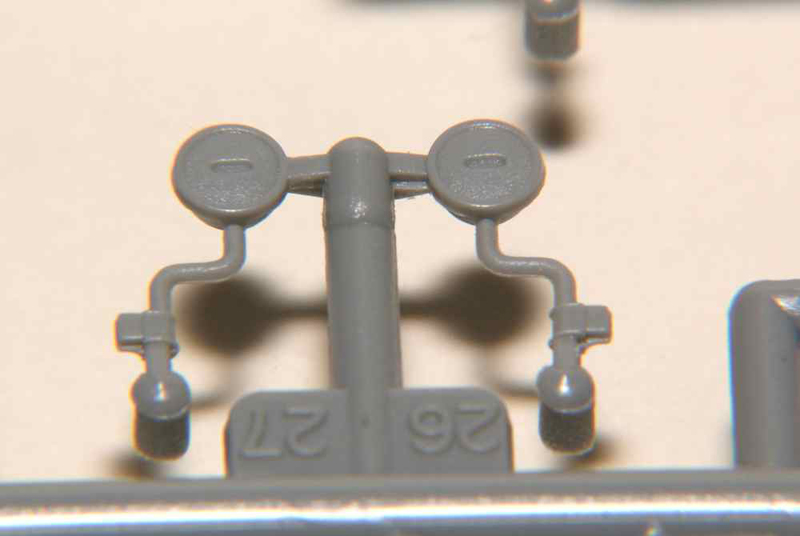
Step 9 sees the rear suspension and then the cargo box attached to the frame. With assembly step 10 the construction of the truck is completed. Headlights are attached and the cab/engine compartment are added to the frame.
Construction of the PaK 35/36 is the exclusive purpose of step 11. As this gun is the same that is common to several other Dragon kits that I have reviewed, I shall refer the reader to these previous articles. A full build of the gun can be found in the review of Dragon kit #7352.
SdKfz. 251 w/ PaK 35/36
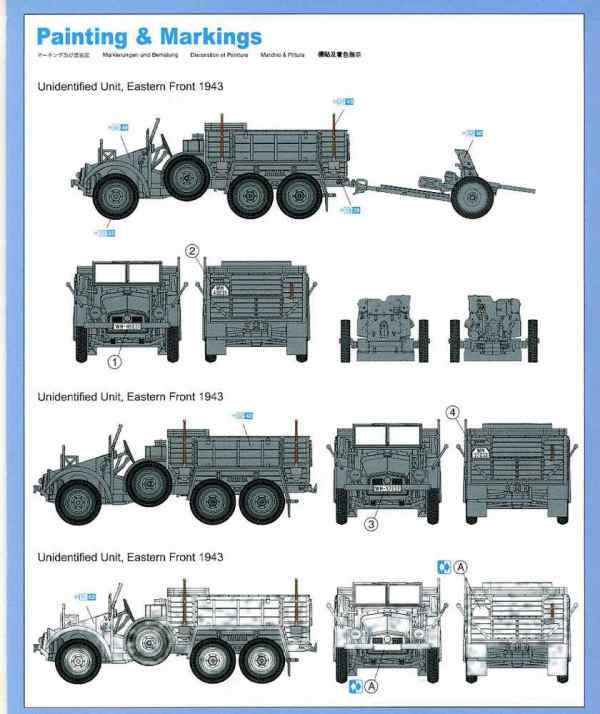
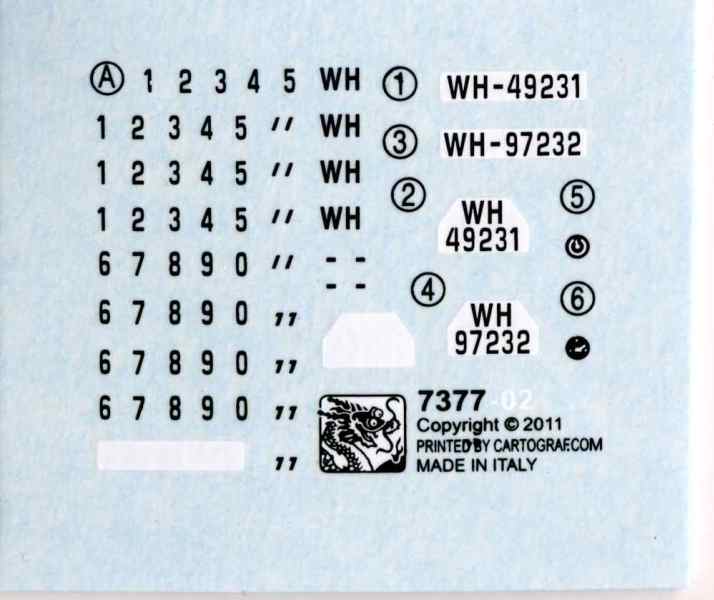
Of the three painting and marking options, all represent unidentified units on the Eastern Front in 1943. Colours on the paint guide are only for GSI Creos Mr. Color paints. All the vehicles are a base Field Gray with one having a winter whitewash applied over it. The Field Gray units have pre-numbered vehicle registration plates while the winter vehicle will requires the builder to create their own registration numbers from individual numeric decals.
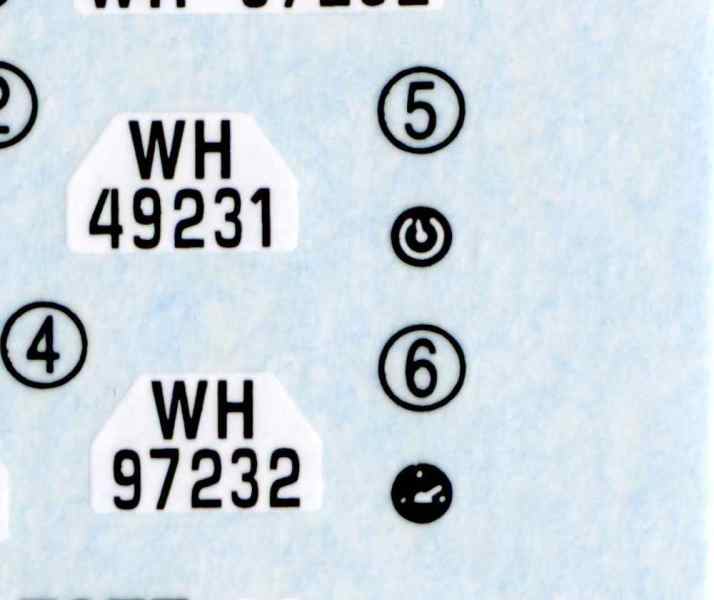
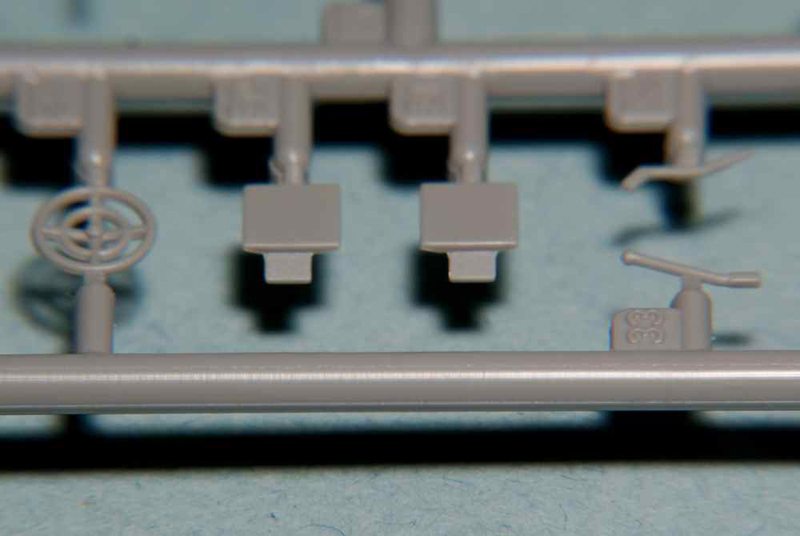
Decals #5 and #6 are on the sheet but no reference is made to them in my instructions. After scanning the decals at a high resolution it became evident these decals were gauges. After looking at a number of pictures on the Internet of the real vehicle, I came to the conclusion that these represent a temperature gauge and speedometer respectively. The dashboard part of the kit has three circular raised disks near its centre, to the right of the steering column. The leftmost one would represent the speedometer or decal #6.
Conclusion
For a kit containing slightly less than one hundred parts, Dragon has given the small scale builder a unique soft-skin subject without sacrificing detail. Indeed, the level of moulded on details present on this kit would have been unbelievable even a handful of years ago. Dragon has given the small scale builder more than a taste of what larger scales have been used to for some time.
In the past Dragon kits have often suffered from excessively large sprue attachment points. While not entirely absent in this kit it appears that there has been steady improvement with their recent releases.
This looks like a promising kit for any moderately skilled modeller but has great potential for those with more skill. The latter might convert it into one of a number of variants that used this chassis. Having said that, it would not surprise this writer if Dragon did not have plans to use this base kit for future versions of this vehicle. I would highly recommend this kit.


Comments