Early in WWII, Germany realized the need for some type of amphibious transport vehicle that could carry other vehicles across water, as they were encountering larger rivers and canals roughly every 10 miles. Germany already had the Landwasserschlepper, but the vehicle was unarmored. A new prototype went into development, built by a consortium of firms and using the suspension system of the Panzer IV. This new vehicle could tow an amphibious trailer or two vehicles could transport a floating deck between them. The deck could support a vehicle of the early Panzer IV class, or approximately 28 tons. A combination of more pressing needs and increasing weight of tanks ended the project. Multiple sources I found on the internet state only two vehicles were produced, which remained in service on the Eastern front through the remainder of the war.
the kit
Dragon kit 6669 represents the second prototype of this vehicle, and includes the floating deck. In combination with the earlier released prototype 1 (kit 6625), the modeler can represent the entire transport combination. Be advised that should you choose to do so, you will need a very large display area, but the completed model will be most impressive.
The box art, by Ron Volstead, shows the two prototypes with the deck between them in water crossing mode, the deck vacant. Inside the box there are 437 styrene parts, carefully packaged. Considering 216 of those are magic tracks, this kit has the lowest parts count I have seen in a Dragon kit (or any other, for that matter) in a long time. They are arranged as follows:
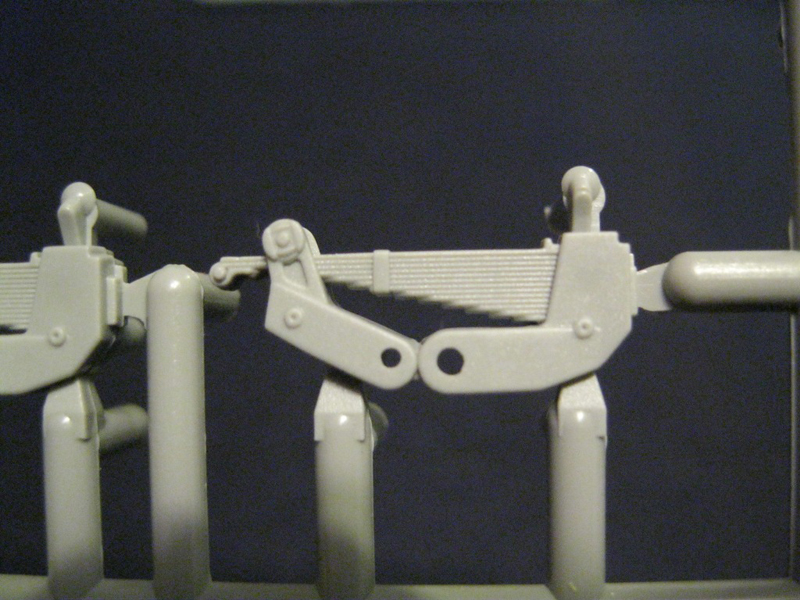
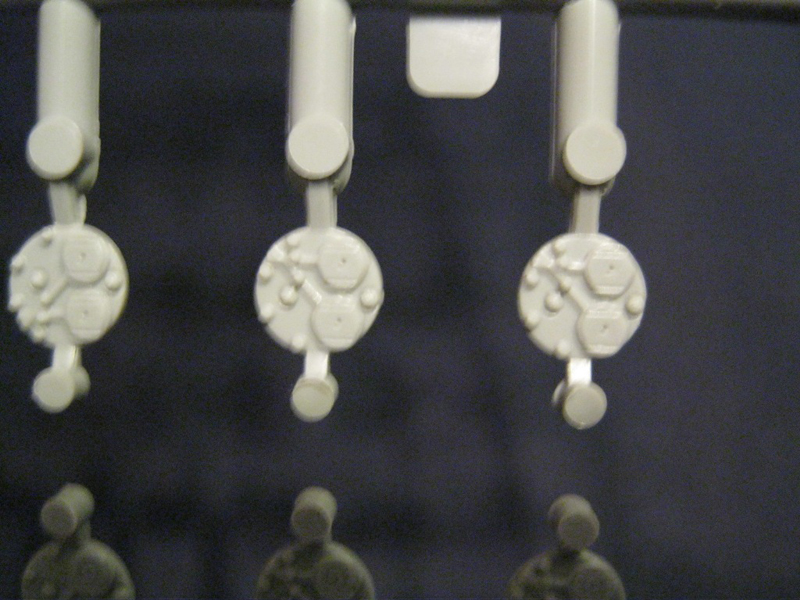
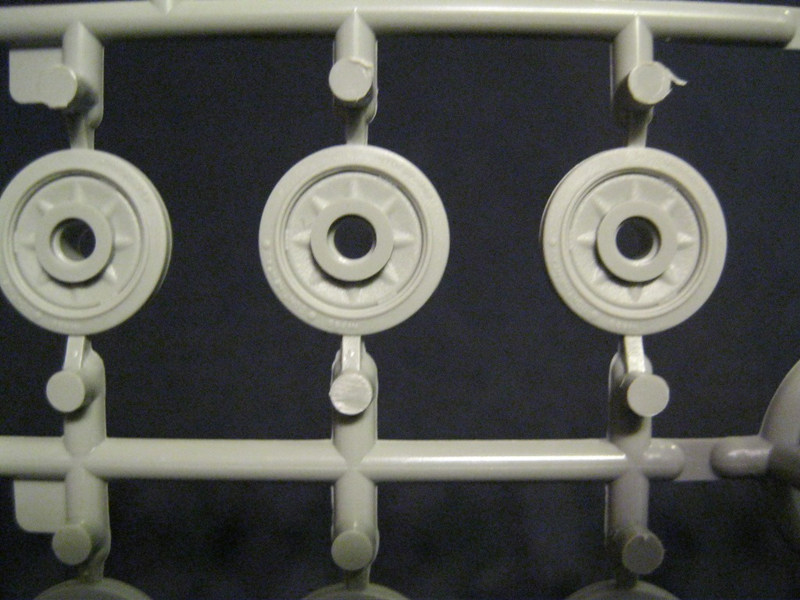
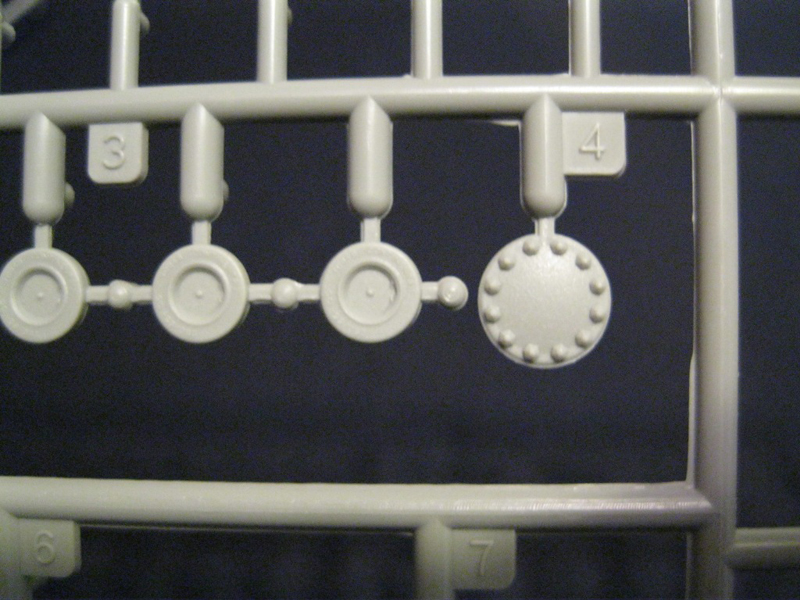
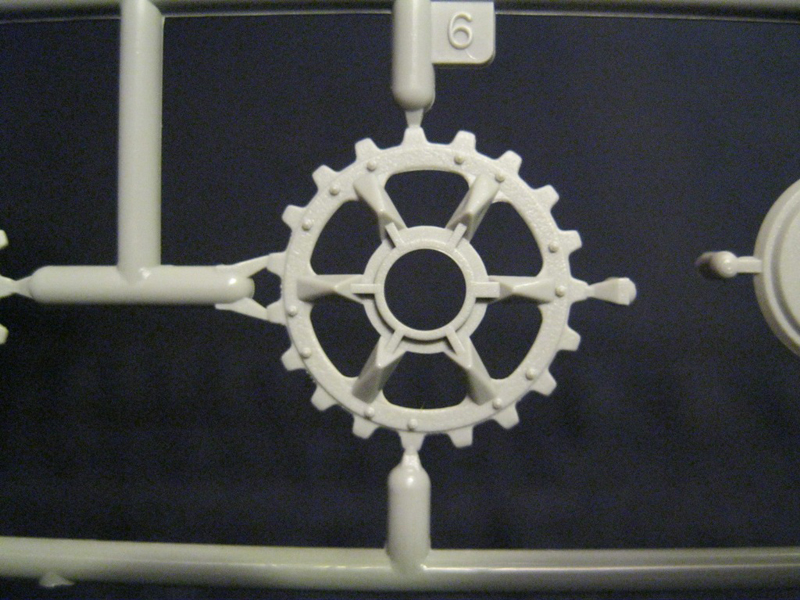
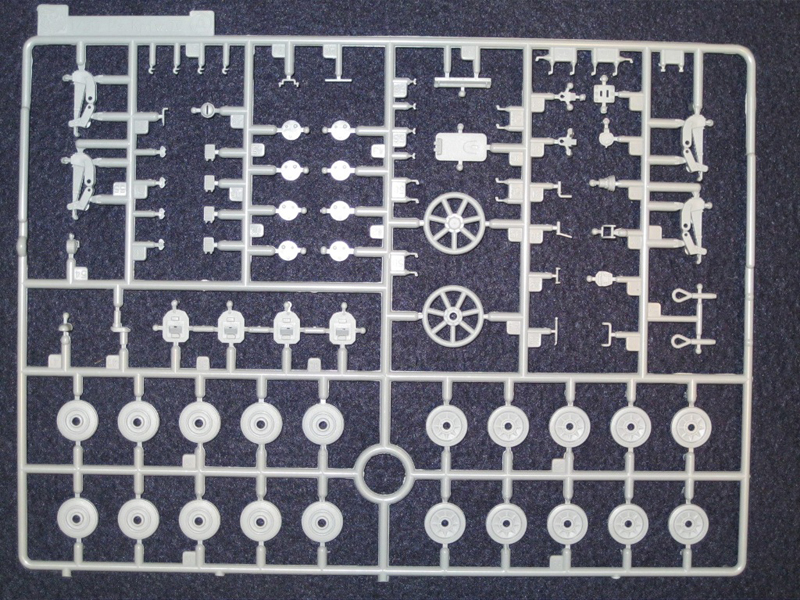
A sprue. There are two of these. This is the suspension from the Panzer IV series. Detail is clear and the road wheels have separate hubs. About half of the sprue parts are marked not for use.
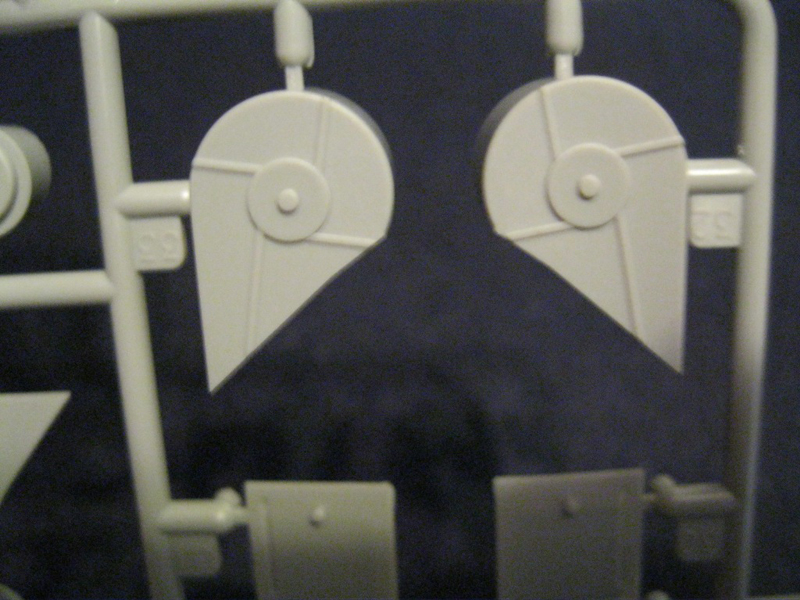
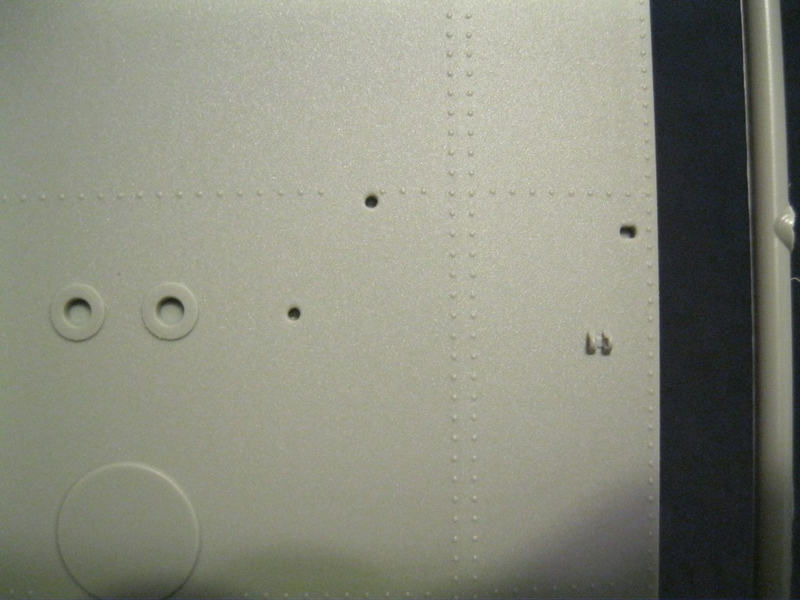
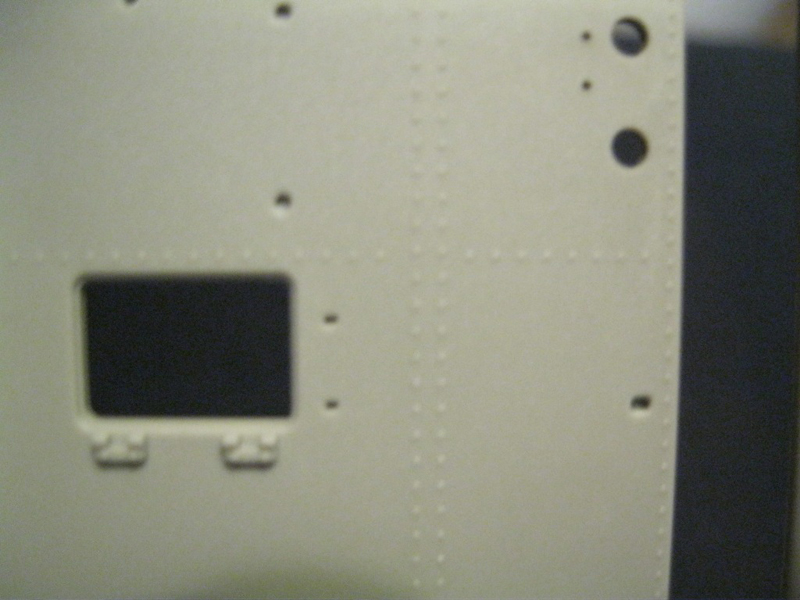
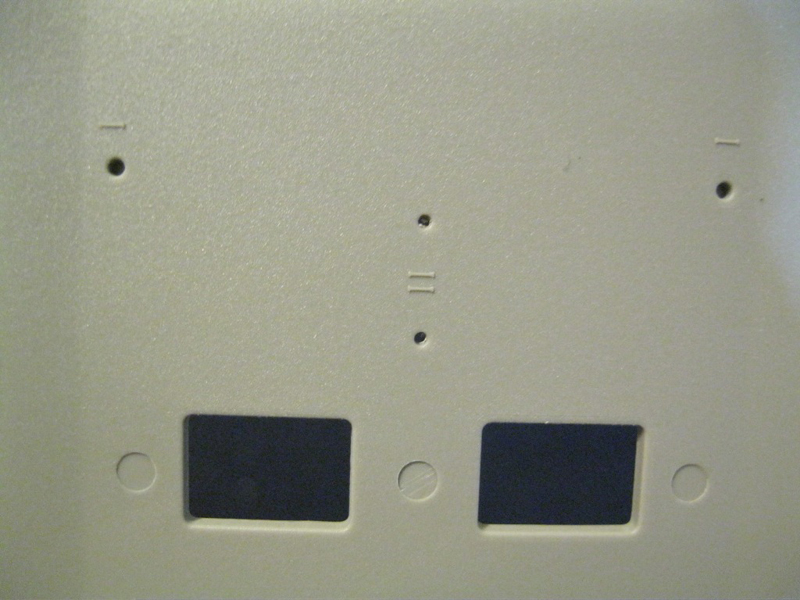
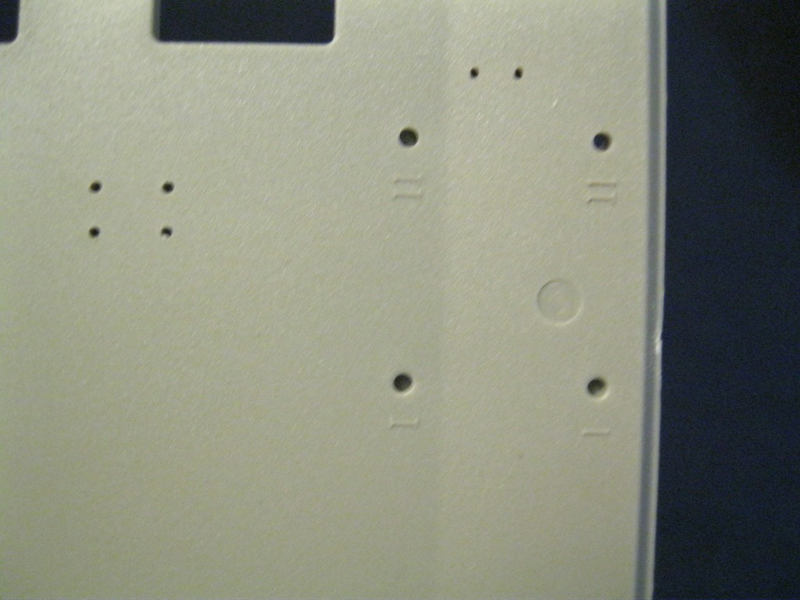
B sprue is the upper deck, again with very clear details. The part is very sturdy and has markings on the underside indicating which holes are to be opened for variant 1 or 2. Also included are the bow floats and some upper hull attachments.
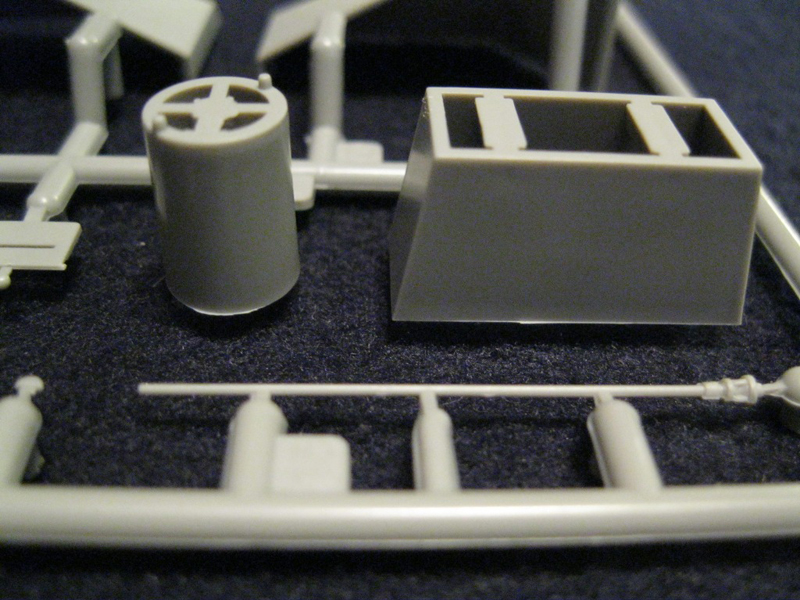
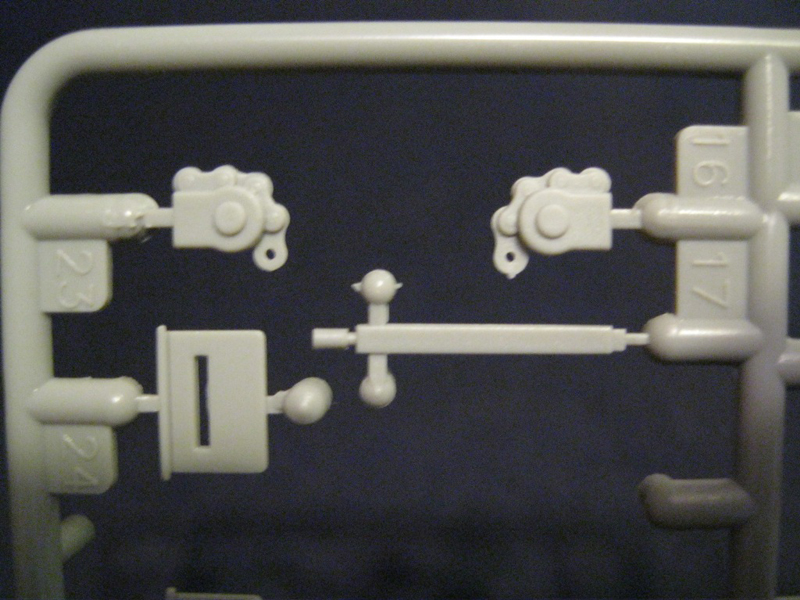
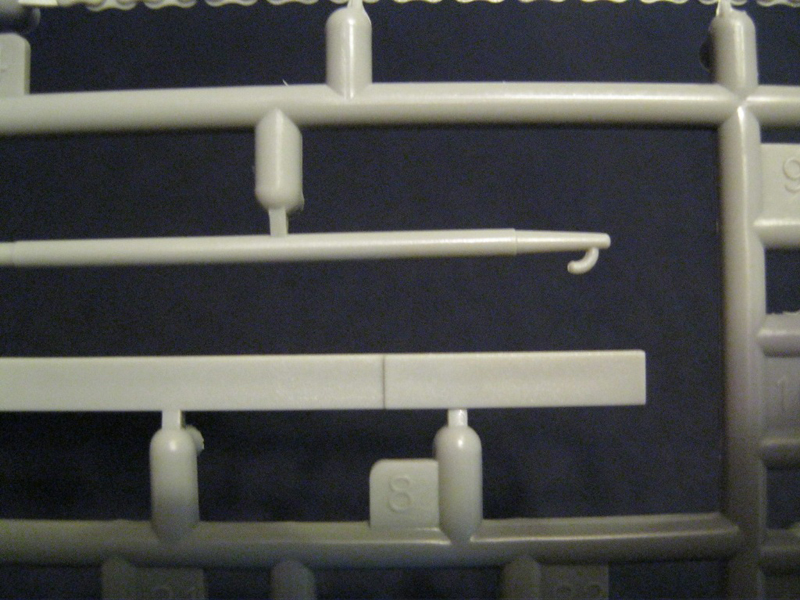
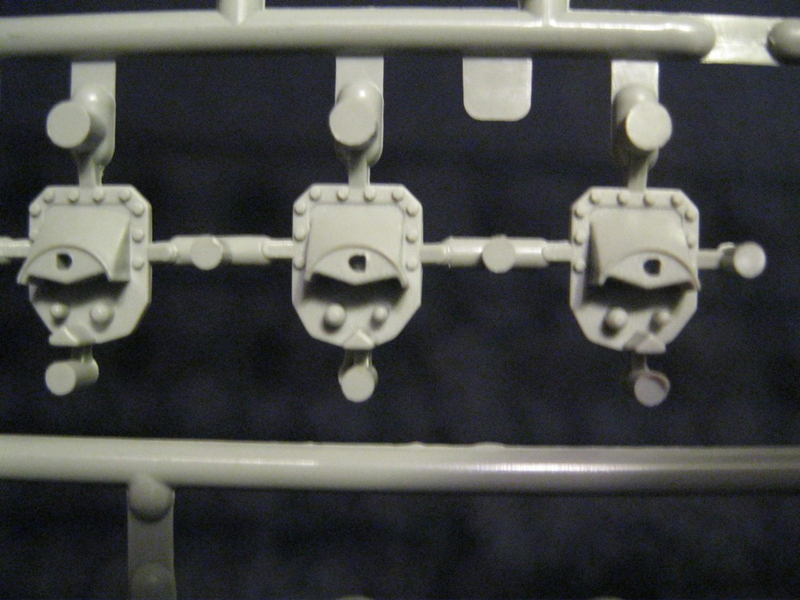
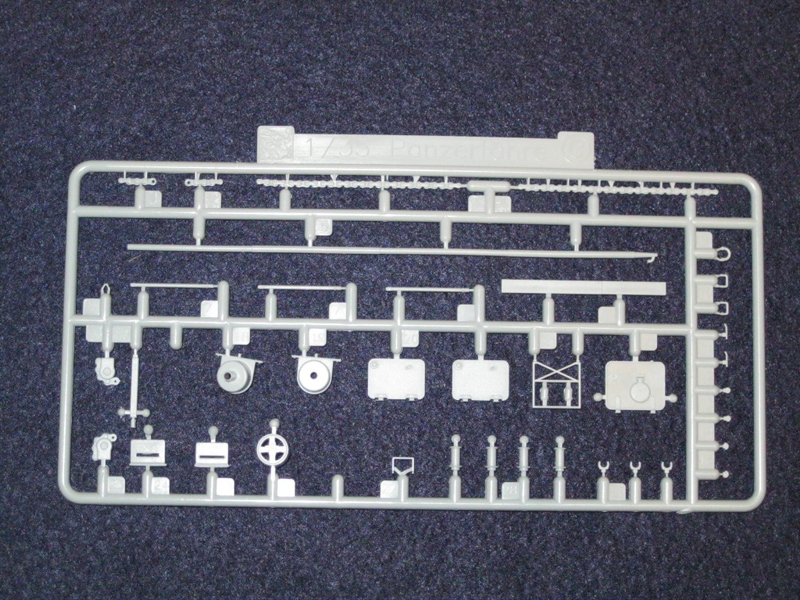
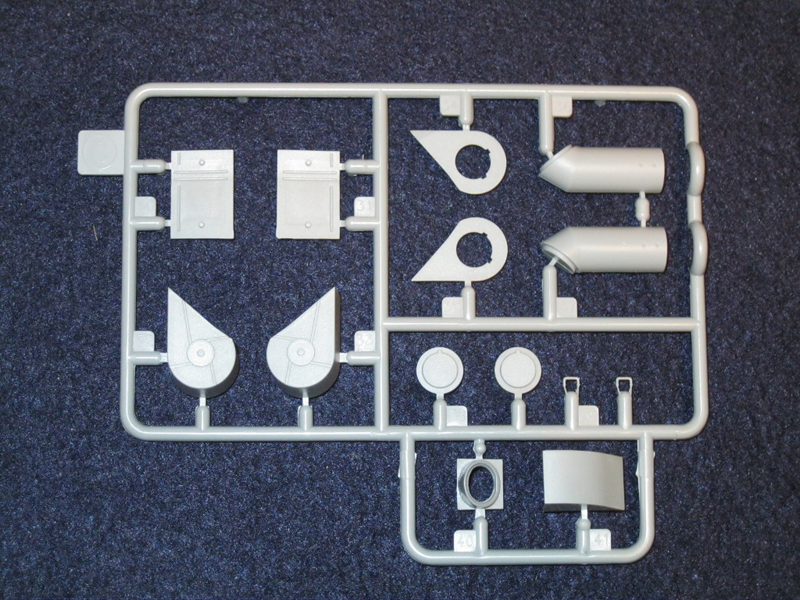
C sprue X2. These are upper hull fixtures, including hatches, handles, intake vents with both early and late styles represented, and side rails.
D sprue. Attachments for the upper and lower hull and the cabin.
E sprue, with clear parts. These are very thin and clear.
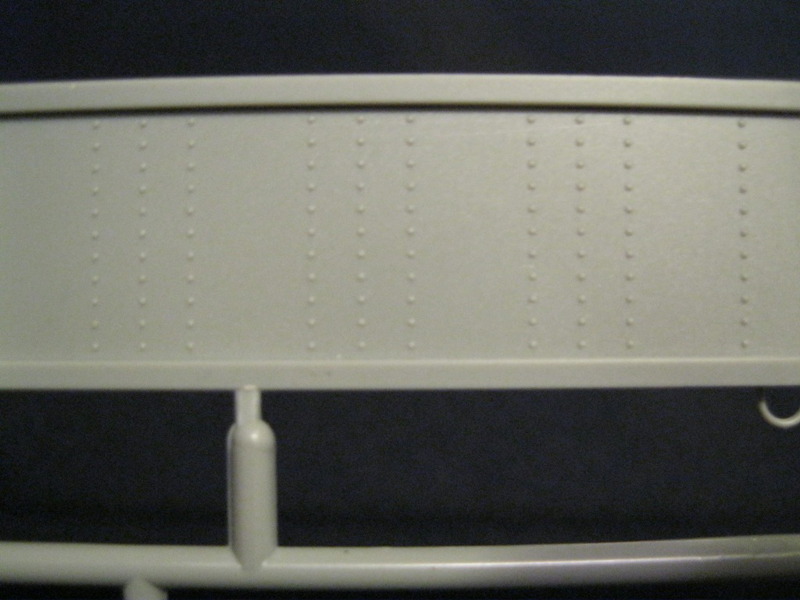
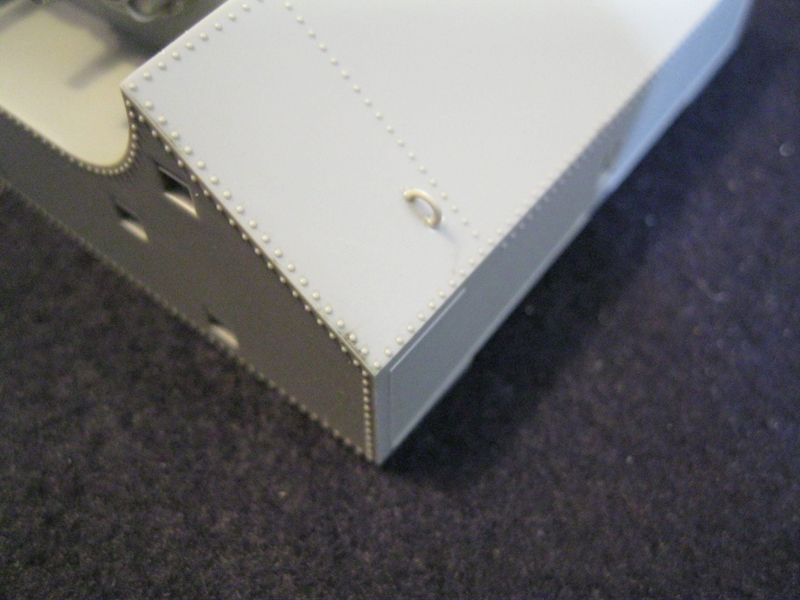
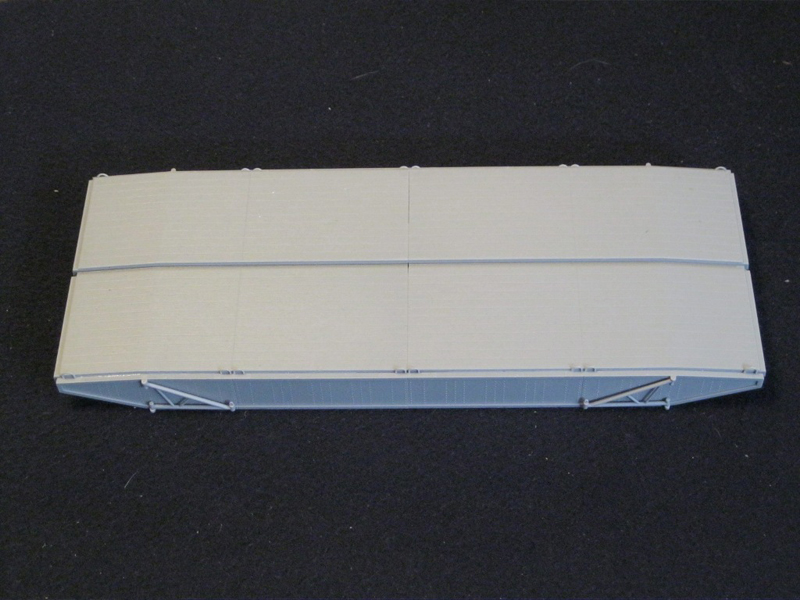
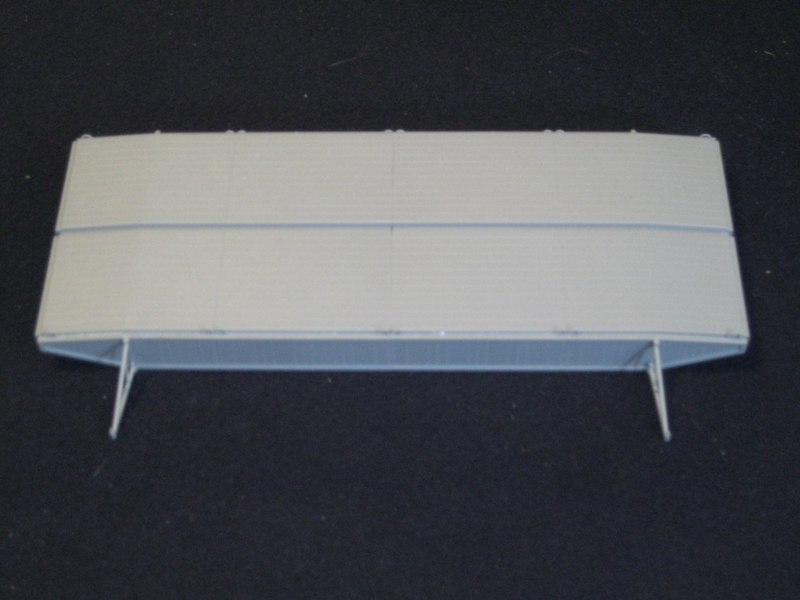
F sprue X2. These are the parts for the floating deck. Each side has one half of the upper and lower parts, and one complete side section, with attachments. Wood grain is very clearly textured, as well as lots and lots of rivets. Again, the molding is very sturdy. Attachment points for the upper and lower parts are very heavy duty.
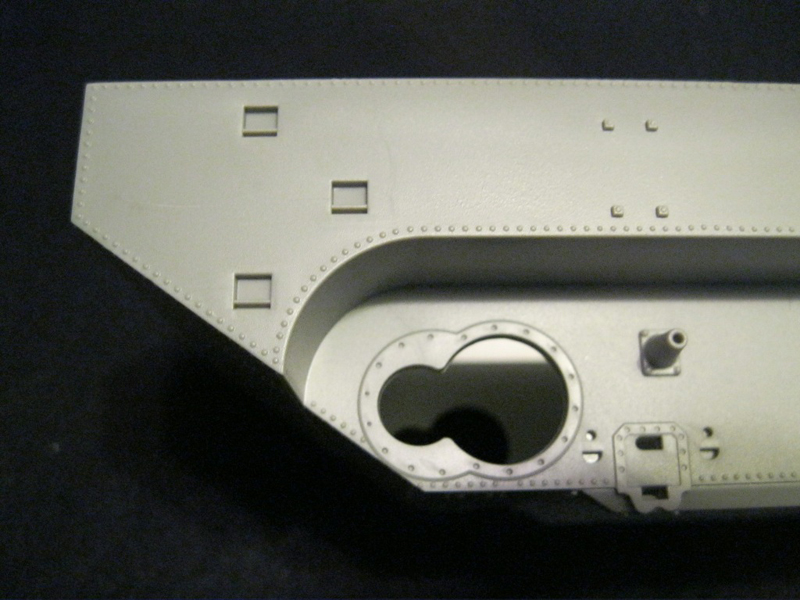
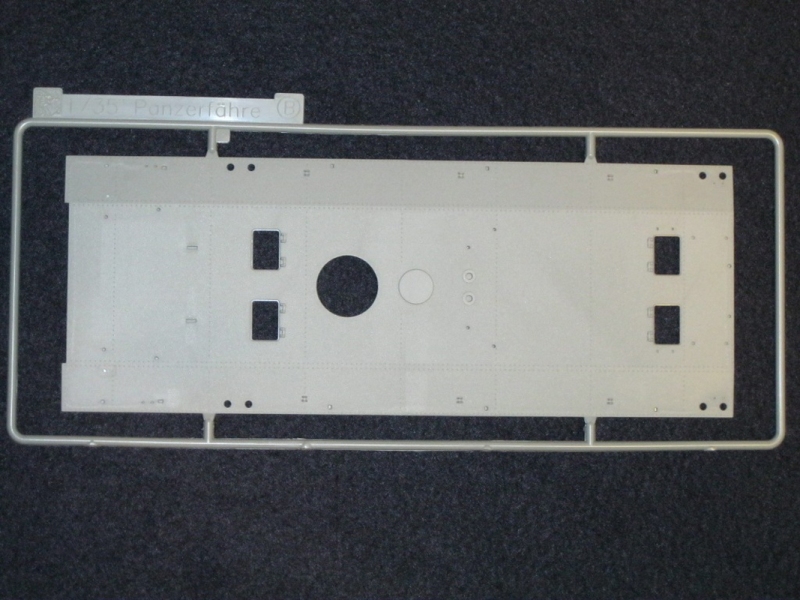
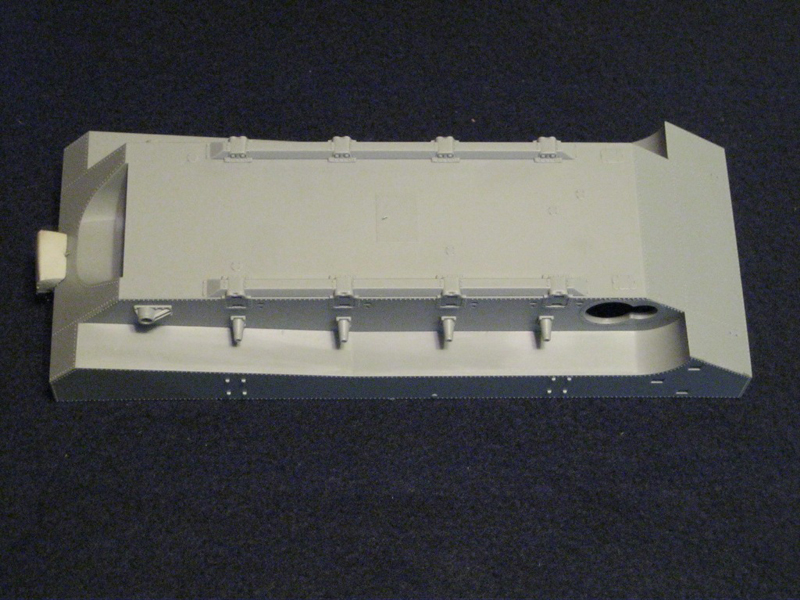
X is the lower hull tub, which is quite large and sturdy. Some details for the suspension are molded to the hull, and there are again lots of rivets. The details are very clear and nicely done.
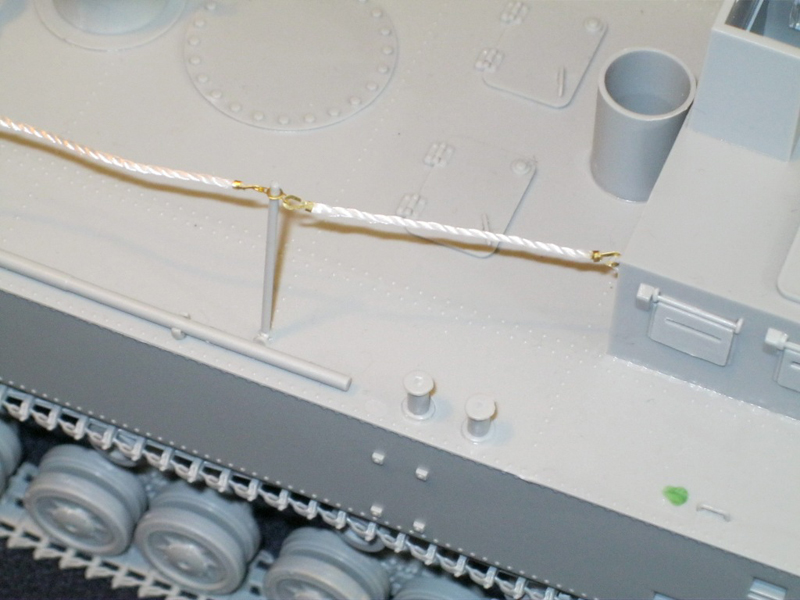
Y is a length of string for the lines between the side rails.
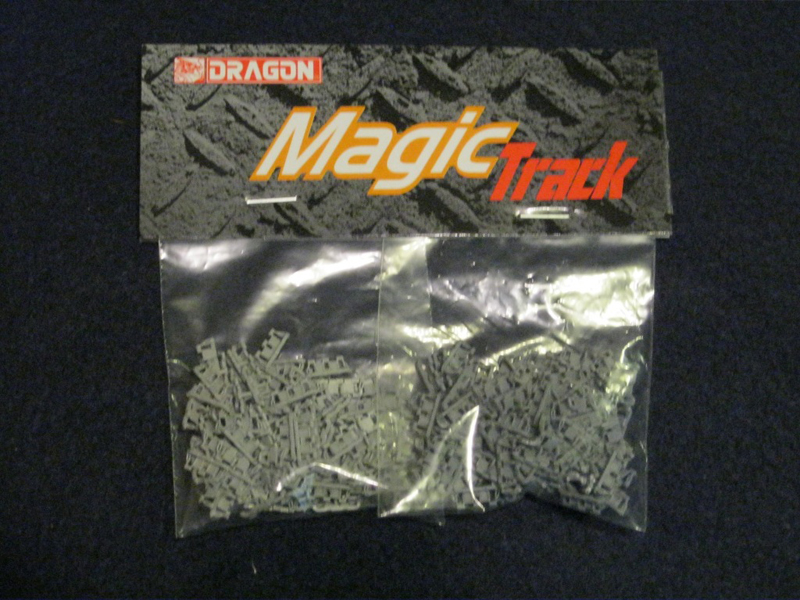
There are two small bags of Magic Tracks, colored dark gray for the left hand side and light gray for the right hand side. The instructions say there are 108 of each, but I had a few more than that, about 115 dark and 110 light.
One small photoetch fret with the attachment loops for the tops of the side rails and hooks on the end of the safety lines.
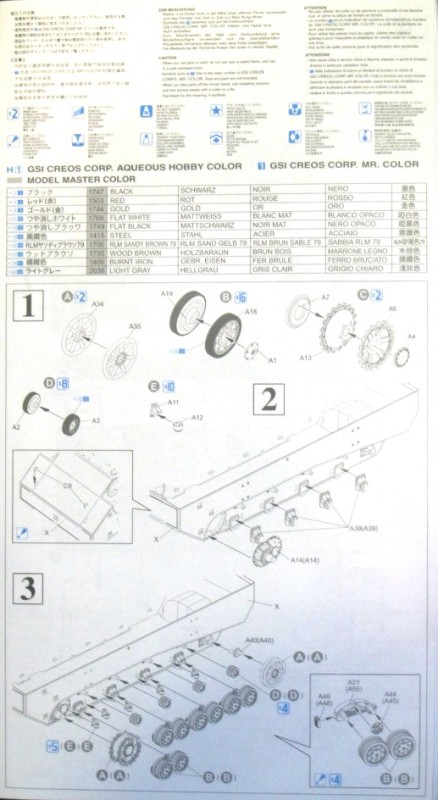
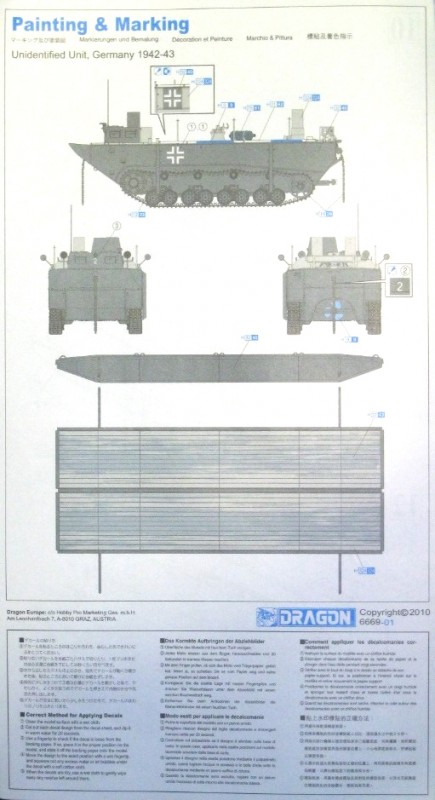
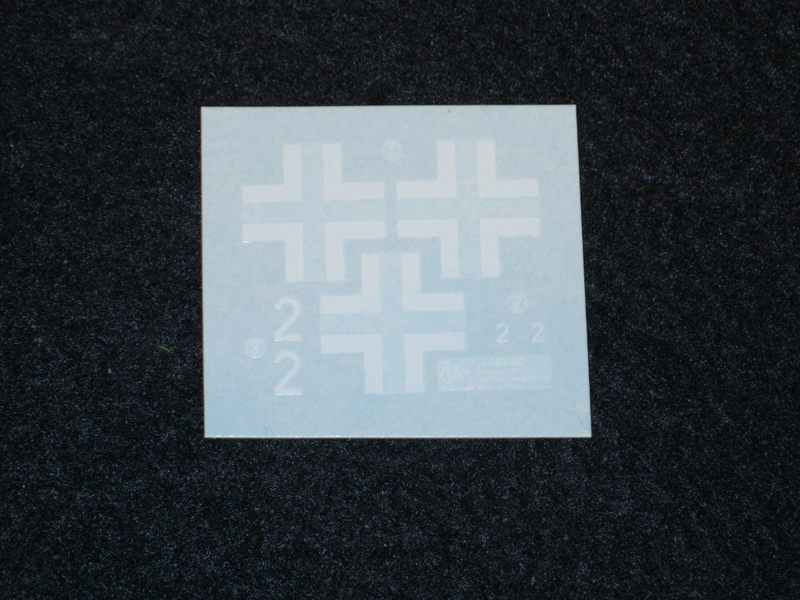
The instructions are broken down in 12 steps and are fairly simple. Decals are for the single prototype no. 2. Painting is sand for the body and light gray for the upper surfaces, but again, references on the internet indicate dark gray for the lower body and tower and light gray for the upper surface.
In general, molding was excellent, but there was some flash on several parts, more than I am used to seeing from Dragon kits, including on the tracks and clear parts. It cleaned up easily.
the build
When I first saw this kit released, I didn't think much of it as it was an unknown vehicle to me. When I received the kit for review, my interest level increased significantly. The concept and design struck me such that as soon as I could I started building. I really wanted to know more about this vehicle system. Before I started the build I searched on the internet and found that every site used one of 7 general photos of the vehicle, either one prototype alone or the two together. One showed them transporting a Panzer IV between them. There are several built models, mostly of a previous release in resin.
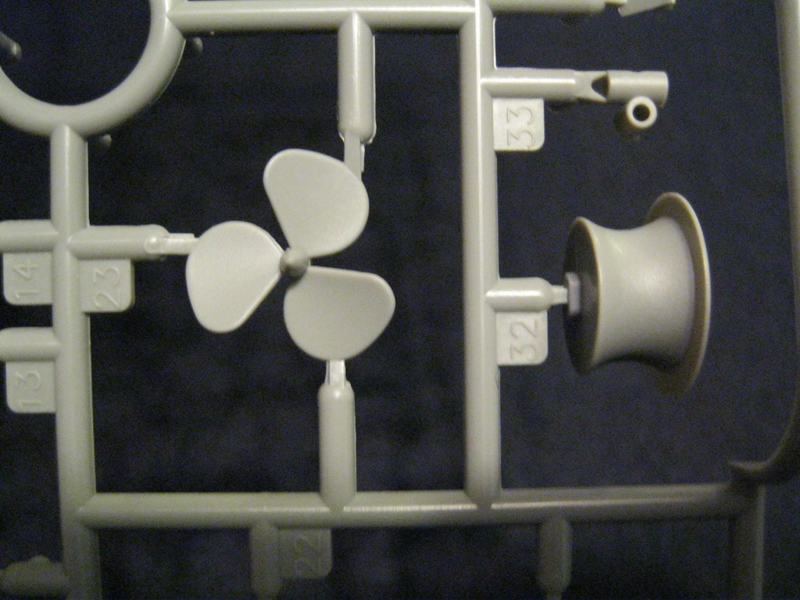
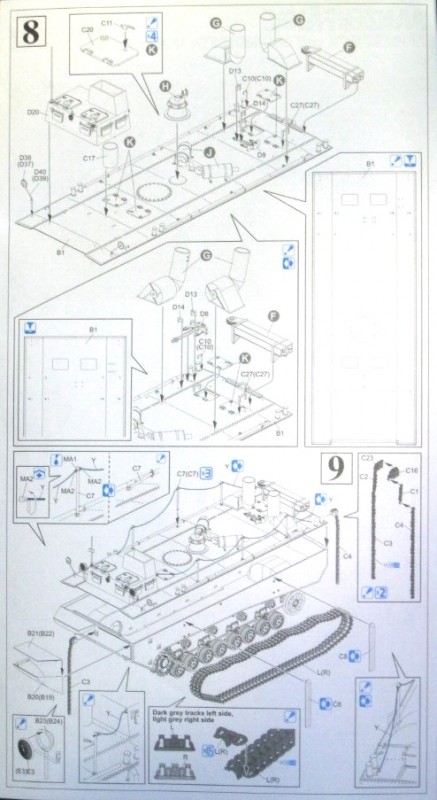
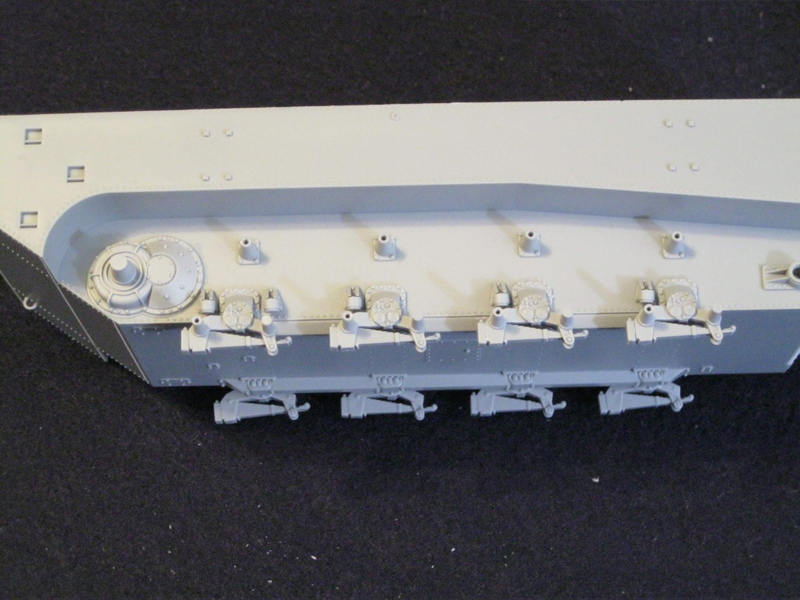
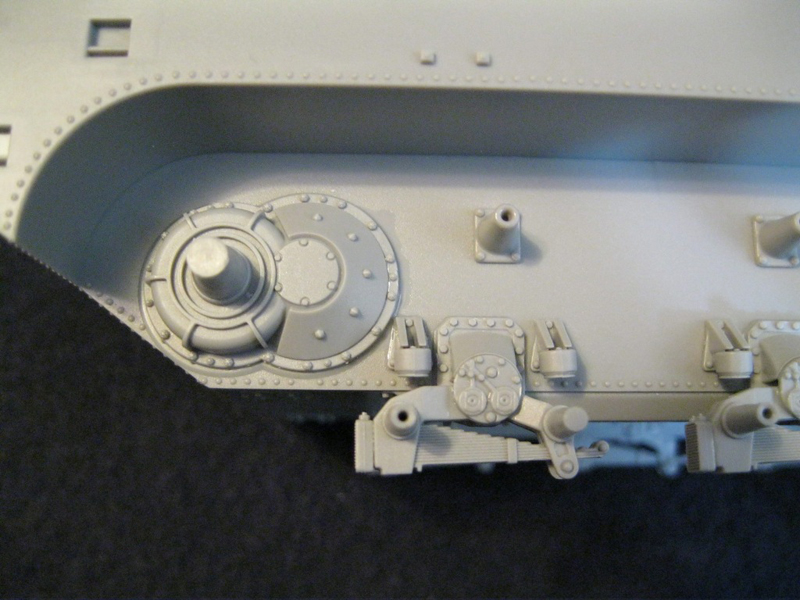
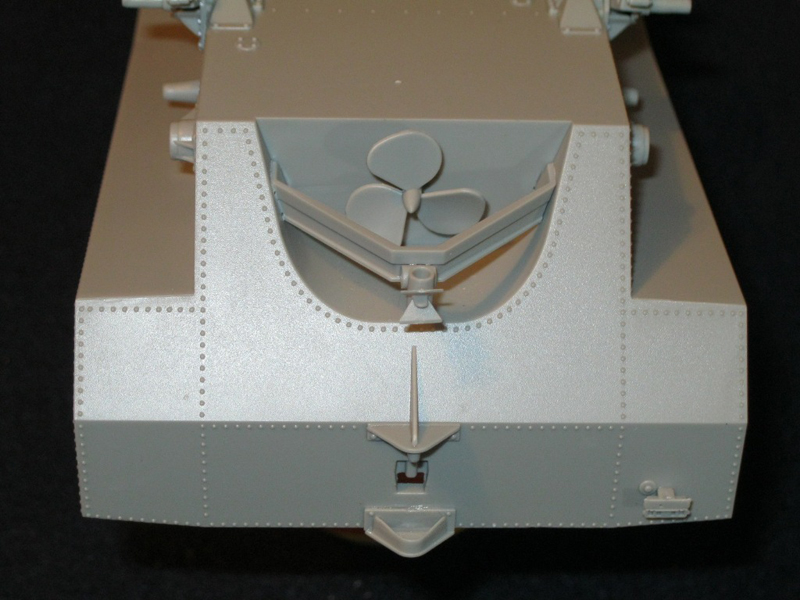
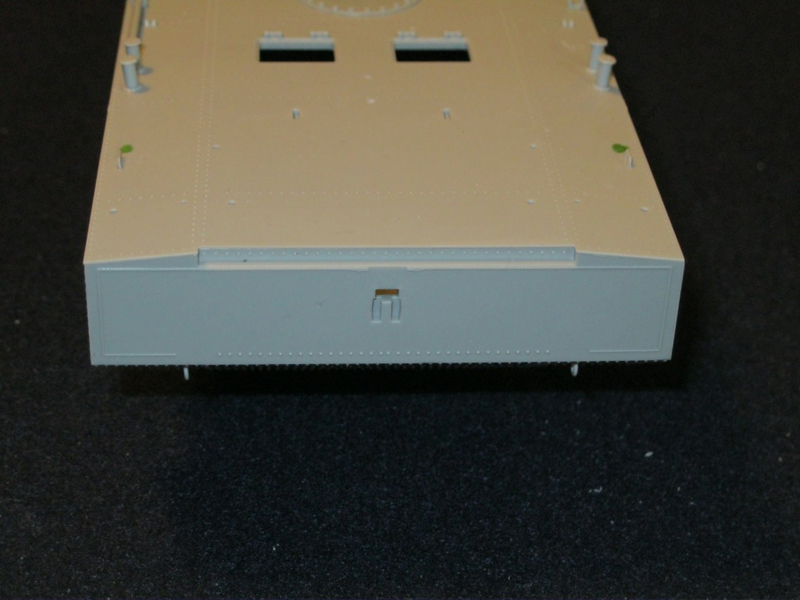
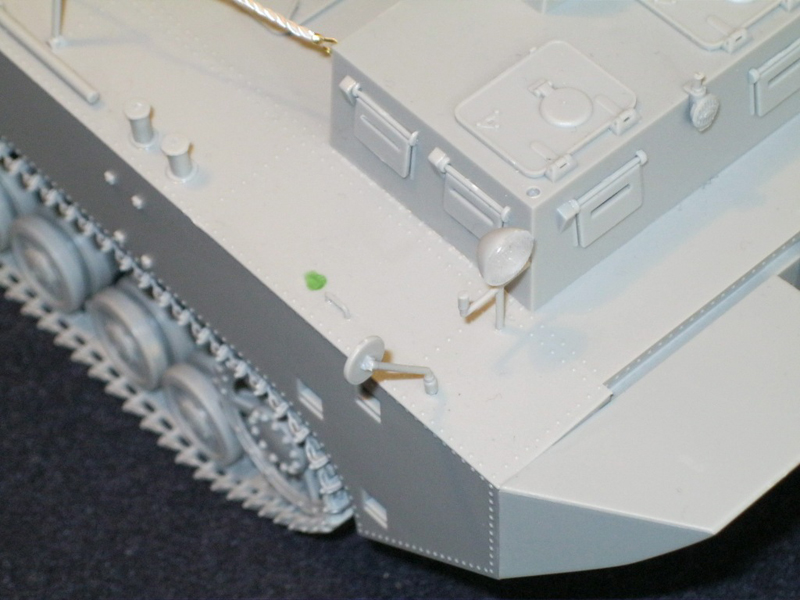
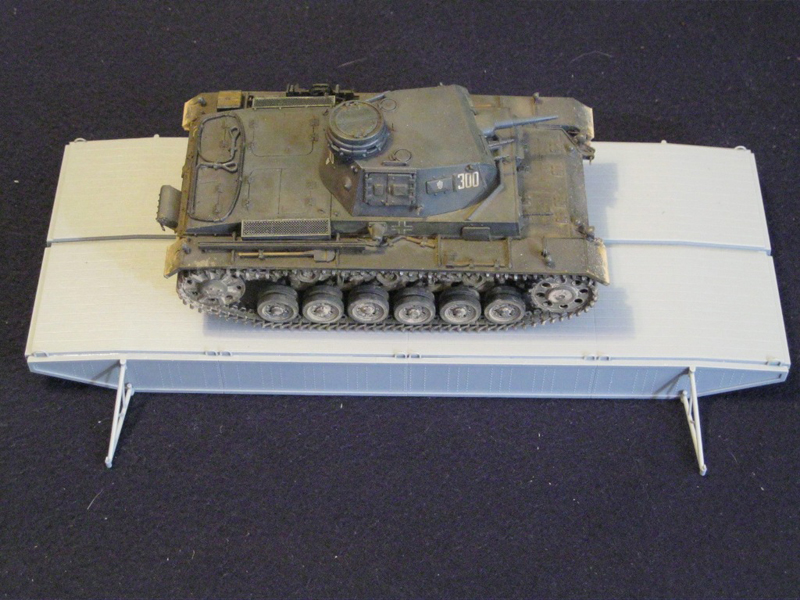
The instructions start you at the suspension. All separate parts completed, I added the springs to the lower hull tub, added the final drive housings and bumper stops. I added two tie loops to the front hull, tow bracket, propeller and guard to the rear. There is no indication of any rudder or other steering device. I held off on any of the actual running gear for later in the build.
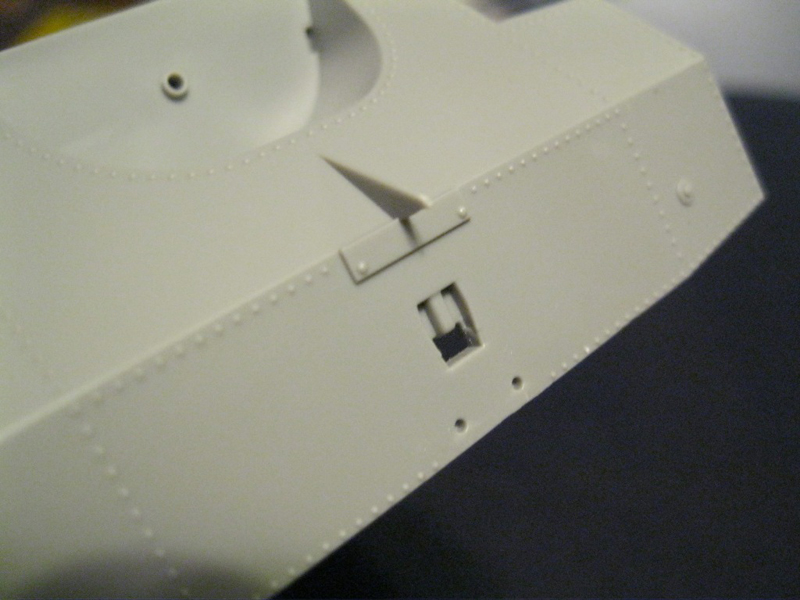
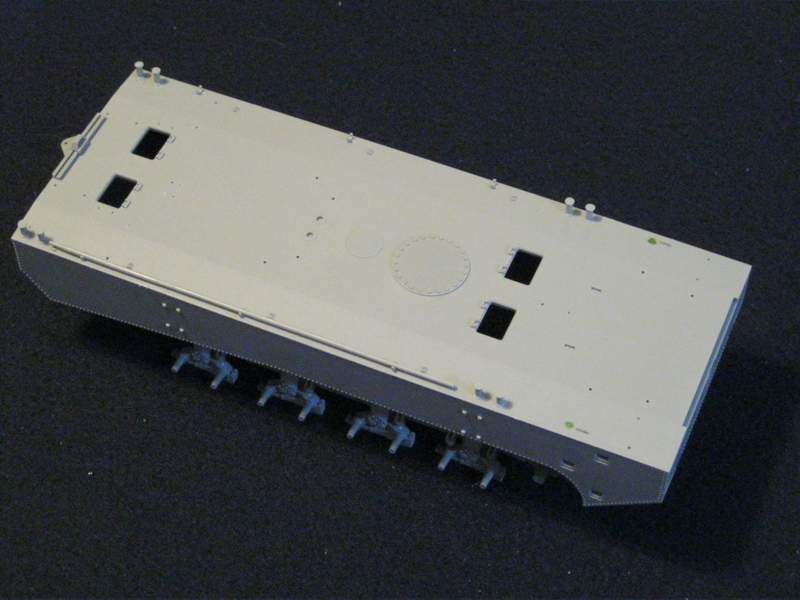
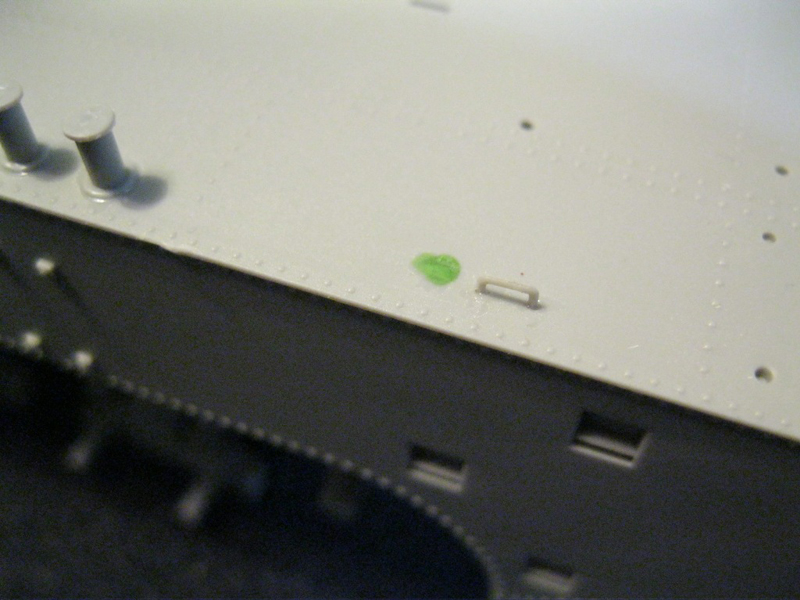
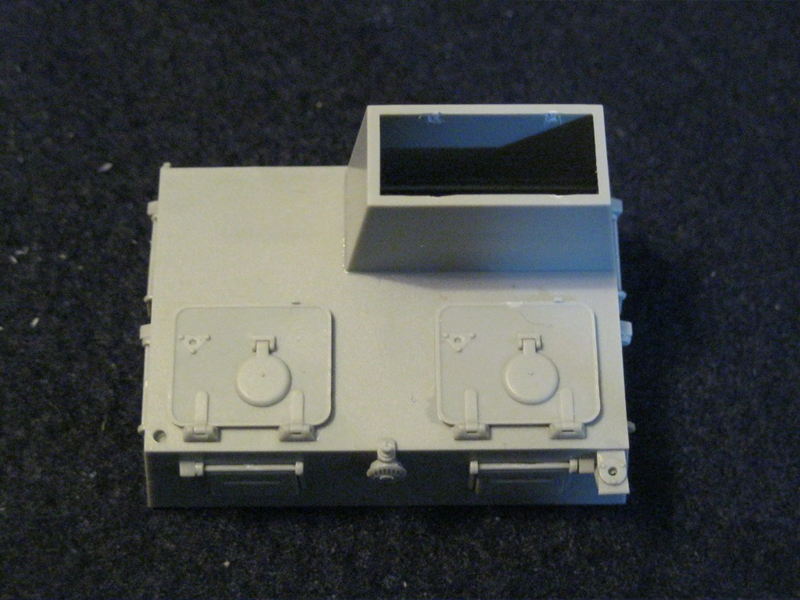
I drilled the holes in the upper hull for prototype II and then fixed it to the upper hull, not in order per the instructions, but I didn't want to risk bumping any of the small deck attachments off. It fit quite well though there was a bit of flash and some fitting with the mold seams has to be worked through. I filled a couple of holes, added grab handles and tie downs and then started work on the larger deck parts.
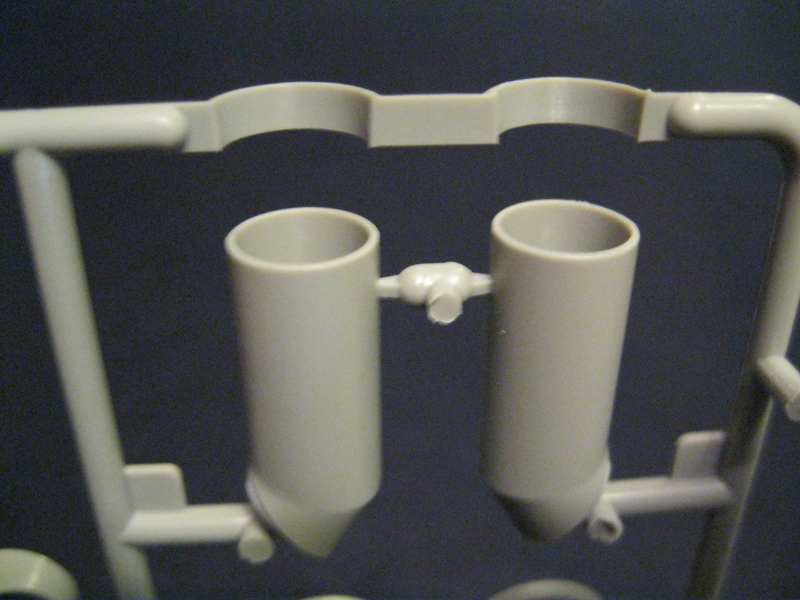
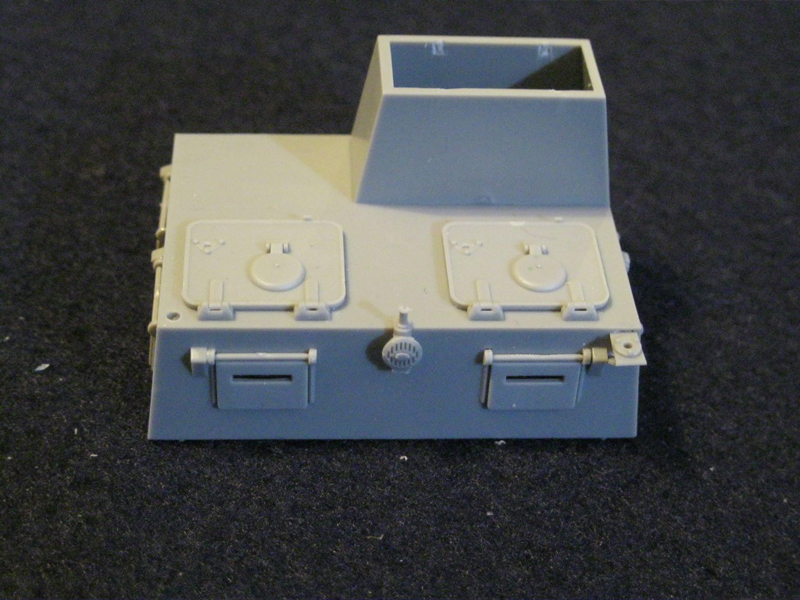
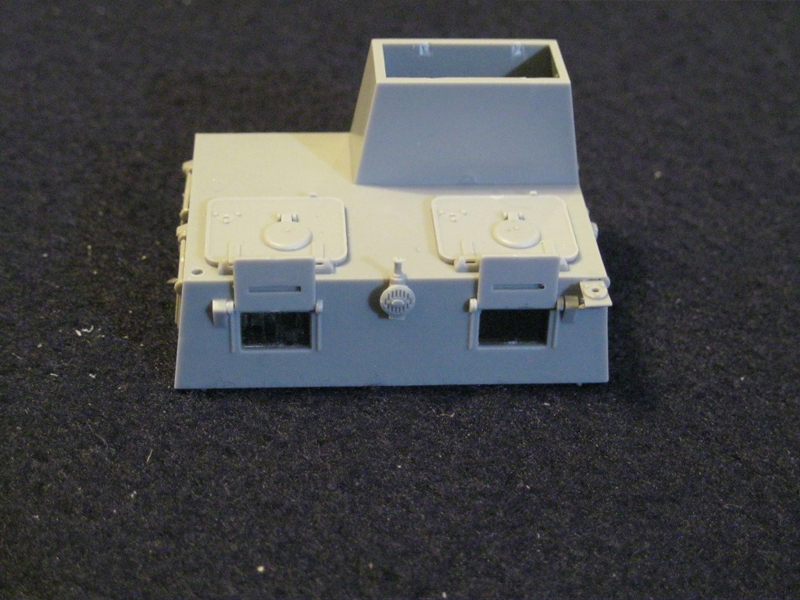
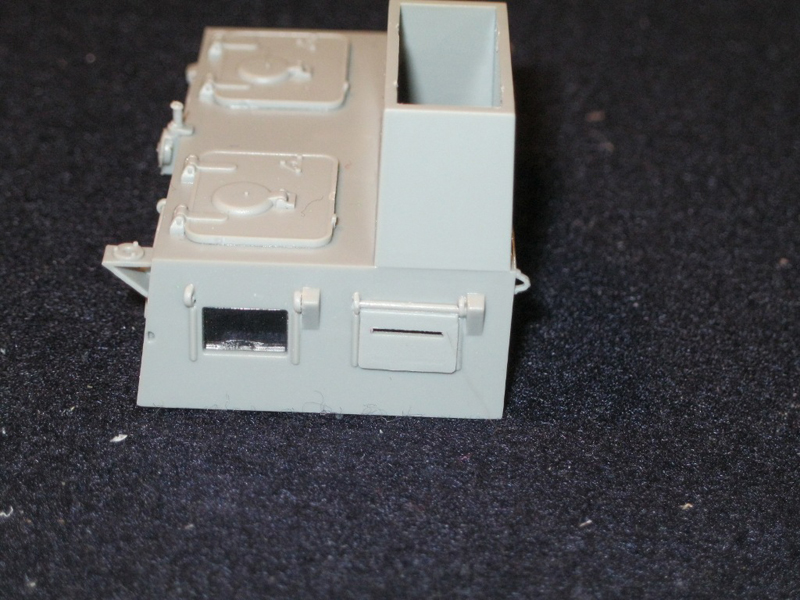
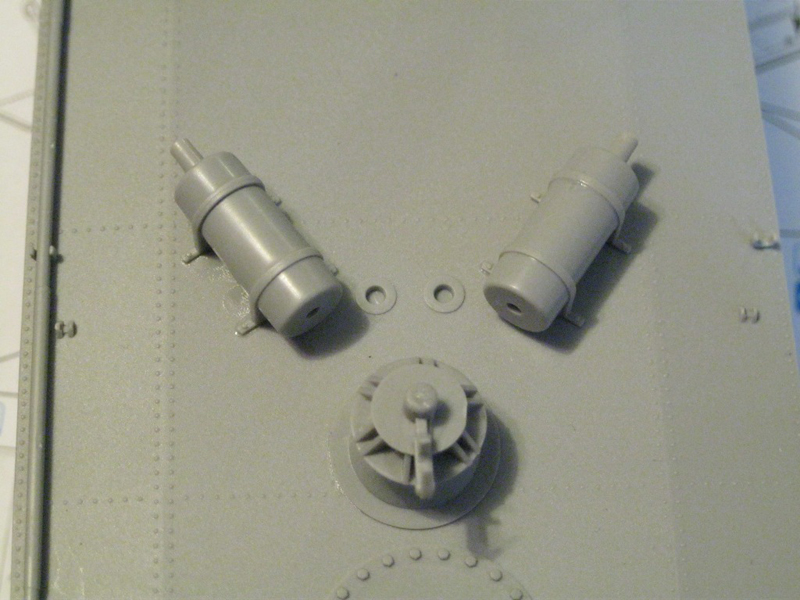
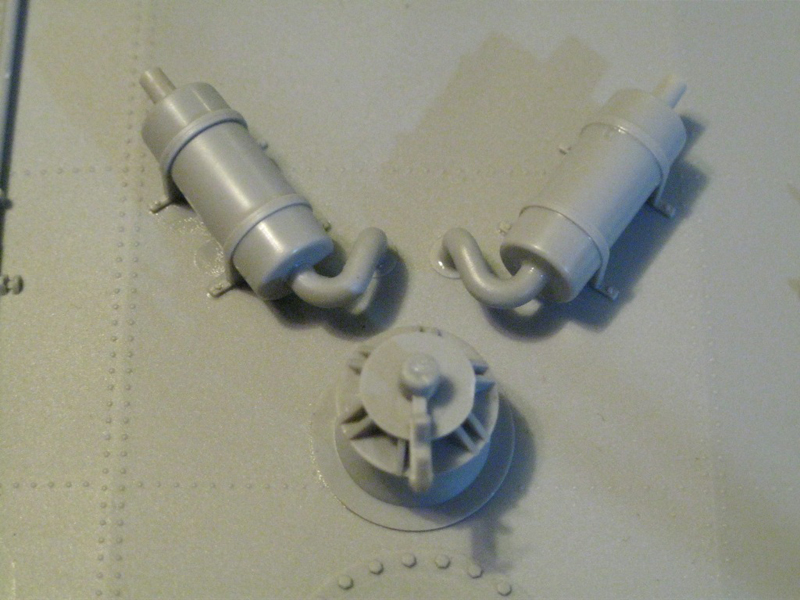
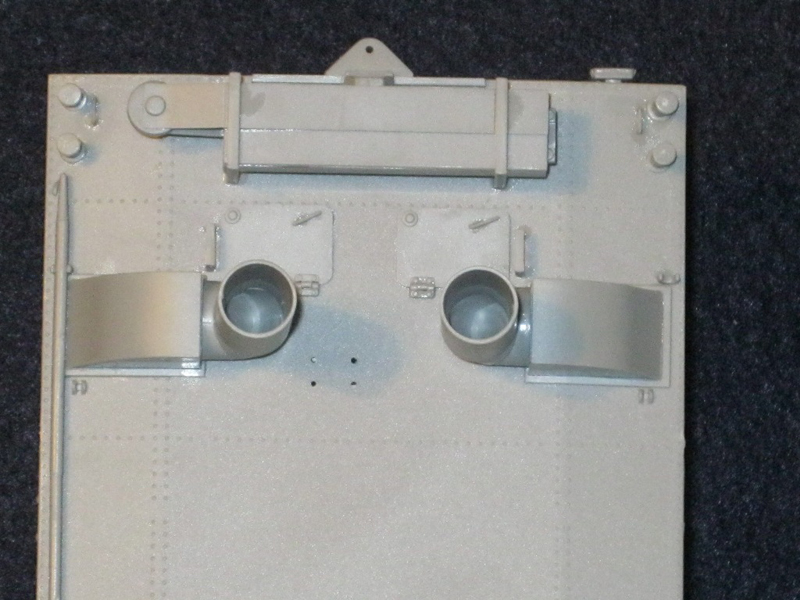
The cabin assembly has 6 windows, each with an armored shield. These can be built so that the shield can be moveable. In doing so I managed to launch one off into the modeling abyss. The hatches have interior detail, but there is no interior to see, so unless you have an unknown photo of the interior or a good imagination and are ready for a lot of work, the detail does nothing. There is a tower that attaches to the top of the cabin. The sides are very thick and looking down all one sees is the cabin roof. I would prefer some additional detail here as the part is so prominent. There are a lot of other very small parts to attach here so be careful. I also built the intakes on the prototype II style and the exhausts. I did not add the pipes that run from the deck to the mufflers until they were fixed to the hull top.
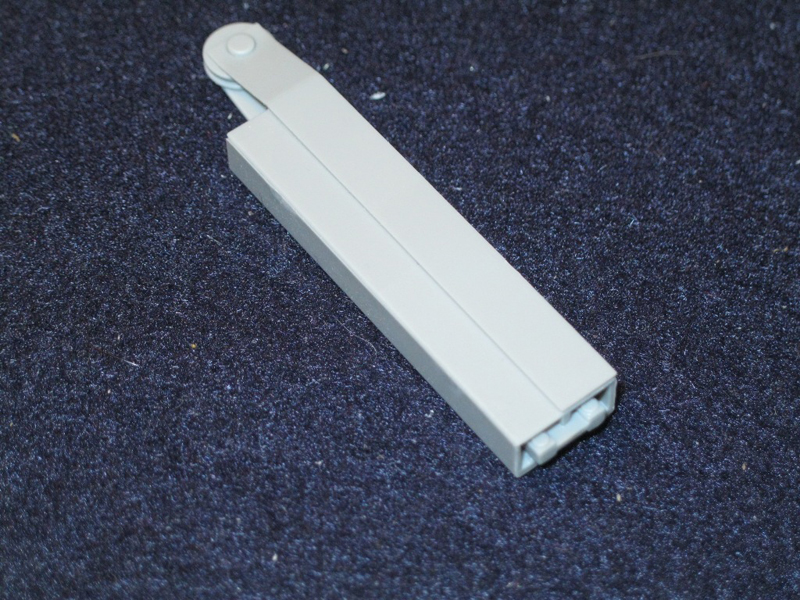
The crane assembly for the rear of the vehicle is somewhat vague. As near as I could tell, the hinge part is inserted in the center of the upper and lower section and inserted so that only a small part shows. The upper and lower arm section is then glued to the outside edge of the inner housing parts. I did not place the mounting brackets until the entire setup was placed on the rear deck.
It is easiest to install the hatches and handles before adding the intakes on the rear of the deck. Then everything else was added to the deck. The only error I found in the instructions was for mounting the anchor. Parts D13 and D14 are reversed. There is no rope or chain indicated for the anchor. The intakes are very thick and I think would look better if thinned down at the opening.
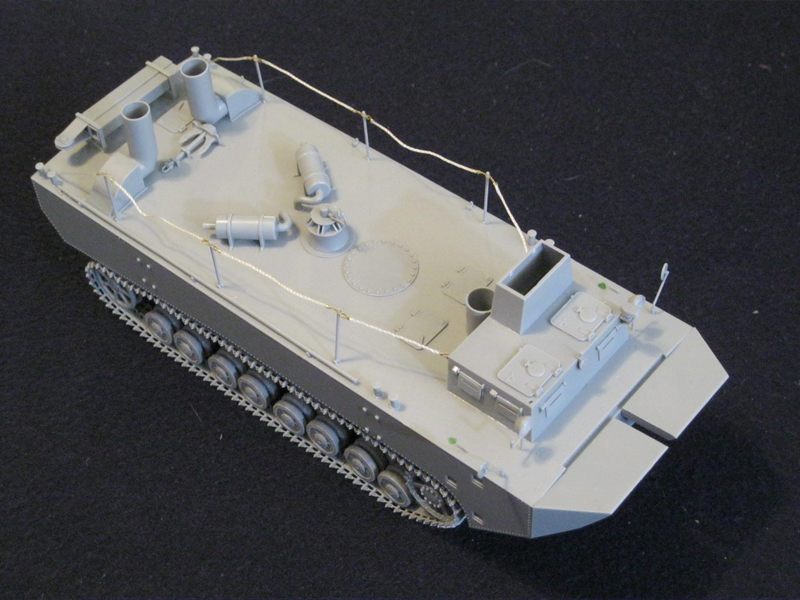
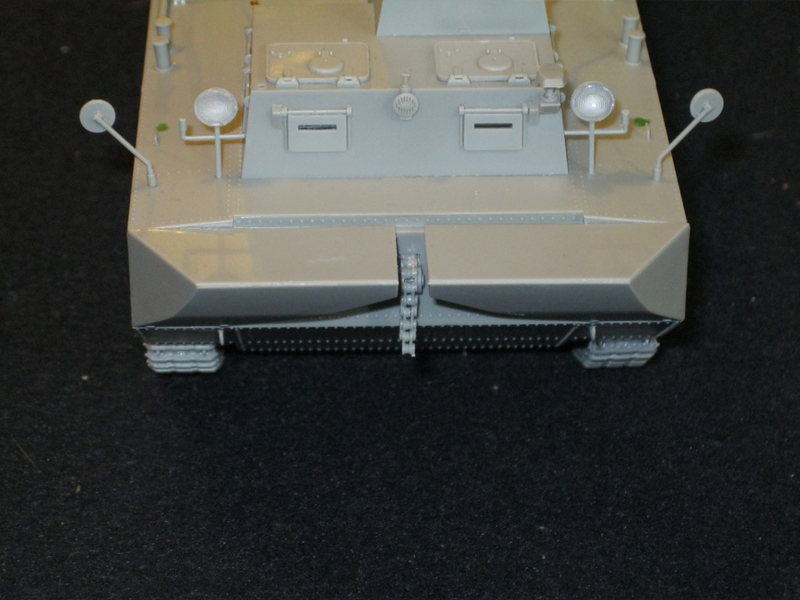
Once everything was in place, I started with the safety lines and posts. The posts are very fragile and it is easy to snap one off while placing the line. Adding the etch hooks to the string took some work. The method that worked for me was to take the hook by the base in a pair of very fine needle nose pliers, carefully wrap the tab around the tip of the pliers, then open it enough to feed the string through. With about 1/2 inch (1cm) of string run through the tab, I pinched the string to the hook side and used my fingernail to wrap the tab back around the string and base of the hook. I was able to wrap the tab all the way around the back of the tab using this method. I tried to measure all the strings the same length, but a couple ended up longer or shorter than I intended. The string is still a little stiff and needs to be shaped with painting to show the slack properly. The lengths to attach to the tower and rear deck are shorter and both different than the lengths that run between the posts. The lights and rear view mirrors are thin and very fragile, and easily knocked off. My lenses had to be cleared of flash around the outside edges.
The track length is 105 track shoes per side, which is longer than the regular panzer IV. The photos I found did not show a lot of slack, from what I could see. Again, the tracks are handed. I positioned the idler with the arm facing nearly vertical down to get both the necessary clearance between the idler and rear fender area and to get the 105 links to fit.
The deck was a quick assembly. I used tube cement due to the surface area involved. It fit well for the most part, with only very minor seams (less than with most aircraft models I have built) and is very sturdy. The brackets on the sides fold out.
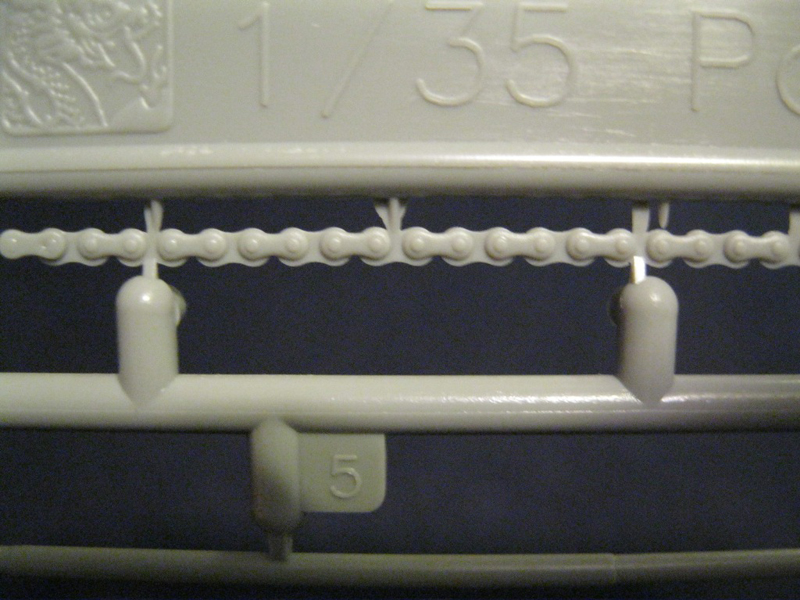
The only real problem I had with the kit was with the chain links for the front and rear of the vehicle, which attach to the brackets on the deck. They come molded in three sections and make a straight run which extends well below ground level if attached straight. The chain is like that on a bicycle. To be bent to fit to the deck they must be carefully heated. I ended up breaking the forward chain. DS styrene might have been better for that part to provide the flex.
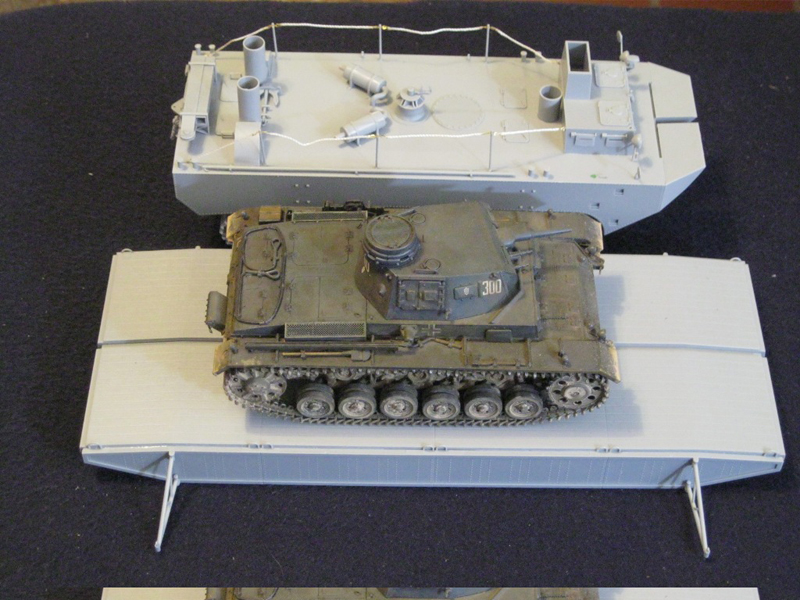
As built, the vehicle and deck are quite large and look quite impressive. To complete the scene you need two vehicles, so your first option is to purchase kit 6625, or spring for the bonus set that includes both kits. There are two complete intakes left over that are the early type (a build option for this kit). If you don't want to spring for two kits, you could potentially cut this one in half and assemble one side with the early intakes and one with the late. It would be quite a chore, but there are modelers out there who would do it. You can choose to use your imagination to show the vehicle in combat use, or use the kit decals to show it as the test prototype. When the weather warms up enough to allow me outside to paint, I'll finish the kit off.
conclusion
Overall, the kit is an interesting build. I had no major issues with the instructions or kit parts, and the only minor issues were than those mentioned. It has a high degree of surface detail, but is otherwise rather basic, and a fairly simple build. Parts fit was generally quite good, especially for the larger assemblies. I don't know if it should have a rudder or anchor chain. If you are looking for something different or new, this is certainly it. Hobby Boss has also presented this vehicle in a kit but I do not know how they compare. My thanks to Dragon USA and Kitmaker/Armorama for providing this sample.
SUMMARY
Highs: Excellent surface rivet detail. Fairly simple build. Interesting subject.Lows: More flash than normal. Some other details are very basic. Verdict: Overall this is a high quality kit that is enjoyable to build.
Our Thanks to Dragon USA! This item was provided by them for the purpose of having it reviewed on this KitMaker Network site. If you would like your kit, book, or product reviewed, please contact us.
About Russ Amott (russamotto) FROM: UTAH, UNITED STATES
I got back into the hobby a few years back, and wanted to find ways to improve, which is how I found this site. Since joining Armorama I have improved tremendously by learning from others here, and have actually finished a couple of kits. I model to relax and have fun, but always look to improve. ...
James, thanks for the help.
Darren, I didn't think to photograph the flash until after I had removed it. It was along the sides of the barge parts, and on several of the smaller parts for the upper deck, as well as the lenses for the lights. I also had some flash on the sides of several of the left hand (dark gray) track shoes. It wasn't hard to remove, but I was not used to seeing it on Dragon kits.
Matt, you are correct. Either get both or get a little creative in your diorama. Maybe just starting to hook up the first vehicle. I don't know what vehicle would have transported the barge section between river crossings.
Russ, thanks for including a picture with a panzer on the floating deck. For some reason I've been having a hard time trying to picture this setup in service and your pictures really helped out. I still don't know that I'm really interested in these things, but they would make one very cool diorama for someone with good water modeling skills.
Russ I am sorry I did not see your reply earlier. The information you have given on flash on this kit does not feel me with confidence for later production runs.


Comments