Introduction
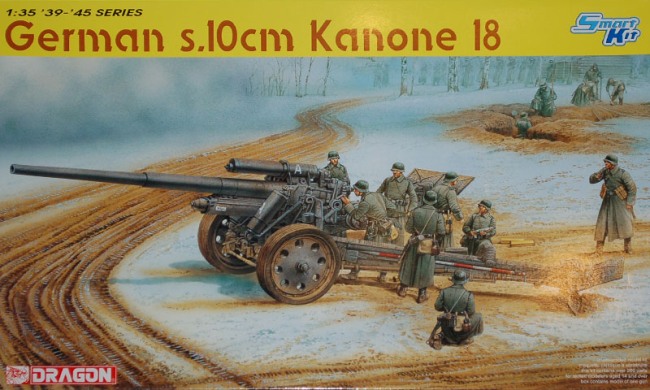
Before the age of the World Wide Web, which changed the face of model making along with everything else, the only German field artillery pieces I knew about was the 88mm, Pak 40, and 37mm anti tank gun. Now we have a host of new WW2 German artillery guns being released by various manufacturers, and I am going to cover a build review of the German s.10cm Kanone 18 from
Dragon Models Limited.
Contents
In the standard DML slip-top box you will find;
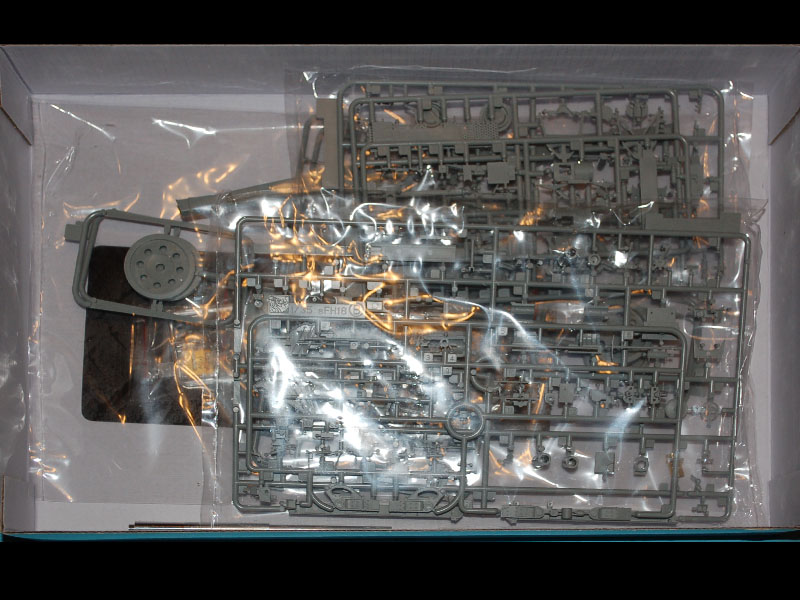
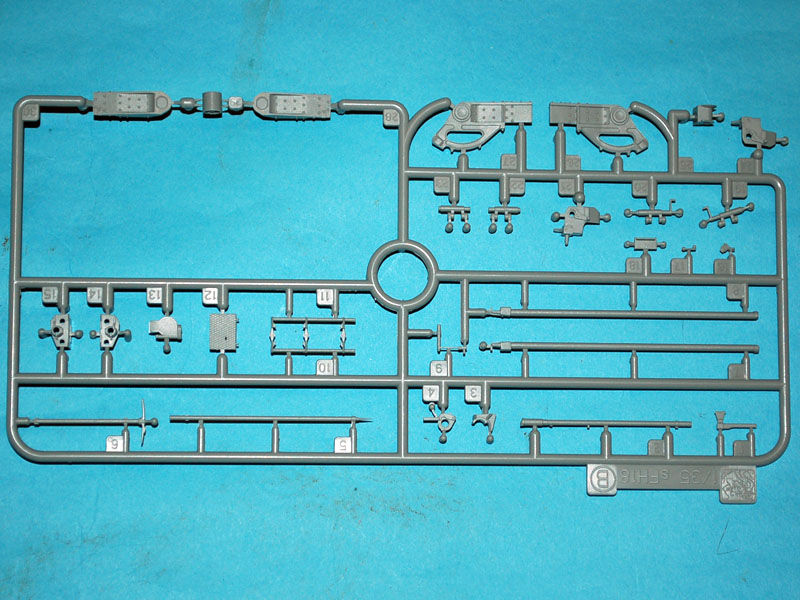
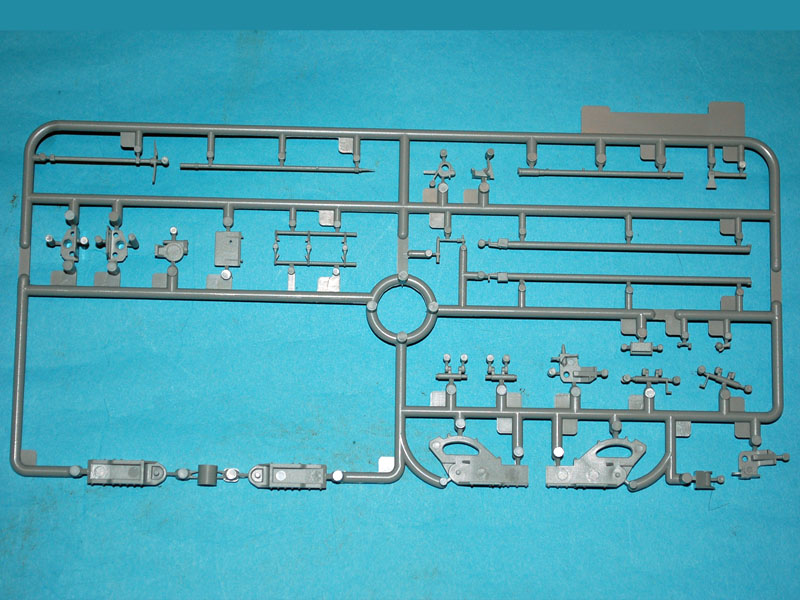
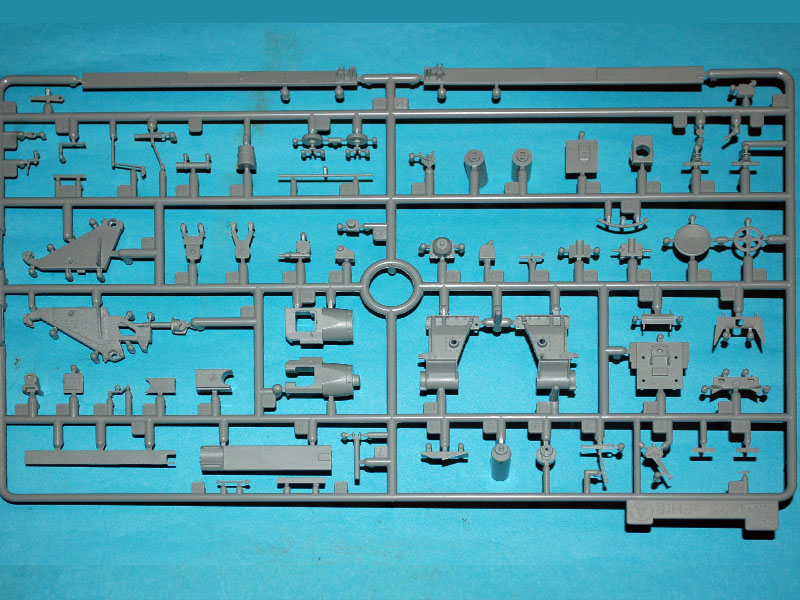
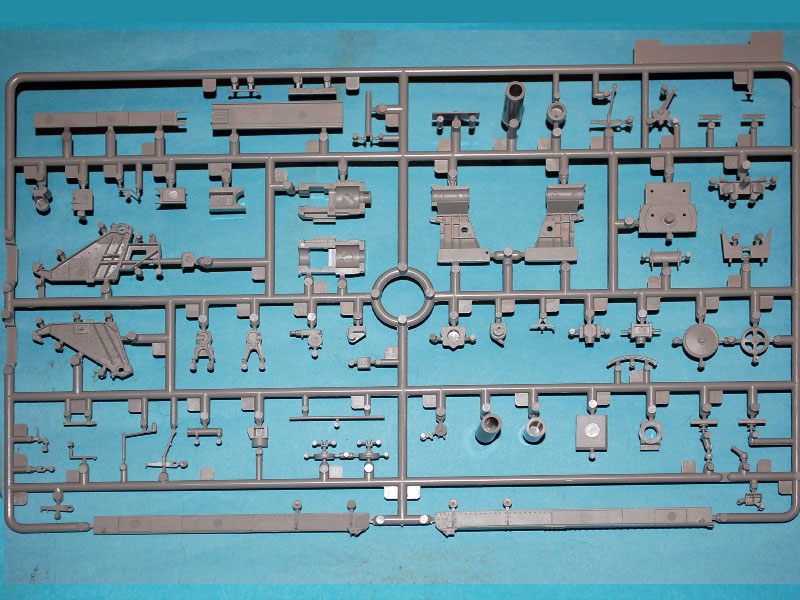
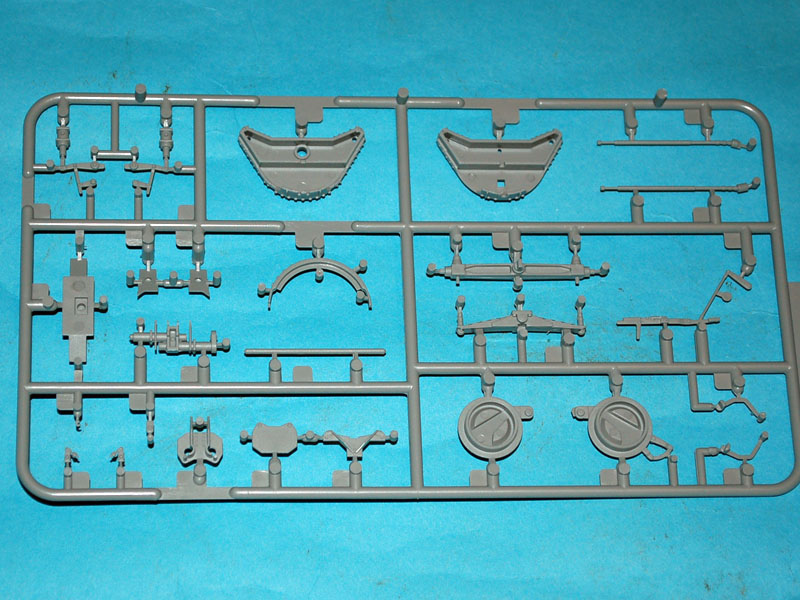
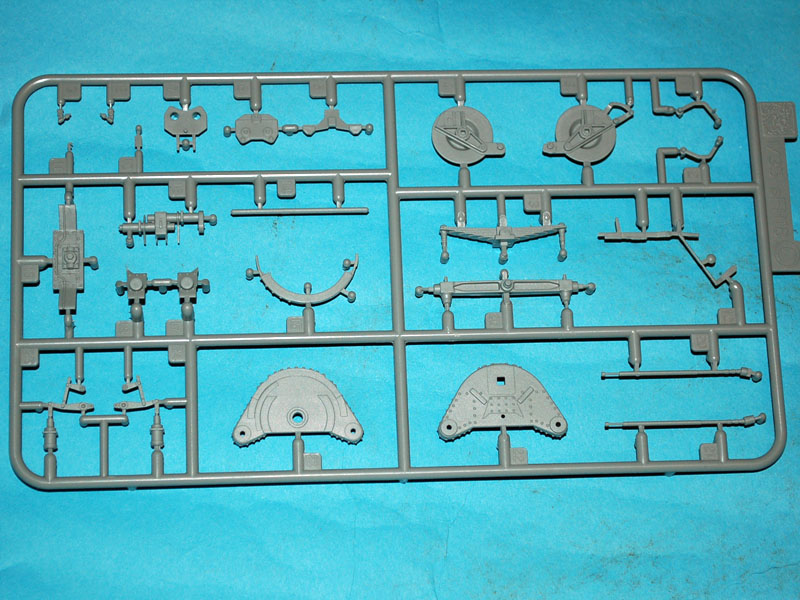
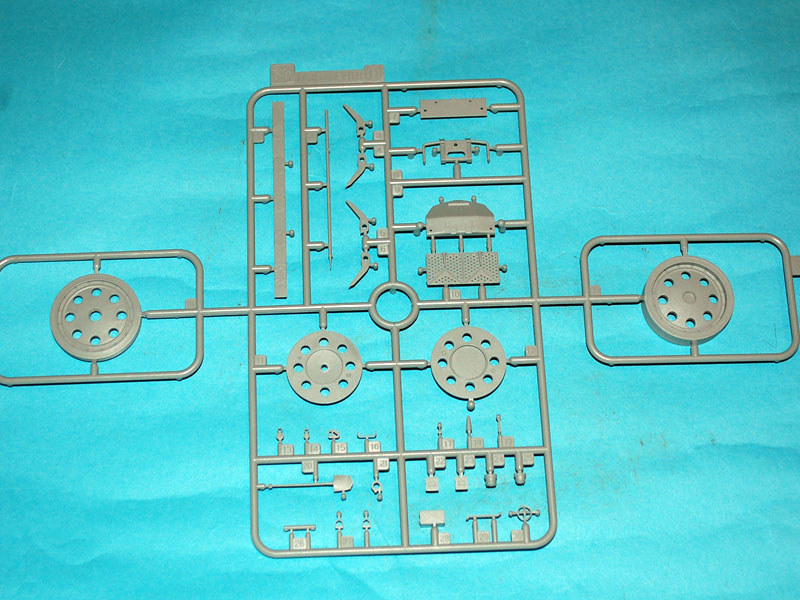
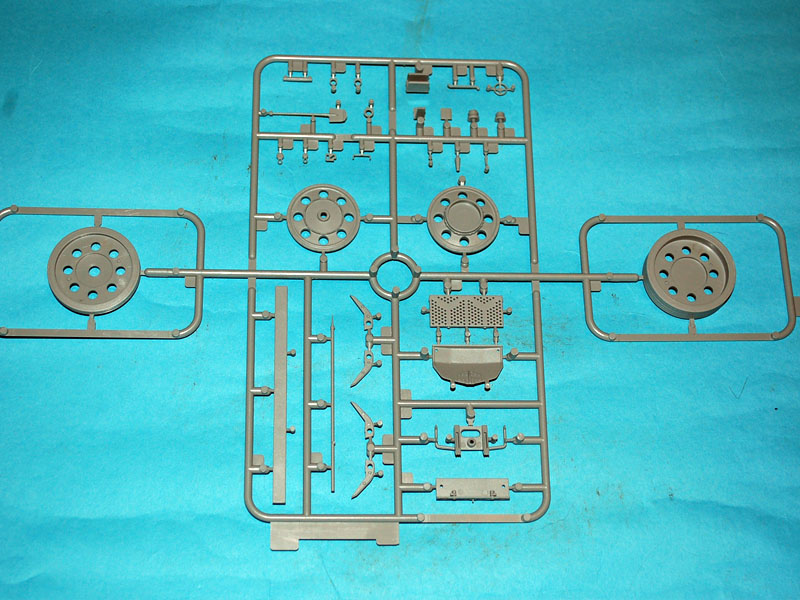
7 light grey sprues
1 clear sprue
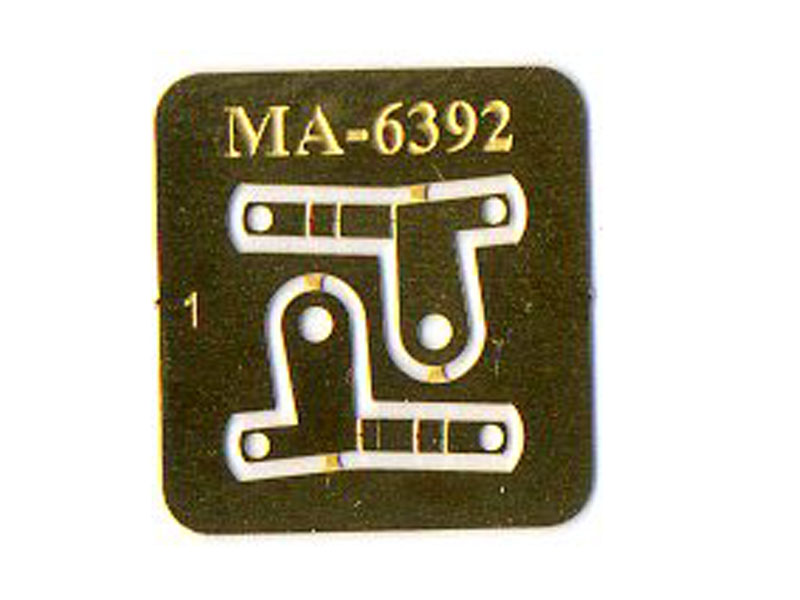
1 PE sprue
1 coloured PE sprue
A turned aluminium barrel
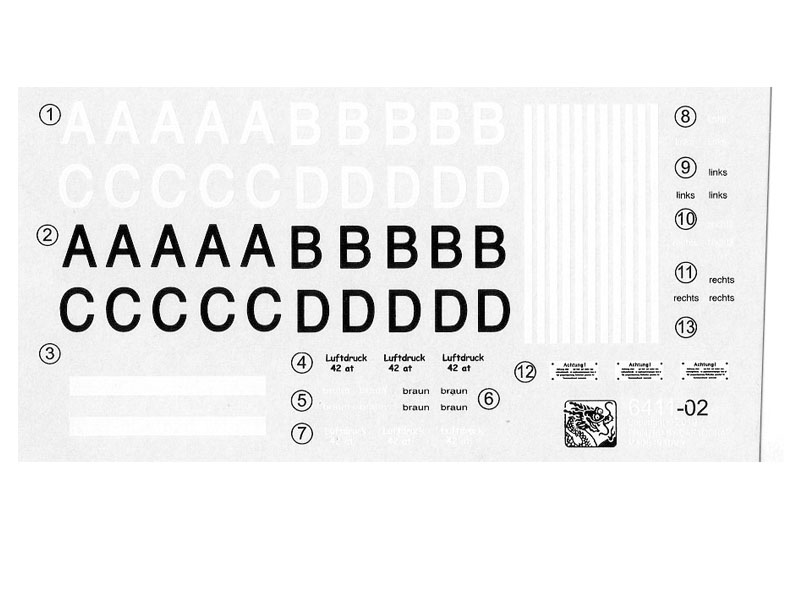
A decal sheet
8 page instruction pamphlet
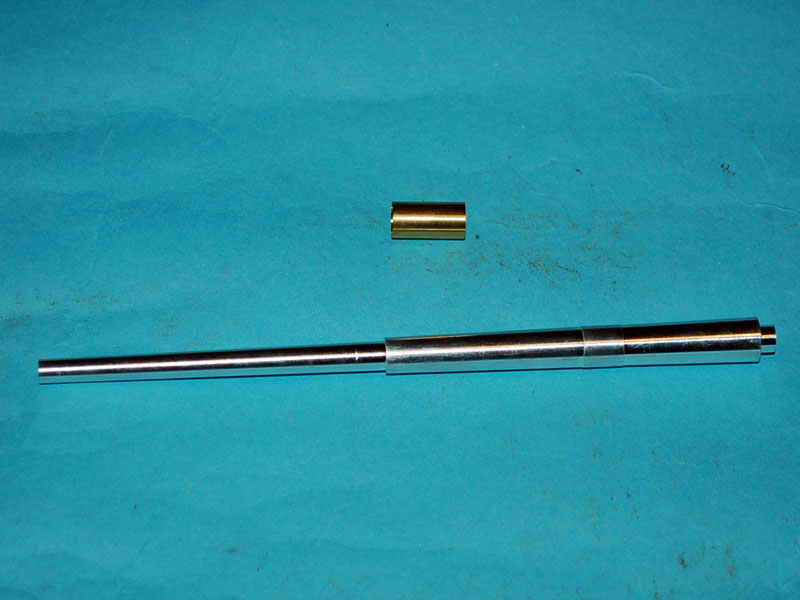
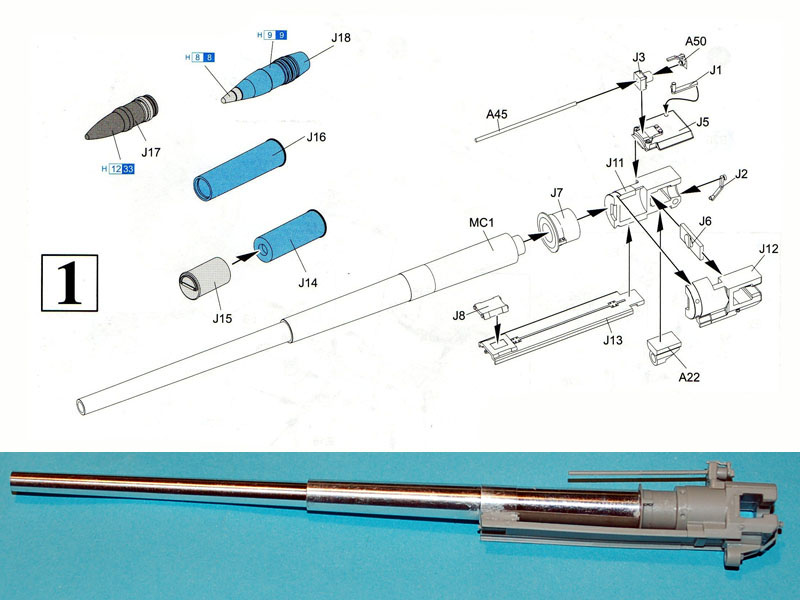
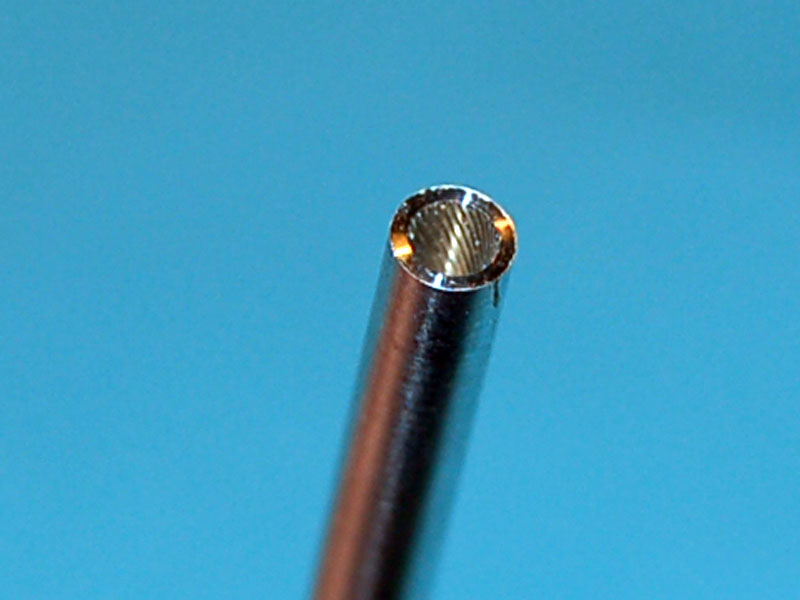
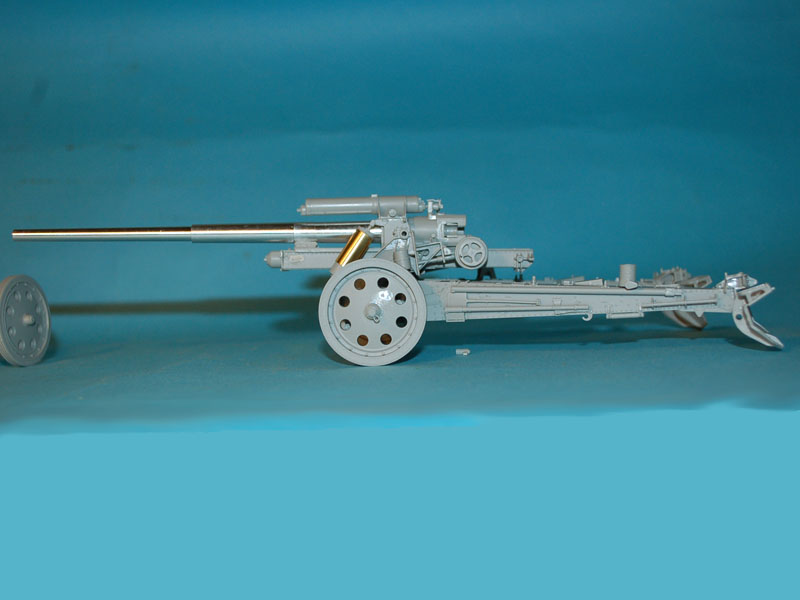
Upon opening the box I will admit to being a little disappointed as there is a lot of empty space in the box, however I will start on the good points. There are no ejector pin marks on areas that are viewable, and the mould seams are light and easily dealt with. The turned aluminium barrel has been well finished and there is a very fine rifling pattern on the inner face which is rotated rather than straight lines which is the normal manner of depicting rifling.
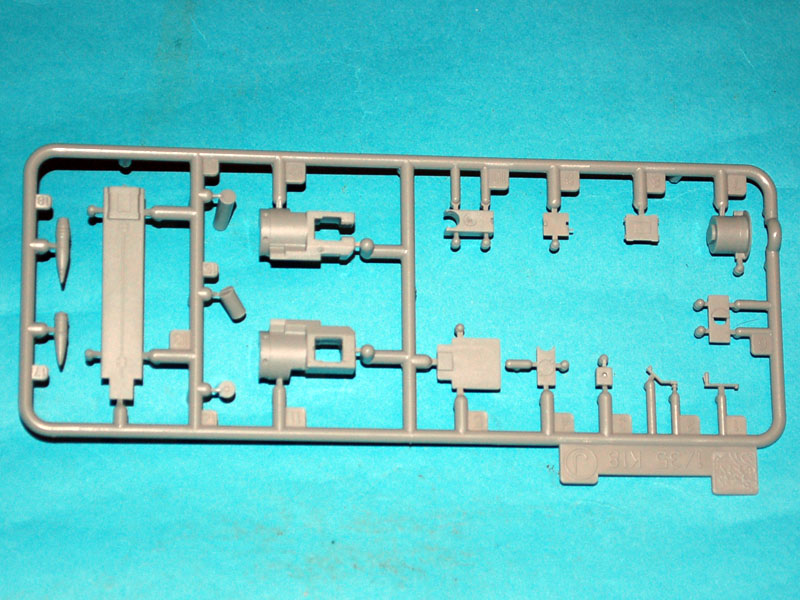
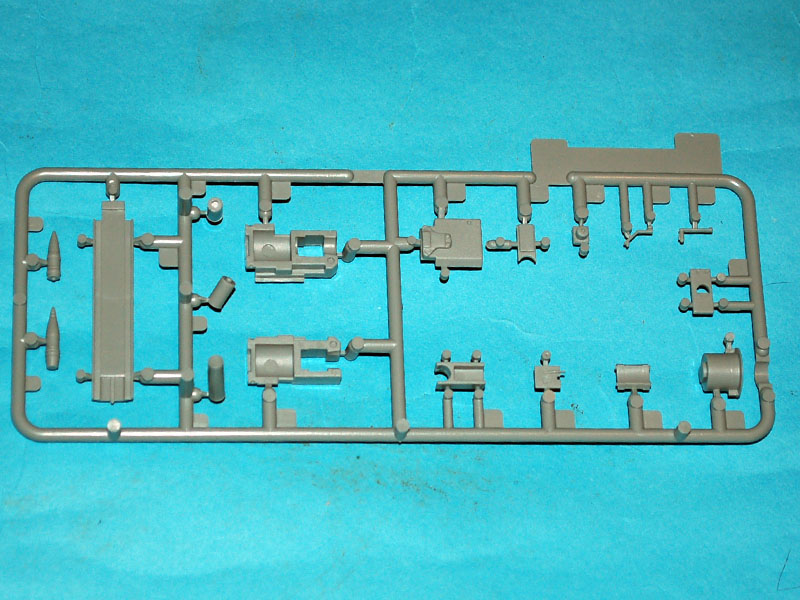
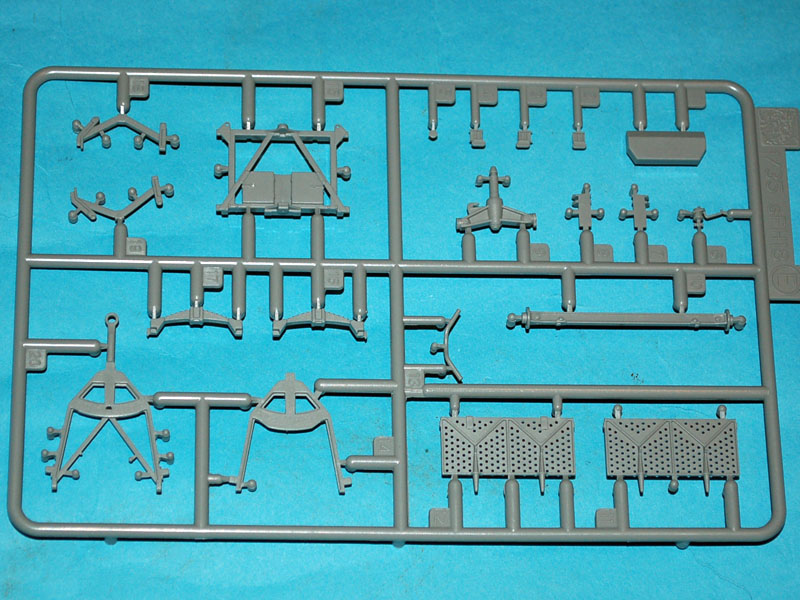
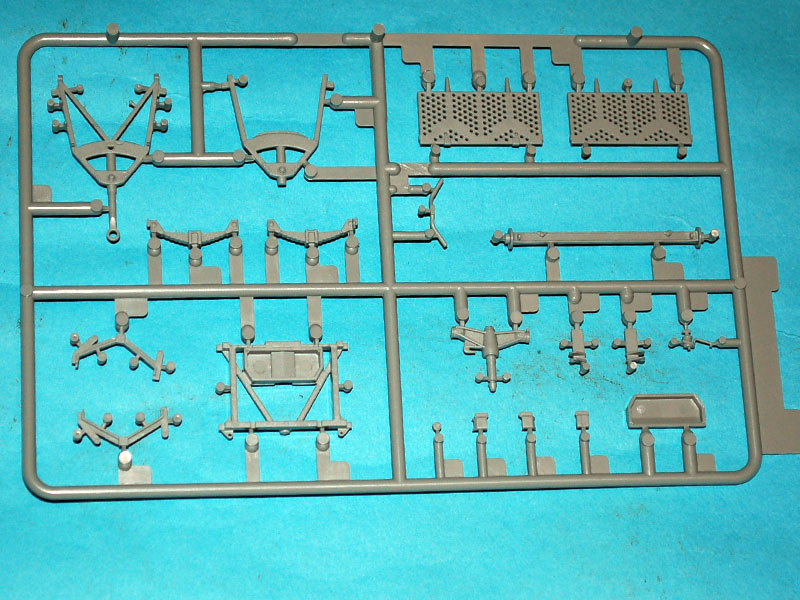
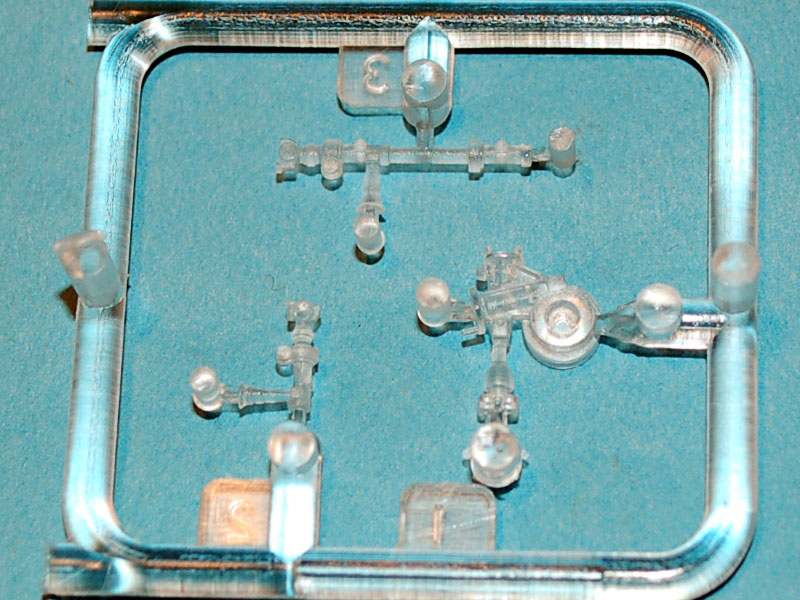
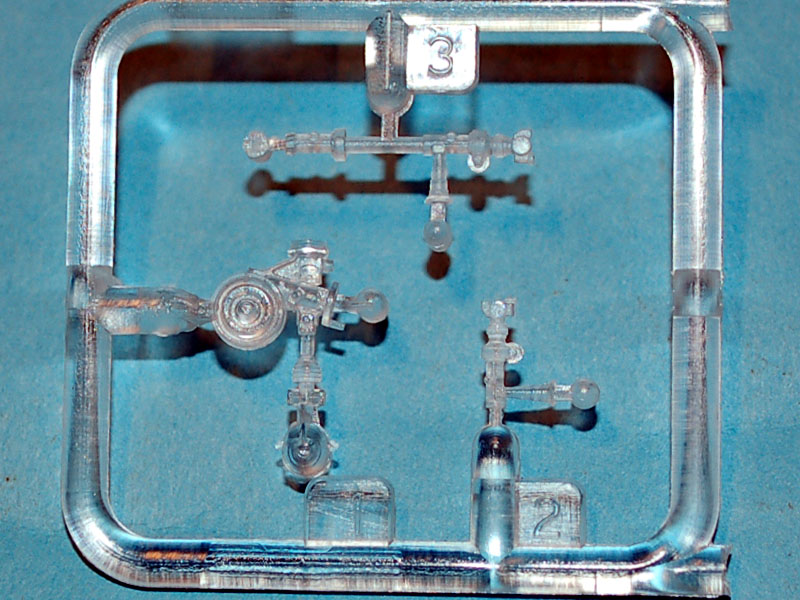
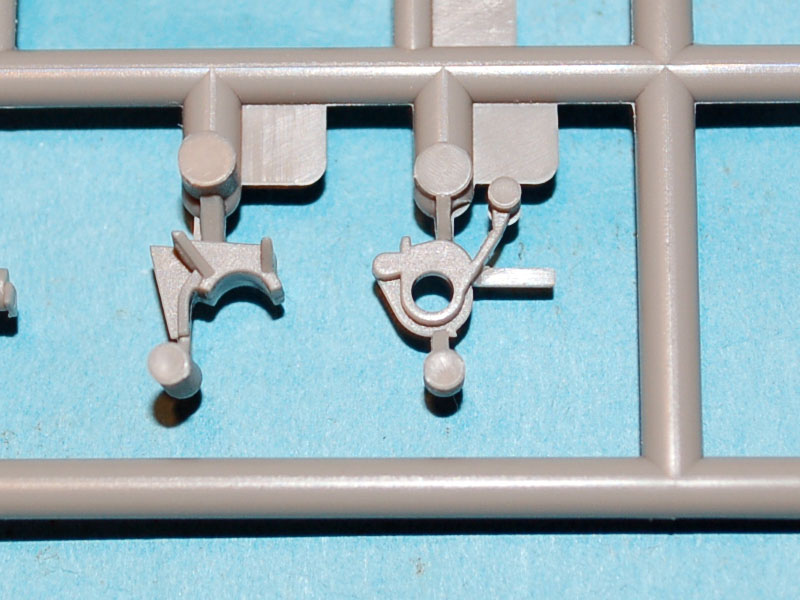
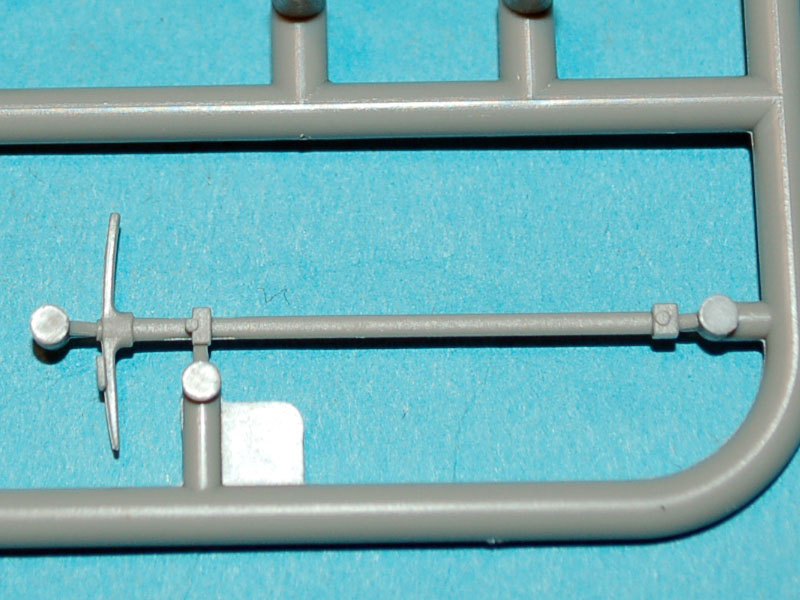
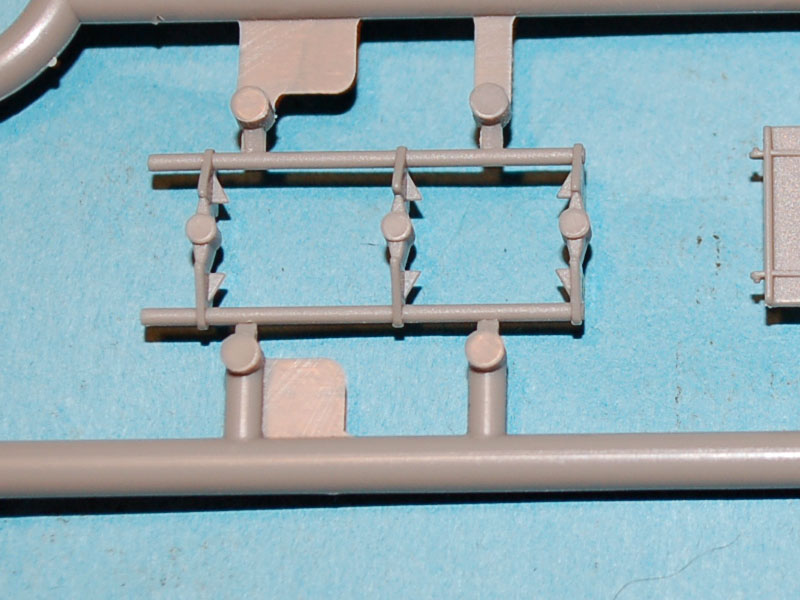
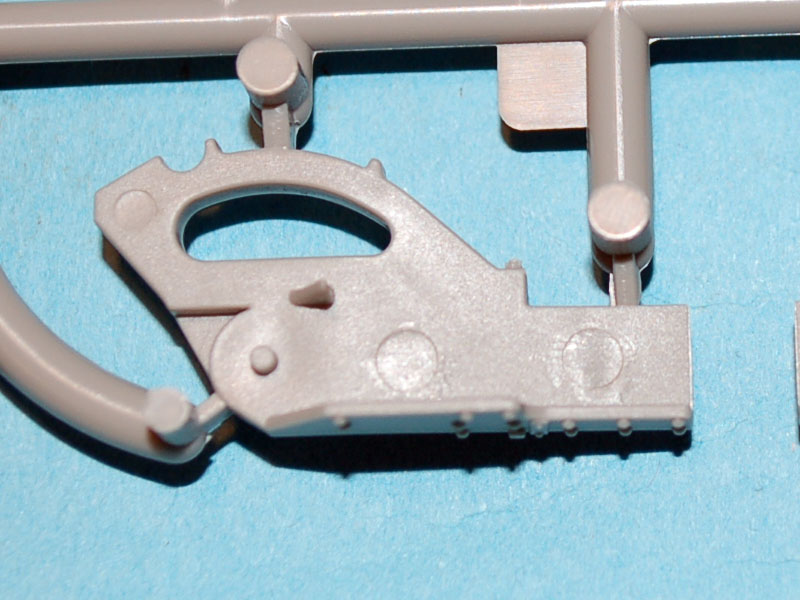
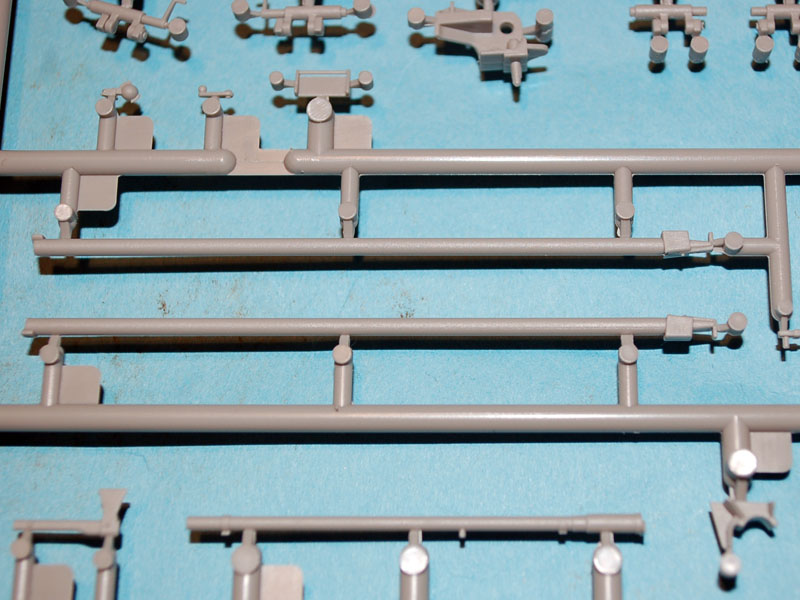
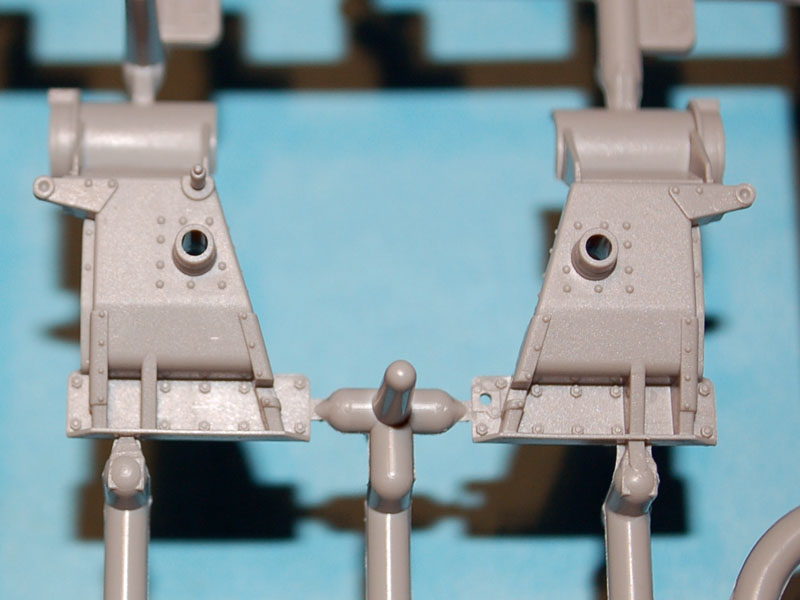
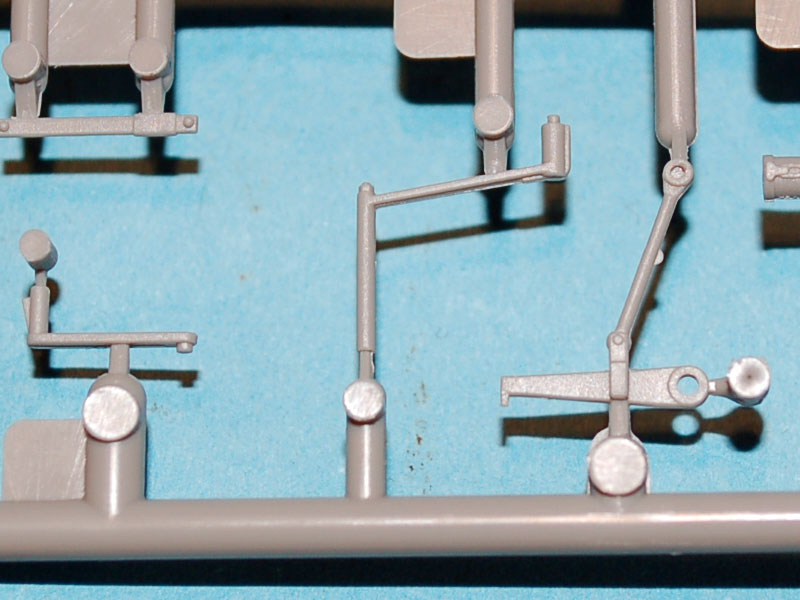
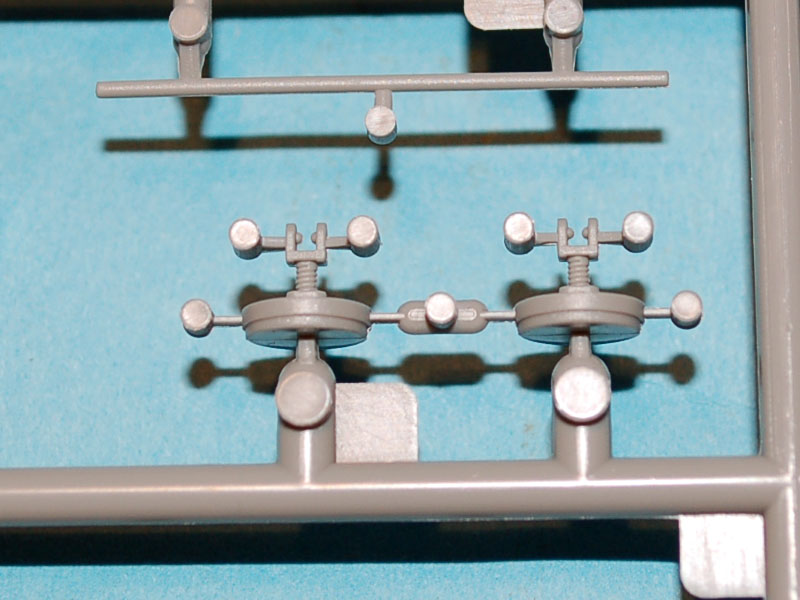
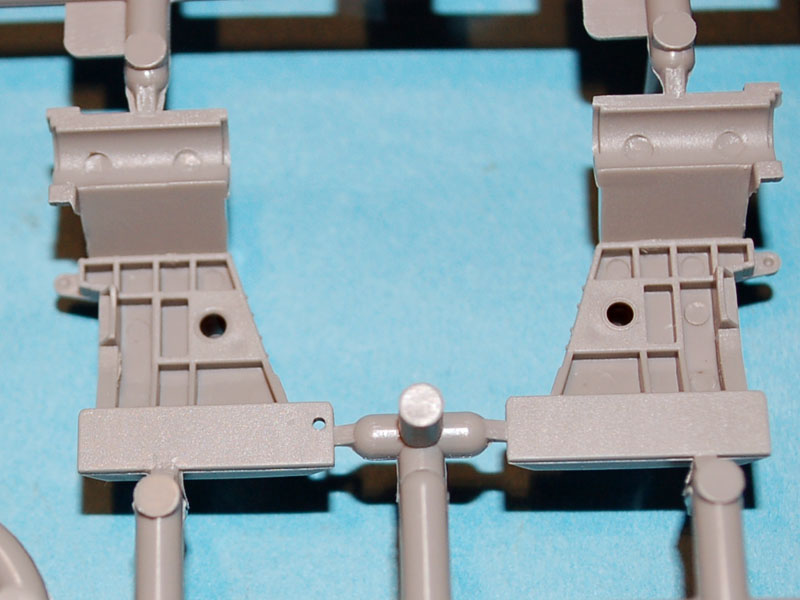
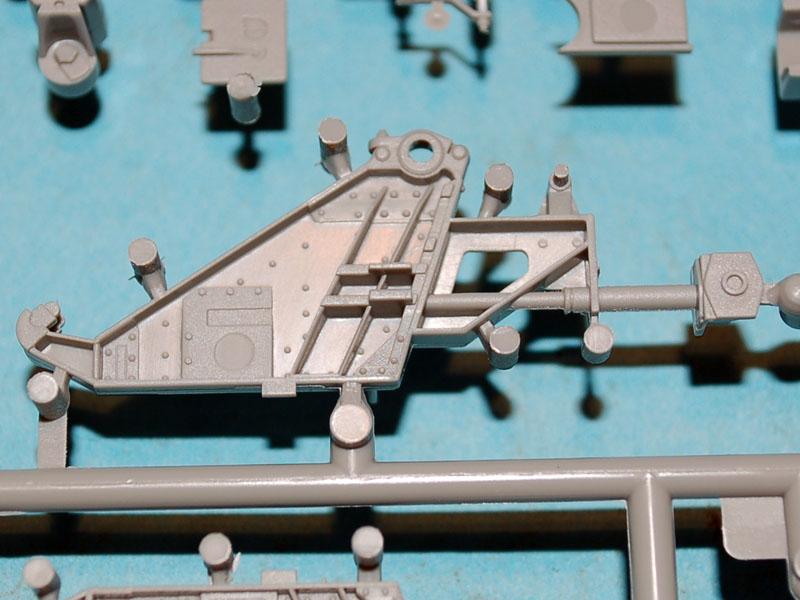
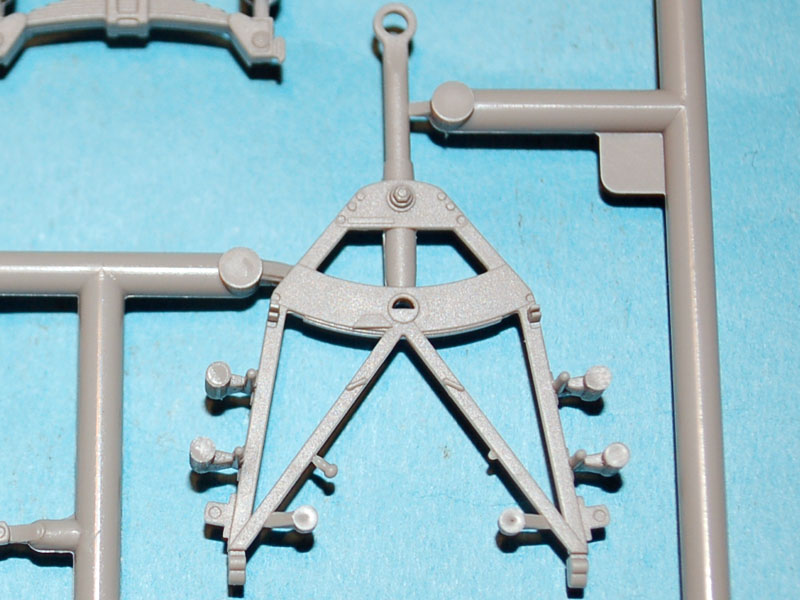
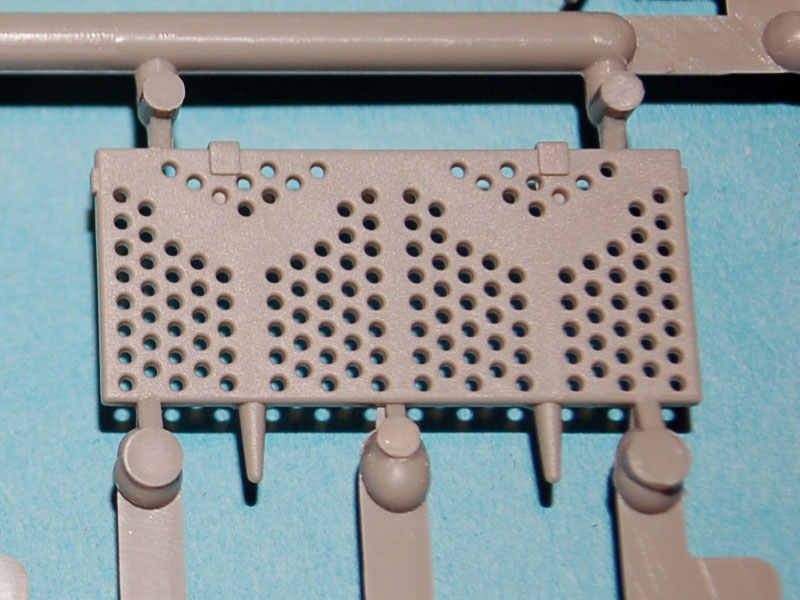
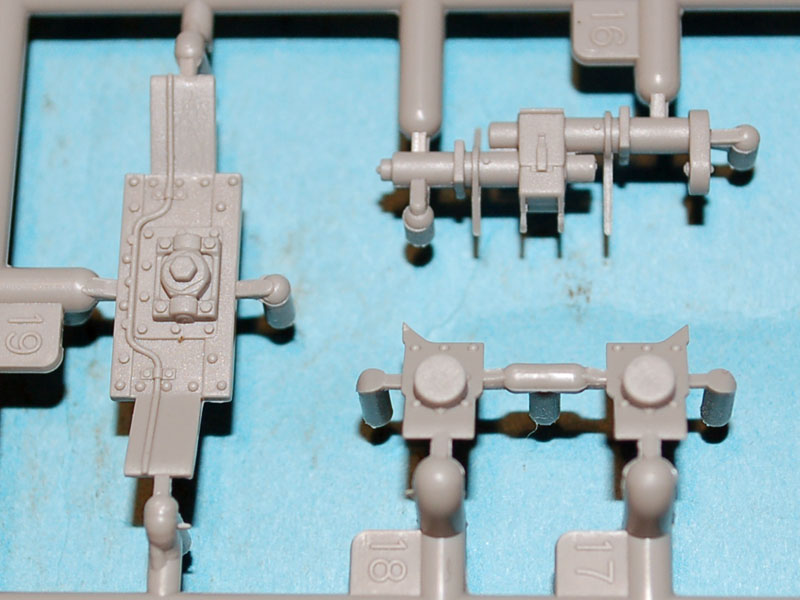
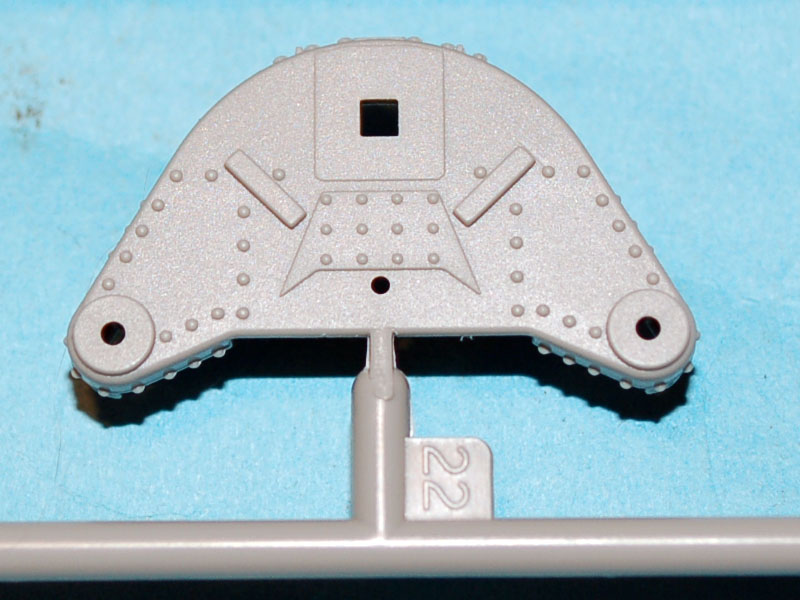
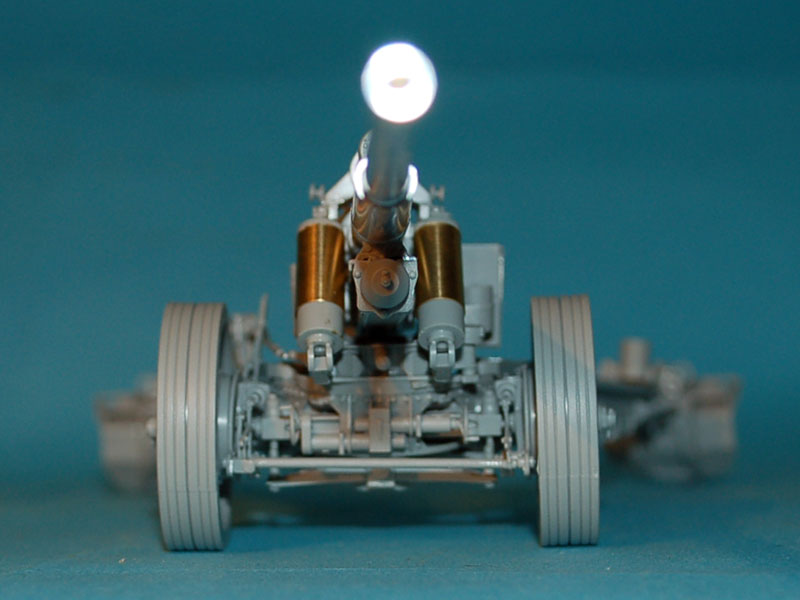
The clear parts covering the sighting optics for the guns are well made and accurate according to the book I have used for reference. The coloured PE fret is a very nice inclusion for the range chart and information plate and looks good when applied. A large number of the parts, as can be seen from the sprue images and close ups, have a high degree of finesse about them.
The negatives vary from what I would have expected to be in the kit and not being there, to poor locations for parts; most of which is down to the instructions lacking sufficient detail and no locaters on the parts. There are a lot of what I call flow nipples to remove and some large sprue connection points to overcome.
The build
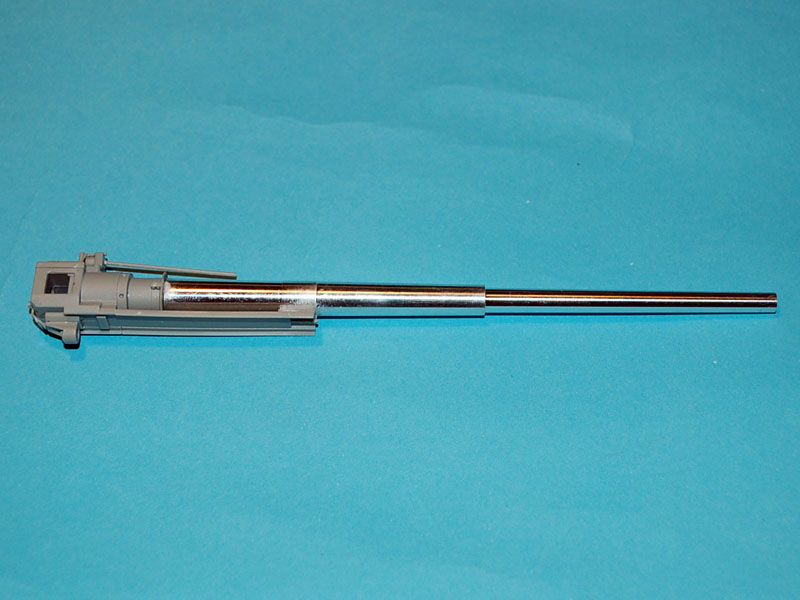
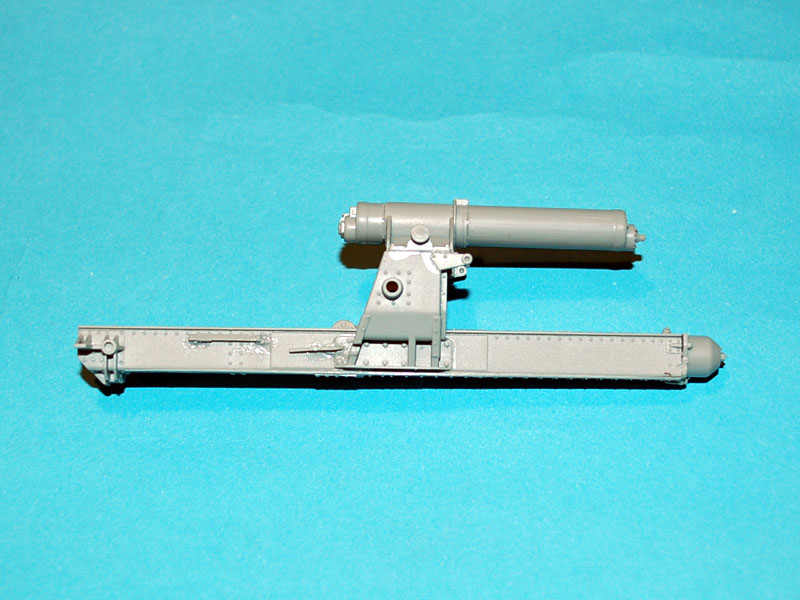
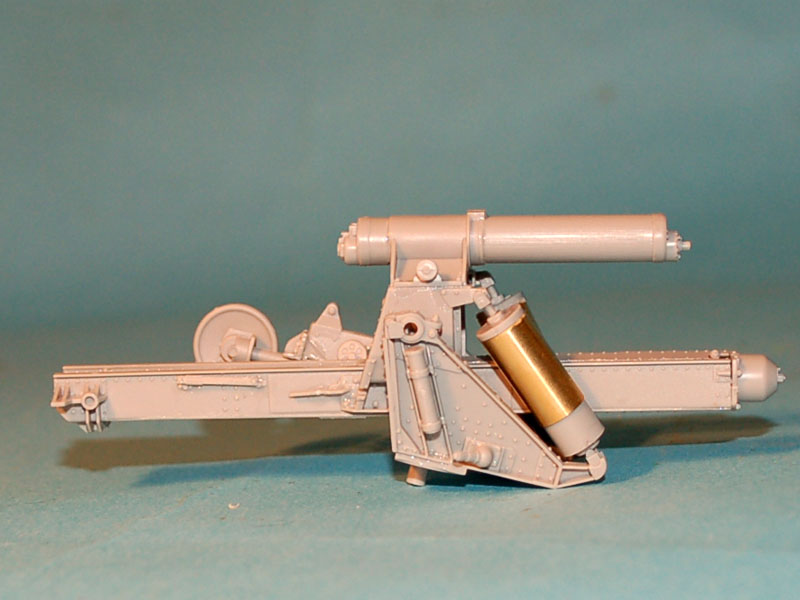
Step 1 covers the construction of the barrel and breach. Everything went smoothly with the exception of part A45 which has a very loose fit, however that is no great hardship as when assembled on the carriage it inserts into the recuperator. All the other parts have a good fit with the barrel to the breach being such a good fit that I had to free trapped air from behind it to sit the barrel fully home. This step also covers the ammunition which is one of the areas I am critical of, the ammunition looks accurate but they only supply 2 alternate cases and shells.
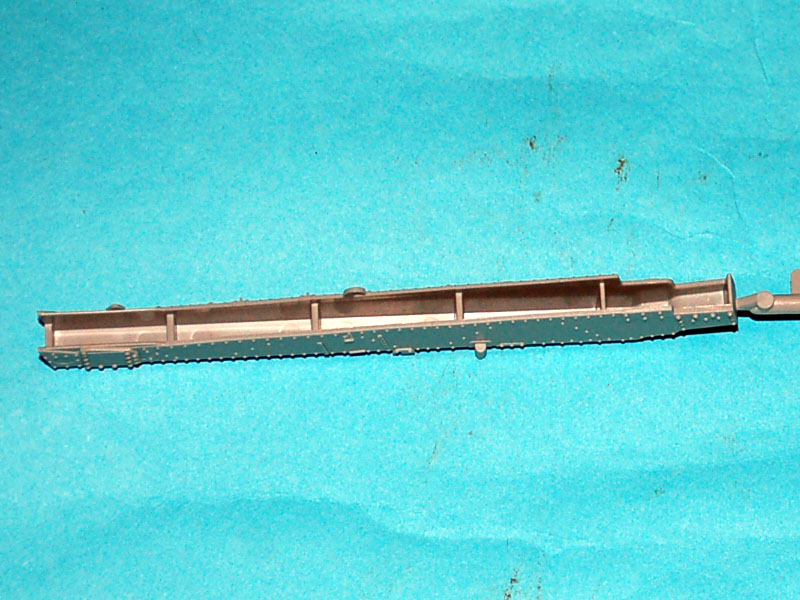
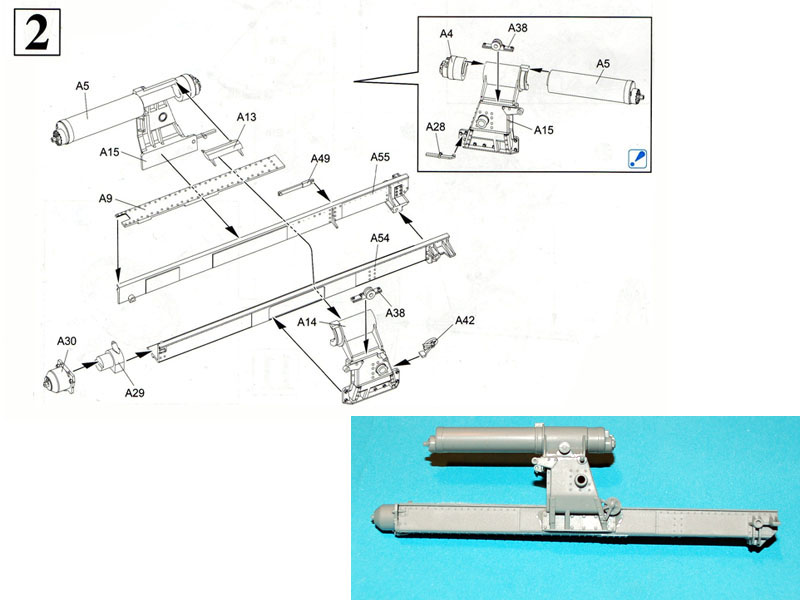
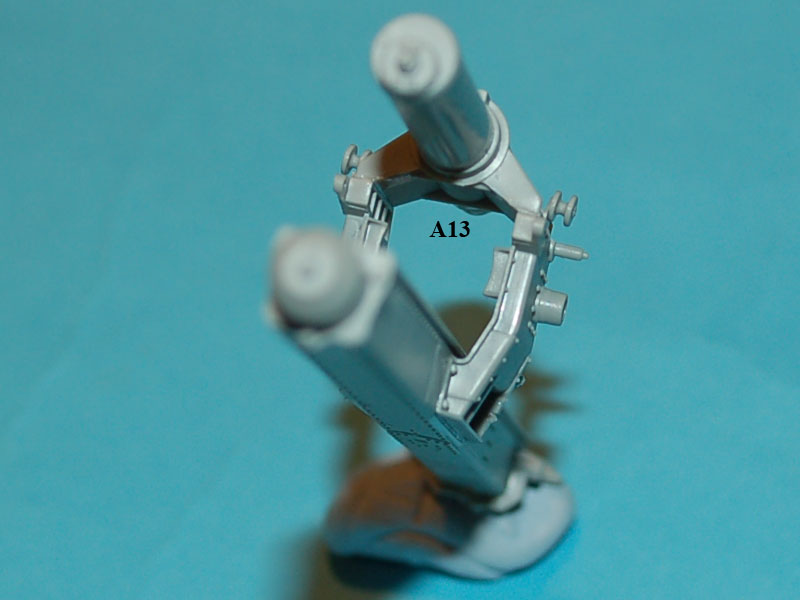
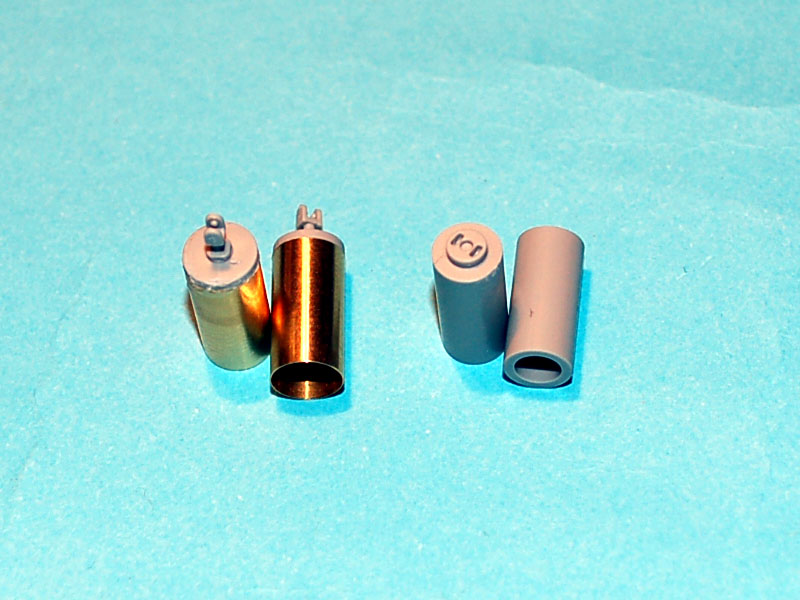
Step 2 covers assembly of the gun cradle and recuperator. This was the first step that had me guessing for a while, as part A13 is shown fitting to the top of the recuperator when it is the bottom of the recuperator. There is also part A49 which due to the angle shown in the instructions it is guess work where it belongs, with a bit of effort I was able to work out it sits on two raised rivet heads. There are no other issues here other than the lack of locating lugs which would have been helpful.
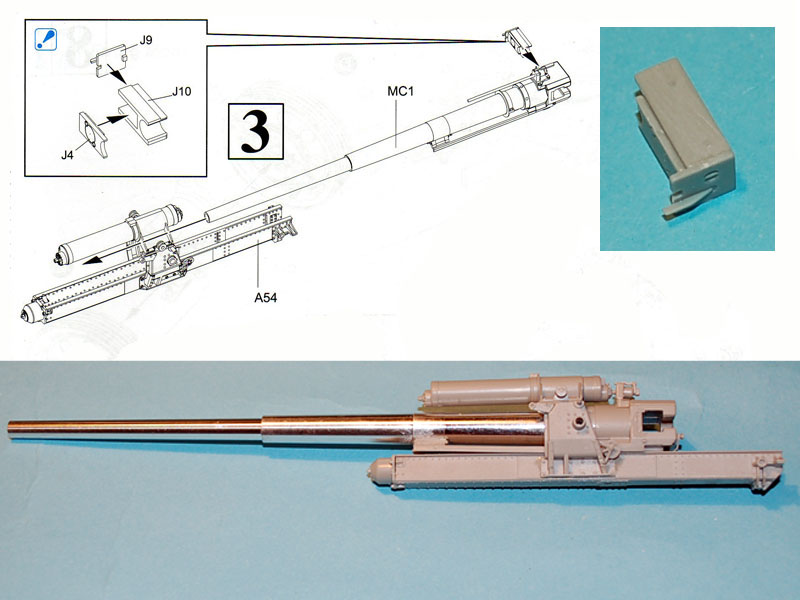
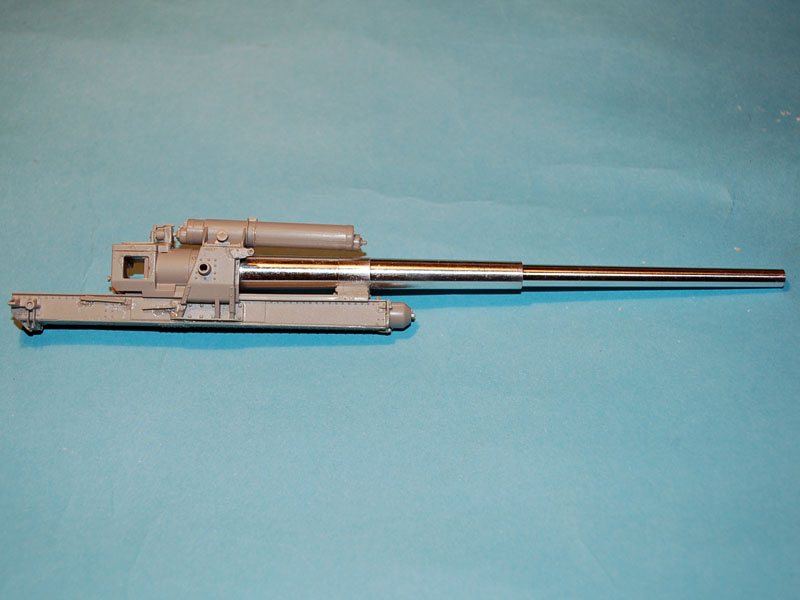
Step 3 consists of locating the barrel into the gun cradle. First the down sides; the main gun assembly does not have the return flange and so it does not engage with the gun carriage and instead just sits in top, this requires that it is glued in place from the start and so I did not insert the barrel until later in the assembly. You will also be making the breach block in this stage which is straight forward.
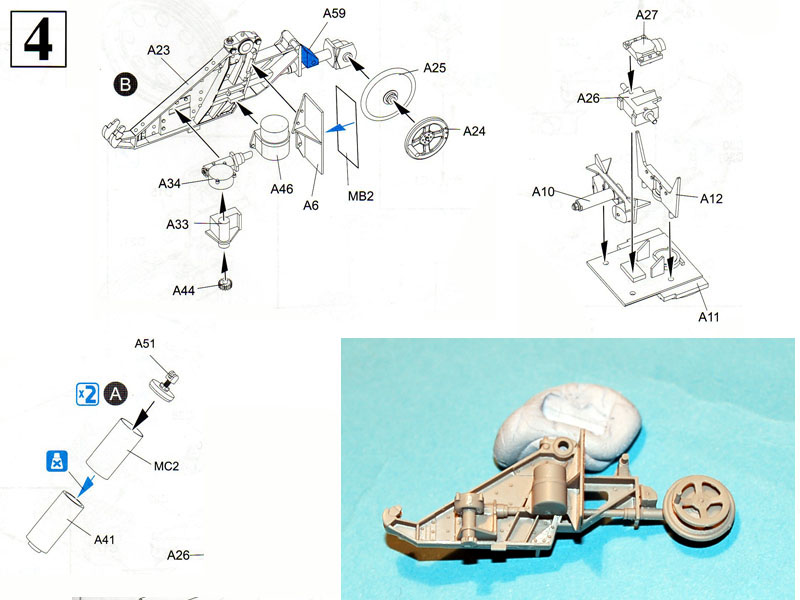
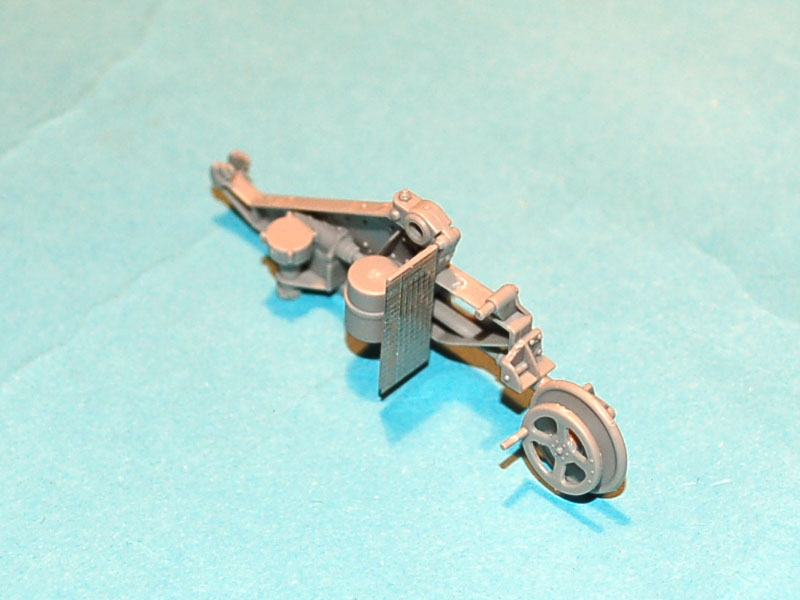
Step 4 covers starting the components for the saddle and equilibrators. Firstly, part A47 is easy to misplace on the model and I made my first mistake with this part as I fit it to the base of the groove, when it should be placed near the top. During my build I checked for any builds of this model in order that I knew some of the pitfalls to watch for, one of the complaints I noticed was with part A44 which is the cog for rotating the gun cradle on the gun carriage when joined together. In this build the cog sat too low and did not engage the track for rotating the gun, after assembly I found that I did not have this issue and the cog engaged the track perfectly, it is however something to watch for.
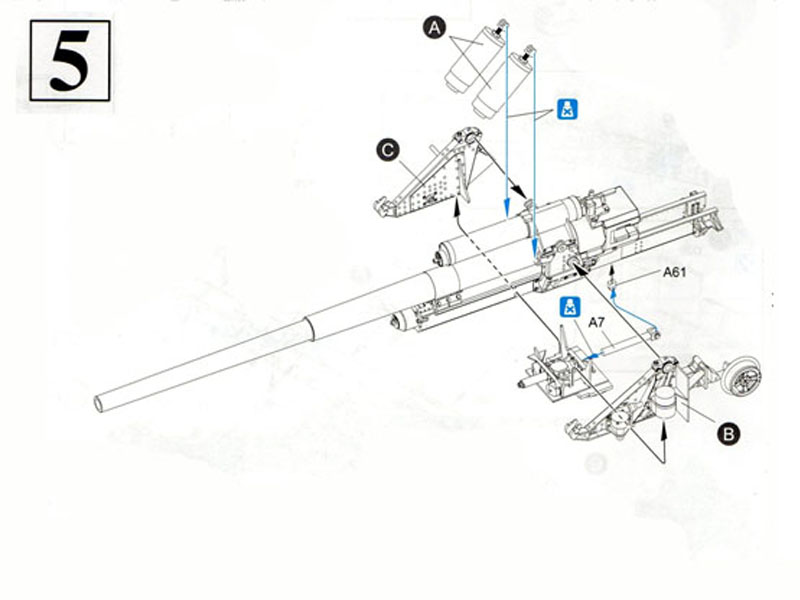
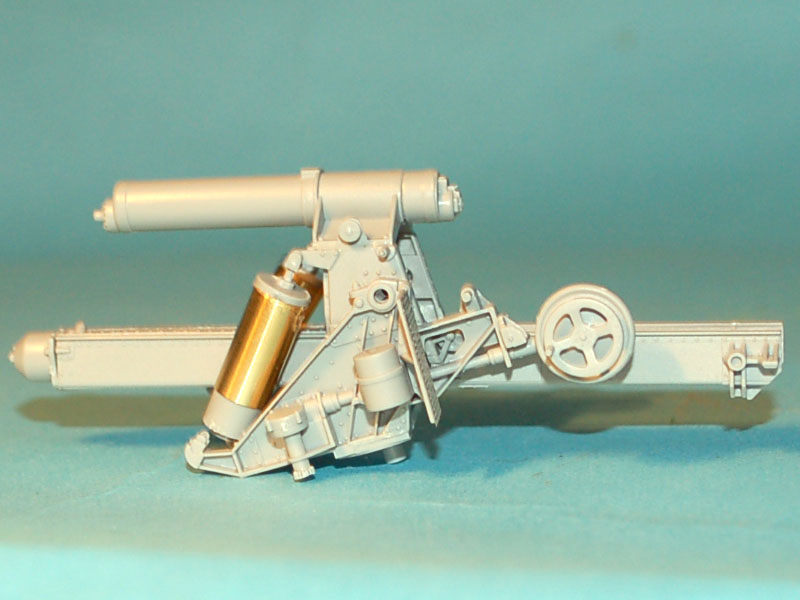
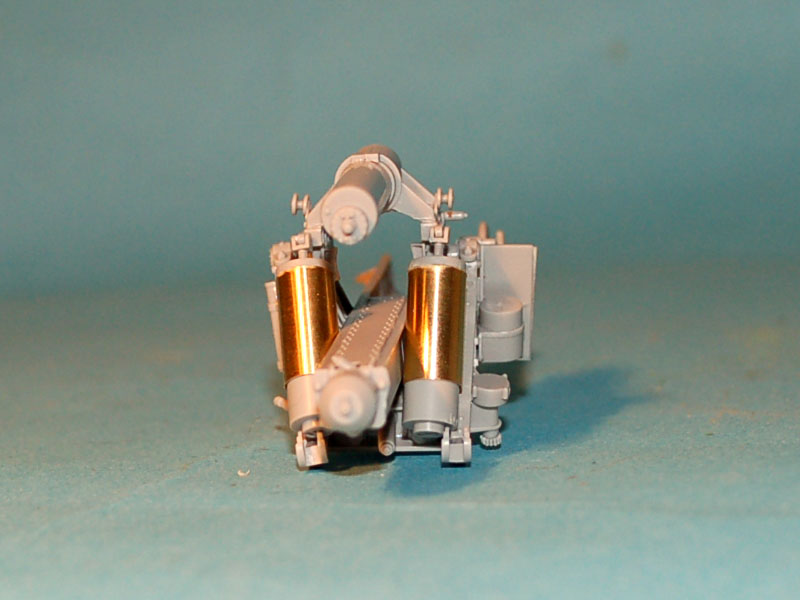
Step 5 covers the bringing together of the gun cradle and saddle, it is suggested that the equilibrators are attached at this time, however as the lower portion is not secured I recommend they are put somewhere safe until that can be remedied. Assembly of the saddle is straight forward and no issues were encountered.
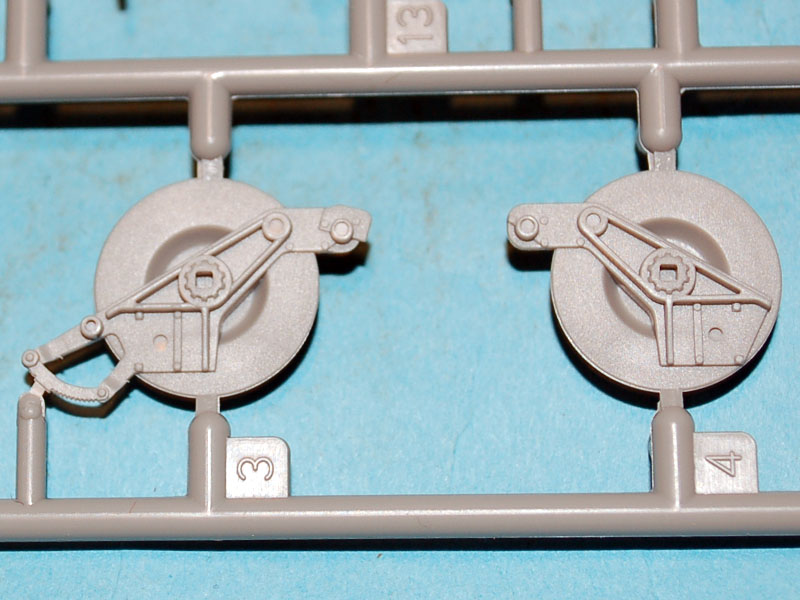
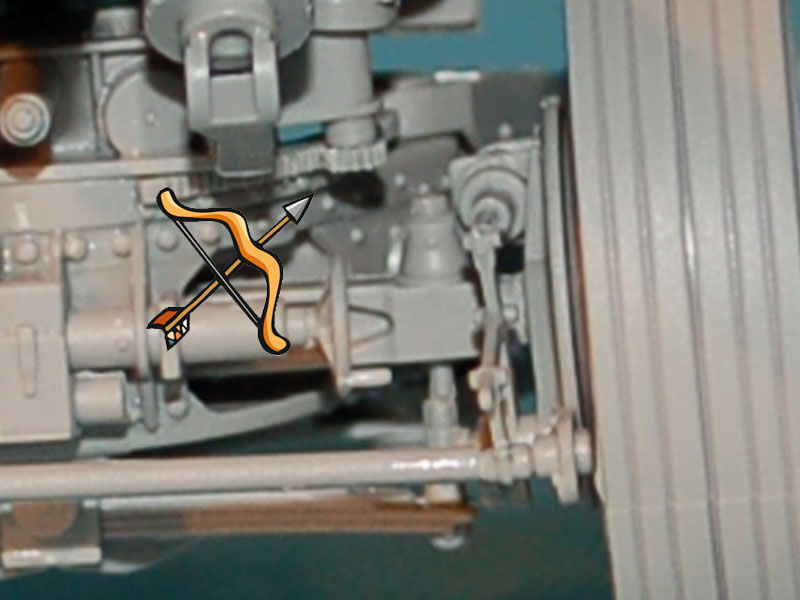
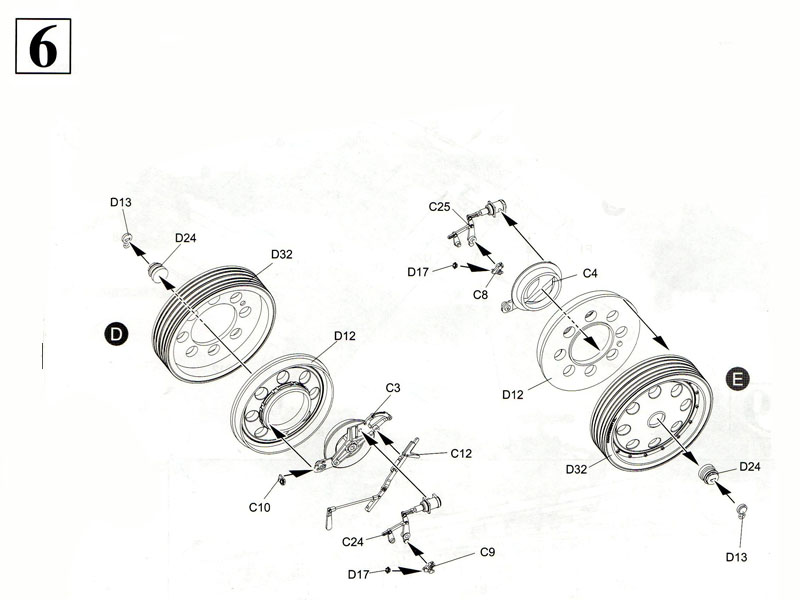
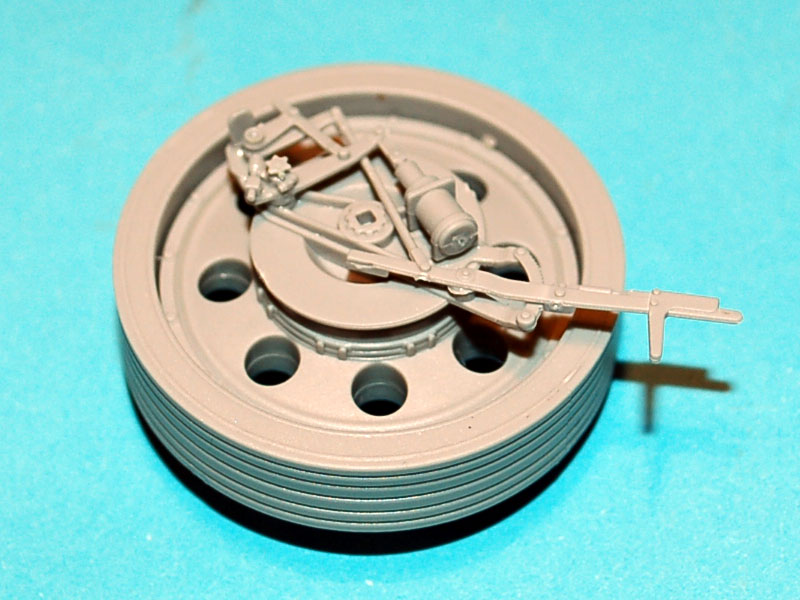
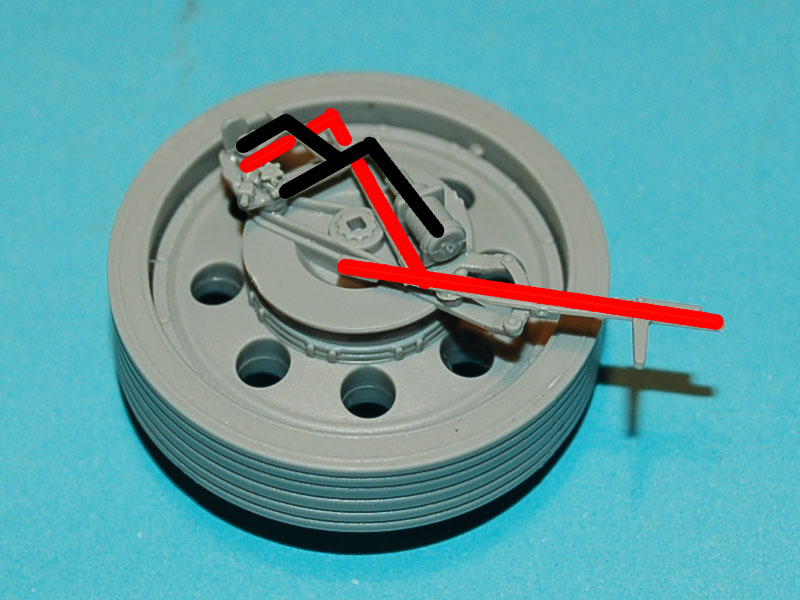
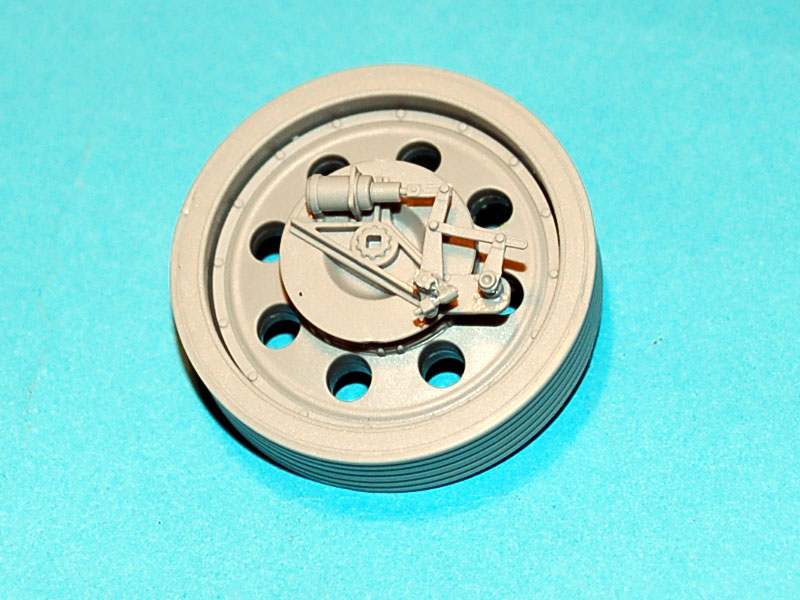
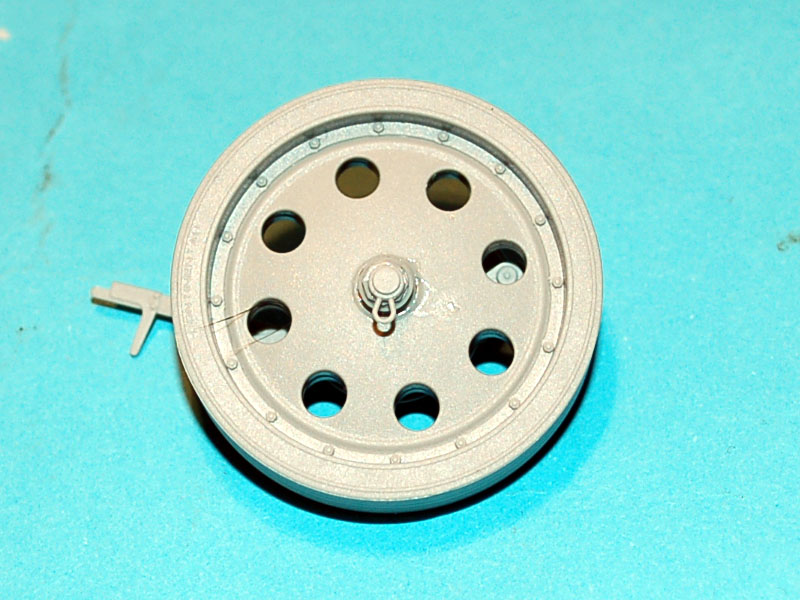
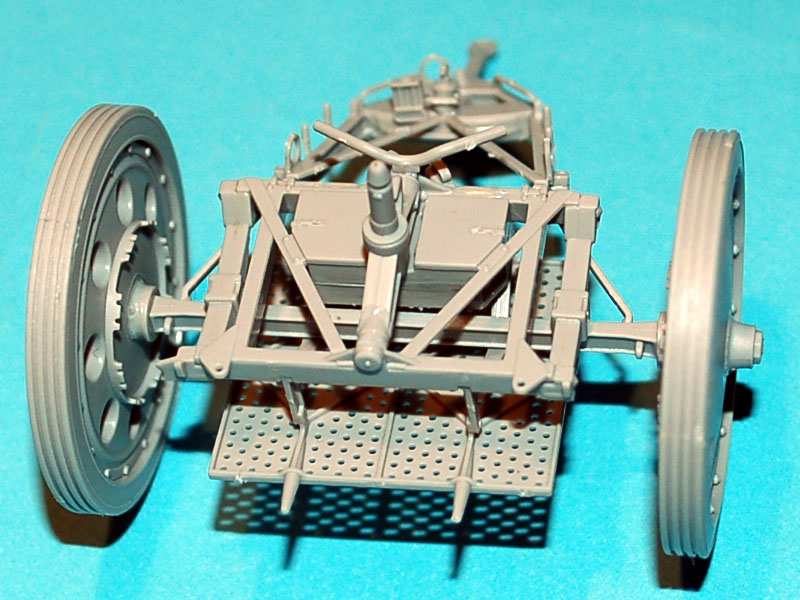
Step 6 shows the assembly of the gun carriage wheels. This would be an easy job if only the instructions provided a clearer image of what goes exactly where, and this is why I have coloured some components in the pictures to aid with correct alignment. You also need to know that the end of the axles on the gun carriage are square, not round, which has been done to get the correct alignment of the brake handle and brake assemblies on the wheels to the gun carriage. No problem, you would think, except that this is not pointed out to you and on the face side of the wheels there is a ring pull which is supposed to hang down (yes I got it wrong) you have been warned. The only other part which will need to be watched for is part C8, which the instructions indicate should be installed on the wrong side.
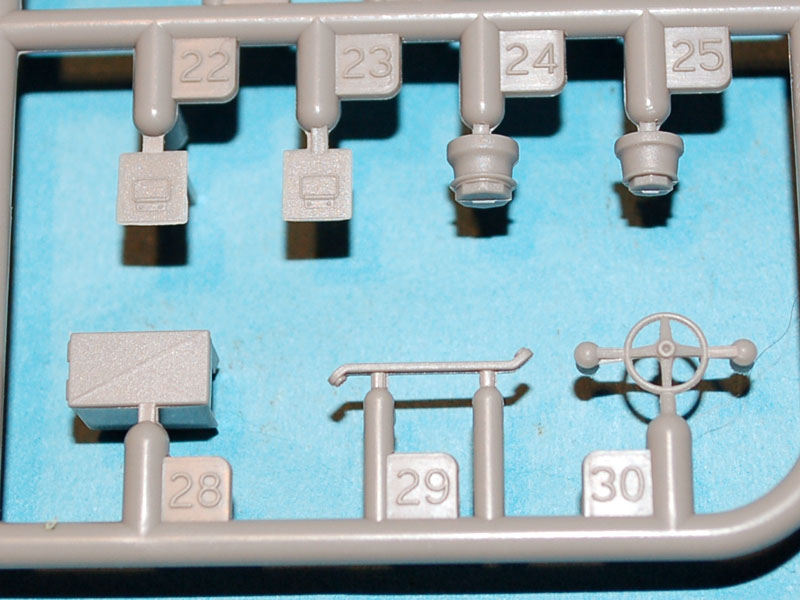
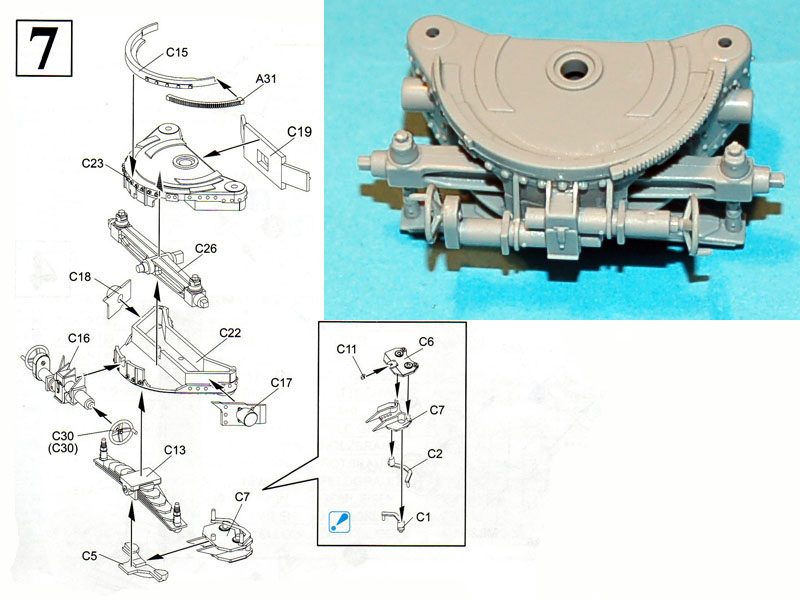
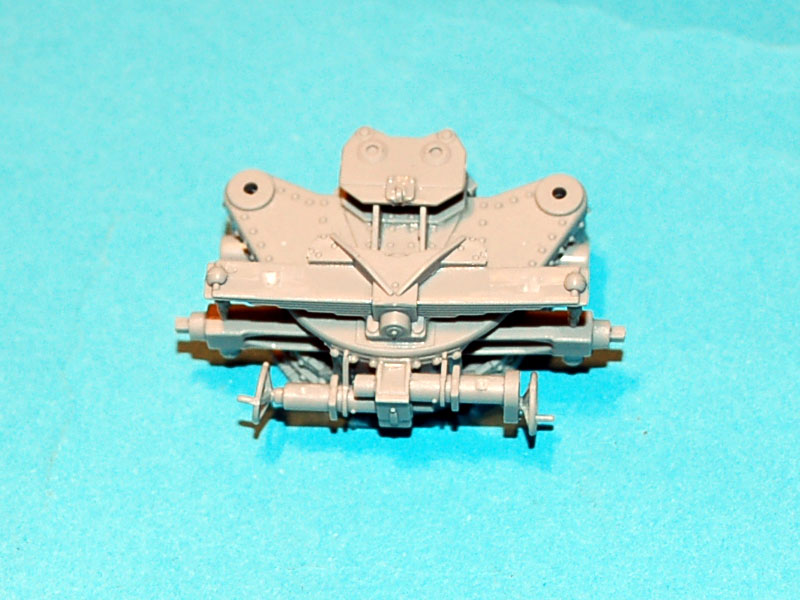
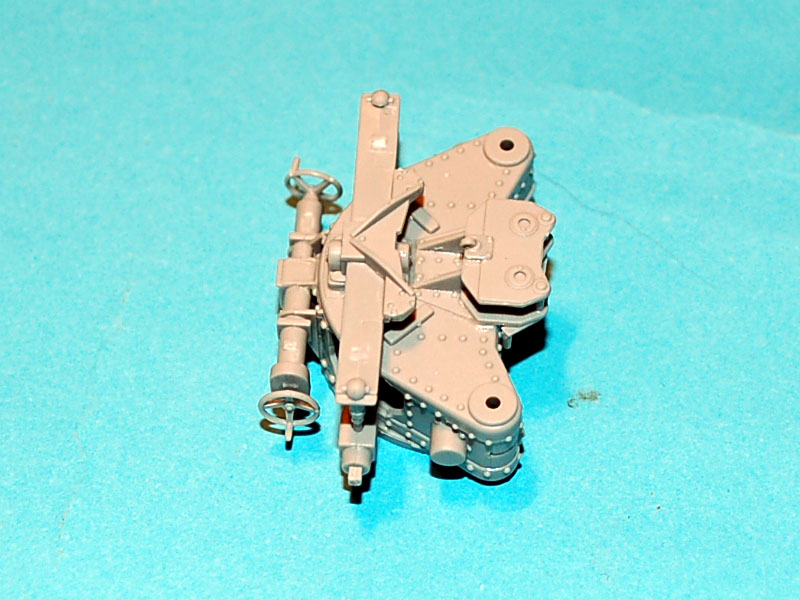
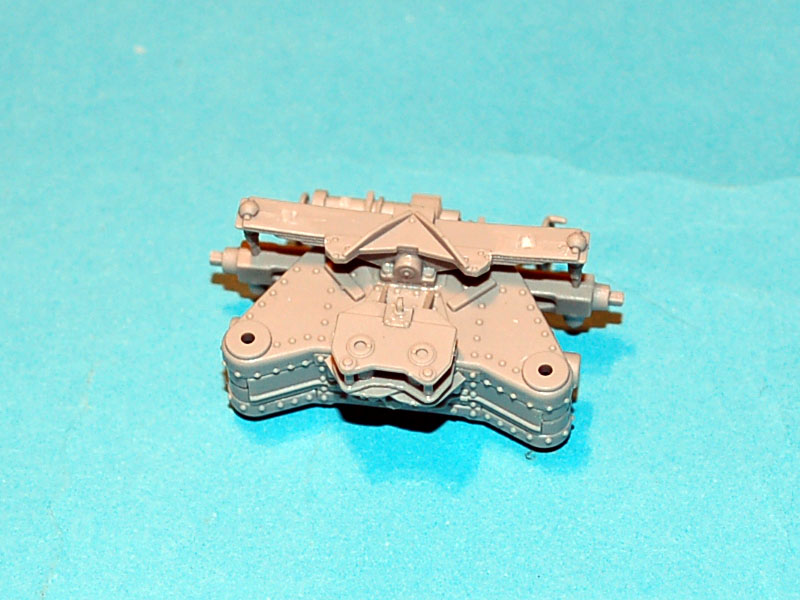
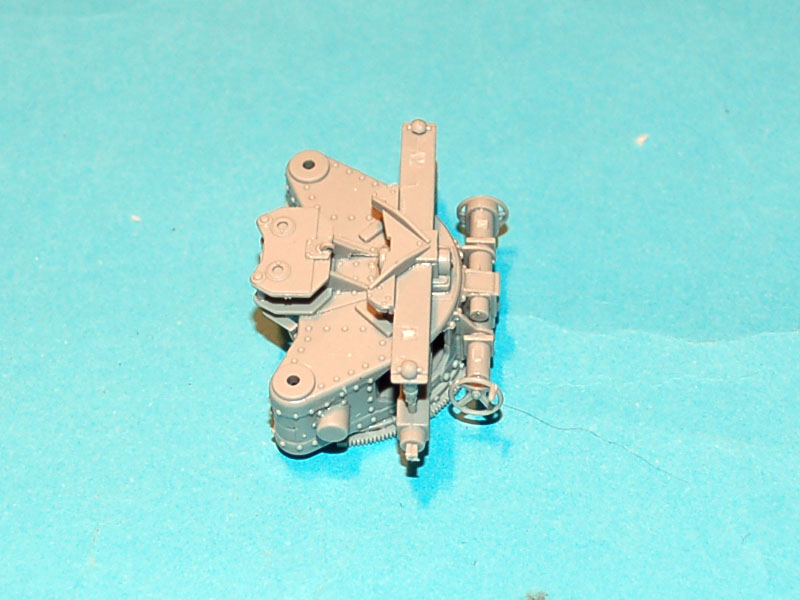
Step 7 covers the assembly of the gun carriage and everything goes together very well with no obvious issues except one; the two hand wheels are incorrectly labelled in the instructions as C30 X 2 when they are actually D30 X 2.
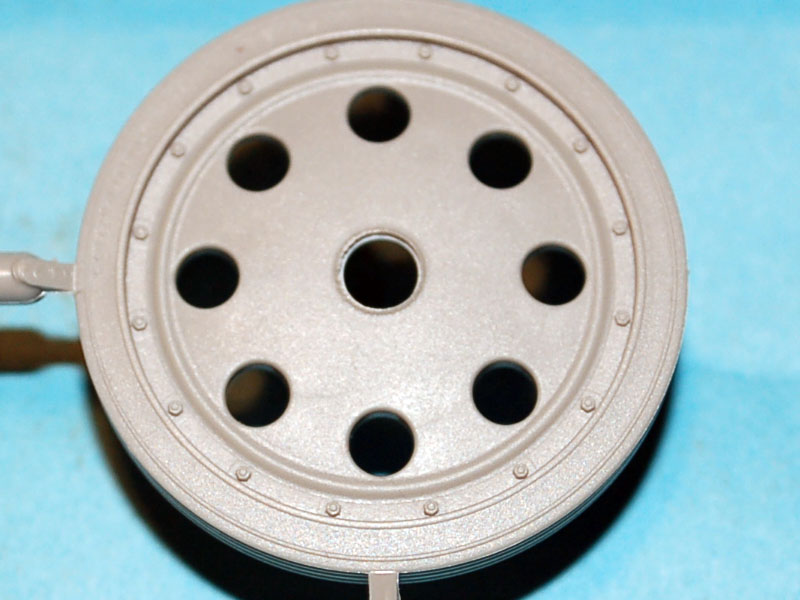
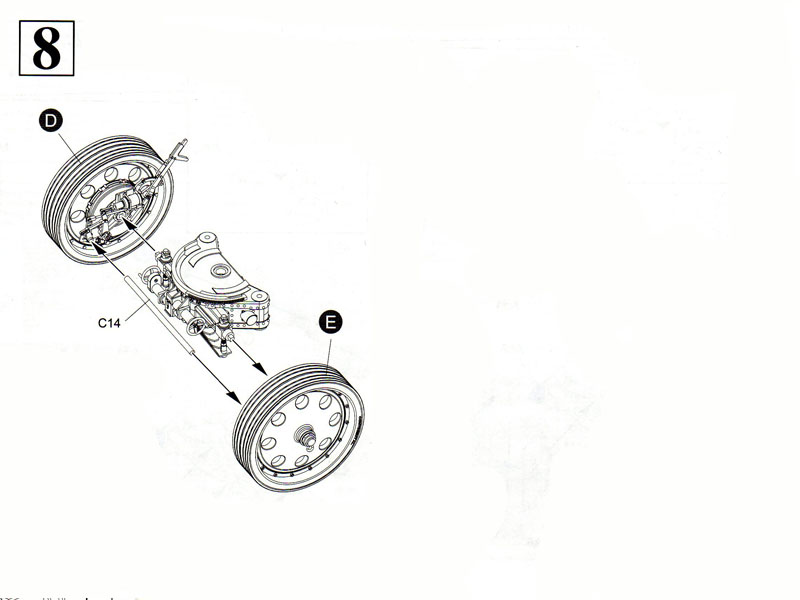
Step 8 involves attaching the wheels to the gun carriage. This is a fairly easy job but does leave me in a bit of a quandary as my reference material shows the wheels flared out at the top.
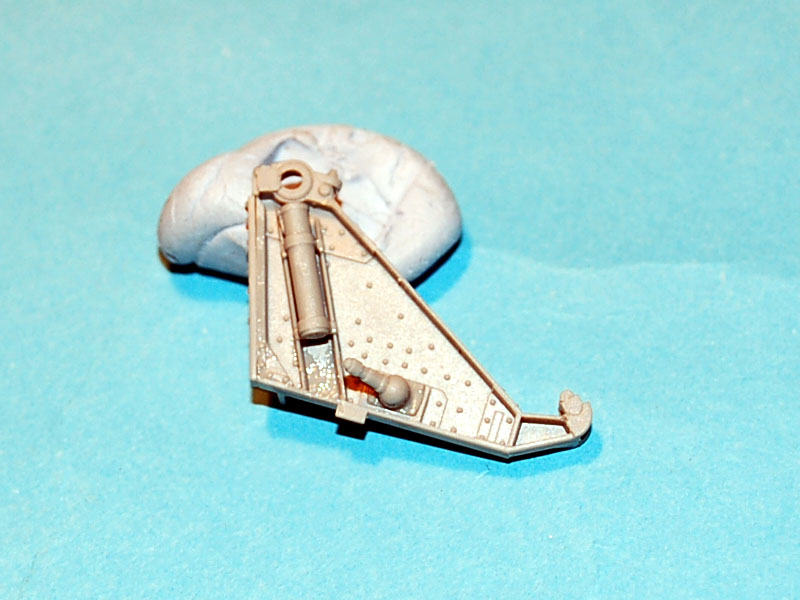
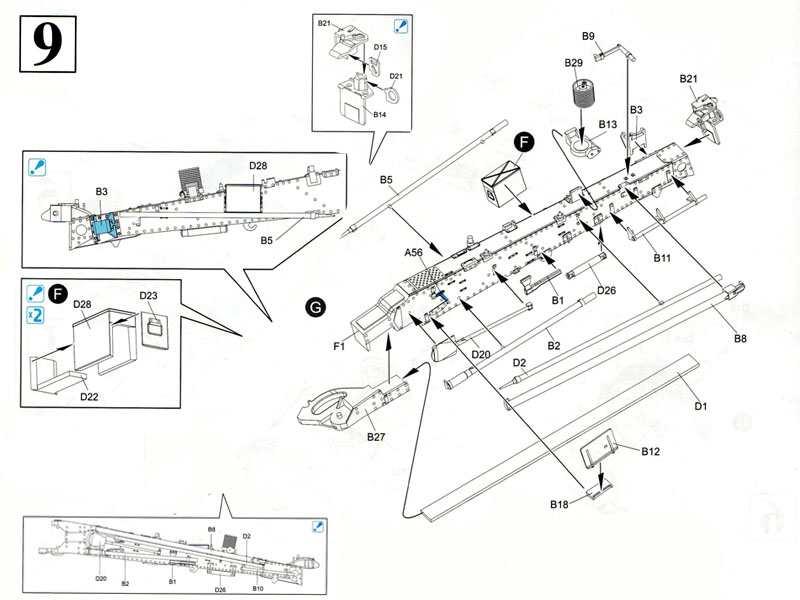
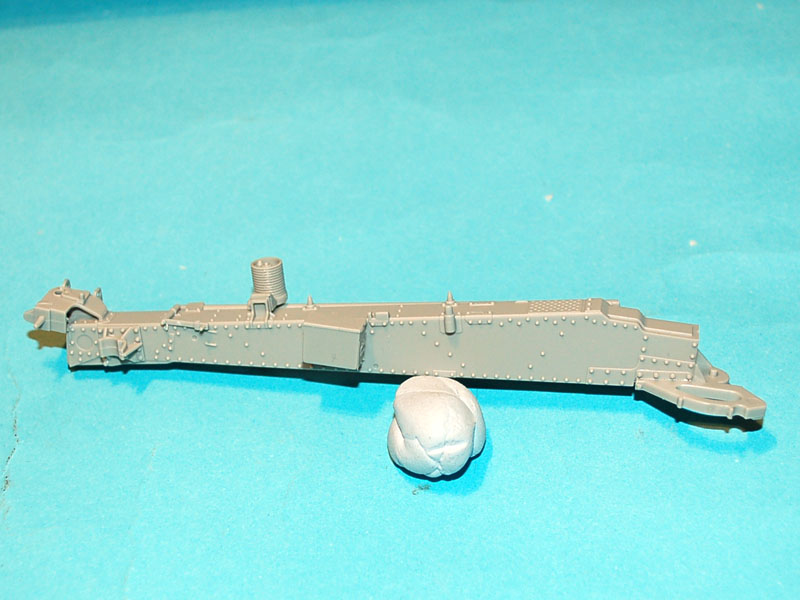
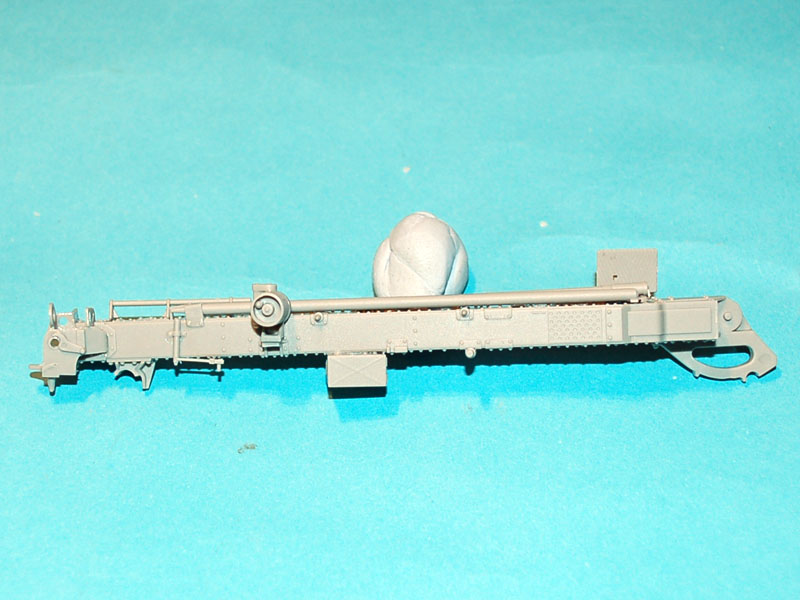
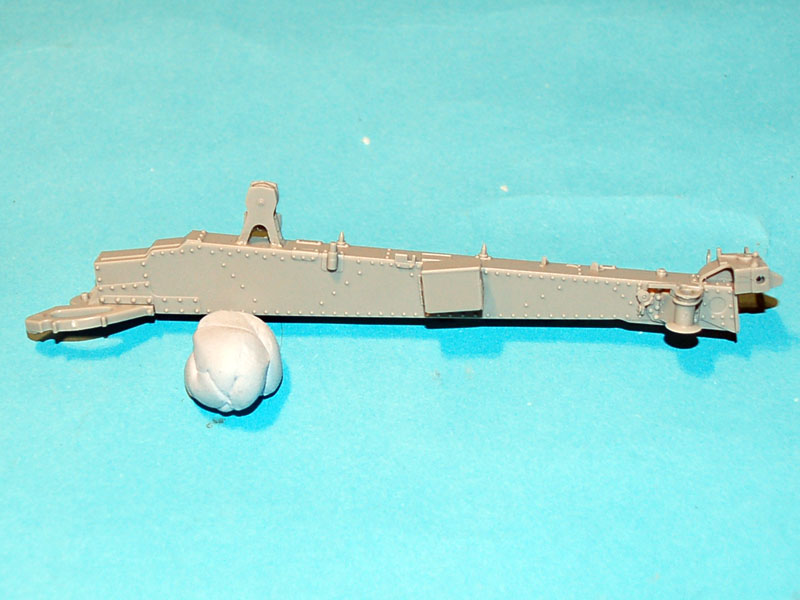
Step 9 covers assembly of the left leg. I really do not know where to start with this step, the moulding and detail is first rate but the instructions could not be much worse if it was verbal directions rather than pictorial. This is one stage that should be covered better in the instructions via more steps, and the best advice I can give is to attach the structural parts of the leg before worrying about the tools. Parts B18 and B12 caused me the biggest headache as I ended up using the best guess method as to where it should locate and the best orientation. The 2 pictures of the assembled leg in the instructions do help, but this is of a very poor standard as instructions go.
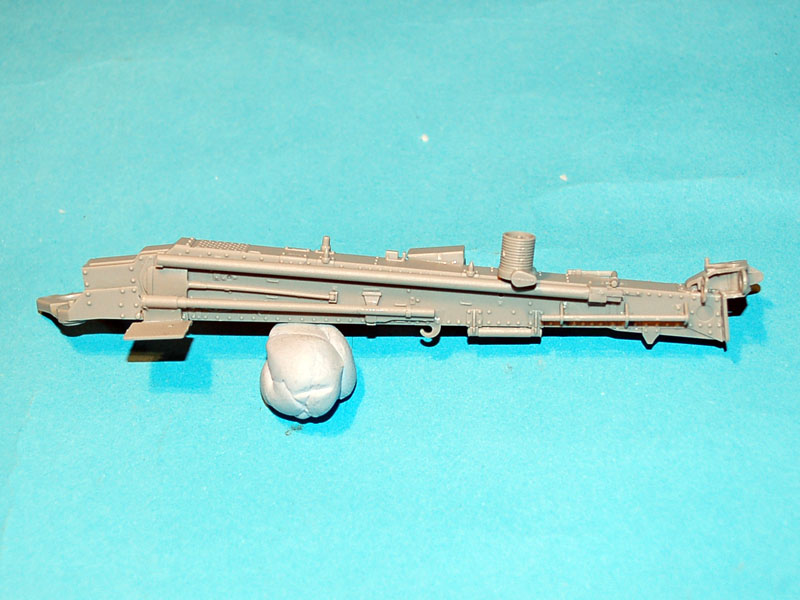
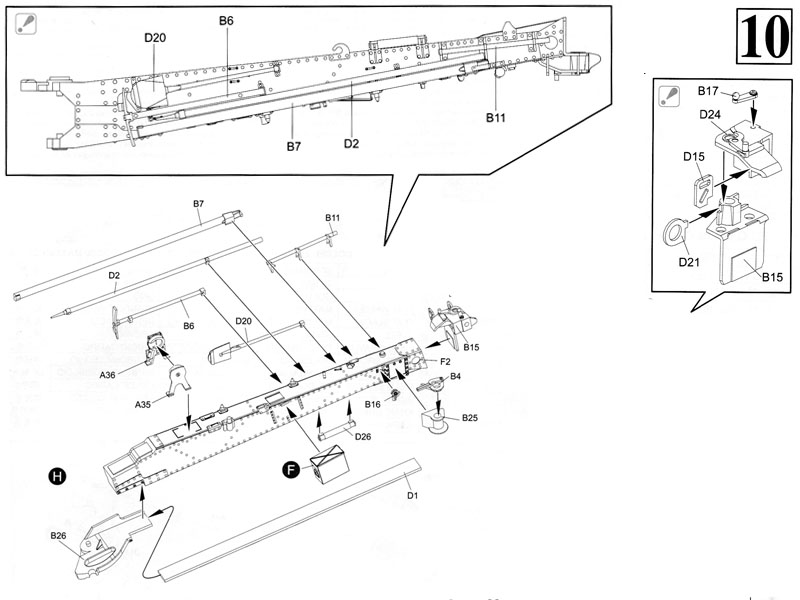
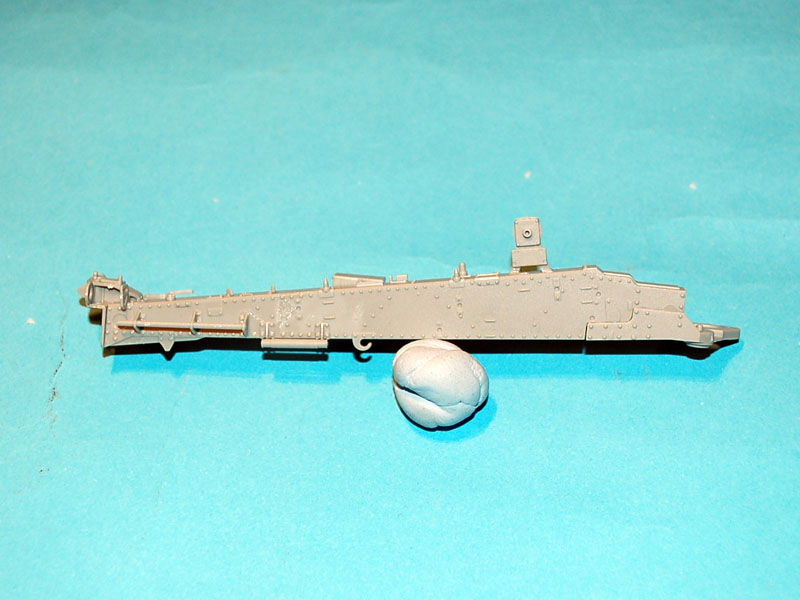
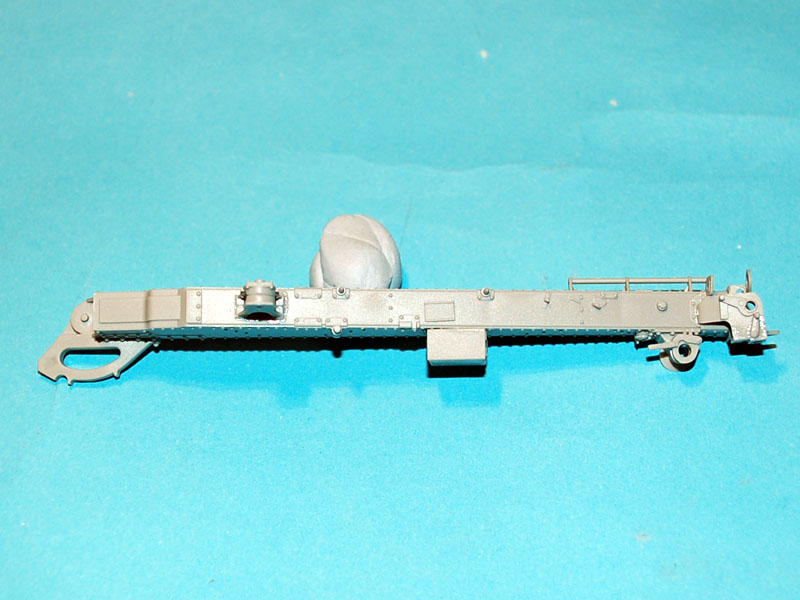
Step 10 covers assembly of the right leg and suffers from the same problem as the left, but to a slightly lesser amount. It is very disappointing to see a kit that is of a very good standard let down to such a high degree by the instructions. Part D24 should read part B24.
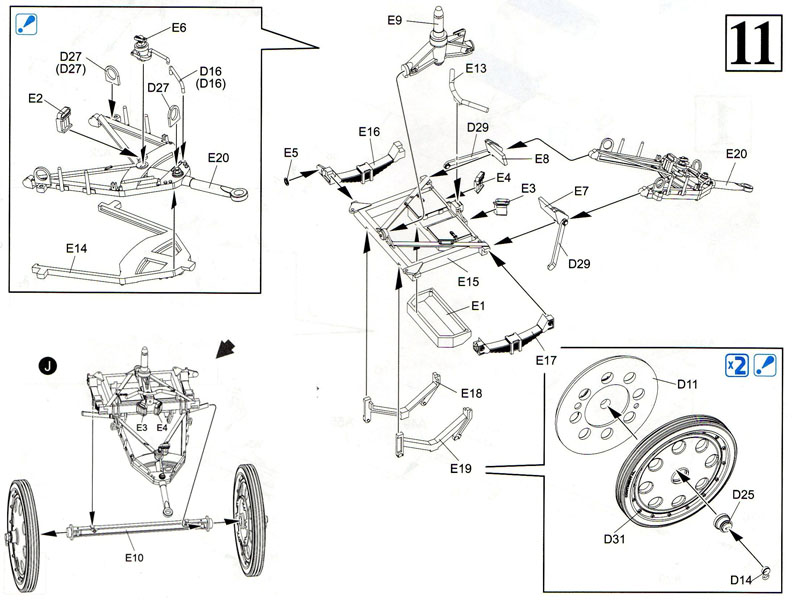
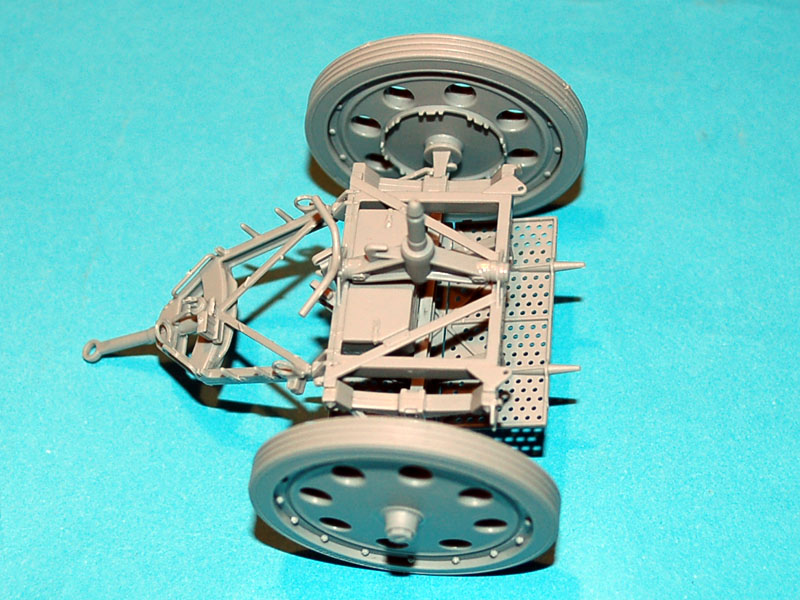
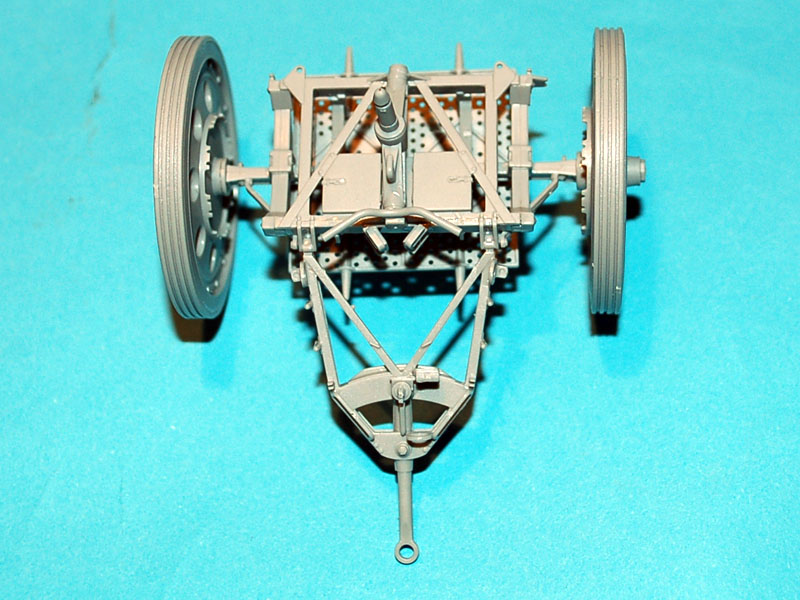
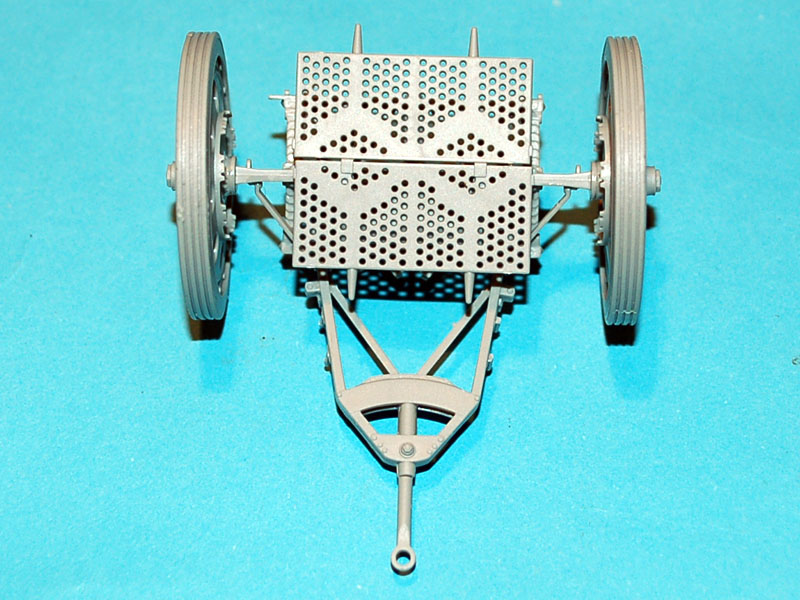
Step 11 covers the assembly of the towing limber. The first step in the assembly is the towing arm, which went together without any major problems. You then begin work on the main body of the towing limber, as the instructions here are again very poor I will take you through this one step by step;
First attach part E1.
Then attach parts E16 and 17, these parts are handed and must be used on the correct sides.
I advise that you now attach part E10 (the axle) or you will struggle later. It should also be mentioned that the axle is not the same on both faces, there is a small tab on each end of one side and these tabs need to be towards the towing arm in order that parts D29 can be attached correctly.
The rest of the pieces can be attached in any order of your choice.
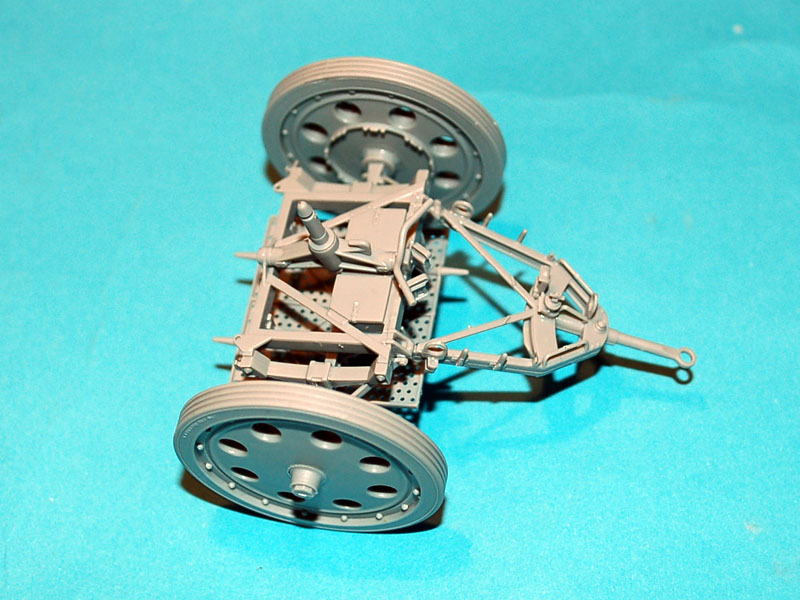
Parts E3 and 4 need to be switched around as they should angle in as shown in the picture where the instructions indicate to attach the axle. The wheels again have the towing loop on the centre of the wheel face which must hang down which need to be remembered when attaching them; this is not such a problem as the axle ends here are round not square.
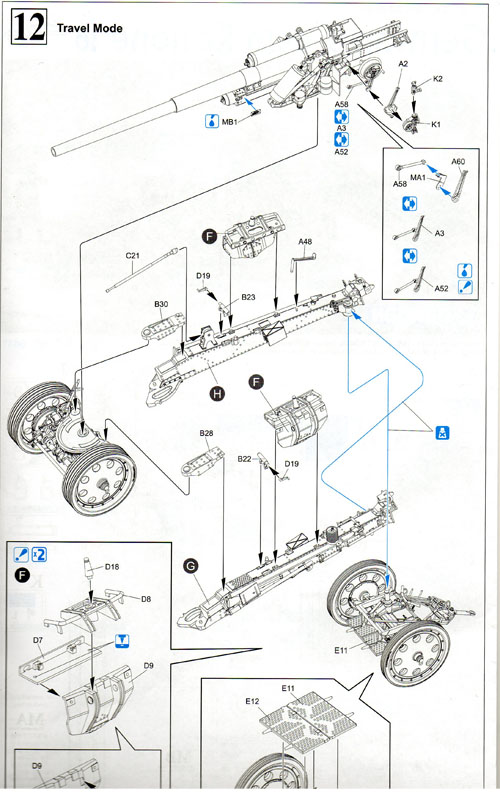
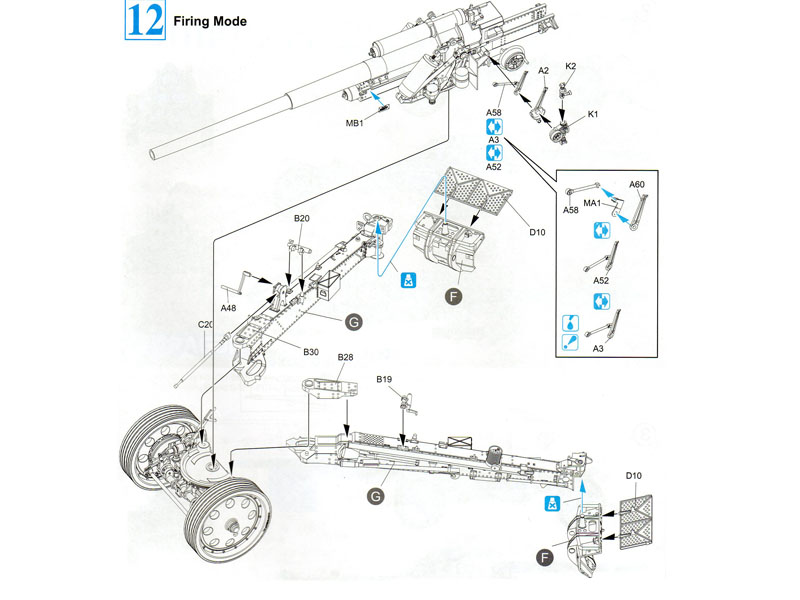
Step 12A shows you how to assemble the various components in a towing configuration should you wish to display your model in this way. You should not encounter any great difficulties except possibly for the PE used in the sighting arrangement.
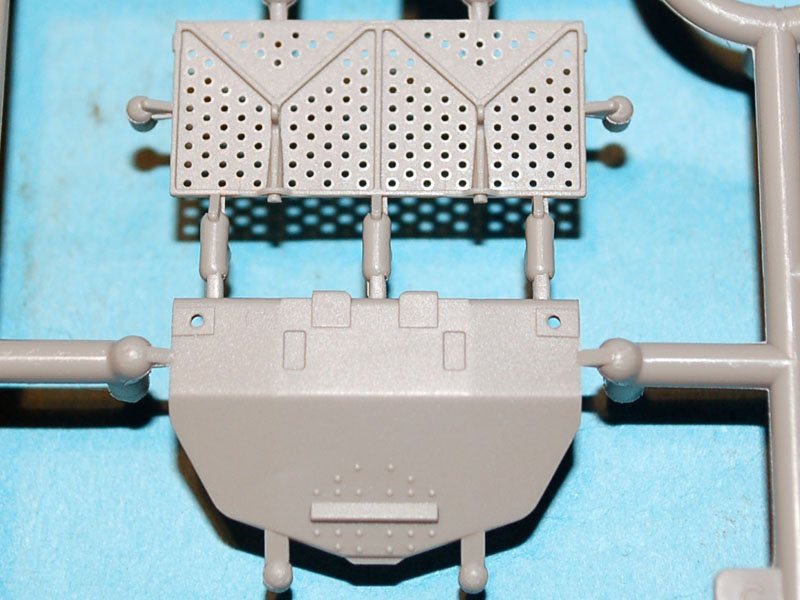
Also covered in this stage is assembly of the spades which attach to the legs. All I can say is beautifully engineered. The instructions do indicate that you need to drill out 2 small holes in each spade, but on my version these holes were already there.
Step 12B covers assembly of all the components to show your model in a firing position, again this should cause few problems with the exception of the PE used in the sighting assembly and part C20. The instructions for the PE are lacking as regards making bends and I advise you utilise the CAD drawings on the bottom of the box to help. Part C20 I believe should locate to part A43 which is not shown in the instructions.
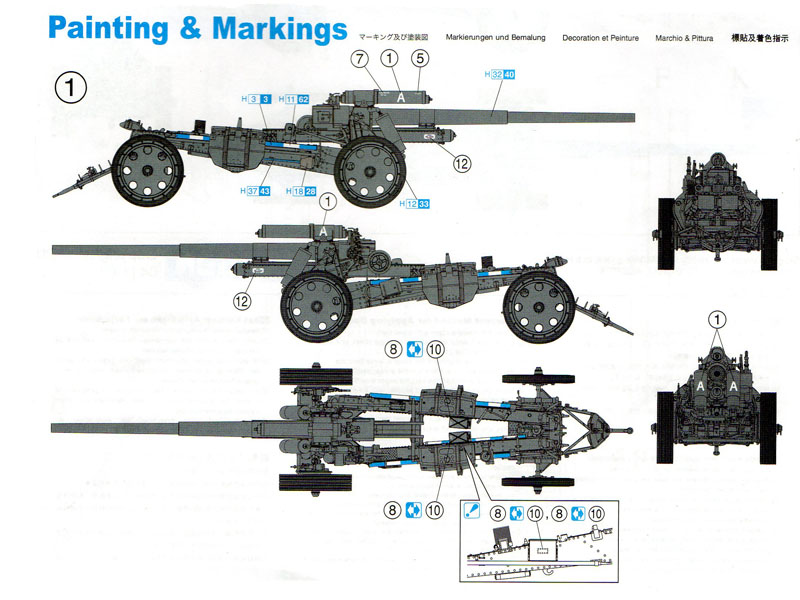
All that is left now is to paint your newest and latest artillery piece and apply the decals of your choice.
Conclusion
This is perhaps one of the hardest conclusions I have had to write as most of my complaints are about what is
not in the box, rather than what is. Let me start with the instructions which are woefully poor even by DML standards, I can forgive them for the odd incorrectly numbered part, but when they dont show parts in the correct orientation after all the kits they have released in the last decade words fail me, then you have the problem that the instructions do not clearly show where all of the parts should be; very disappointing.
This model with cost considered should have had, at the very least, a couple of ammunition boxes, a few extra rounds, and the gun mats for placing under the wheels. That said, if artillery is your thing then I am sure you will enjoy adding this model to your shelf when built as, despite my complaints about it, it is a good looking and (as far as I can ascertain) accurate model.
To be fair, what is in the box is an excellent model, sure there are some problems (what kit doesnt) but no issues that cannot be overcome fairly easily. It is a real shame that DML still cannot get their instructions right, but then again they have never had a good name in that department. I must admit that this model started some ideas bouncing around in my head for a diorama, and say what you like about artillery pieces they do look good in diorama settings.
References used:
Dragon s.10cm Kanone 18 by Soeren
German Heavy Howitzers 1934 1945 by Joachim Engelmann


Comments