After initially meeting with the Russian T-34 and KV-1 tanks on the Eastern Front, the German army assigned high priority to up-gunning existing German armour. For the Panzer IV, this saw the original short-barrelled 75 mm gun being replaced by a longer barrelled version. This new gun began being fitted to the existing turret in early 1942, with last 175 Panzer IV Ausf. Fs manufactured equipped with the 7.5cm Kw.K 40 L/43 tank gun. This transformed the Panzer IV from a medium support tank into the best battle tank then in German service.
In North Africa, this modified Panzer IV was often referred to as a special. It was superior to any existing Allied tank, while on the Eastern Front it outgunned the T-34, and with care could take on the KV-1. Although this version of the Panzer IV is normally referred to as the Ausf. F2, it actually only held that name for a short period. It was originally developed as the Ausf.F-Umbau (changed), but by March 1942, as the first machines were completed, the F2 designation was adopted. The older short-gunned tanks then became the F1. Finally on June 5, 1942, all of the existing long-gunned Panzer IVs were classified as the Ausf. G (early examples of the Ausf. G were identical to the F2). Dragon have released a 1/72nd scale Pz.Kpfw. IV Ausf. F2(G) kit (#7359).
kit Contents
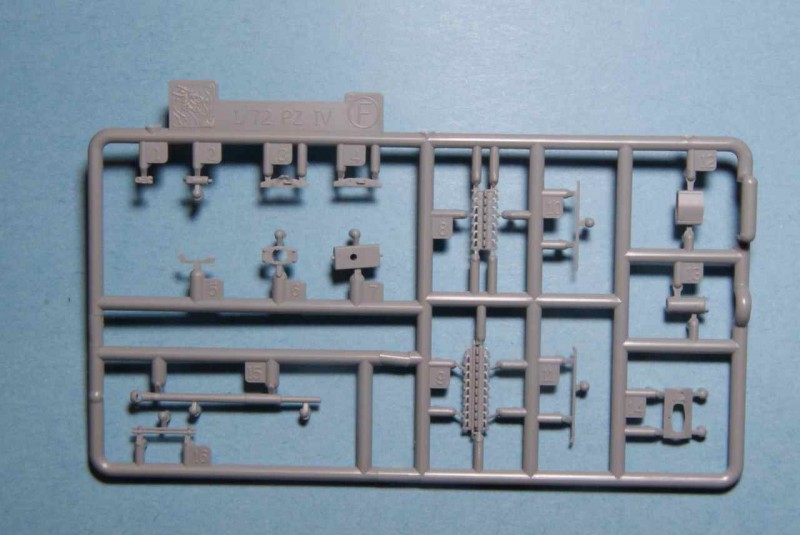
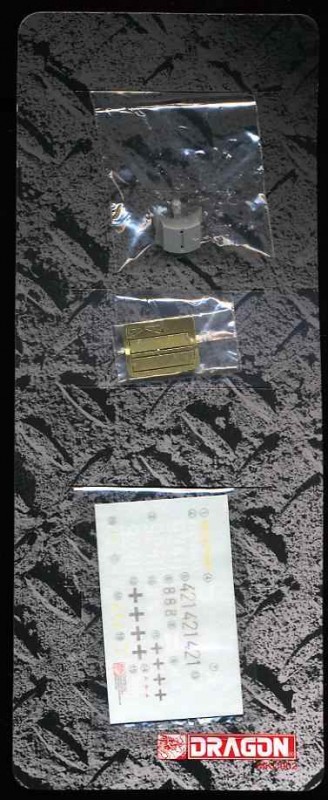
Upon opening the box, one finds no less than half-a-dozen plastic bags containing sprues and individual parts. The standard Dragon card is present, and contains the Cartograph decals, a small PE fret and a separately bagged turret rear storage box. The parts per sprue breakdown is as follows.
The road wheel hubs, while referenced as being on sprue F, are individual pieces contained in their own separate bag. This kits small PE fret holds the flaps for the side plate engine vents, and a pair of optional fender supports. Unlike other Dragon Armor Pro kits, there are no parts marked as unused. However, the spares box will be added to as there are several sets of alternate parts.
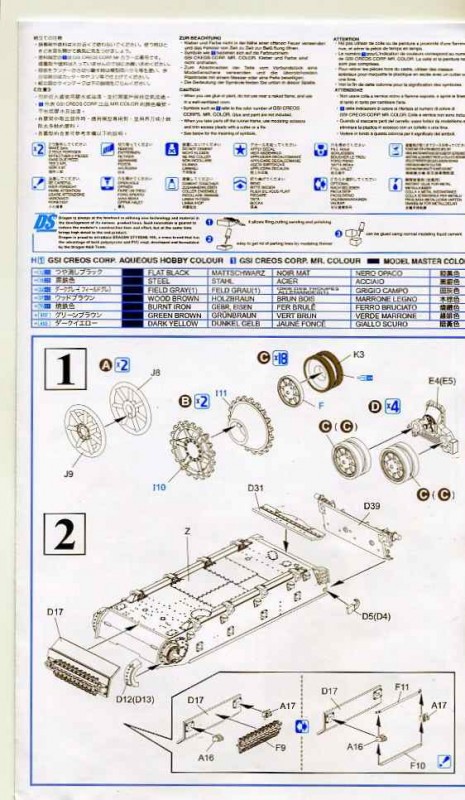
The instructions are a six-sided folded affair with sprue parts layout and eight construction steps in exploded view drawings. They also contain a markings and painting section done in full colour, but this should not be used as the sole source for the actual colours used.
the Review
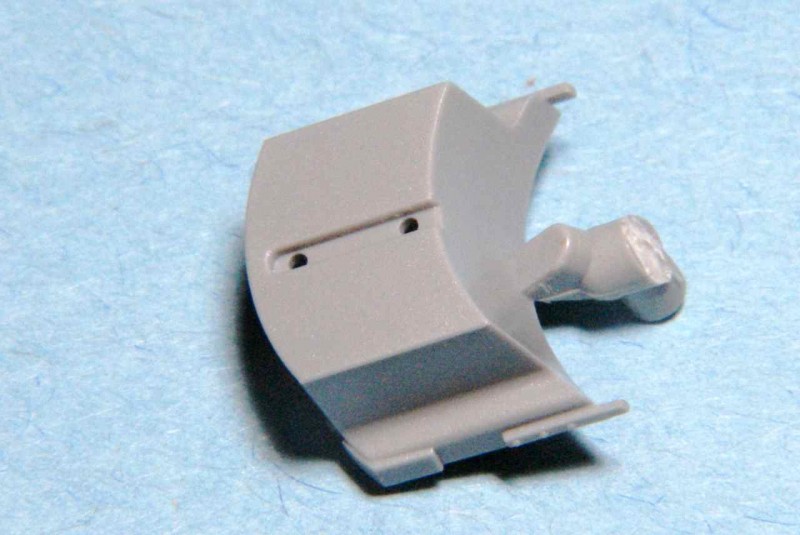
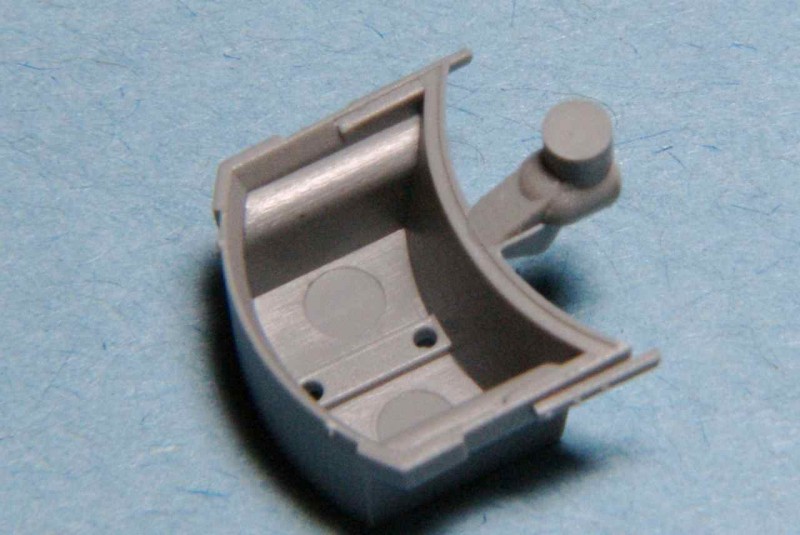
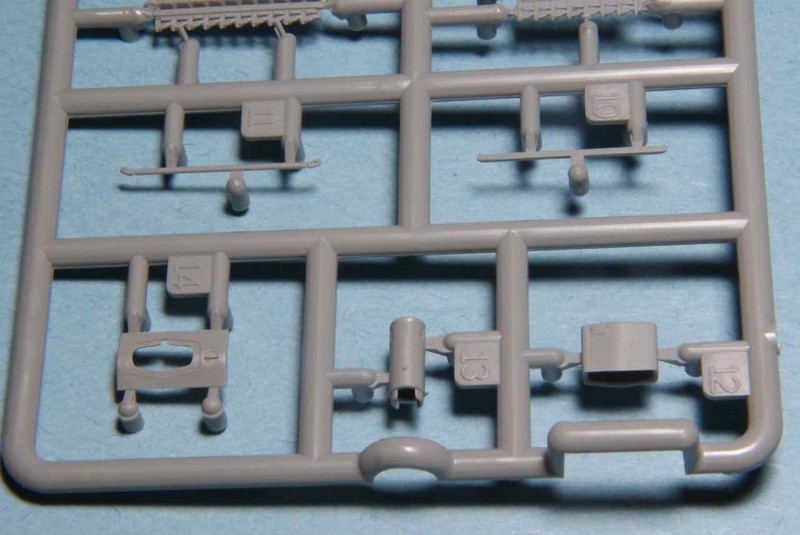
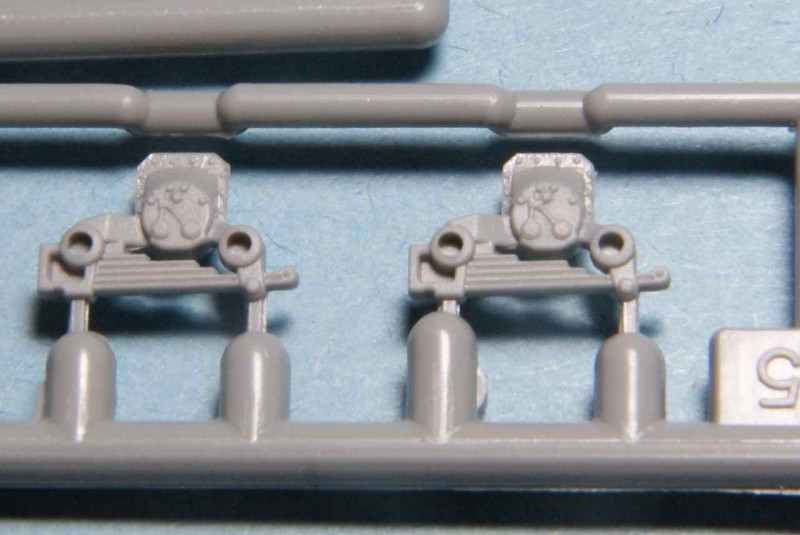
On examining the sprues, the first thing that will impress you is the level of detail on even the smallest parts. Be it panel lines, bolt or screw heads, weld beads, all are beautifully-rendered. Ejector marks are minimal, and where they do appear, they are mostly on internal surfaces that will not show after construction, or be otherwise hidden after the addition of extra parts. Flash is virtually non-existent, and mould seam lines were very light and can most likely be removed with a light scraping using a sharp hobby knife. As with other Dragon kits that I have reviewed, some of the sprue gates for the smaller parts are quite large. This will require considerable care when separating them from the sprue tree.
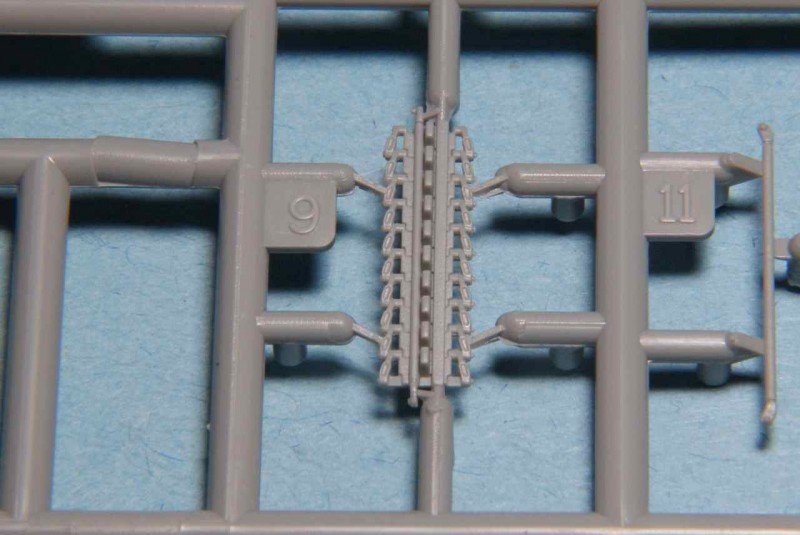
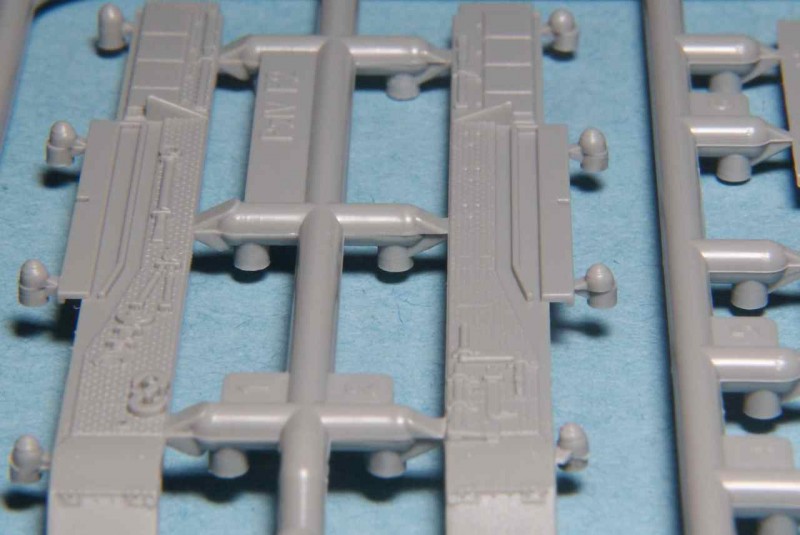
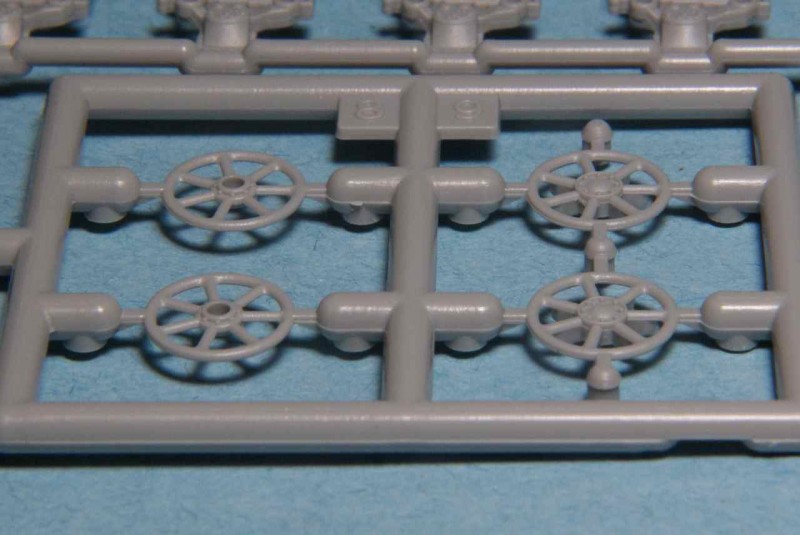
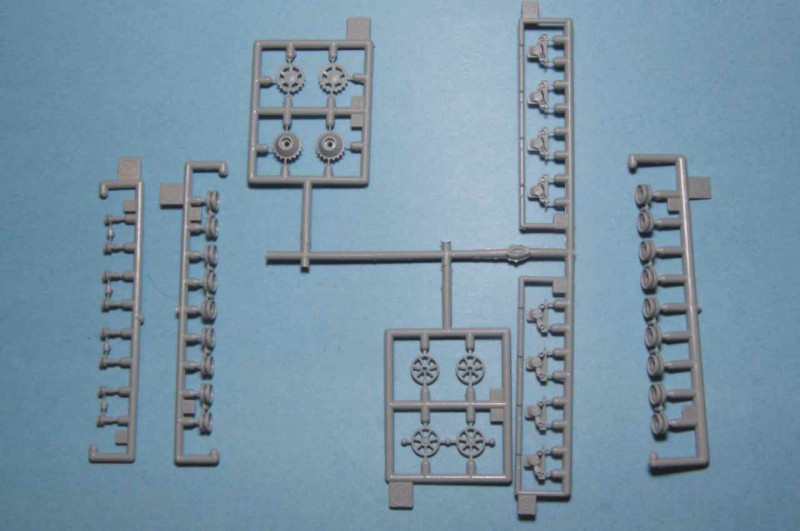
In the first step, construction begins with the assembly of the suspension components. The slide moulding used for the road wheels means that there are no pairs of wheels to be joined. The fact that a centre hub is attached should greatly ease painting of the rubber portion. There are two sets of four bogie carriers that hold the wheels. These sets are referenced in the instructions as A4 and A5 and are side-specific. The builder will need to examine the instructions carefully to see which set belongs on which side.
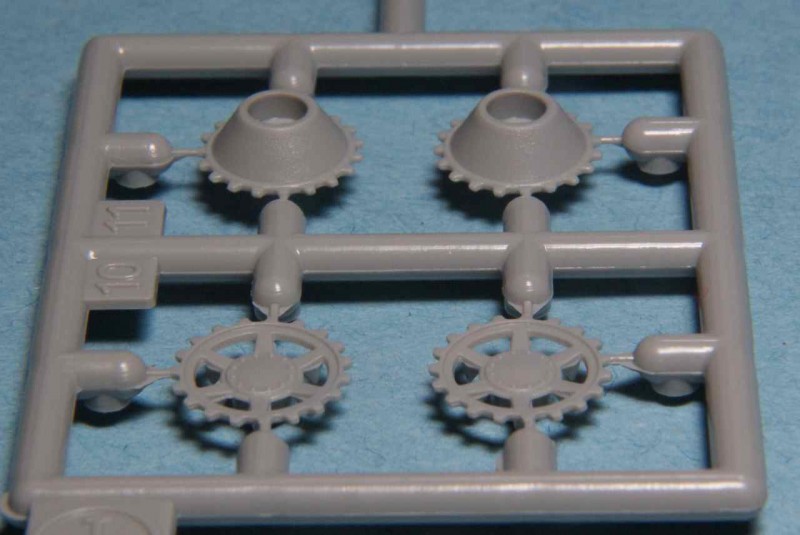
I found the potential for error in their positioning as the instructions are rather vague and confusing. Both completed bogie assemblies are listed in the diagrams as being subassembly D and should have been more-clearly marked with an identifier pertaining to side of use. When looking at the upright hull tub towards the sprocket, the bogie assembly using part A4 would be attached to the left or port side. The A5 set would be used for the right or starboard side of the hull. The last part of this step is the assembly of the drive sprocket and idler halves.
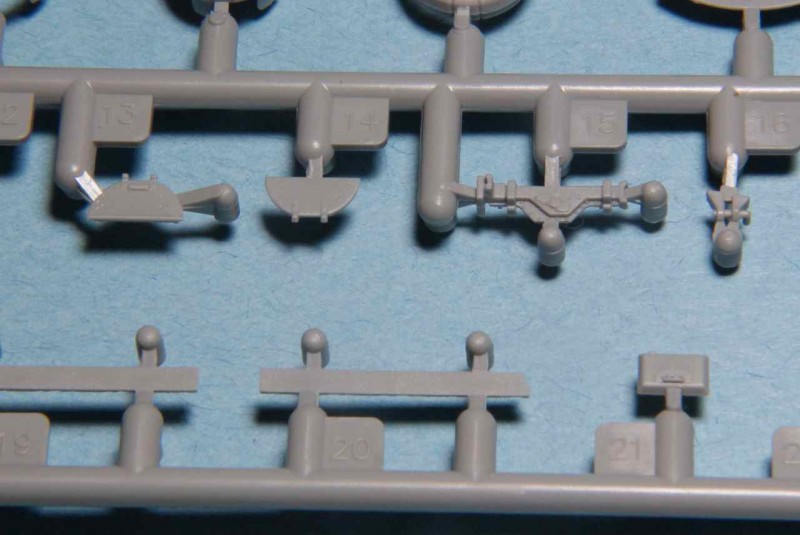
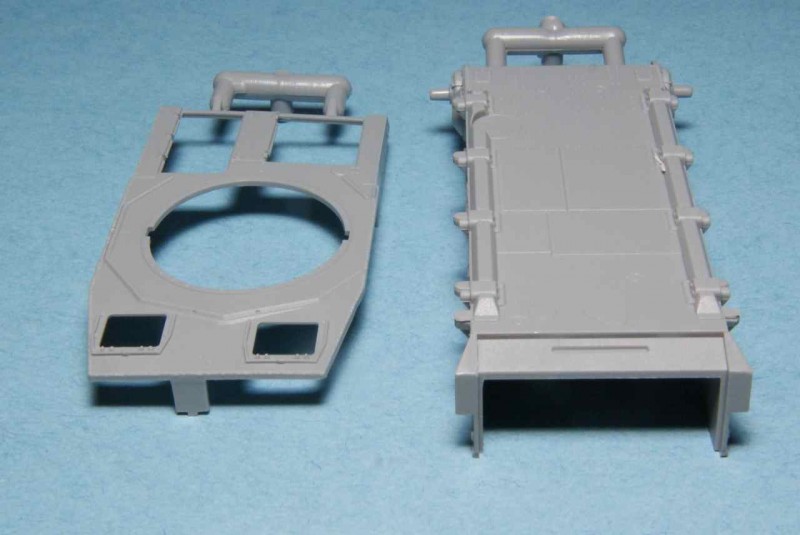
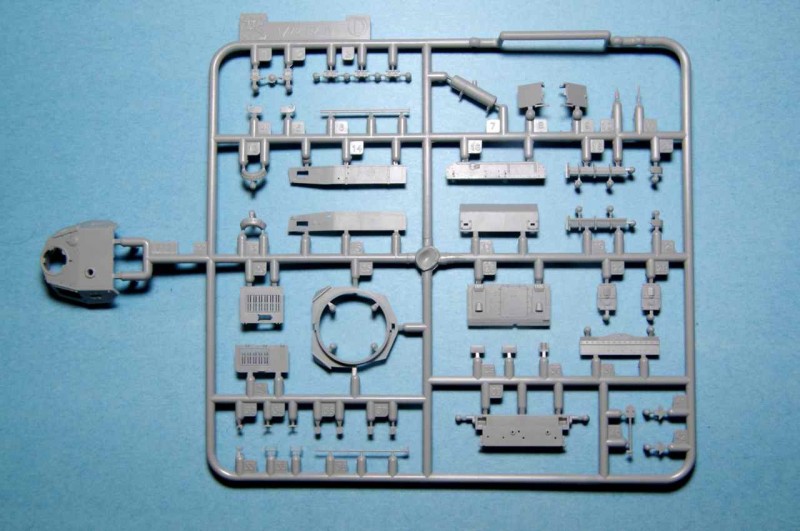
Step 2 involves the placement of various pieces on the lower hull. The parts include three larger panels, two for the hull rear and one for the hull front. The other parts are towing hooks and eyes, and separate armoured guards are fitted forward of the integrally-moulded final drive housings. It is also here that the first choice option will need to be made: the lower bow plate can have either a length of spare track or separate track mounting brackets without tracks and separate towing eyes.
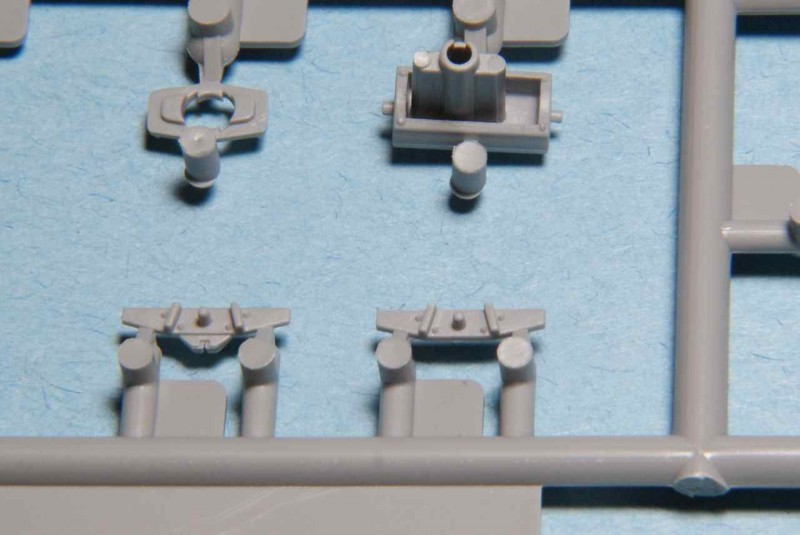
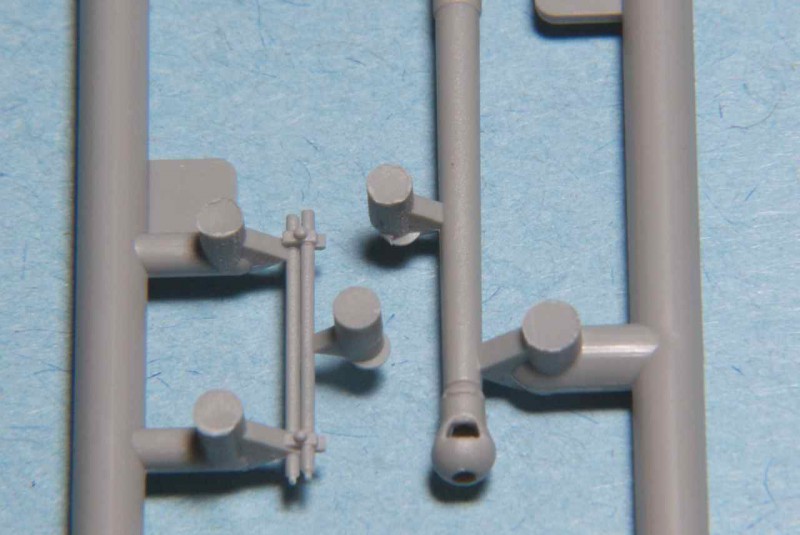
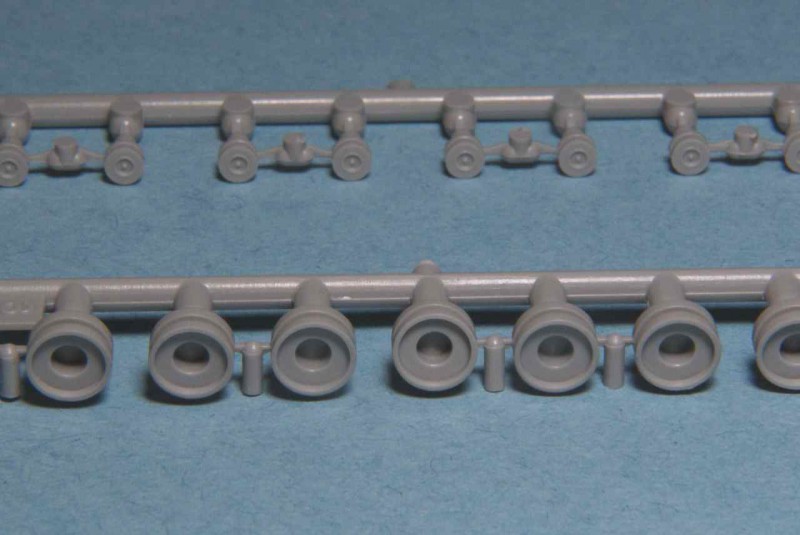
With step 3 , the various suspension components are attached to the hull. The suspension build should be straight-forward, but with eight road wheels and four return rollers per side, getting everything to sit even and level may prove a challenge. The hull rear plate is a separate part with integrated rear idler mounts and separate pieces for the pintle and auxiliary electric generator powering the turret traverse. The main exhaust is a single part slide-moulded with a hollowed outlet. During this step you are given the option of using one of two different tow hook mounts.
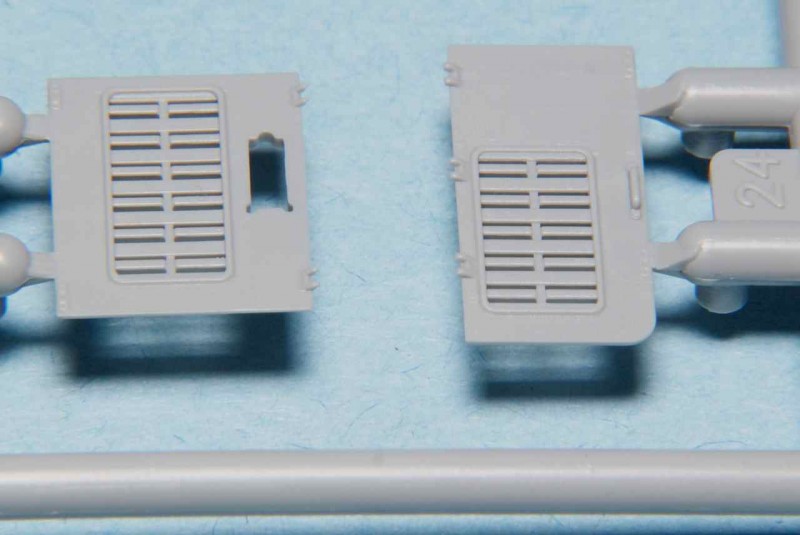
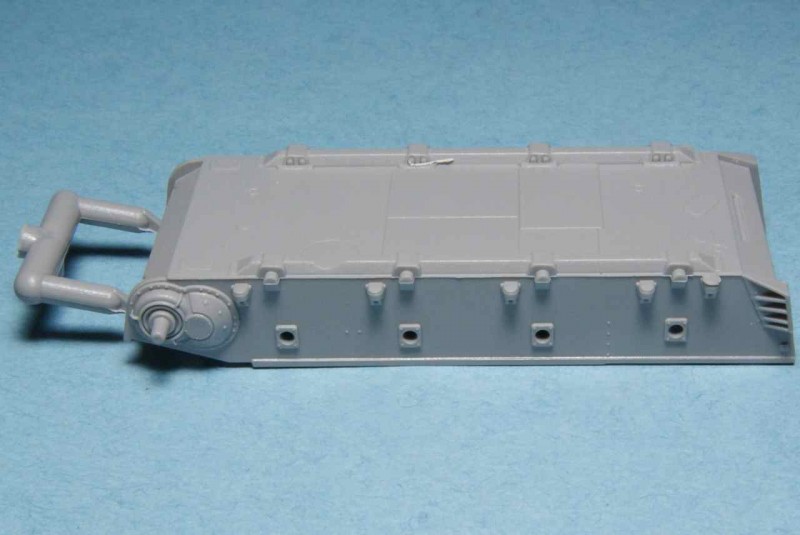
Step 4 begins the construction of the upper hull. While the hull deck or top is a single piece, the vertical sides are added as separate parts. Numerous external vehicle equipment parts are placed onto the assembly at this stage, and include things such as a shovel, storage boxes, gun cleaning rods and antenna trough. A kit antenna is provided, which can be displayed in the stowed or deployed position. The separate plates that are provided for the superstructure sides have internally-detailed viewport flaps. The separate rear plate receives a two part smoke candle dispenser and two tow cable mounting hooks. The crew hatches are beautifully-moulded and are complete with internal detailing so they can be displayed open or closed. The engine deck doors have integrated grating or louvers that are positively unbelievable and minuscule.
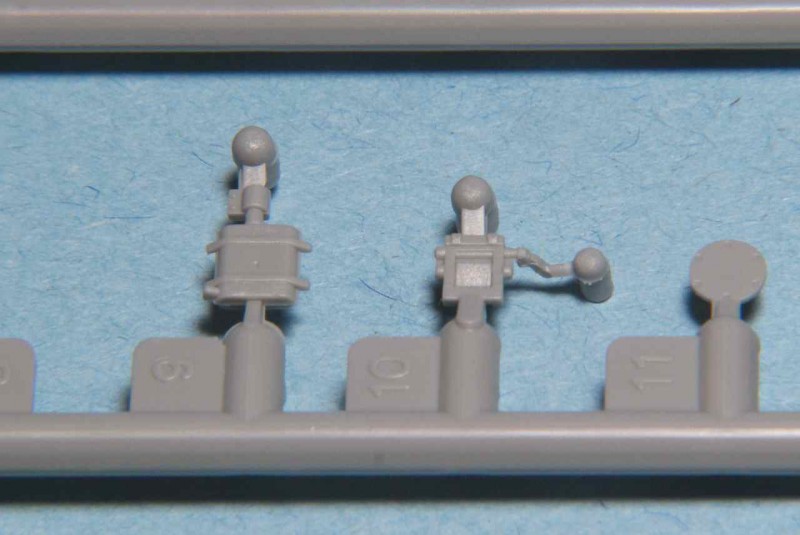
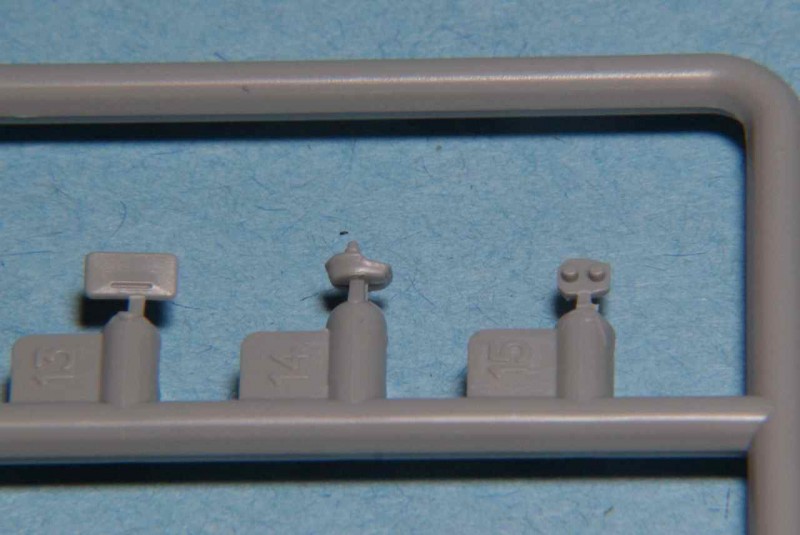
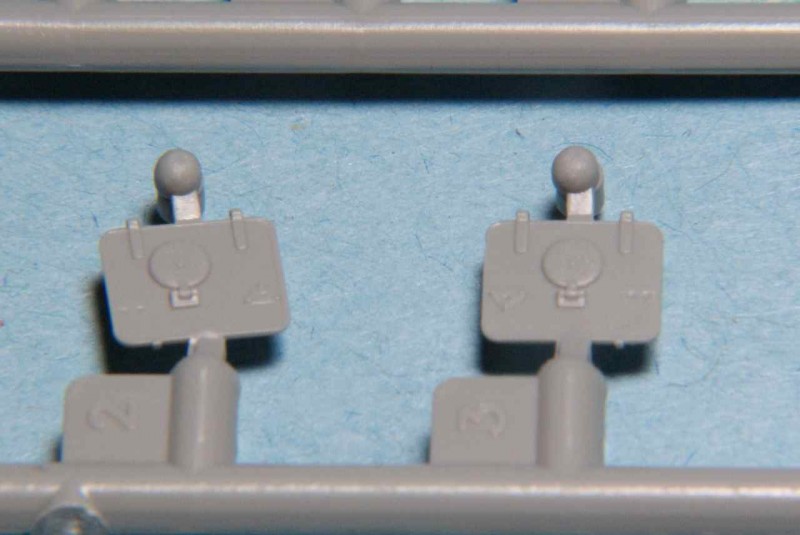
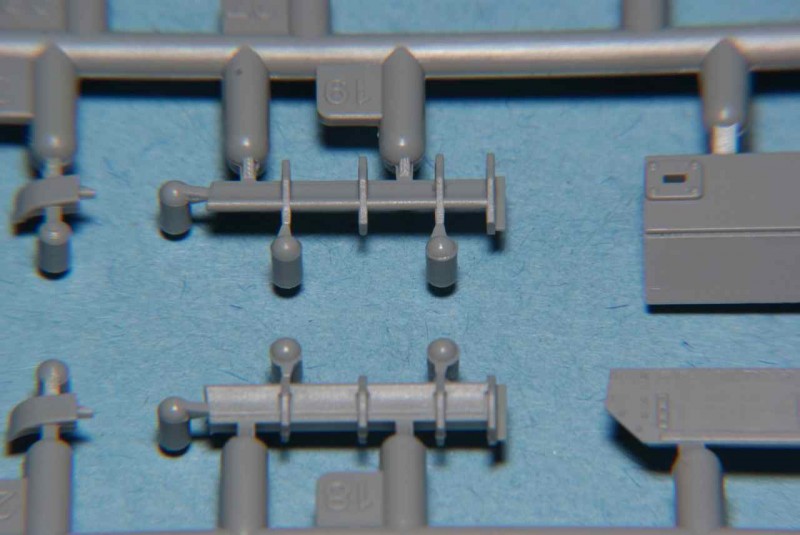
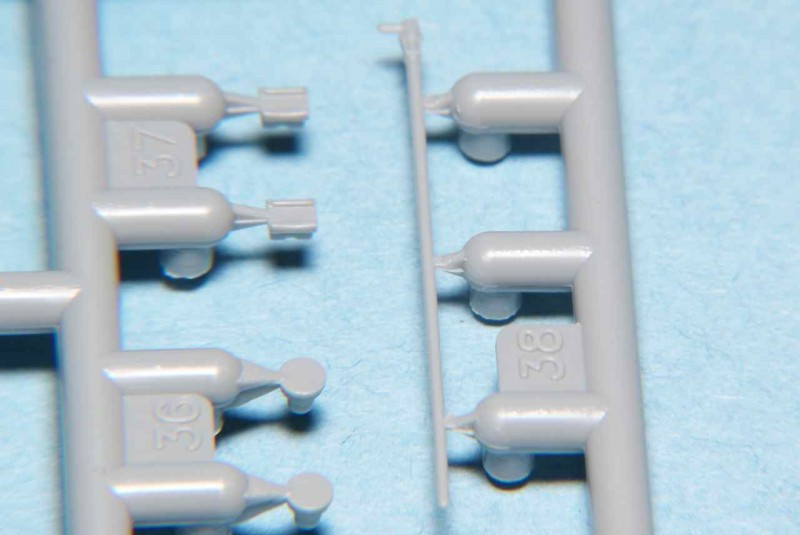
In step 5 we see more external storage added to the superstructure, along with fenders that are detailed both top and bottom. The details include, but are not limited to, tools, spare track links, Notek light and a choice of two types of tail lights. The front glacis plate has its hatches moulded-on and is attached during this step. Optionally a length of spare track is provided to be attached on it. One feature of Dragon kits that has always been puzzling is that, while they provide a number of individual tools in their kits, they also have some tools moulded on. This kit is no exception, as both fenders have some moulded-on tools. With Dragons moulding ability, it would be nice to see all external storage provided as individual pieces.
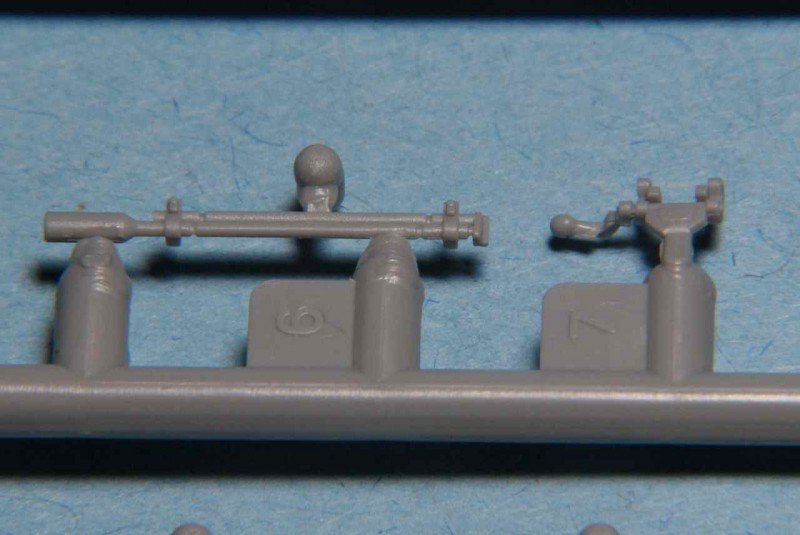
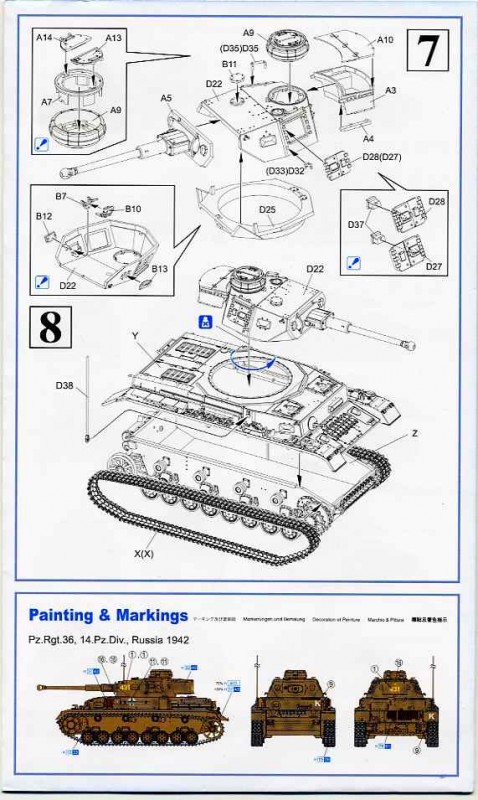
Step 6 is the assembly of the main gun and mantlet. Eleven parts are used in the process. Again, the detailing on the associated parts is superb. The main gun tube is slide-moulded, so the globular muzzle brake is open on all sides. The multipart mantlet assembly can be elevated and depressed, and includes a separate viewport cover for the loader. The separate coaxial MG34 is also slide-moulded, so it has proper armoured sleeve detail and an open muzzle.
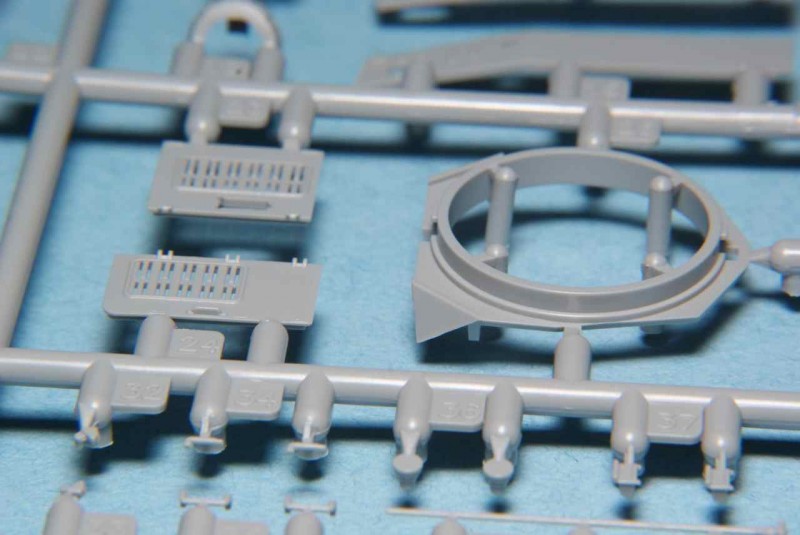
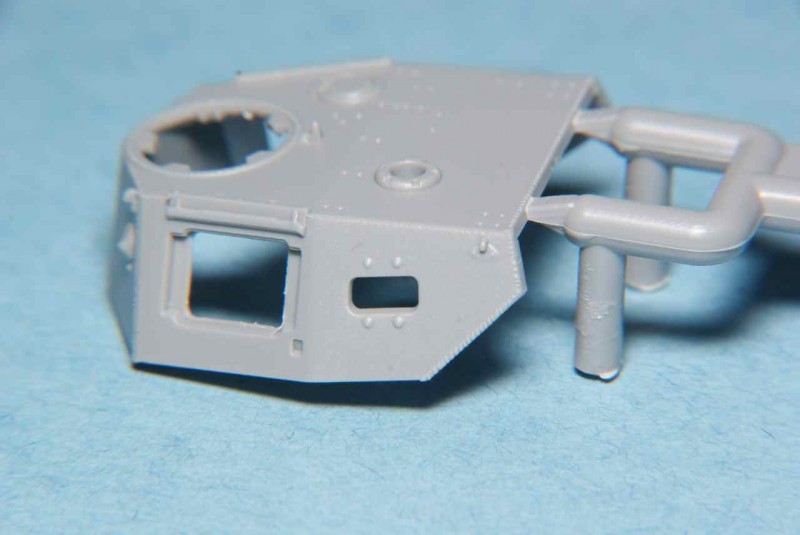
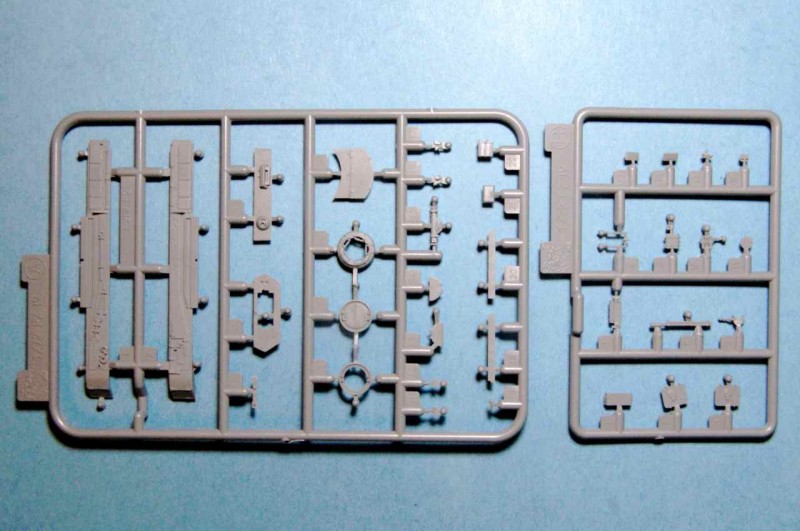
The total focus of step 7 is the assembly of the turret. The turret body itself is made up of an upper and lower section. The turret shell features moulded-on lift hooks, MP Stopfen (pistol ports), signal port, hinges, rain gutters and screw-head details. The commanders cupola is a two piece affair that carries internal detailing. Two separate hatch halves are provided for depicting the hatches open, but there is also an alternate single solid hatch part for the closed position. Separate viewport flaps with internal details are provided, while the split sidewall access hatch lids are each moulded in one piece for neater assembly in the closed position. These hatches posses remarkable internal detailing. If the modeller desires, they could be cut apart and left open. If this route is chosen, there are additional separate parts to add even more detail to their interior faces. The turret rear storage bin has a very nice lid with internal detailing present. For a more experienced modeller, there is the possibility this lid could be displayed open, but it would require careful surgery with a sharp hobby knife.
The final step of assembly is mating the upper hull to the hull tub, installing the DS 100 tracks, gluing on the antenna and placing the turret on the chassis.
Painting and decals
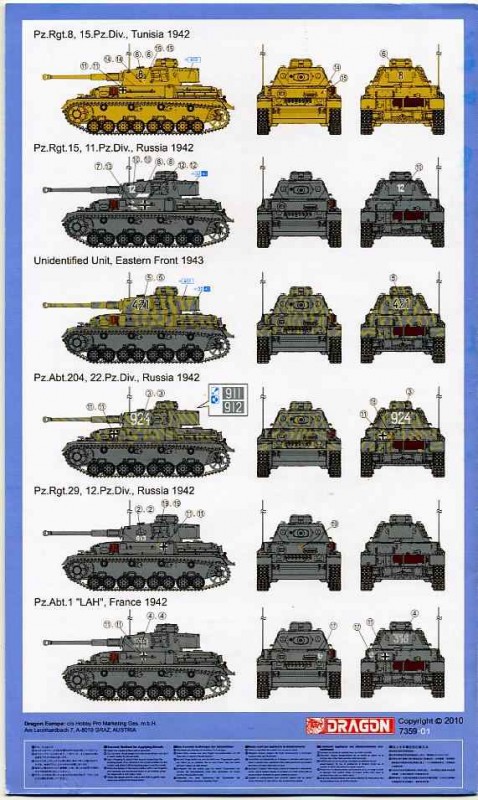
The finishing instructions provided show seven varying paint and decal schemes for units in France, Africa and Russia. The following units are represented:
Panzer-Regiment 36, 14.Panzer-Division, Russia 1942.
Panzer-Regiment 8, 15.Panzer-Division, Tunisia 1942.
Panzer-Regiment 15, 11.Panzer-Division, Russia 1942.
Unidentified Panzer-Division, Russia 1943.
Panzer-Abteilung 204, 22.Panzer-Division, Russia 1942 (with two turret number options).
Panzer-Regiment 29, 12.Panzer-Division, Russia 1942.
SS-Panzer-Regiment 1, Leibstandarte Adolf Hitler, France 1942.
Conclusion
I would advise any builder to study the assembly process with care. As with any parts-intensive kit, the provided assembly steps may not prove to be the most optimal. This will be particularly true with the assembly of the upper hull: its myriad of parts, and especially the separate fenders, may cause problems in getting the upper hull properly aligned with the lower hull. Because of this I cannot recommend this kit to the novice builder.
For the more advanced and adventurous builder, this kit would make a great base for taking advantage of after-market additions. As an example, the E.T. Models E72-007 Panzer F1 enhancement set could add considerable detail to the build. While labelled as being for the Dragon Pz. Kpfw. IV Ausf. F1, many if not all of the components available in the set could also be employed on this and other 1/72 scale Panzer IV variants.
Dragon Models has come out with some really nice 1/72 armour models lately. They claim detail in 1/72 that is approaching, if not equal to the level of 1/35. In this reviewers opinion, they appear to be achieving that goal. There's something about these Braille scale efforts that defies you not liking them, even if your main modelling efforts are directed towards the larger scales.
Should produce a beautiful representation of the Panzer IV F1(G) right out of the box. Highly recommended
SUMMARY
Highs: Superb detailing right down to the smallest parts. Engine grill moulding detail is astounding.Lows: Excessively large sprue gates on some smaller parts.Verdict: Excellent base for detailing, or will make a great model out of the box. There isnt much not to like.
Our Thanks to Dragon USA! This item was provided by them for the purpose of having it reviewed on this KitMaker Network site. If you would like your kit, book, or product reviewed, please contact us.
I've been building models since about age 10 with the occasional hiatus due to real life events. First armour model was a 1/76 Airfix Tiger I and was followed by a 1/72 Revell F4U Corsair. I've built primarily 1/76 and 1/72 armour and aircraft but occasionally have tinkered in other larger scales....
Looks like a good thorough review Jan, very helpful to people like me who are not experts on particular types of armor. I'd be very comfortable picking up one of these kits now rather than waiting eons for Tristar or Tasca to release one.
I am glad that you found the review helpful, Jeremy. I am myself hardly an expert but I feel that a bit of background to a vehicle helps put things in perspective. One thing that I forgot to mention in the review was the potential for someone to use it as a base for some super interior detailing. There are already quite a few internal details provided but any others would probably have to be scratch built as there aren't any interior detail kits available in 1/72.
Cheers,
Jan
To my knowledge Tristar and Tasca have never released or intend to release a 1/72 scale range of kits of any description so your comments seem somewhat strange.
Excellent and detailed review, Jan. It pretty much answers all my questions about what to expect. I don't like the idea that you have to build the entire top part before fitting it onto the bottom. That's just the thing where I'd probably mess up. I have to say, for a beginner these Dragon Braille kits are quite intimidating.
Regards,
AJ
Thanks for the comments, AJ. Yes, these Dragon kits can be quite a challenge, especially for a beginner. Like everything else, you don't know what you can achieve until you try.
Cheers,
Jan


Comments