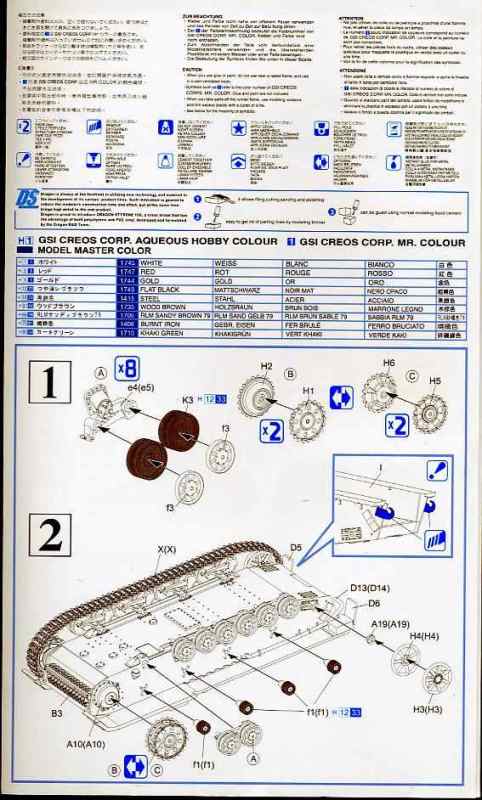
introduction
After the first German experiences with the newer Soviet tanks, like the T-34 or the KV tank during Operation Barbarossa, the need for a Panzerjager capable of destroying these heavily armoured tanks became clear.
In February 1942, the Alkett (Altmärkische Kettenwerke GmbH) arms firm of Berlin designed a tank destroyer using their recently developed Geschützwagen III/IV which as its name implies, used components of both the Panzer III and Panzer IV tank. The 8.8 cm Panzerabwehrkanone (PaK) 43/1 L/71, a long-barreled antitank gun, was mounted on the rear of the chassis complete with a gun shield. An open-topped superstructure was built up around the gun to give the crew some protection. The gun had a traverse of 15° to either side and between -5° to 15° elevation. To accommodate the long and heavy gun, the hull had to be lengthened and the engine moved from the rear to the centre of the chassis. Weight considerations meant that the amount of armour which could be used for the fighting compartment was limited to 10 mm, so the crew were only protected from blast and small arms.
This version entered production in early 1943. It had numerous official designations, such as 8.8 cm PaK 43 (L/71) auf Fahrgestell Panzerkampfwagen III/IV (Sf) or 8.8cm PaK43 (L/71) auf Geschützwagen III/IV (Sd. Kfz. 164), though it was also known as the Panzerjäger Hornisse or in English, Hornet.
During the first half of 1943, a new model of the Hornisse named Nashorn (Rhinoceros, Dragon kit 7292) was introduced into production. This model altered the driver's front armour plate, along with other minimal differences. The difference between this model and its predecessor, the few early production vehicles, were almost indistinguishable. The predominance of these vehicles were produced during 1943 with 494 entering service.
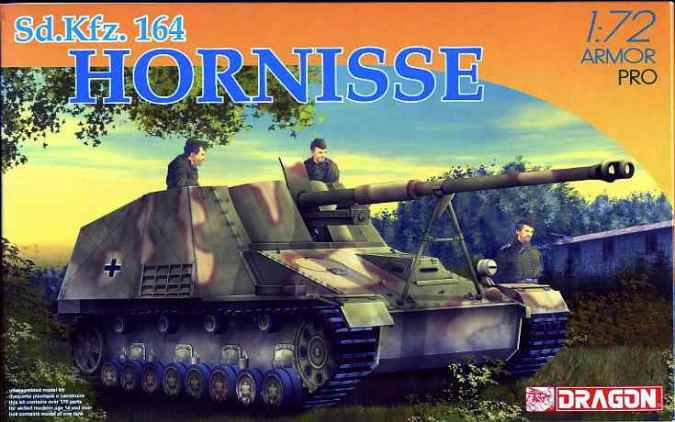
This review subject is the
Dragon 1/72 Armor Pro Sd.Kfz. 164 Hornisse, kit number 7234.
Contents
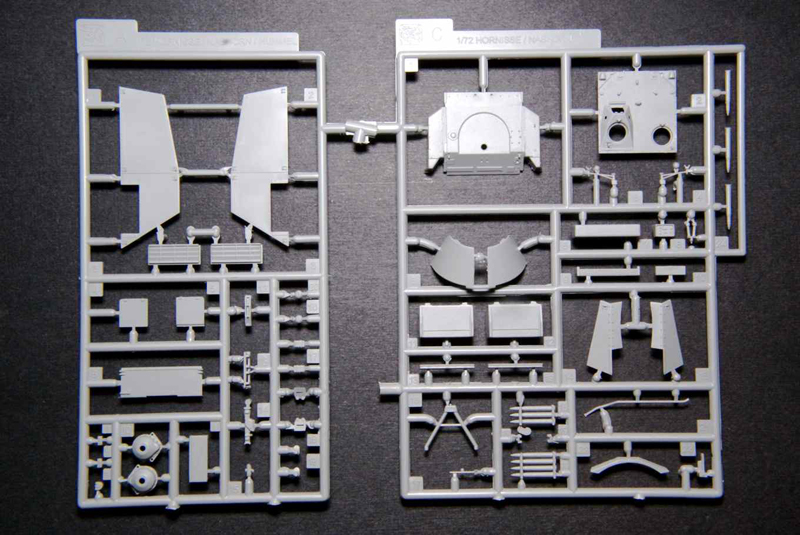
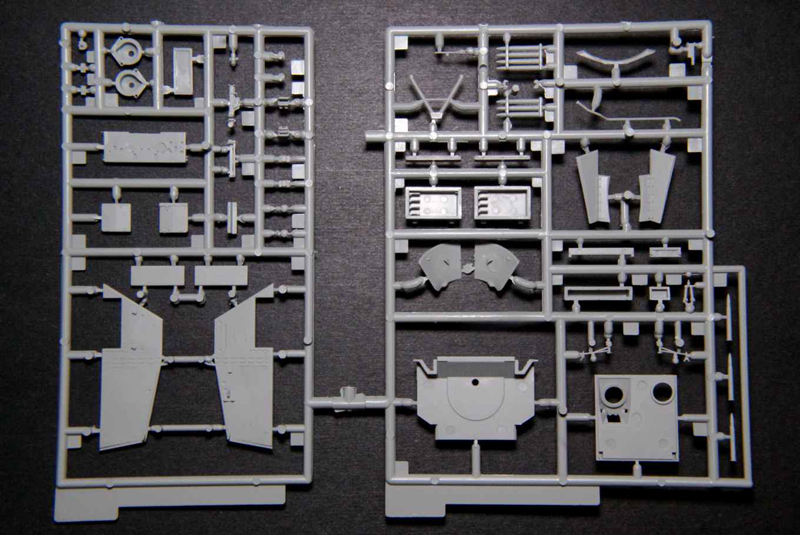
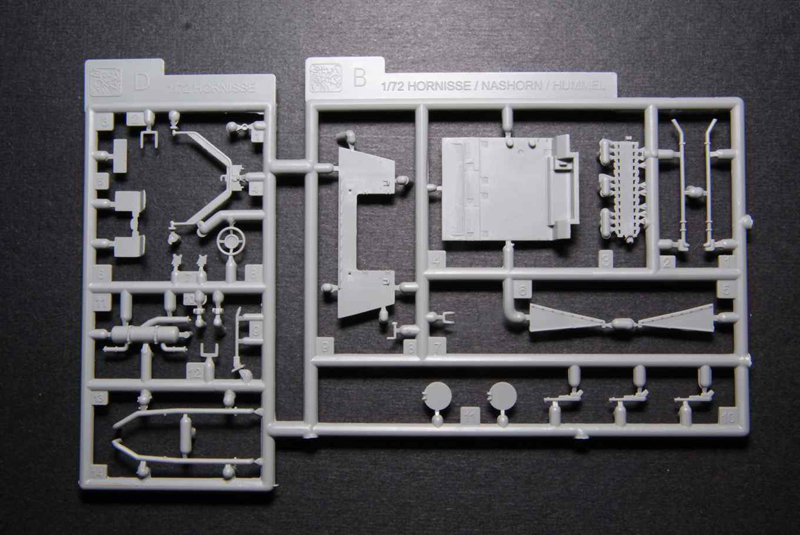
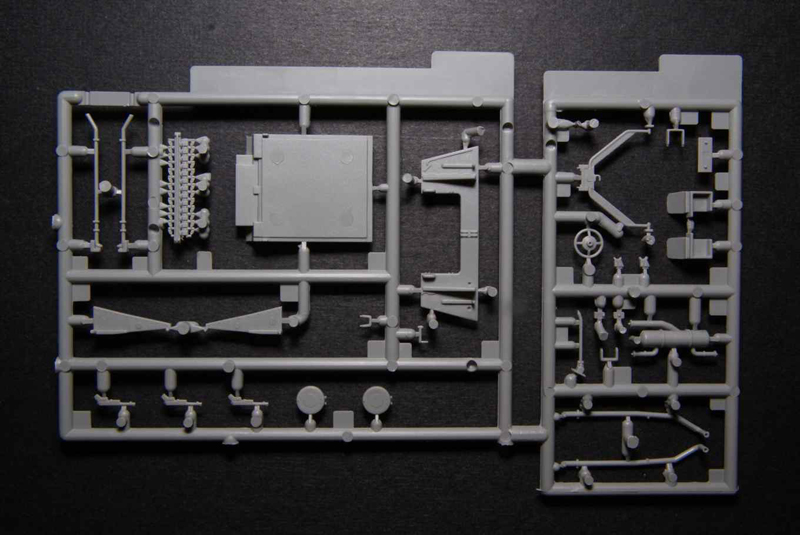
On opening the box one is immediately taken by how packed with sprues it is. There are no less than seven bagged sprues, one of which contains four sprues with the various wheels and other suspension components. The lower hull is bagged separately, as are the main road wheel hubs. The number of parts per sprue breaks down as follows:
A 22
B 14
C 27
D 15
E 3
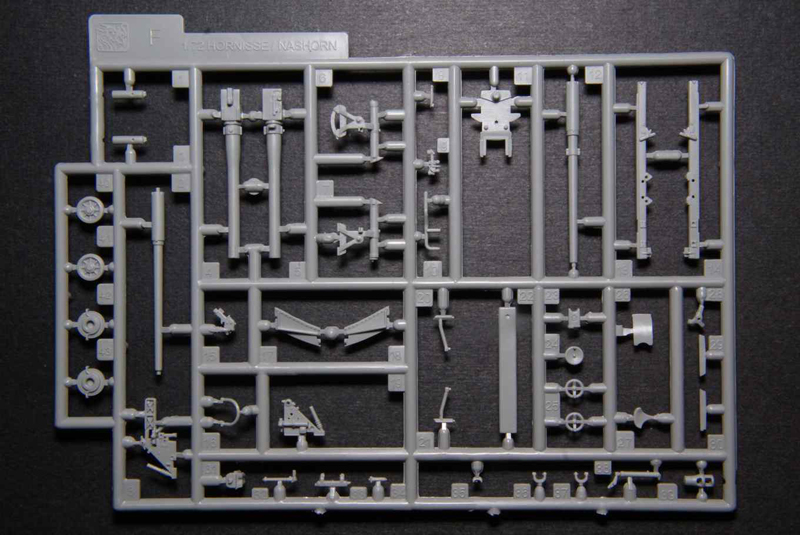
F 40
H 12
I 1
K 20
e 8
f 28
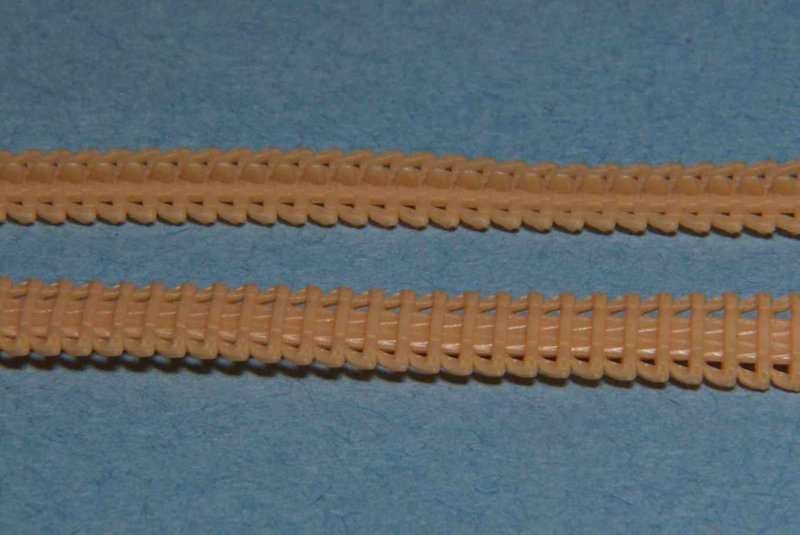
That is an astonishing 190 parts moulded in Dragons typical grey styrene plus two DS-100 tracks. There are 17 more parts provided on a small PE fret, but most of those are alternatives for kit plastic parts. On the sprue diagrams only eight parts are marked as unused, not counting those that will be left over if their PE substitutes are chosen.
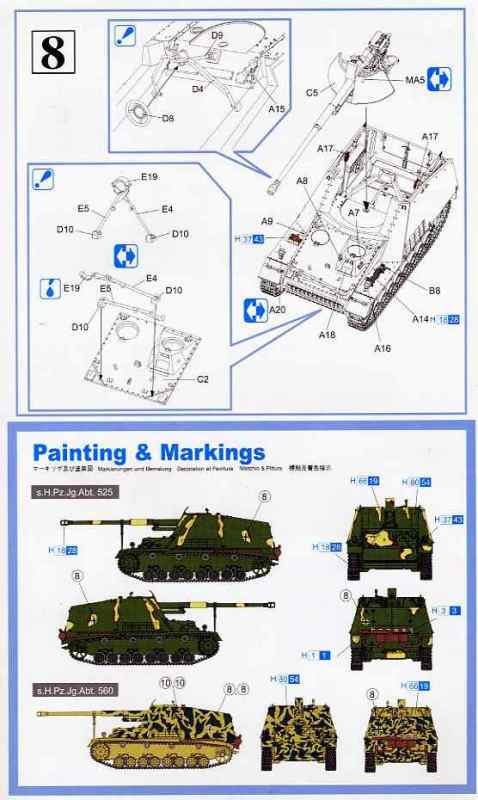
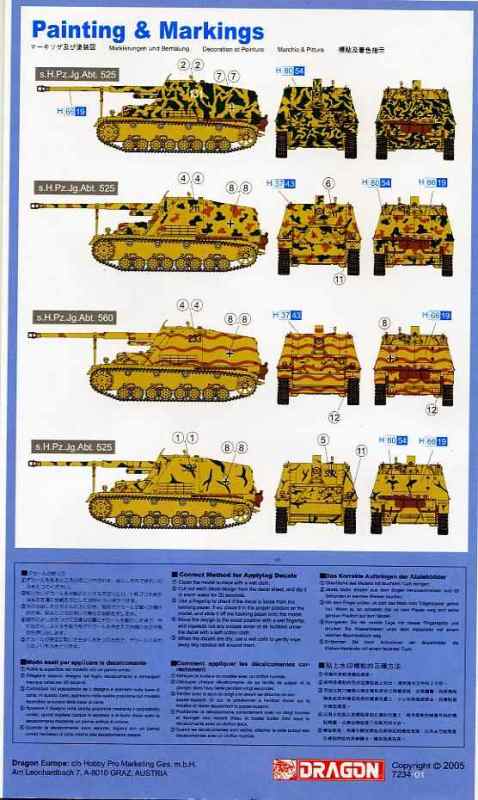
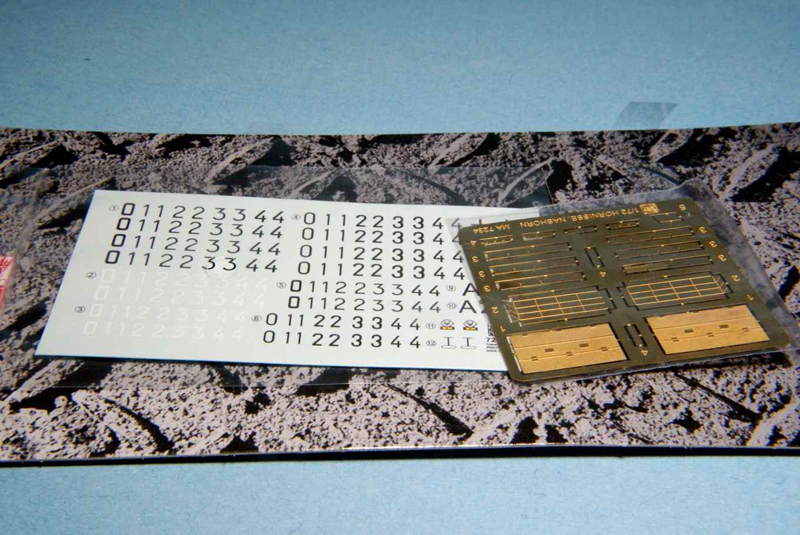
The instructions are a six sided affair showing eight construction steps in exploded view drawings. Also included is a page and a half of painting and decal placement instructions for one of six vehicles. A fair sized sheet of Cartograph decals for the s.H.Pz.Jg.Abt. 525 and s.H.Pz.Jg.Abt. 560 units rounds out the box contents.
Review
As with most
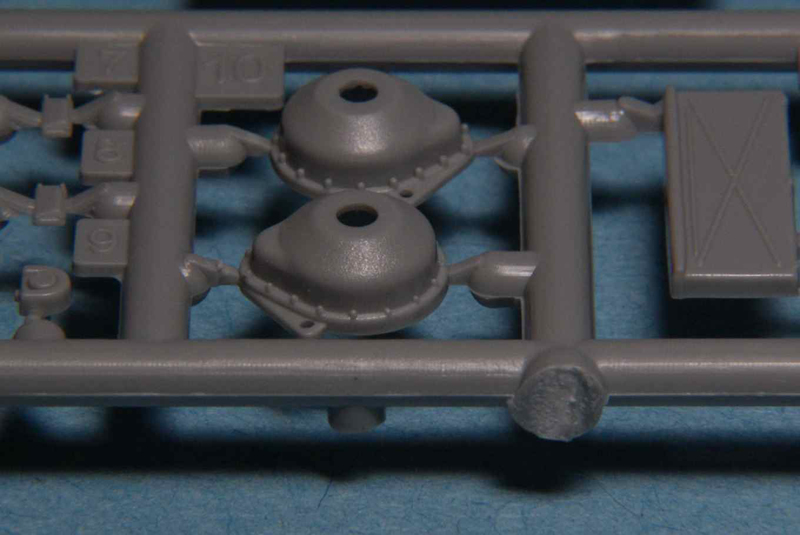
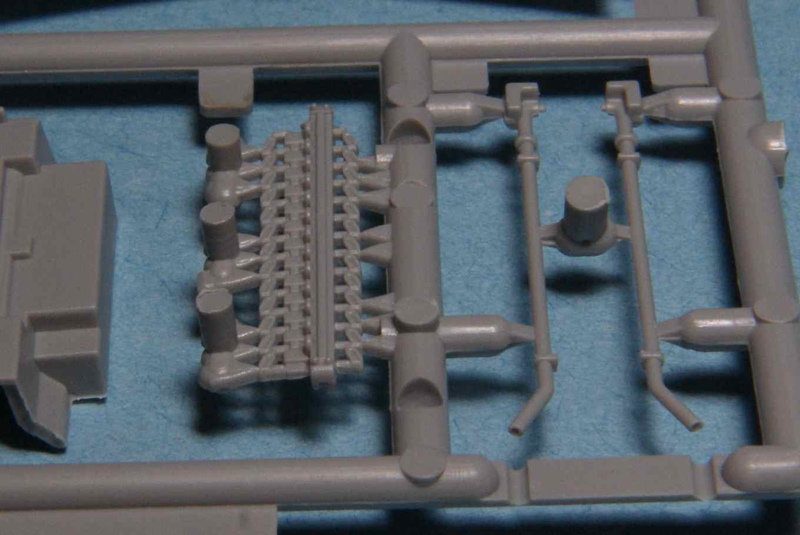
Armor Pro kits that I have seen, this kit looked promising from the point that the box was opened. Considering the scale, the details on the individual parts are nothing short of impressive. Ejector marks are minimal and where they do appear they are mostly on internal surfaces that will not show after construction, or be otherwise hidden after the addition of extra parts. Flash is almost non-existent and mould seam lines were very light. The one exception to these observations was an anomaly with the main gun shield part C5. On each side of the inner gun shield were two rather prominent oval shaped ejector marks with areas of flash on their edges. As with other Dragon kits that I have reviewed, some of the sprue gates for the smaller parts are quite large. This will require considerable care when separating them from the sprue.
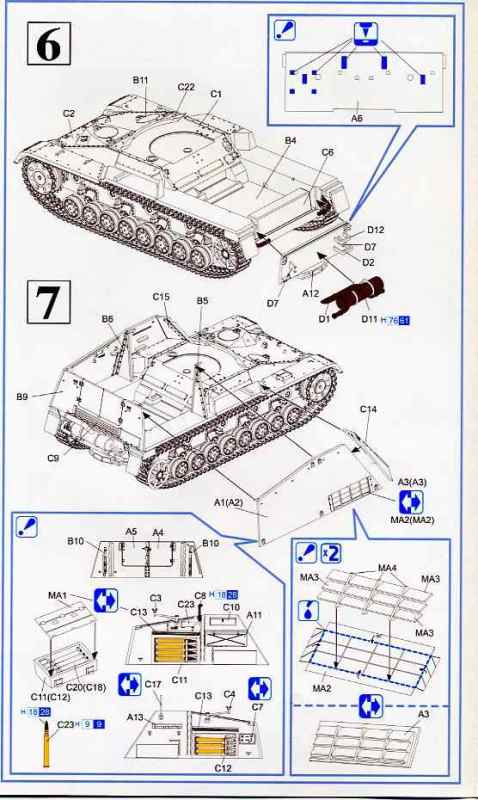
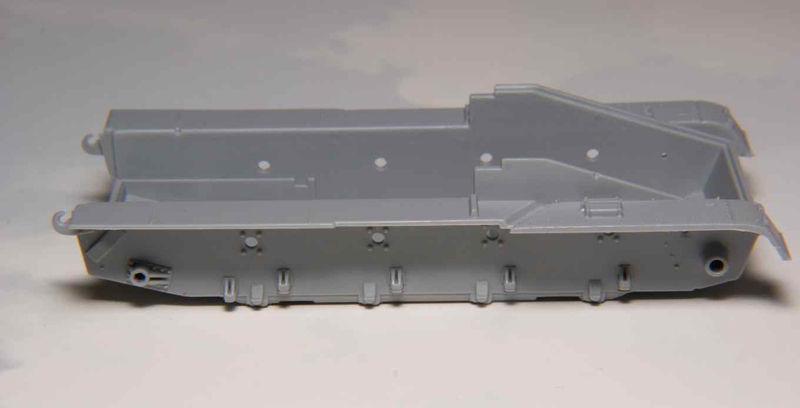
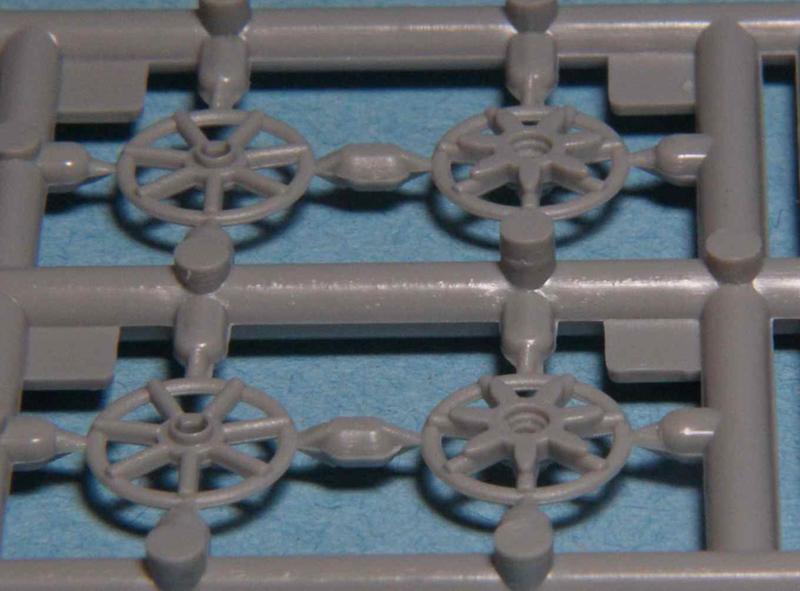
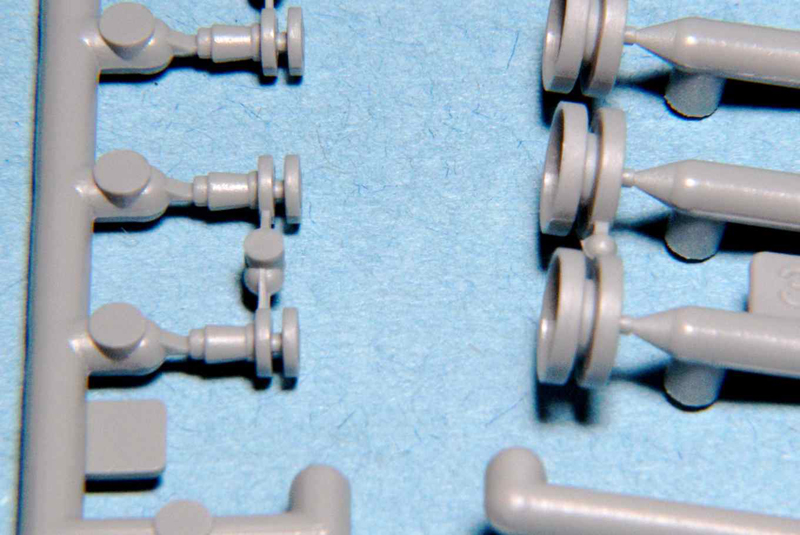
The first two of eight construction steps deal primarily with assembling the various suspension components on the lower hull tub. Dragons slide moulding really shows its stuff with the bogies and return roller pairs. Unlike other kits there is no need to assemble pairs of wheels as they arrive in one piece.
Before dealing with the suspension components, one should install the two lengths of exhaust pipes that will run from a hole in the side to the exhaust at the back. These parts are side specific with D13 going on the right and D14 on the left. These pipes must eventually join to the muffler later on in step seven so I would suggest that the modeler carefully review the instructions and decide on a viable assembly order.
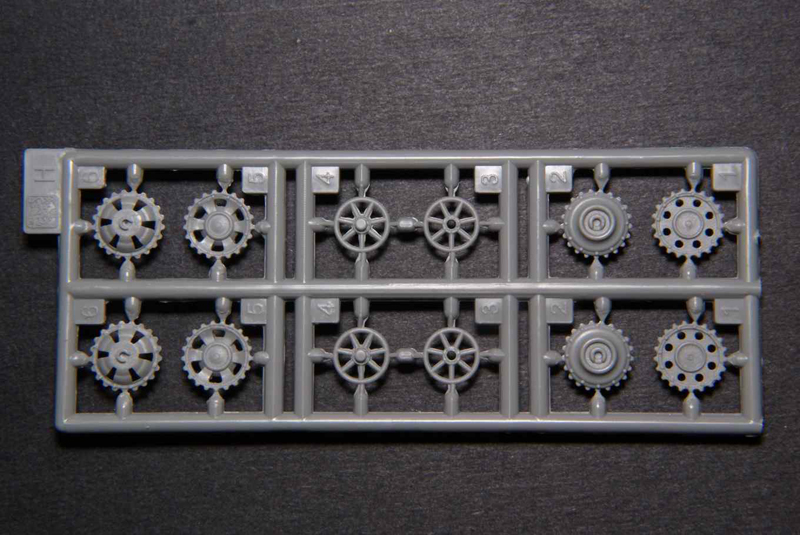
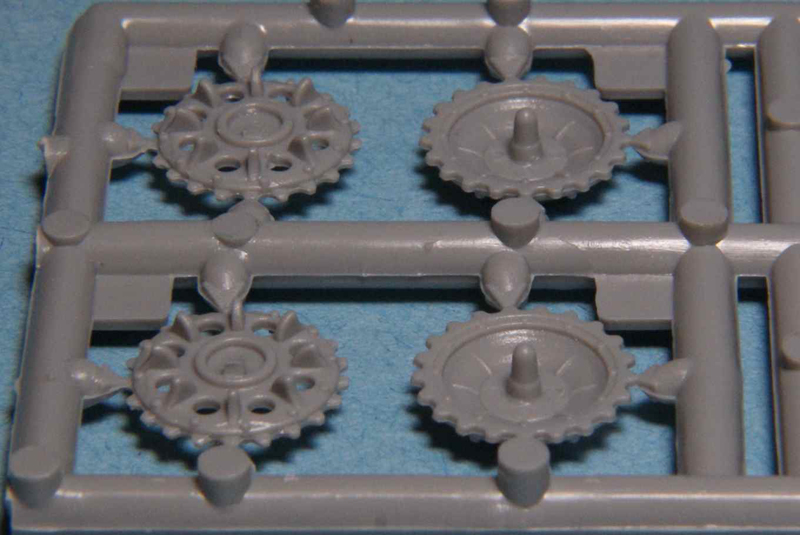
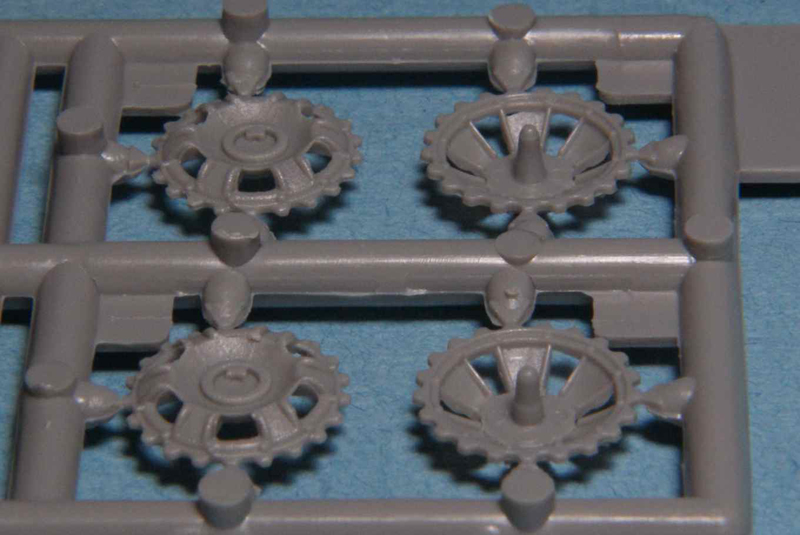
The suspension build should be straight forward, but with eight road wheels and four return rollers per side getting everything to sit even and level may prove a challenge. The builder should also be aware that the suspension arms to which the road wheels attach are side specific. The e4 parts going on the right, with the e5 being used for the left side. The modeler is given a choice of two styles of drive sprockets, early or late. As I have found in other Dragon kits the instructions do not inform you as to which style is which. My investigation suggests that the sprockets with round mud clearing holes in them are the early model. The ones with the elongated holes therefore must be presumed to be the late ones.
The rear idler wheel is a two piece affair that will need the two halves joined. How it will eventually attach to the hull could cause a problem. Part A19 is used to attach the idler to the hull and has two offset pins. One pin goes into the idler while the other attaches to the hull rear. A potential problem here is that when gluing this assembly to the hull the offset nature can make quite a difference when it comes to track tension. The reviewer of the Nashorn,
here on Armorama (Rob Feehan), also found this to be an issue. After a bit of research I think it is safe to say that any Dragon vehicle using this suspension will exhibit similar characteristics.
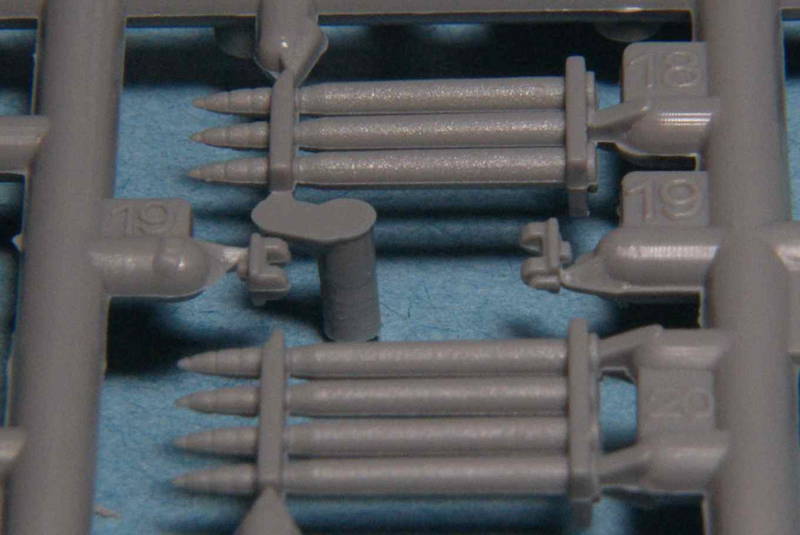
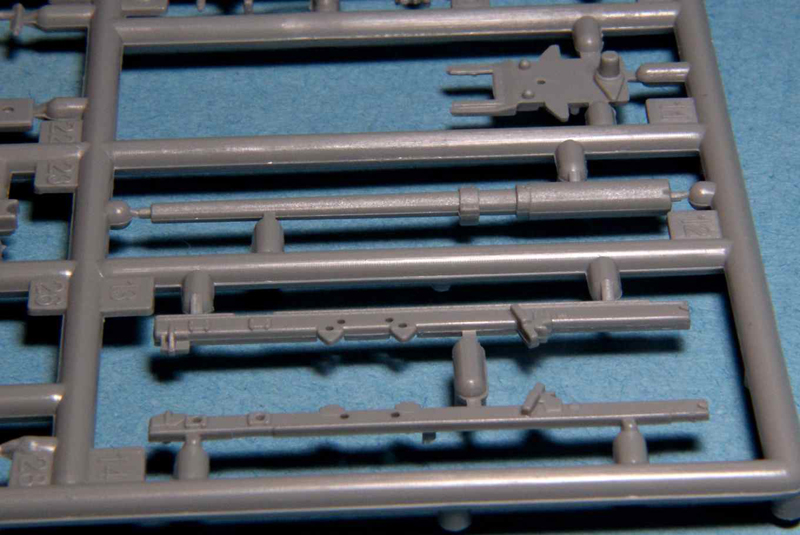
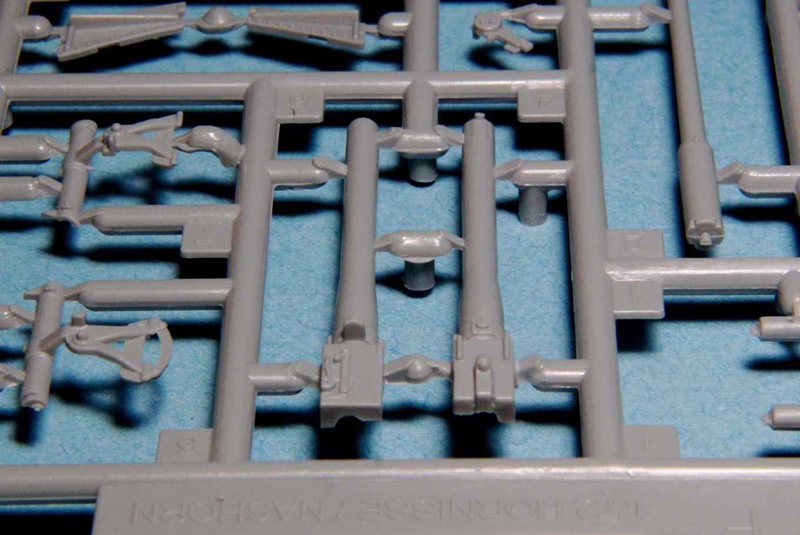
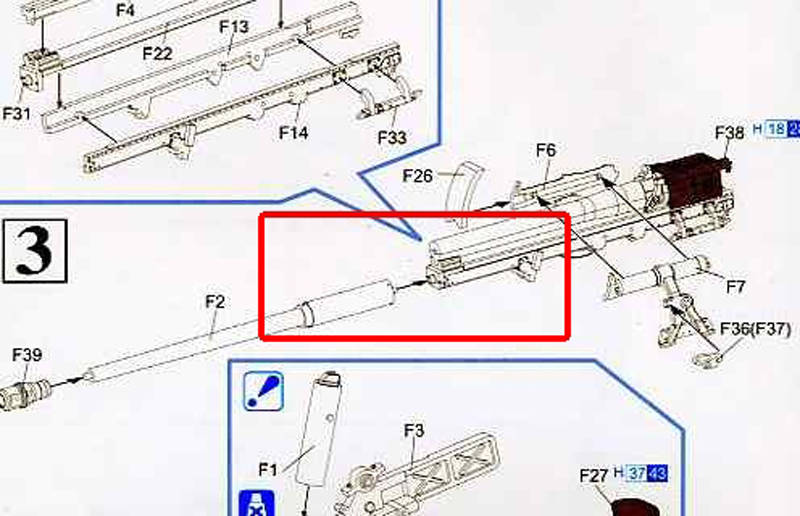
The next three steps (3, 4, 5) deal with assembling the main gun. With over forty parts this subassembly will be the most daunting for even a moderately skilled builder. I should also mention that with this kit Dragon has corrected an issue that plagued the builders of the Nashorn (kit 7292). On that kit the main gun barrel had part of the travel lock moulded on the barrel and the lock itself could only be attached in the deployed position. This required the builder to take time and effort to do some scratch building if they wanted to display the model in an action pose. The Hornisse kit has a new barrel with separate parts for the travel lock and it can be built either deployed or stowed.
Many of the incredibly detailed parts are positively tiny. This is another case where one should take their time, study the instructions and individually decide how they are going to assemble things before putting glue to plastic. As this assembly progresses, and with all the small parts involved, the amount of room to work will shrink and get very congested. Before starting this may also be a good time for the builder to decide which parts will require painting before or during the assembly process. Some items may be awkward to paint after completion of all these steps.
There are two important things that stood out to this reviewer. The first is that there is a glaring inaccuracy in the instructions as to the location of the forward main gun tube. The diagram shows the tube to be glued below where it should be located. The other issue is that unlike other Dragon guns that I have seen, this one is a three piece affair. It will require the rear most part of the gun tube (with the breach) to be glued to the forward piece and the muzzle brake to that. As the locating pins are rather small this may present difficulties in keeping all the pieces aligned and along the same vertical and horizontal plane. One very interesting feature of this subassembly is that if proper care is taken, you should end up with a working gun elevation system.
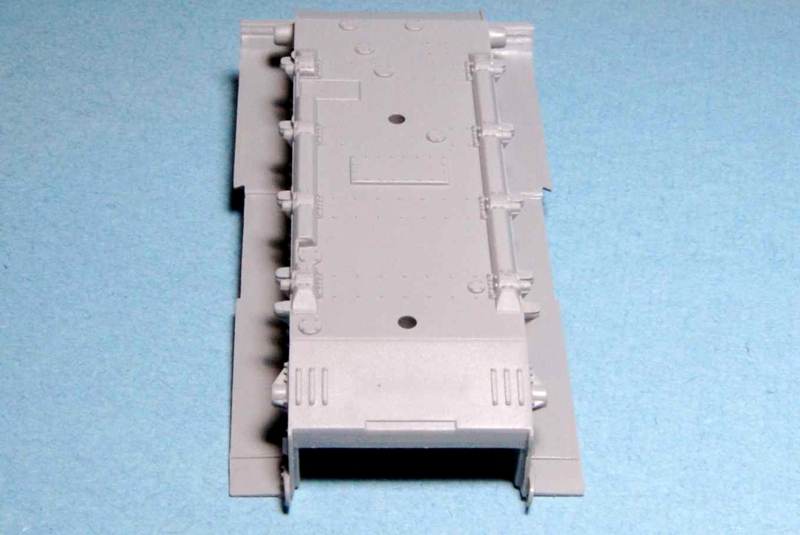
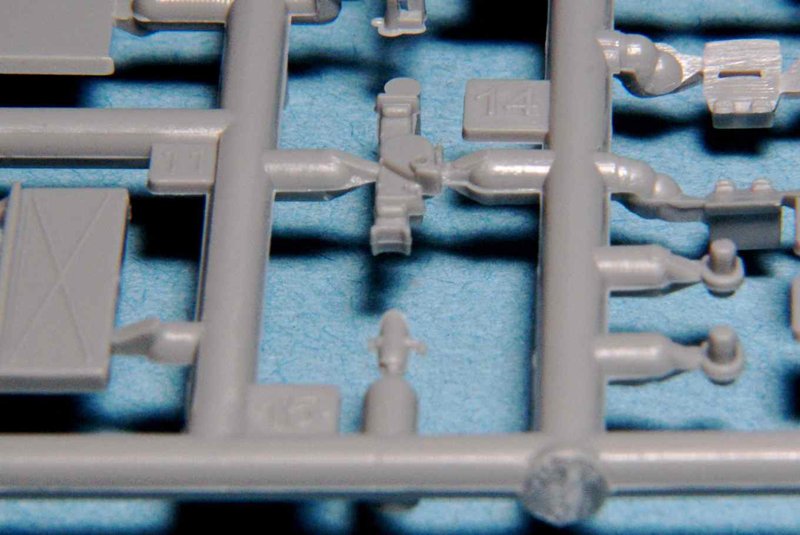
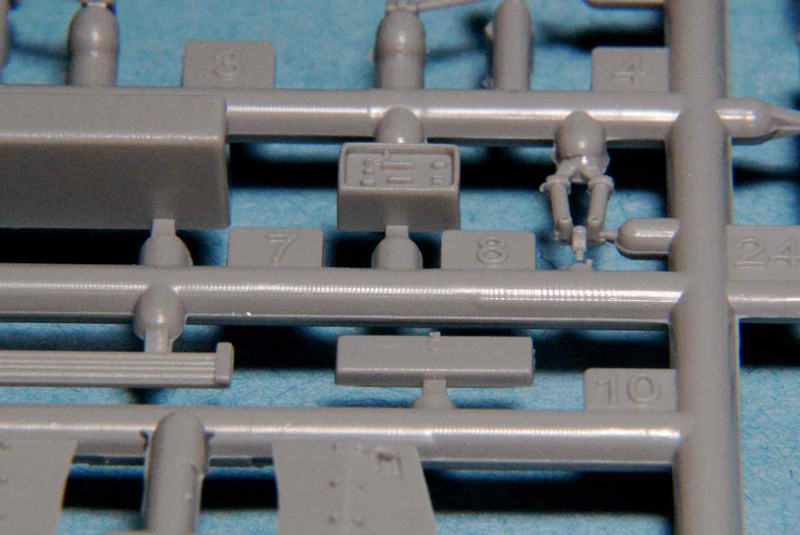
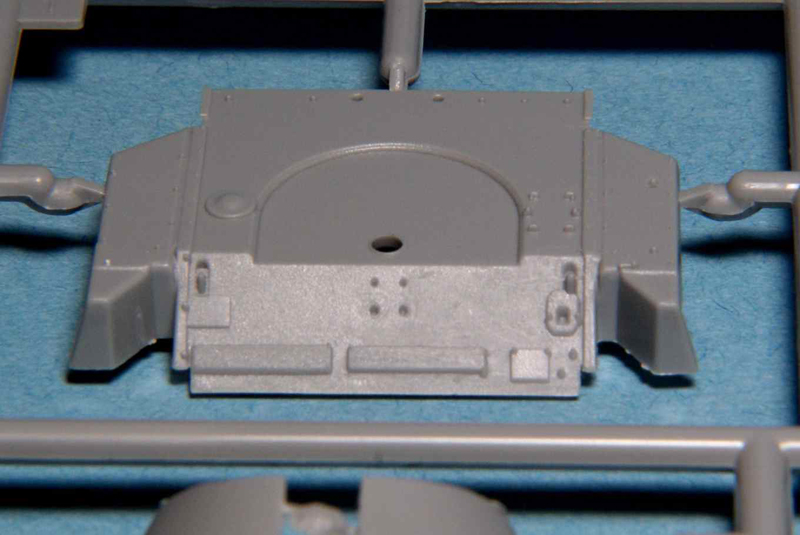
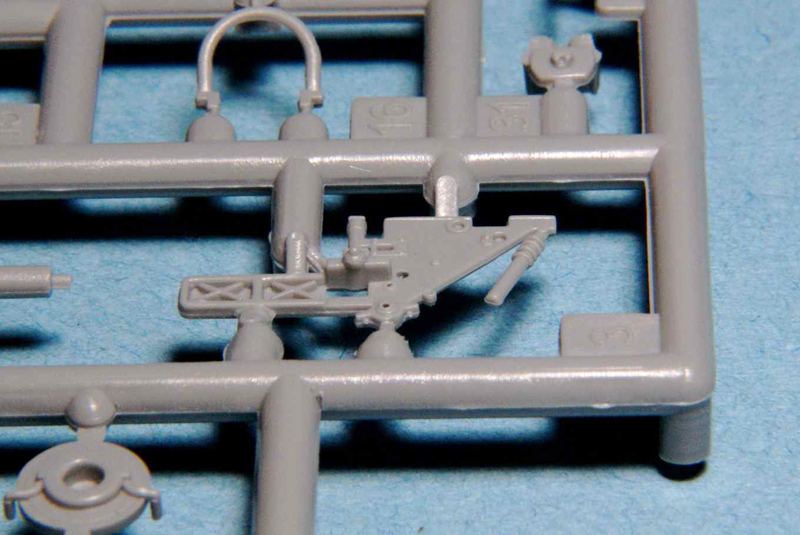
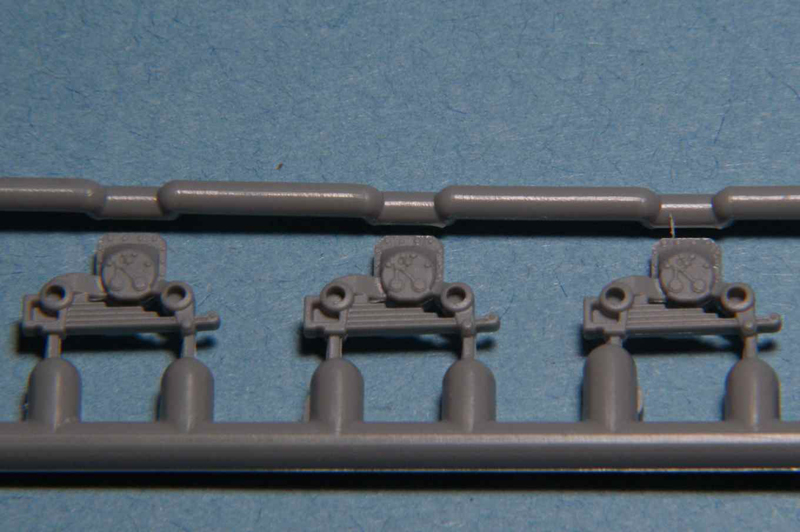
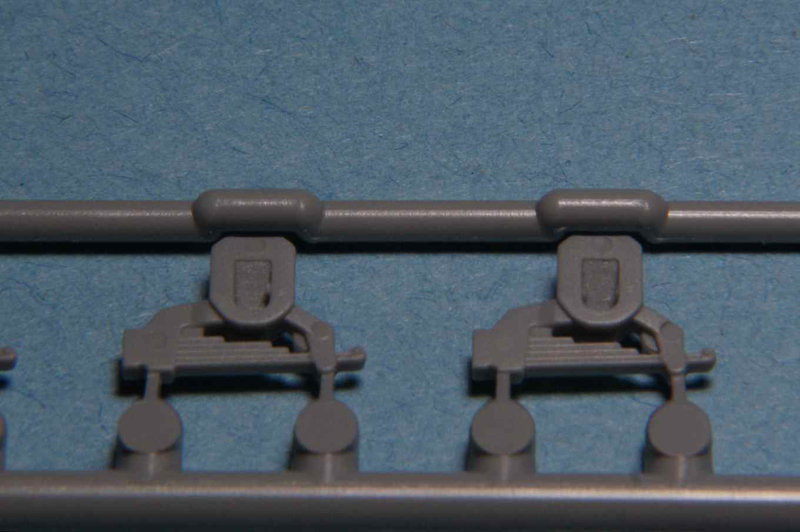
The next two steps (6, 7) will be the construction and detailing of the fighting compartment and parts of the hull. The fighting compartment will again require careful thought and planning by the modeler as far as how and when to paint and assemble the numerous parts. It is here also that the main photo etch (PE) parts can be used. A six part PE assembly can be used to replace part A13, the engine air intake louvers. The option is also given to replace C13, the ammunition box cover, with PE covers. The ammunition bins are able to be modeled open or closed.
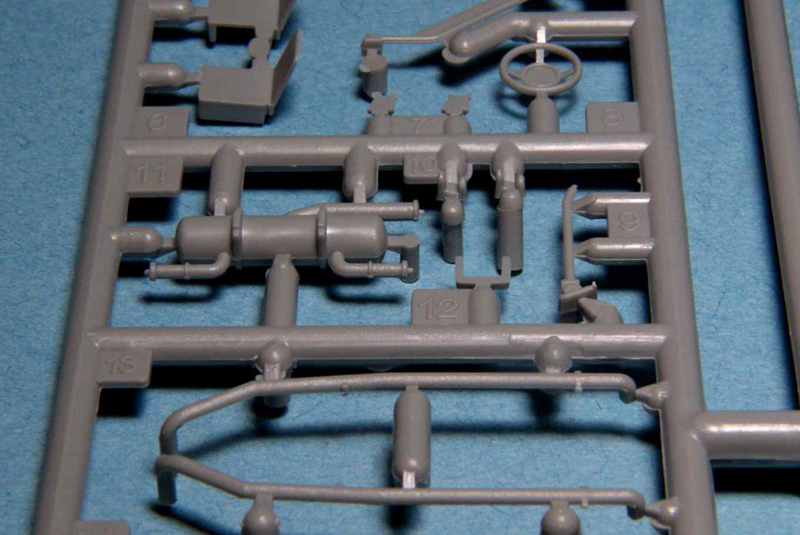
The last step (8) is the placement of final hull details such as tools, headlights and a couple of fighting compartment parts. It is also at this stage that the main gun is attached and both exterior and interior travel locks are assembled.
The Cartograph decals have two differing types of four German crosses. They are in other respects pleasantly generic giving the modeler a choice of different styles and colours of numbers.
Conclusion
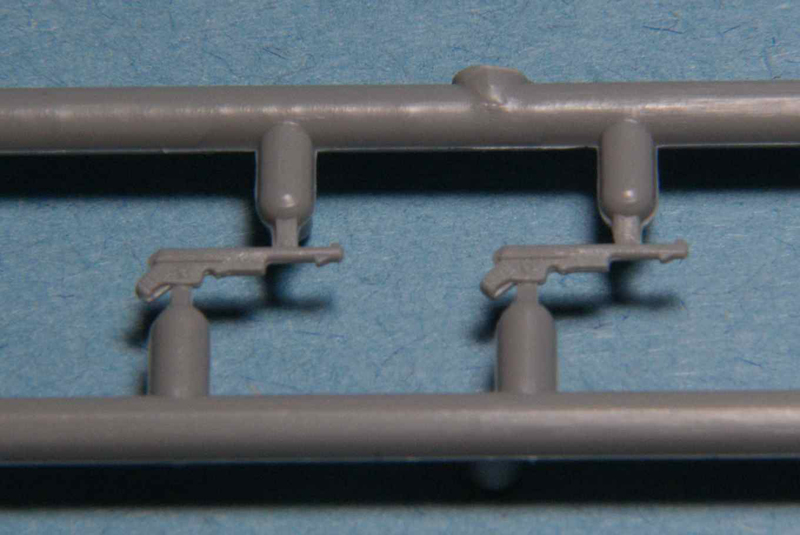
With separate and beautiful 88-mm rounds provided, the Pak 43 gun is a work of art with many small and separate parts. Beautifully molded crew submachine guns and an AA-gun mount are included, but there is no Mg 34 AA machine gun. Although no interior is provided, both driver and radio operator hatches can be positioned open or closed, as can the drivers front armoured visor. This kit should build into a stunning representation of the Hornisse straight out of the box.
The modeler must be forewarned that the instructions are less than stellar and leave a lot to be desired. Following the construction step order could easily lead to problems. If you are one of those builders that barely glance at instructions then you will be asking for trouble. The kit is definitely not for the novice or beginning modeler and it has great potential for even the advanced builder. Highly recommended.


Comments