KAMIZUKURI [ MORE REVIEWS ] [ WEBSITE ] [ NEW STORIES ]

In-Box Review
135
Sd.Kfz.7/1 Lattice Guard Set
Sd.Kfz.7/1 Lattice Guard Set for Dragon CyberHobby
  • move

by: Bill Cross [ BILL_C ]


introduction

One of the real challenges for recreating the Sd.Kfz.7/1 and 7/2 in 1/35th scale is the complex slat “mesh” used on the fold-down ramps/sides of at least early war versions (and judging by photos and German 
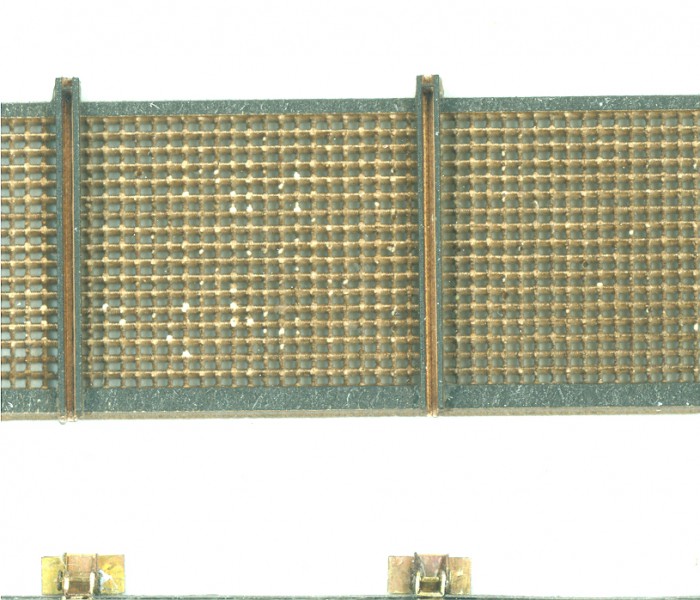
Wochenschau newsreels other halftracks as well). There is some dispute about the composition of the side ramps, with a sampling of period photos seeming to show ordinary mesh, while the few surviving museum examples have what can only be described as a complicated lattice-work array that’s not unlike the modern Stryker’s slat armor (see photo at right from the excellent book in the "Wings & Wheels" series, Sd.Kfz.7 In Detail, reviewed by me 
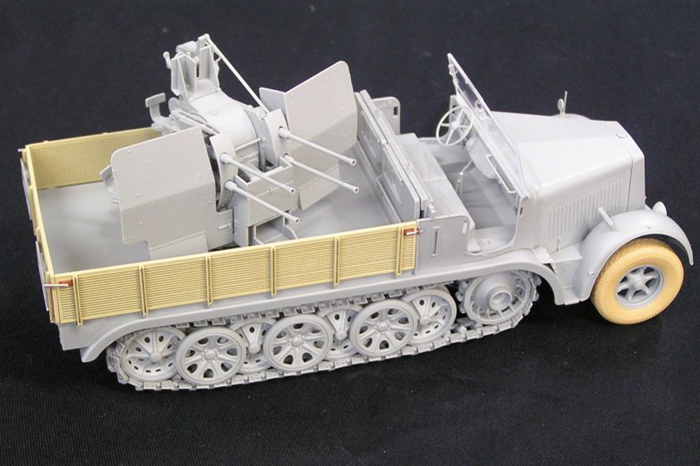
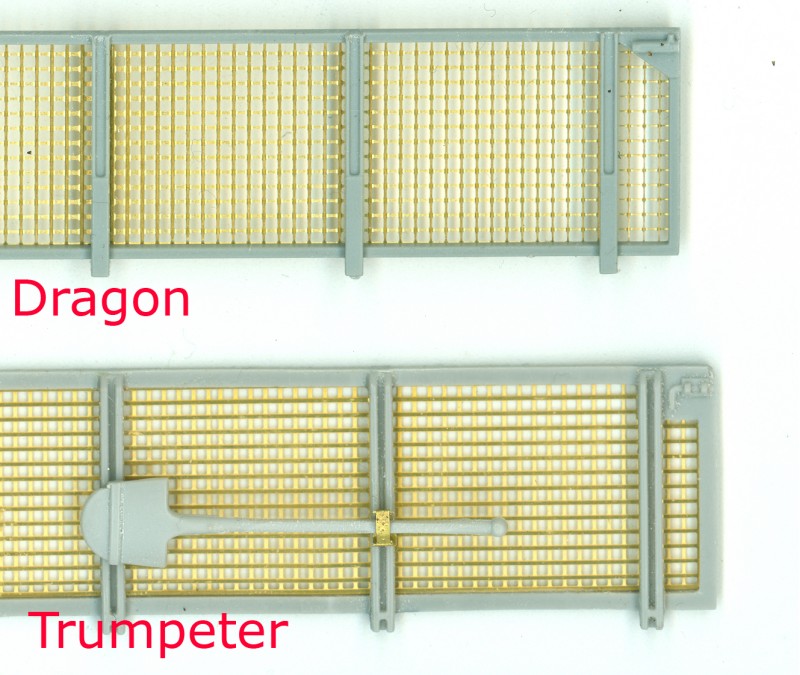
here). The ramps presumably gave gun crews a secure footing when in the combat mode, and were lighter than metal sides. Not surprisingly, both Dragon and Trumpeter’s Sd.Kfz.7/1s and 7/2s use fairly conventional photo etch mesh to render the screens, with both versions technically incorrect.

Dragon in its later war Sd.Kfz.7/2 and Trumpeter in its later war, armored cab Sd.Kfz.7/1 both offer the modeler the choice of wooden sides (rendered in styrene) and mesh. Both choices are accurate, and DML even refers to the mesh option as “museum” mesh (see Jim Starkweather's review here for more). Whether the Germans gave up on this complicated system in favor of ordinary mesh screening (as they did when switching to wooden sides), or the photos are simply inconclusive remains a topic of discussion. But there can be no doubt Griffon Model has taken on the challenge of rendering the slat mesh sides as accurately as the original with its set of PE for the Sd.Kfz.7/1 (reviewed by me here).

The problem with the Griffon set is it’s extremely complicated to assemble: you have to separate steel components from their frets, bend the base frame to shape with the vertical slats in the "up" position, glue all the horizontal slats in-place, then assemble the various sections into a frame that must be glued-together literally piece-by-piece. For those who want the ultimate in detailing, the set is the answer. For those who are willing to accept a slightly lower level of authenticity for a HUGE improvement in convenience and ease-of-assembly, a Japanese AM supplier called Kamizukuri has released slatted mesh side panels that are made from laser-cut paper for both the Sd.Kfz.7/1 and 7/2 (the vehicles had slightly different rear panel dimensions).

the kit

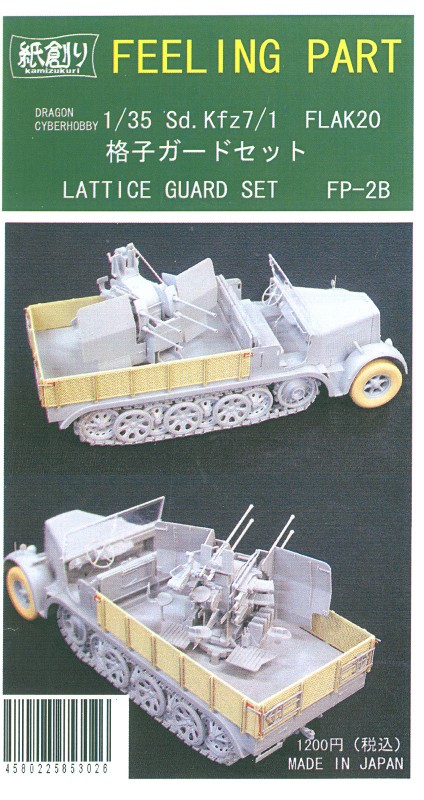
The set comes in a clear-glassine envelope and includes:

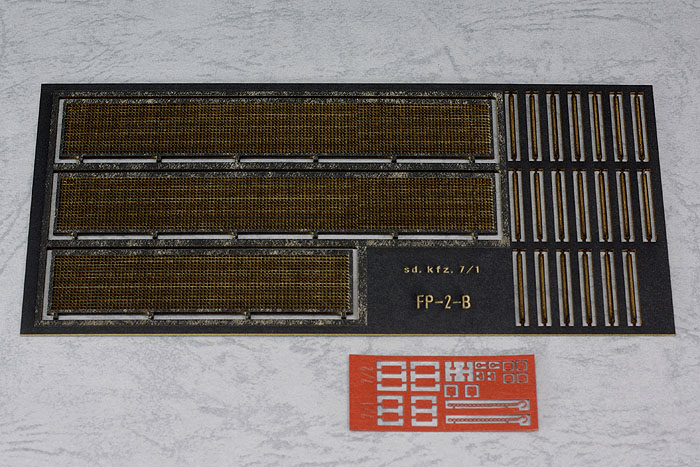
A sheet of 3 laser-cut paper slatted mesh panels plus support brackets
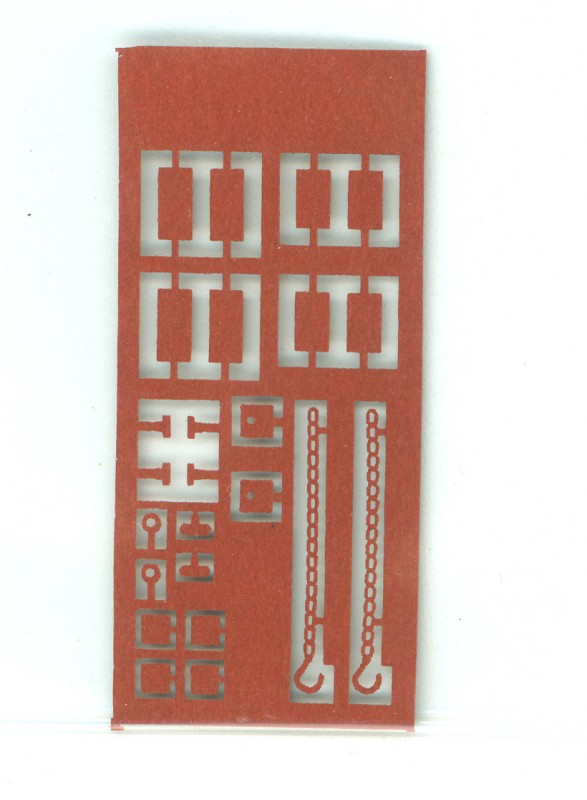
1 fret of laser-cut paper for the pins and latches securing the panels
A sheet of illustrated instructions

the review

The set is almost ready-to-use straight out of the packaging with little more needed than a sharp hobby knife and some viscous white glue. In fact, CA glue doesn’t work very well on the paper’s slick surface (actually a thick, cardboard-like consistency). Assembly involves separating the panels from the main fret and gluing on the support brackets, then adding some fixtures that secured the sides when in the travel configuration.

The set is a bit strange for those of us weaned on styrene and now brass photo etch. You can actually smell the burning from the laser cutting process, and it’s important to be careful handling (and painting) the components. Too much torque and the various layers will separate. The manufacturer recommends putting down a thin base coat of some description to seal the paper’s absorbent surface, though you will not learn this information from the instructions: they’re almost entirely in Japanese. The simple assembly steps are rendered with drawings that are easy to understand, but I would have preferred something I could read, and I would urge Kamizukuri to provide an English-language update that could be downloaded from the Tasca website where the products are marketed and sold.

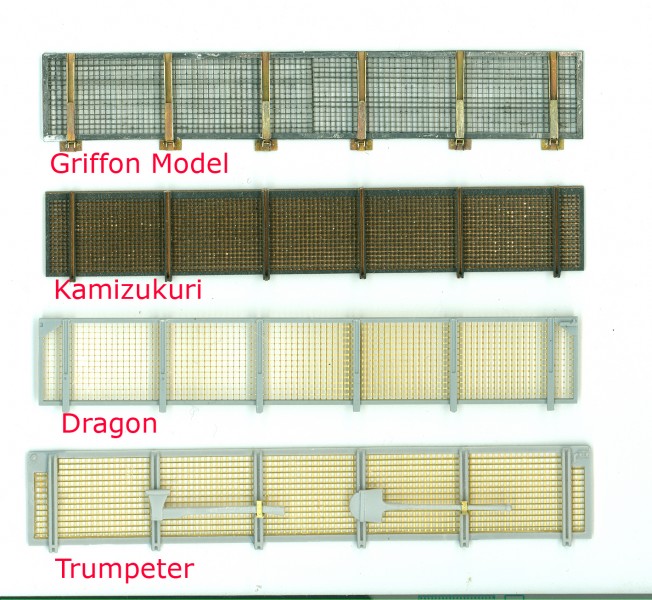
As you can see from the final photo in the selection at right comparing the two kit PE arrays, the Griffon Model set and this one, the mesh is not as to-scale as the Griffon PE. But blows away the PE supplied with both the Trumpeter and DML kits. Given the longer length of the Trumpeter side panels, this upgrade can’t be adapted to that kit, and Kamizukuri tells me they have no plans to release a version for the Trumpeter Sd.Kfz.7/1.

conclusion

While the laser-cut paper isn’t as accurate as the Griffon PE mesh slats, it’s so much easier to assemble, I can’t imagine anyone except the hardest-core rivet counter not wanting to at least consider this option. The good news keeps getting better, too, with a set available for Dragon’s Sd.Kfz.7/2. I want to thank Tasca for sending me this set for review.
SUMMARY
Highs: Simple to use, yet substantially upgrades the accuracy of the kit.
Lows: Not perfectly to-scale. Instructions only in Japanese.
Verdict: Definitely recommended.
Percentage Rating
90%
  Scale: 1:35
  Mfg. ID: FP-2B
  Suggested Retail: 1,140 Yen
  PUBLISHED: Mar 07, 2010
  NATIONALITY: Germany
NETWORK-WIDE AVERAGE RATINGS
  THIS REVIEWER: 90.08%
  MAKER/PUBLISHER: 91.67%

Our Thanks to Tasca!
This item was provided by them for the purpose of having it reviewed on this KitMaker Network site. If you would like your kit, book, or product reviewed, please contact us.

View This Item  |  View Vendor Homepage  |  More Reviews  

About Bill Cross (bill_c)
FROM: NEW JERSEY, UNITED STATES

Self-proclaimed rivet counter who gleefully builds tanks, planes and has three subs in the stash.

Copyright ©2021 text by Bill Cross [ BILL_C ]. All rights reserved.


Comments

I bought a few of these for the 7/1s and 7/2s I have and I was really impressed with them. I don't know about the 7/1 as I only have the Dragon 7/1s and not the Trumpeter one but on the 7/2 the Kamizukiri one fits the Trumpeter one as well ( at least as far as dry fitting goes as I haven't put it together yet ). I'm also going to look at how hard it is to mod one for the Italeri 10/4.
MAR 10, 2010 - 12:19 PM
Let me know how you do, Dean, as I have a 10/4 in the stash....
MAR 11, 2010 - 02:53 AM
The actual fit is a piece of cake, you just trim away the outer frame of the Kamizukuri one and cut it down to the right size. What I need to do is try and identify the structure of the centre strips in the framework of the 10/4 sides. If you take a look at yours you'll see what I mean, the vertical strips with the bolts. I'm trying to work out if these were: A; flat strips - in which case I can just lay the latice inside the frame the way the supplied mesh is supposed to go. B: T-beam in profile - in which case I'll need to add the centre strip and cut the Kamizukiri lattice into panels for each C: H-Beam in profile - in which case I'll have to do as for B but then also add the inner surface. If you get what I mean.
MAR 11, 2010 - 07:33 AM
That seems to make sense, let me mull it over tonight on the work bench.
MAR 11, 2010 - 09:33 AM
Problem solved. After typing that up I had a vague recolection of buying a book on the 10/4 way back when I got the kit ( almost a year ago now ). So went hunting and now thanks to Wydawnictwo's SdKfz 10-4 I can say without a doubt that there is no internal framework and the outer strips I was talking about are just flat strips used to mount the ammo boxes. Particularly the photos on page 27 and 31 which I'll scan in and post up when I have more time. ( BTW this is an excellent resource for the 10/4 and clearly shows the lattice type mesh ). So in short this set is also good for any other vehicle using the latticework style fold down sides.
MAR 11, 2010 - 11:48 AM
I would love to see those photos, as I looked at adapting the Kamizukuri mesh to the Italeri 2cm Sd.Kfz.10 and found it too deep to slide in easily to plastic rails intended for plastic mesh. I'm all ears, Dean, in how to do this and will be looking for your guidance!
MAR 12, 2010 - 03:55 AM
Here you go. PHOTOS FOR DISCUSSION PURPOSES ONLY. The first three show the inner surface clearly. This one shows internal framework on the front one but not on the one in the background, and the random layout of the framing seems to imply possibly a repair or that it was made using leftover latticework that wasn't long enough. And this one is just because the shadows clearly show the boxed latticework. I found the Kamizukuri lattice sits a little too proud. I don't want to try sanding it flush as I figure it will most likely fuzz-up so I figure the easiest solution is to put the lattice in place then use very thin strips of platicard to build up the outerframe accordingly and then sand the outside. Like so ...
MAR 12, 2010 - 10:51 AM
I really should keep better track of what I buy. This morning whilst looking for something else I discovered that I DO in fact have a Trumpeter 7/1 ( don't even remember buying it - welcome blissful senility ). I see what you mean, the sides are a little longer and the rear a little narrower. I reckon with a steady hand you could adapt the Kamuzukuri parts to fit, you'd just need two sets ( or the leftovers from modding one to fit the 10/4 ). Annoyingly the leftovers from fitting the tailboard would be enough to lengthen one side but you're still ablout a cm short for the other side. With careful cutting I think you could remove the bottom "lugs", trim off the frame at one end and then add an extension piece and use the Kamizukuri vertical lengths repositioned to match up with the Trumpeter base. When I get around to building it I'll give it a go, if it fails I might have to just go the wooden sides option as I think there's a snowflakes chance of adapting the griffon PE set.
MAR 14, 2010 - 02:38 PM
I agree, Dean. The materials of the set (steel, not brass) make cutting them challenging. I don't really see how you could easily adapt the set, which functions as a totality. But then, given the scratchbuilding skills of some modelers, nothing is impossible.
MAR 15, 2010 - 02:26 AM
   
ADVERTISEMENT


Photos
Click image to enlarge
  • move
  • move
  • move
  • move
  • move
  • move
  • move
  • move
ADVERTISEMENT