Historical Background
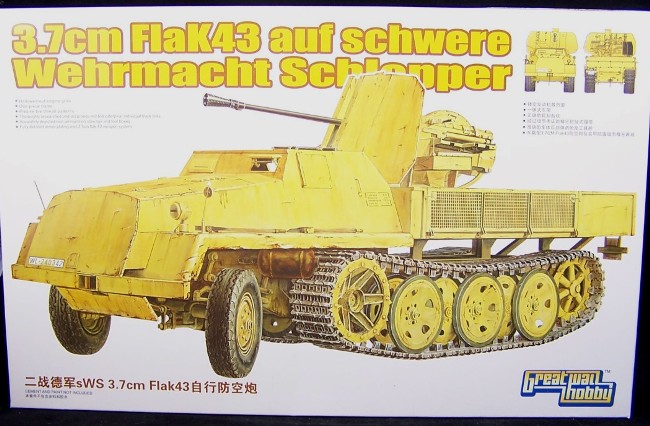
The schwere Wehrmacht Schlepper (sWS) was developed as a cheap solution to fill the gaps between the light (Sd.Kfz.250/251) and heavy (Sd.kfz. 6/7/9) halftracks. The basic sWS was adapted as a self-propelled anti-aircraft weapons platform with the addition of the 3.7 cm FlaK 43/1 and an armored crew cab. Büssing-NAG was awarded the contract for an initial 375 and an additional 575 units. The first being completed in December 1943, only a total of 80 were produced by February 1945.
Kit Introduction
Great Wall Hobby has answered the call with another version of its sWS kits, this one with the 3.7cm Flak 43 s.WS with armored crew cab. The kit uses the base chassis, wheels, and tracks from their previous releases of the sWS, plus a portion of the armored UHUs WS. The bed with drop down sides is all new, which mounts the Flak 43 from their previous towed version kit.
The sWS has always been an interesting looking vehicle, and most recognized by its large diameter drive sprocket and road wheels. With the addition of the armored cab and single barrel Flak mount, it has an almost science fiction look to it, making it an appealing model to look at, even if you dont know what it is. Those who have built the Italeri offering of the unarmored version will appreciate this offering even more so.
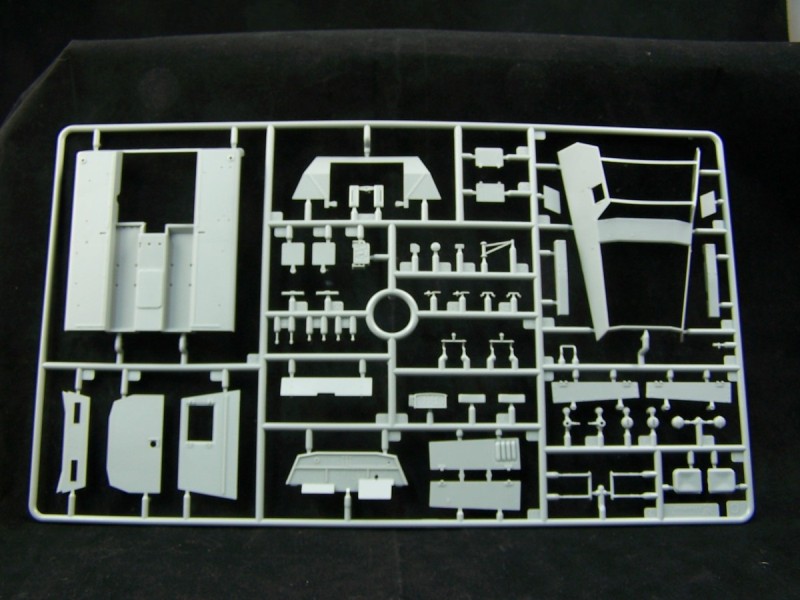
The kit contains 428 styrene parts, plus the 248 individual link tracks, two small etched brass frets, one small set of decals, an 11 page instruction booklet with 20 steps, along with an addendum to the instructions.
review
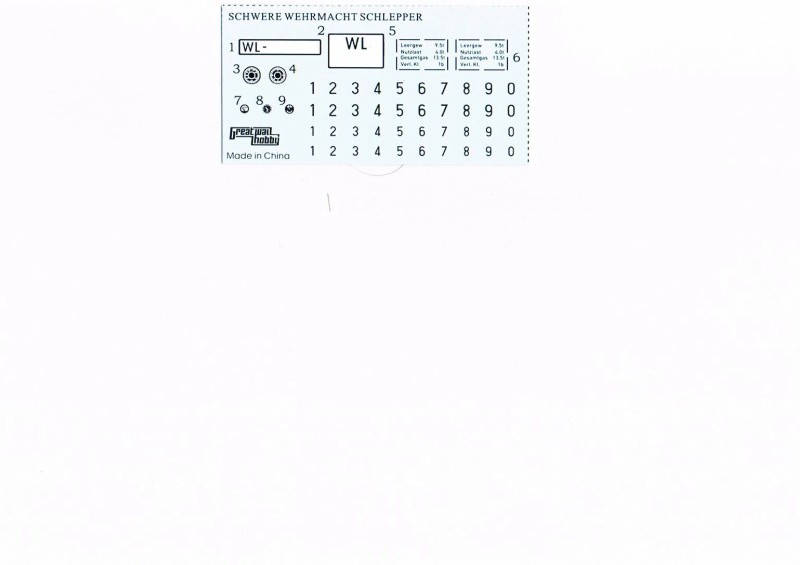
Instructions/ Markings:
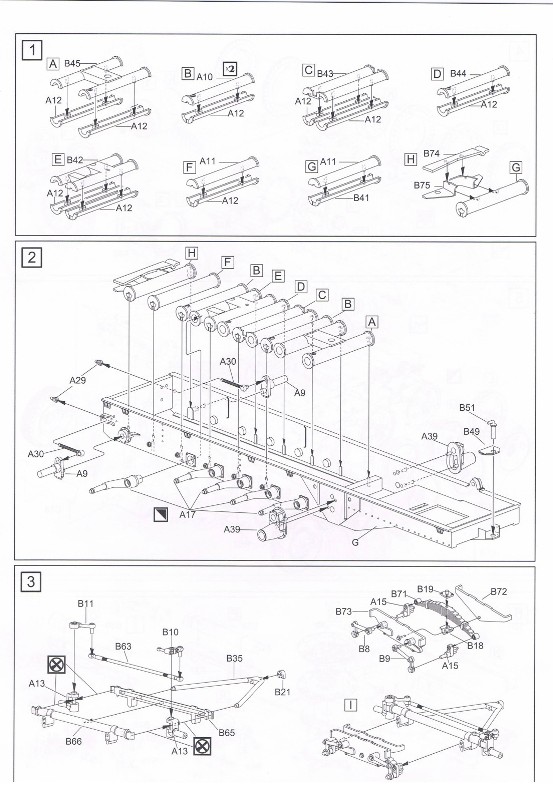
The instructions consist of an 11 page booklet, which are well drawn out. Twenty steps in all, with sub assemblies in most. The painting guide shows only one color option, overall dark yellow, a Luftwaffe unknown unit, dated Germany 1945. Though I know there are some interesting camo options, for a really interesting tri-color scheme check Panzer Tracts #12. Decals provided are 4 sets of single digits 0-9 in two sizes, as well as two registration plates with WL prefix, along with two transport data stencils.
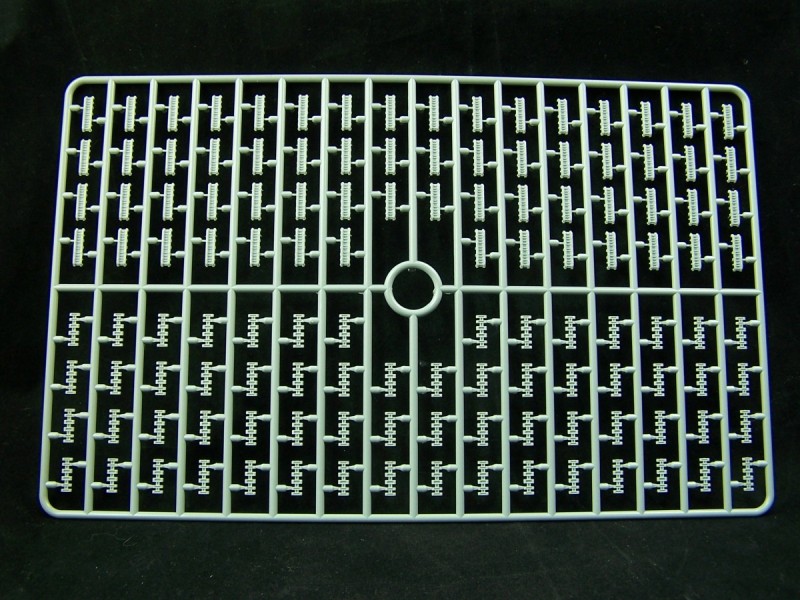
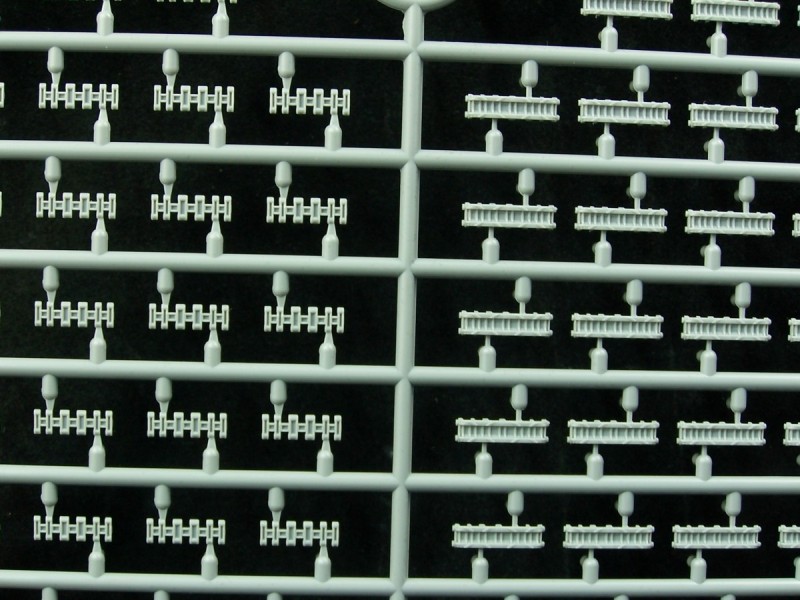
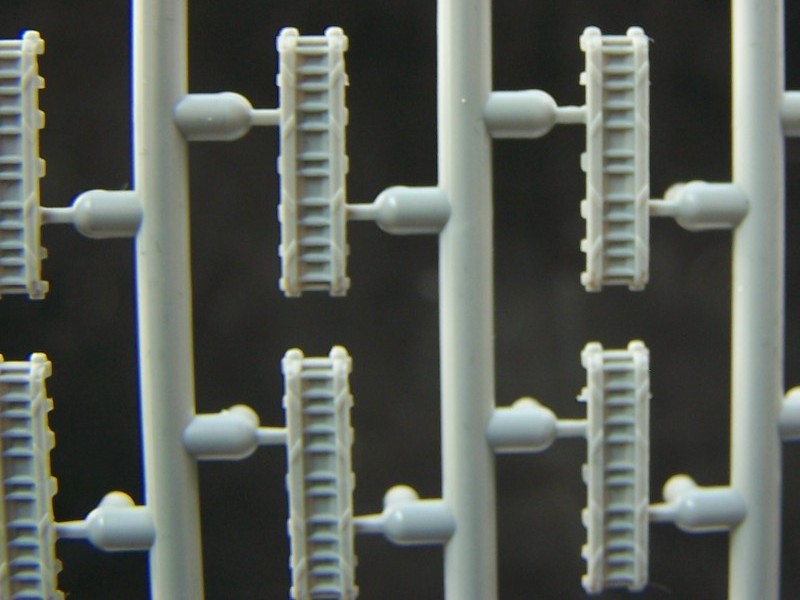
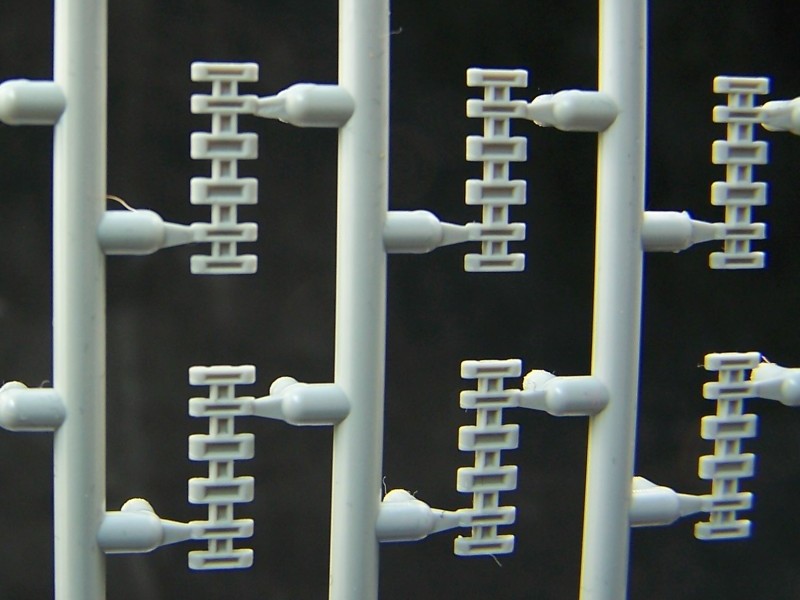
Tracks:
The tracks come as individual links, which are non-working, and attached to 2 sets of sprue trees. According to Panzer Tracts #12, there should be 110 links per side (but that is the real thing). There are two different links which make up a set, one with guide horns, and one without. The link with the guide horns has a small ejector pin mark in between the guides. With the road wheels covering most of that, it shouldnt be much of a concern. Very little to no flashing is present. The links are attached to the sprues at two points, that being the most cleanup needed.
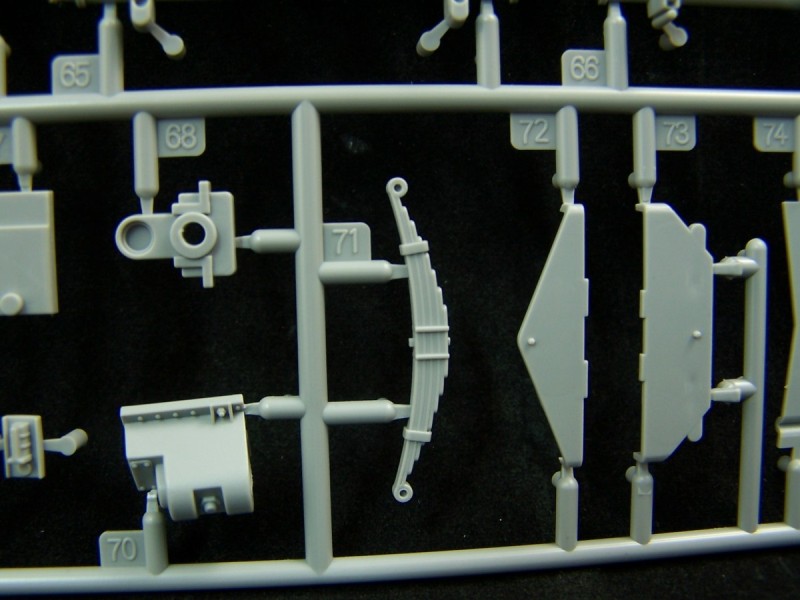
Suspension:
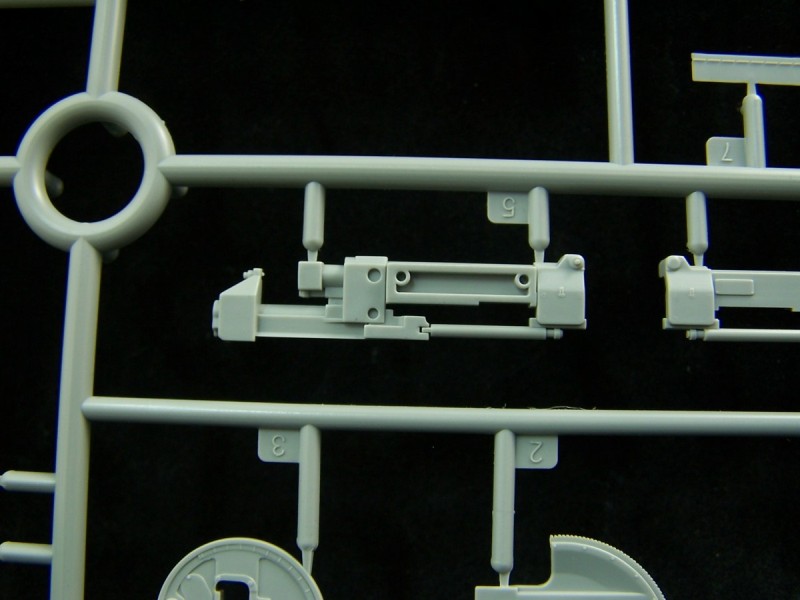
The swing arms, final drive housing, and idler wheel axle are all separate parts. No seams at all appear on the swing arms, with two sprue points, snip snip, clean that off and theyre done! The front suspension is an assembly on its own. The front wheels appear to be workable, so Ive read, and look to be similar in design to that on the Dragon Sd.kfz. 251 kits. The detail on the leaf springs is very clean and crisp, with only a minor seam down the length of it.
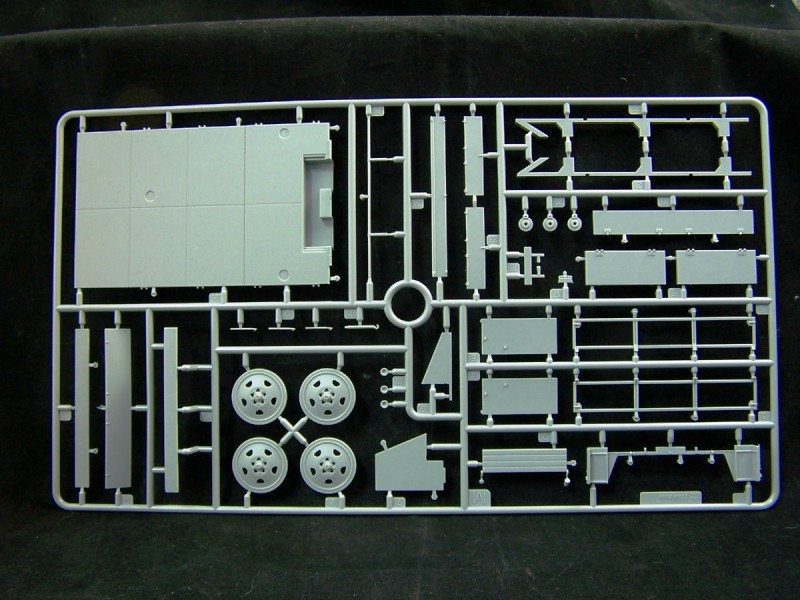
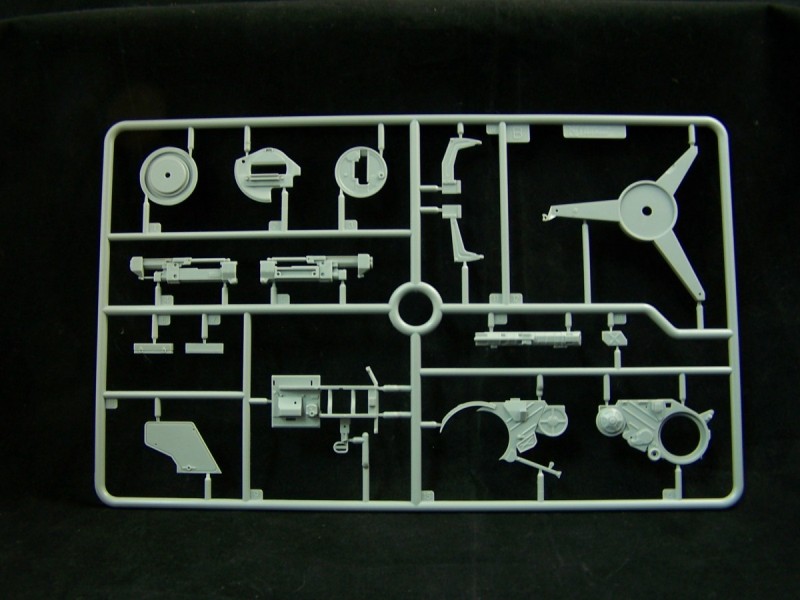
Wheels:
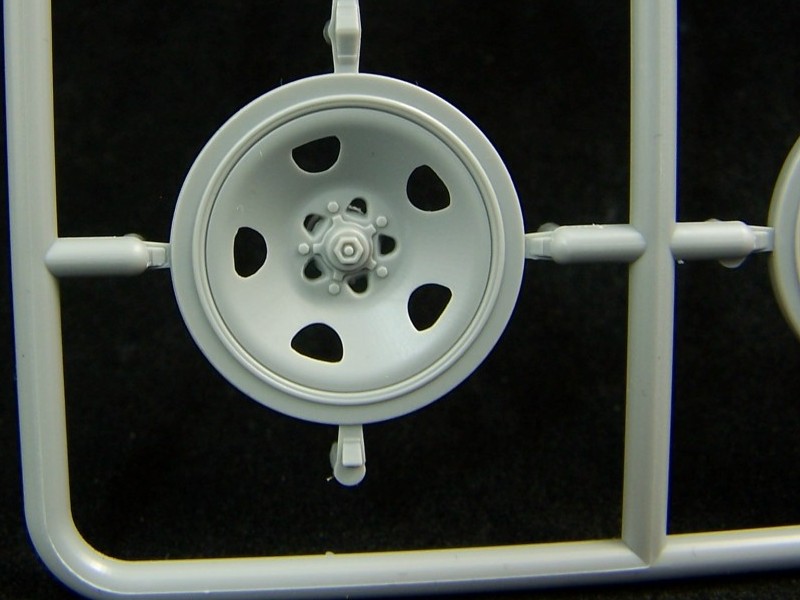
The front wheels come as a seven part assembly, six parts for the tire, and one wheel hub. The hub has a choice of two different styles, so check your reference if available, on the one to use. The tire, being in six parts, is a sandwich assembly, three parts per side of the wheel hub. This will eliminate any seam around the tire, and once assembled they will have crisp tread detail.
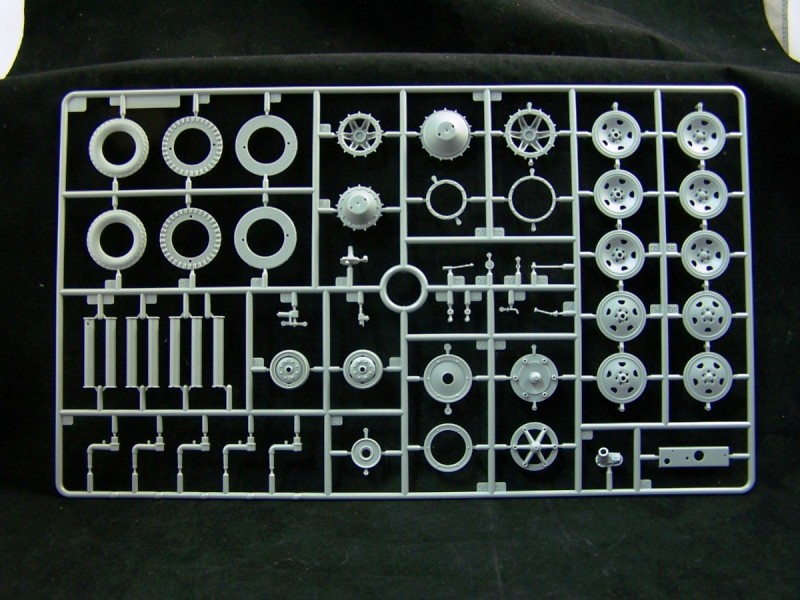
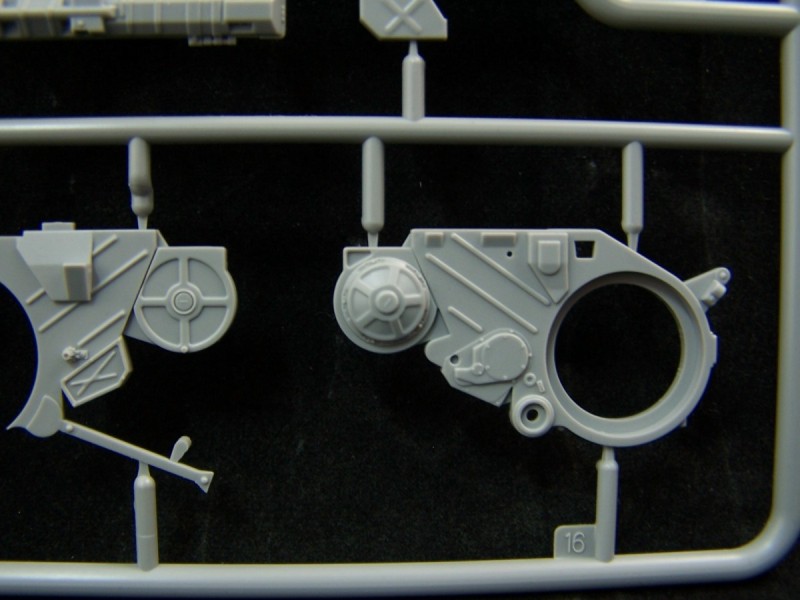
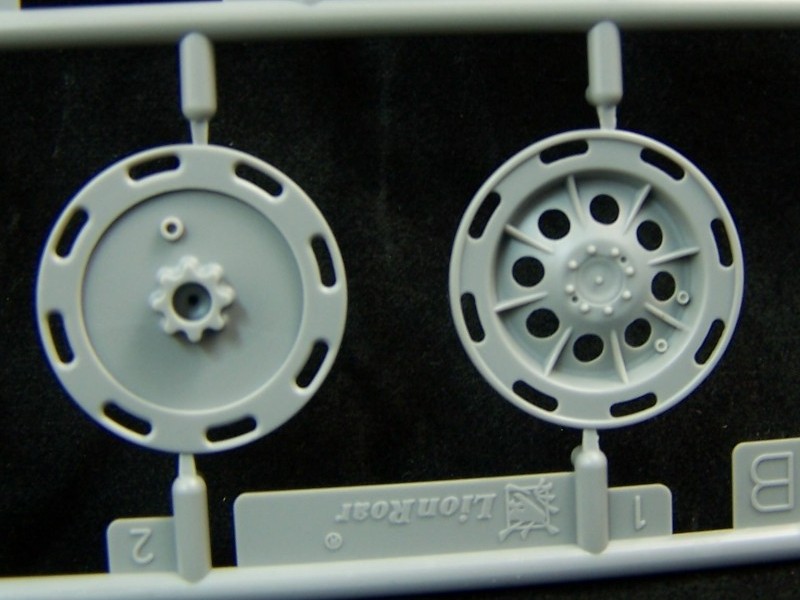
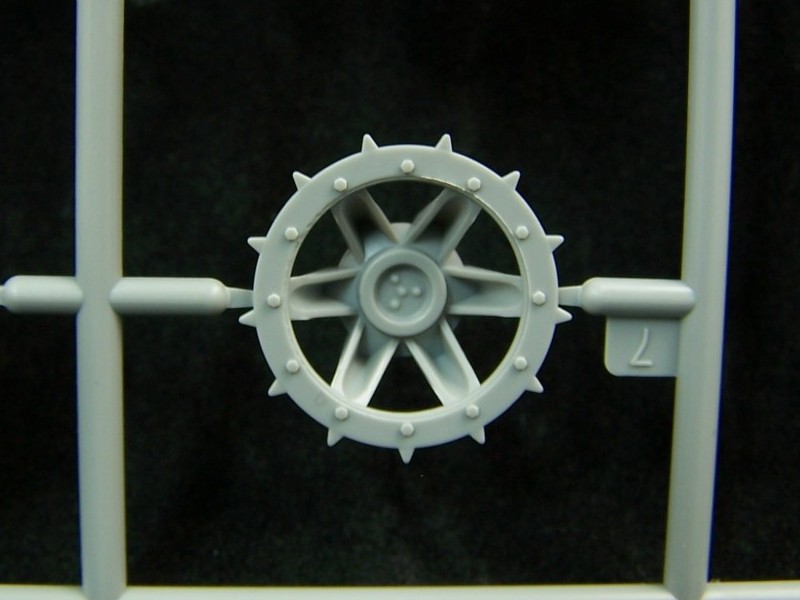
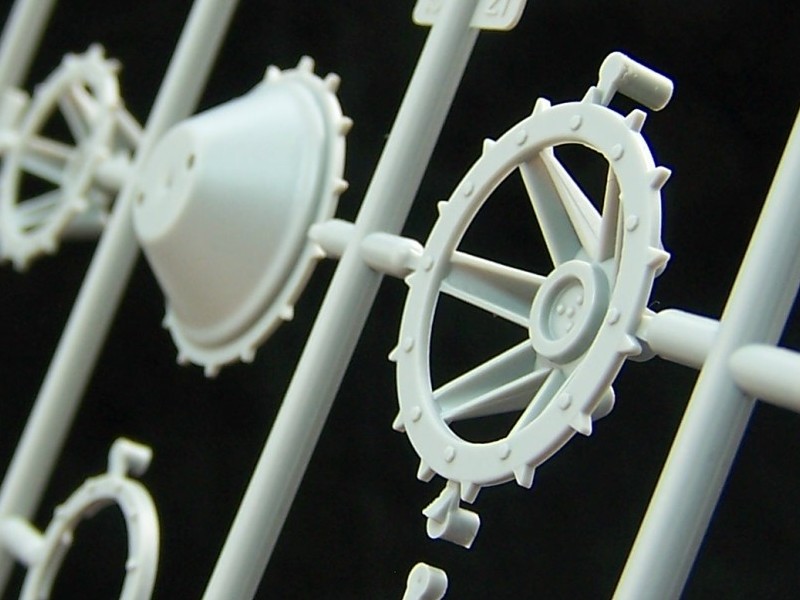
The drive sprocket also has two different styles, both of similar design, one being larger than the other. The instructions do not call for the smaller sprocket, and I could not find any photos that this version ever used the smaller one. Detail on the sprocket parts look crisp, with proper bolt details in their places. They come as a 4 part assembly, one part being a photo etched piece for the tread plate wheel hub guard, and while its nicely detailed, it is missing the small angle reinforcements that go behind it. They do match up well to drawings from Hilary Doyle, however, looking at various angles of the real deal, the hub of the sprocket looks to be set in too deep. However, this could just be my perception.
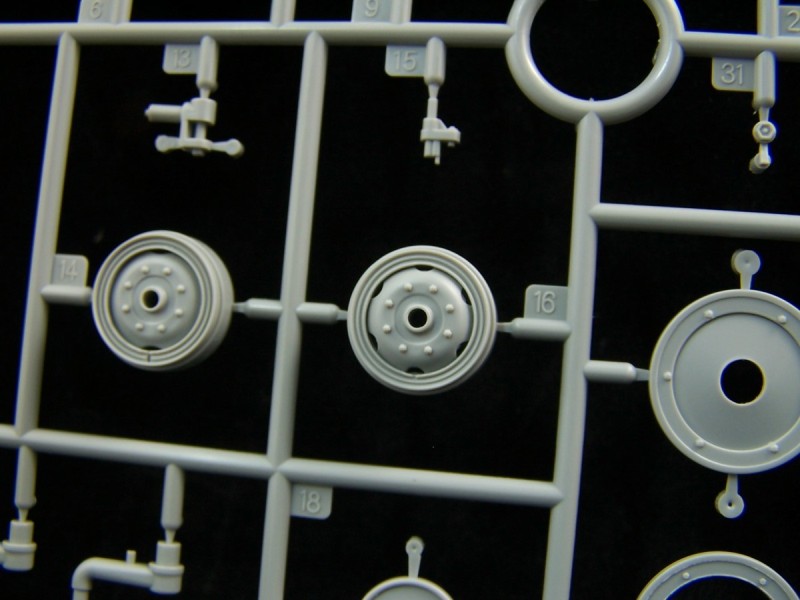
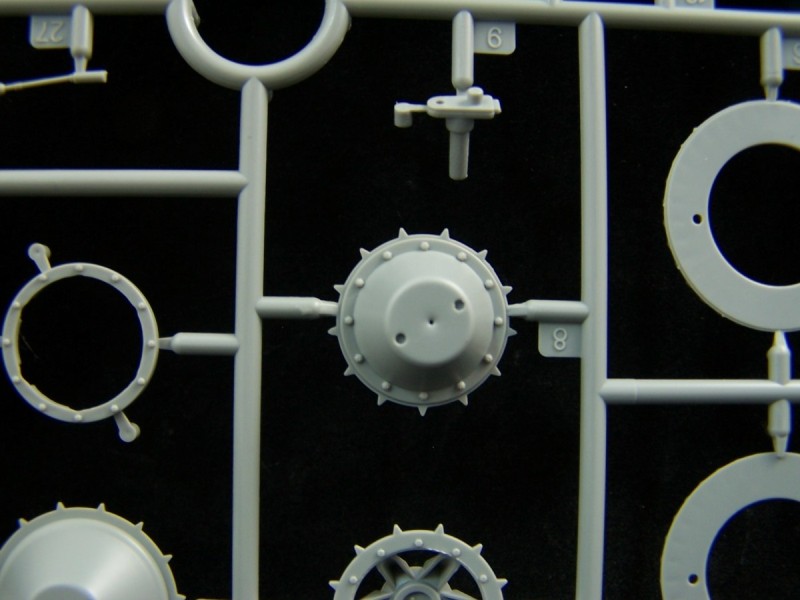
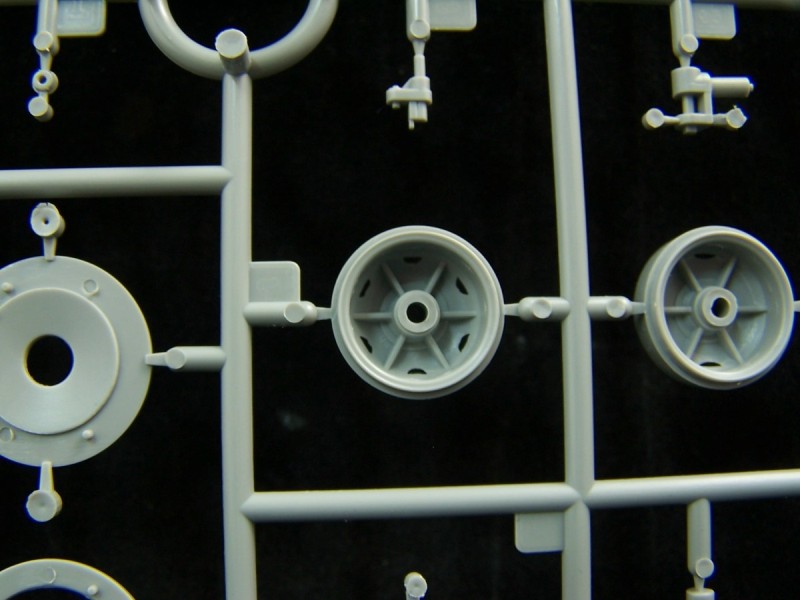
The road wheels are the dished rubber rimmed wheels, much like that of the 251, but larger. They have very crisp bolt and hub details and match up to scale drawings. They each have four sprue attachment points, but the good news is there are no seam lines to remove! The idler wheel comes as a two part assembly, with the main wheel and an outer ring with accurate bolt details. They do lack the manufacturing stamps which were welded onto the spokes of the wheel. The kit has parts for two different idler wheels, but again, the instructions do not mention the solid dish choice. And like the drive sprocket, I could not find a photo of this version with a solid dish idler wheel.
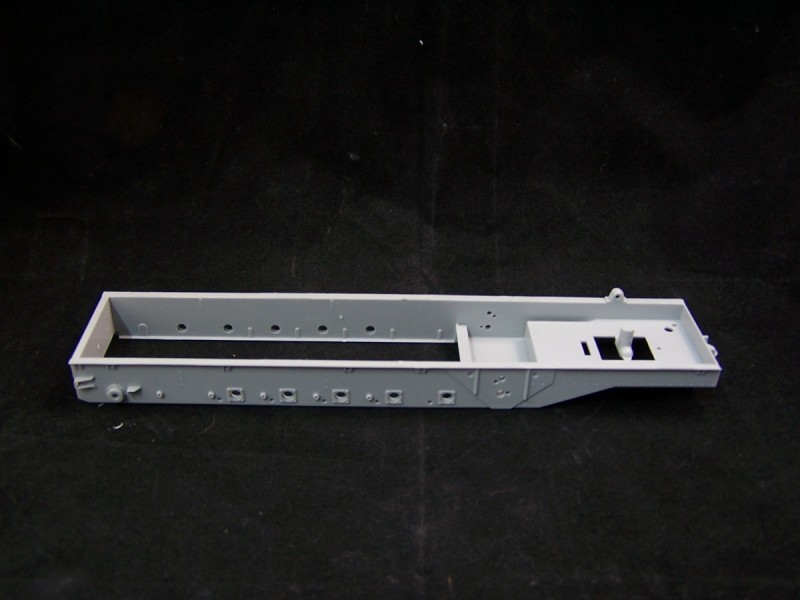
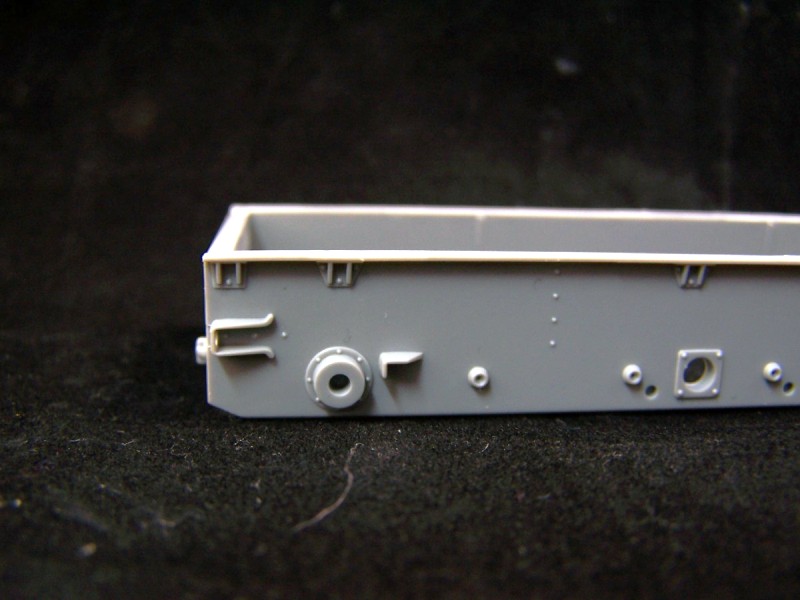
Chassis:
The chassis tub comes as one solid part, with only two cross members and the steel casings for the torsion bars to be installed for the main assembly. No warping or flashing is present. Other separate details include the fuel tank, multi part winch, and air tanks for the brakes. No cable or hook is provided for the winch. The drive train comprises of the transfer box and drive shaft. No engine or transmission is included.
*Note* There are combo packs available for this kit offered in the USA for various upgrades such as a photo etch detail set, metal barrel, and ammunition set. One of these combos includes the GW HL-42 TUKRM engine set. The sWS had the TUKRS engine, which has some major differences including the radiator and air filter system. The TUKRM would need some surgery before it could be used in the sWS. As of this writing, GreatWall Hobby does not offer the TUKRS engine.
Compared to scale drawings and what little photos I could find of the chassis, everything looks to be in its correct place and accurate. The details on the chassis frame are right on.
Although the details underneath will be hidden, Great Wall Hobby still took the extra steps to add the air and fuel tanks. The only detail I could find in that area missing were the air lines, but thats an easy fix with some thin wire.
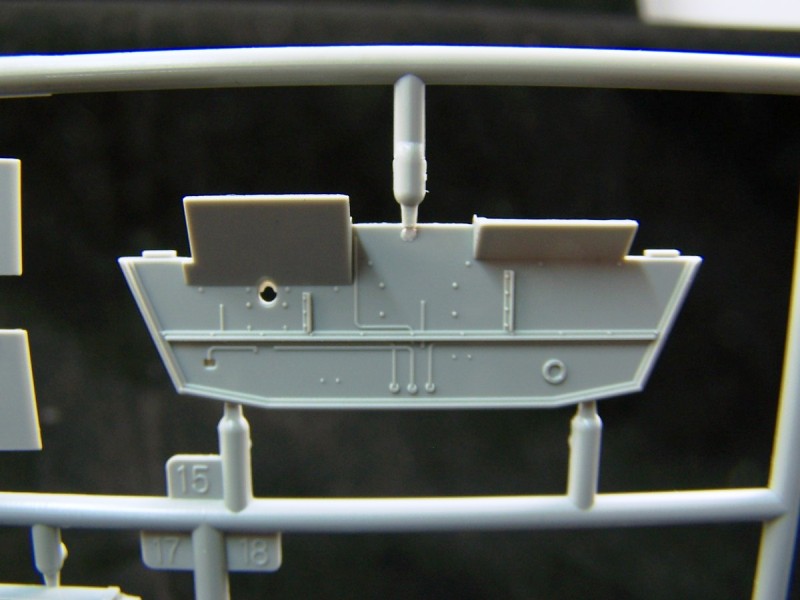
Armored Cab:
The cab begins with the main floor and fenders as a one piece unit, with the cab interior installed on the floor and the cab itself as a separate assembly. The dashboard/firewall is also a one piece deal, with some details for the engine compartment on the firewall, and the instrument panel radio and other controls as separate parts to be assembled. The instrument panel has slightly raised dial rings with decals provided for the gauges themselves printed in black and white as they should be.
The seats come as a three part assembly; back frame, seat cushion, and the back rest. Details are basic with no cushion depicted, although using some Bare Metal foil or two part epoxy putty could be used to simulate this. Other details include the clutch, brake, and gas pedals as separate parts. Last we have the gear shifts, and handbrake, with the steering wheel and column being mounted on final assembly. All of these have accurate details and look to be properly sized.
The pioneer tools are all mounted on the fenders, each having molded on clasps, but without the locking handles. The details in the tools look just like Dragons current offerings, only without the lock handle. The kit instructs you too add a Bosch headlamp on the left fender and a Notek light on the right fender. I have no idea where they got that idea from, but certainly a mistake. Photos of this version show only the Bosch headlamp on the left. The unarmored version shows a Bosch lamp on both sides. Width indicators are provided as styrene parts, one having a mirror to attach, which does include the mirror clamp molded onto the indicator.
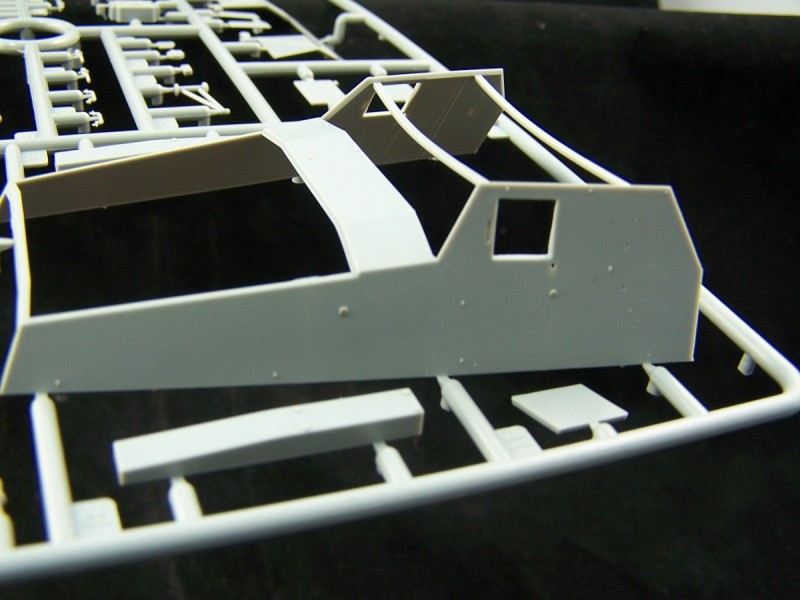
Next will be the armored cab itself, and this is where that little addendum to the instructions I mentioned comes in. The cab roof needs to be altered before installation. The shape and size of the cab looks spot on, compared to photos and line drawings. Rivet detail is crisp and from what clear photos I do find, they appear to be accurate. The instructions for assembling the armored windshield (part C39) show this being installed in step 10, but then in step 11 it shows the armored vision port covers being installed. Id recommend doing this before attaching Part C39 to the cab. The assembly of the vision port covers looks just like those of the Dragon offer, however, no glass vision blocks are provided in the kit. Id source these from the spares box, perhaps a 251 kit.
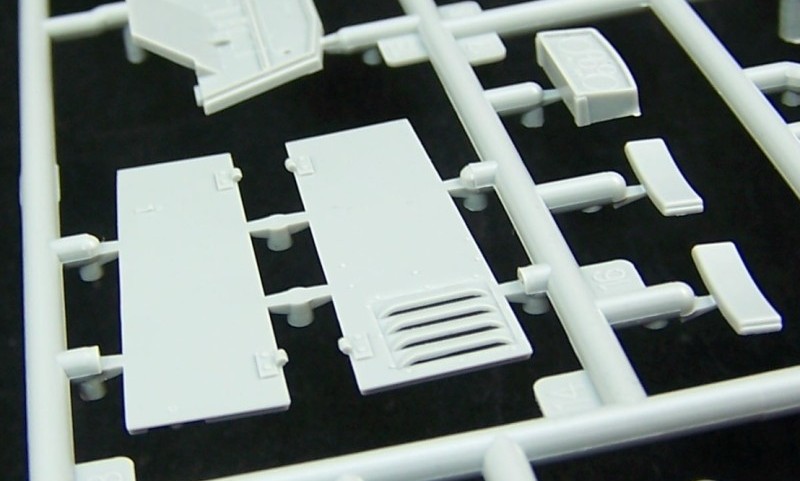
Details added inside the upper cab include two foldable seats for the rear of the compartment, and these can be modeled open or closed. Also included is an MP-40 with an ammo pouch which mounts on the drivers side. Moving on to the hatches, there are six in all; two for the engine, two for the cab roof and one for each side of the cab. These can all be positioned open or closed with each having proper details inside and out. One neat design to mention is the cooling vents on the engine doors. Theyre molded as real vents! No need to hollow them out with a blade. The louvers are very thin and accurately depicted. Also of note is the inclusion of the small access cover for the engine starter, which can be modeled open or closed.
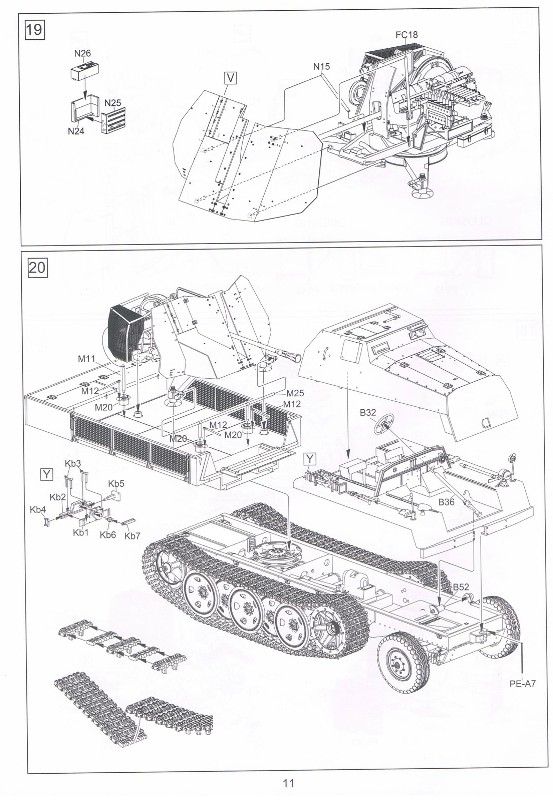
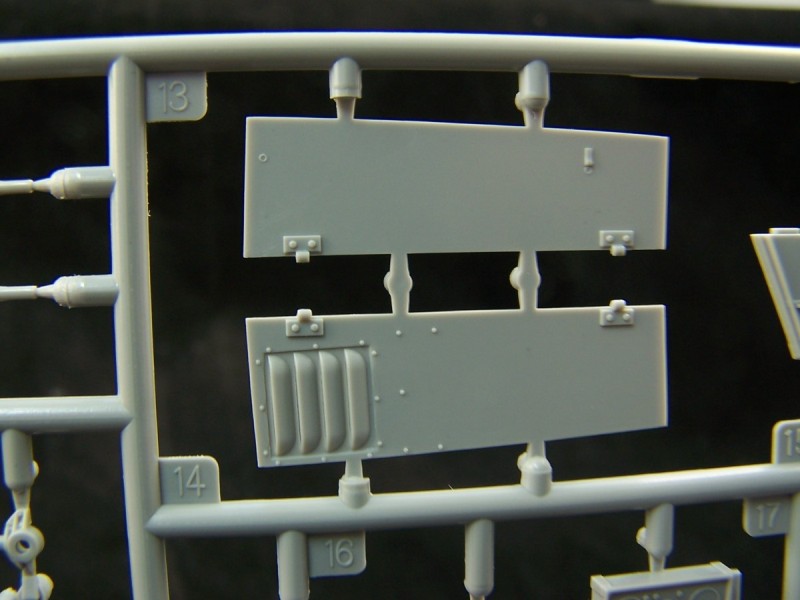
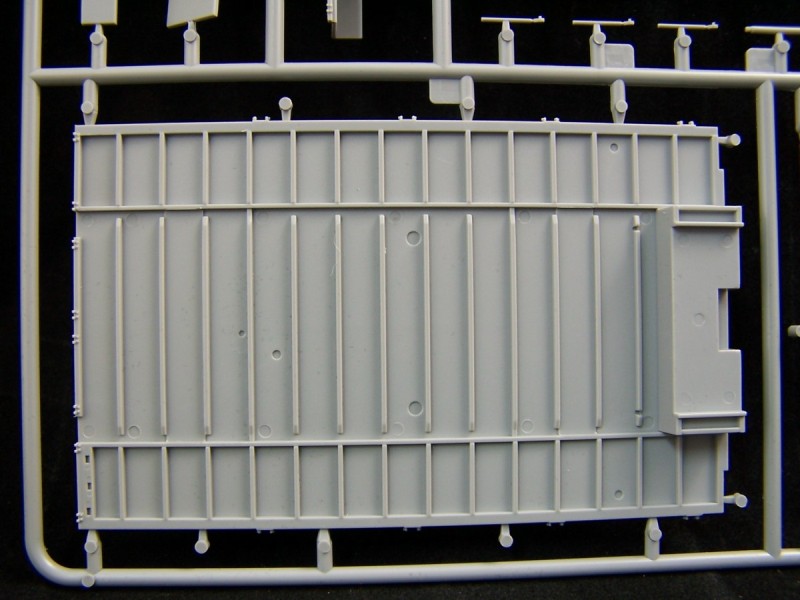
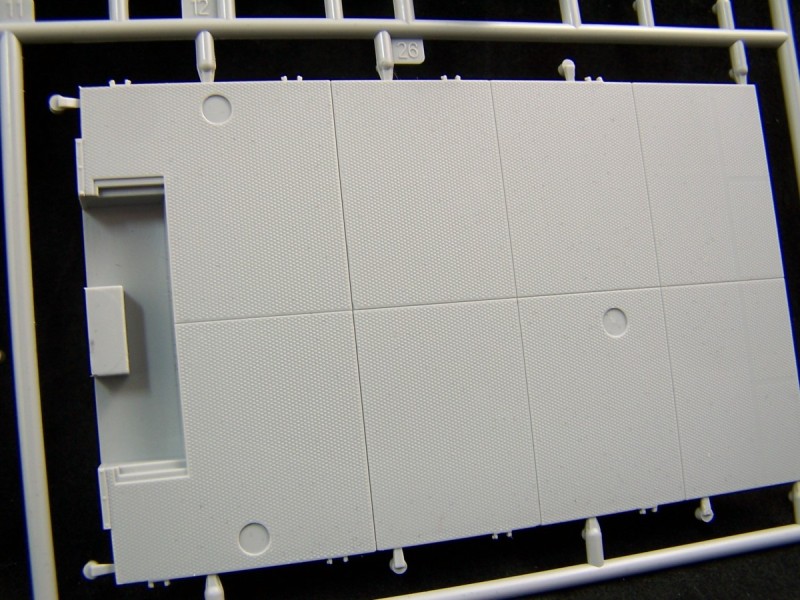
Rear Deck:
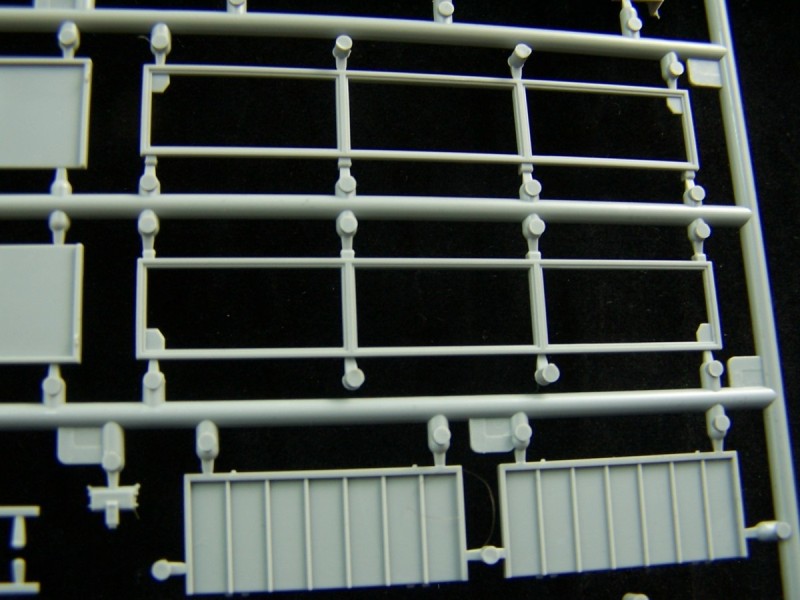
This starts out with the deck itself which is molded as one solid styrene part. Detail on top and bottom is excellent, with anti-skid detail on top and structural ribs on the bottom. Hinge points are molded onto the side for the fold-down side panels. These panels come with photo etch mesh and can be positioned up for traveling mode or down for firing mode. Photo etch chains are provided for the side panels, which are labeled as Part PE-A6. This is incorrect as they are actually on the B fret, parts PE-B6. Looking at the hinge points, with a little bit of skill and ingenuity they could be made workable. In doing so Id recommend using some very small real chain for the side panels.
At the rear of the deck is a multi-part ammunition stowage locker. This can be positioned open or closed and does come with a few sets of ammunition in styrene. Ribbed details are molded onto the insides of the doors and a photo etch part provided for the inside floor of the locker. At the front of the deck is a multi part bench seat, which can be positioned open or closed.
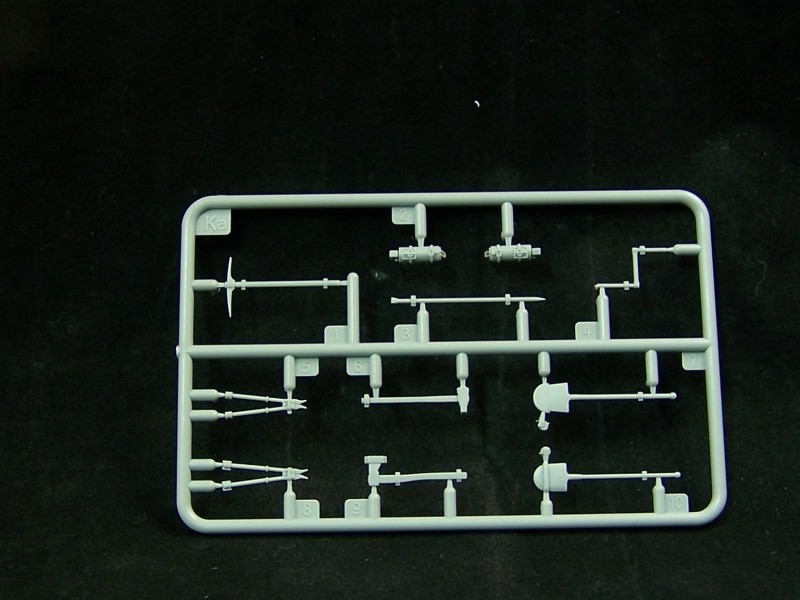
3.7cm FlaK 43/1:
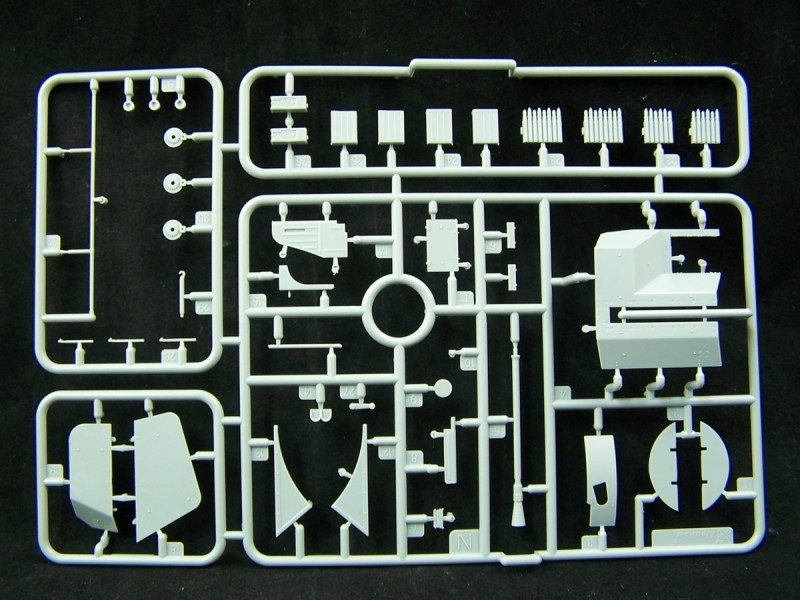
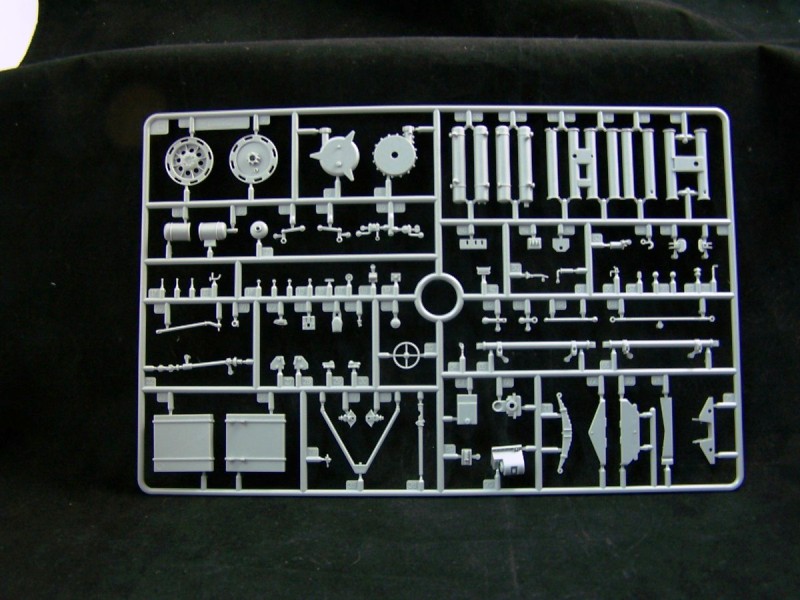
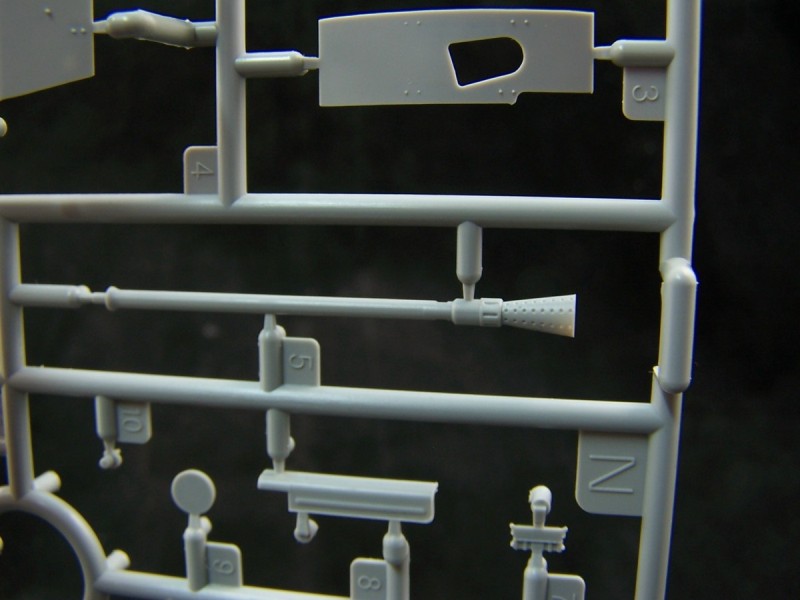
After reading some of the comments made about the Lionroar FlaK 43 base kit, which is what you get here, some modelers may be a little happier with this offering. The original base kit included numerous photo etch parts, including the main gun shield. This kit does not, it is all provided in styrene plastic except for the empty shell basket, which comes as a multi part styrene frame and photo etch mesh screens. The gun barrel comes as a one piece styrene part. I would rather have seen the metal barrel included, but given the fact, the plastic barrel is very nice. The flash suppressor is molded on, with thin dimples for the holes in the suppressor which can be drilled out for further realism. The gas holes are also molded in as dimples, but drilling these out would take much more care and time to clean out. While the plastic offering is accurate and cleanly molded, personally I would spend the extra bucks for the better detailed metal barrel.
The gun itself is quite a model in itself and will take some time to assemble, perhaps just as involved as the sWS itself. Details are clean with minimal to no flashing. Comparing the parts to photos, I see no discrepancies, large or small. Looking at numerous bolts throughout the main assembly, though present where they should be, some do look a bit smaller than they should be. While not a big deal, you may opt to go the extra mile to replace them with larger ones.
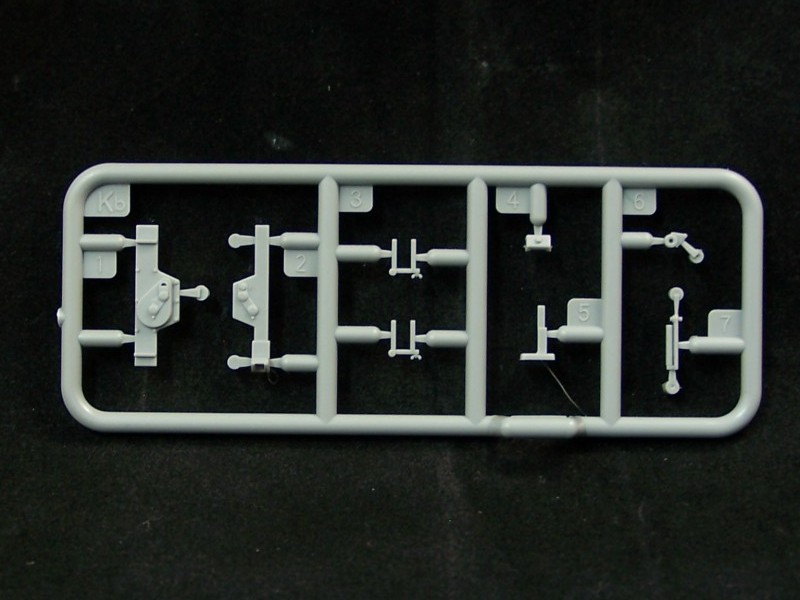
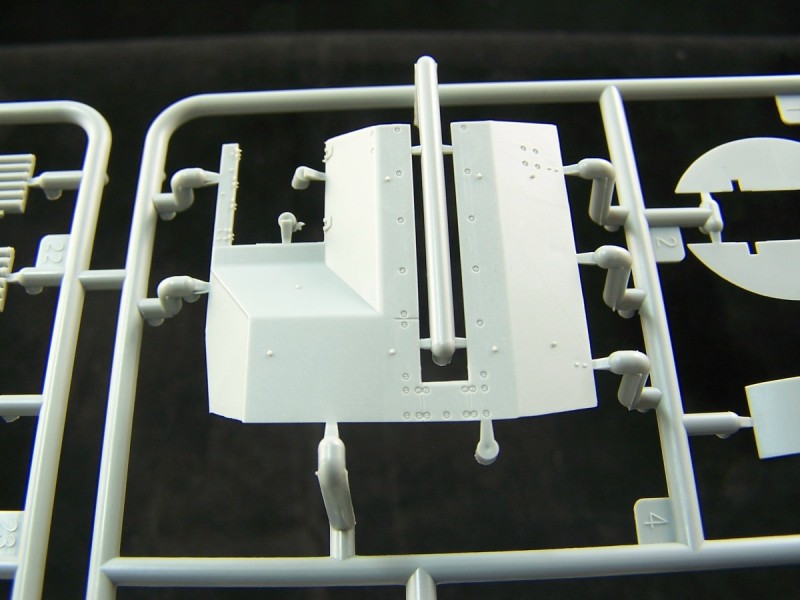
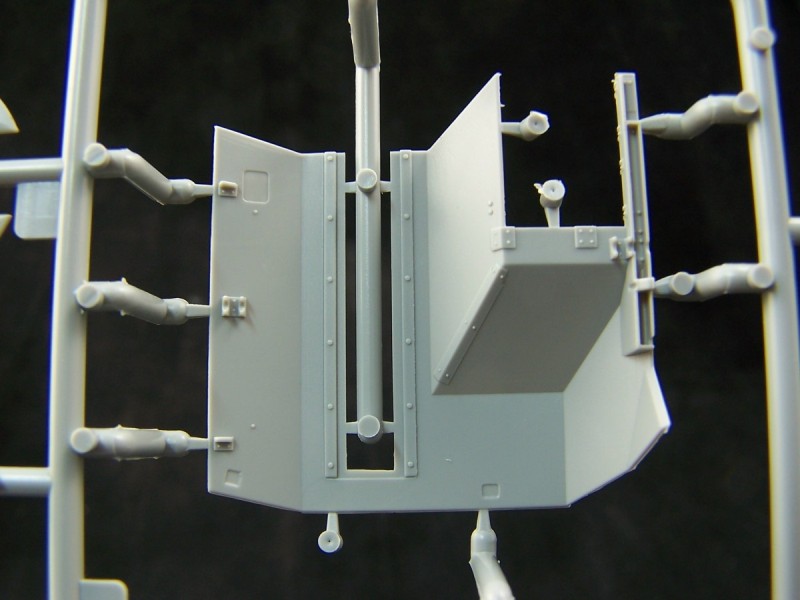
The shell ejector chute is provided as a multi-part styrene assembly, comprising of three parts. While not as convincing as photo etch, it still has a thin look by way of a beveled edge molding. Same goes for the gun shield, which is also provided as a multi part styrene assembly. Comparing the details to photos Im really impressed. They have this thing down to the smallest details, and all in plastic. But again, the scale thickness just cant beat photo etch, although here the plastic is thin throughout without using a beveled edge. I wouldnt let that detail deter you though, the thickness is still a very close likeness, and would most likely not be noticed once painted up.
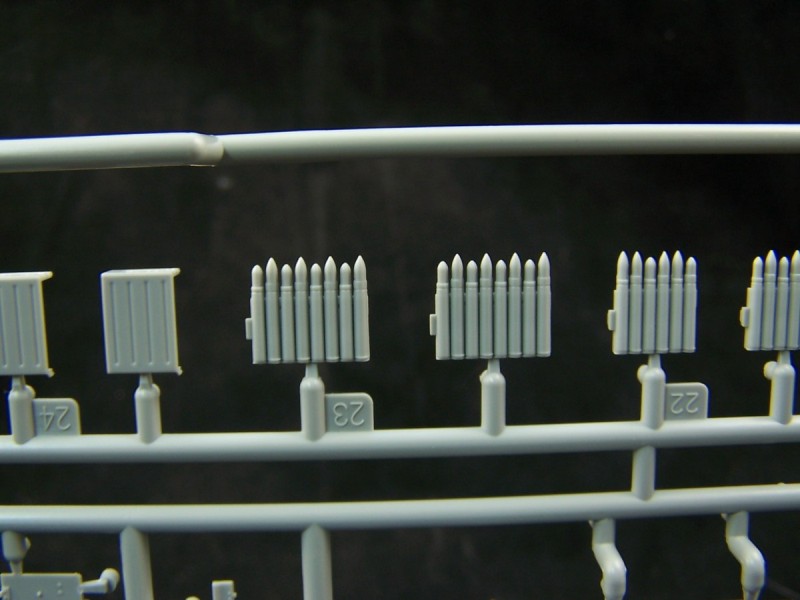
The shell collector basket looks to be a tricky assembly, and I would recommend some photo etch experience with this step. The mesh screens provided are very thin and flexible. There are 5 sections in all, each having their own frame detail. These are all mounted to a 5 part styrene frame. The shell feed tray comes as a multi part assembly, which is an intricate assembly with fine accurate details. Also provided are shells ready to fire in styrene. The tripod base is the final assembly. Again, Lionroar has done their research and made sure the details are there.
Conclusion
Im really impressed overall by this kit. The only real potential flaw I noticed was the depth of the wheel hub on the drive sprocket, and I say potential because this is only a perception. Without measurements I cannot say this for sure. The few bits of photo etch, while not advanced, will require some experience. This is mainly due to the shell collector basket, the rest is straight forward cut, clean, and glue photo etch.
I look forward to building this model, and will be able to then provide a better detailed review of the individual assemblies. While the kit may seem a little pricey, you get what you pay for, which is a highly detailed model with plenty of details that I will definitely recommend to anyone with a few models under their belt.
The Photo Etch Detail Set for this kit has been reviewed
Here on Armorama.


Comments