Introduction
Feldgendarmerie has its origins in the 17th or 18th Century, and means military police in German (but from the French
gendarmerie). Its tasks were to control military traffic, carry important messages, and protect the royal family. Its service continued right up until 1918 when it was disbanded at the end of World War I. All that changed when Hitler came to power in 1933, and the chain-dogs were reintroduced into the Wehrmacht (named for the gorget, a large chain and half moon-shaped decorative protection against saber cuts worn around the neck). During WW II, its mission was once again to control traffic, along with checking identity papers, patrolling in occupied areas, disarming and guarding POWs, preventing the distribution of enemy propaganda, and erecting civilian and military signs. Its soldiers were given full infantry training to go with extensive police powers.
Miniart has released a set of German
Feldgendarmerie whose box art shows soldiers from this formation doing typical jobs. You can easily use them on any crossroad or checkpoint diorama you might build. The figures are in very interesting poses in my opinion, each of them can be easily used almost with any vehicle. For example we have a driver and an officer checking the papers for an Opel Blitz. They can be used for a separate vignette, or put on the side of any crossroad with a soldier managing the traffic. Add a motorcycle or a tank and you have small diorama. That's positive, I think.
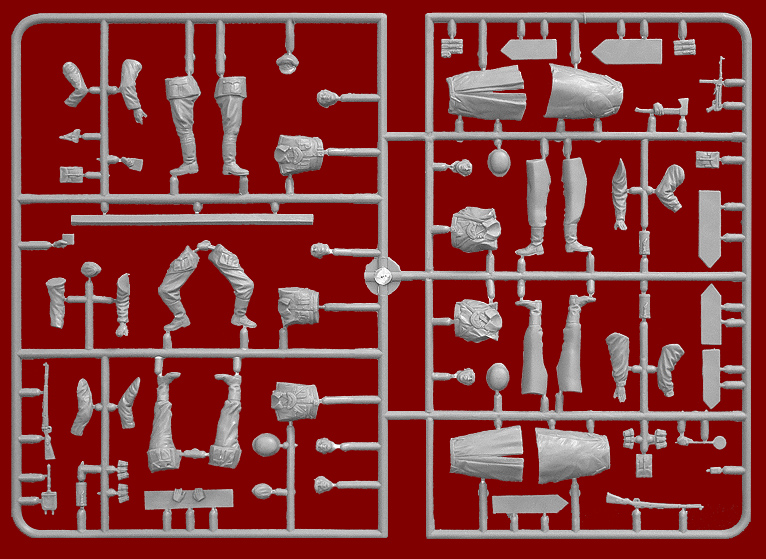
The kit
What we have in the box? Well, not much just two sprues (or actually one shown in the picture, but cut in the middle to accommodate the box width) with 71 parts, and a small paper sheet explaining the numbers of the parts and their location on the sprue. Also on the right side are different paper signs which are supposed to be cut-off and glued to the plastic signage. For the assembly and painting instructions, we have to use the back side of the box.
The details
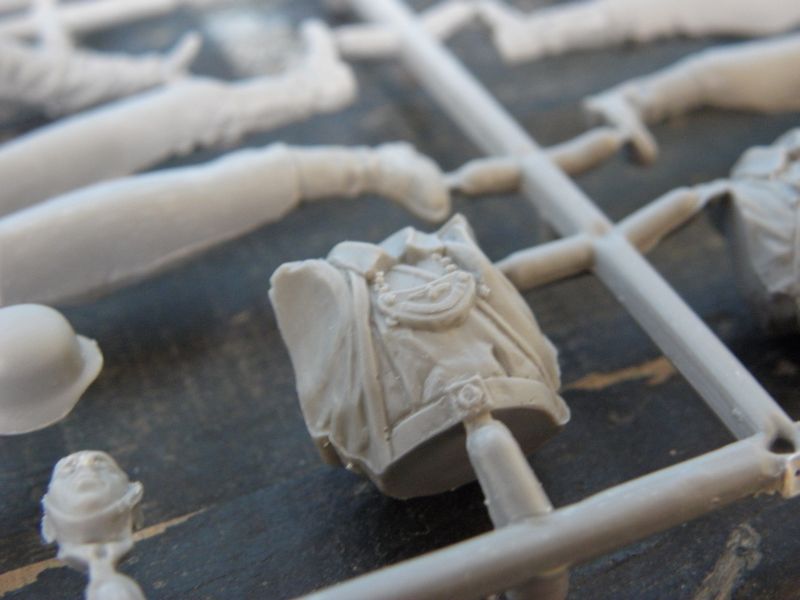
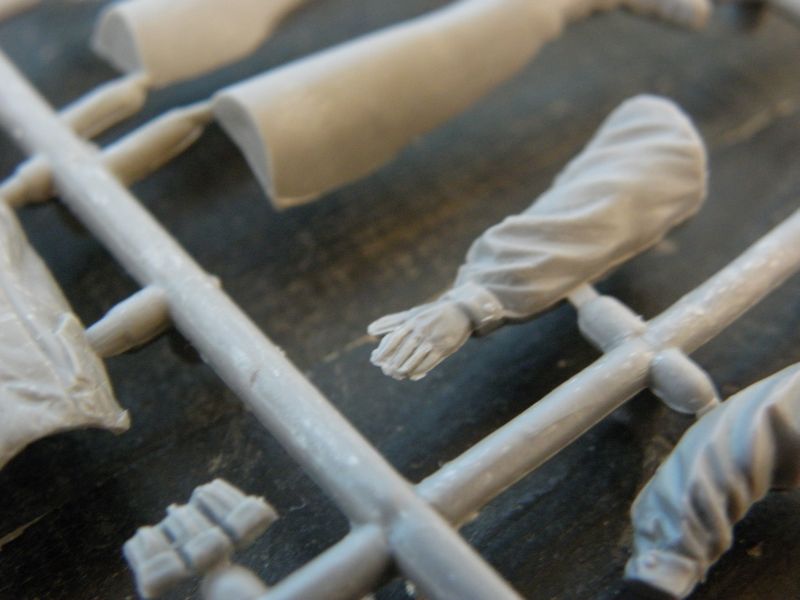
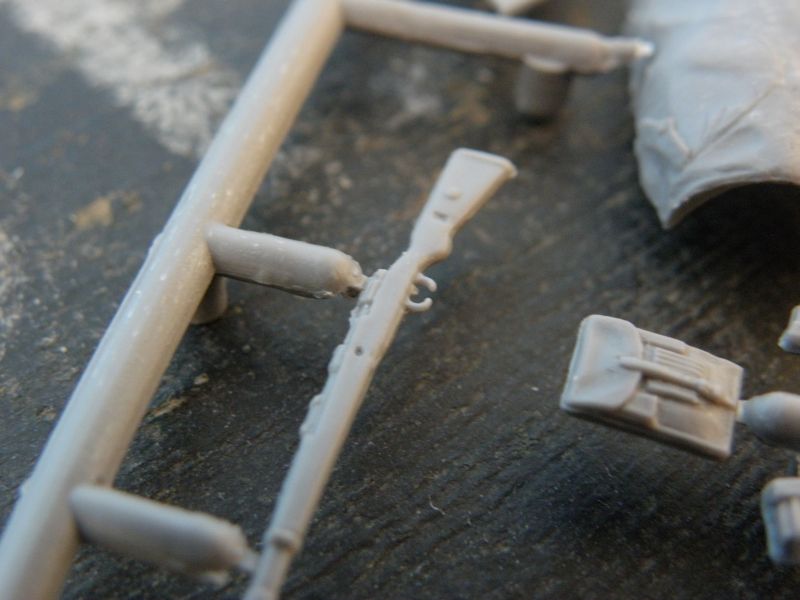
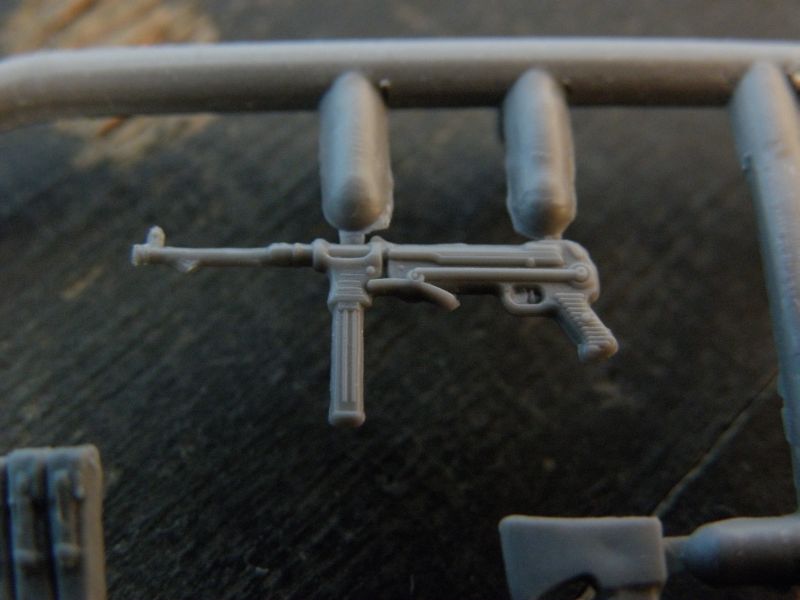
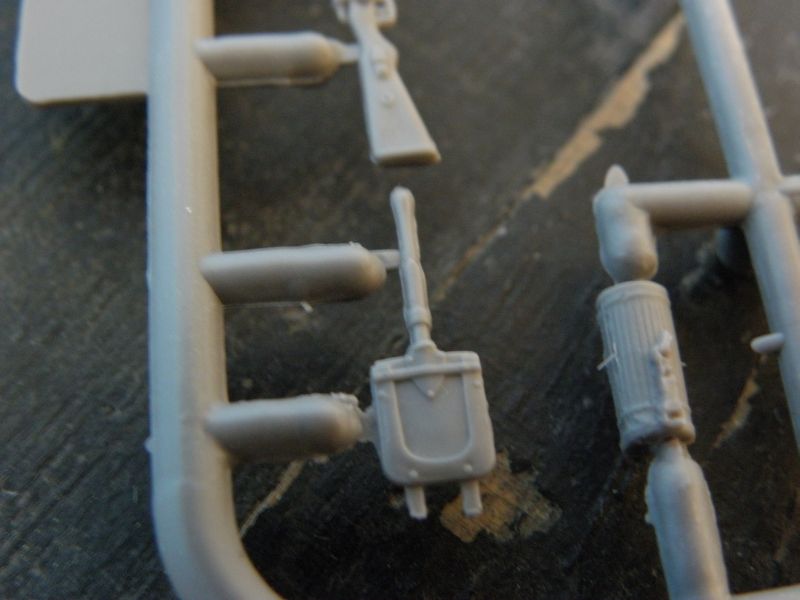
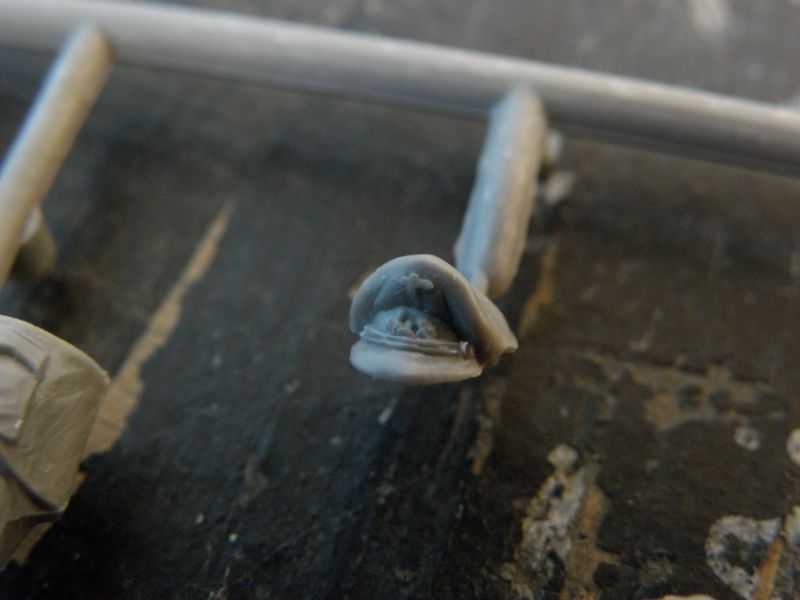
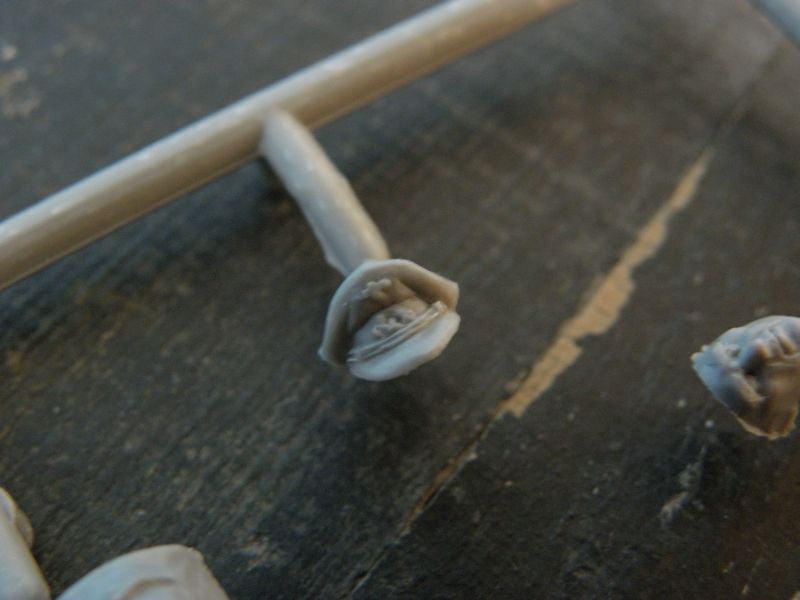
I have to confess I'm not an expert in figures, although I have built plastic models since I was about 4 years old. For plastic, the detail level is pretty nice. I especially like the armament and soldier's gear (gas masks, MP40-- really nice-- entrenching tool, officers cap). The uniforms and the torsos are also very good. Hands look a bit worse, but not tragically so. I have not noticed any sink marks, although all parts have major seam lines. It will require a lot of work to remove them.
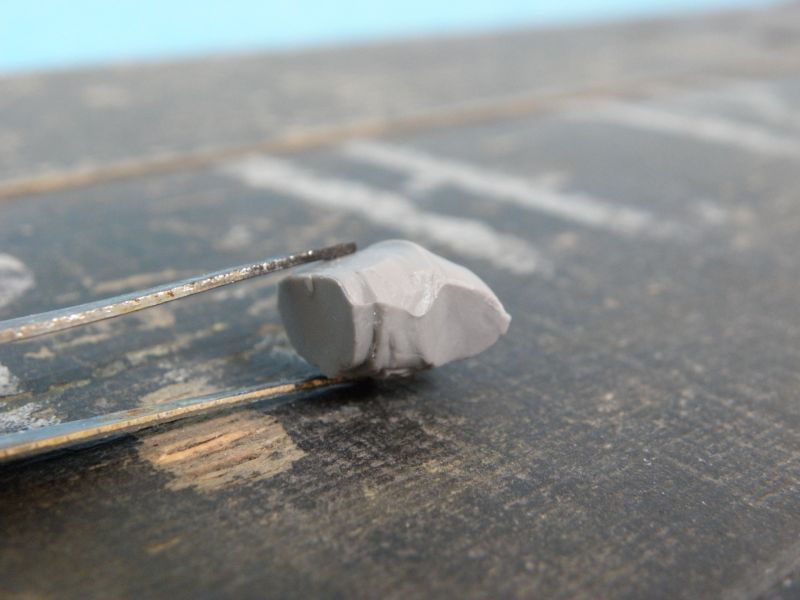
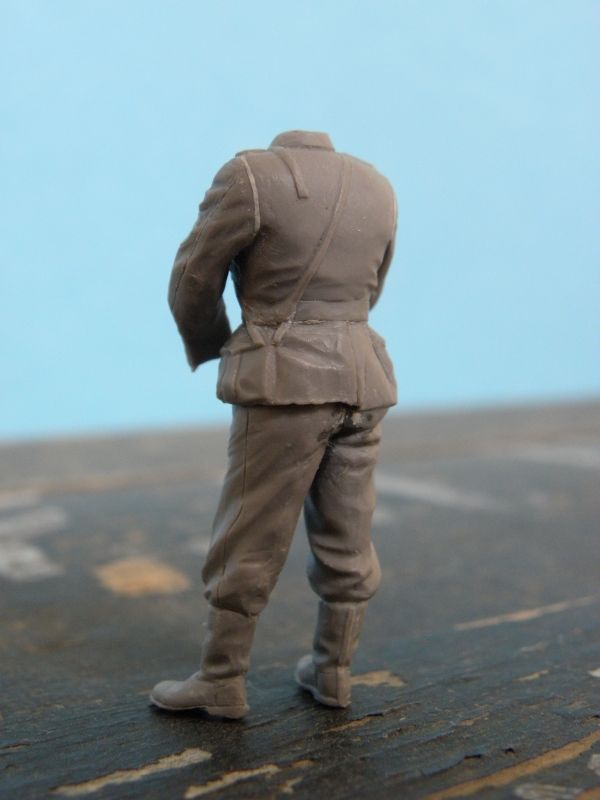
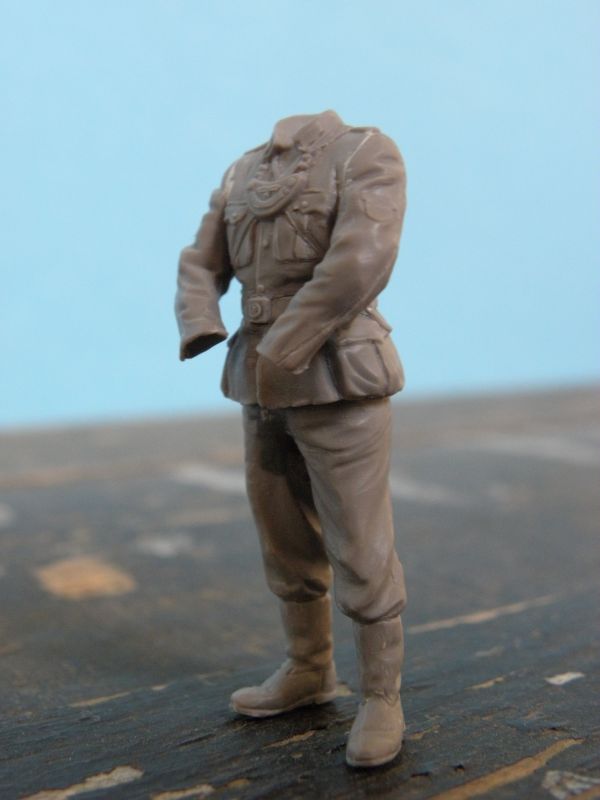
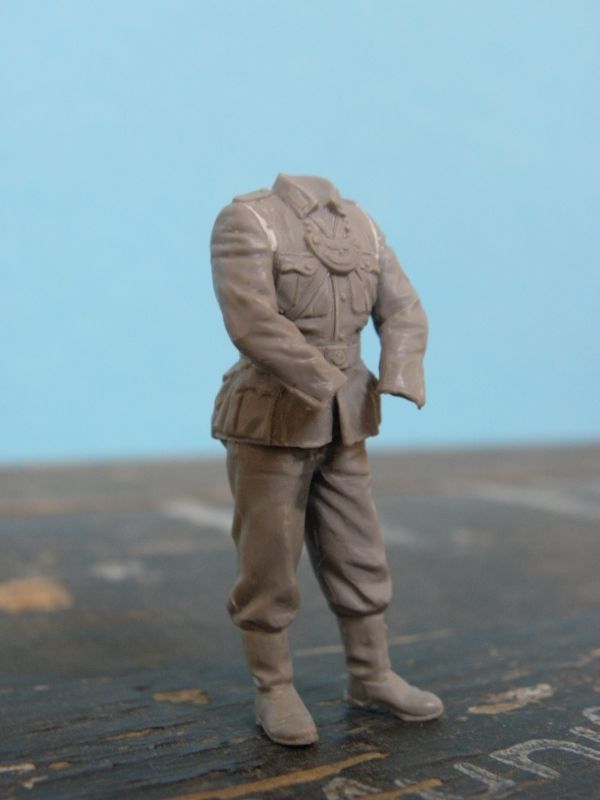
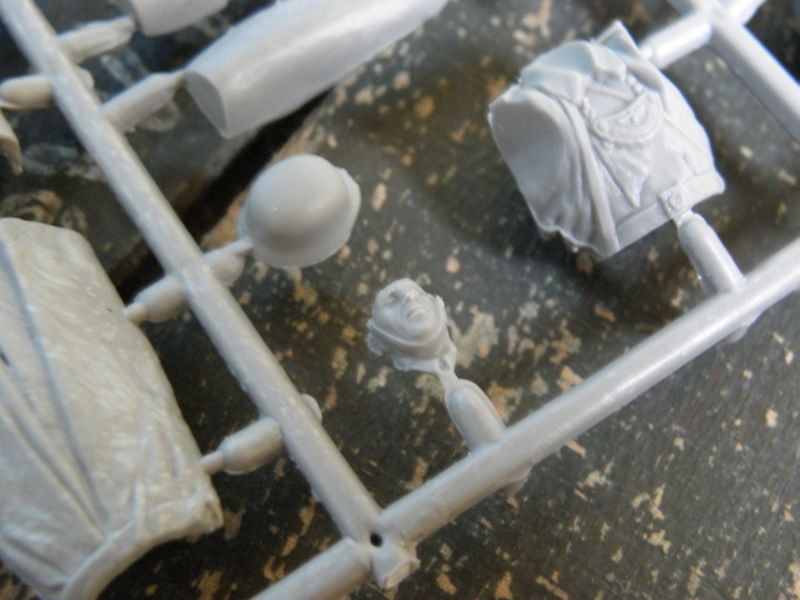
How does it fit together? As you see from the photos, I have already started a build of one figure (the far right one on the box art -- a soldier holding a sign). Almost each connection needed putty: legs, arms and torso. All of these places are seen in the pictures. After dry-fitting, I already knew I will have some problems with attaching the hands that are molded-together with a sign onto the arms. I plan to drill small holes, put a wire inside as a reinforcement, then fill the gaps. The pictures show the figure already upgraded by my own sculpting I separated the coat edge from the trousers and leveled the cuffs. It's very easy to do (no special skill required), though very time-consuming, yet gives a good final effect. For this figure Miniart gives us two heads to chose from and two head cover options: a helmet or a forage cap.
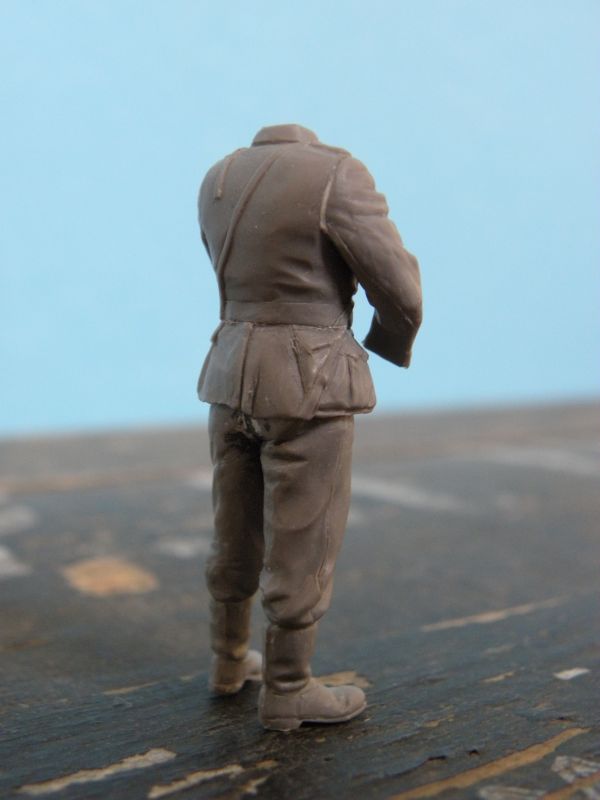
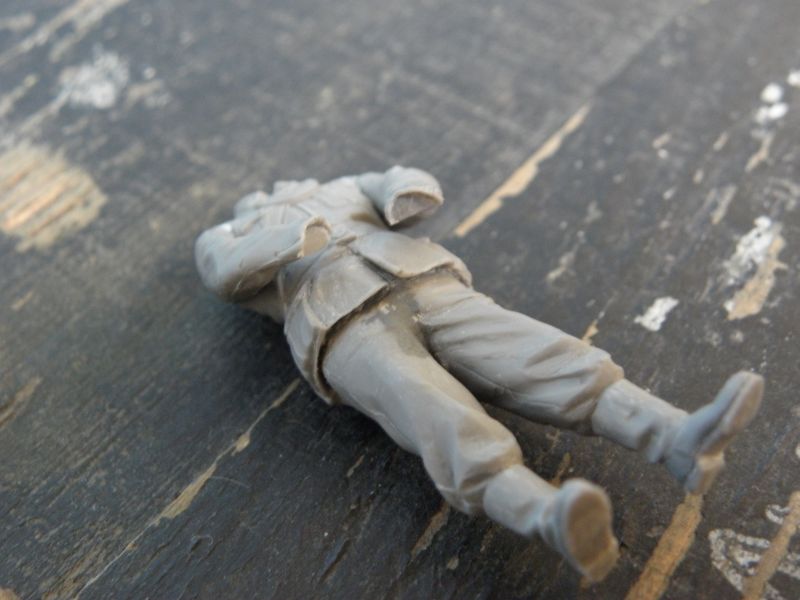
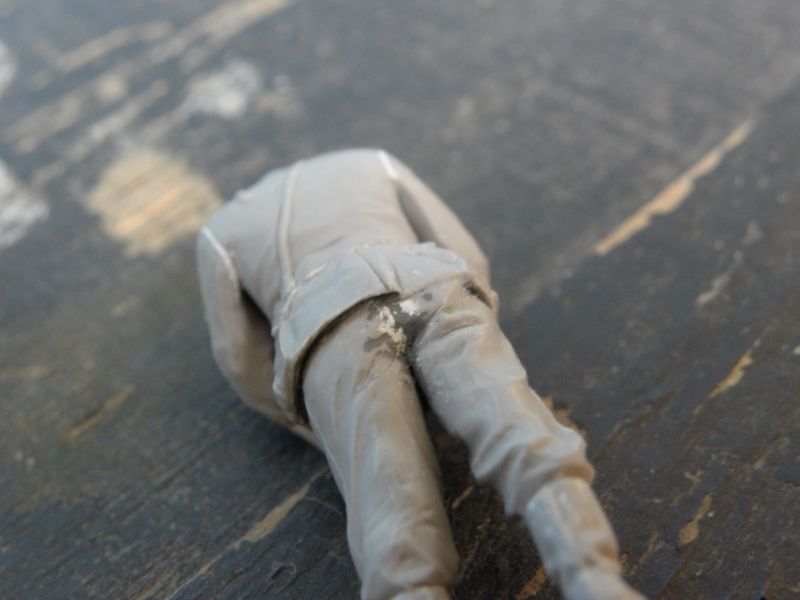
I have a second figure on the workbench the soldier nailing a sign to a pole with an axe. This figure will need much more putty as far as I can see. Arms fits rather good to the torso, but the greatcoat (consisting of two parts) needs some alignment, filling and sanding. I also need to thin the legs (and widen the inside of the greatcoat) to fit them together. I will check references about German uniforms to replace or reshape some details.
The plastic is rather soft, which allows for easy cutting and sharpening the details with a knife, which is what I used for most of the work I did.
Conclusion
I can't get rid of the feeling that something is missing. There are two simple things I would really like to see in the kit: a tiny fret of PE brass with the characteristic
Feldgendarmerie gorget, and decals for the arm badges. The badges are just slightly modeled on the sleeves and simply do not meet current quality standards. The gorget looks a bit better, but you are not able to see the inscription in a Gothic font that says
Feldgendarmerie. You also can't replicate the decals of the helmet badges without outsourcing these details from aftermarket sets such as Archer dry transfers (see their sheet
FG35044 uniform patches along with
FG35048A and
FG35050A for shoulder straps and boards). I would be satisfied if Miniart would at least add some decals with all these details. I will have to search for them on the after-market.
A
Build Log has been started on the Forums to further evaluate the kit construction.


Comments