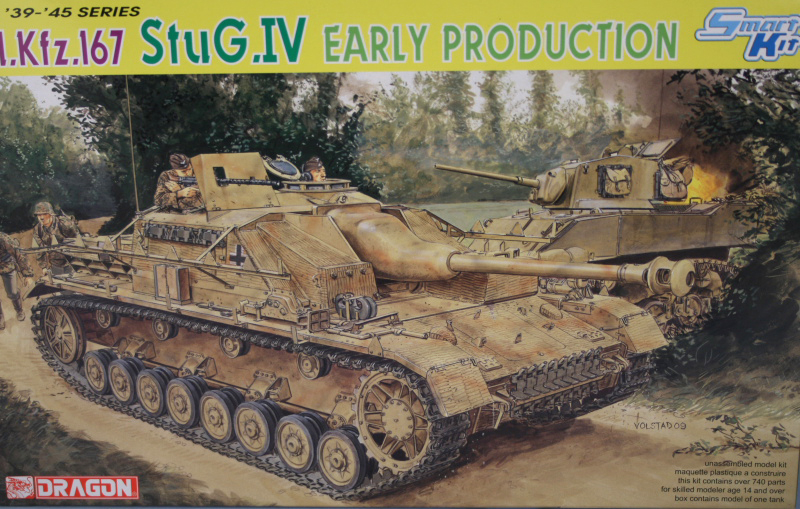
Introduction
When the Allied bombing campaign severely damaged the StuG III production facilities at Alkett in late 1943, it created an urgent need to fill the resulting gap in
Sturmgeschütz production. This led to an expedient design using existing Pzkpfw IV Ausf H hulls mated up with StuG III Ausf G casemate superstructures to create the StuG IV. Minor modifications were required due to the different hull dimensions on a Pzkpfw IV vs. a Pzkpfw III chassis which involved a special block extension from the casemate to house and protect the driver, as well as changes to the internal hull layout for ammunition storage. Otherwise the Pzkpfw IV hulls and StuG III elements remained unchanged. The StuG IV was produced exclusively at the Krupp-Gruson works and production began in December 1943.
The concept proved to be a success and StuG IV production continued alongside Pz IV and StuG III G production through April 1945, with a total of 1,141 units built. Throughout its production run, the StuG IV incorporated changes from both the Pzkpfw IV Ausf H and Ausf J production, as well as changes in the StuG III G, although not always simultaneously and depending on the different changes in question. DMLs kit # 6520 aims to create an early production vehicle, a designation which is handy for modelers to use, but which wasnt an official designation and presents some potential issues as a result. Due to the nature of the introduction of various changes, this label can be somewhat misleading when trying to determine just what, and when, constitutes the early production timeframe represented by this kit.
Contents
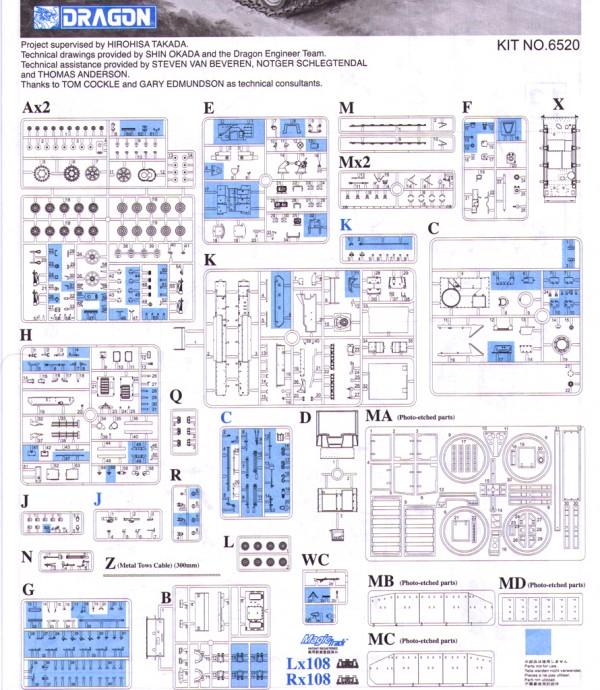
The kit is packaged in the standard slip top cardboard box with the sprues packaged in clear bags, some of which contain multiple sprues per bag, and my kit arrived with one of the pieces broken off the sprue, but everything else intact. The standard Dragon card is also included which has the separate bags of Magic Tracks, PE fret, decals, clear parts sprue,
Schürzen plates, and braided wire taped to it, and resting on top of the sprues. The kit consists of over 740 parts (with 158 of these marked as Not for Use) arranged in the following:
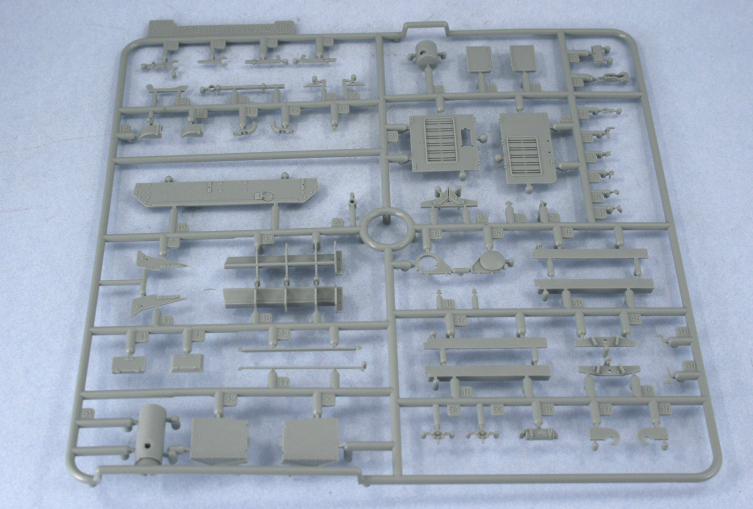
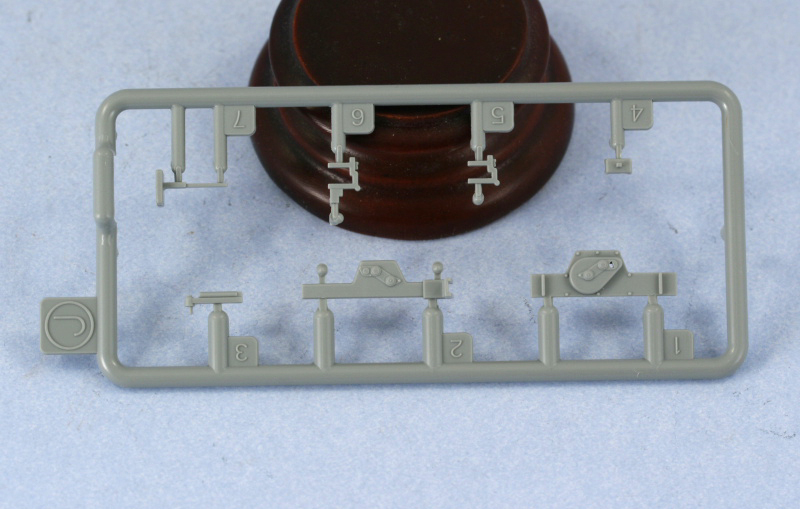
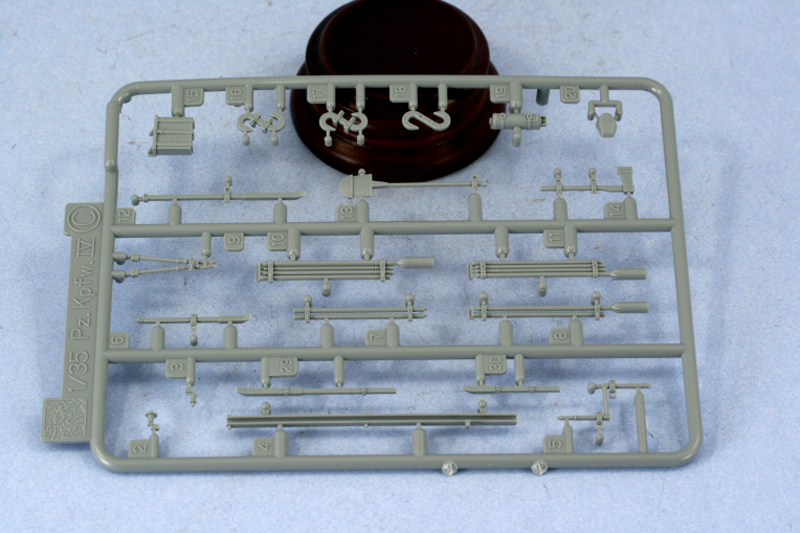
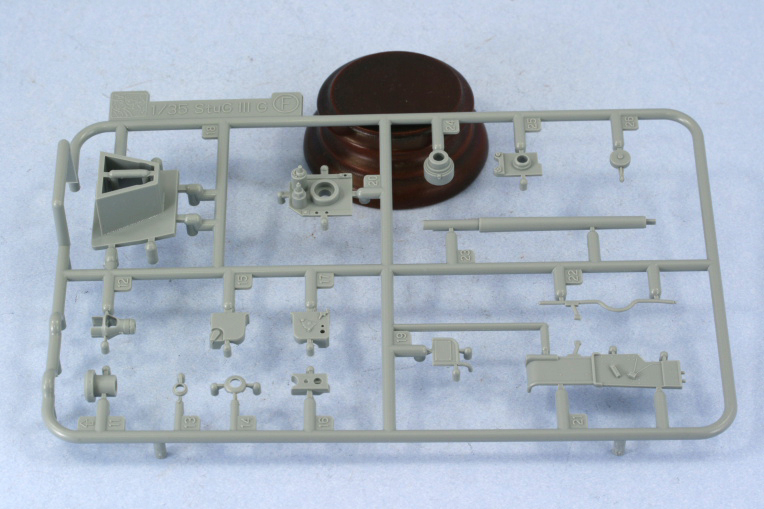
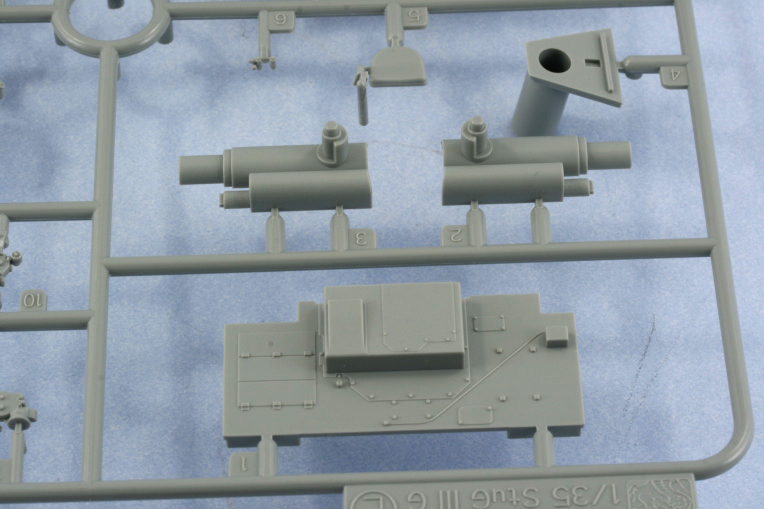
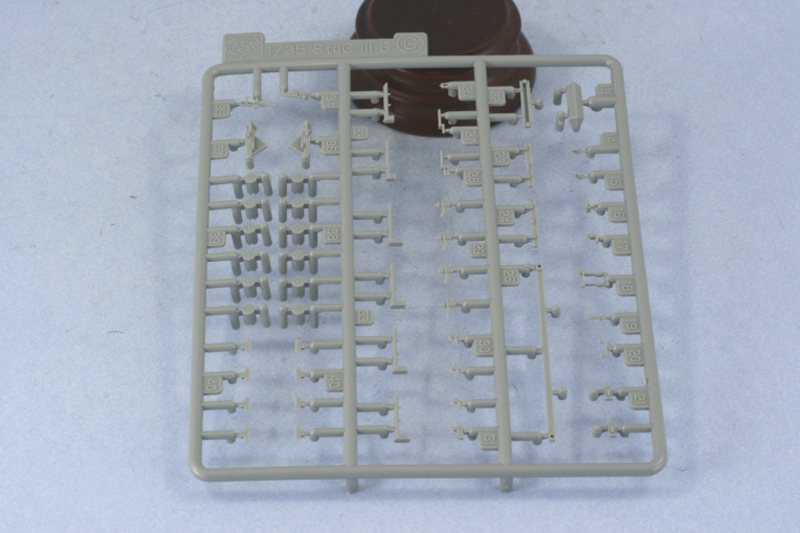
22 sprues of light gray styrene
1 sprue of clear styrene (12 parts)
1 light gray styrene hull tub
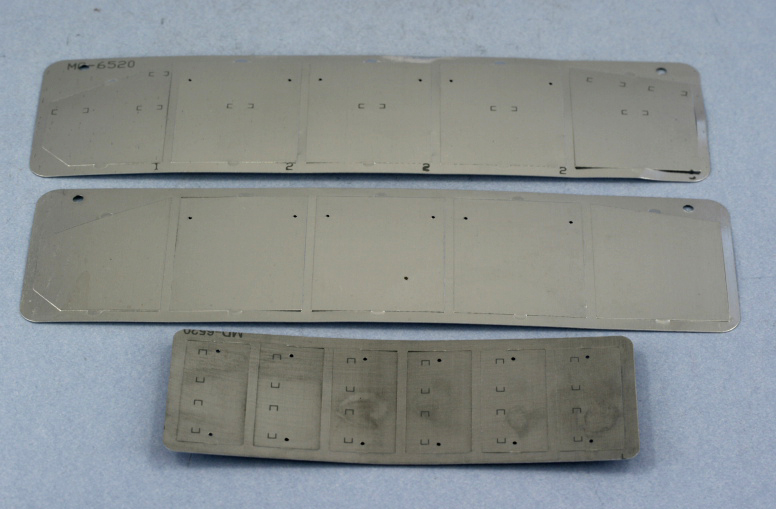
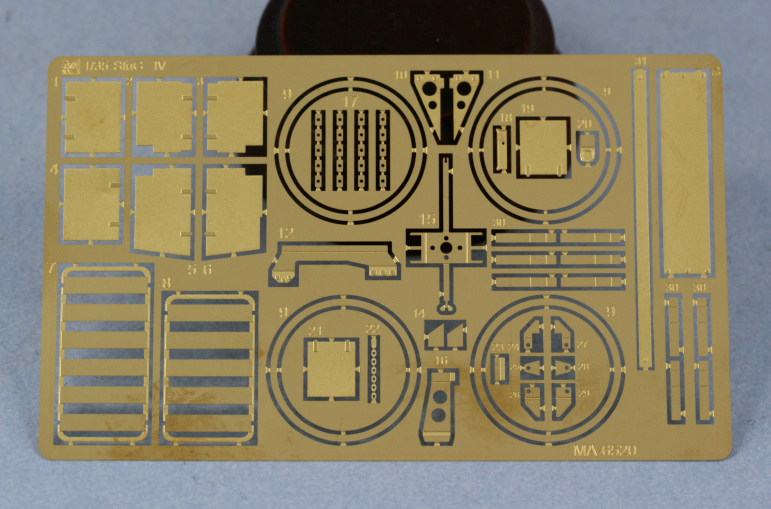
1 PE brass fret of 61 parts
3 PE nickel frets of 16 parts for the Schürzen
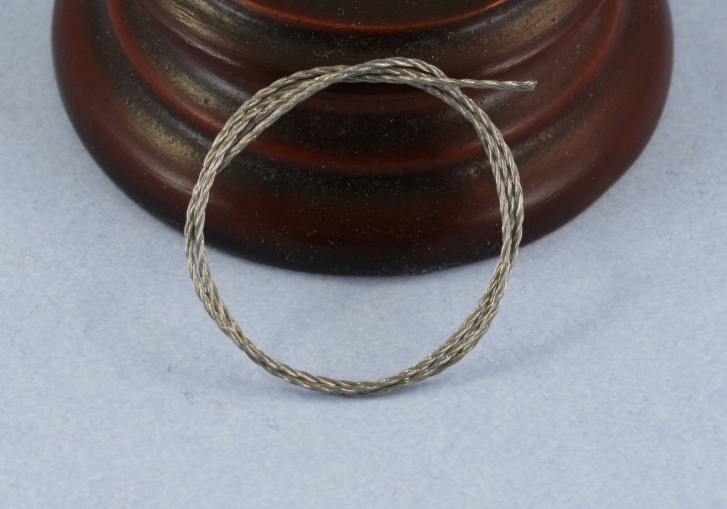
1 300mm length of braided wire
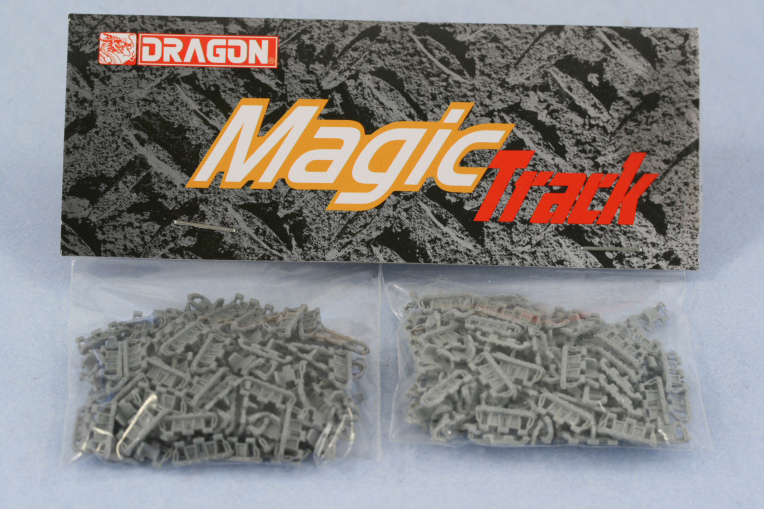
2 bags of 108 each of handed Magic Tracks links
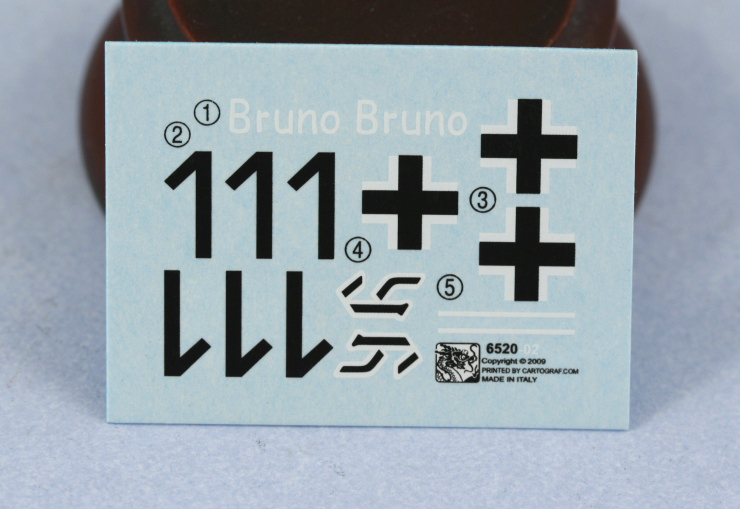
1 decal sheet
Instruction booklet
Review
This kit carries the Smart Kit designation and as such many of the sprues have a heritage reaching back to other, earlier Smart Kit releases by DML, specifically their StuG III Ausf G Early Production, Pzkpfw IV Ausf H Late Production, and Brummbär Mid-Production kits, as well as additional new-tool sprues designed specifically for the StuG IV. This of course produces some duplication in the sprue lettering, along with a very large number of Not for Use parts that will find their way into the spares bin. DML has chosen to designate this as an Early Production vehicle on the box top, but since changes were introduced in both the StuG III G and Pzkpfw IV H and J production runs that the StuG IV drew on for components at different times, some detective work is necessary to define the timeframe this kit actually represents. Regardless of the exact window, the vehicles represented by this particular kit were all produced prior to Sept 1944 when
Zimmerit was discontinued, so the user will have to either create their own or use an AM set once those are available to create a truly accurate early StuG IV. Overall the quality of the molding on the kit is of the standard weve come to expect from DML with no flash present and mold seams kept to a minimum. Some parts do have numerous small node attachments that will require careful cleanup, but this isnt something that an experienced modeler cant handle.
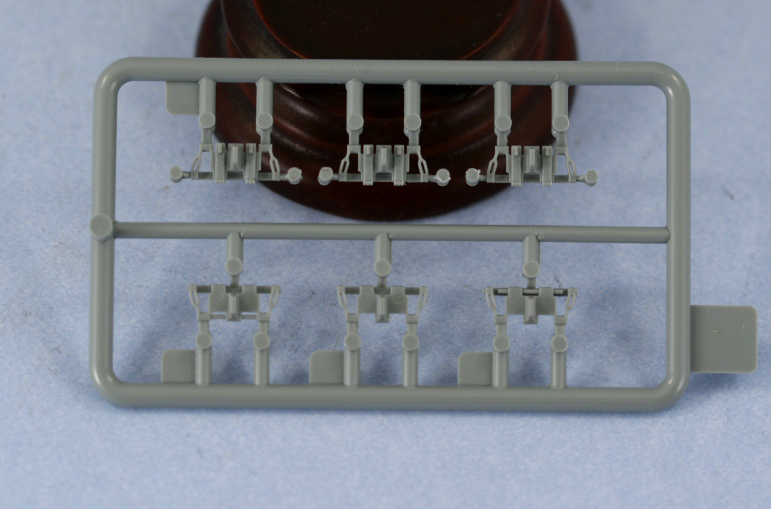
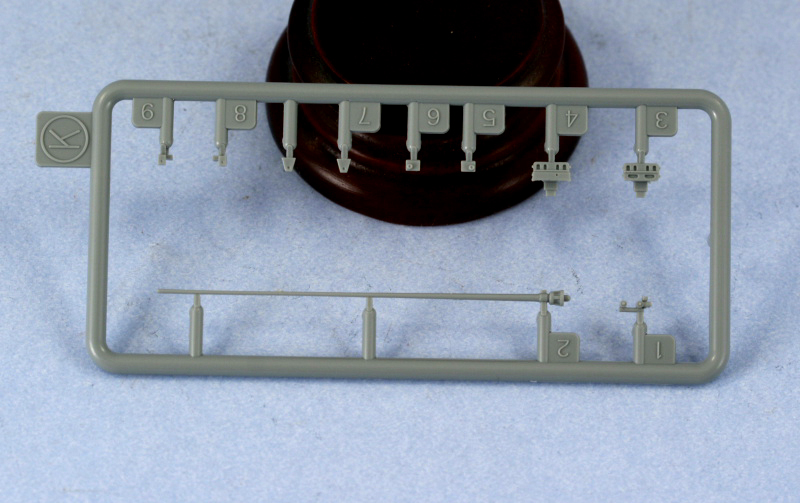
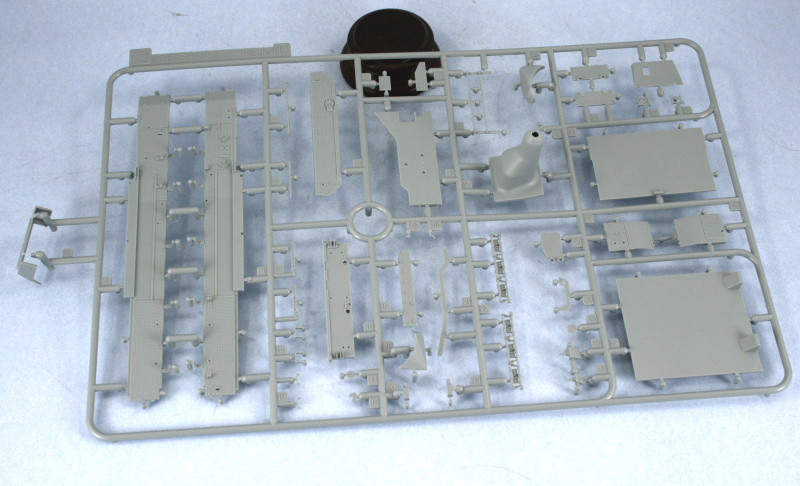
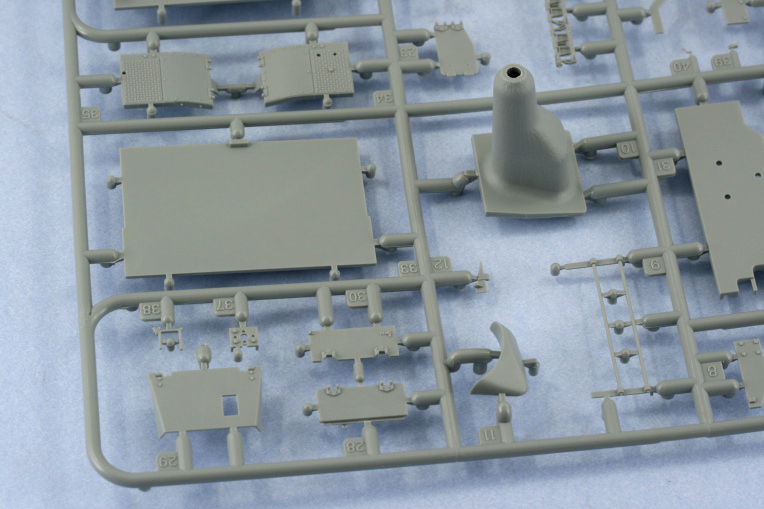
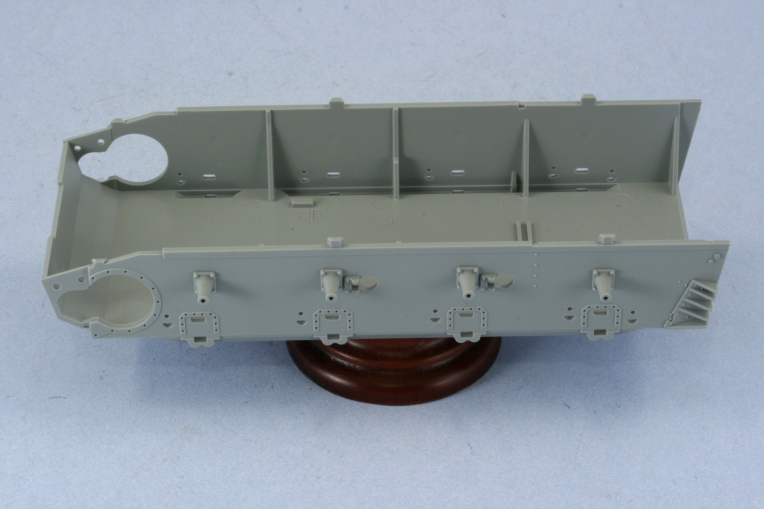
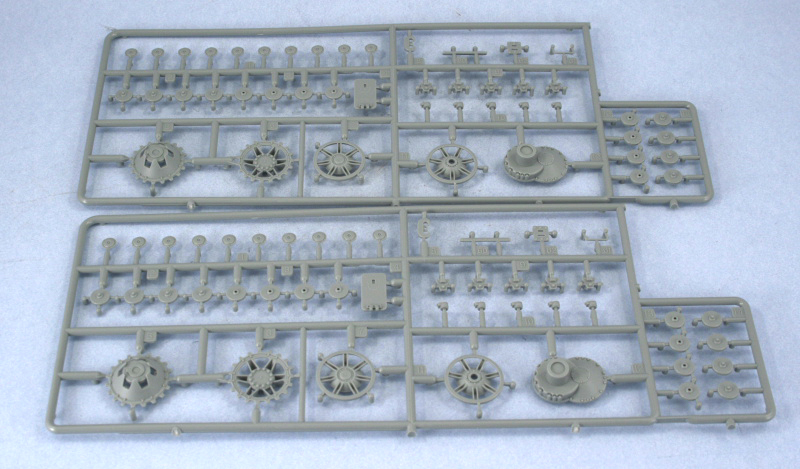
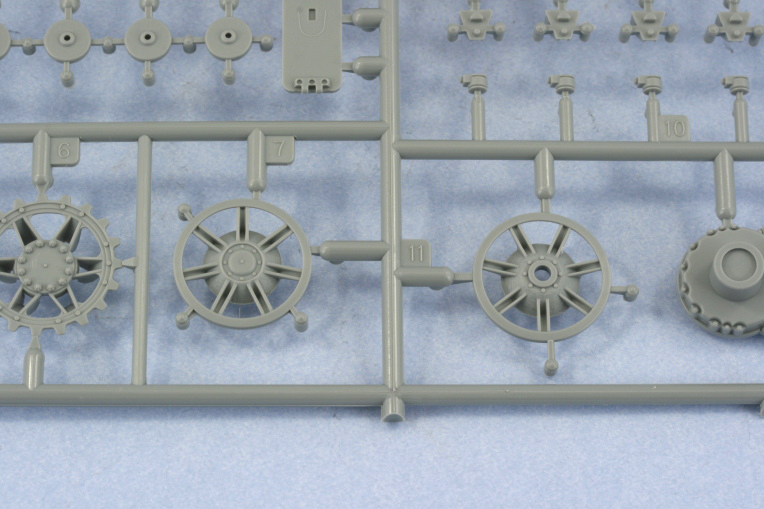
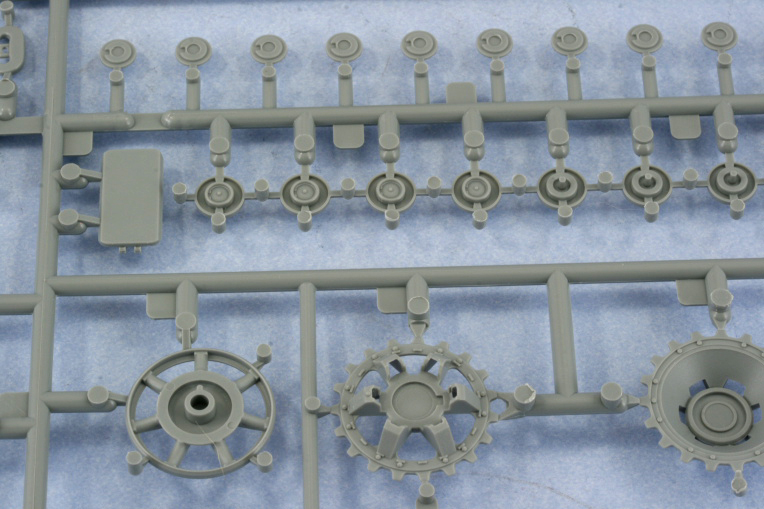
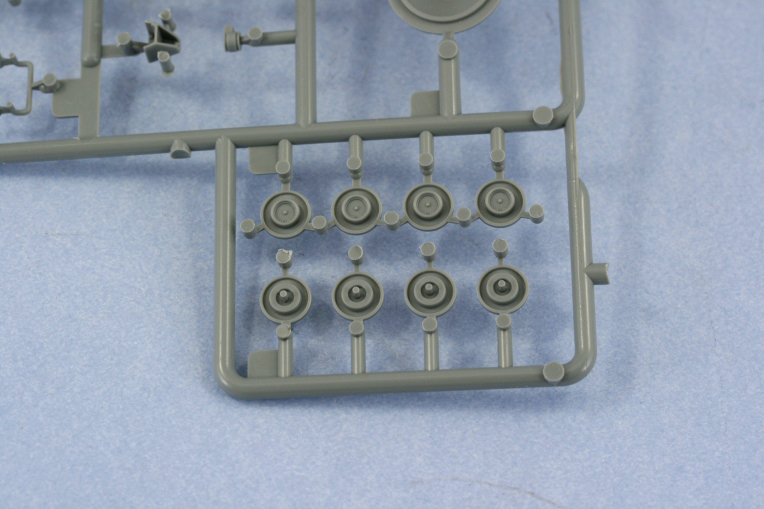
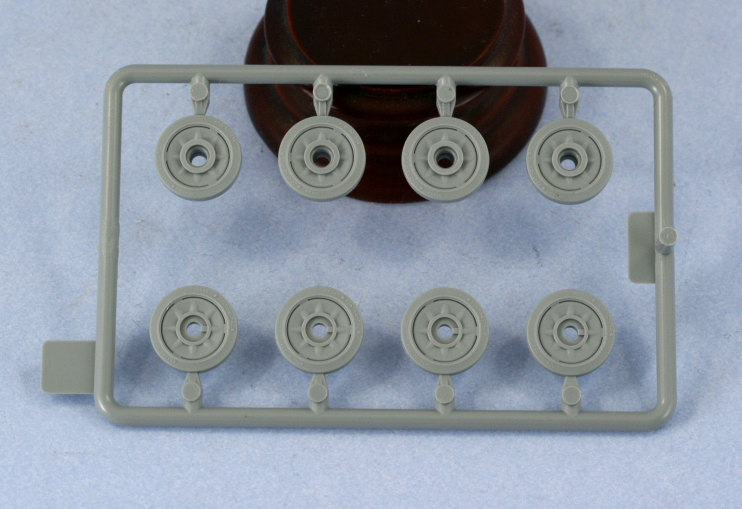
Suspension and Tracks: The hull tub and suspension are all lifted straight from the Pzkpfw Ausf H Late kit # 6300, also previously
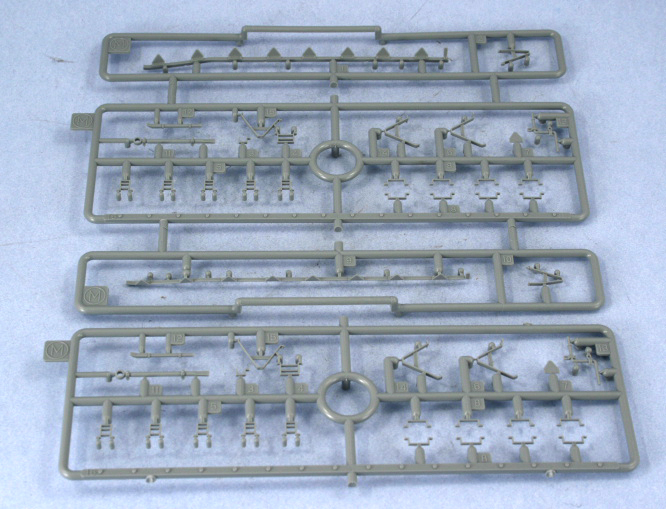
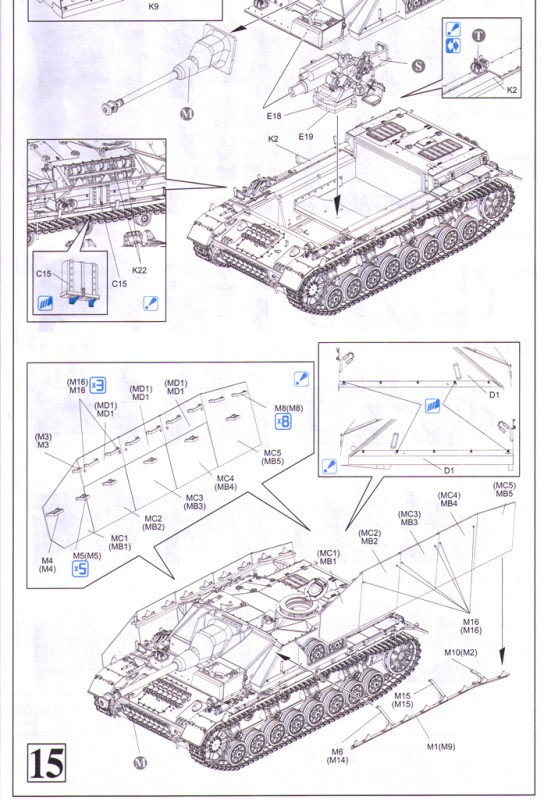
Reviewed on Armorama. Options are provided for the idler as a choice between the earlier tubular welded-type and the later cast-type idlers. Reference photos show both types of idler being used on StuG IVs with varying features, so check your references before committing to one or the other. The kit also includes two different types of all-steel return rollers, one with the reinforcing rib and one without. Some minor surgery is required to remove tabs on the inside of the Pzkpfw IV hull tub to accommodate the StuG IV layout, and these are clearly called-out in the instructions. The Magic Tracks provided are the same solid horn with ice cleats track-type present in the Pz IV H and Brummbär kits with 108 right light gray and 108 left dark gray handed individual links provided. The links have two ejector marks, usually raised, on each link that will require a little cleanup to use, but otherwise are molded cleanly. The Magic Track links are designed to also do double-duty for the spare track runs on the hull nose and glacis, with additional special tracks inserted for the glacis run that include the retaining pins as a nice added detail. Options are also provided on the glacis spare track run for the use of either styrene or PE parts to replicate the holders; the PE holders have the added bonus of allowing the holders to be shown empty.
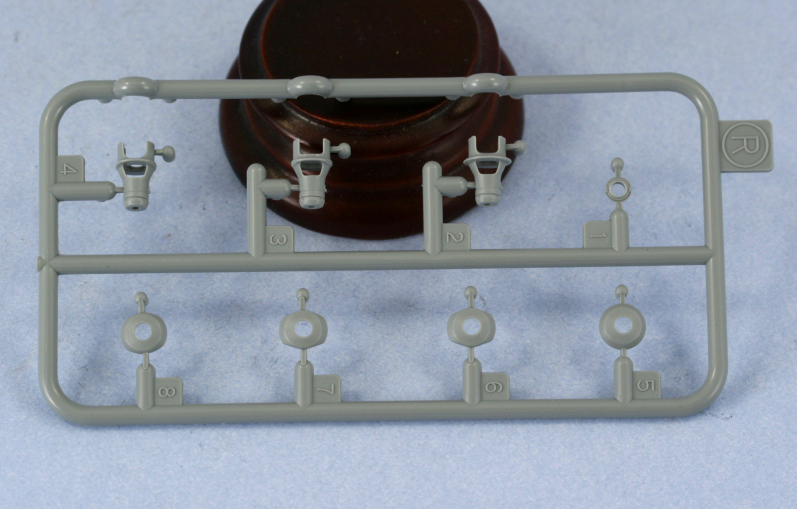
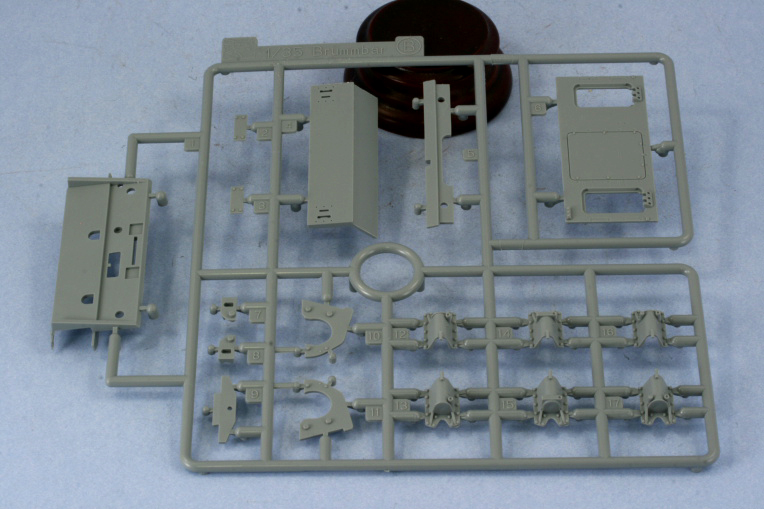
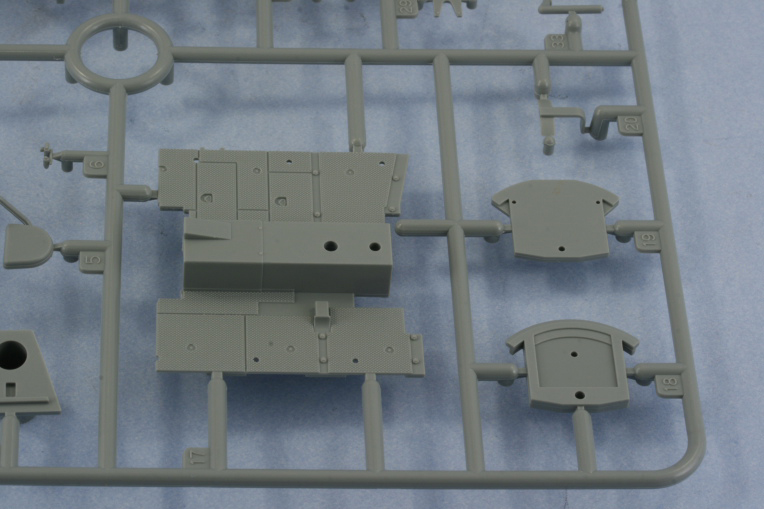
Hull and Fenders: StuG IVs were built on Pzkpfw IV Ausf H hulls from December 1943 until June 1944 when production shifted over to Ausf J hulls, and this provides the first sent of fences around the possible dates for this kit. One of the features found on the J (the removal of the auxiliary turret traverse motor from the rear hull) was instituted from the beginning on the StuG IVs due to the lack of a turret. DML has accurately captured this in the rear hull plate design, and provides a small square armored plug plate for where the auxiliary exhaust would exit the rear hull. The engine deck rear plate also includes mount holes that must be drilled out to take the three spare track links commonly found there, and provides mount hooks for the tow cables. The braided wire provided for the tow hooks is made of steel and as a result is very stiff. The mount hooks often prove too weak to handle the tension in the steel wire, and you may find that replacing the wire with copper or string or using brass rod to replace the hooks provides a better option. The length of the tow cable in the instructions is called out as 150mm but this includes the styrene towing eye ends as well, so be sure to include those in your length calculations, otherwise the tow cables will not fit properly in the space provided. PE inserts are provided for the rear engine deck plate to allow for the cooling slats to be posed in either the open or closed position.
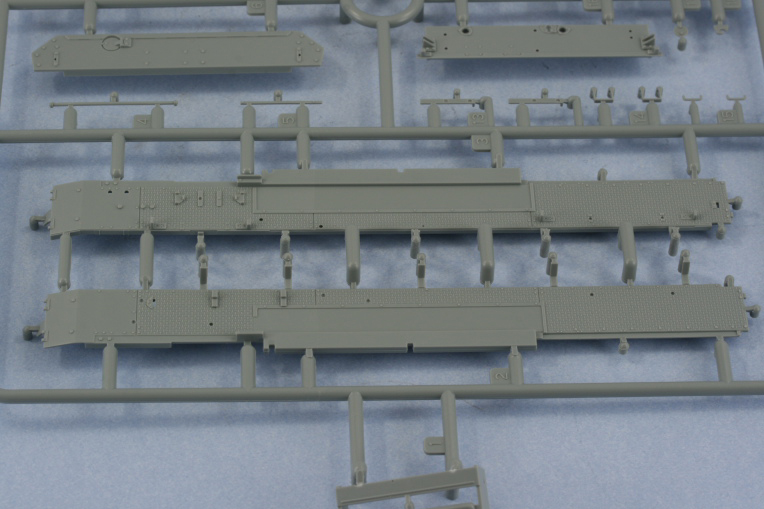
The fenders are provided on a StuG IV-labeled sprue and feature the rearranged tool layout necessary to accommodate the casemate superstructure. The fenders are molded with excellent tread plate and bolt detail on both their upper and lower surfaces, and have some of the mount brackets molded in-place. The kit also provides the option for alternate portions on the front fenders that extends the tread plate pattern and alters the curve/shape of the portion above the hinged mud flap, but fitting this option requires some major surgery to remove the matching portion on the fender itself. Consult your references to see if this is necessary for the vehicle you wish to build. No locator marks are provided on the fenders for lining up the
Schürzen mount hooks, so it is recommended that you hold off installing those until the upper mounts are in place on the casemate to insure proper alignment. An option is provided for the rear blackout light as either the earlier Notek style or the later tubular Bosch style light, but since this is an early production vehicle, the Notek type would be the one most commonly seen.
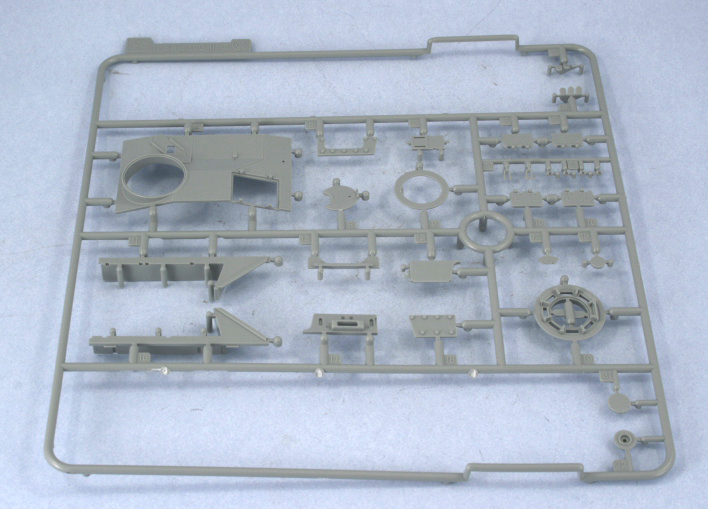
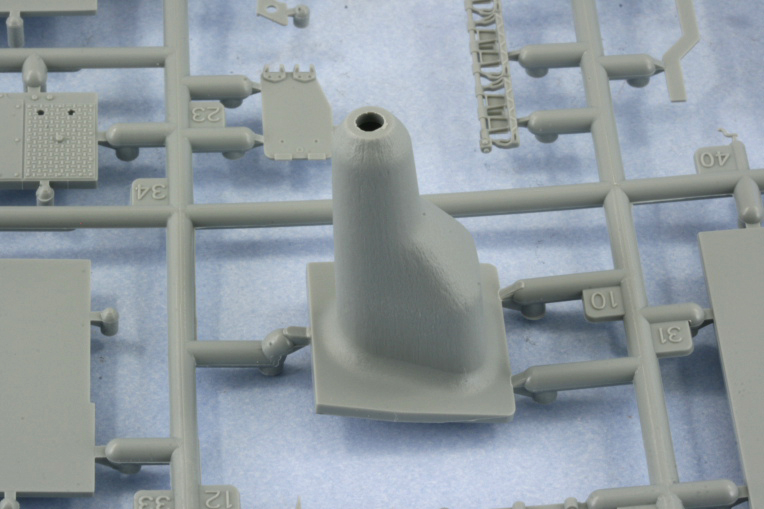
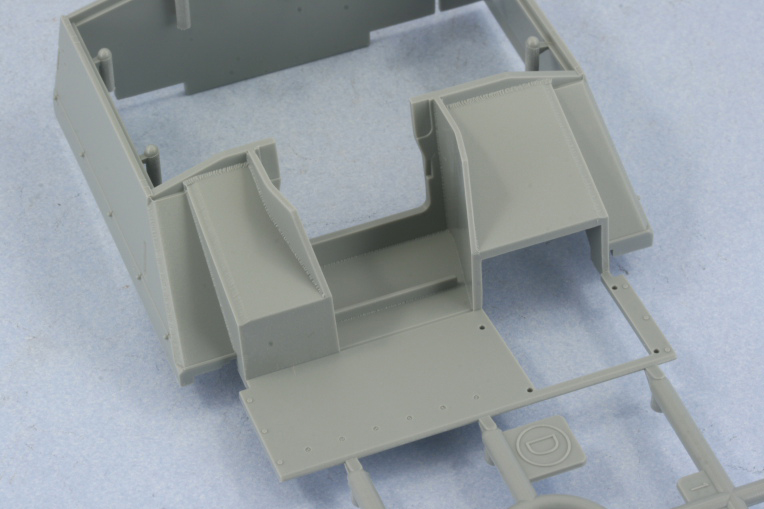
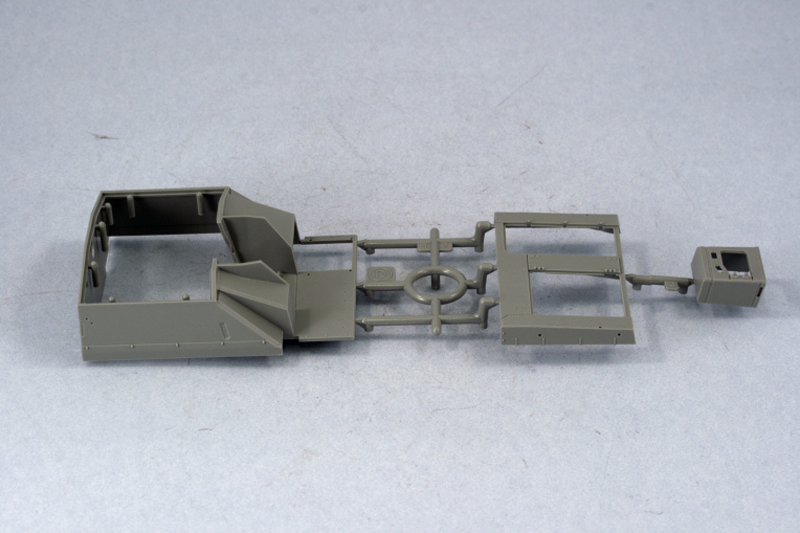
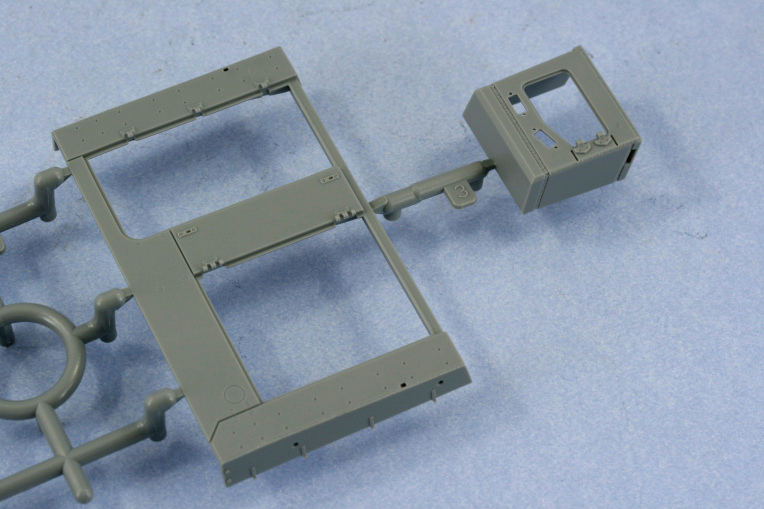
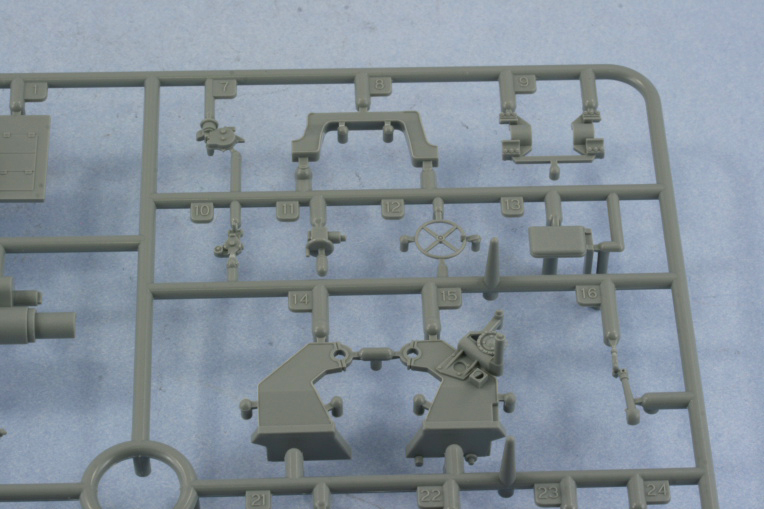
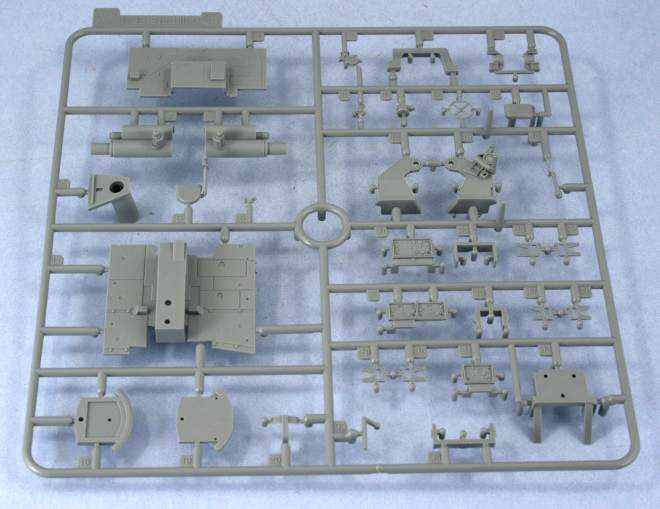
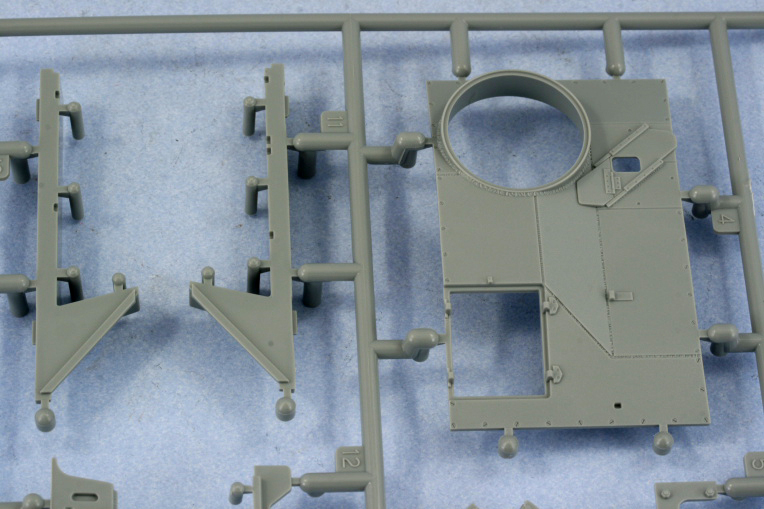
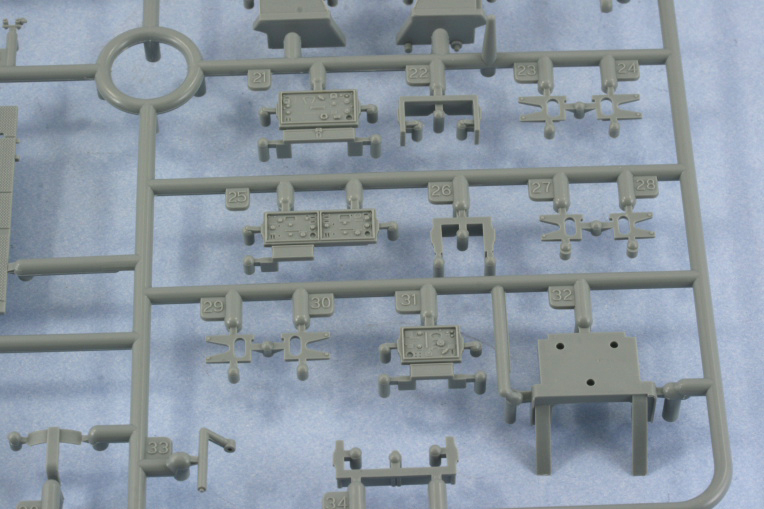
Casemate and Interior: The casemate for the StuG IV was essentially the same as that on the StuG III G, and DML has reused many of the appropriate parts particularly for the 7.5cm StuK 40 and interior details. The casemate itself, with the exception of the roof which comes from the StuG III G kit, is a newly-tooled part, and has the signature extension plate required due to the longer Pz IV chassis integrated in with it as one piece. The exterior features excellent molded weld detail, including both raised and sunk bolt detail on the extension plate. The option is also provided to mount the two C-hook holders to either the extension plate or the fender, and the holder itself is available as either a styrene or PE part depending on your preference. Check your references as the C-hook holders moved around quite a bit before being replaced with S-hooks in June 1944, and the instructions arent very clear, with one option being shown in Step 12, but the other option not shown until Step 14. The right side front armor features the pre-June 1944 style of add-on bolted 30mm plate vs. the single welded integrated 80mm plate seen on later vehicles.
The drivers box compartment extension is provided as a separate piece, and also features some very nice weld detail. Clear styrene periscopes are provided for the driver, and the hatch has excellent detailing on its inner surfaces should you choose to pose it open, however no additional detail is provided for the drivers area itself (or the hull interior for that matter). An option is provided to add the angled rain guard for the slanted casemate surface above the drivers periscopes, but this wasnt ordered to be fitted until June 1944, and therefore isnt accurate for this early production vehicle. Options for the casemate exterior also include parts for mounting the 6-link spare track rods, either with or without the links in-place in the holders, a nice detailing touch. The spare wheel holder that mounts to the left side also includes a PE bottom insert since the Pz IV design mounted directly to the fender, but the StuG IV design is raised.
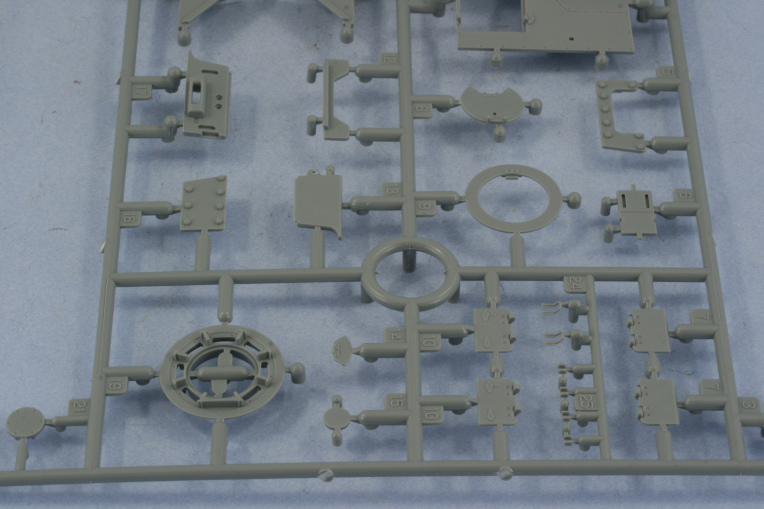
The roof of the casemate comes from previous StuG III G sprues, and features the forward opening arrangement of the loaders hatches and MG34 mount and splinter shield fitted until April 1944 when the remote MG34
Rundumfeurer (lit: firing all around) rotating station and side opening hatches replaced it, adding a further date fence to the possible range for this kit. The roof features very nice, accurate sunken slotted screw- and weld-detail around the commanders cupola and at the angled plate joins. The loaders roof hatches can be posed open with the option of having the MG34 in-place with the raised splinter shield (held up on the real vehicle by a small hook on the front hatch), or closed with the MG34 stowed and the splinter shield lying flat on the roof. The commanders hatch has excellent detail on the interior and can also be posed open, and the cupola includes clear styrene periscopes as well for added detail.
The interior of the casemate also includes quite a bit of detail in the form of the radio and communications gear for both sides, the rear fume extraction fan, and very impressive detailing on the gun breech. The interior side inserts do require major surgery to remove most of their bottom portion in order to fit properly to the Pz IV hull, so care will be required to avoid damaging the detail that remains. The gun breech detail includes a clear styrene gunners sight, as well as detail parts for the seat and elevation/traverse gears, but the recoil guard is missing the spent shell catcher canvas basket commonly fitted. The casemate rear wall also doesnt include any additional details, such as crew MP40s and ammunition or other gear.
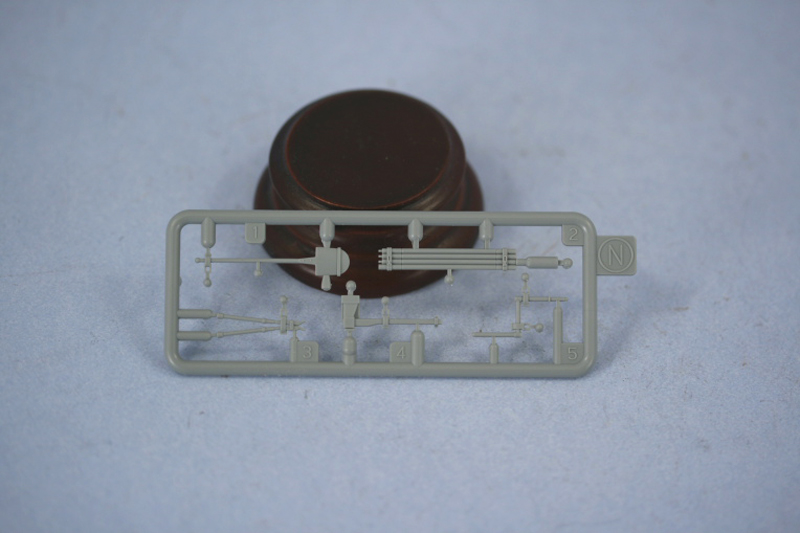
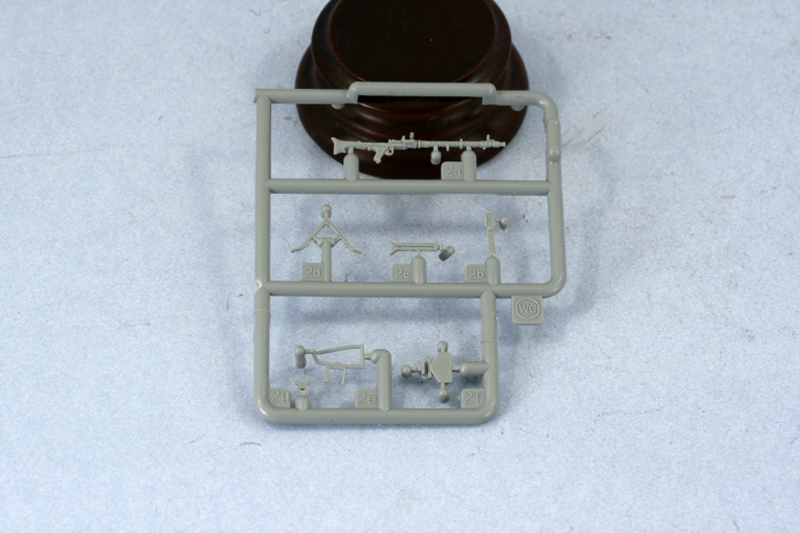
Main Gun: The 7.5cm main gun includes a one-piece barrel that has a very slight seam and two attachment points that will need to be cleaned up. The muzzle brake is slide molded and consists of three separate parts with options for different styles of brake provided, however full disk flanges werent seen on brakes until after May 1944. This means that only the R1-R4-R8 combination would be accurate for this particular kit. There are other muzzle brake combination parts on the R sprue marked as not for use, so be careful to choose the right parts at this step to avoid confusion. The cast
Topfblende (pot mantlet) or
Saukopf (pigs head) mantlet is also provided as one piece and has some superbly-rendered casting detail molded into it.
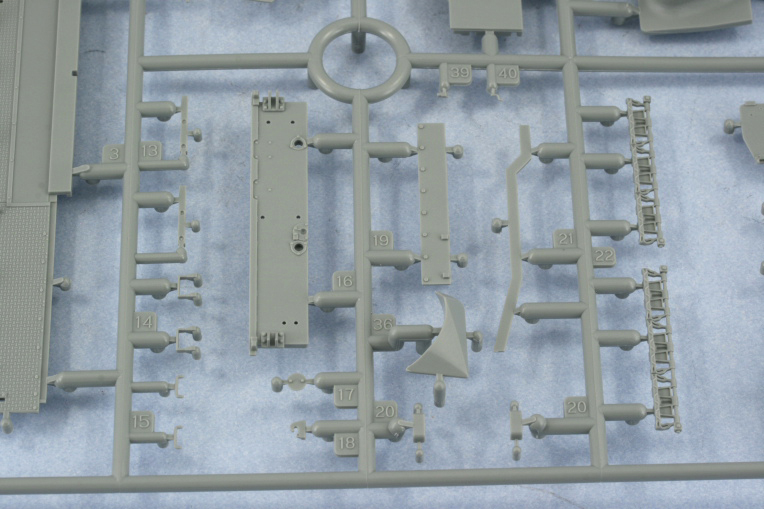
Schürzen: The kit provides some excellently-detailed
Schürzen rails that include fine bolt detail on the triangular teeth where they attach to the rail, detail that is visible from both the front and back. While the rails themselves are a standard feature on all StuG IVs, many crews opted not to mount the
Schürzen plates due to tendency for them to snag or get damaged/lost in tight quarters. Its a nice touch by DML to provide detail that would be seen with and without the plates mounted. The mount rails are one piece with separate one-piece styrene arms that attach directly to the casemate and rear hull sides. Some bolt detail on the casemate sides needs to be removed to allow them to attach properly, and DML strangely chose to mold the bolts over the locator placement guides when they could have presumably just not molded the bolts in the first place. This removal is probably best done before fitting the casemate to the hull for easy access, but the DML instructions dont indicate this is needed until the final step of the instructions. The triangular style of
Schürzen mount wasnt introduced on the StuG III G until March of 1944, so this feature narrows down the production range of this particular kit considerably.
The
Schürzen plates themselves are nicely rendered in scale-thin photo-etched nickel, and also have etched locator lines for easy mounting on the styrene brackets. The use of styrene brackets means that CA is likely your only option due to the strength needed for that type of bond, and the weight/stress that will be placed on the brackets once the plates are mounted. The styrene brackets also feature the correct gap/spacing to allow for the plates to angle inward for standard tracks, or hang vertically for the wider
Ostketten tracks. Separate PE inner plates are provided for the upper plate portions (also in PE nickel), and my fret developed a slightly concave aspect due to the way it was taped to the Dragon card, but this shouldnt pose a problem once the plates are removed and dealt-with individually. Thirty-two (32) bolt heads are provided molded-on the M sprue to replicate the 12 inner and 12 outer bolts that joined the plates together, leaving 8 extras in case they are needed. The bolt heads will need to be removed with a sharp hobby knife or razor blade, then glued in place with CA to the metal plates, but will make for an excellent detail in the process.
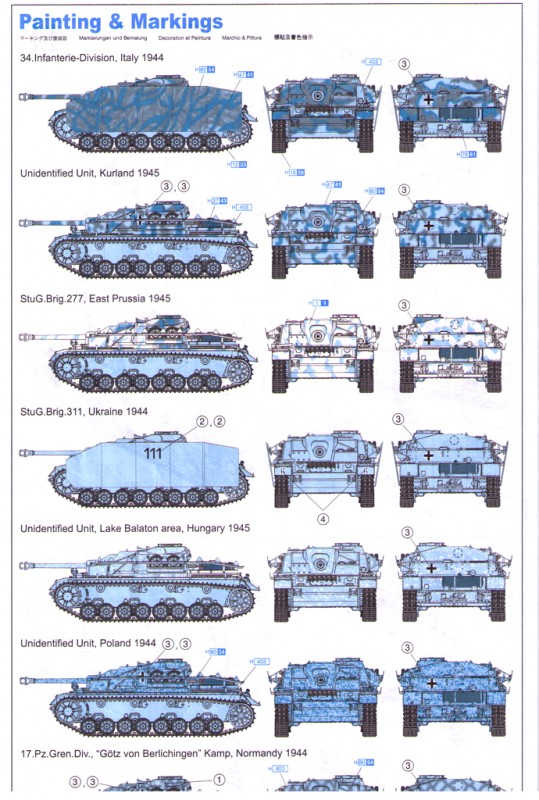
Instructions and Finishing Guide: The kit instructions follow the standard DML mode of fold-out black and white exploded diagrams and sub-diagrams, and consists of 15 steps for full assembly. The decal markings are minimal and printed by Cartograf, and are clear and in-register. The Painting and Markings guide provides for the following possibilities:
34 Infanterie Division, Italy 1944 in three-tone
Unidentified Unit, Kurland 1945 in three-tone
StuG. Brig. 277, East Prussia 1945 in winter whitewash
StuG. Brig. 311, Ukraine 1944 in overall
Dunkelgelb
Unidentified Unit, Lake Balaton area, Hungary 1945 in faded winter whitewash
Unidentified Unit, Poland 1944 overall
Dunkelgelb with
Olivgrün-speckled pattern
17 Pz.Gren.Div. Götz von Berlichingen Kamp, Normandy 1944
Dunkelgelb with
Olivgrün stripes
Conclusion
While the early production designation would seem to indicate that the kit can be built as a vehicle produced anytime between December 1943-April 1944, thats not quite the case. The presence of the triangular-style of
Schürzen mount as the only option eliminates vehicles produced before March 1944, meaning that this particular kits production timeframe window narrows significantly to vehicles produced in the 1-2 months from March-April 1944. With that in mind, the kit does include all the necessary options and choices to build an accurate StuG IV from that period of time, and the quality is clearly superior vs. the older kits available from DML and other manufacturers in a head-to-head comparison. There are no major accuracy issues, provided you keep your references handy to choose the appropriate options the kit includes. Some modifications to kit parts will be required due to the differences between the StuG III G and the StuG IV chassis, and if the
Schürzen are fitted, the builder will need to be comfortable working with multi-media to achieve full assembly. For a truly accurate vehicle,
Zimmerit is a must, and that means additional time and effort for a hand-made application, or the additional effort and cost of an AM application.
References:
Sturmgeschütz & Its Variants by Walter Spielberger, Schiffer, ISBN 0887403980
Panzer Tracts No. 18 by Jentz and Doyle, ISBN 189284804-X
Stug III-IV At War by Trojca and Munch, ISBN 8360041180
Sturmgeschütz III Ausf G Walk Around by Tom Cockle, Osprey, ISBN 0897474341
A
Build Log has been started on the Forums to evaluate the kit construction.


Comments