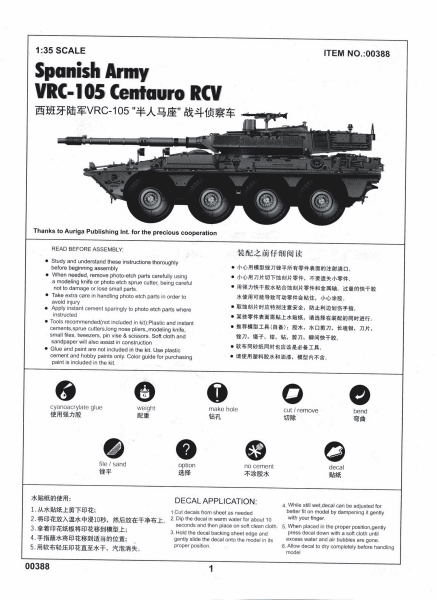
Introduction
In the late 80s, the Italian Ministry of Defense was looking for a replacement for their aging M-47 medium tanks. In 1987, the consortium of Fiat-Iveco-Oto Melara debuted the prototype of an eight wheeled armored car. Two years later the M.O.D adopted the vehicle and ordered 400 of them, which had been named the Centauro.
The Centauros eight big tires are powered by a turbocharged diesel V6 engine that develops over 500 horsepower. This gives the big armored car a top speed of approximately 65 mph (105 kph) on the road. Of the eight wheels, the front six are powered, and the fourth axel can be if the driver needs it. The steering is done with the front two axels, but at slow speeds the driver can engage the fourth axel to assist in the steering. The tires themselves are the run-flat type which can still be driven on, even if hit by bullets or shrapnel.
The main armament is an Italian manufactured 105mm gun with a rifled barrel, which fires standard NATO ammunition. The gun is mounted in a tank like turret. Secondary armament is three 7.62mm machine guns, one of which is coaxial. The Centauro is manned by a crew of four.
The Centauro began its service life with the Italian army in 1992. Over time there have been a number of improvements to the original design. During the 90s, the consortium offered the vehicle to several foreign armies. While there have been a few countries who have expressed interest, the one which has actually made a purchase is Spain. In 1999 the Spanish army signed a contract to buy 22 of the most recent version of the Centauro, with another 62 of the vehicles ordered in 2002. The VRC-105 Centauro incorporates all of the improvements and some things which are only characteristic of the Spanish army.
The main differences that are noticeable on the Spanish version include spaced armor plates attached to the underside of the front hull, the many attachment points on the hull for additional locally manufactured armor. There are MG ammunition boxes attached to the turret on the rear sides. Also, the Spanish Centauros mounted the older 76mm Wegmann smoke launchers as opposed to the more modern 80mm Galix found on the Italian vehicles. The towing pintle has also been strengthened. There are a few more differences which are not as easily seen. I will touch on these as I reach them in the review.
kit contents
The first thing that got my attention when I opened the package was the very nicely done box art. Its a direct copy of a photo of a Spanish Centauro on parade. After opening the box and examining the sprues, I have to say Trumpeter has come a long way from their early days. My initial impression is wow
it appears they have done their homework on this kit! According to my measurements the length and width of the main hull is dead on.
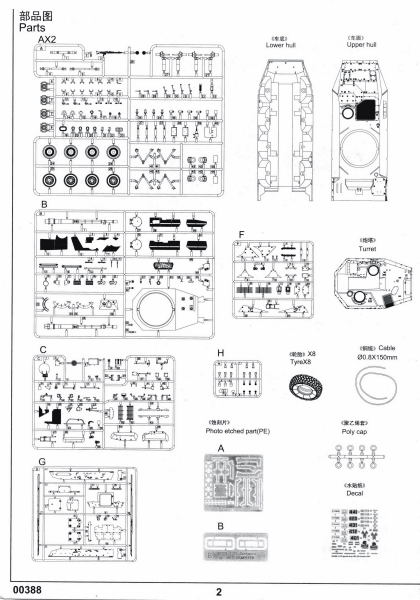
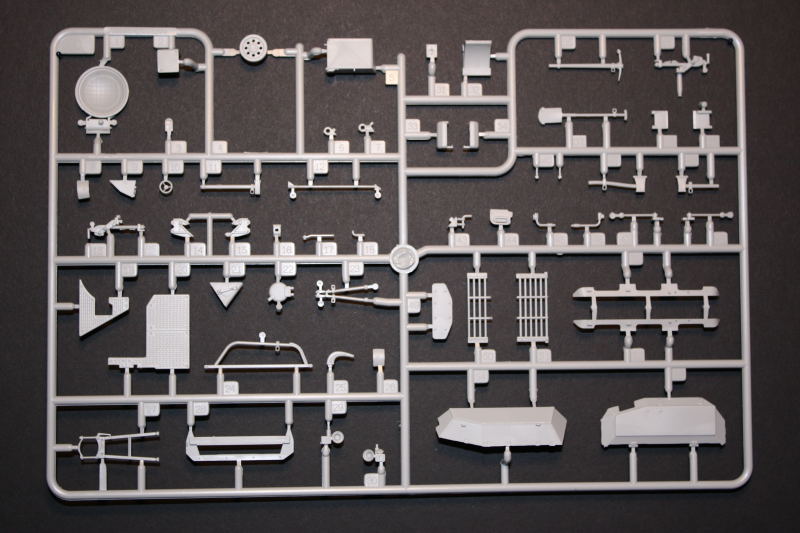
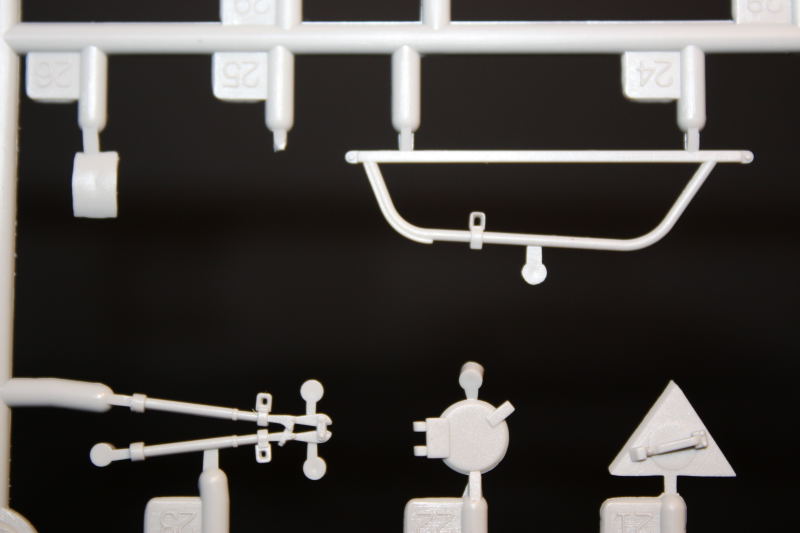
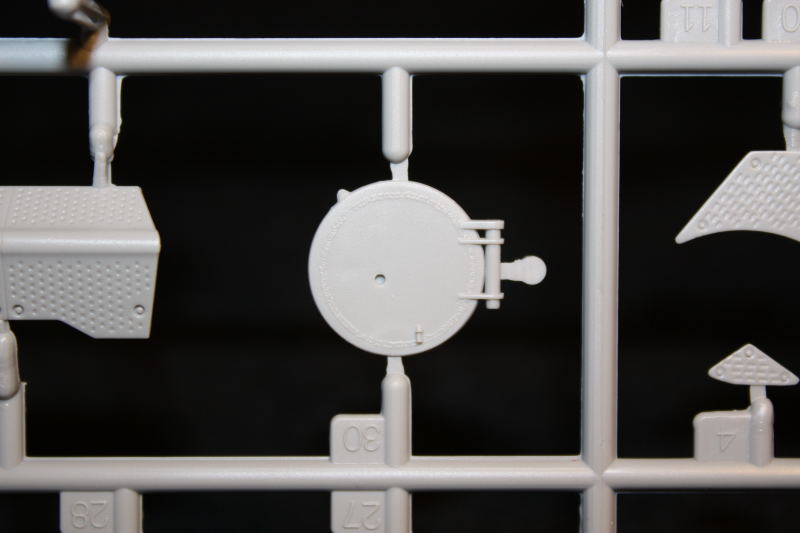
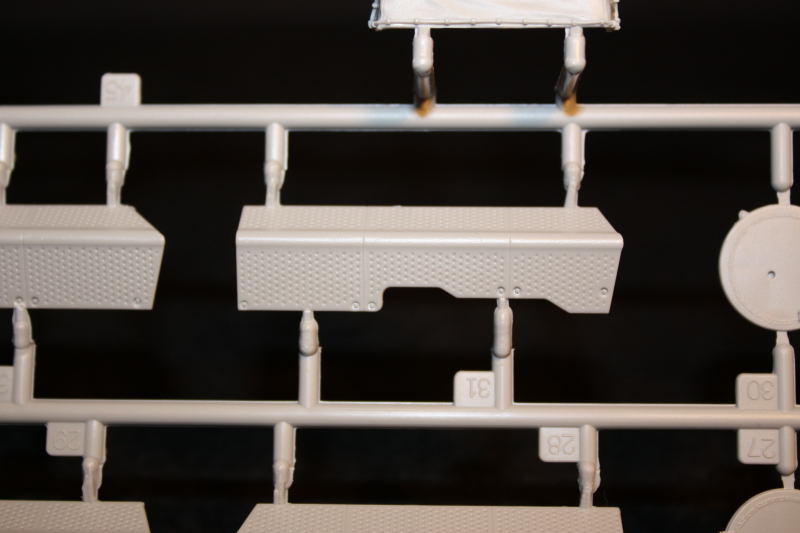
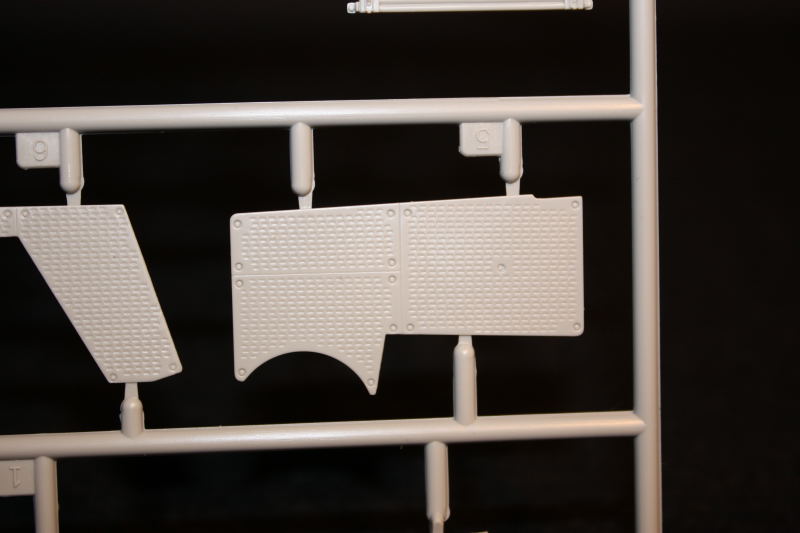
The detail looks good and sharp. As far as I can tell there are no pin marks anywhere that will be seen once the kit is built up, thanks to the use of many small knockout nodes. Ill say right here, there is no interior detail at all. I know this will be a disappointment for some, but theres always the scratch route. All the parts in my kit are cleanly cast with no warping and only a tiny amount of flash here and there. Inside the box you will find:
Six sprues of light gray styrene parts
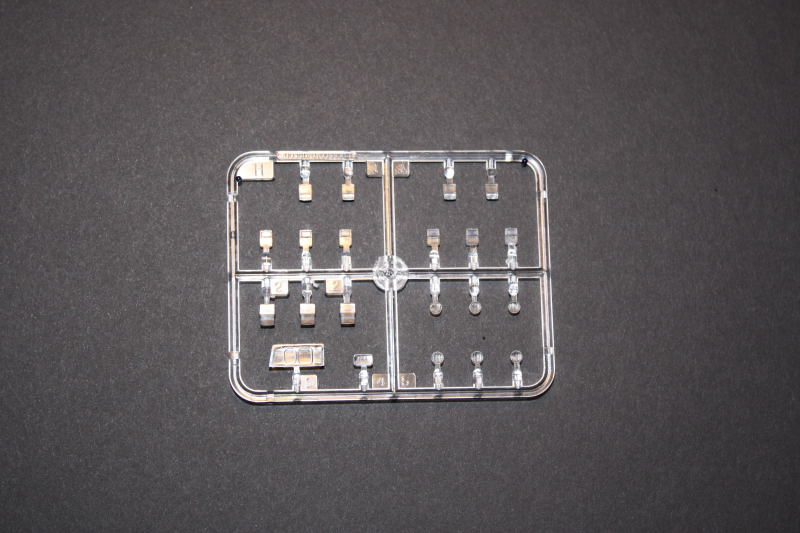
One small sprue of clear parts
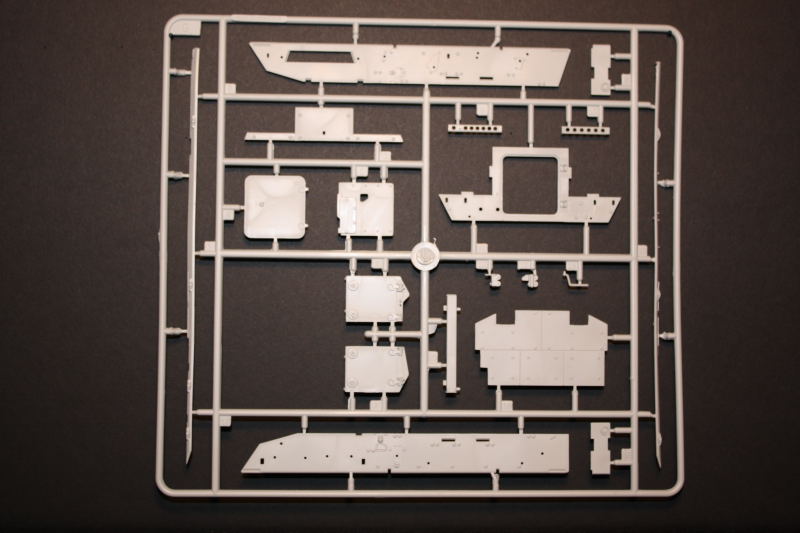
A one piece lower hull
A large upper hull piece
A one piece upper turret shell
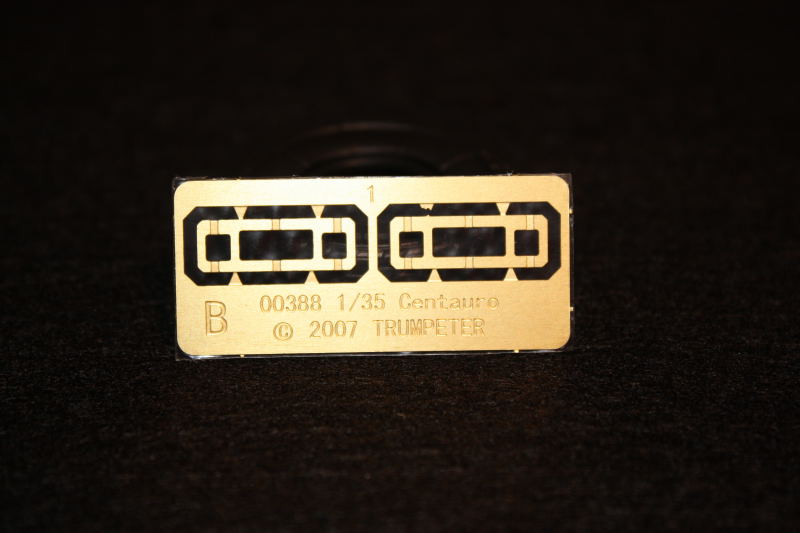
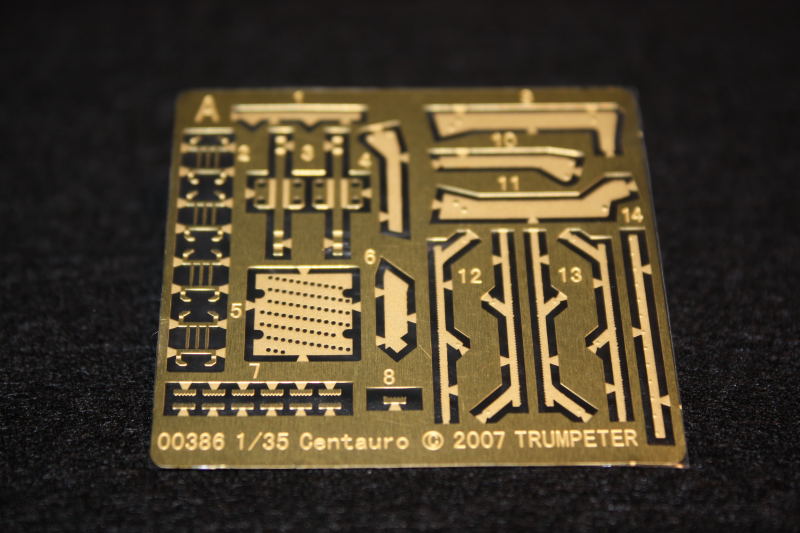
Two small photo-etch frets
A short length of copper tow cable
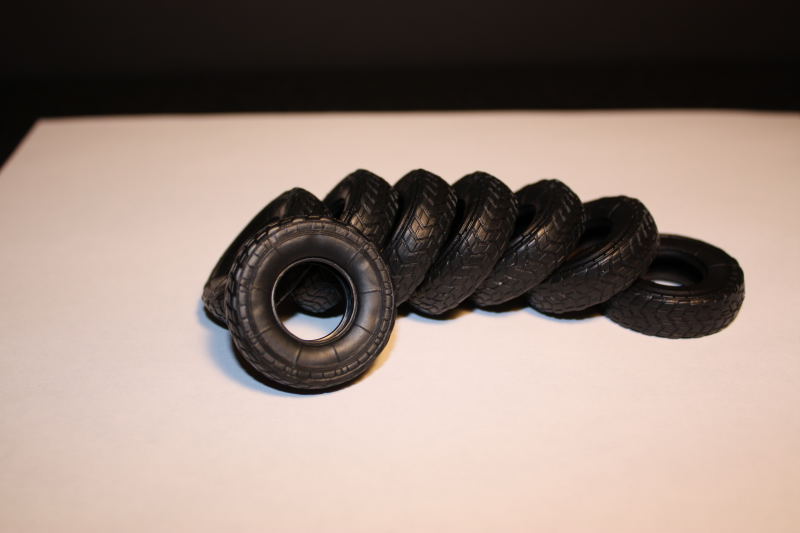
Eight vinyl tires
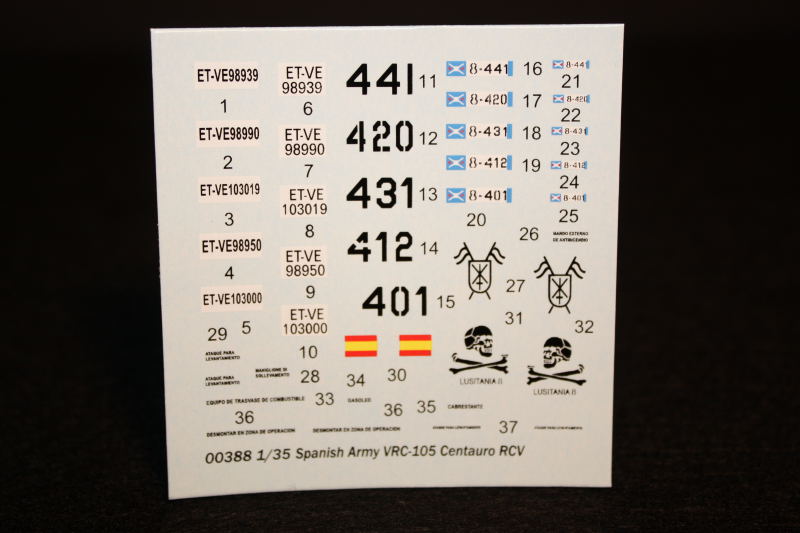
One small sheet of decals
A 16 page instruction booklet
A one page color painting and marking sheet
411 total styrene parts
The decals provided with the kit are clear and in register. I have not used Trumpeter decals before, but they appear to be on thin film so they should lay down well. Markings are included for five different vehicles from the ACL-8 Lusitania regiment, which is part of the Spanish armys rapid reaction forces. There has already been at least one online discussion about correct placement of the decals. If I can find out more I will post it in the discussion thread about this review.
review
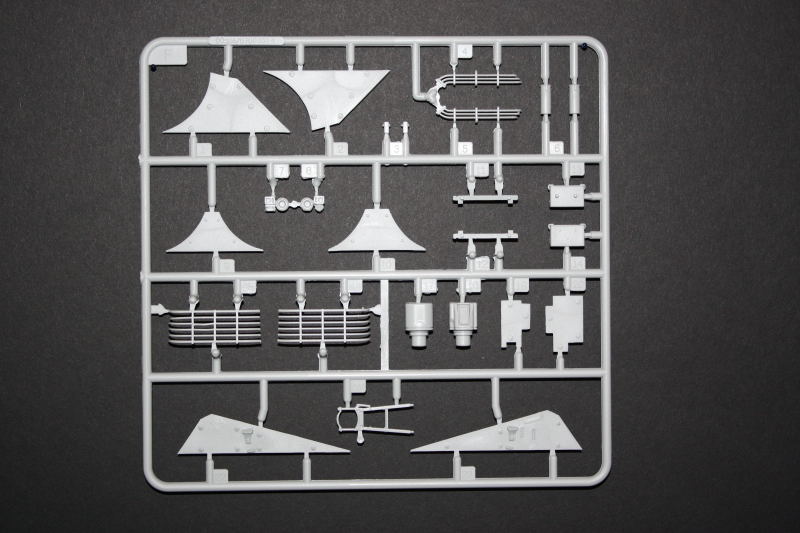
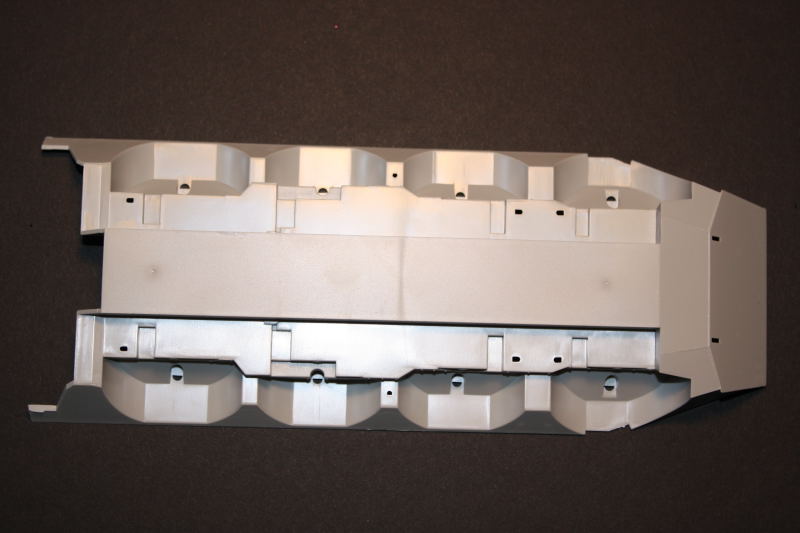
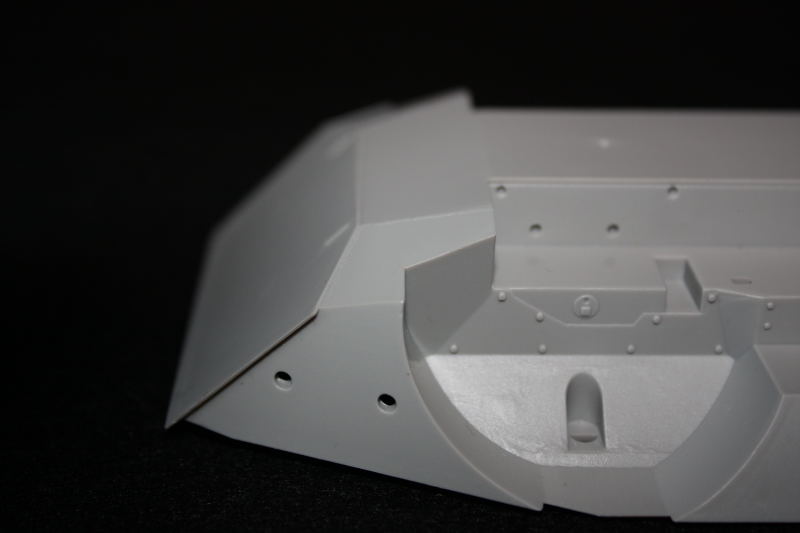
Lower Hull & Suspension:Starting at the bottom, the lower hull is molded as one large piece. The wheel wells are molded in, and there is some bolt detail molded on which is nice and crisp. Where the front lower hull plate is attached there are some subtle weld lines. There is spaced armor which is fitted to the lower front hull, included as a separate piece. The detail looks good, and it also appears in scale. The rear hull plate is made up of 16 separate parts including the door, battery boxes, taillights, towing pintle, and a couple of other small pieces. When assembled it should look good.
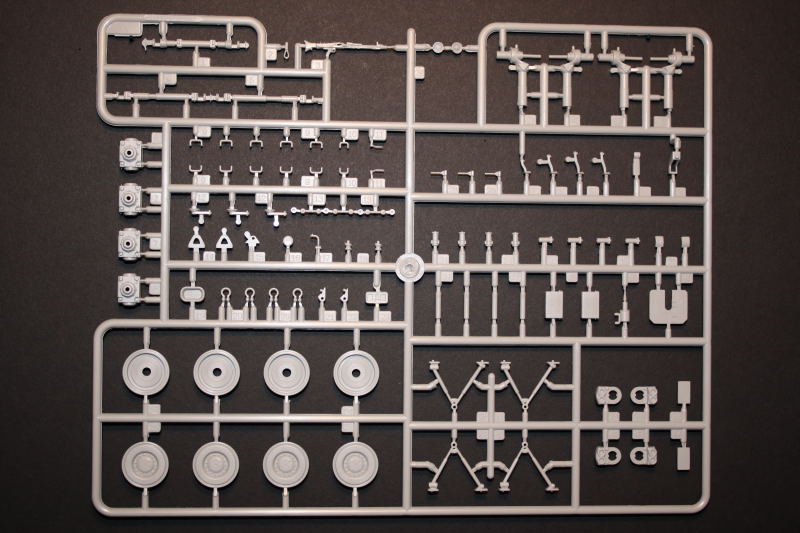
Moving on to the suspension, looking through both of the reference books I have and all the photos on the web, Ive been able to find only one picture of the suspension, and that being only a partial view. Using that photo as a guide, I would say Trumpeter has done a nice job of showing the detail in that area. All the suspension components are molded separately, including the wheel mounts, wishbone struts, and steering arms. The wheels are not made to be steerable, but with a little work I think you could do so.
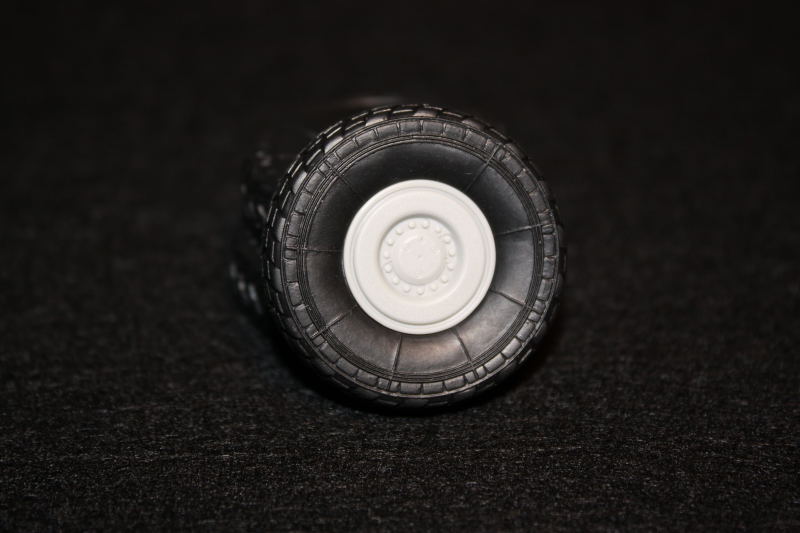
The wheels are made up of two halves with a poly cap trapped between them. Comparing them to photos I have, they appear accurate and the bolt detail is well done. Once assembled, you just slip the vinyl tires over the wheels. Though I know some wont like the material used for the tires, I have no problem with it. The tread pattern is accurate, and the side walls look good as well. I have seen a small amount of pictures of VRC-105s showing an alternate tread pattern, but the included tires match up to the majority of reference photos that Ive seen. As always, its advised to check references if depicting a certain vehicle. Im sure it wont be long until one of the aftermarket companies comes out with resin replacement wheels with alternate tread patterns for those who may want them.
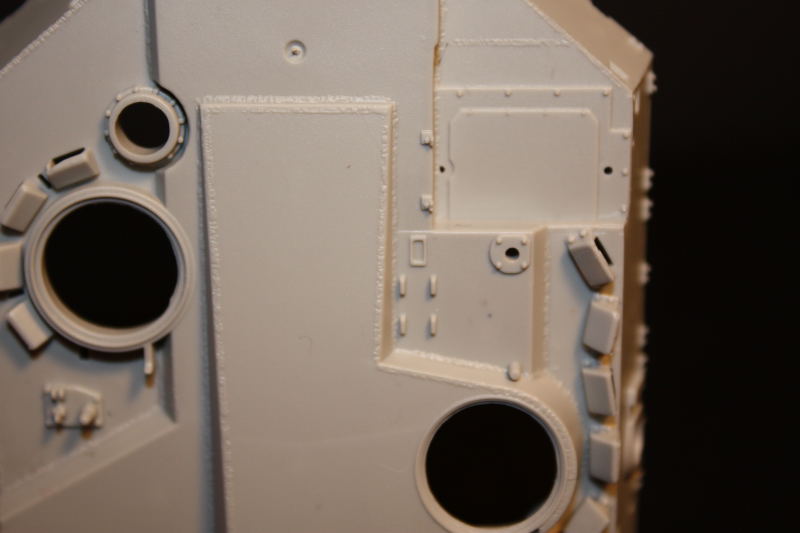
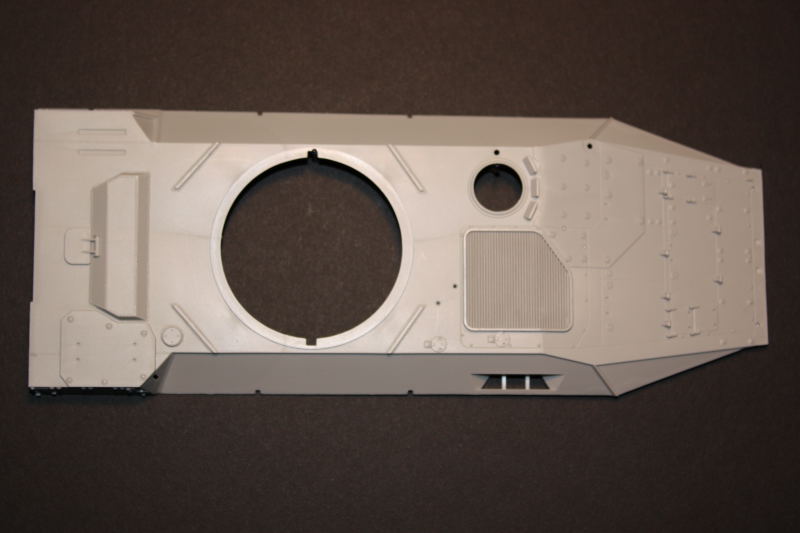
Upper Hull: The main upper hull is made up of one large piece with four smaller panels that fit on the sides and front of the vehicle. I would guess the reason behind this is the difference between the Spanish VRC-105 and its Italian counterpart. When the Italian Centauro is released, Trumpeter can use the same large upper hull piece with different side panels.
Once the upper hull parts are assembled, there are many small detail parts that are added including most of the photo-etch. I will mention here, the instructions are very vague, at best, about the photo etch. They tell you to bend the pieces but not to what shape. This is where some good reference photos will really pay off, especially in the case of the mirror mounts and the steps on the sides of the hull. A small note on the mirrors themselves, when comparing them to pictures I have they are not quite correct. They are a little too thick from front to back, and the rubber bumper (for lack of a better term) around the outside of each frame is absent on the Trumpeter parts. You have three choices here:
1) Leave them as is, very few people will actually know.
2) Rework them, which really doesnt look to be too difficult. or
3) Most Centauros in the field have the mirrors removed, so you could just leave them off.
One other thing Trumpeter missed is the non-slip coating on the front of the hull. In truth, it is only found covering a small area, and in many pics is very hard to see. So that will be up to the individual modeler whether or not to add it.
The on vehicle tools have some of the best molded-on tool brackets Ive seen on any kit from any manufacturer. They are very delicately molded and should look great when painted up. The headlights and drivers periscopes are clear parts, and the drivers hatch has the pad on the underside of the hatch nicely molded on, even though you may not ever see it once the kit is built. The drivers hatch can be posed open, but with that big empty interior you might just want to build it buttoned up. Once the many detail pieces are added to the upper hull it should look quite impressive.
The last thing I will mention about the upper hull is the assembly sequence. The instructions would have you build the lower hull and suspension, then build the upper hull adding all the details, and only then assemble the upper and lower hulls. Looking closely at all the parts and having already assembled some of them, I would highly suggest you assemble the upper and lower hull pieces before adding the details. This not only makes adding the suspension and details easier, but it also facilitates fitting the rear hull plate on. Just look closely at the instructions, and be sure to open up the holes on the lower hull that you need to before gluing the two large parts together.
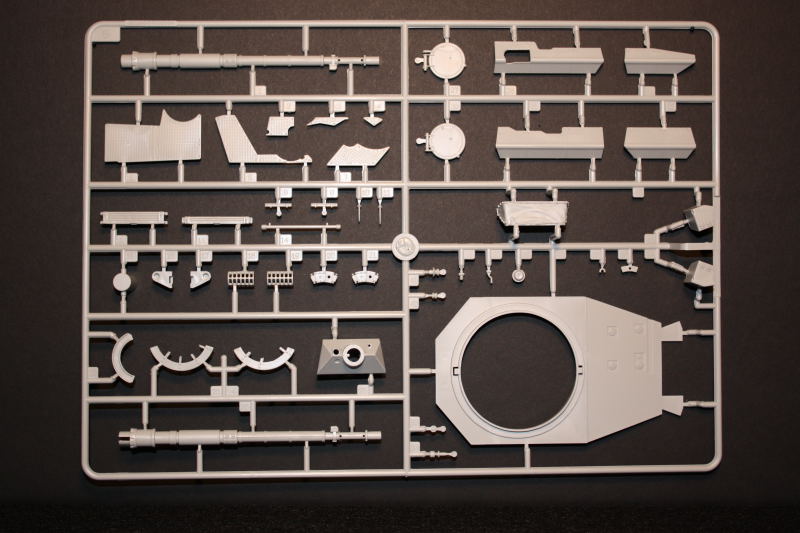
Turret: Moving on up to the turret, the main turret shell consists of a top and bottom piece. The upper piece has a lot of very fine detail molded on, including weld seams that are very well done. Before you can assemble the two large parts, there are quite a few holes that need to be opened up from the inside on the upper turret. You will also need to assemble the main gun mount and glue it to the lower part of the turret; this is designed to be moveable. The periscopes for the commander and gunner are molded in clear plastic, and if you have a good set of tweezers they can be added after you have assembled the upper and lower turret parts. The fit of the two large turret parts is very good.
Much like the upper hull, there are many details and spaced armor panels which are added to the exterior of the turret. The commanders and gunners hatches can be opened and closed, and both hatches have crisply done weld seams on them. Both the gunners target acquisition device and the commanders panoramic sight have clear pieces for the lenses. The spaced armor on the turret sides of the real vehicle is made of a lightweight composite material, which has a very distinctive texture and pattern on it. Trumpeter has done an excellent job capturing the look of this texture, and the same can be said for the spaced armor on the top of the turret. The commanders MG 42 mount is well done. The gun shield has beveled edges and detail on the front and back. It looks okay, although a PE piece would have been a nice inclusion in the kit. The MG 42 itself looks good as well, but the barrel will need to be drilled out. The bustle rack is made up from six parts and they are very delicate pieces, so take care when removing them from the sprue and cleaning them up.
The big 105 mm main gun on the Centauro is very busy looking; from the muzzle brake to the mantlet, Trumpeter has again done an admirable job. The mantlet looks very good, and once again, some very nice weld bead detail is molded on. The canvas dust cover that fits between the mantlet and the turret also looks good, with fabric folds molded in and some additional nice detail. Moving on to the gun itself, the barrel is molded in two halves. The thermal sleeve and the buckles that hold it in place are well represented. The muzzle brake itself is formed from the two large barrel halves, plus a PE part and two more styrene parts. You will have the seam where the barrel halves are assembled to deal with, but with patience and care the main gun should look excellent when assembled, as should the whole turret assembly.
Instructions:As I stated earlier, the instructions are in the form of a 16 page booklet containing a total of 19 assembly steps. The steps themselves are of the exploded diagram type, and for the most part they arent as confusing as some others, but they arent without problems. I already mentioned the hull assembly sequence and the photo-etch vagueness. In addition to these areas, when assembling the suspension pay close attention to the parts called out. Many of the parts look very similar, but they are made to fit in a particular place.
The following are a few mistakes I found while looking over the instructions and doing some assembly of the hull and suspension. The tow pintle on the lower rear plate is listed as part C44 but its actually part C43. When putting the rear panel parts together, parts G6 and G8 should go together and G7 and G18 should go together instead of the way the instructions would have you do it. When assembling parts A43 & A27, and A45 & A43, you are supposed to make four of each, with three going on each side, and one going on the opposite side. If you assemble all four of them the way the instructions show, the one that you use on the opposite side will have the brake caliper facing the wrong way. Build three of each assembly as instructed, and build one of each turning the brake assembly (A43) in the opposite direction. By doing this, all the brake calipers will face the same direction. There may be other errors, but I havent found any more at this time.
Conclusion
This is a model that I have been waiting for, for a while now. I would like to applaud Trumpeter for producing it and the hopefully soon to follow Italian version. While I have yet to find a kit that is perfect, this one is very nice. There is good detail throughout, good parts fit, and from what I can tell, pretty good accuracy as well. There are a couple of areas that I'm sure some people would like to see done differently. The vinyl tires come to mind and an interior would be very welcome, but hey, thats what the aftermarket guys are for. Bottom line, I think Trumpeter has done an excellent job on this kit, and I highly recommend it.
Online References:http://www.afvplanet.com/especial/centauro/index.html (nine pages of excellent pics)
http://www.primeportal.net/apc/oskar/vrcc-105_walk.htm (a smaller set of pics but still useful; the box art was taken from one of these shots)
Print ReferencesPhotofile Blindo Armata Centauro (late version) ISBN 88-88711-15-5, Auriga Publishing (small but good reference book of both the Italian and Spanish versions of the Centauro)
Tankmaster Special 02 Blindo Centauro AFV ISBN 88-86235-98-4, Corazzati Publishing.
White Thunder Centauro Inside Out ISBN 978-9953-0-1255-1, Bluesteel Publishing
The last two focus primarily on the Italian version, but they still offer many good close ups of different parts of the vehicle.
Mike has started a
Build Log on the forums to evaluate the kit construction.


Comments