LIONROAR [ MORE REVIEWS ] [ WEBSITE ] [ NEW STORIES ]

First Look Review
135
Zundapp KS750
WWII German Zundapp KS750 Motorcycle
  • CCI00129

by: Bill Plunk [ WBILL76 ]

Introduction
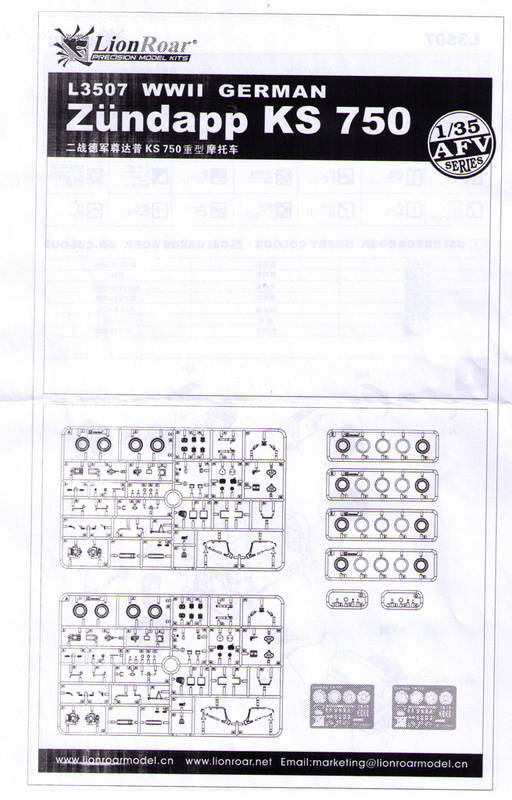
In anticipation of the upcoming release of 2 1/35 kits for the Zundapp, L3507 and L3508, this "pre-production" sample for L3507 has been made available with Lion Roar soliciting any tips/modifications/changes that need to be made to change/improve accuracy before final release. As a result, this is a "First Look" review with photos of all the kits contents and instructions provided for review/evaluation by the members here on Armorama.
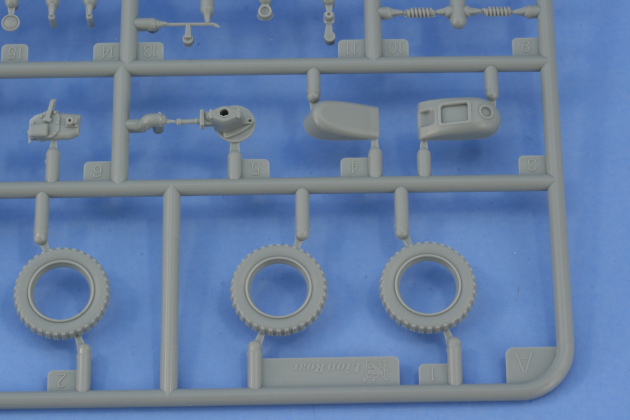
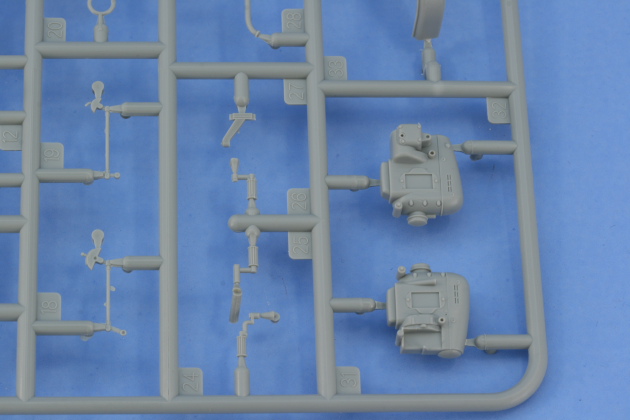
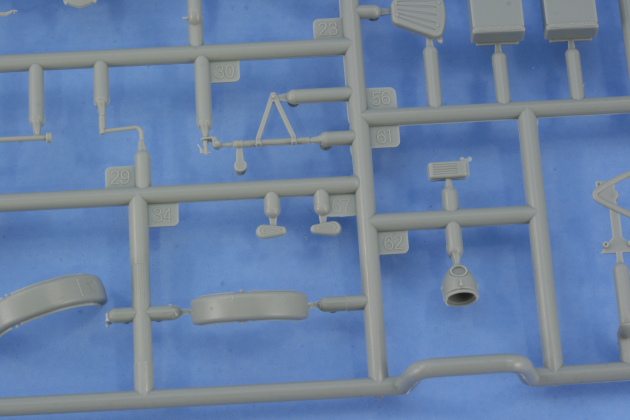
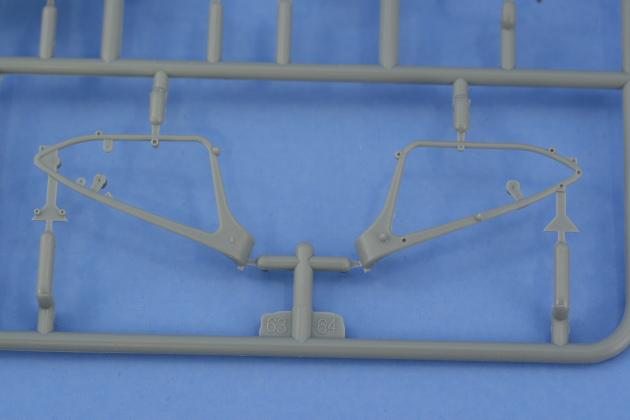
Sample Contents
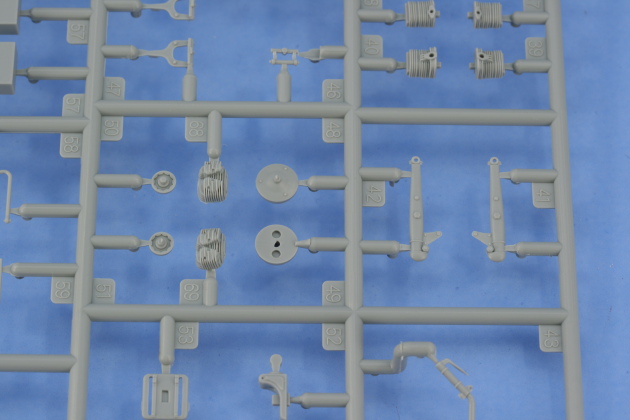
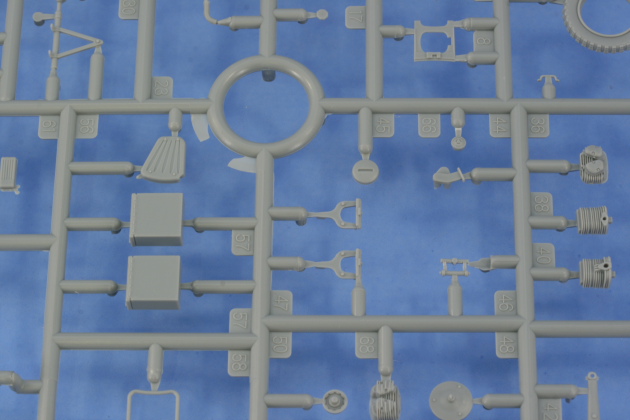
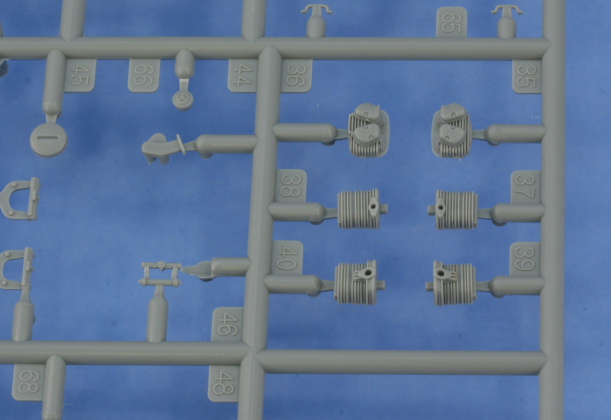
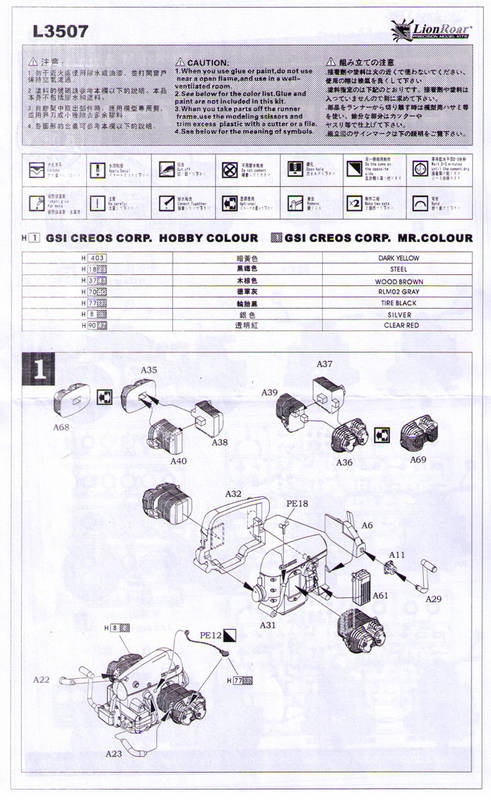
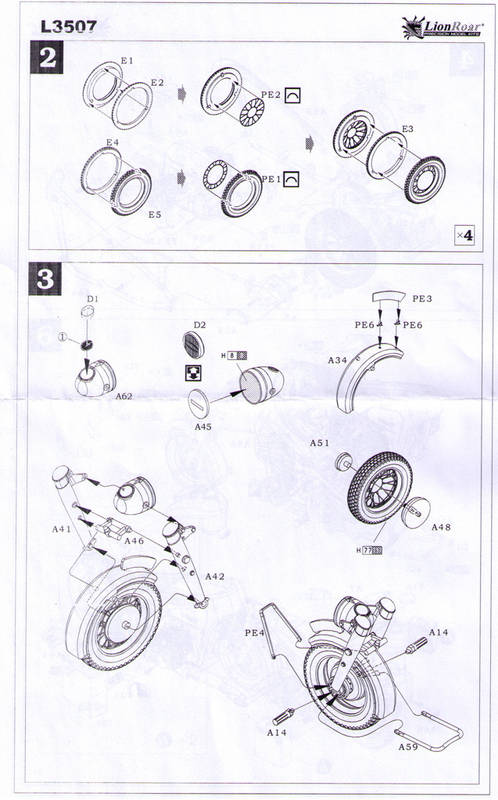
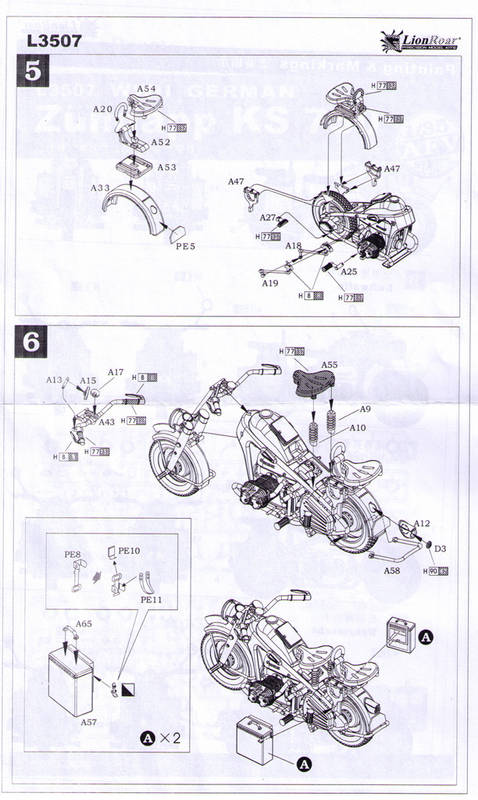
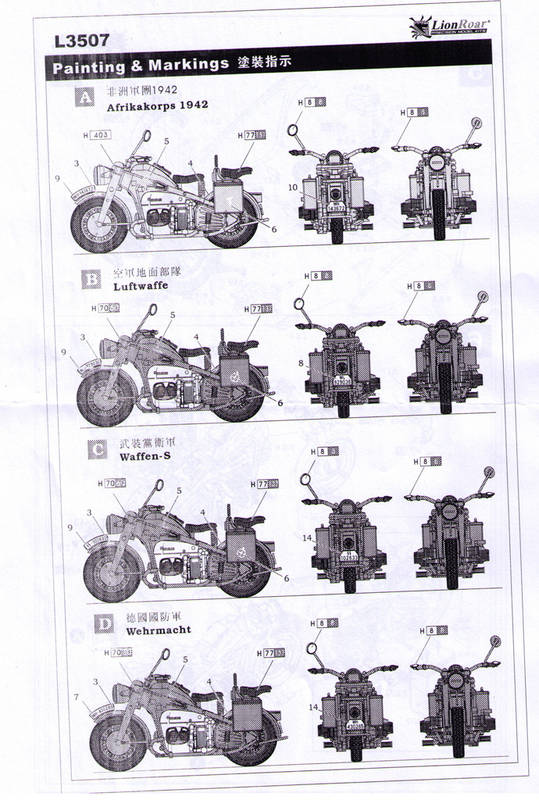
This particular sample contains 2 identical sprue A devoted to the motorcycle and body. Four additional sprues are provided that make up the "slices" of the road wheels for the motorcycle and sidecar. Two identical small sprues of clear parts are provided along with 2 small identical frets of PE. The 6-step instructions are photo-copies since this is a "pre-production" kit and are subject to change and no decals were provided in the sample to go with the markings and review set.

An OOB Build-Up will be posted via the forums to evaluate the assembly and instructions.
SUMMARY
Highs: N/A
Lows: N/A
Verdict: N/A
Percentage Rating
90%
  Scale: 1:35
  Mfg. ID: L3007
  Suggested Retail: N/A
  PUBLISHED: Sep 07, 2008
  NATIONALITY: Germany
NETWORK-WIDE AVERAGE RATINGS
  THIS REVIEWER: 88.80%
  MAKER/PUBLISHER: 89.17%

Photos
Click image to enlarge
  • DPP_0415
  • DPP_0414
  • DPP_0413
  • DPP_0422
  • DPP_0421
  • DPP_0420
  • DPP_0419
  • DPP_0418
  • DPP_0417
  • DPP_0416
About Bill Plunk (wbill76)
FROM: TEXAS, UNITED STATES

Like many, I started out in the hobby as a kid building airplanes to hang from my bedroom cieling. I took a long break from the hobby, returning in 2001 with an interest in armor inspired mostly by online gaming. WW2 armor, 1/35 scale, is my preferred genre with a special taste for the stranger vehi...

Copyright ©2021 text by Bill Plunk [ WBILL76 ]. All rights reserved.


Comments

After looking at the Jimmy's version and mine, I have no clarity on which is correct. I suspect that LR needs to look at this carefully and make sure the instructions are corrrect. I have gone back and forth looking at my build and his, and can't come to a definitive conclusion (though I still think my build comes closer to the real version).
SEP 19, 2008 - 04:16 AM
Hi Bill I've gone back and looked at your close up pictures of the models engine build. I can see clearly the cylinder heads are stuck on back to front. They should finish flush with the front of the barrels and the exhaust outlet. Yours are back slightly showing the flat top of the barrel part of the kit which would be covered completely by the cylinder head. If you look at the kit and the actual engine you'll see the finned area of the cylinder head where the exhaust valves would live etc. is slightly larger than the side which the inlet valve lives. The larger, although its not apparent it's that much bigger unless you study it, goes towards the front of the bike. I have to say it's something easily done and nothing to be ashamed or feel bad about. I'm sure I'll do many more c*ck ups in my builds. It all looks very nice. Thanks for the build you two. All the best. Alan
SEP 19, 2008 - 05:39 AM
I noticed that too, Alan, though at first glance I thought both heads were molded the same and the bolt pattern would be incorrect. Closer inspection does show that they're molded correctly, good eyes on that one Alan!
SEP 19, 2008 - 05:50 AM
if the suns out here tomoorow there will vbe some piccys for you, so far there have been no other errors, most have been on the instructions so far.
SEP 19, 2008 - 07:18 AM
Yes, it does appear then that the instructions are incorrect. Now, correcting this will be a bear and a half....
SEP 19, 2008 - 09:11 AM
Well what a week, i have had little time to progresss with any modells lately for the moment, im going to focus on the bike, here, wich has not much to go, but i apologise for being slow, college has reall piled the heat on! when the bike is done it will be back tot he bedford super detail!
SEP 28, 2008 - 04:07 AM
Jimmy, Have you been able to confirm if the LR kit contains sufficient parts to build 2 full bikes? When I was taking the pics of the sprues it seemed like that was the case but couldn't be sure. Now that you've got this one nearly built up, are there in fact 2 full bikes in this particular kit?
SEP 28, 2008 - 05:35 AM
there are certainly 2 kits in the pack Bill, and so far it is a brilliant build, 2 kits = Mega value!!
SEP 28, 2008 - 05:42 AM
Hey, wait a minute!! I only got ONE kit in my stash!!! Just kidding. I got the two stowage carts to tow behind. Am waiting on some DAK gruengelb paint to finish mine. And will need to scrape up some motorcycle license plate decals.
SEP 29, 2008 - 05:04 AM
   
ADVERTISEMENT


Photos
Click image to enlarge
  • CCI00129
  • CCI00130
  • CCI00131
  • CCI00133
  • CCI00134
  • CCI00135
ADVERTISEMENT