Introduction
In the early 1930s the German army commissioned several manufacturers to design a tank that could be used in combat against opposing armored vehicles; the Panzer III was that tank. Initially armed with a short barreled 3.7 cm main gun, and with armor only 14.5 mm thick at most, like so many other tanks that took part in World War 2 the Panzer III saw many modifications during its service life, and there were numerous versions of it built.
The subject of this new kit, the Panzer III Ausf.J was by far the most numerous of Pz. III versions manufactured. In an attempt to keep the Panzer divisions on equal terms when facing the Russian T-34s and KVs, the Pz III J had numerous upgrades and changes
some small, others not. Some of the more notable modifications were thicker armor, 50 mm, on the front vertical surfaces, a newly designed ball machinegun mantlet for the radio operators mg, and for late Js a long barreled 5cm L/60 tank gun, and spaced armor for the frontal surfaces. There were other small changes that were made here and there that I will hit on when I get to that part of the kit in the review.
The Kit
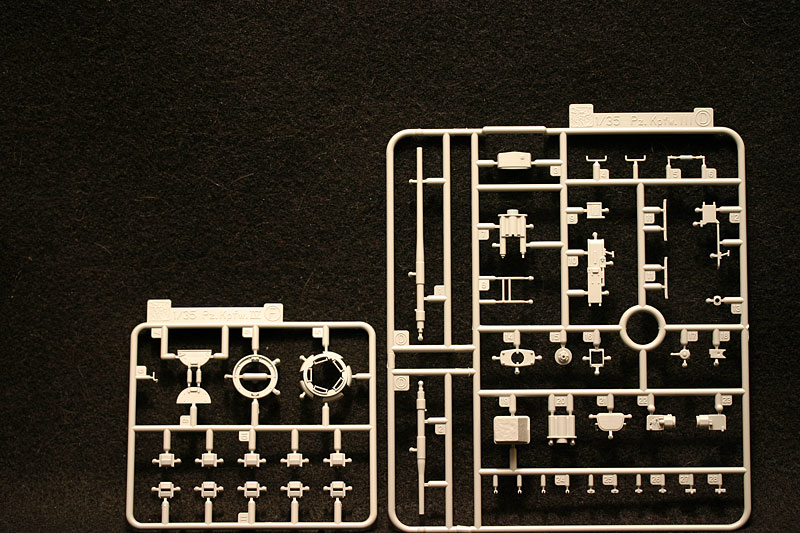
The first thing about this kit that grabbed me is the beautiful Ron Volstad box art. When I opened the box and began examining the sprues I was once again impressed with the quality of the molding. To put it simply, the level of detail molded into the parts is amazing. The parts in my kit are cleanly cast and thanks to Dragons use of small knockout nodes, the pin marks that are there shouldnt be visible once the model is assembled. Inside the box you will find:
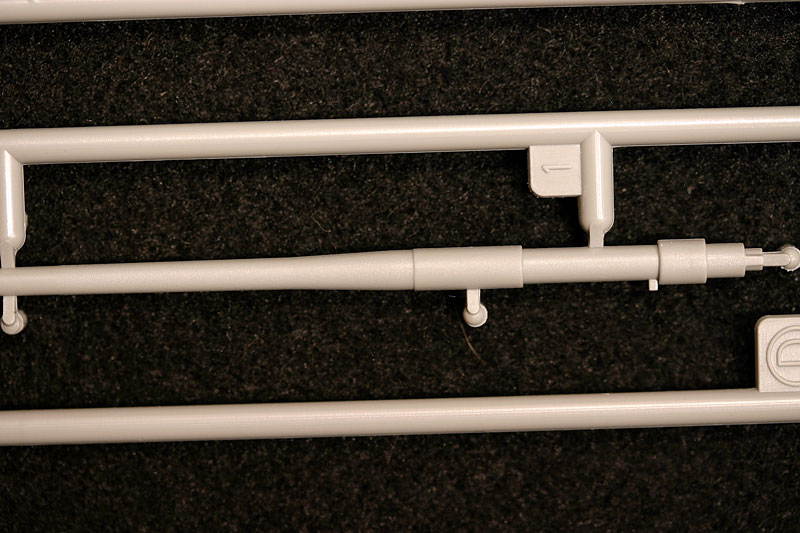
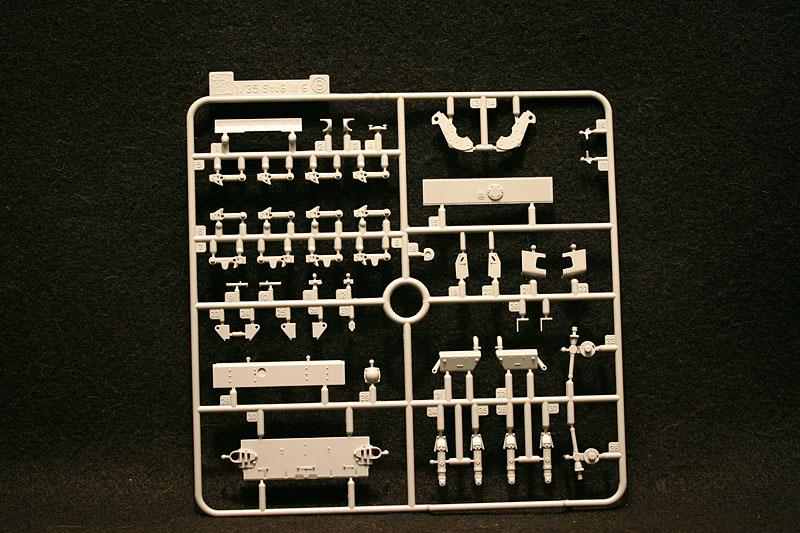
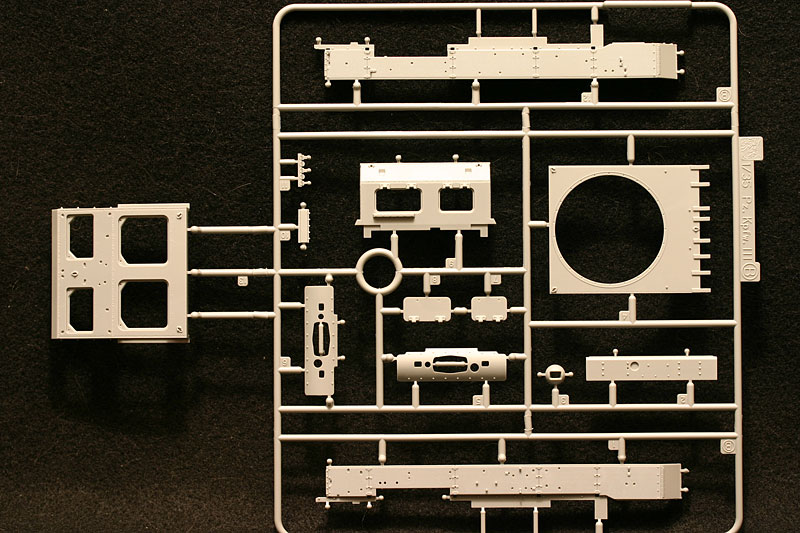
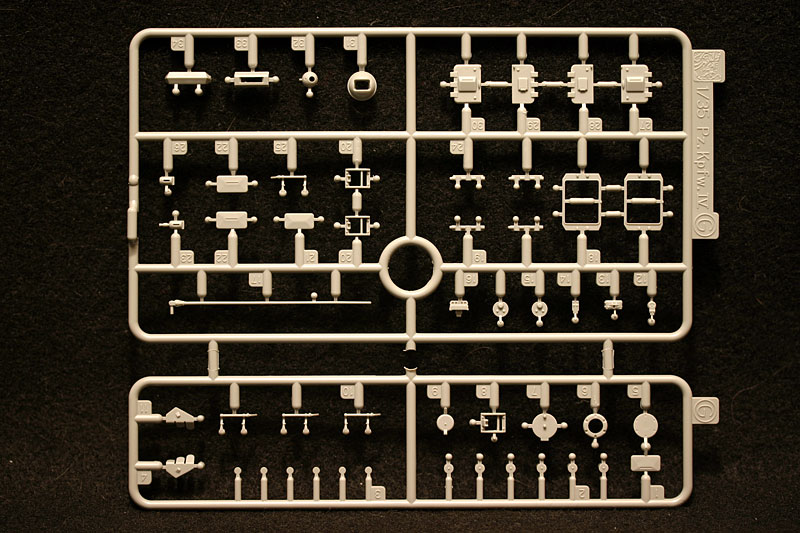
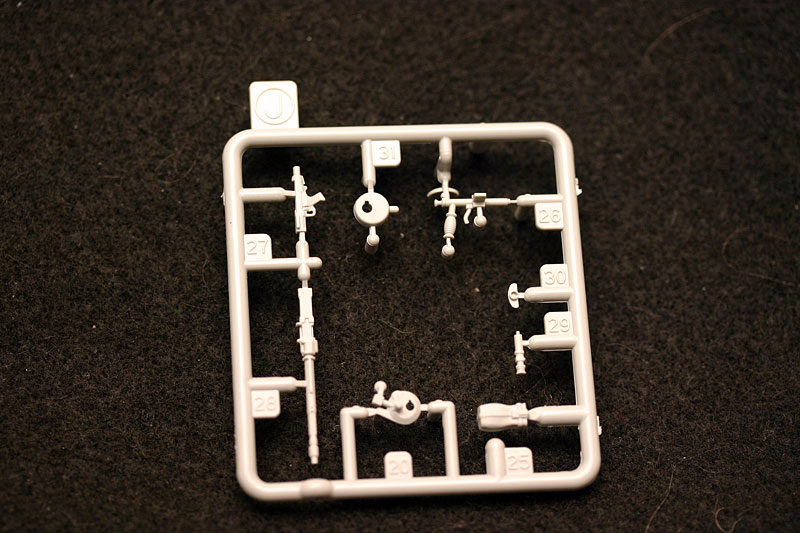
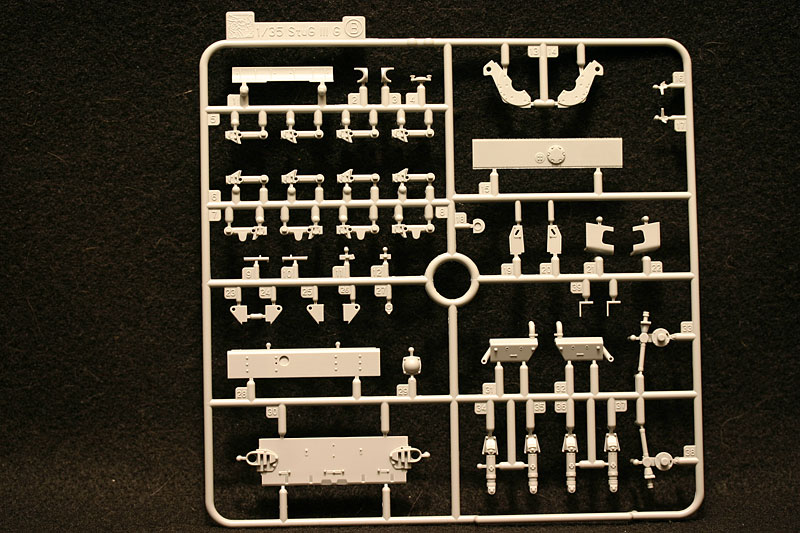
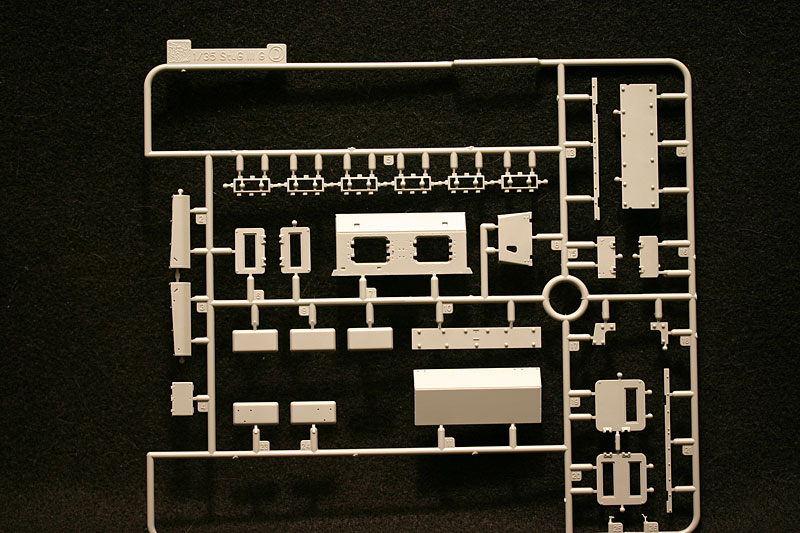
13 sprues made of light gray styrene
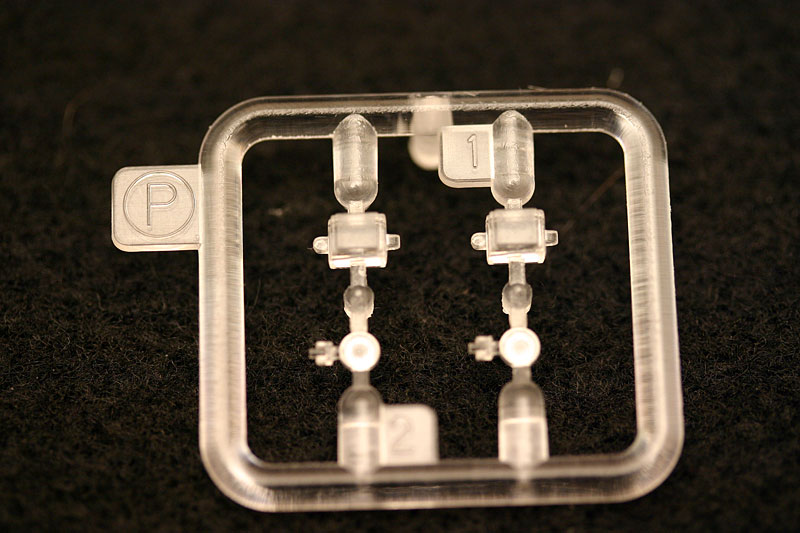
2 small sprues of clear styrene parts
a small bag which includes a part of the main gun
a one piece lower hull tub
2 small bags of Dragon Magic track individual links
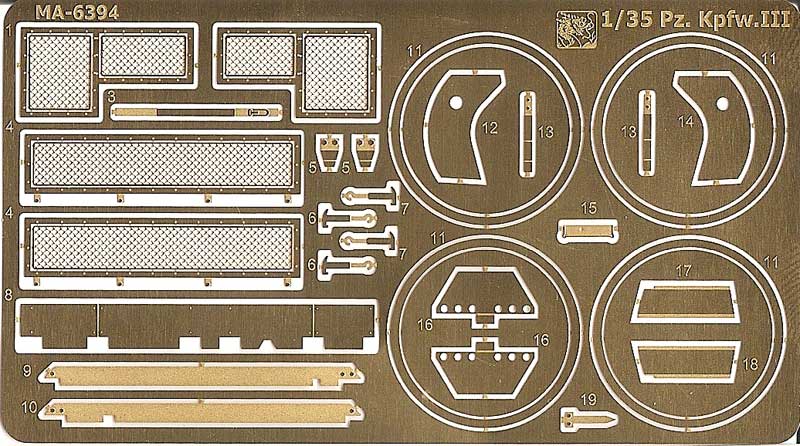
1 small photo etch fret
a small sheet of decals
a 10 page fold out instruction sheet
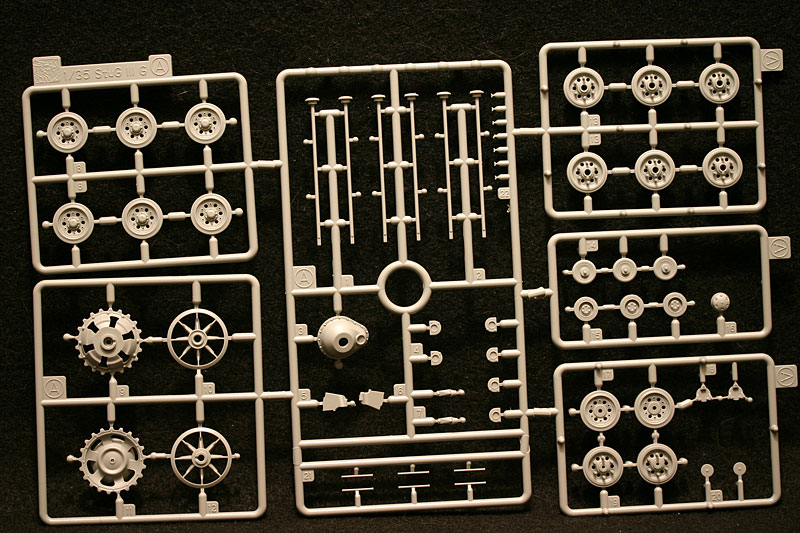
A few of the sprues and the Magic Tracks are from the recent StuG III release, and Dragon has also taken a couple from the recent Pz IV F2. The rest of the kit is totally newly tooled and borrows nothing from their previous Pz III releases.
Instructions
As noted above, the instructions are what we have become used to from Dragon in the form of a 10 page fold out sheet. It includes the parts layout, 23 build steps using exploded drawing type diagrams, and almost three full pages of marking and painting drawings. The assembly instructions can be quite confusing, especially when you get to the optional parts. Therefore, decide beforehand which version you want to build, and study the directions accordingly. While going over the kit and checking out the parts I found one error which I will point out when I reach that part of the review.
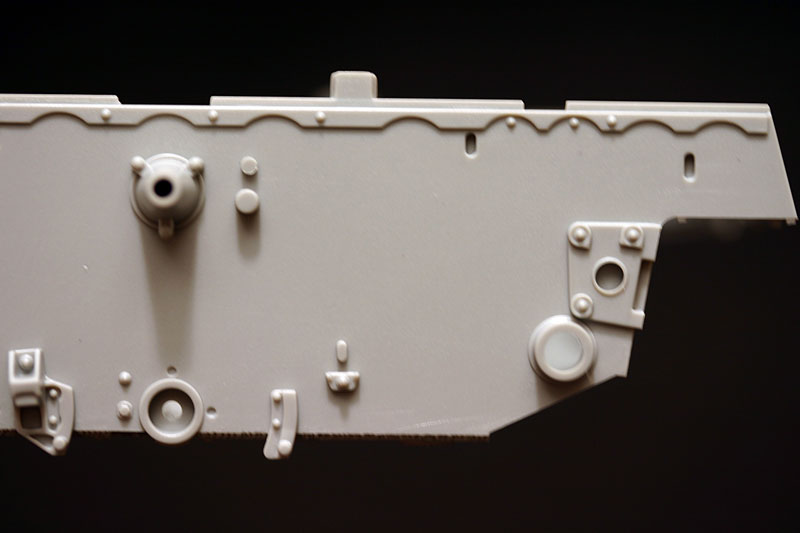
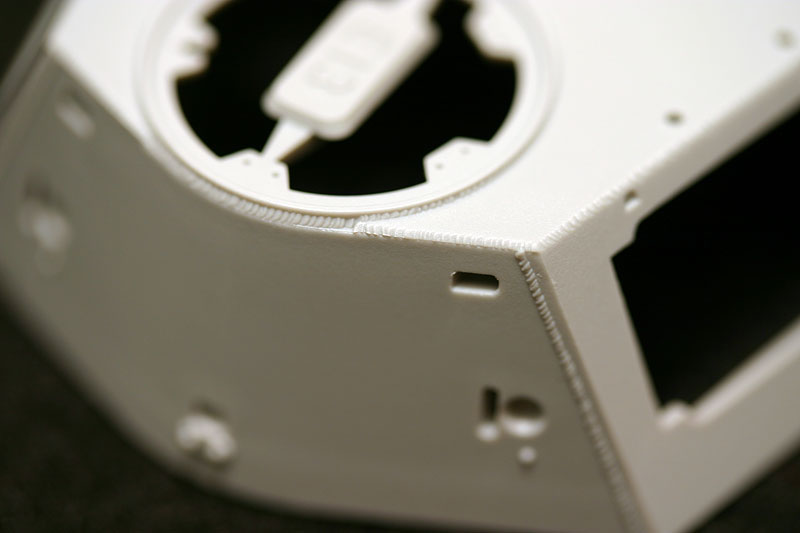
Lower Hull
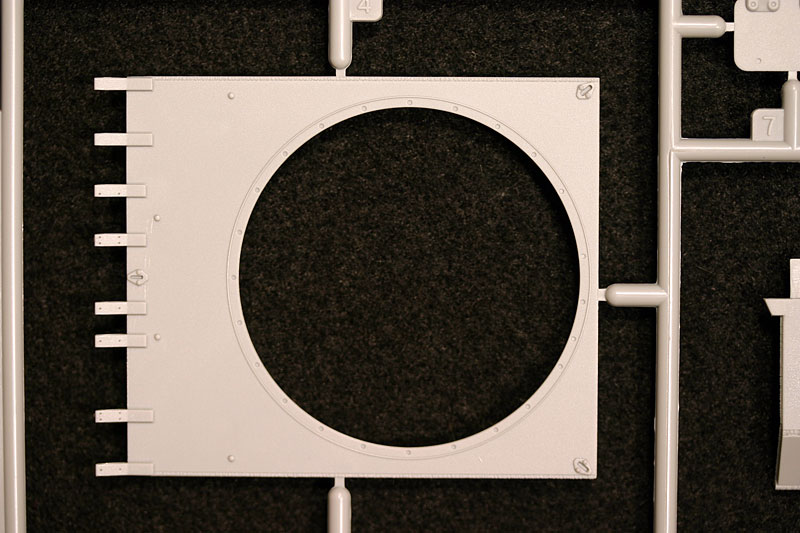
As mentioned above, the lower hull is molded in one piece. This part includes the bottom, sidewalls, and the part of the rear that extends out over the exhausts. Dimensionally, when comparing the lower hull to the 1/35th scale plans from Achtung Panzer No. 2 it is almost dead-on.
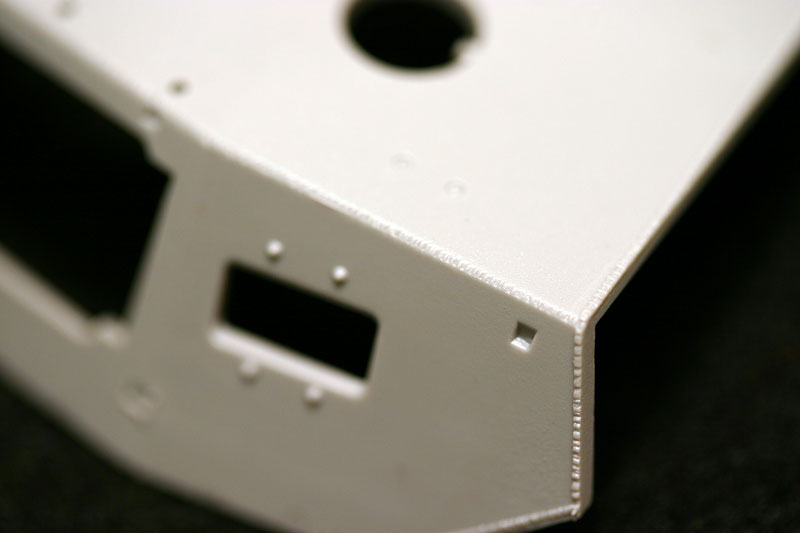
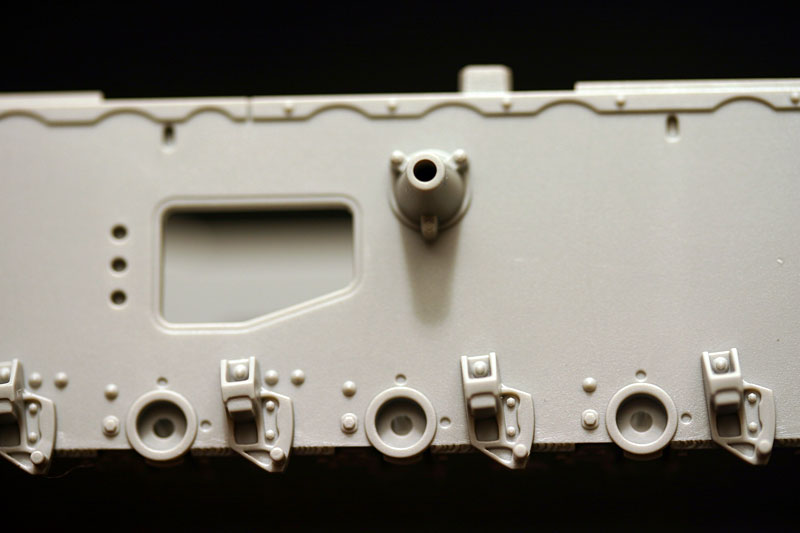
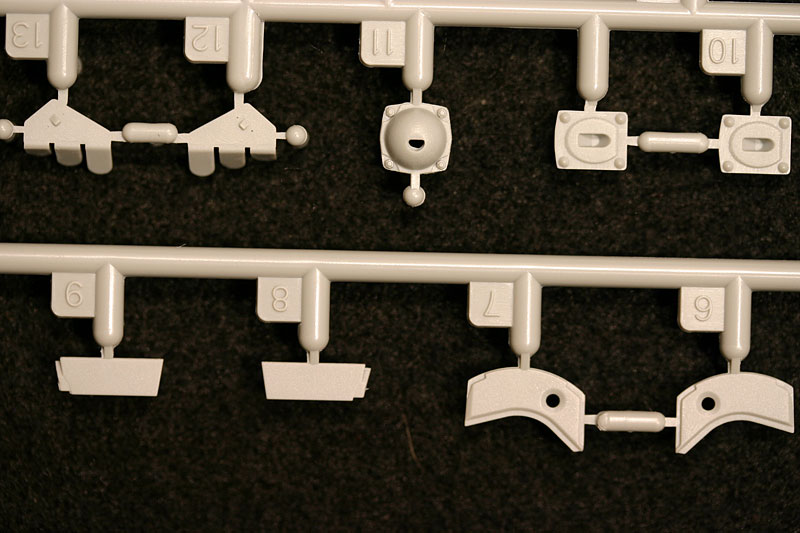
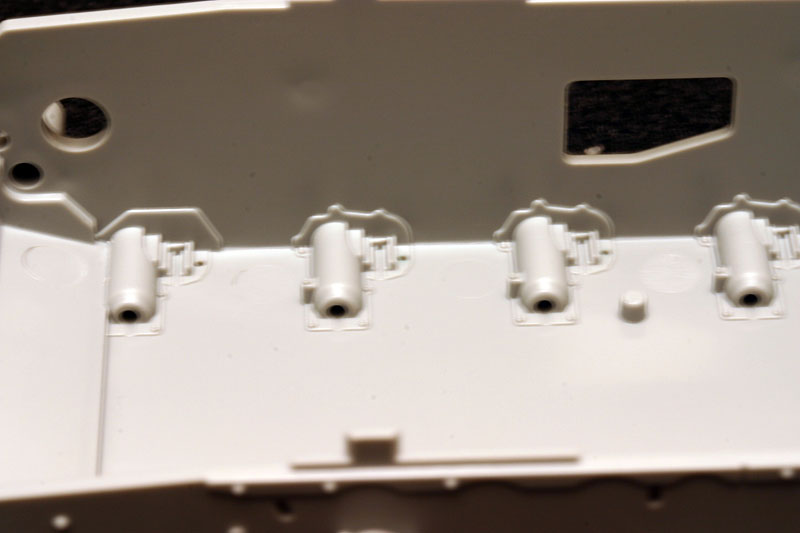
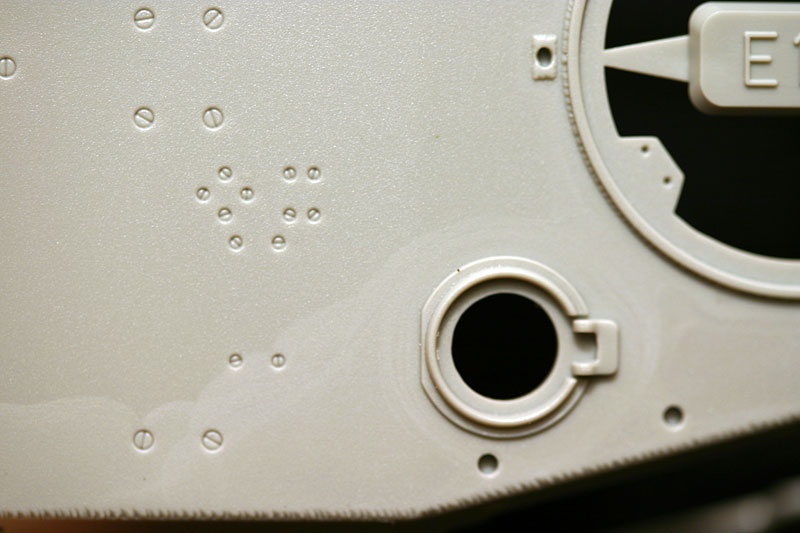
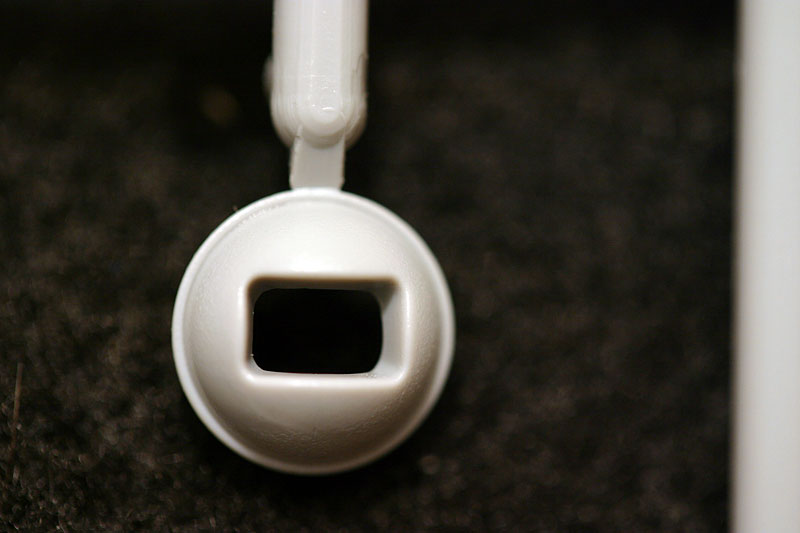
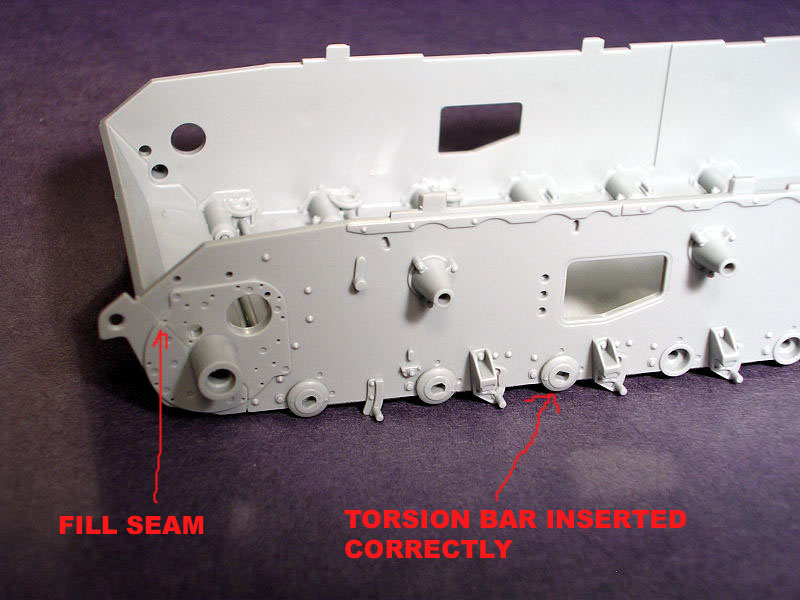
The sidewalls have the return roller mounts, the mounting plate for the idler wheel and the idler tensioner, plus quite a bit more detail molded integrally. This includes some beautifully done bolt and rivet detail as well as the scalloped strips where the lower hull connects to the upper. There are separate small extensions for the final drive mounts that include the cut-outs for the towing eyes. When assembled, these two areas have a small seam that will need to be filled (check the picture). The side escape hatches and the final drives are separate moldings, as well as the swing arm bump stops. The escape hatches have two piece hinges and the inside latch handle molded separately and could be shown open if desired. The final drives have some very nice bolt detail molded on them.
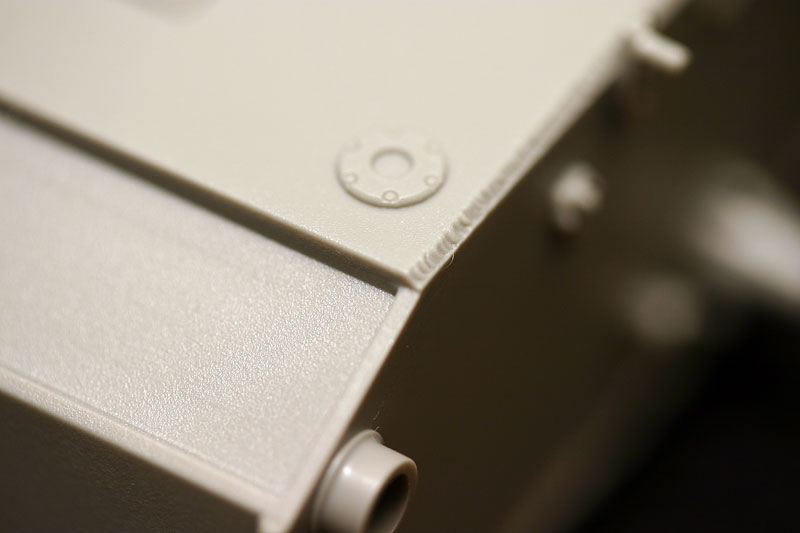
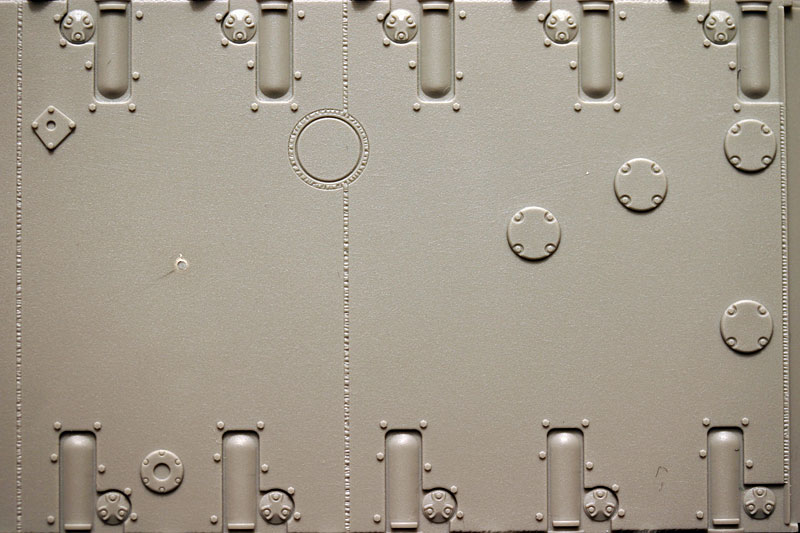
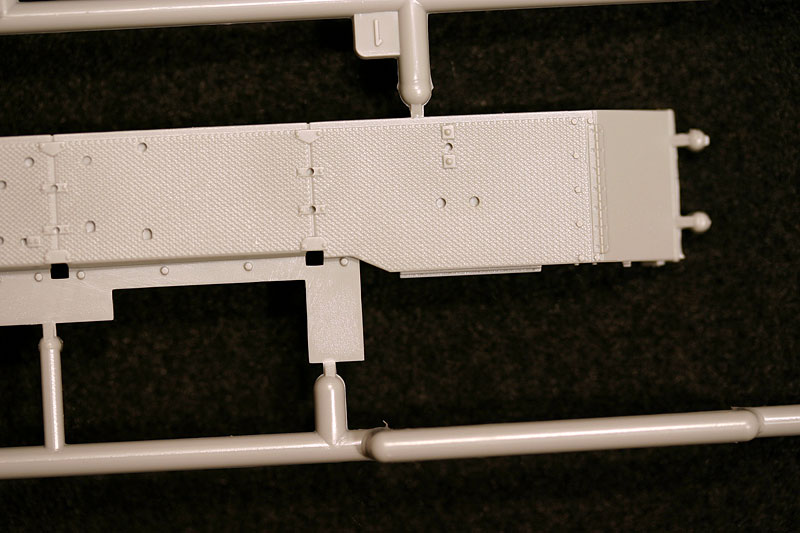
The outer plates for the lower front glacis and the rear panel parts are molded separately to allow for better detail, and the fit of these parts to the lower hull is excellent. The hull bottom, both inside and out, also has some excellent details molded in. This includes very well done weld seams, access plates and drain plugs on the bottom. On the inside you will find the mounting brackets for the torsion bars and once assembled, this should provide a very good base for those who may desire to super detail their Pz III.
When comparing the new kits lower hull to one of Dragons old Pz III lower hulls the difference is like night and day. While the old kit does include some of the detail, the detail on the new kit is much better. It really shows you how far theyve come in recent years with their ability to tool new molds.
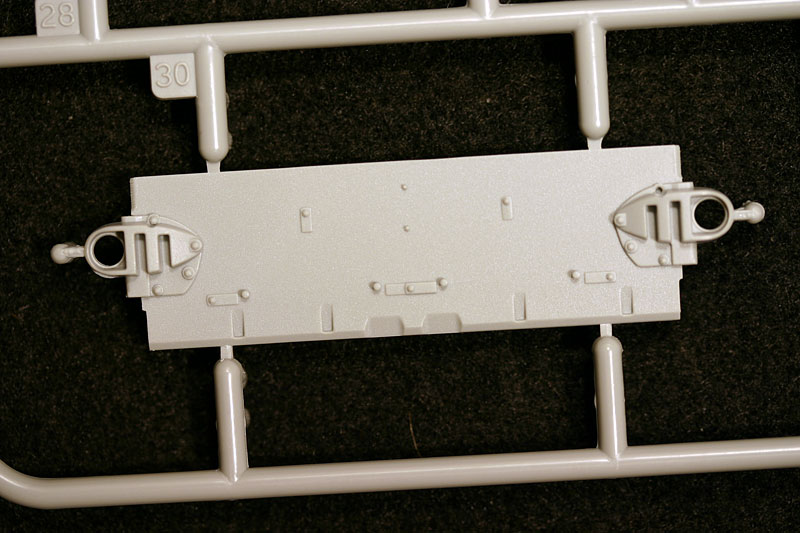
Rear Hull Plate
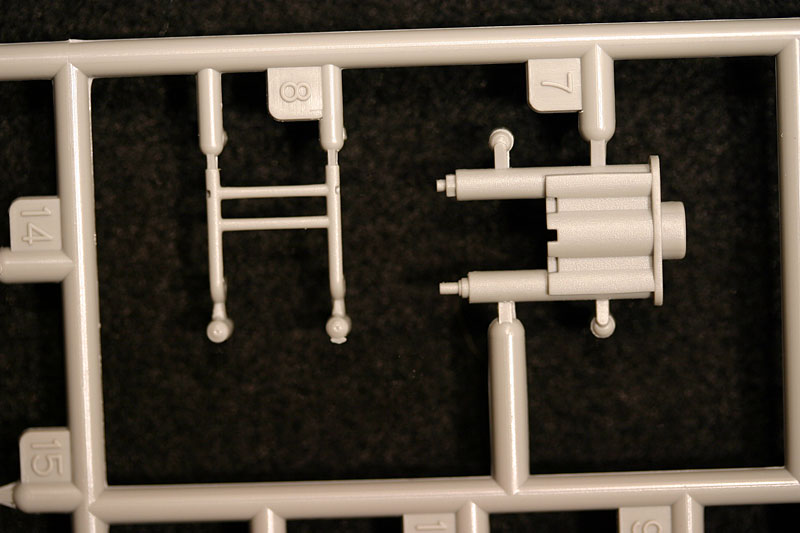
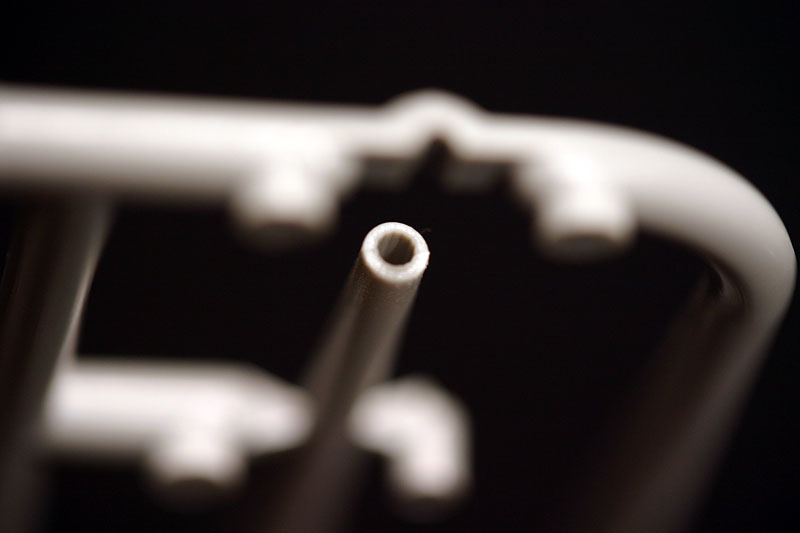
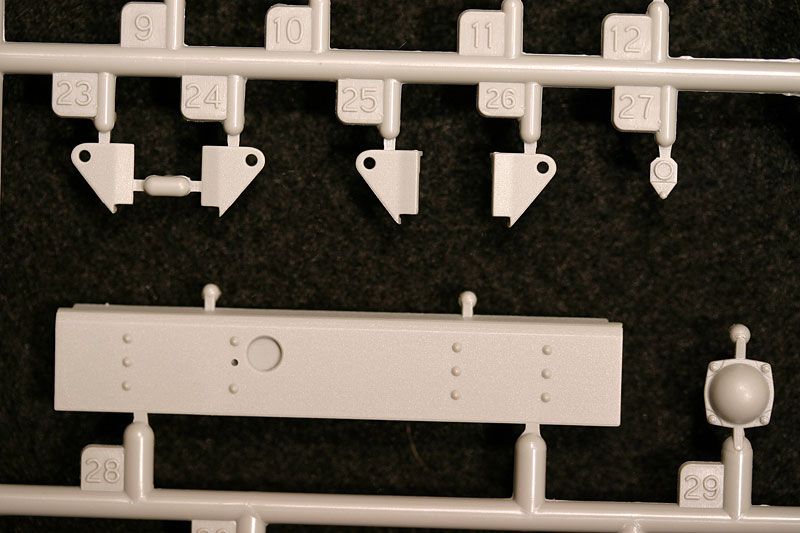
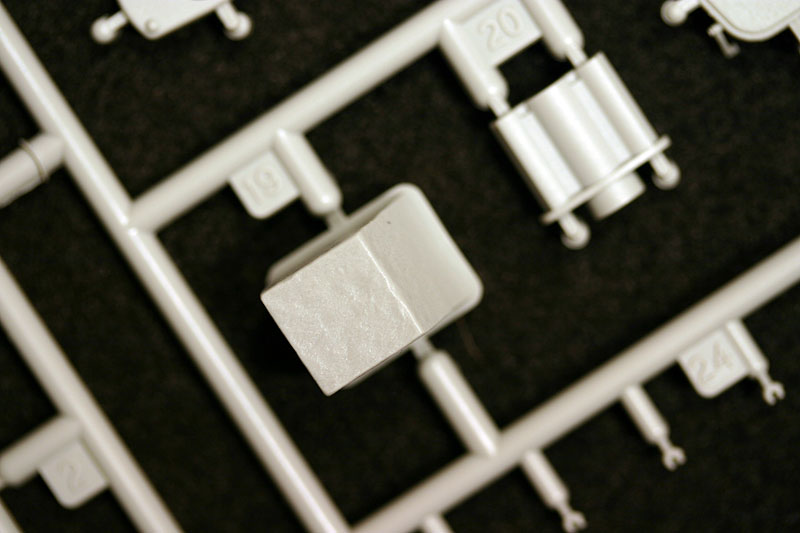
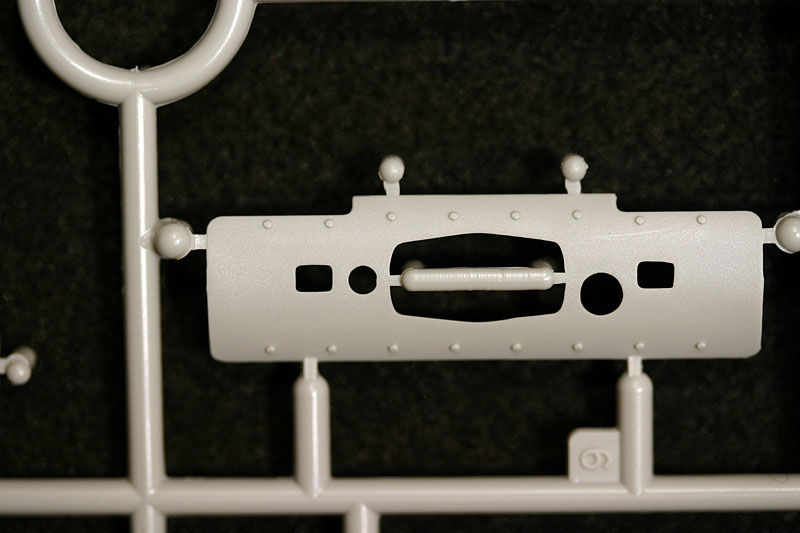
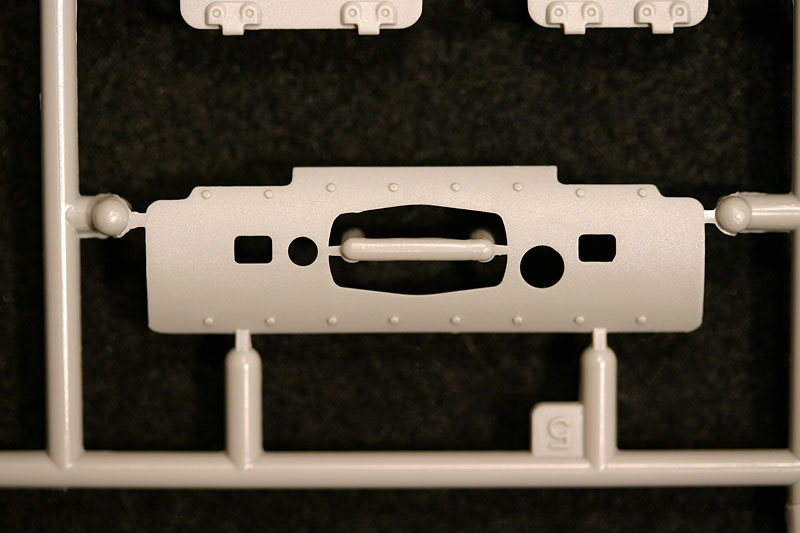
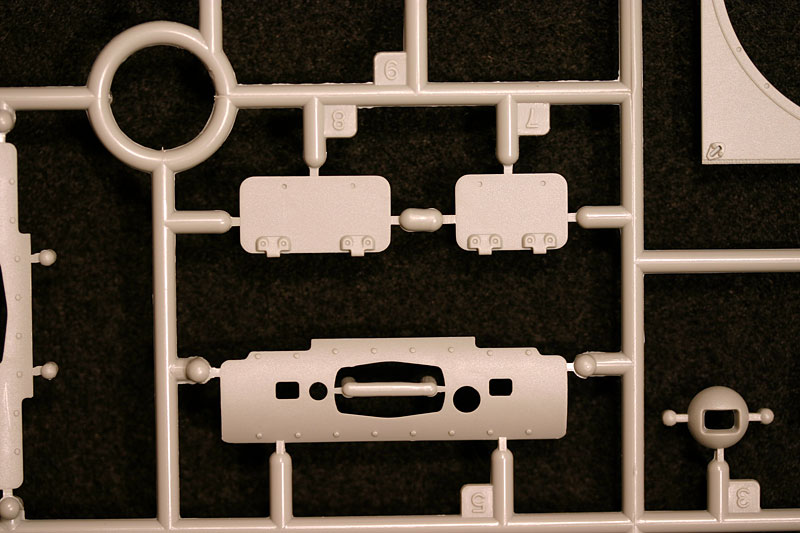
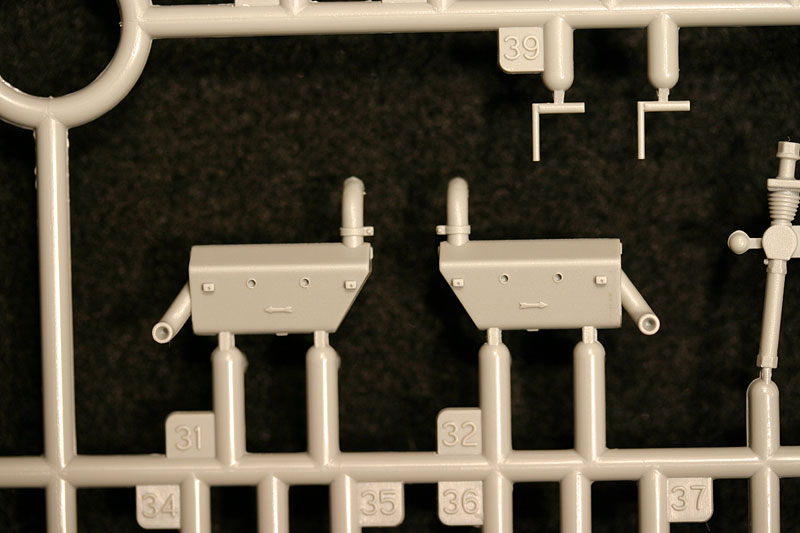
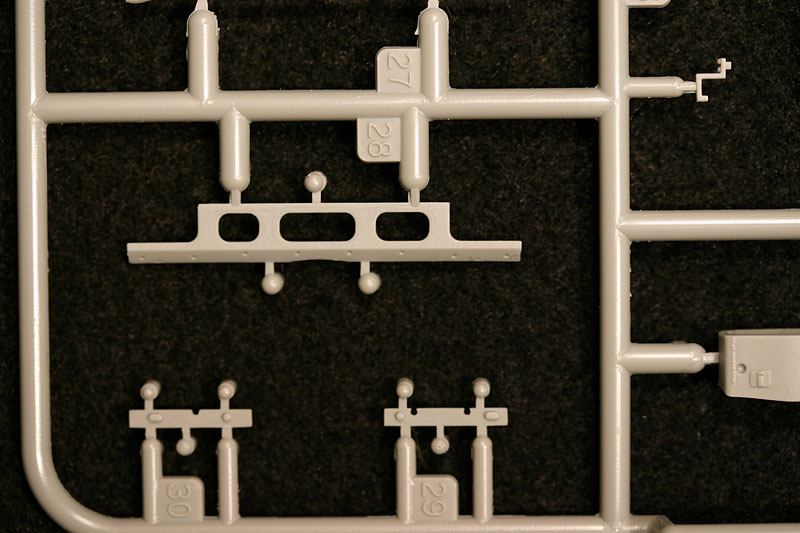
The main rear hull plate is a separate piece with another 13 parts to add on to it. Among these 13 parts are two 3 piece tow pintles, and the two mufflers. The exhaust pipes are molded hollow on the ends but it couldnt hurt to drill them out to thin the walls a little. There are also photo etch screens for the rear hull overhang and a smoke candle holder for that area as well. As mentioned above there are styrene pieces for the outer plates for the upper and lower hull parts. The lower one, especially, has some exquisite weld bead detail on it.
Suspension
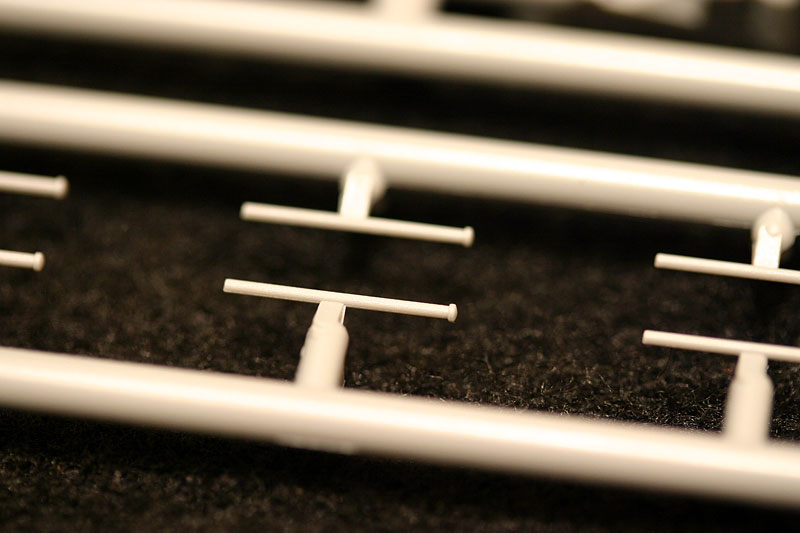
This is one area that is a huge improvement over the old Dragon Pz III J kit. Unlike the old kit the new one has separately molded suspension arms which will allow the modeler to articulate the suspension if they so desire. The torsion bars are molded separately from the swing arms which I think makes assembly a little easier. The directions show to assemble the torsion bars with the flattened part of the bar facing up and the ribbed section down. On my kit at least, if you do this for every one of the torsion bars the oblong holes that the swing arms fit into are not all lined up. The locating holes should be at a slight angle, higher in the front. So be sure to check this during assembly.
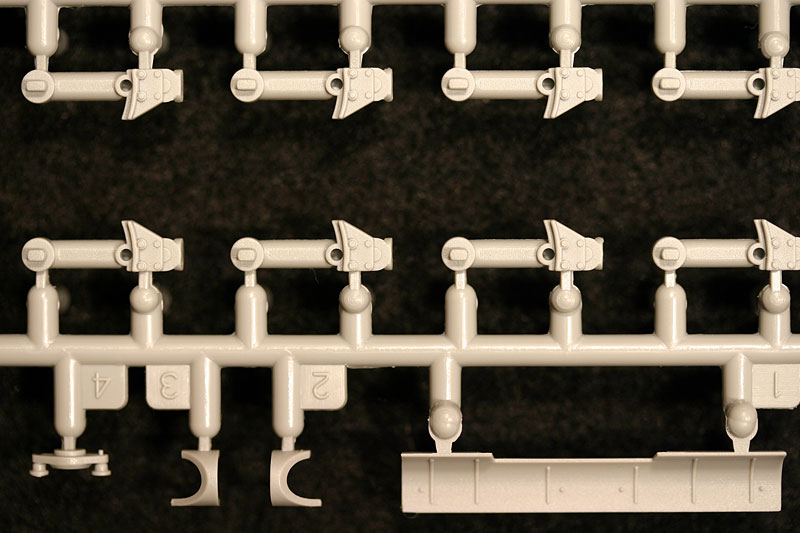
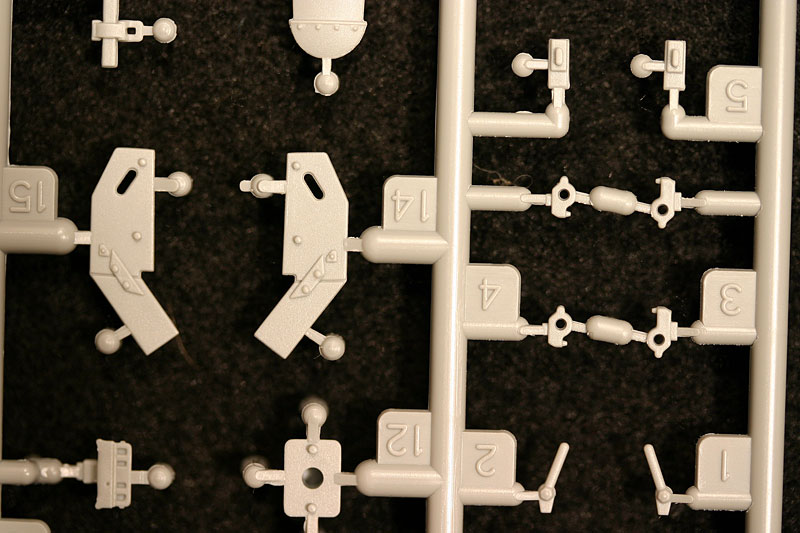
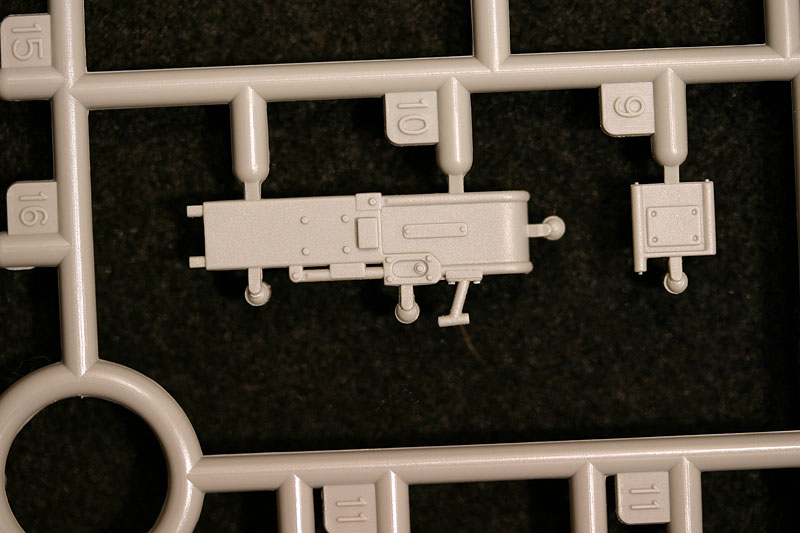
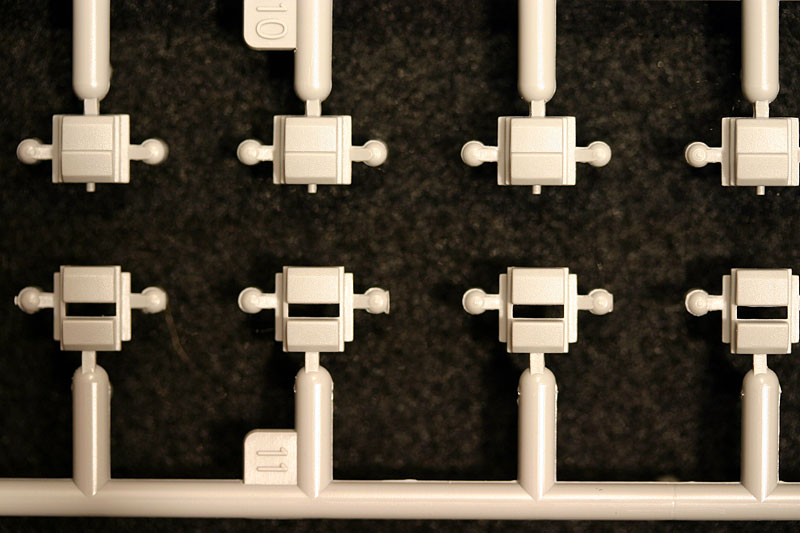
The swing arms have detail on the front and back. Even though the rear bolt detail may never be seen once the kit is assembled, its a nice touch. There is a casting line that runs down the center of the front of the arms. Though you might be tempted to remove it, dont. It was there on the real swing arms. If you want to build the model with the suspension articulated all that is needed is to cut off the small pin(s) on the hull sidewalls, then glue the arms in place. Dragon has also provided separately molded shock absorbers for the arms on the first and last station of each side. The idler wheel arm and tensioner is a three piece assembly and is a very nice molding. I will note here that even though another online review said the idler wheel is adjustable, it is not. You should go ahead and glue it in place before beginning to fit the tracks.
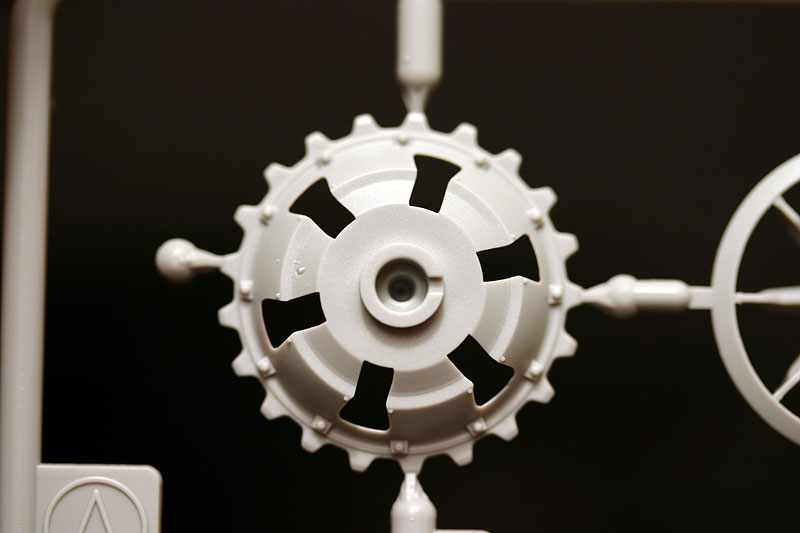
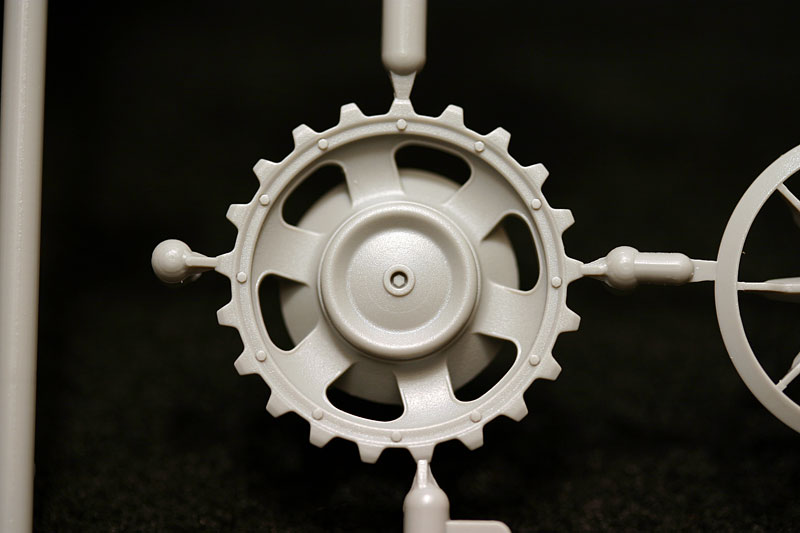
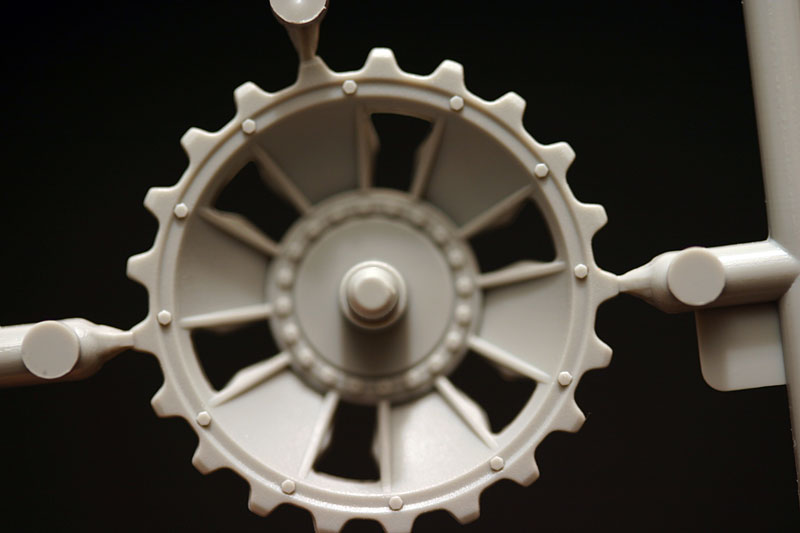
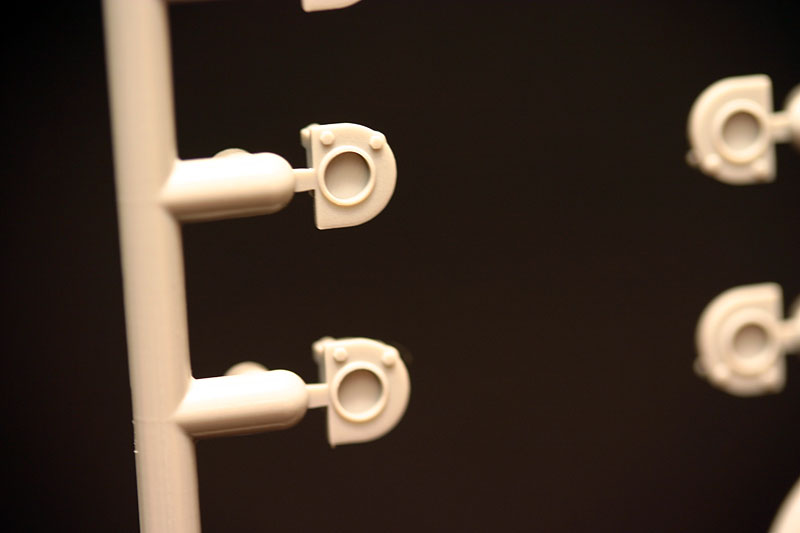
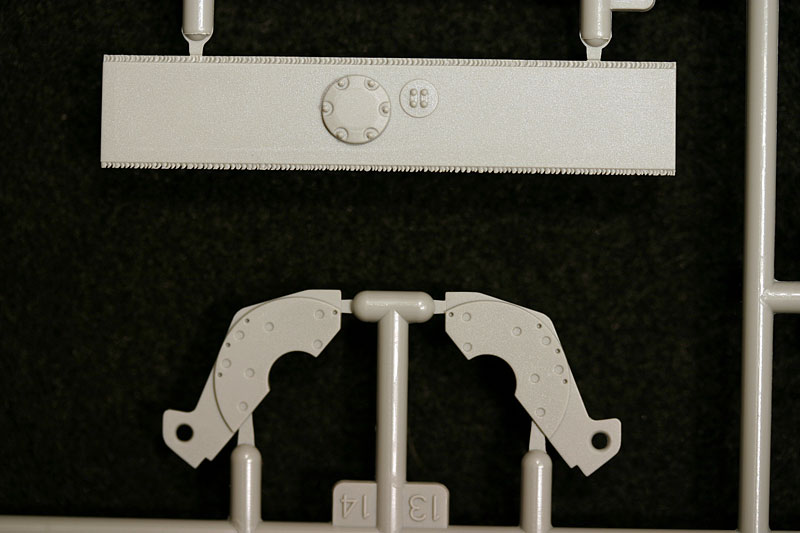
The sprocket wheels are two parts with detail on the front and rear. Studying pictures, Dragon has done an excellent job of capturing the shape and details of the late Pz III sprocket. The idler wheel is made up of 5 parts, the inner and outer wheel and hub in styrene and two P.E. rings that fit on the inside of each idler half for added detail.
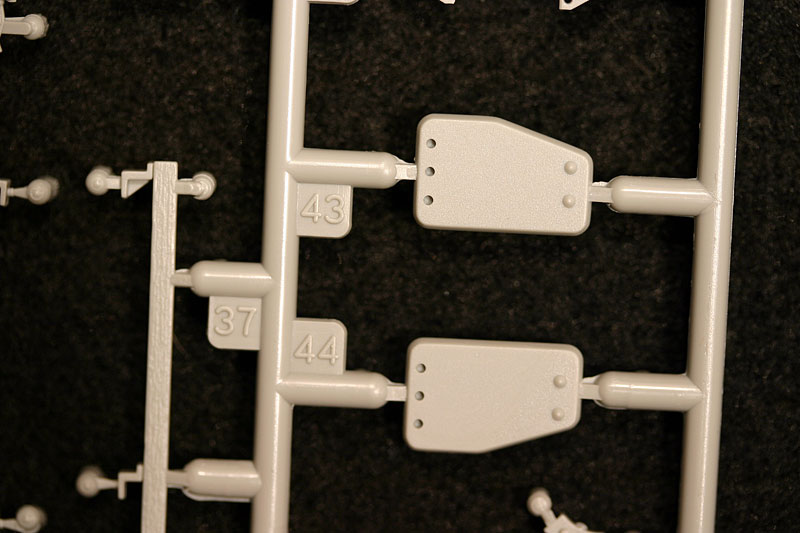
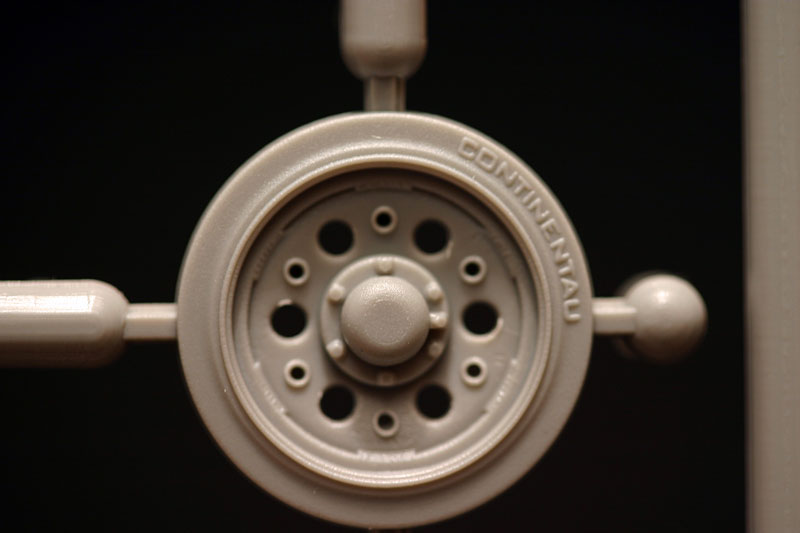
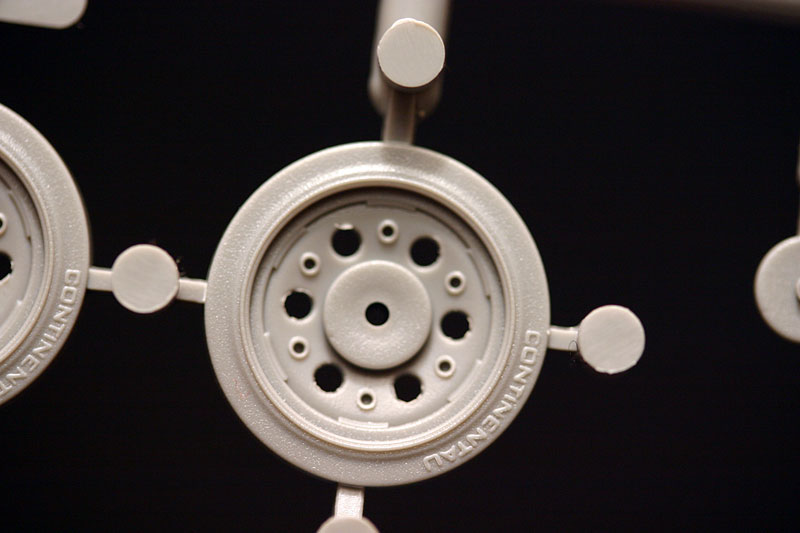
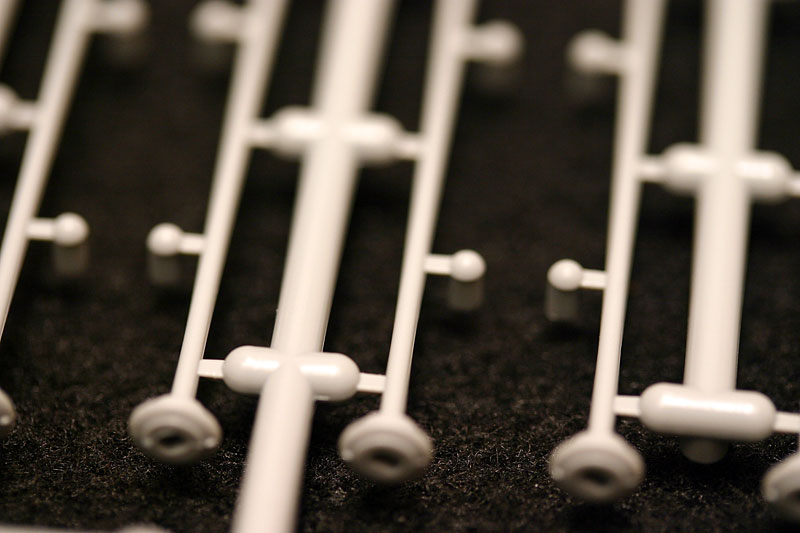
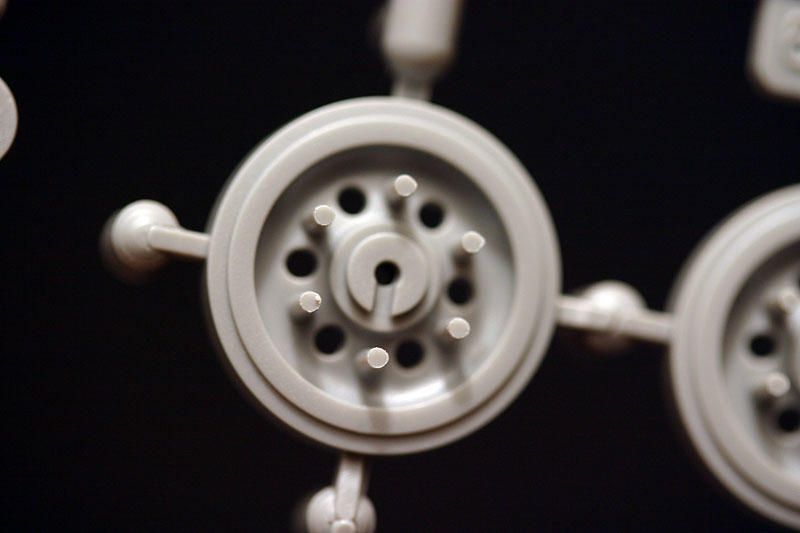
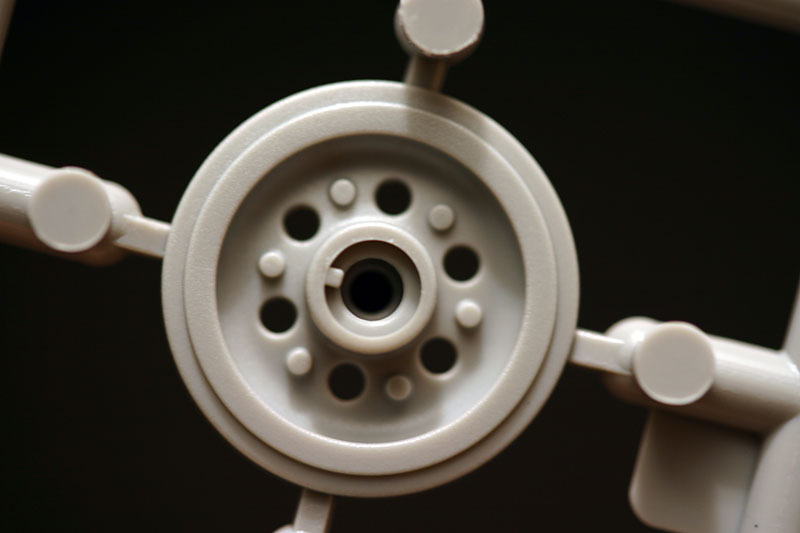
The road wheels are two pieces with some very nice detail molded in. Included are very fine weld beads around the outer rim, bolt head detail around the hub, and letters spelling out Continentau on the rubber portion. On the inside of the wheels Dragon has also included the rods that helped join the wheels together. There is a seam around the outer tires that will need to be removed, but overall when compared to photos and drawings the road wheels match dead on. The return rollers are a two piece assembly as well, and they too have Continentau lettering molded on the sidewall. Once assembled the suspension should look excellent.
Tracks
Dragon has included their Magic Tracks individual links in this kit. As such, you dont have to remove them from a sprue, just open the bag and get started. There are two very faint pin marks on each link, but once painted they may not be visible. If you choose to remove them they are raised and it should be relatively easy to do so. The tracks are of the early 40cm style and the details on the links look good, with hollow guide horns, and also the small outer link on each side of the link is open. The track links are handed, meaning that they are made specifically for the left or right sides. Thankfully Dragon has molded them in two different shades of styrene, their normal light gray, and a darker gray for the other set, but the instructions dont tell you which is which. Just keep in mind that the longer pin extension should be to the outside and the shorter one towards the inside.
Upper Hull
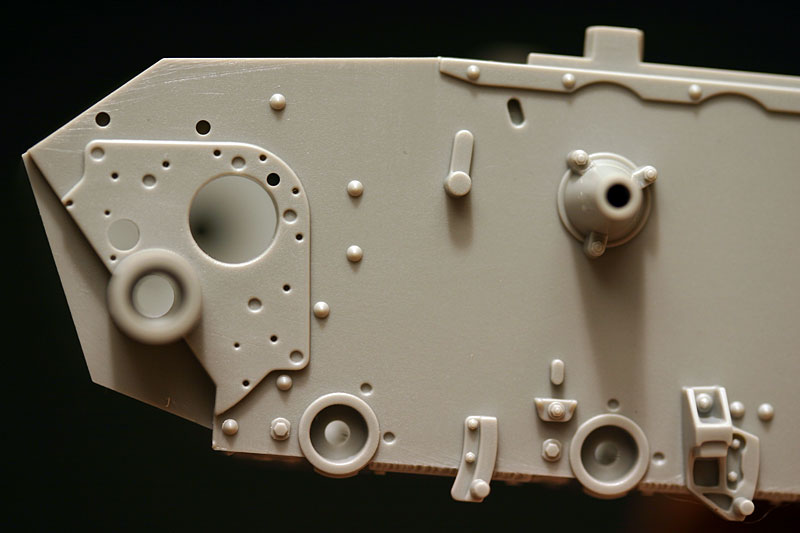
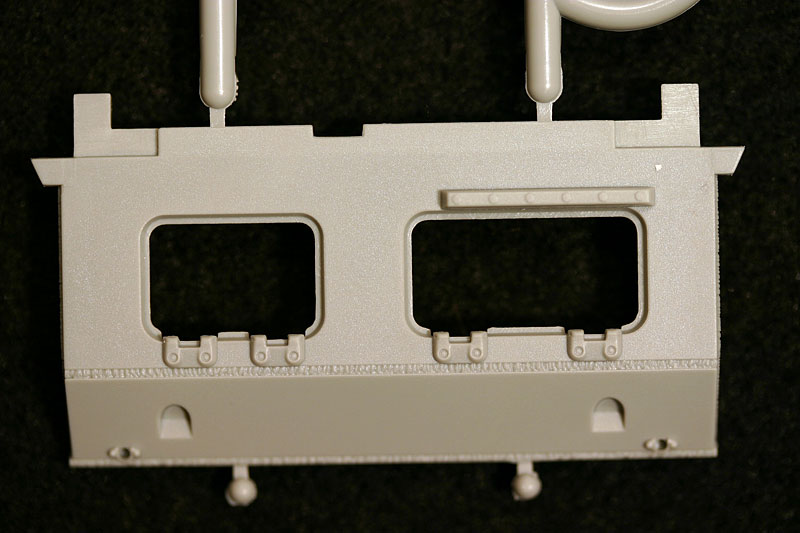
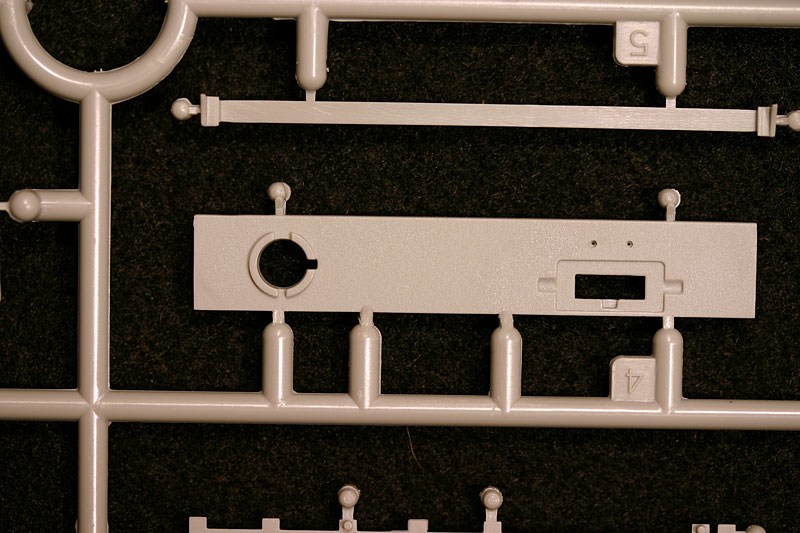
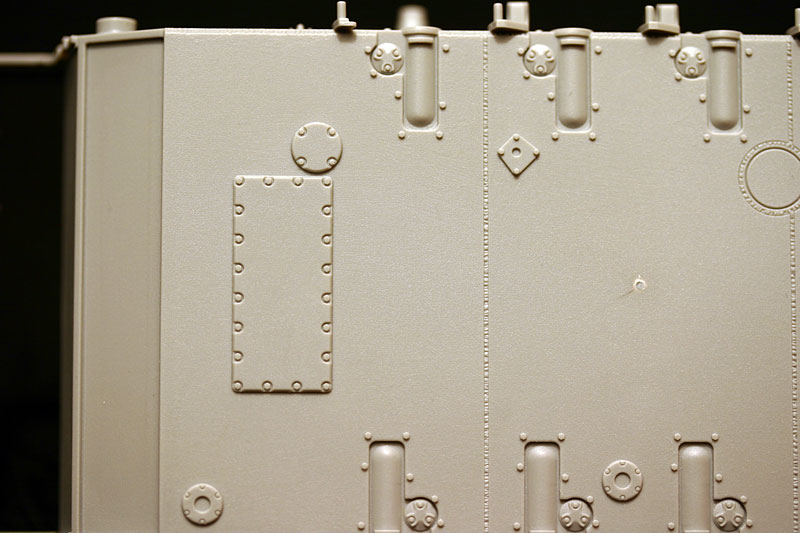
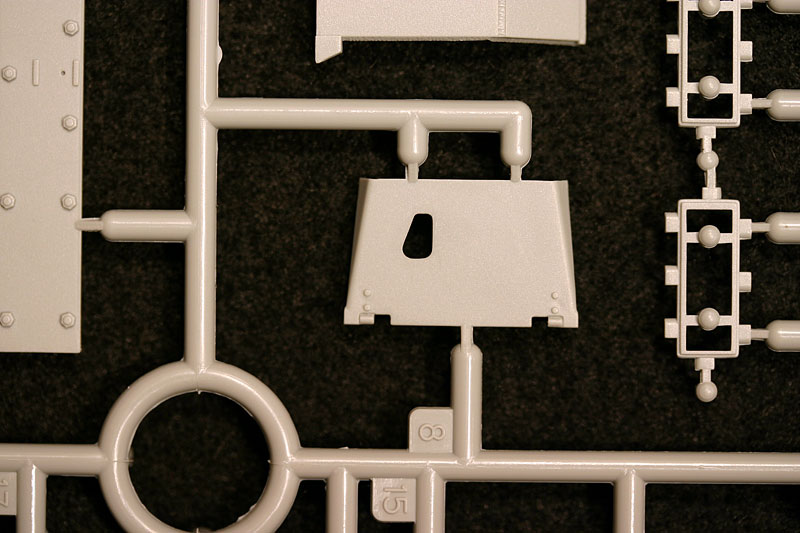
The upper hull is made up of ten large pieces, including the front glacis plate, engine deck, the main superstructure, and the fenders. There are numerous smaller pieces to be added to the larger ones of course. As far as I can tell, without actually building the kit, all of the various hatches and visors are separate pieces to allow for greater detail. This area is where you find many of the small changes to the late Pz III J that were different from previous versions. Checking all the hatches and fittings against pictures and diagrams, they are correct for a late J. To highlight some of these parts, the late J had new welded brake cooling air inlets, new front headlight mounts, and one-piece front inspection hatches. Dragon has all of these details correct, and the parts are nicely molded, even down to the tiny weld seams on the brake air inlets. One note here on a mistake in the instructions, when assembling the brake cooling inlets the instructions say to use parts C10 and A27. The correct part numbers are C10 and C17.
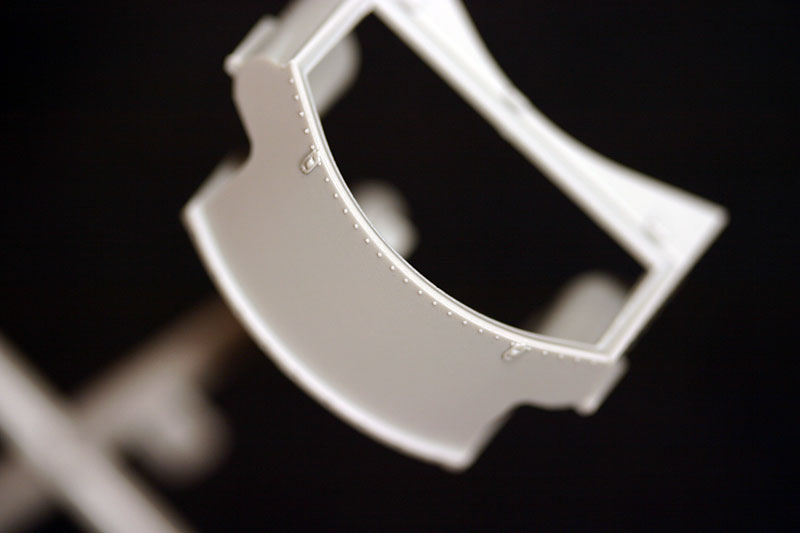
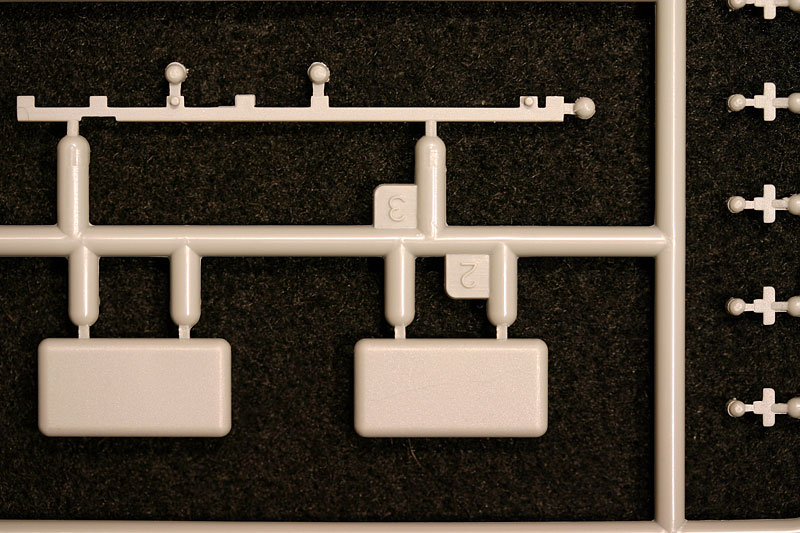
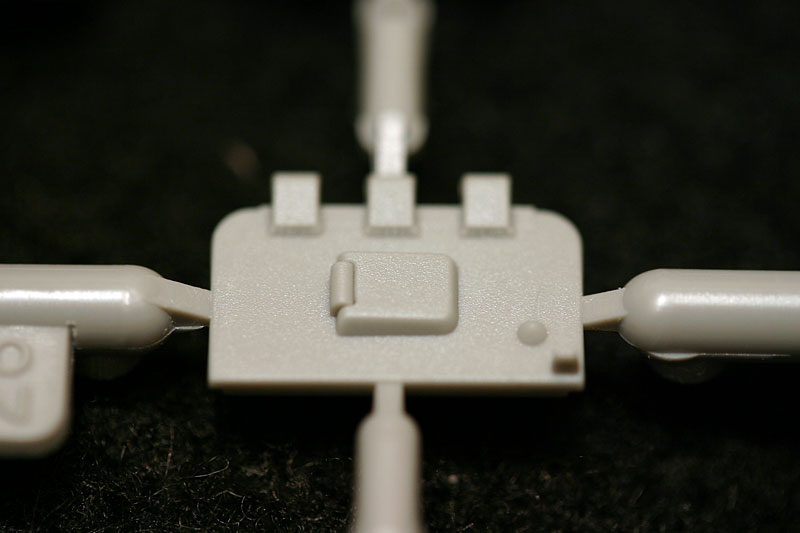
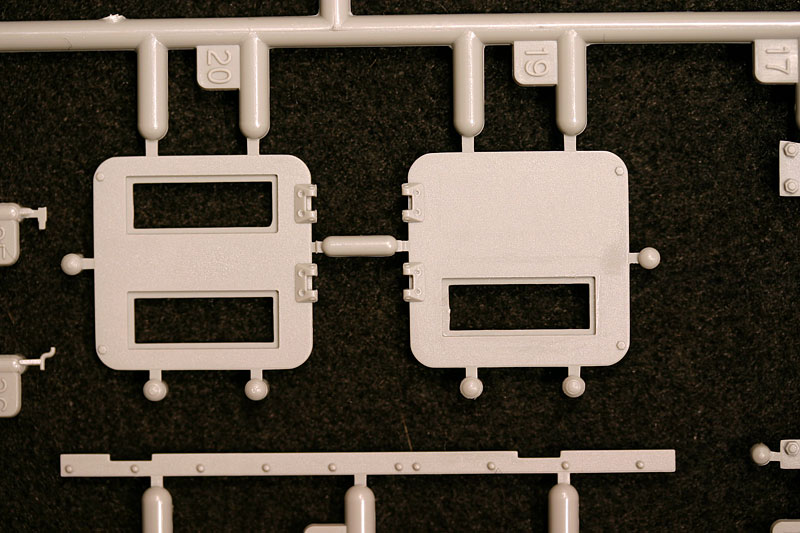
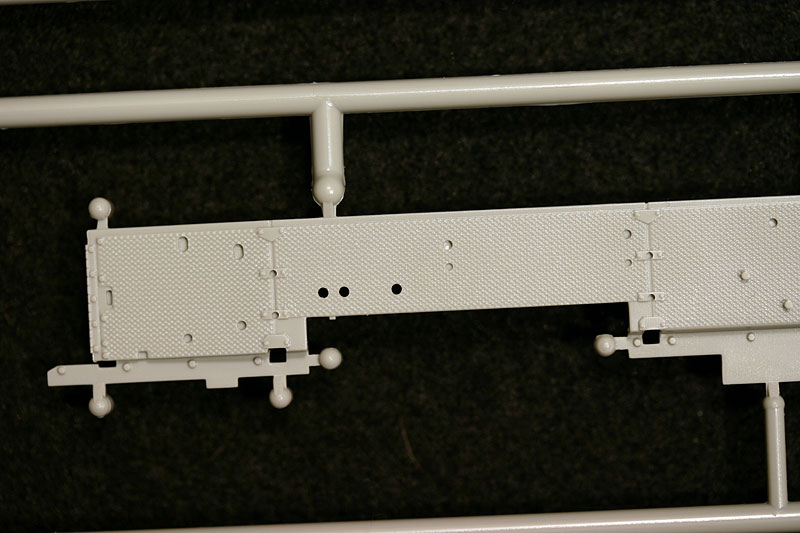
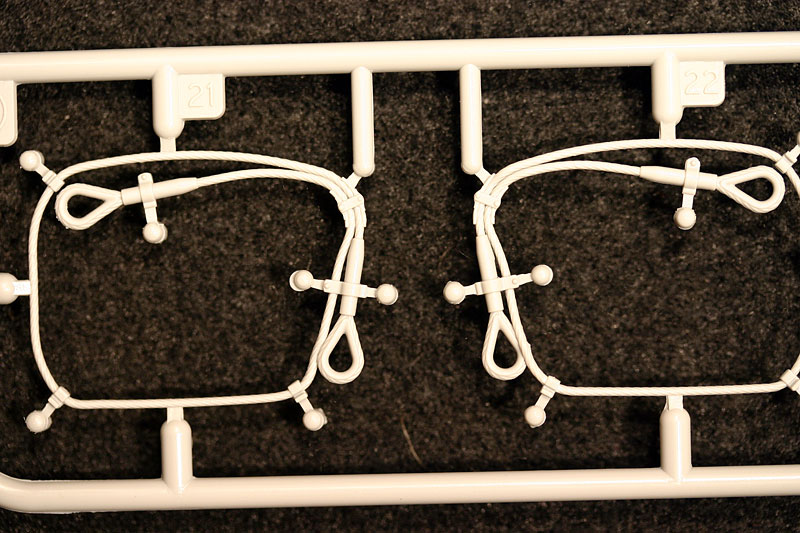
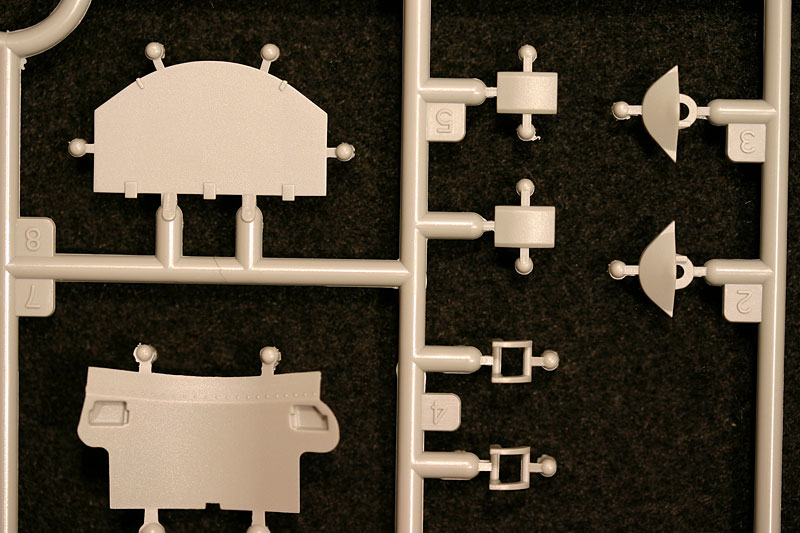
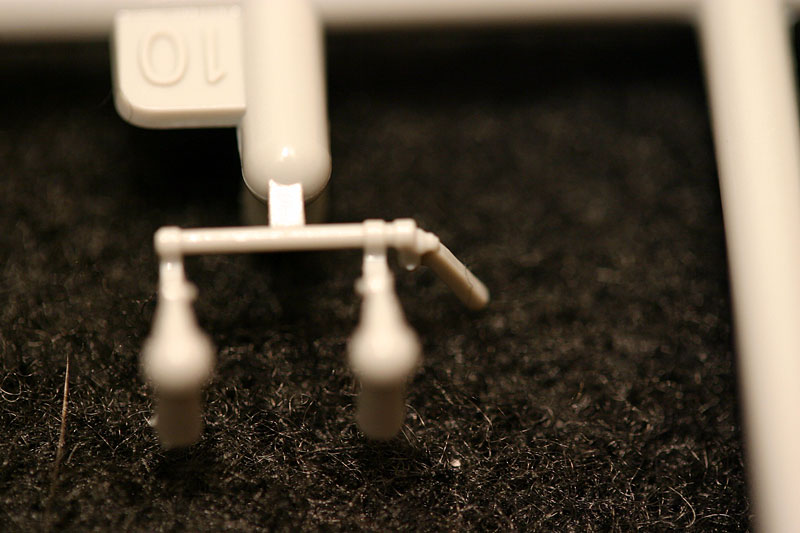
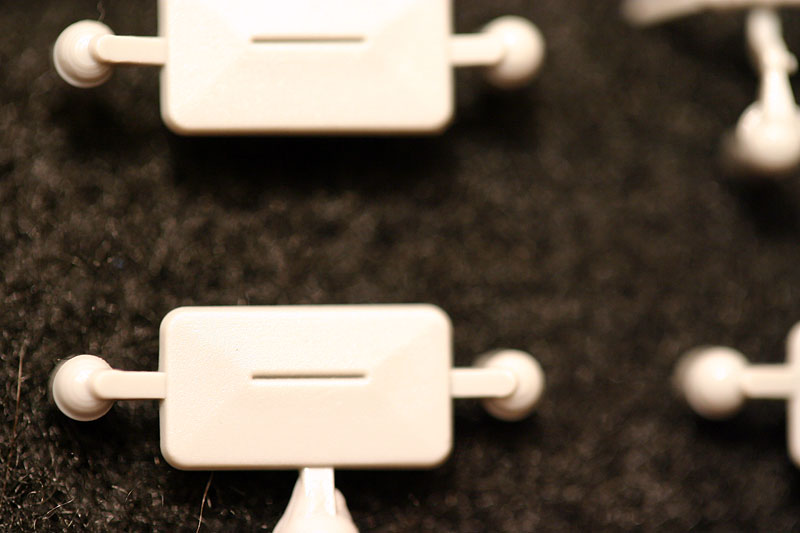
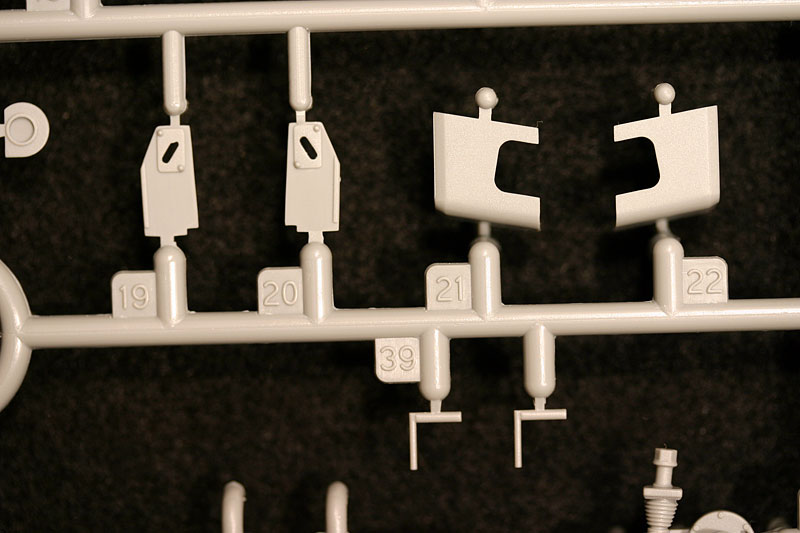
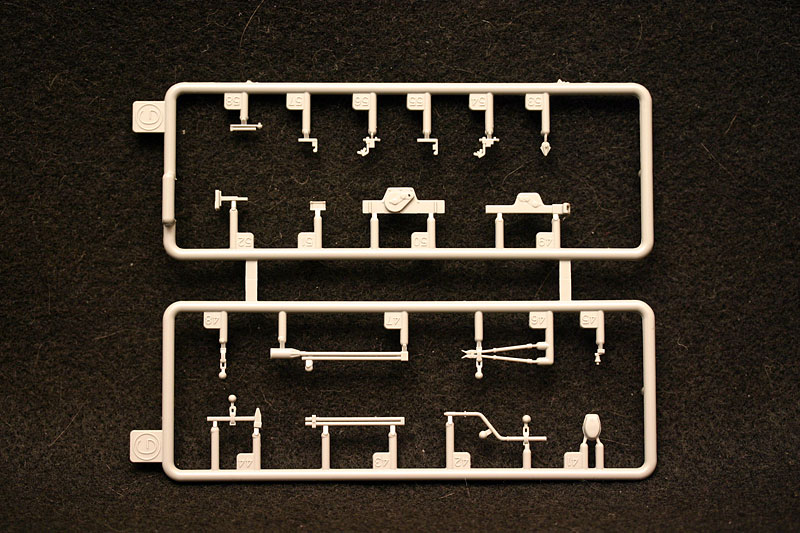
Moving back and to the sides, the side fenders are molded in one piece and have the tread pattern detail molded on the top and bottom. One online review has stated the way the tread pattern is done is incorrect. When I compare the fenders to photos in one of my reference books and on the web, Dragon has gotten it right. Each fender has locating holes for all the various tools and fittings that are attached to them, and according to the diagram in Achtung Panzer the layout is correct for the late J. The tools themselves have the clamps molded on. Though the clamp handles could do with a little careful thinning they should look good if you choose to use them. The jack is a ten piece assembly itself, including the clamps, allowing for a lot of detail. You are given the option of having the hull indicator light in clear or gray styrene. For the notek light you have a three piece assembly with nice detail. The rear fender extensions are separate, and the small hooks to hold them down are PE pieces.
The engine deck itself has weld seam detail molded in and locating holes or marks for the fittings that are attached to it. The side air inlets are separate, and there are PE screens included for them. As mentioned above, the engine access doors are all molded separately, and they are multi-piece assemblies. Here again Dragon has the access door configuration correct for a late J. The air intake protectors are also correct for a late J. The tow cables are molded in styrene, and they look nice. However, this is one place I would prefer to use actual wire for the cables, but that is my personal preference.
Moving up, the main superstructure is comprised of five main pieces. It is here that you will need to make the decision to build the kit with the spaced armor or not, and you have the option to use some P.E. pieces or plastic here. The side pieces of the superstructure have the drivers and the radio ops side visors as separate assemblies. With clear styrene to represent the glass, they can be built open or closed. The drivers front armored visor on the J was of a new design, and in the kit it is a three piece assembly with the glass being clear styrene. Another part of the J that was new was the ball machine gun mantlet, and here Dragon has given us a choice between two mantlets, one smooth and the other with a lip around the base. Looking through my references I found photos of both types in use, but the one with the lip seemed to be a little more prevalent.
Turret
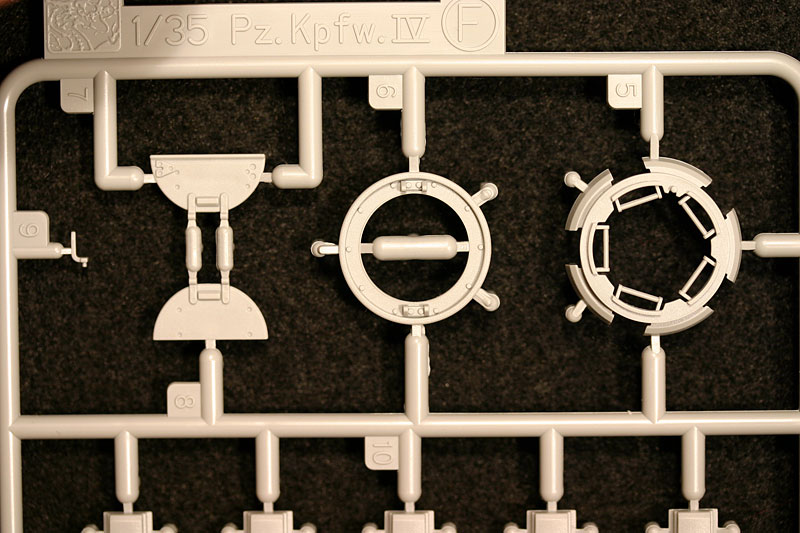
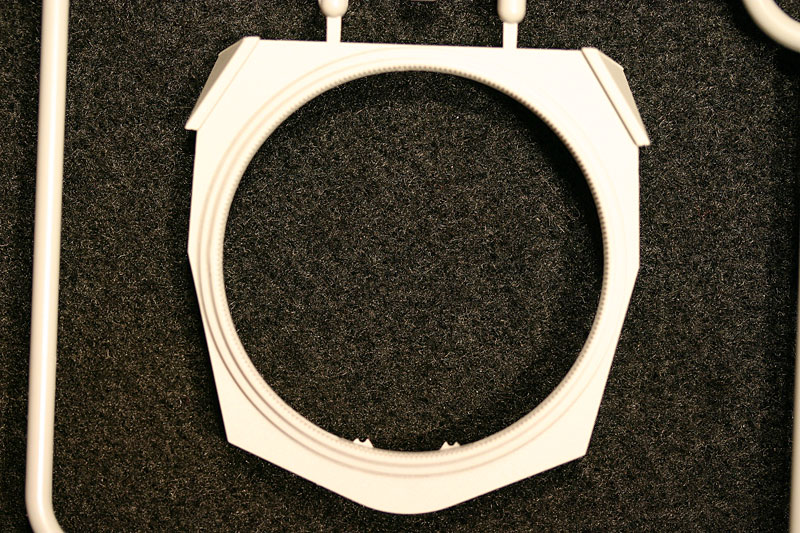
The turret is totally newly tooled and is made up of the upper turret shell and the lower ring with a separate front plate. Upon comparing the turret to 1/35 drawings, it matches very well. The screw detail on the turret roof is well done and correctly positioned. The weld bead detail is molded in as well and on the mantlet cheek is positioned above the cheek as it should be for a late J. All of the hatches, visors, pistol ports and other fittings are separate parts, and again they are correct for a late J model. The side visors can be positioned open or closed and are multi-part assemblies which use clear styrene to portray the glass. The hatches on each side have a separate interior frame, and they also have clear parts as well for the vision ports. They can be shown open or closed. The lifting hooks for the turret are made up of two small parts, and care should be taken when removing, cleaning, and assembling them so they arent sacrificed to the carpet monster.
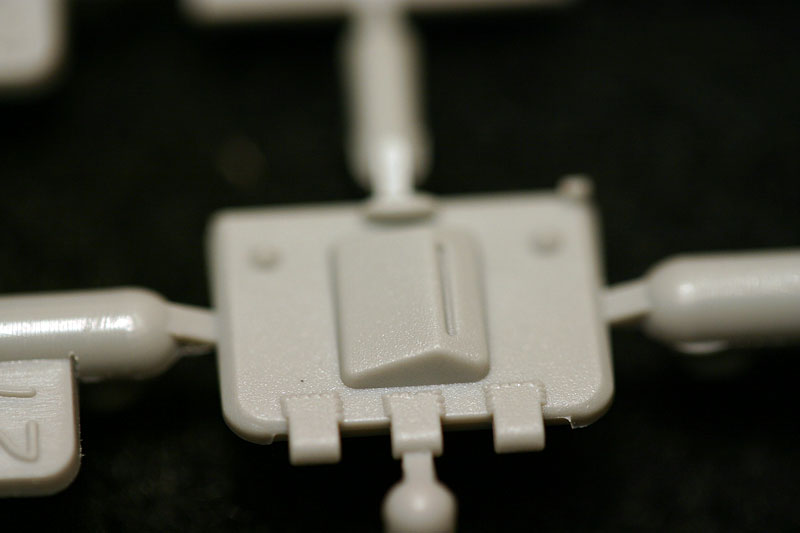
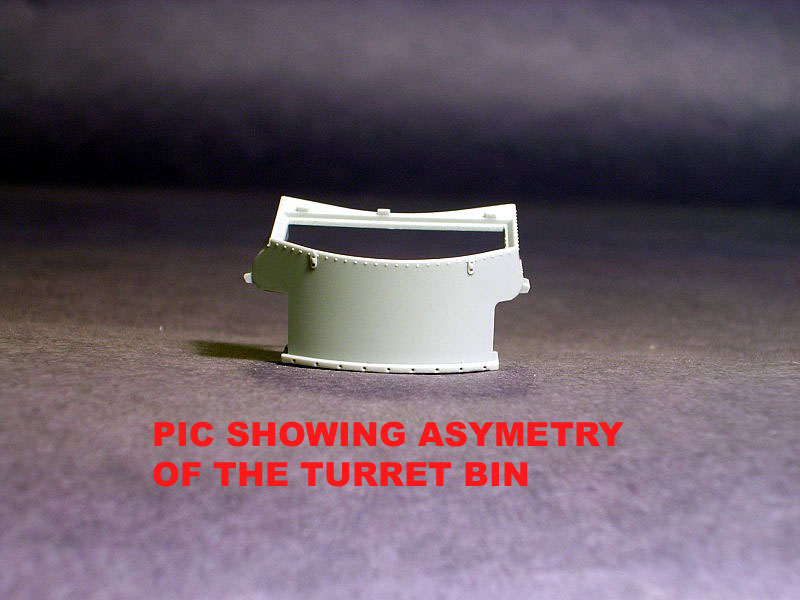
The rear stowage bin is a very nice looking assembly with excellent looking rivet and bolt detail. It is made up of three parts, and the lid can be shown open or closed. However, there are pin marks on the interior that would need to be filled and sanded if you want to show it open (or you could fill it with gear). One interesting thing here, apparently Dragon has found that the contours of the stowage bin are asymmetrical, and it is molded that way. This is a first as far as I know. While I dont have a good picture that shows this, I did find a nice rear view photo that shows this feature on the Tanxheaven site.
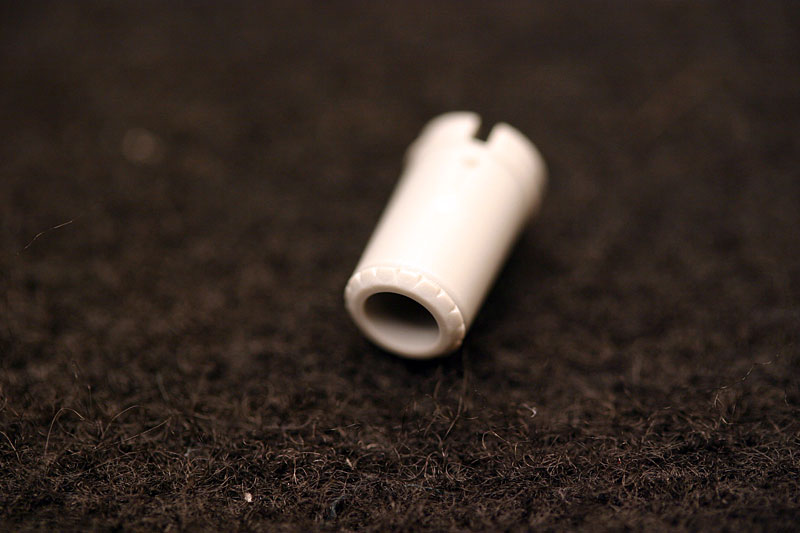
Coming to the main gun assembly, here you have some options. First, if you are building the version with the spaced armor, look over the instructions carefully to see which parts to use with the mantlet. Once again, the kit gives you the option of P.E. or plastic for some of the parts here. The smooth visor covers are correct for a late J Pz III and can be positioned opened or closed. The next choice to make is which main gun barrel to use, either the short 5cm L/42 or the long L/60. Both barrels are one piece and have rifling visible in the business end. Clean up of these barrels should be pretty easy. There is also a full breach assembly, so if you leave the side hatches open there will be something to see on the inside. There is a commanders seat made up of two parts attached to the lower turret ring. There is also a roof ventilator attached on the interior that looks good, though it will be hard to see when everything is assembled.
The cupola is taken from the new Pz IV F2, and it is made up of 14 separate parts. You can choose to show the cupola visors open or closed, with clear parts to represent the glass. When assembled it should look very good.
One last note, when assembled the turret just sits on top of the hull, with no locking tabs to keep it in place. So be careful when you are handling the built up kit.
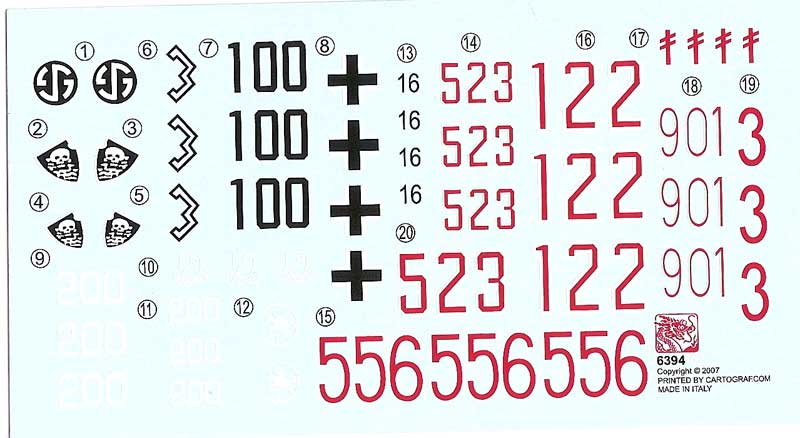
Decals
The single sheet of decals is printed by Cartograph and is in register. You get an assortment of numbers, unit markings, and balkenkreuze. The instructions give painting and marking directions for eight different tanks, six on the eastern front, and two in North Africa:
23 Pz. Div., Eastern front 1942
5./Pz.Rgt.1, Pz.Gren.Div. LAH, Kharkov 1953
3./Pz.Rgt.7, 10.Pz.Div., Tunisia 1943
1./Pz.Rgt.5, Pz.Gren.Div. Wiking, Russia 1943
3./Pz.Rgt.8, 15.Pz.Div., Tobruk 1942
5./Pz.Rgt.24, 24.Pz.Div., Stalingrad 1942
1./3. PzGren.Div., Stalingrad 1942
2./Pz.Rgt.18, 18.Pz.Div., Russia 1942
Conclusion
While rereading my write up I found myself using a lot of superlatives and repeating some things quite a bit, i.e. very nice weld detail, but I have to say I think it is well deserved. Elsewhere on the net, I have read some complain because the kit doesnt include enough extra "stuff", I think there is plenty in the box to build a very accurate and well done model. If you want more, well thats what the aftermarket companies are for. I have also read complaints about the "2-in-1" claim, some moaning that the parts are not included to build an early Pz. III J. Now Im not one who normally jumps to Dragons defense, but looking over the box and the instructions, I can find nowhere where it says the kit builds an early or late model Pz. III J. To quote a post made by Tom Cockle (one of the technical advisors for this kit) on another site:
"The kit allows you to build:
1. Panzer III Ausf.J Late with L/42 gun
2. Panzer III Ausf.J Late with L/42 gun and spaced armor
3. Panzer III Ausf.J Late with L/60 gun
4. Panzer III Ausf.J Late with L/60 gun and spaced armor
5. Panzer III Ausf.L Early with hull escape hatches and turret side visors"
(this last version not advertised but can be built this way too and is really the same as 4 above)
So were really getting more than 2 in 1 here. If you want to build an early J the kit is set up so it should be pretty easy. I suspect it wont take long for some A.M. company to do this, or you can do it yourself scratching the parts or taking them from other kits.
Bottom line, this kit is well detailed and engineered. While I have yet to see a perfect kit from any manufacturer, this one may be as close as you can get. If you like early/mid-war German armor, or if youre a Pz. III fan, it should make you very happy.
Panzer III online refs
http://tanxheaven.com/dmk/PzIII/panzer3dmk.htm
http://www.achtungpanzer.com/pz8.htm
http://en.wikipedia.org/wiki/Panzer_III
Recommended Reading
Achtung Panzer No. 2 Panzerkampfwagen III, Publisher: Dai Nippon Kaiga. If you only get one ref, this is the one. It can be hard to find but it covers all Pz. III models and is a great modeling ref book.
Panzer III & Its Variants, Walter J. Spielberger, Publisher: Schiffer Publishing, ISBN: 978-0887404481
Panzer Tracts No. 3-1 Panzerkampfwagen III Ausf. A, B, C, and D, Thomas L. Jentz & Hillary L. Doyle This one only covers the early Pz. IIIs, but has some good background info on Pz. III development.


Comments