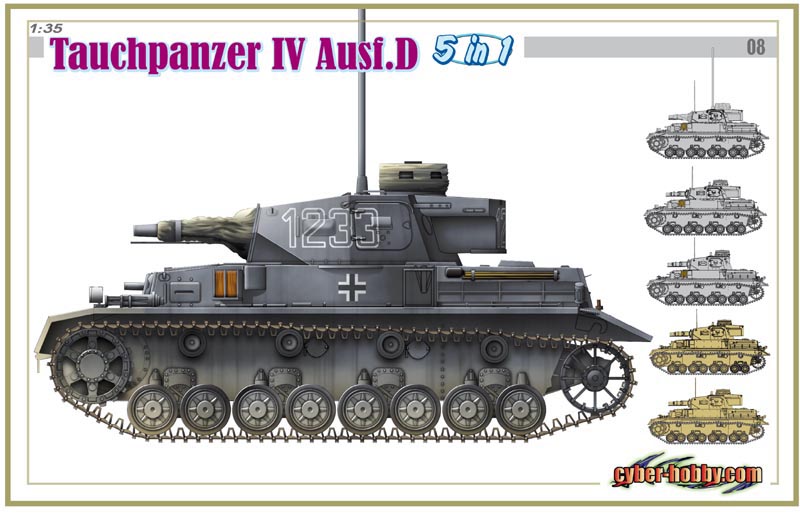
The Tauchpanzer IV Ausf D. or 'Diving tank' came about as an attempt to produce a tank that could submerge to depths of around 50 feet. For this to work, obviously all openings had to be sealed, such as the main gun barrel, commander's cupola, MG opening, mantlet, etc. Air was to be supplied to the vehicle through a flexible tube.
the kit
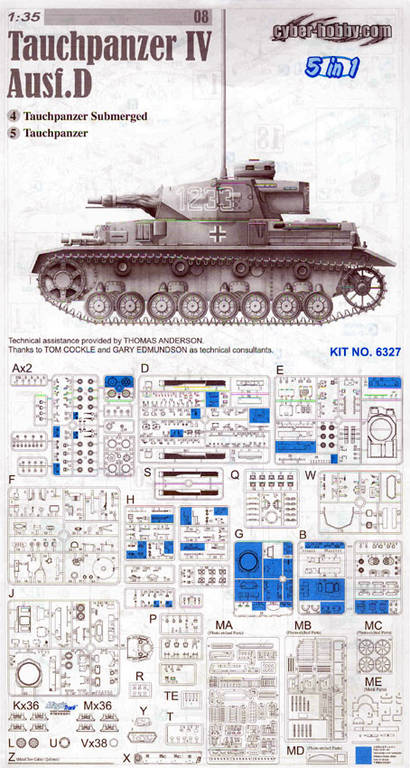
Cyber Hobby have yet another Panzer IV lesser known variant, this time in the form of the Tauchpanzer IV Ausf.D! The original kit this one is based on is kit number 6265 from Dragon, a 3 in 1 release, from quite recently. Included in the box are the full instructions from this kit as well as the new one for the Tauchpanzer! Obviously, the Ausf.D itself could be built from this kit, but as to why anybody would want to when they've purchased this special Tauchpanzer version......?
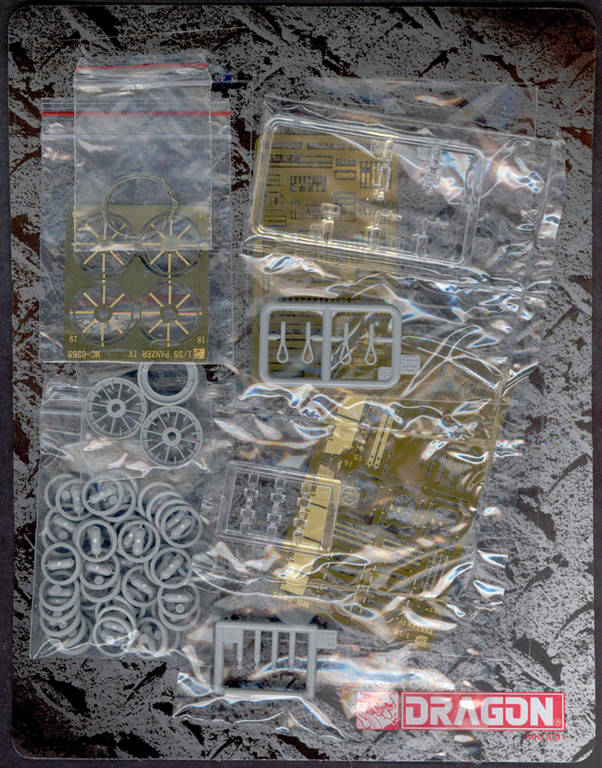
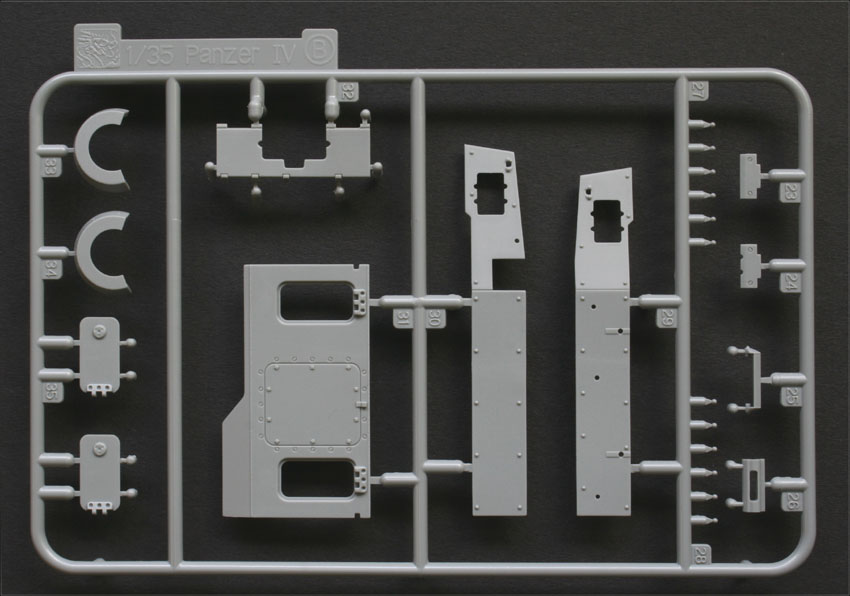
So what do we get? Well apart from the 'extra' instructions. as mentioned, everything you need to build the Tauchpanzer or the more normal Ausf. D is included. Therefore all the original sprues that were in the Ausf.D kit are here, as well as a few 'new' bits and pieces.
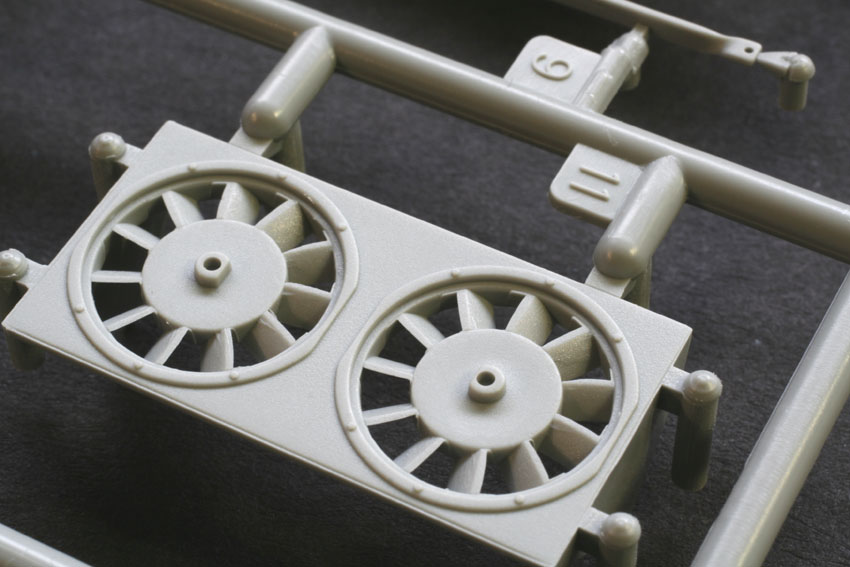
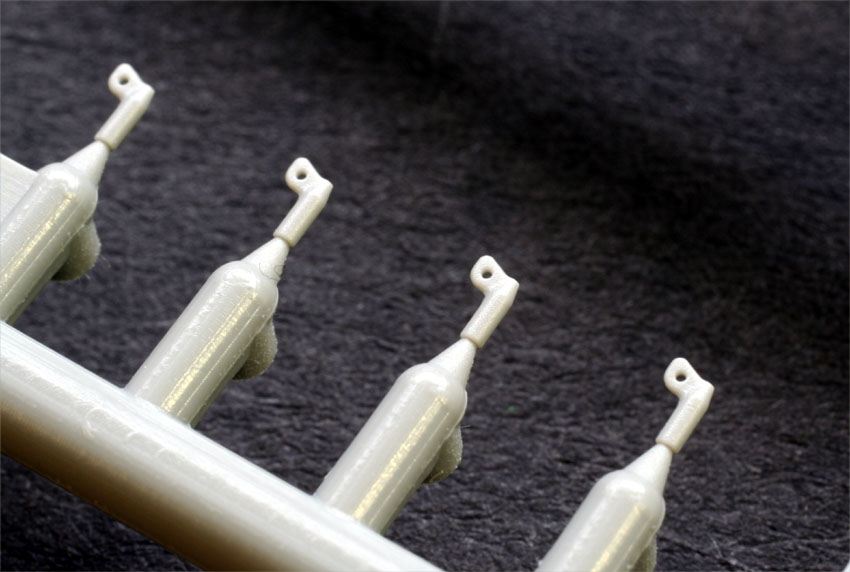
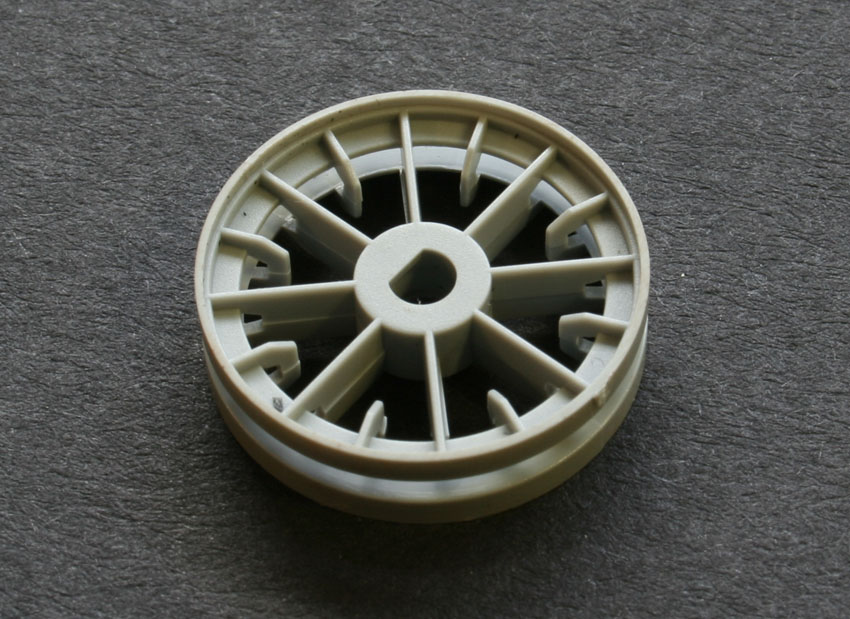
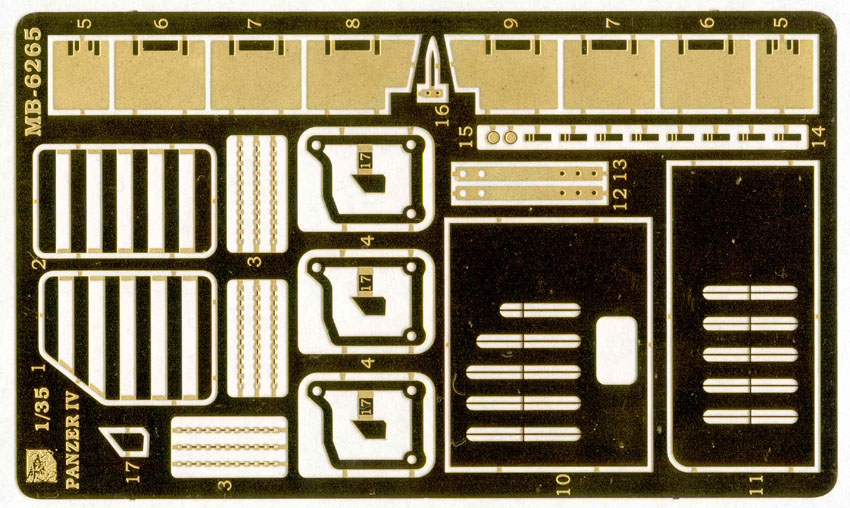
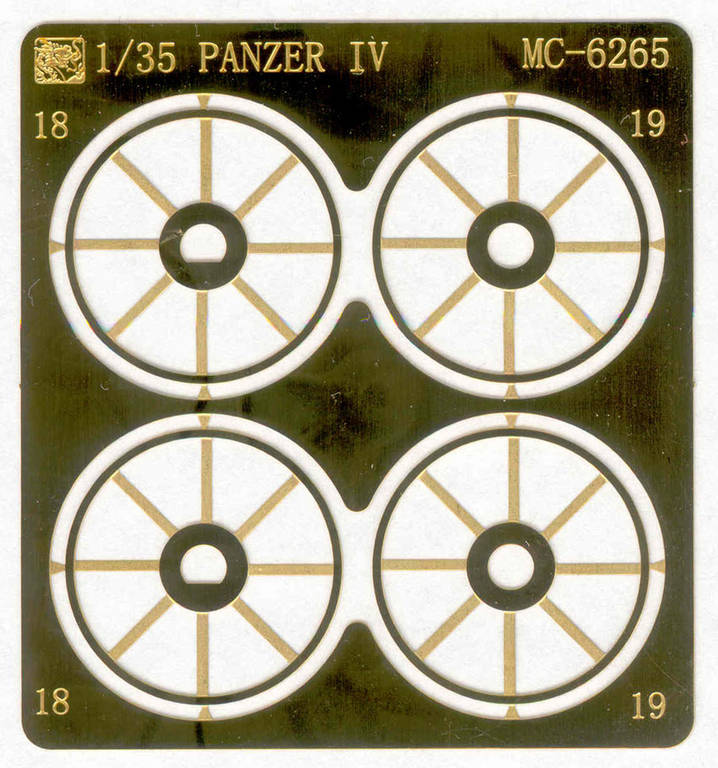
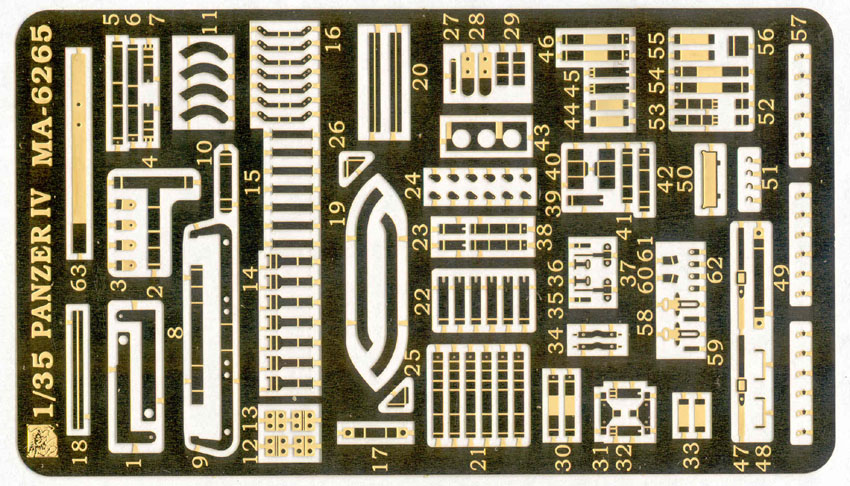
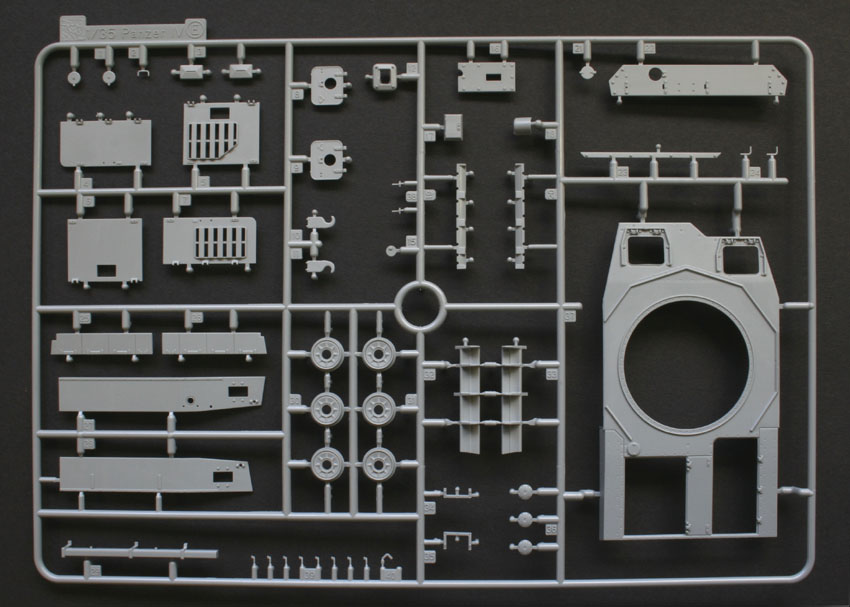
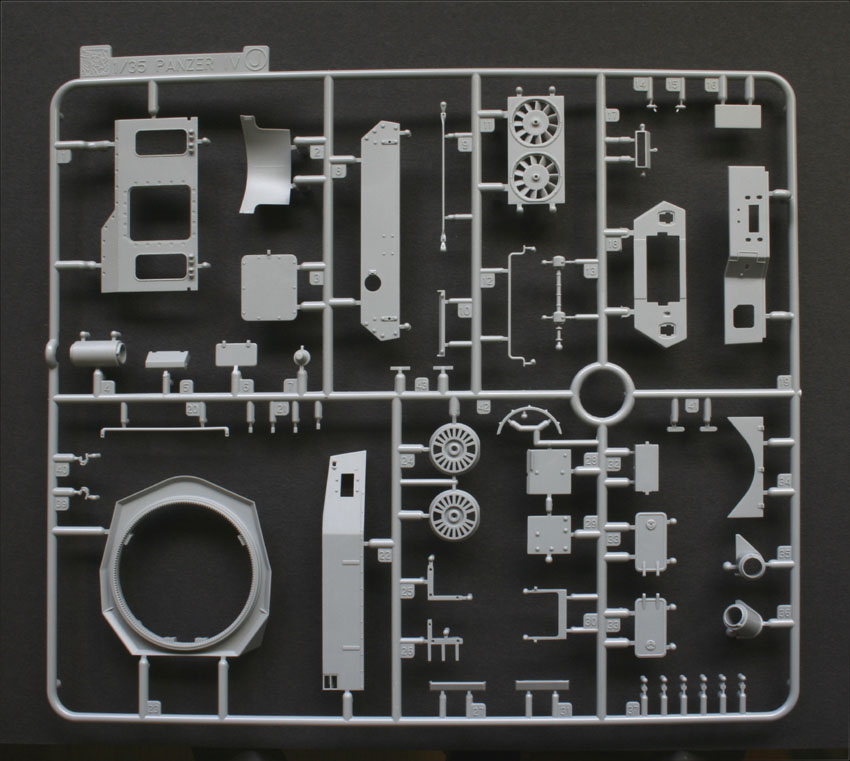
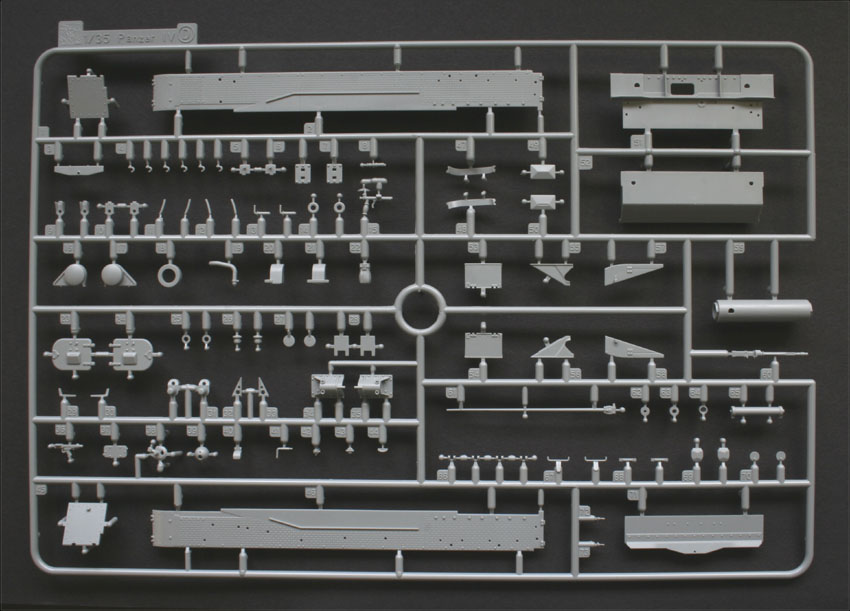
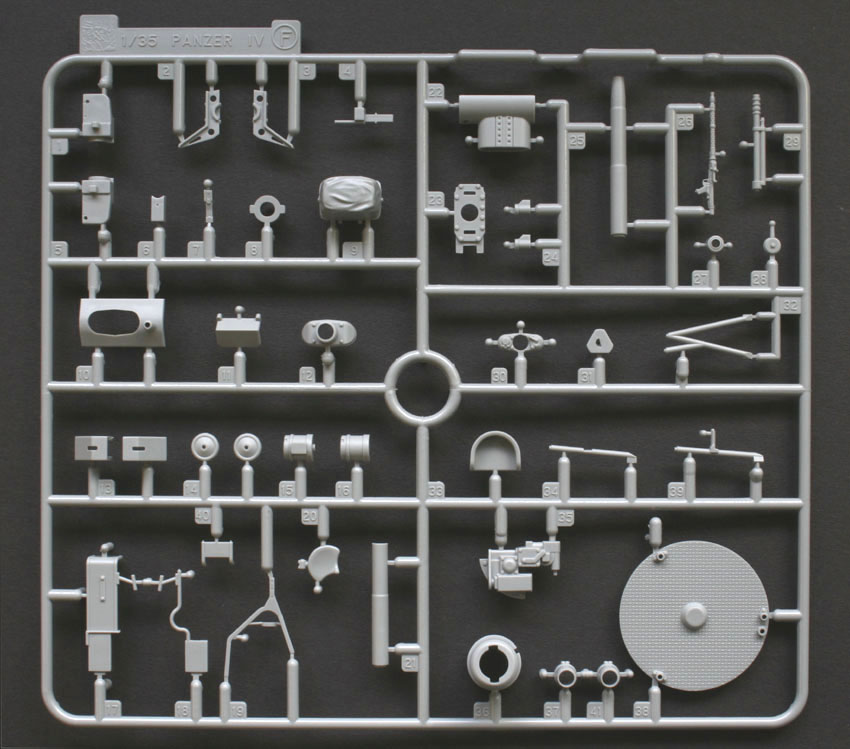
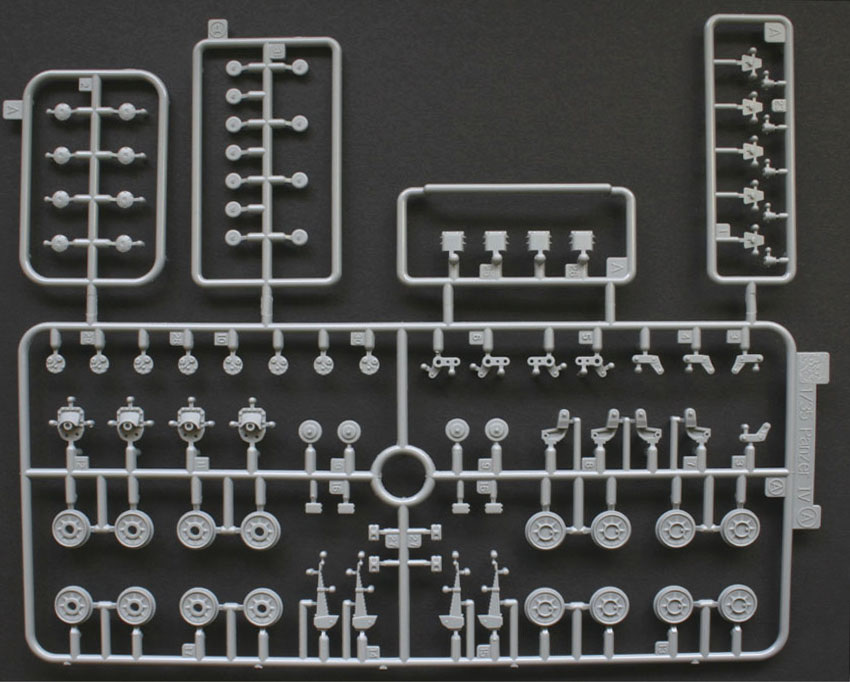
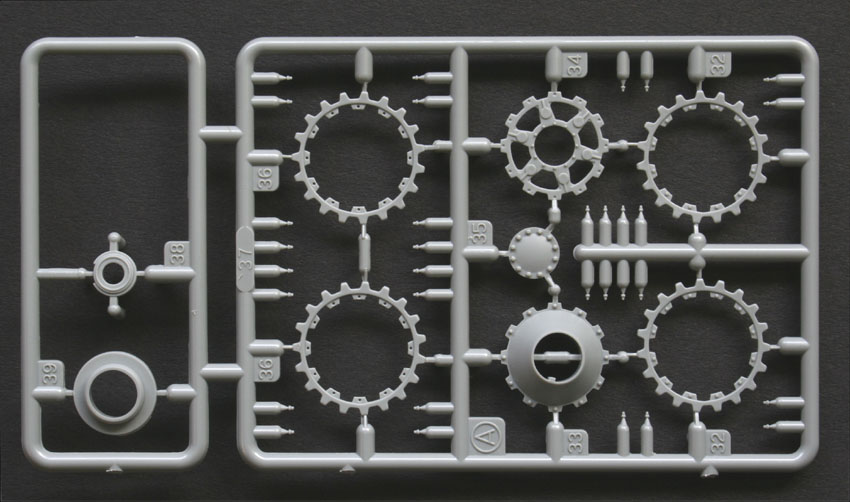
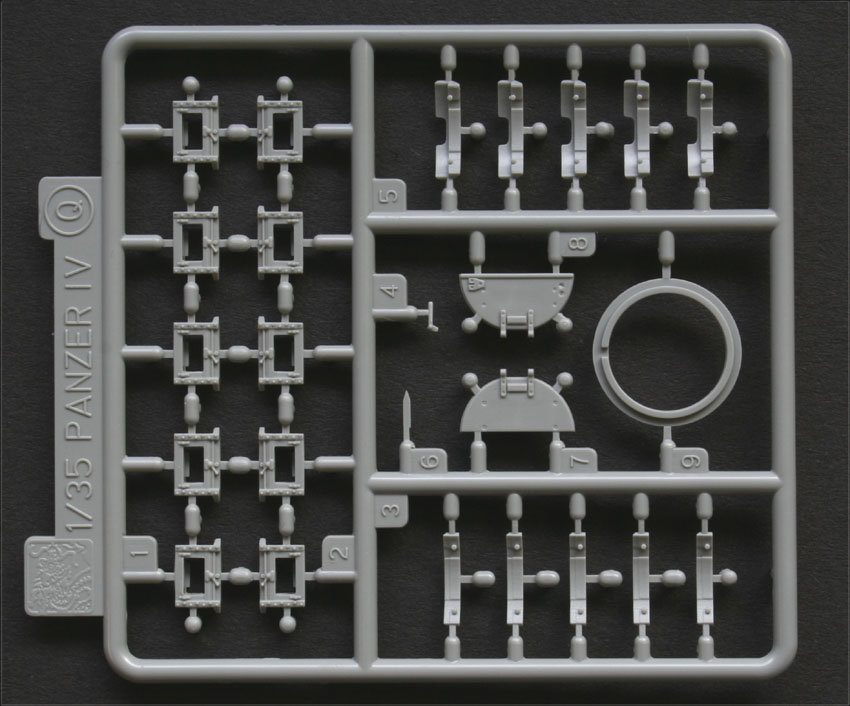
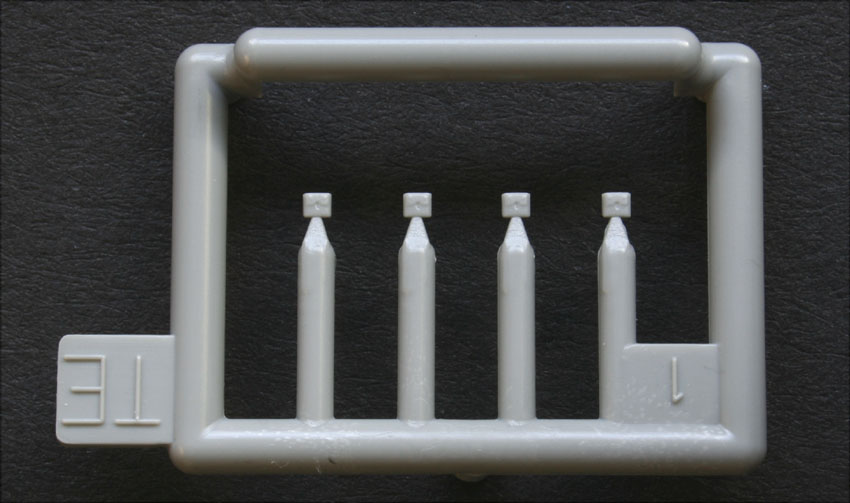
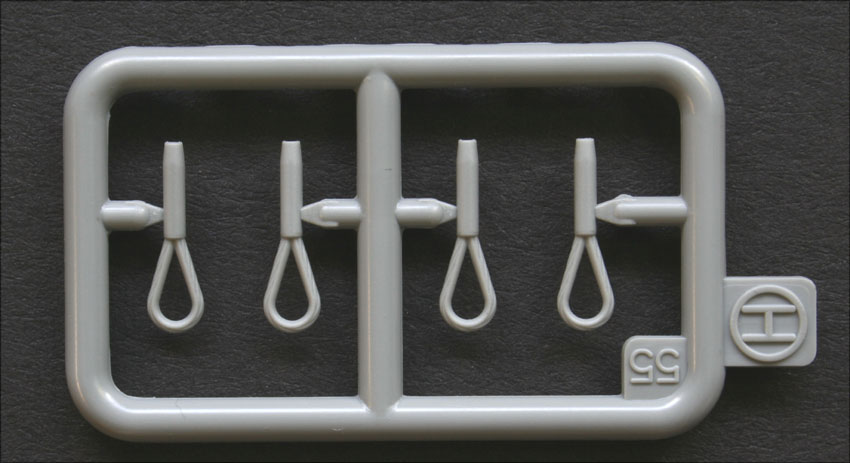
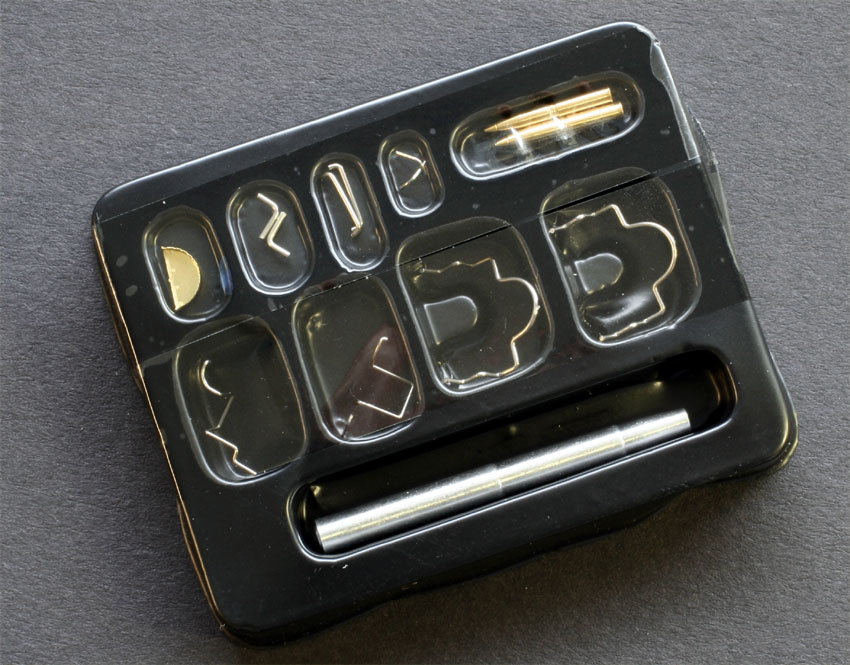
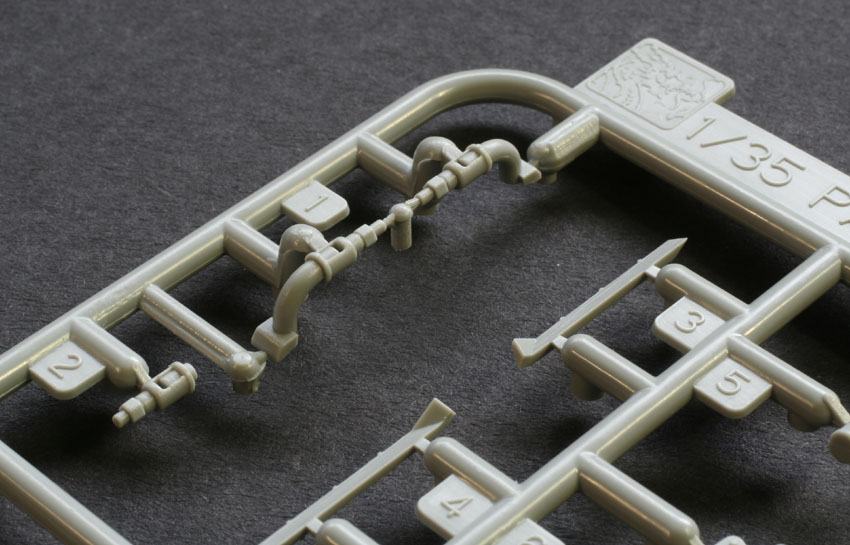
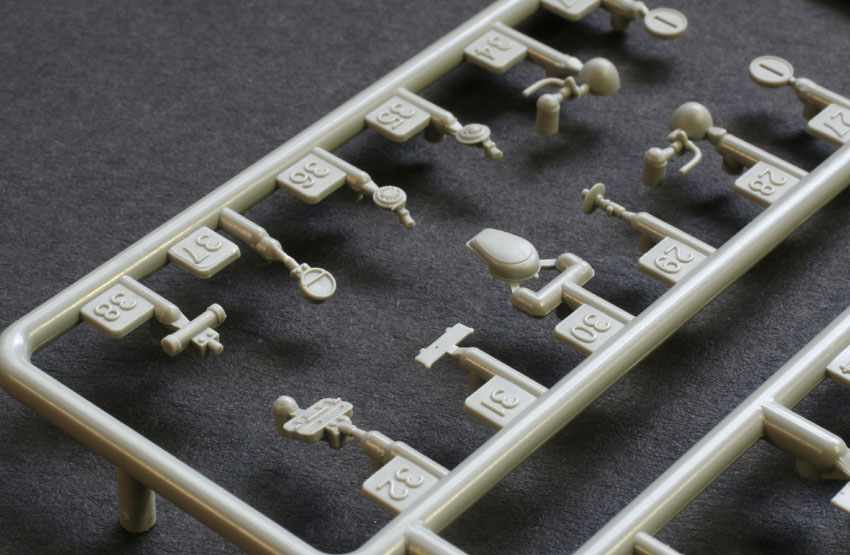
First off let's have a look at the sprues! Sprues A, D, E, F, H, S, G, B, J, L, P, and Q are all identical........ even down to the indicators showing 'parts not to be used'. In addition, U, the cupola, V, the road wheels, and obviously Z, the metal tow rope supplied are all identical. We also still get that lovely little sprue TE with the four perfectly moulded padlocks on it for the turret stowage bin, and a small transparent sprue R............ all identical. As far as the photo etch goes, we still get frets MA, MB and MC. In addition to these photo etched parts, the metal parts formerly known as ME are the same, but with the metal barrel and two turned brass shells as also included in the original release but labelled differently. In addition we also now have a new brass tube, which is for the snorkel. I can not doubt the technical assistance provided by the likes of Tom Cockle, Gary Edmundson and Thomas Anderson, who are impeccable of course, but I was under the impression that the snorkel tube was a flexible tube? In light of those three names I accept that it must have been a rigid tube?
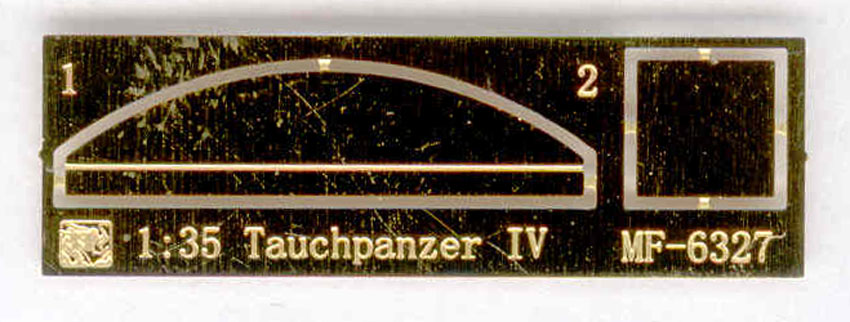
MD, which was the metal barrel and two shells in the original release is now a very small new photo etch fret, which holds a very small chord shaped piece for the hull wall that sticks out and matches the profile of the turret turning circle. I can't imagine that this piece wasn't also on the ordinary Ausf.D, and so is probably the result of new research?
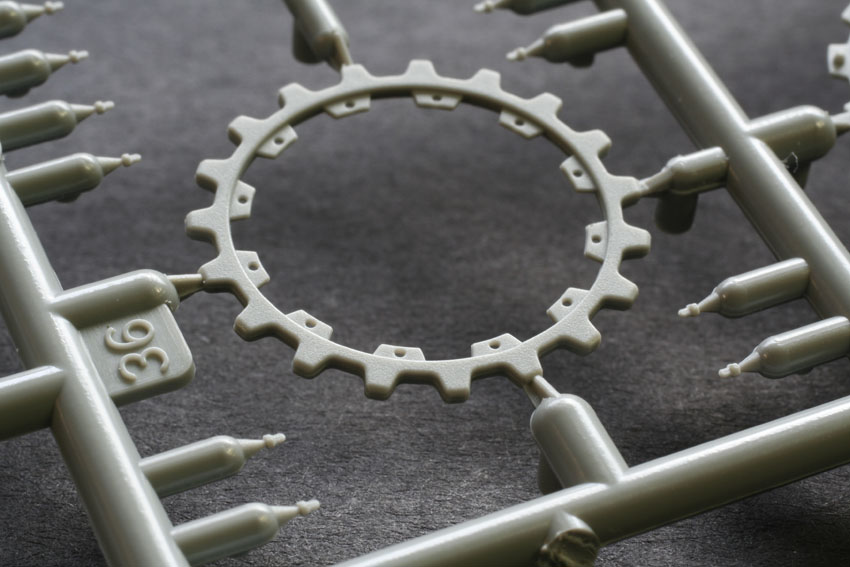
The tracks are again of the 'Magic Track' variety individual link, and there is also again, two 'formers' on which the entire track runs can be made if you wish to build the tracks off the vehicle before painting.
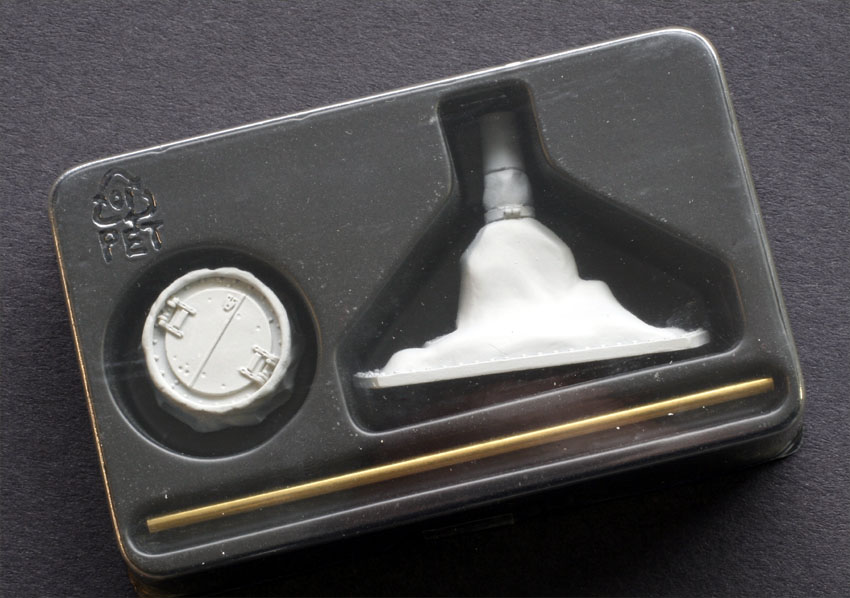
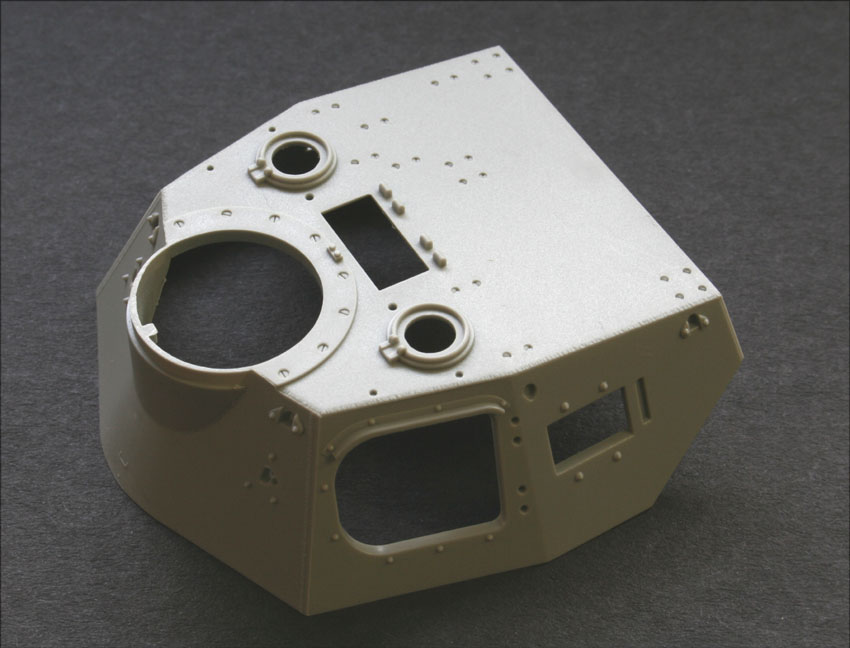
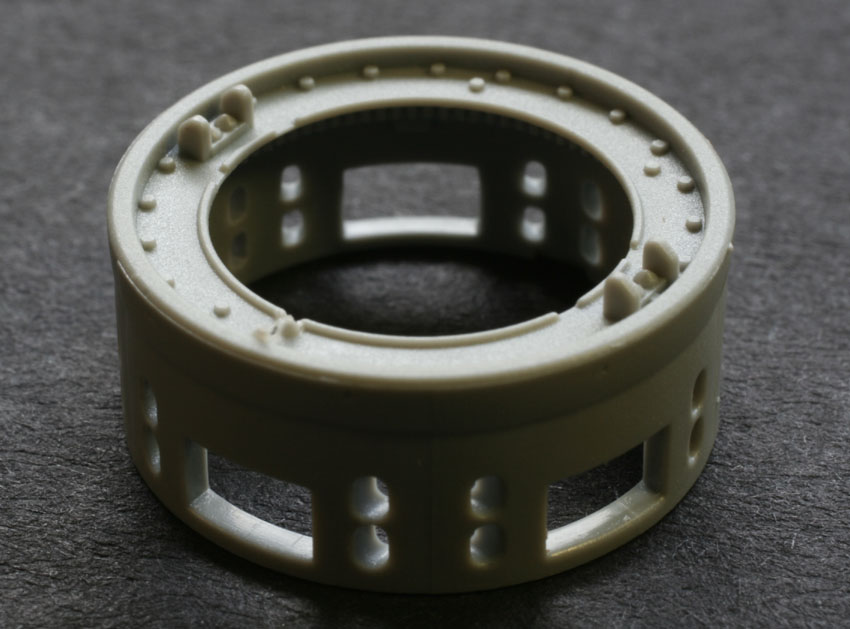
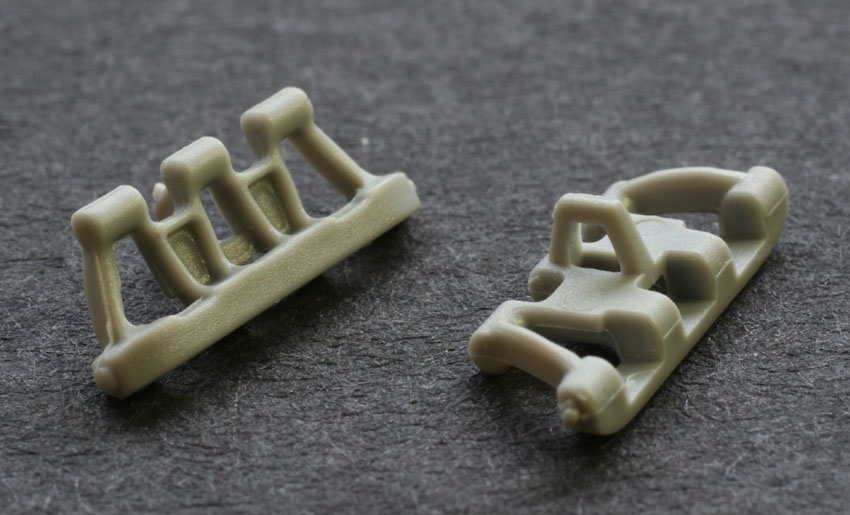
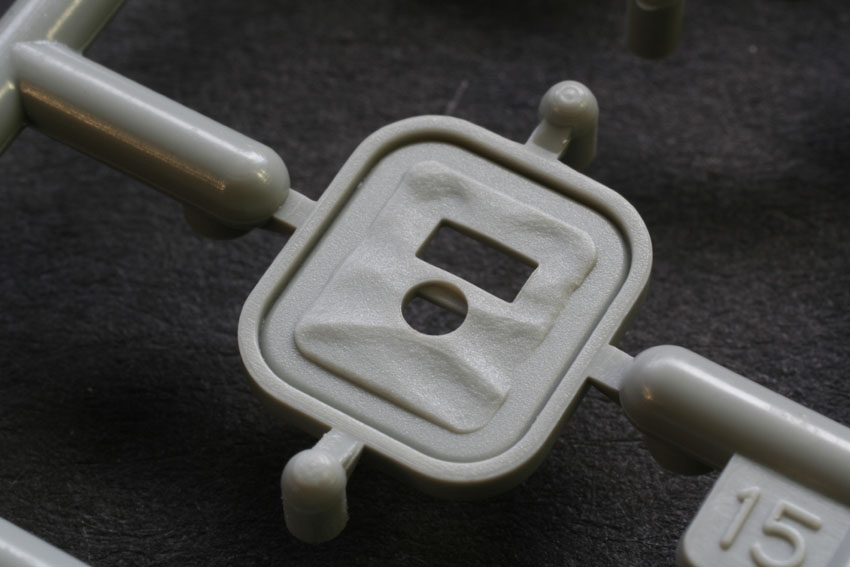
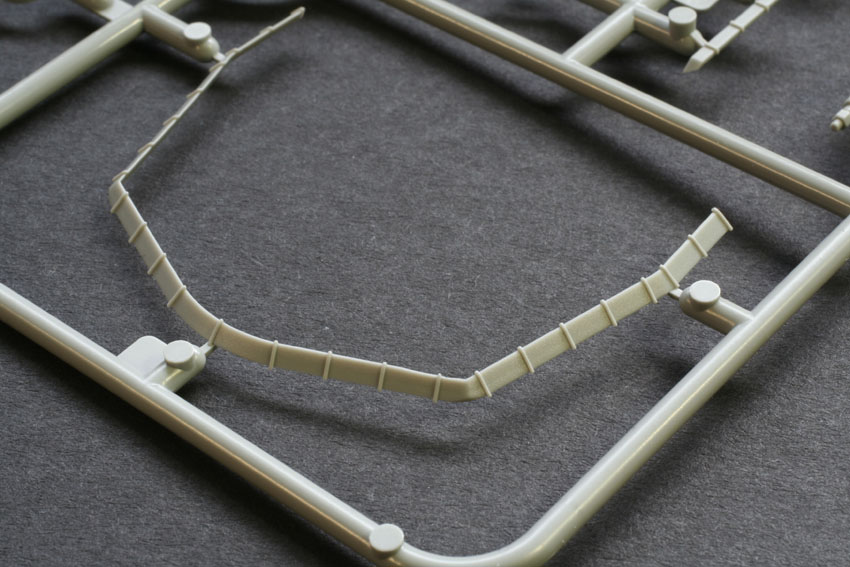
Now we come to the really new stuff! If you're building the fully buttoned up version, then there is a two new parts contained in a small extra vac-formed black plastic tray, in the form of a cupola with closed hatch, and sealed with a custom fitted rubber sheet, and a new mantlet, again depicted sealed with a rubber sheet. These two parts are extremely well moulded and will look superb when painted up. I can't wait to give them a go! Also included as new parts is a whole sprue, W, which holds parts to represent the inflatable ring around the bottom of the turret, parts for sealing off the engine intakes, MG cover, mantlet cover retaining strip, one-way valves for the exhausts, and a few other small brackets, for the snorkel.
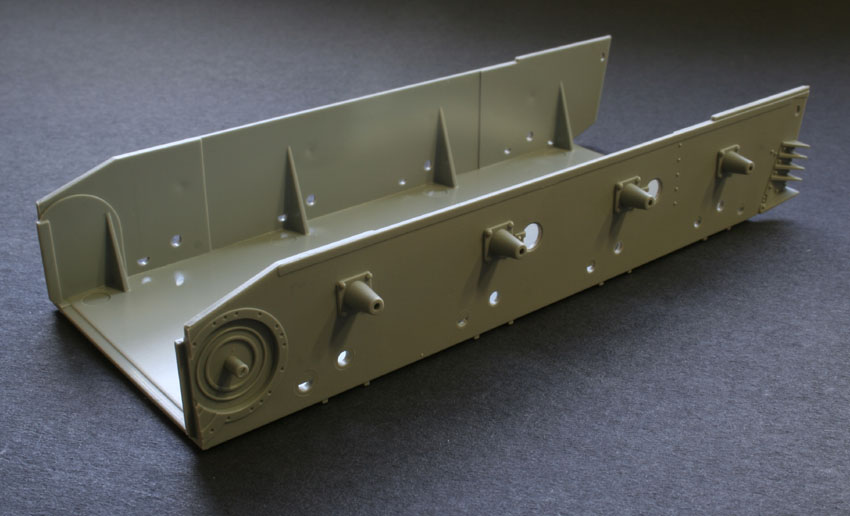
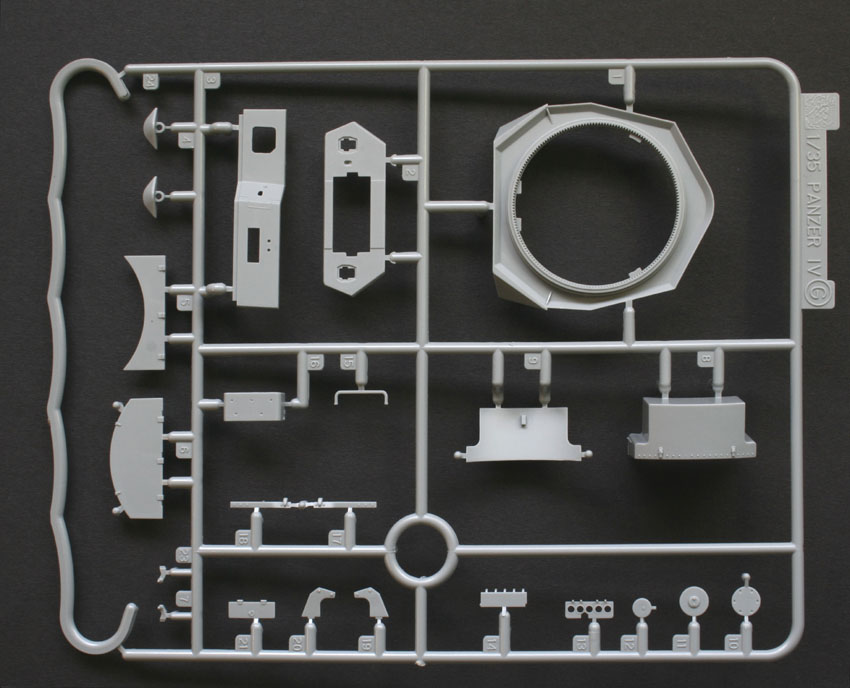
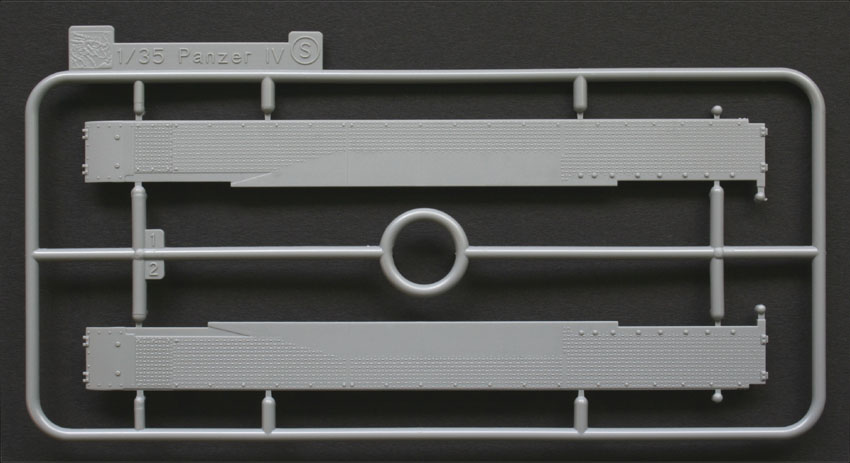
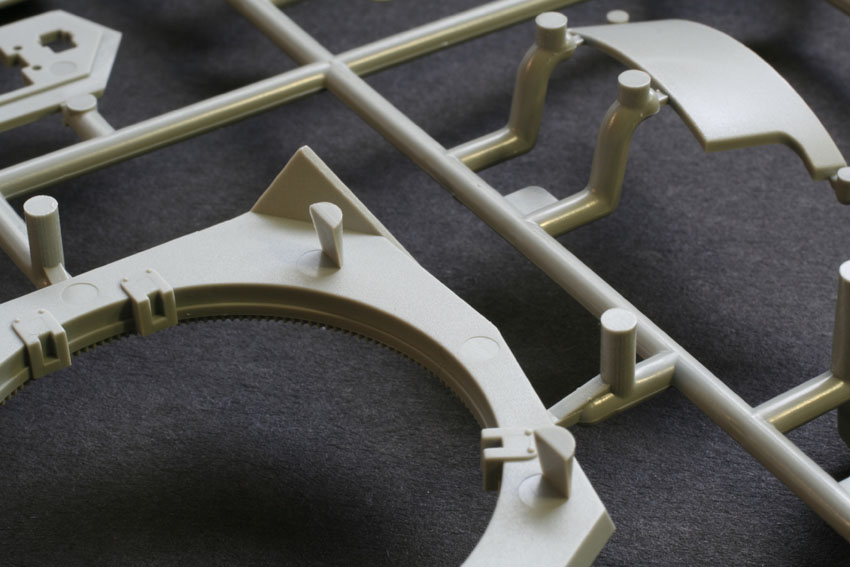
For those unfamiliar with the original Ausf.D release, this kit virtually has everything. A complete gun assembly, with spent shell basket, rifling inside the barrel, full co-axial MG34, turret basket with seats etc. all the various hatches, signal ports etc., can all be modelled open and sport interior detail, full driver's interior periscope, open or closed turret bin, tools with or without moulded on clamps, the alternative being photo etched ones. The list goes on, and even includes the option of a separate drive sprocket face with separate retaining bolts! The wheel bogey's are small kits in themselves, and can be fully articulated, working just the same as the original. Be warned though, that if you decide to articulate them, forming the individual links over them might be difficult! As with the original release there are also two sets of fenders provided. for use with or without the tools with the moulded on clamps. There are also two hulls provided in this kit. One with the add-on armour and one without, as in the original release. All together a very thorough production
Marking options
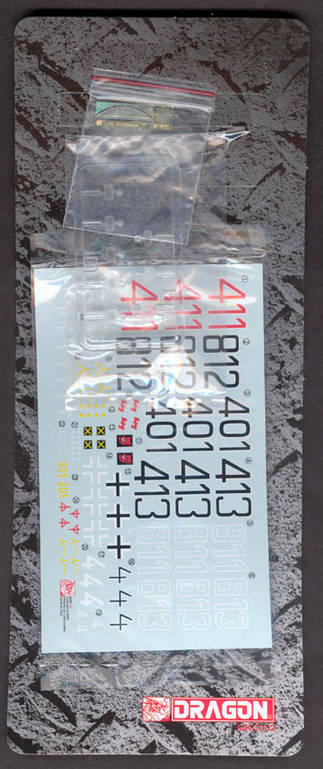
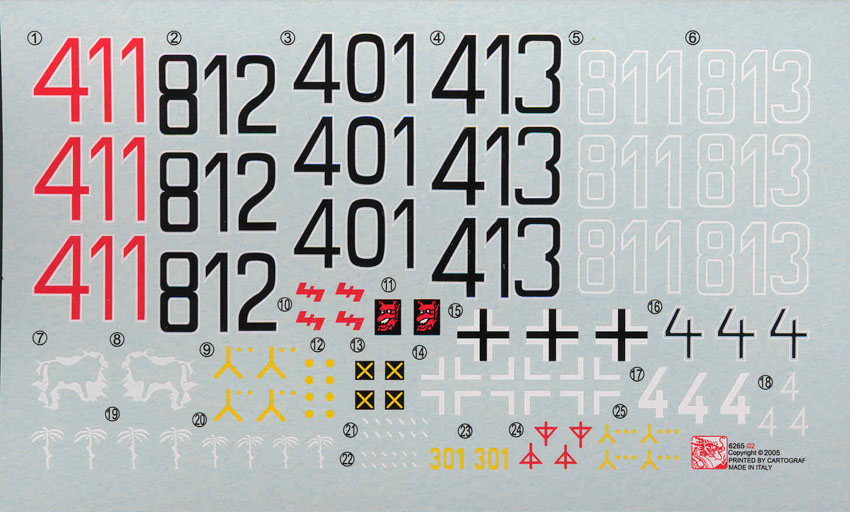
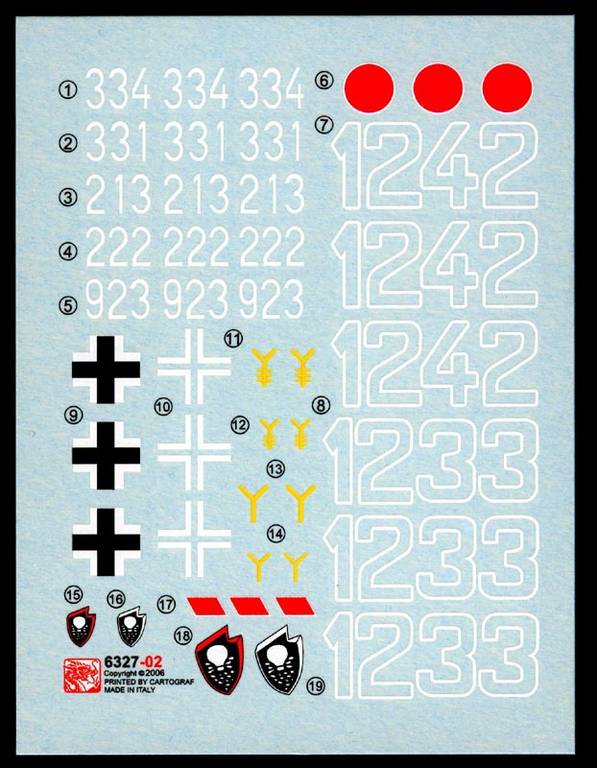
The marking options provided for in the kit are somewhat limited by reality, since this was not a common variant. Given that, Cyber Hobby have managed to provide two options, both in Panzer grey. The 18th Panzer Divisional markings will look really good!
Panzer-Regiment 25, 7.Panzer-Division, Eastern Front.
Panzer-Regiment 18, 18.Panzer-Division, Eastern Front 1941.
in conclusion
Another top-notch production from Cyber Hobby! It's limited release so once it's gone, it's gone. Beautifully produced, containing unique parts. Highly recommended.
My thanks to Cyber Hobby fro the review sample.
SUMMARY
A beautifully produced kit of a less common variant.
Our Thanks to Cyber-Hobby.com! This item was provided by them for the purpose of having it reviewed on this KitMaker Network site. If you would like your kit, book, or product reviewed, please contact us.
Thanks for the review Vinnie.
From what I can see in Sprue W, most of the details for the Tauchpanzer are incorrect.
1. The pipe that goes around the bottom edge of the turret should be a round in profile not flat.
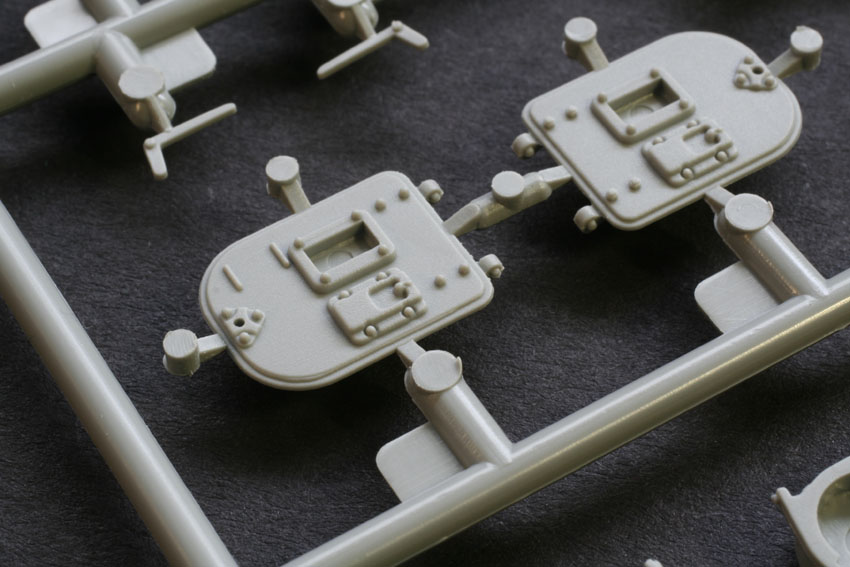
2. The covers for the engine vents are incorrect in shape and lack detail (could the detail be on the reverse side?)
4. The cover for the main gun has the wrong shape
5. Most Tauchpanzers carried a wooden beam on top of the right fender. The frame is not provided in the kit.
6. The kit lacks the brake access hatch locks that are unique to Tauchpanzers
7. The divisional marking is incorrect lacking detail. There should be two eyes and a nose in the white circle. The white border should be less angular, wider and not have the black outer border. The detail of the sea is also wrong.
These are my observations based on the photos in the review and I need to look at the kit to be absolutely sure.
Lawrence Quah
Well Lawrence, I guess you're going to have to buy one to be absolutely sure! :-)
May I ask what references? I can't find very many at all? If we could only get Thomas Anderson here!
Vinnie
*EDIT* I'll get it out again in the morning and take close ups of the parts you mentioned? Including the other side of those brake access hatches.
Vinnie
I compared the kit parts to photos that I collected. Here are some of them.
1. The pipe that goes around the bottom edge of the turret should be a round in profile not flat.
This is the most noticeable mistake in the Dragon kit. The photos speak for themselves.
Close up photo. The Dragon kit also does not have the vertical pipe.
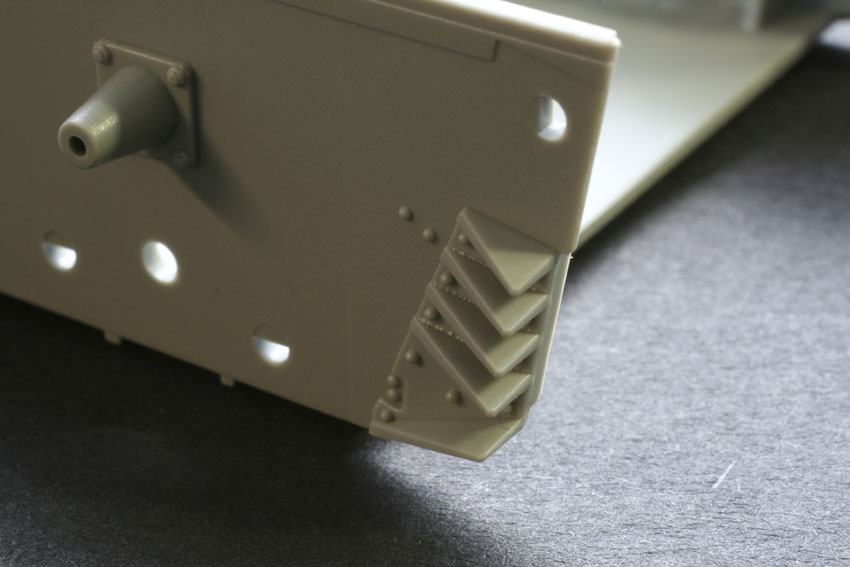
2. The covers for the engine vents are incorrect in shape and lack detail (could the detail be on the reverse side?)
If you look at the engine vent covers, there are ribs on it. Also note that there are no retaining clips on the vent sides to hold the covers when closed
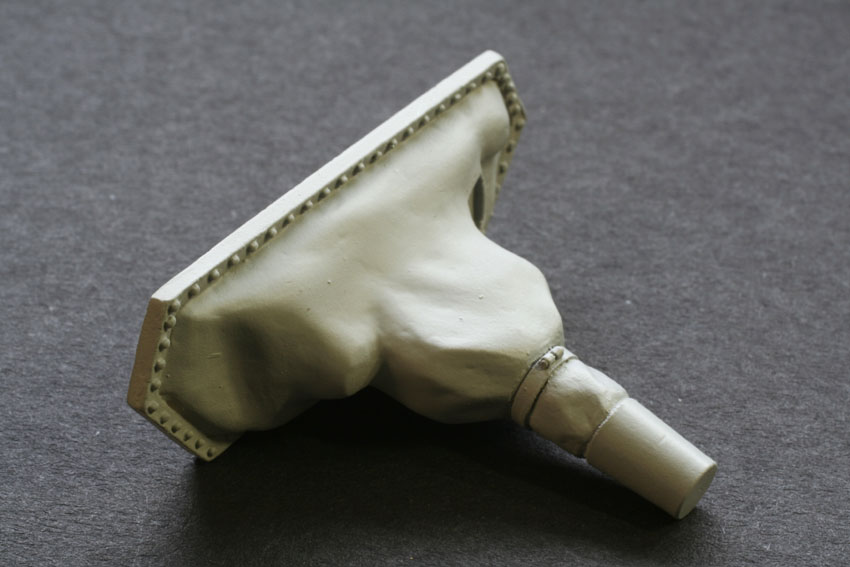
3. The cover for the main gun has the wrong shape.
Also note that there is a protrusion in the cover for the co-axial MG.
4. Most Tauchpanzers carried a wooden beam on top of the right fender. The frame for the wooden frame is not provided in the kit.
Of interest is the balkencruz painted on to the wooden beam
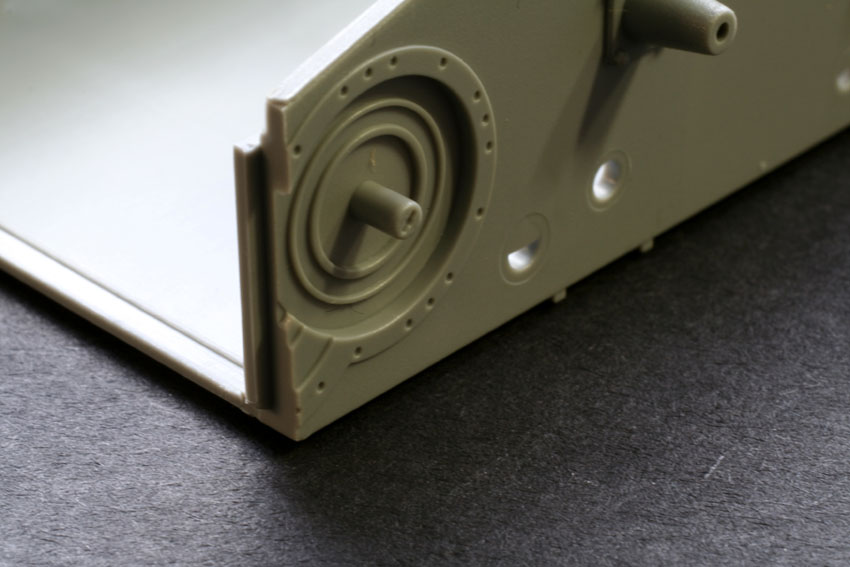
5. The kit lacks the brake access hatch locks that are unique to Tauchpanzers
This is the same photo that Dragon used to market this kit. If you look closely at the brake access hatch you can see the locks. It's T-shaped and swivels to lock the brake access hatch. This photo also gives a good look at the rubber mantlet cover. Note the vision slot in the cover.
Again, we can see the MG cover as part of the mantlet cover.
6. The divisional marking is incorrect lacking detail. There should be two eyes and a nose in the white circle. The white border should be less angular, wider and not have the black outer border. The detail of the sea is also wrong.
Even from this distance, you can tell that the Dragon decal is incorrect.
I am not sure if I will buy this kit as we have to buy both the Stadgas Panther and Tauchpanzer as a set. You can not buy them separately. You pay upfront and you get the Panther within a week and the Tauchpanzer in 1 month.
I look forward to more photos of the Tauchpanzer parts.
Lawrence Quah
DML or Tristar... What to do, what to do... :-)
I will be eager to see some comparison reviews when both are available. For those of us who can probably only swing one kit right now, it's tearing me up that they have been released simultaneously (gentle sobbing).
Dave[/quote]
Dave,
I am halfway through building the Tristar kit and I got to say that the Tristar kit has nailed it with this kit. All the points that I raised earlier has been done accurately by Tristar.
Lawrence Quah
Thanks for posting these Lawrence! The pipe at the bottom of the turrte is actually an inflatable ring, and when deployed would be sqeezed beteen the hull top and turret bottom, so I actually think this is something Dragon got right, since the flat part shown on the sprues would just represent the part of the ring squeezed out? Granted it should have had a slightly more 'bulbous' appearnce I agree, so it's probably best replaced with a 'sausage' of milliput!
After examining the instructions, it does appear that that pipe is missing too.
There is a rib pattern of detail on the other side of the engine covers, yes.
There is also a slight difference in the rubber sheet covering the gun and mantlet from the one in those pictures, but it's only a slight difference, and in a rubber sheet...... so theirs could be correct too, I'd like to see their references on that one.
Most Tauchpanzers carried a wooden beam? Does that mean you have pictures of some that didn't? In which case Dragon's is correct then? It's difficult because if there was a difference in dimensions or somthing that would have been standardized, then we could say quite definately that Dragon were wrong, but in some of these it's less definite, since it looks like they could have references for the one that they have modelled? I wish somebody from Dragon would come on and show their references!
Thanks Lawrence!
Vinnie
Vinnie
The bracket that holds the inflatable ring does not go round the ring. The DML part shows vertical lines across the ring. I do not know whether this is meant to represent the bracket or as part of the ring (in which case then the bracket would be nissing). Sorry, if I am not explaining it well enough.
I noticed that the vent covers are of different shape to the Tristar kit. I do not have photos to show which is correct. Here is the Tristar part.
The 4th and 5th photo shows vehicle #1232 and has the wooden beam and different mantlet/gun cover (more common?). DML provides decals for #1233. If they are from the same company, it would most probably have the same equipment.
I agree that we need to see the references that DML used for this kit. As DML used photo #7 for the pre-release marketing, I would have thought that they would have used this as reference for the kit.
Most of the photos I have show the items I raised and leads me to believe that they were standardised to a certain extent. But we can never be 100% sure.
This is #331. Is this the same as the one in the kit? On this vehicle, the wooden beam is not there. I suspect that the wooden beam was either used on early Tauchpanzers or were unique for asome companies.
Tristar provides markings for number #632, #933 and #231. The wooden beam, turret inflatable ring, mantlet/gun cover and brake access hatch locks provided in Tristar kit are correct for these markings.
For this discussion, I have just focused on the Tauchpanzer parts and not touched on the base Pz IVD kit as this has been covered by Terry Ashley at PMMS. I believe that there were some minor points raised by Terry.
Lawrence
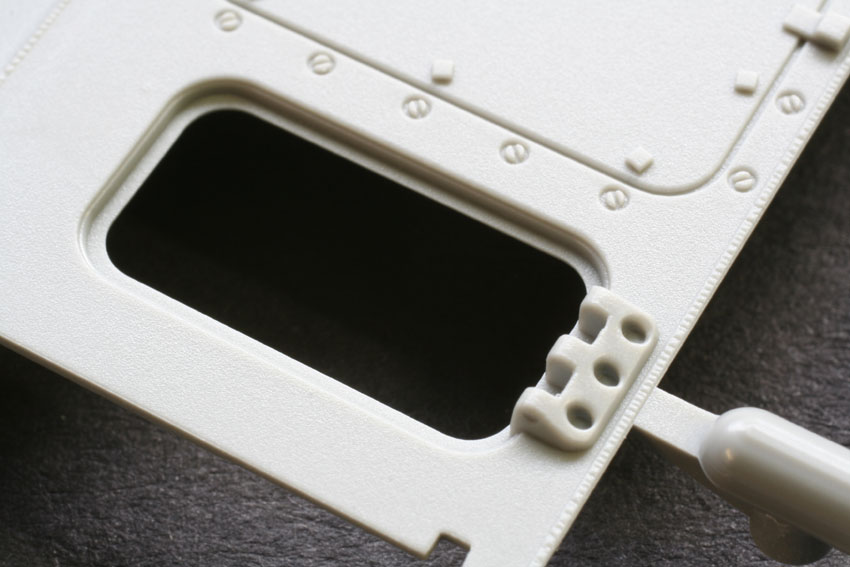
Lawrence, here's a pic of the inside of the engine intake grill covers, and Cyber Hobby does appear to have simplified them a touch too much, not that it will matter if you choose to model them sealed up!
Here's one of the MG cover built:
Finally, here's the mantlet, and there does seem to be a protuberance for the Coaxial MG:
So although it would appear that Cyber Hobby have oversimplified a touch in certain areas, given everything that you get in the box, I'd still go for the Cyber Hobby one!
Vinnie
Thanks for sharing the detail shots Vinnie.
On the hull MG cover, it seems that there are bolts around the rim. The clear part is a nice touch though.
And the tip of the hull MG cover is slightly wider than the body. Like a cylinder with a slightly wider diameter end rubber circle. (Confused yet )
Also, it looks like the cover for the co-axial MG sticks out more.
More like this
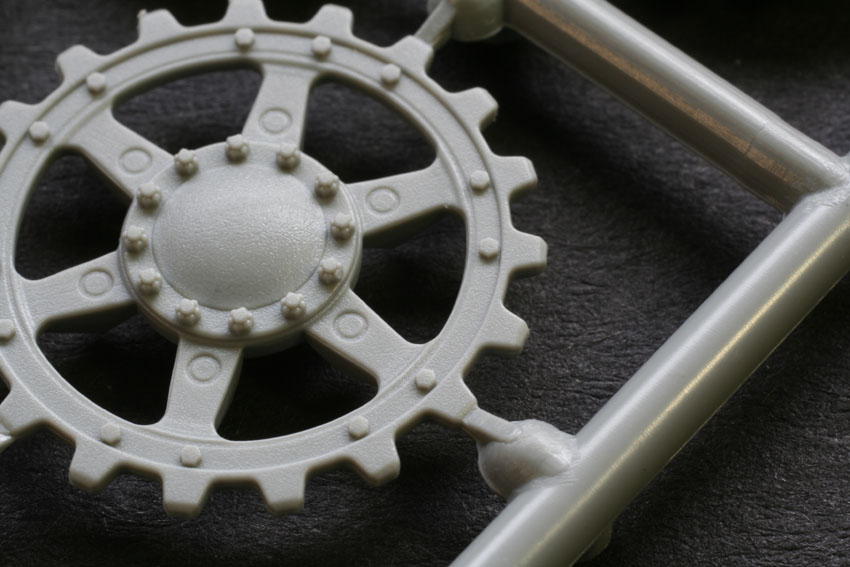
I see that there are two types of sprockets provided. Make sure you use the correct one. The good thing though is that the CH kit provides the turret basket as some Tauchpanzers had them.
Lawrence
Hey guys.. the wood beam on the IV's was known as a "Un-Ditching Beam". (And I dont think all Tauch's had them... just as not all C's, D's, or E's had them... and any version thereafter....)
It's also looks like its going to be included on the next Panzer IV Ausf. E Update from Dragon!.....
-Chris


Comments