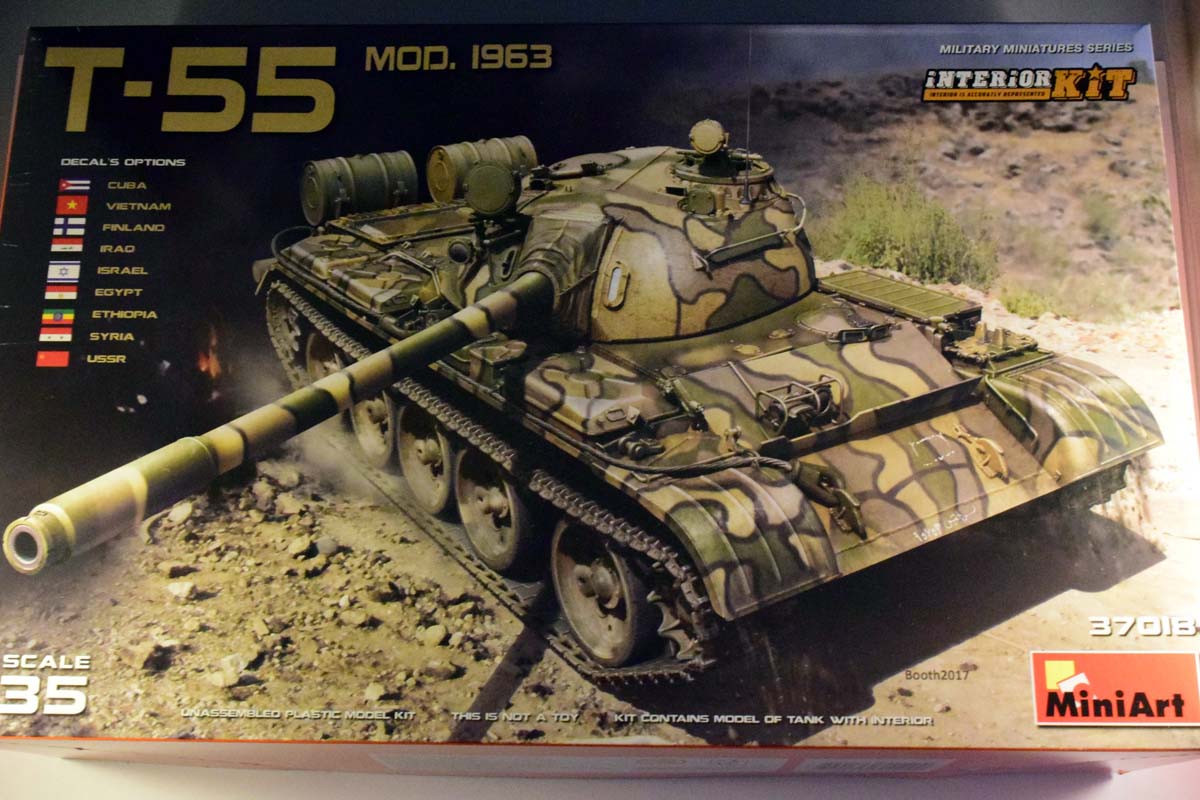
Over the last couple of years MiniArt has been steadily issuing all (well, not all but close) the members of T-44/54/55 family; now we have the 1963 modification of the T-55. (There are other versions coming, too; the mod 1981 being something Im really looking forward to.) Obviously MiniArt has been focusing on the Soviet version of the tank (since this is the basic version), but if someone came out with conversions for Polish/Czech/Chinese/etc. Versions for this kit, the sky would be the limit of what you can build (as long as its a T-55).
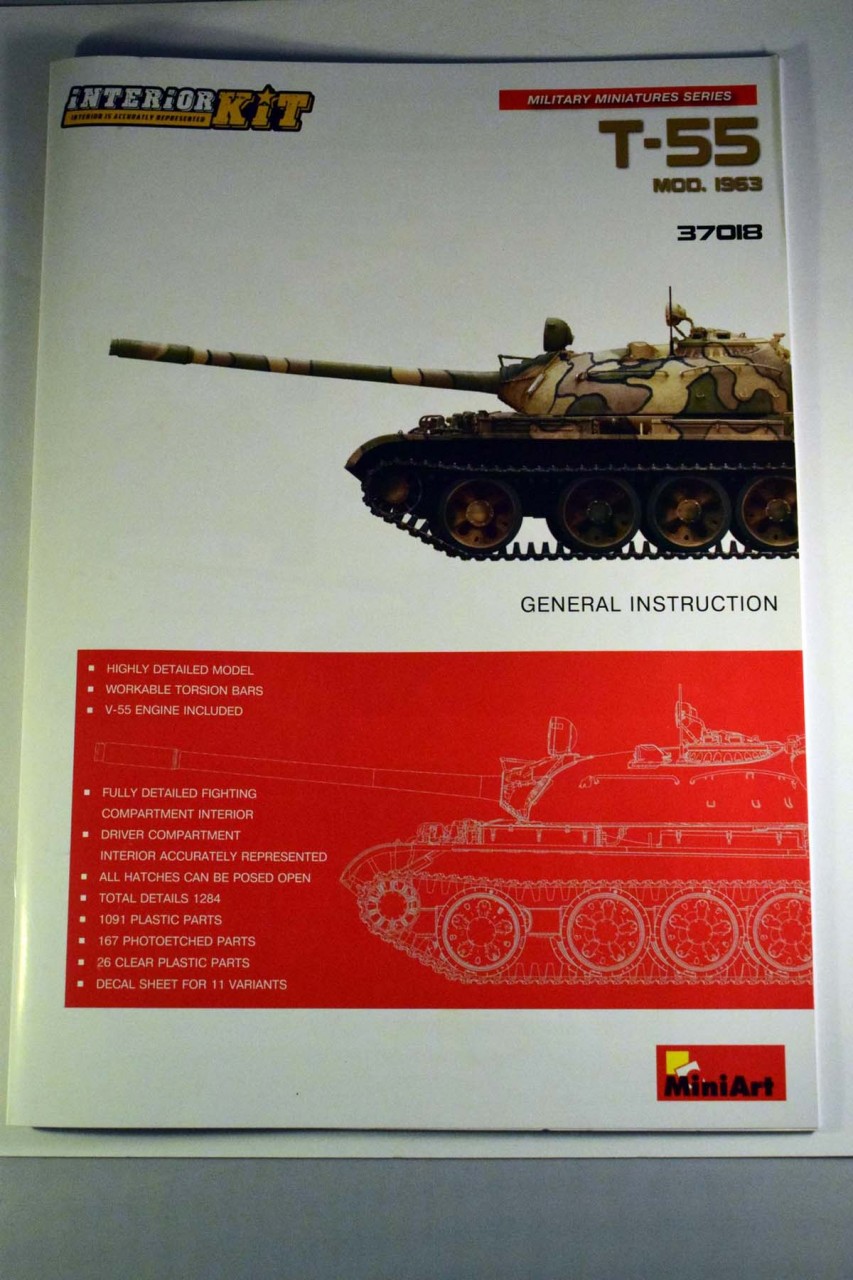
This was the final T-55 version before the T-55A production started. This tank differed from the previous T-55s mostly in the new CBRN (Chemical, biological, radiological and nuclear) defence: new type of anti radiation lining, and a PAZ/FVU chemical filtration system. The lining was a lead-laced plastic lining applied to the interior of the tank, the outside surfaces of the hatches. The surface was protected with a thin steel cover. The tank also had an over pressurized crew compartment with a new filtration system against chemical and biological agents.
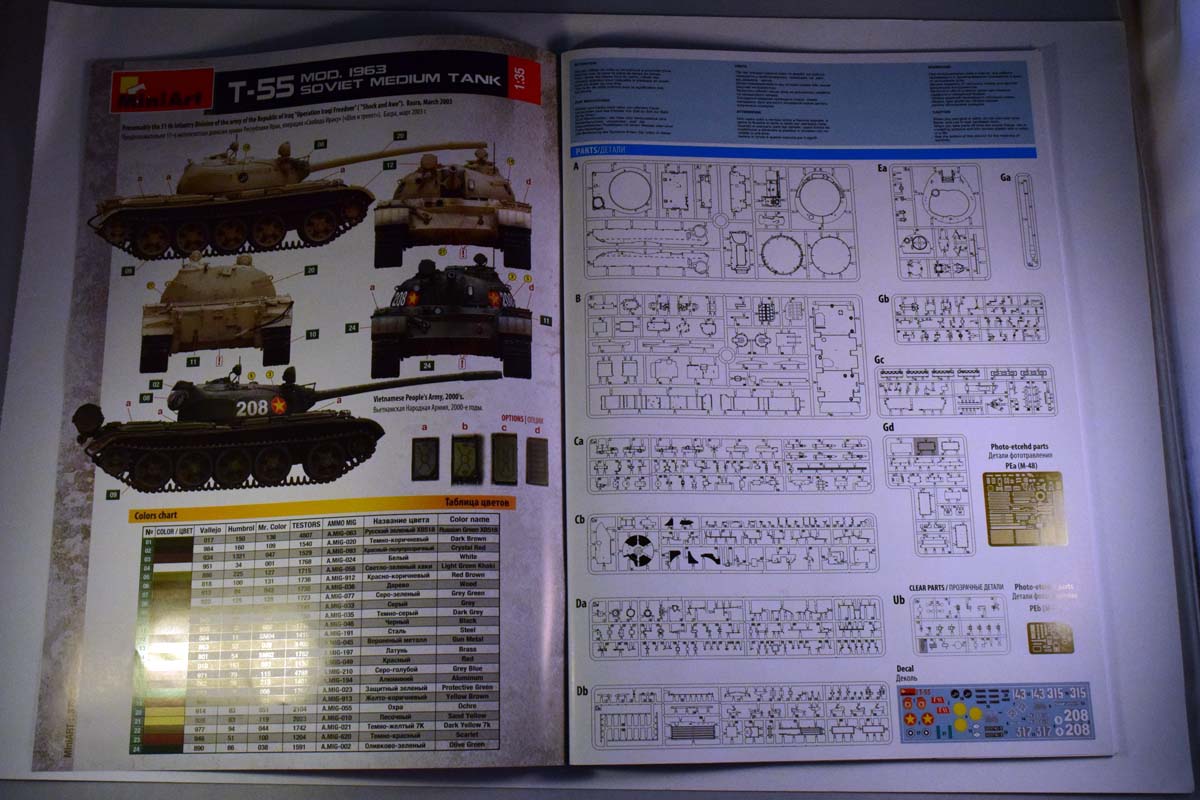
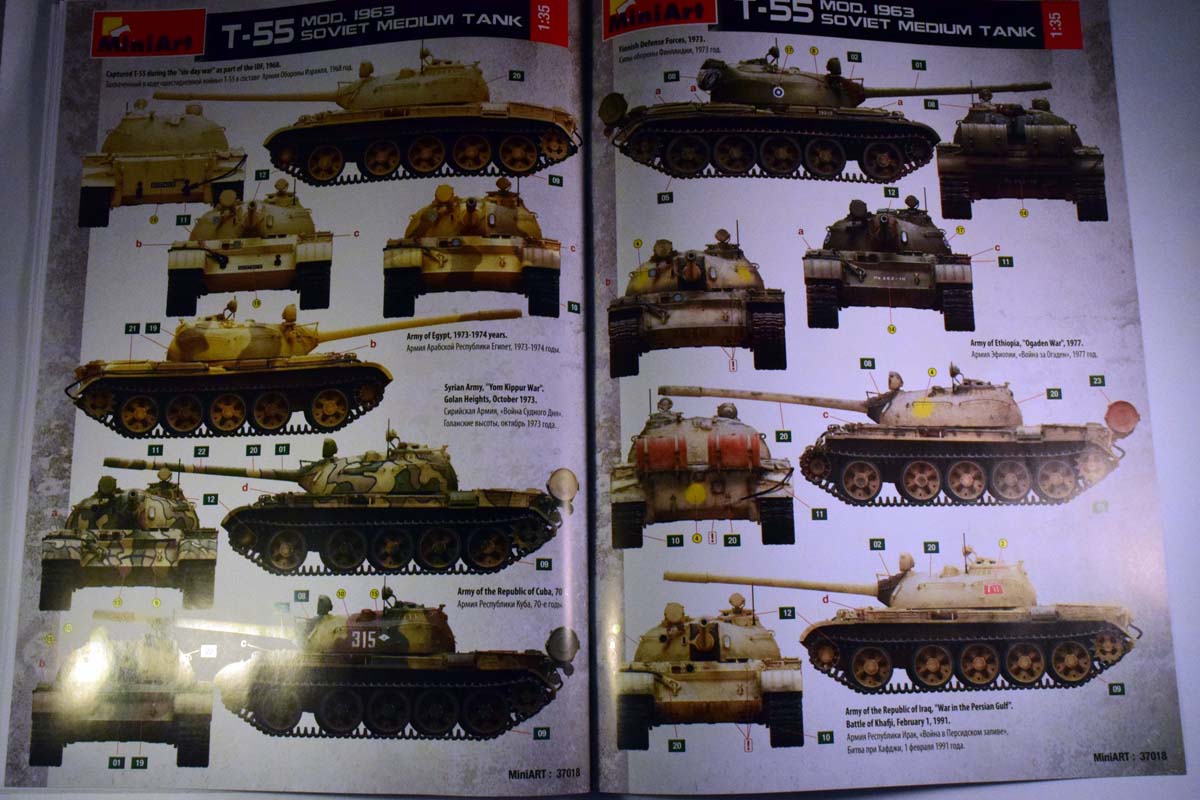
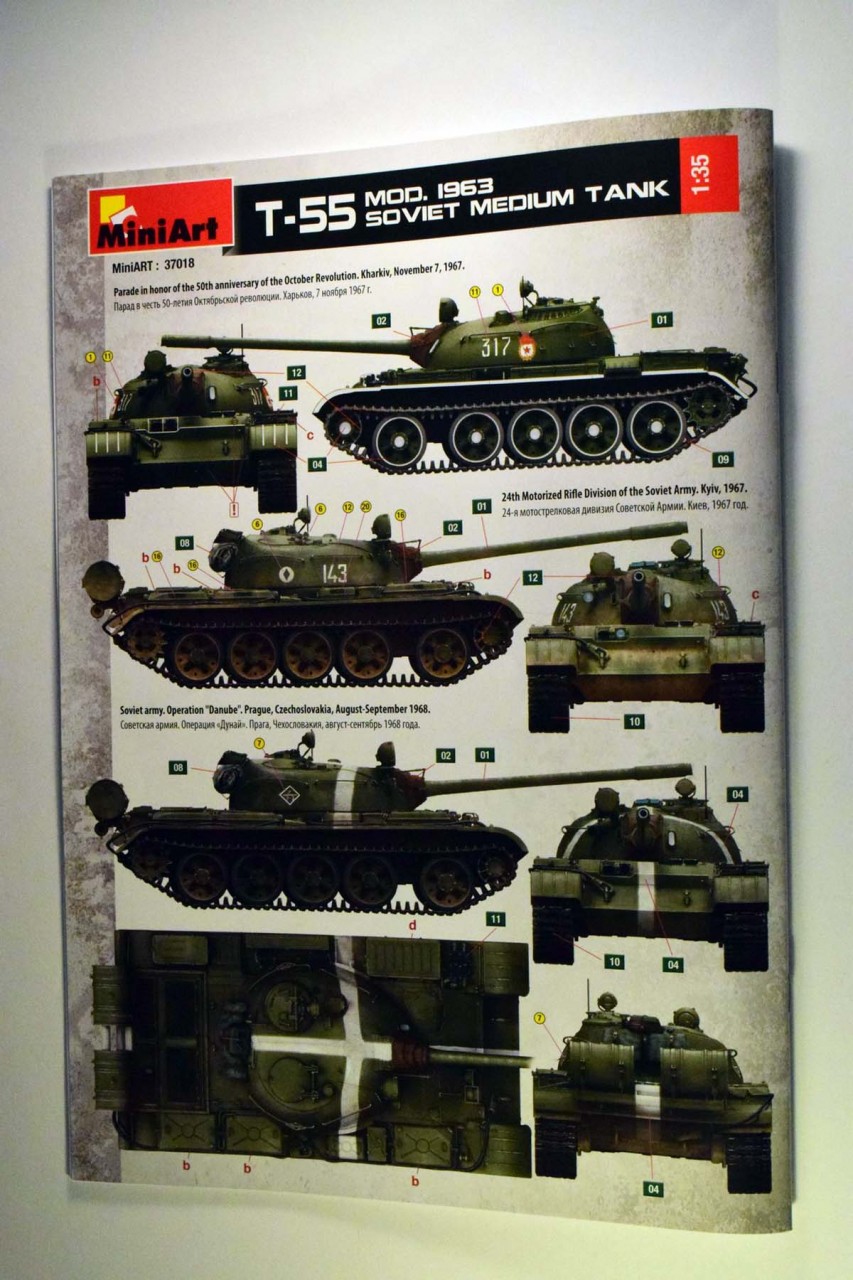
As with all versions this tank was exported to several countries -which is reflected on the available painting options.
I found a lot of help, and very comprehensive reference material on the T-54 & T-55 Research Group on Facebook - if you want to know everything about the tank that is the place to go to.
The Model
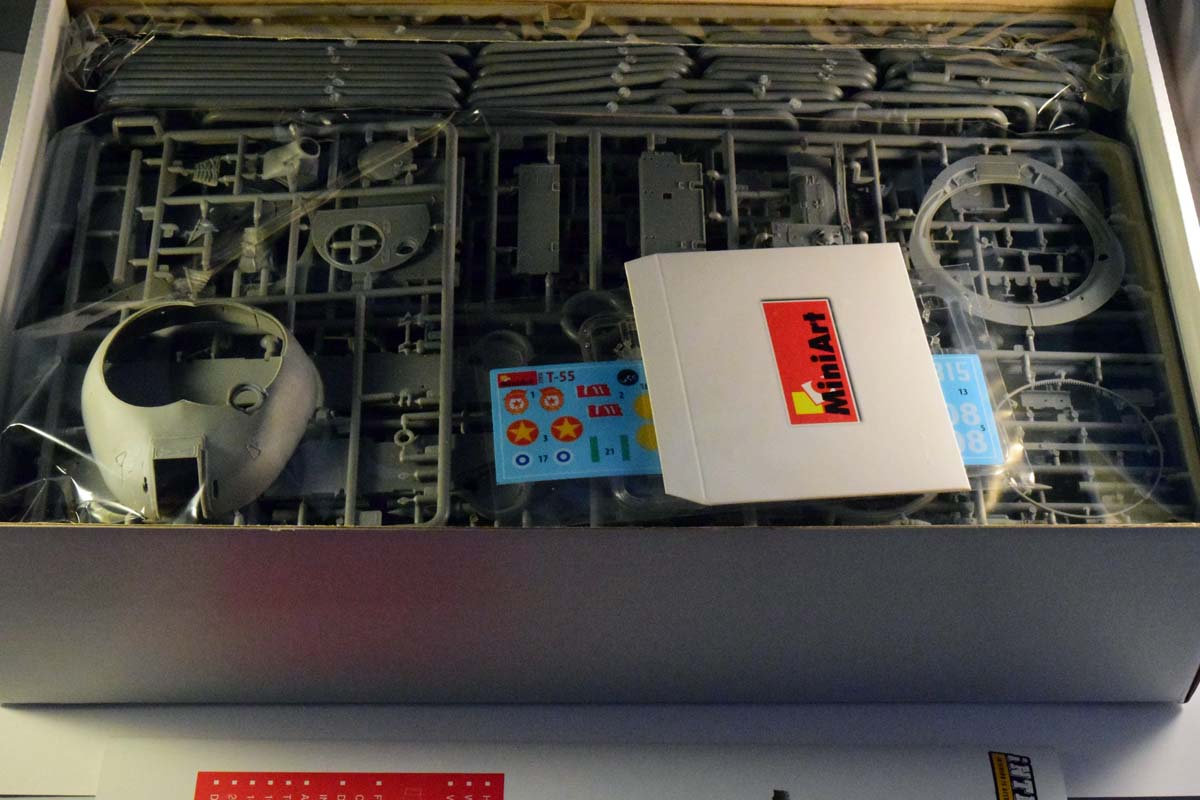
The box is quite large and heavy - once you open all the plastic bags, you will realize that putting everything back into the box will prove challenging. And this is not the only challenging thing about the model, I might add.
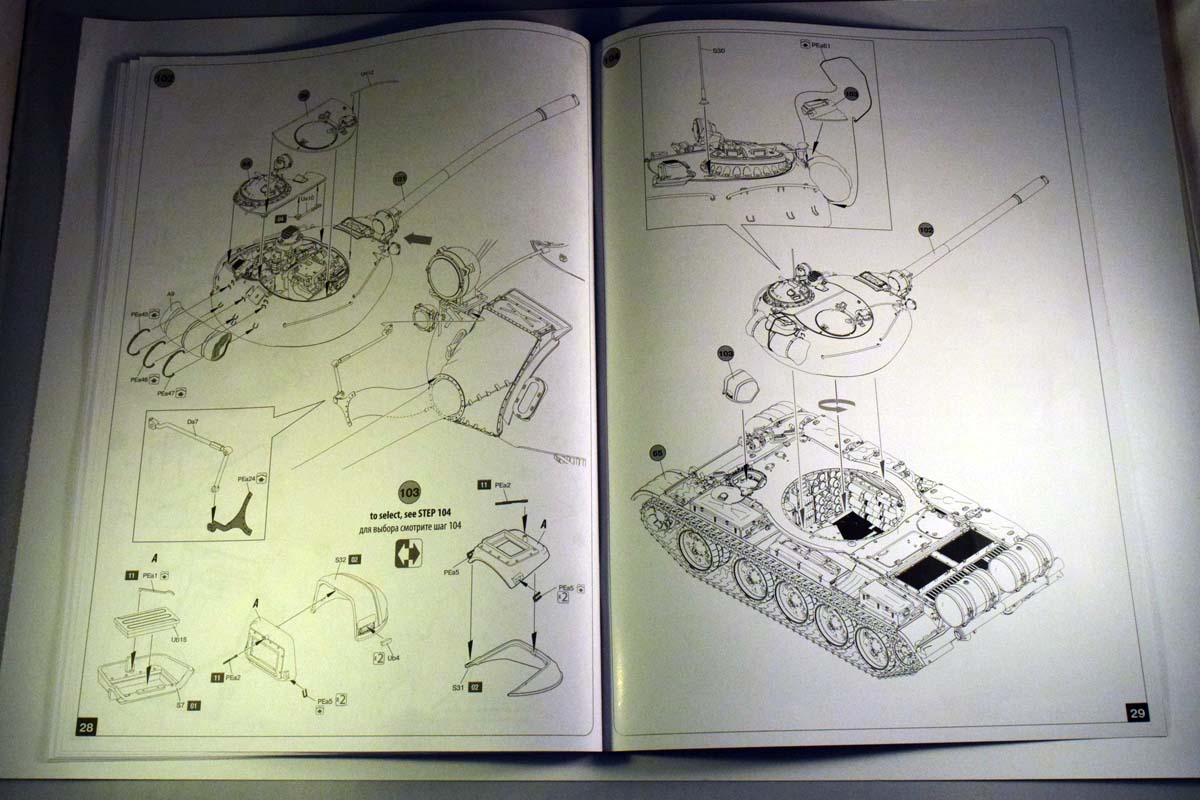
The instructions come in the usual A4 format with colored and black and white pages. The assembly sequence is logical: it starts from the engine, the hull, moves onto the mudguards and the turret. The only issue with this is that to paint and weather the interior its probably better to do the interior parts together; at least this is how I usually do. First I finish the hull interior, move onto the turret, paint everything, close up the hull and the turret, and then move onto the running gear and finally the mudguards.
The decals are well designed and printed; so far Ive not had any issues with MiniArts decals. There are 12 different painting options offered, but this tank being ubiquitous around the globe the possibilities are almost endless. If we take all the retrofits and modifications they truly become endless Over the decades most T-55s still in service have been fitted with various T-72 tracks, extra armor (reactive or otherwise), side-skirts, extra equipment, AA machine gun, and so on and so forth -not mentioning the internal modernizations. (Personally I am hoping for a couple of M117 gun-launched laser-guided missiles in later models; one missile costs about half of what a T-55 does )
One important thing to mention: you have to decide which vehicle you want to build before starting the build (or rather, before you install the fuel tanks and tool boxes). The painting guide has information on which version had which fuel tank/box installed. I did take photos of the instructions but a much better version is available on the MiniArt website.
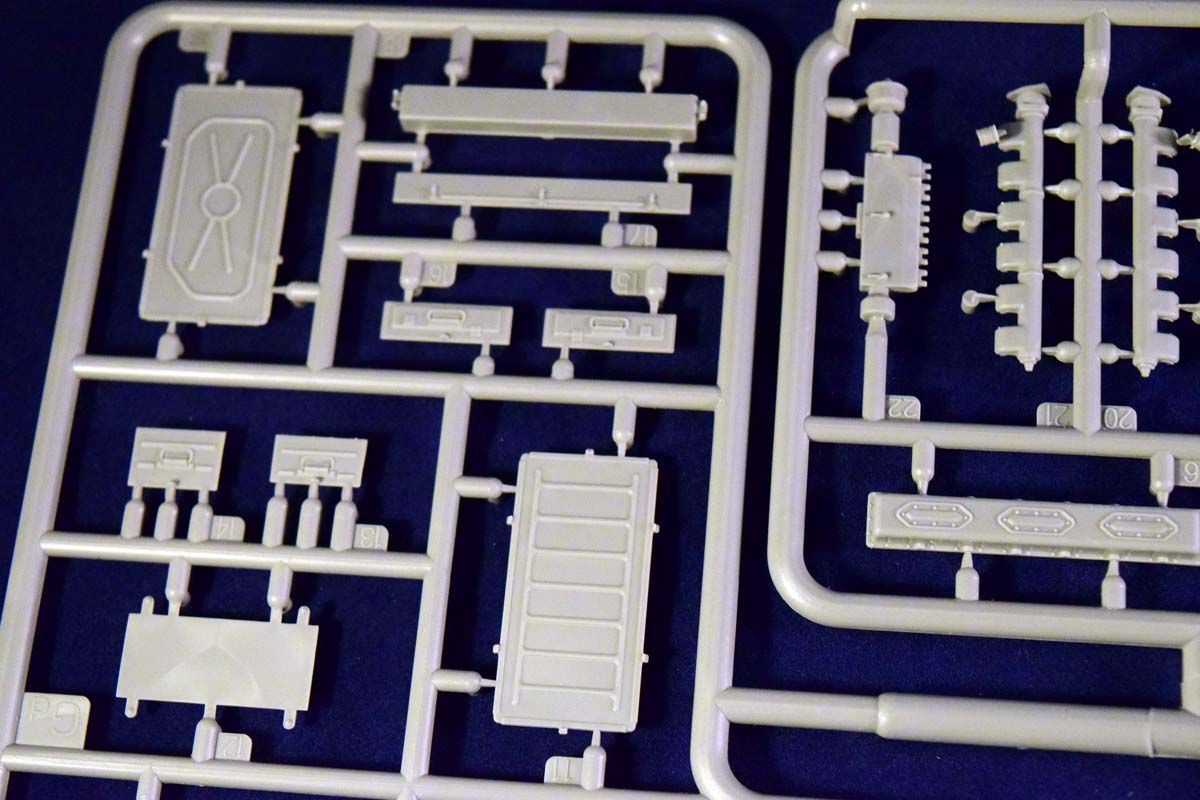
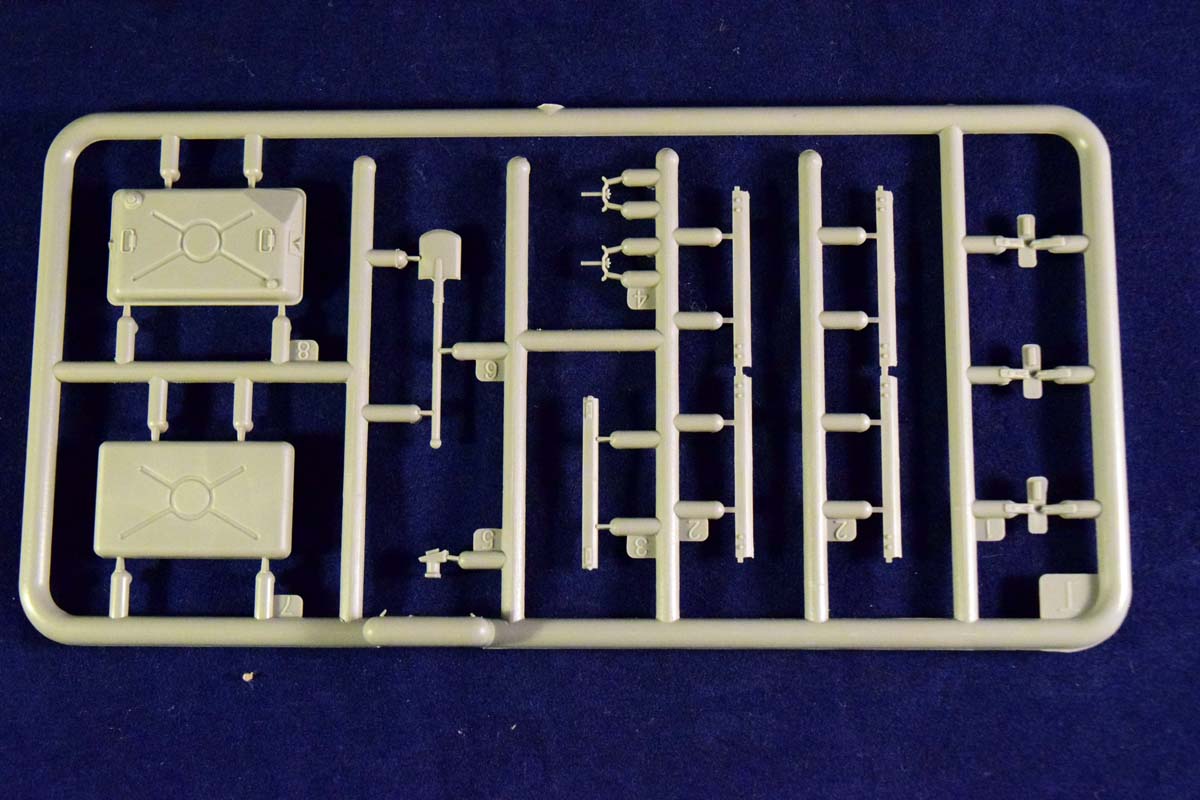
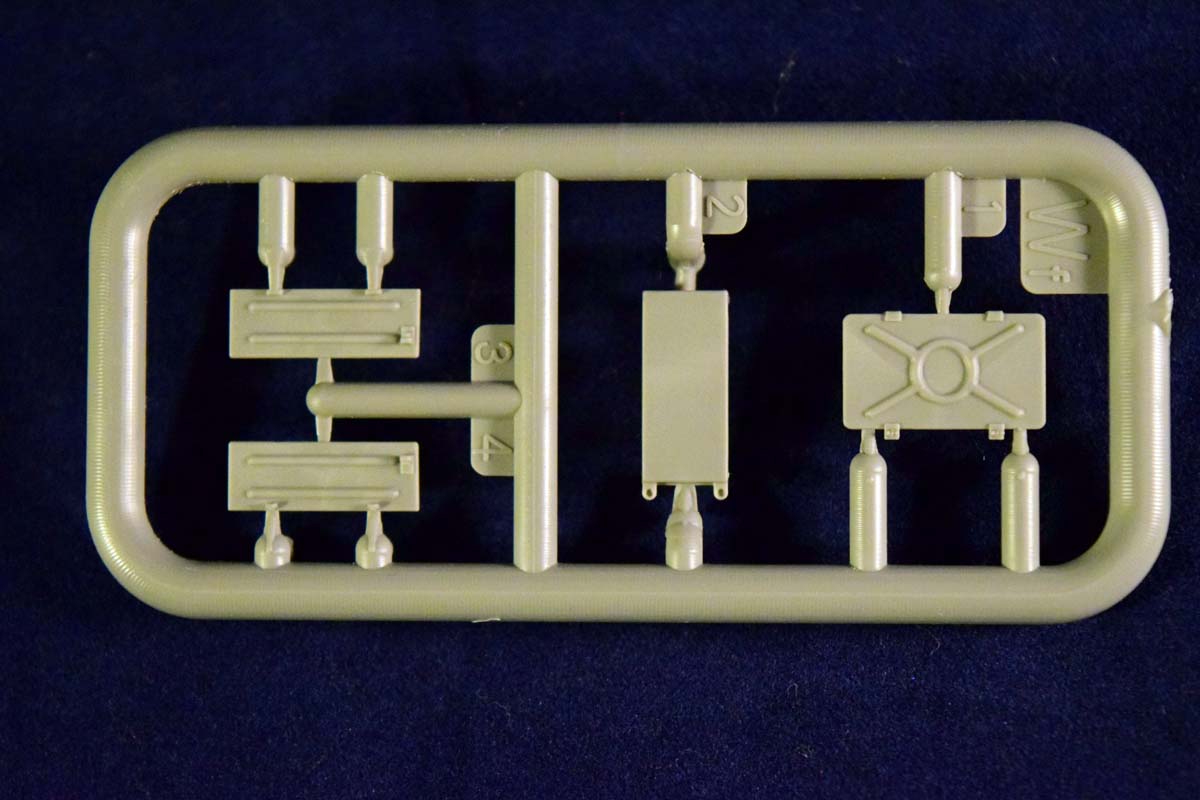
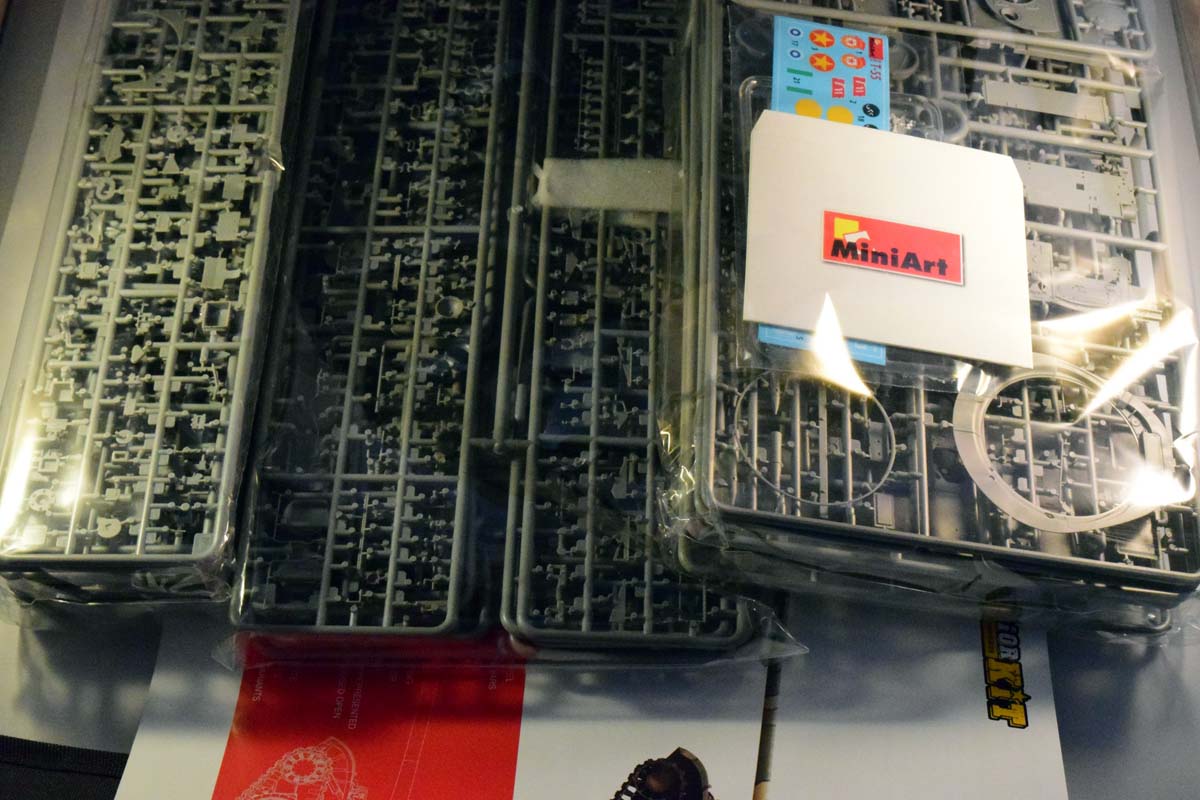
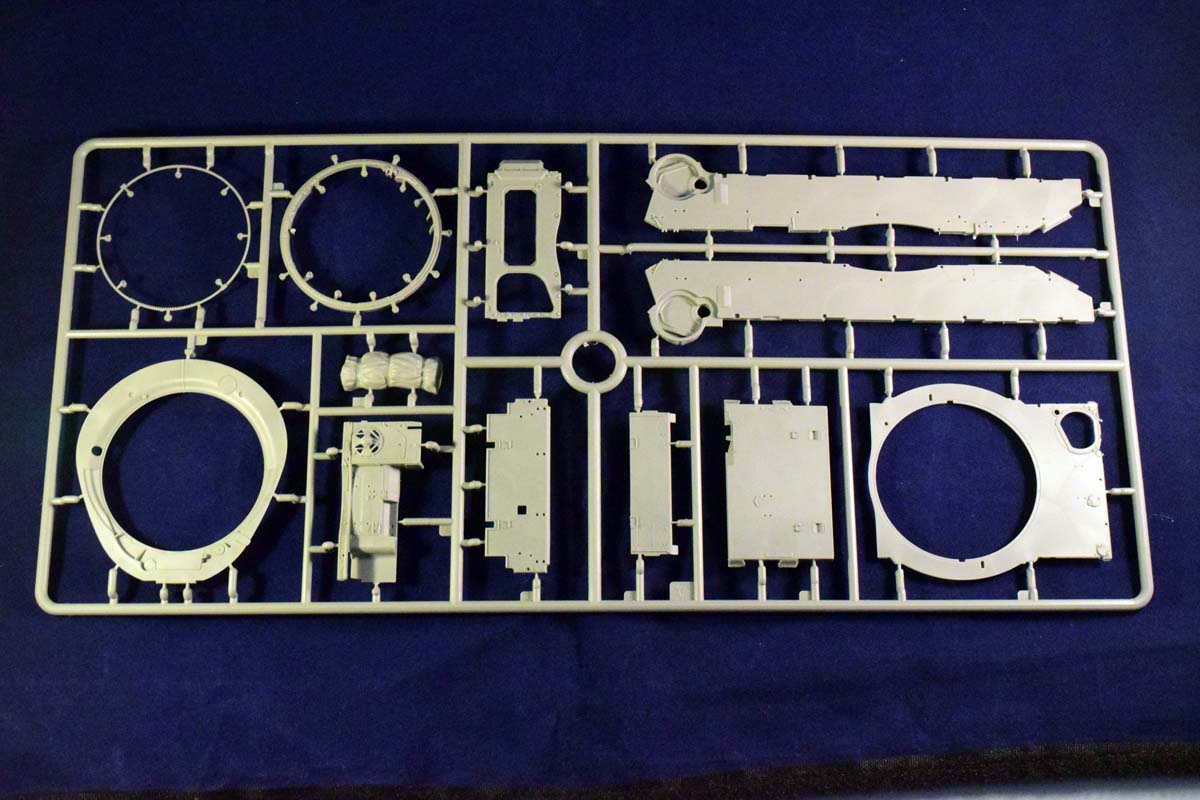
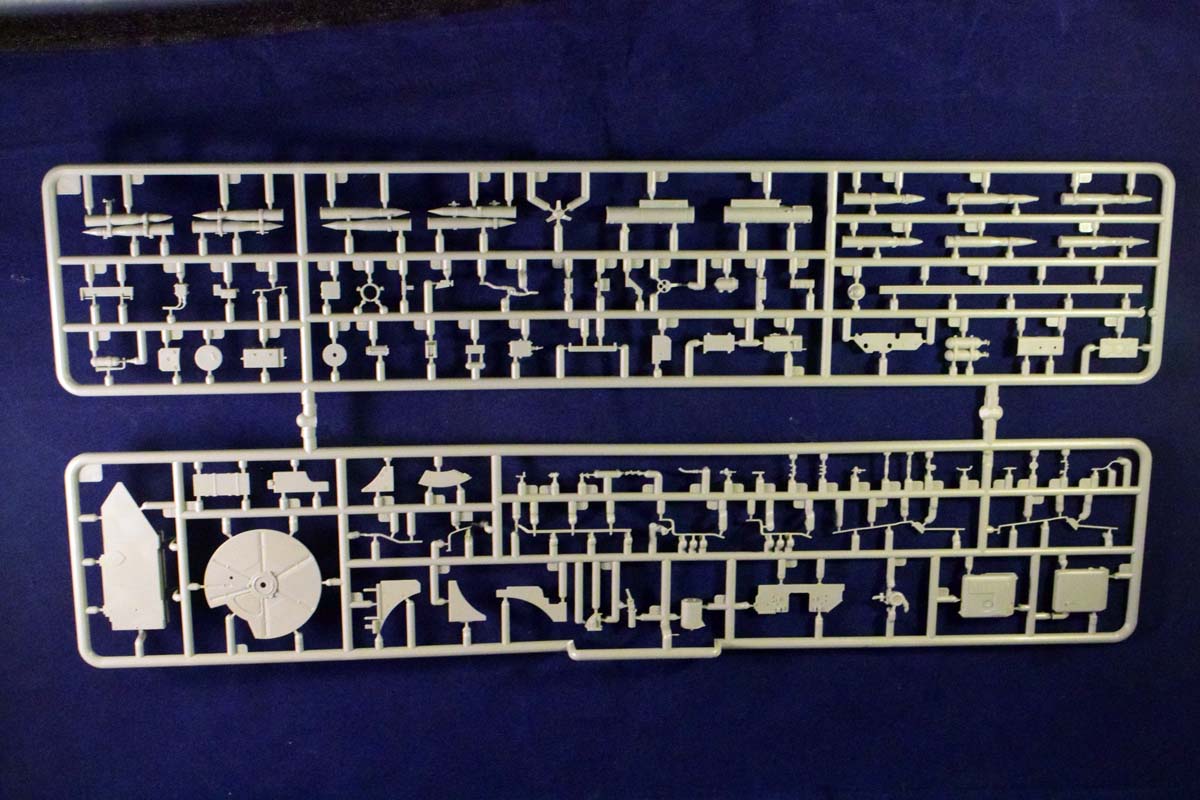
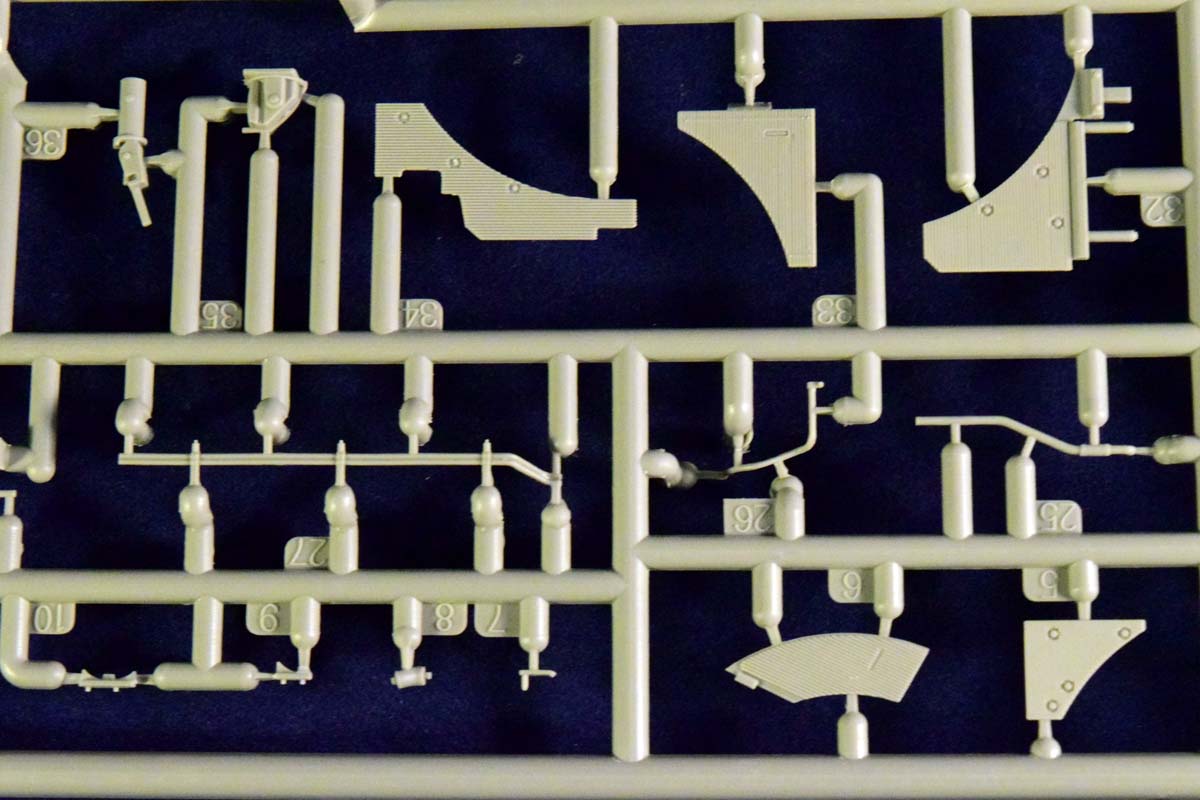
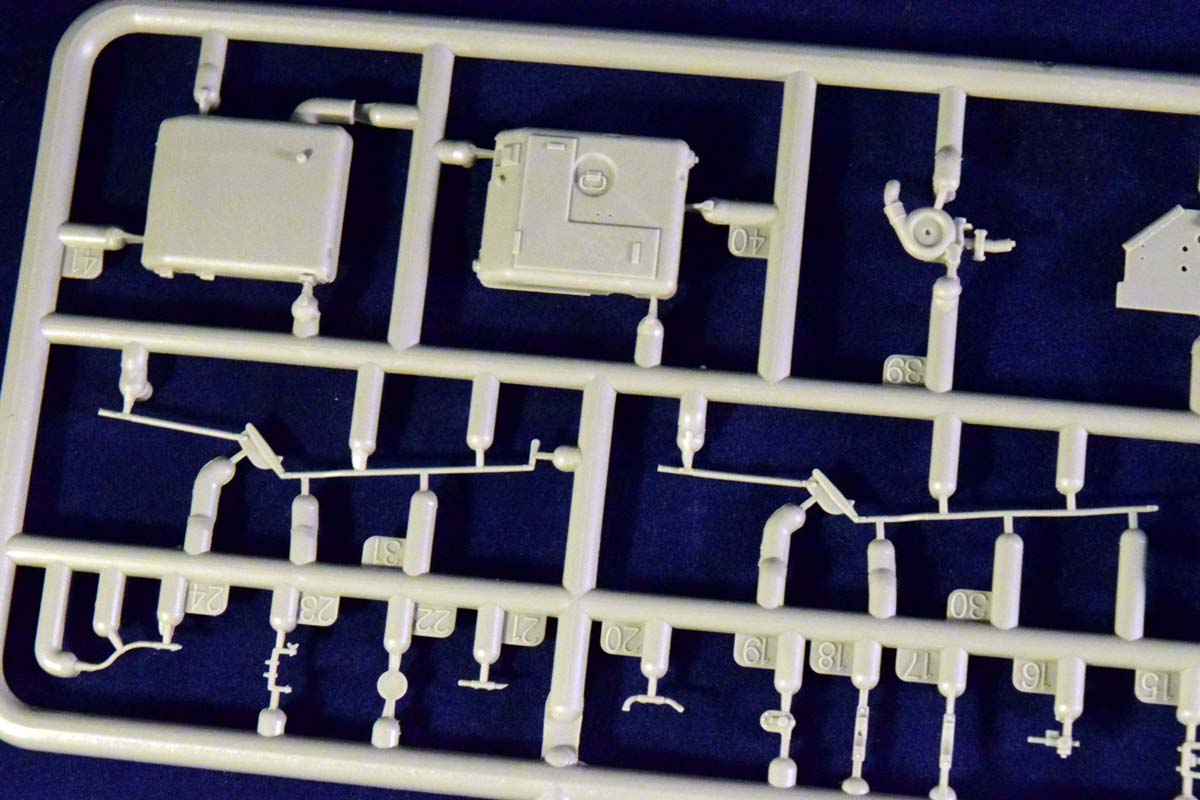
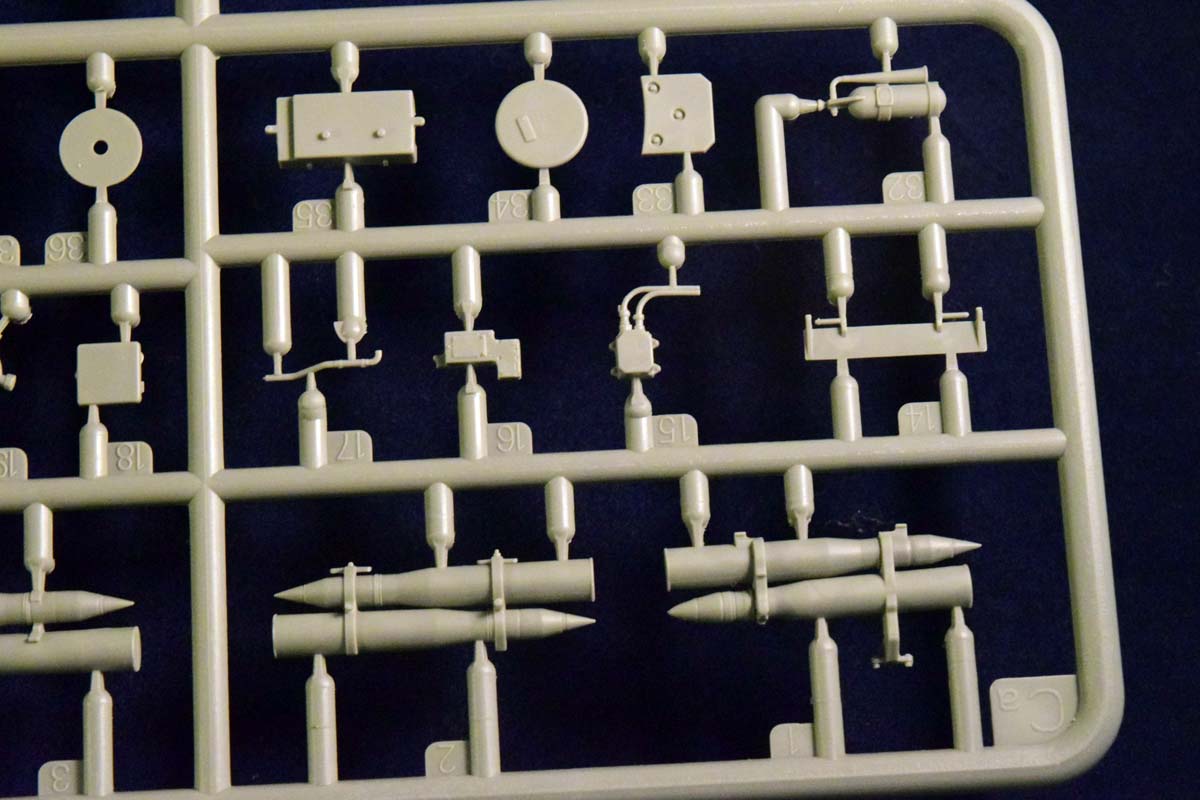
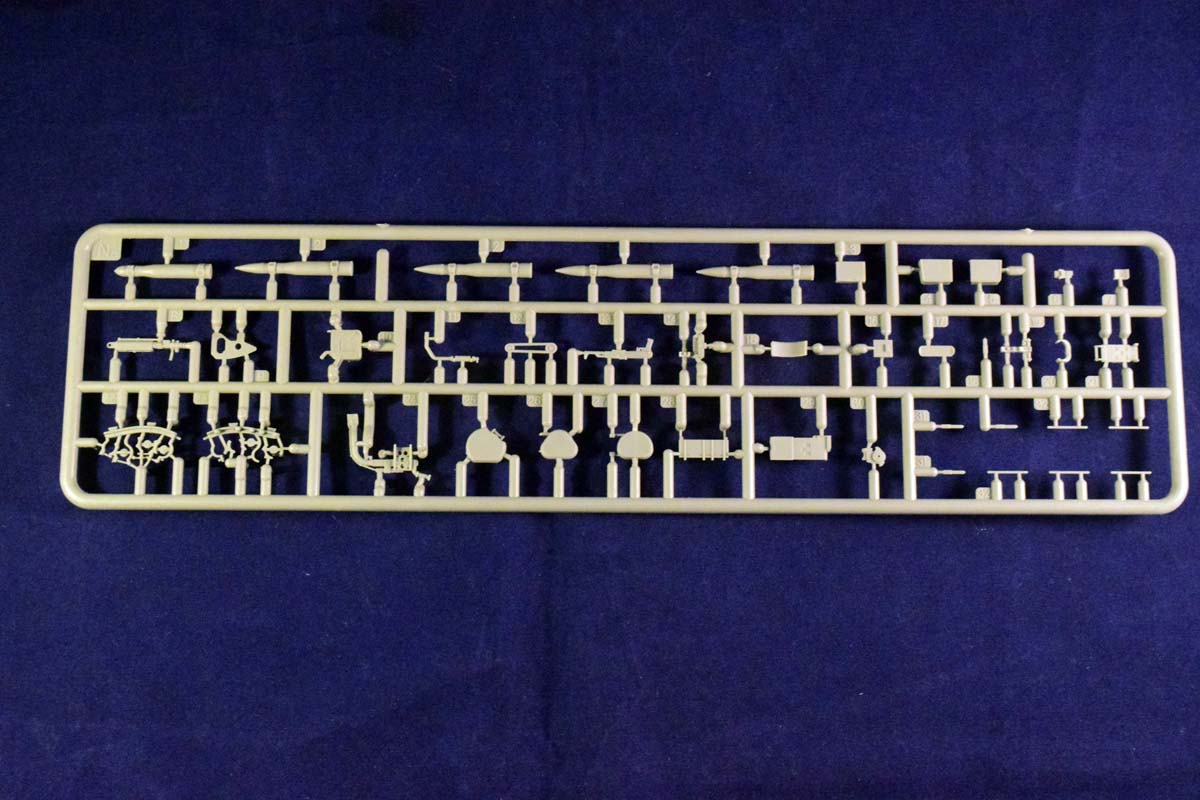
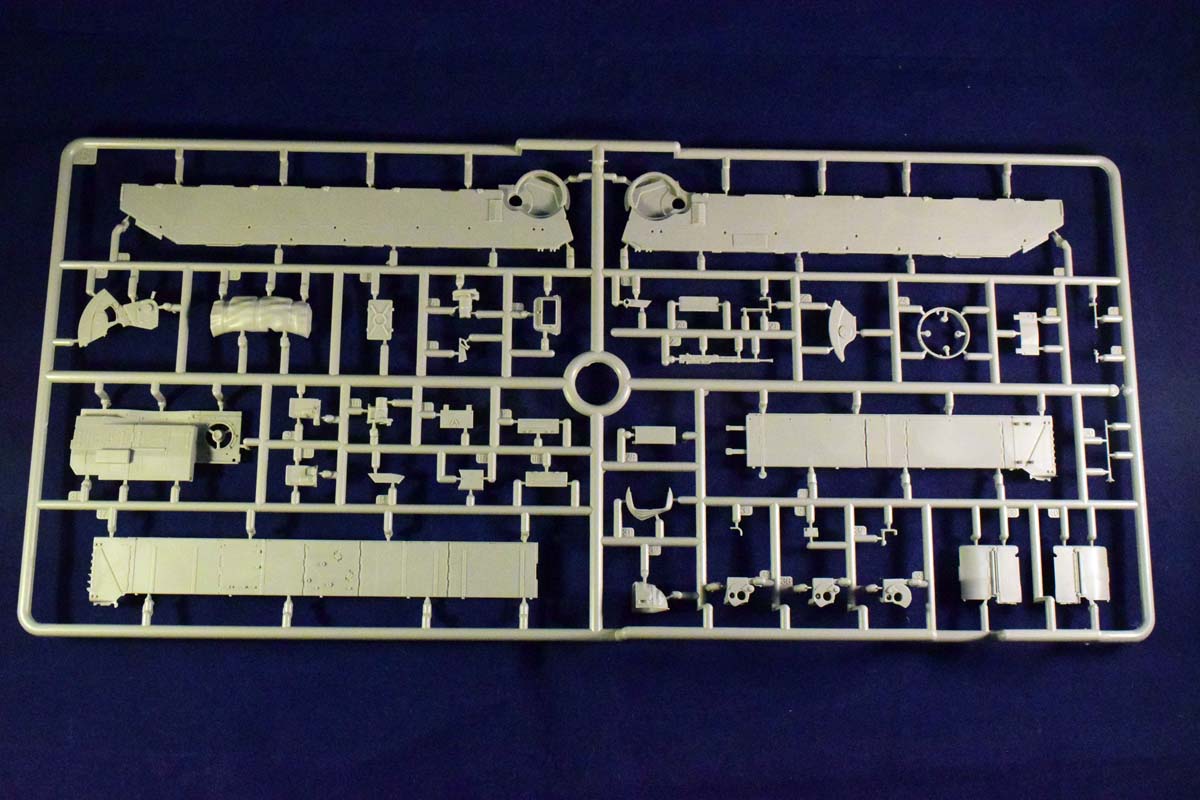
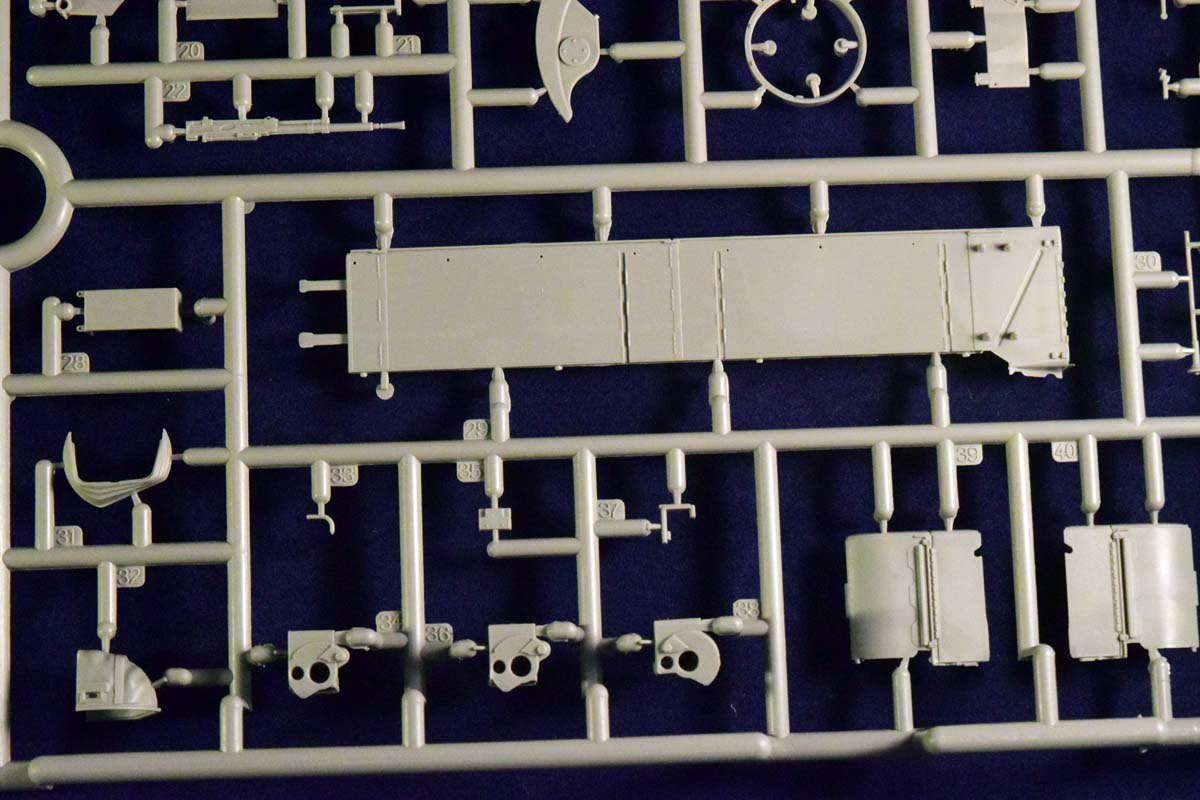
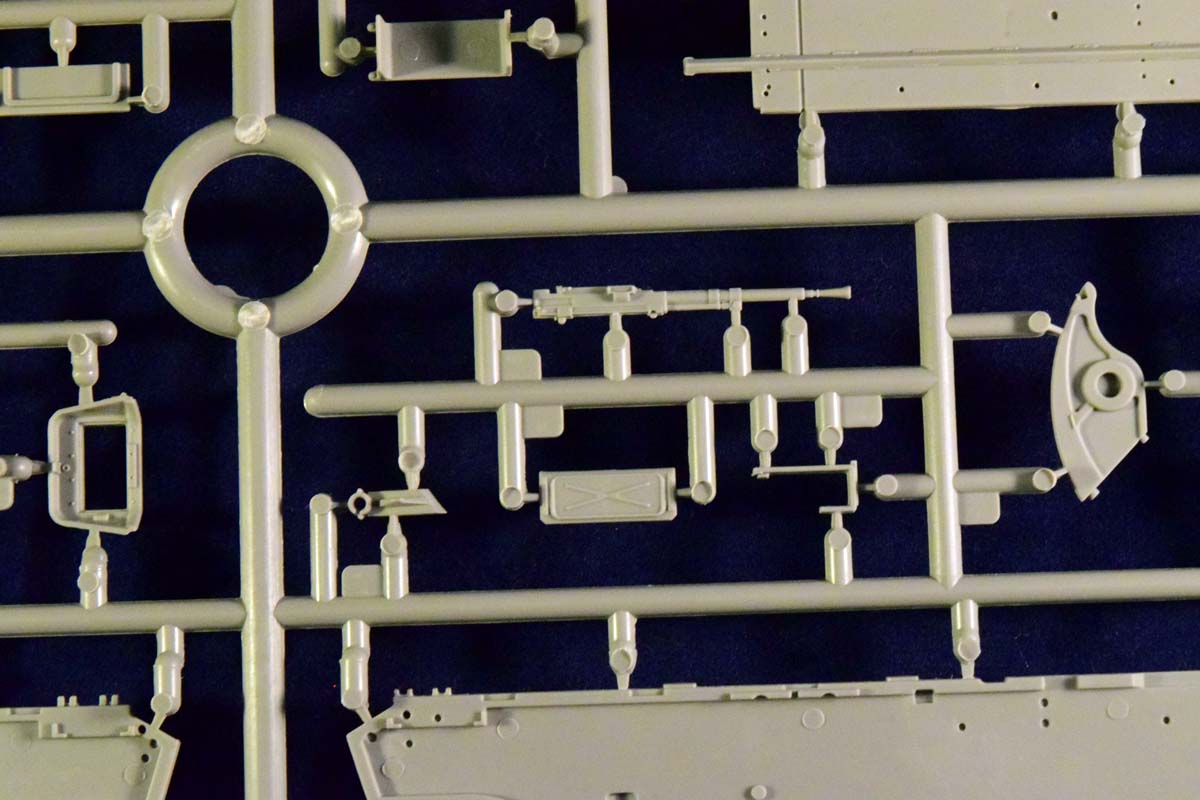
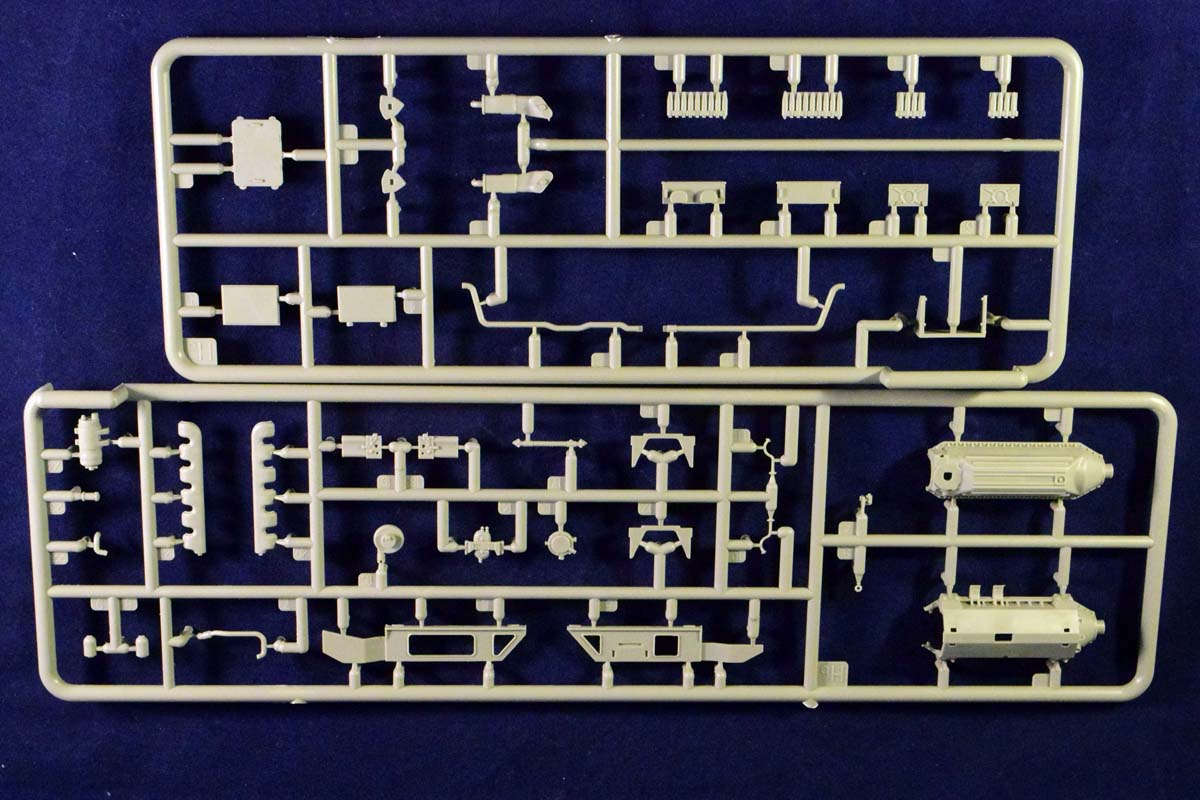
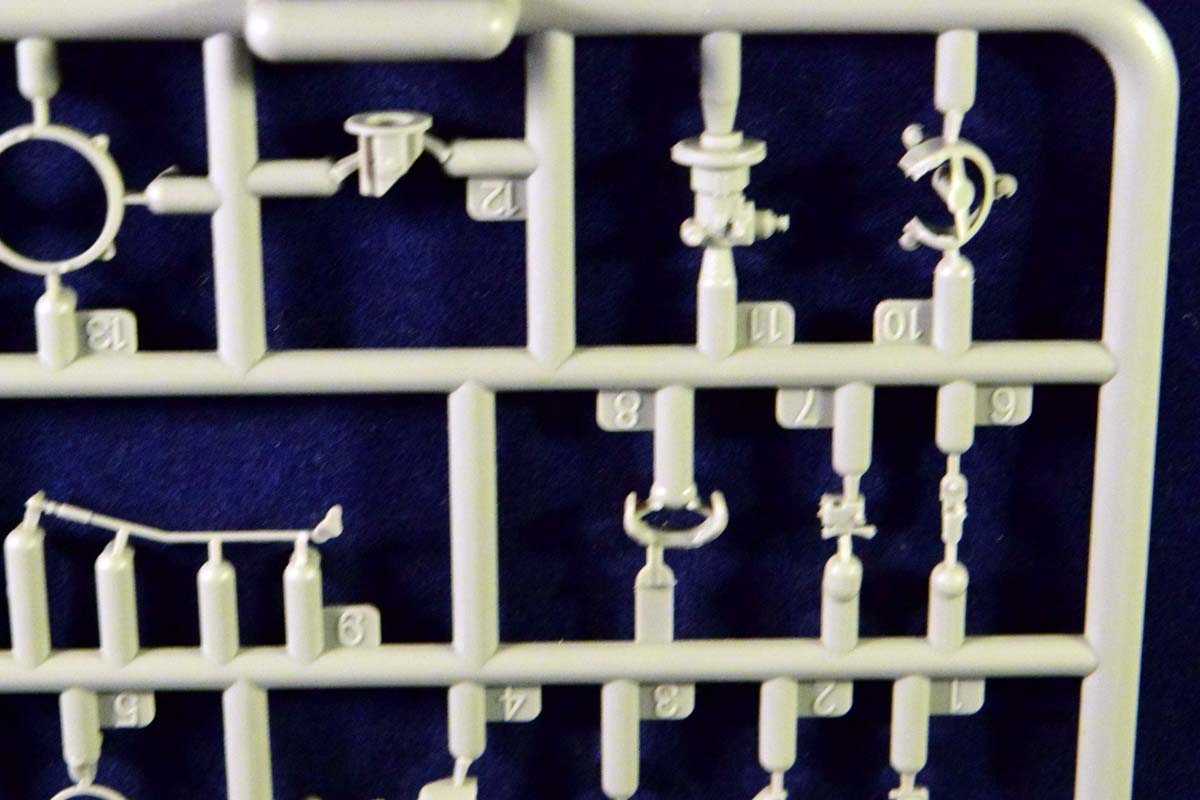
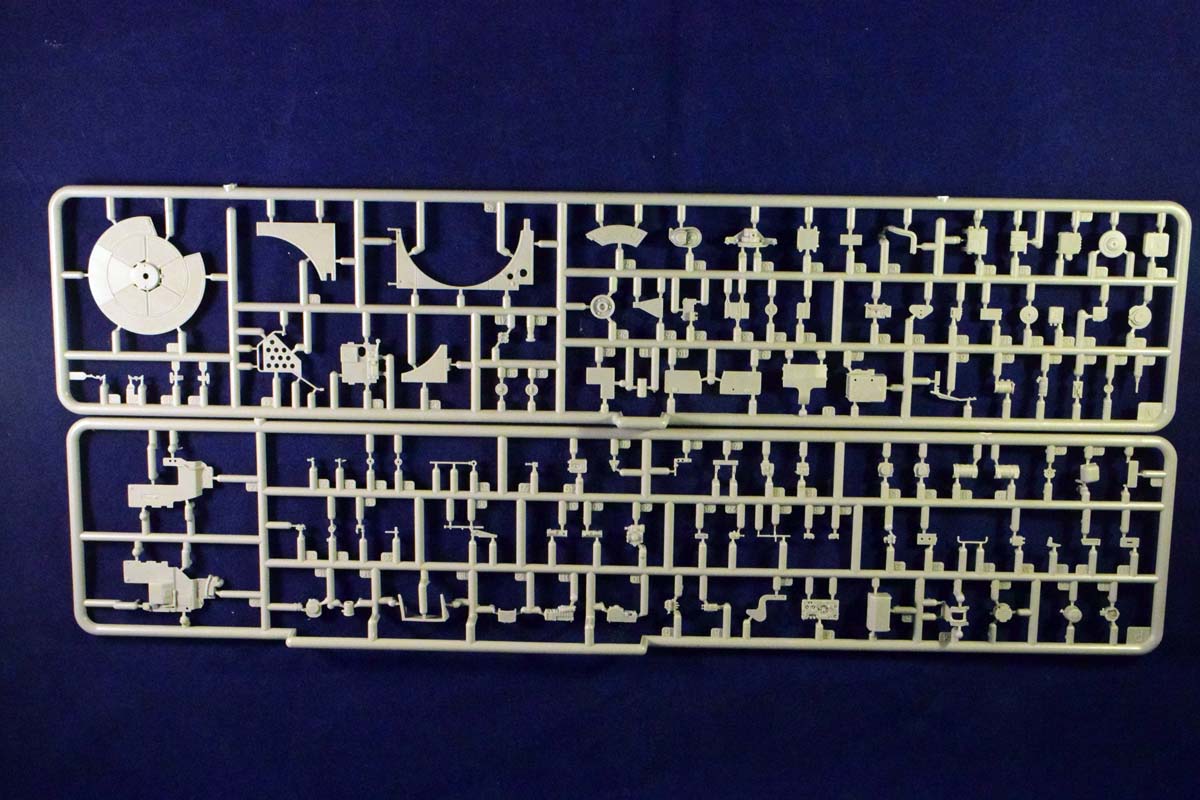
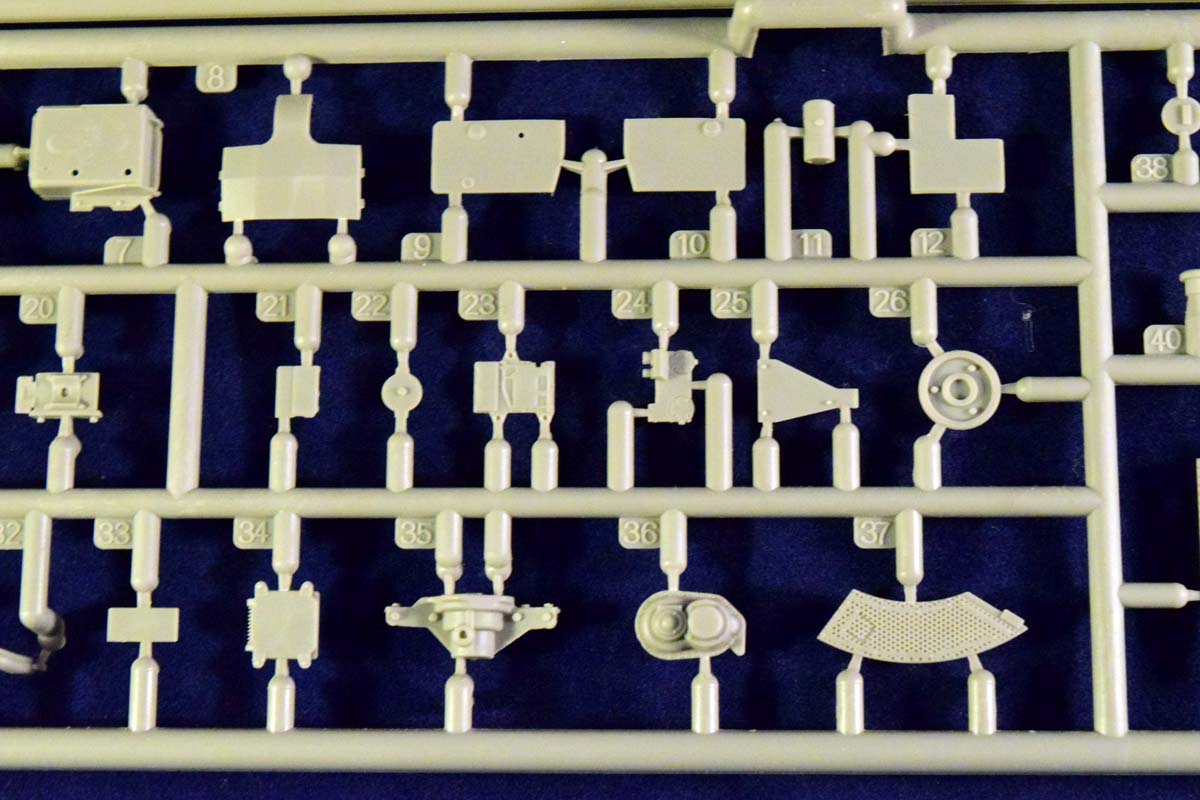
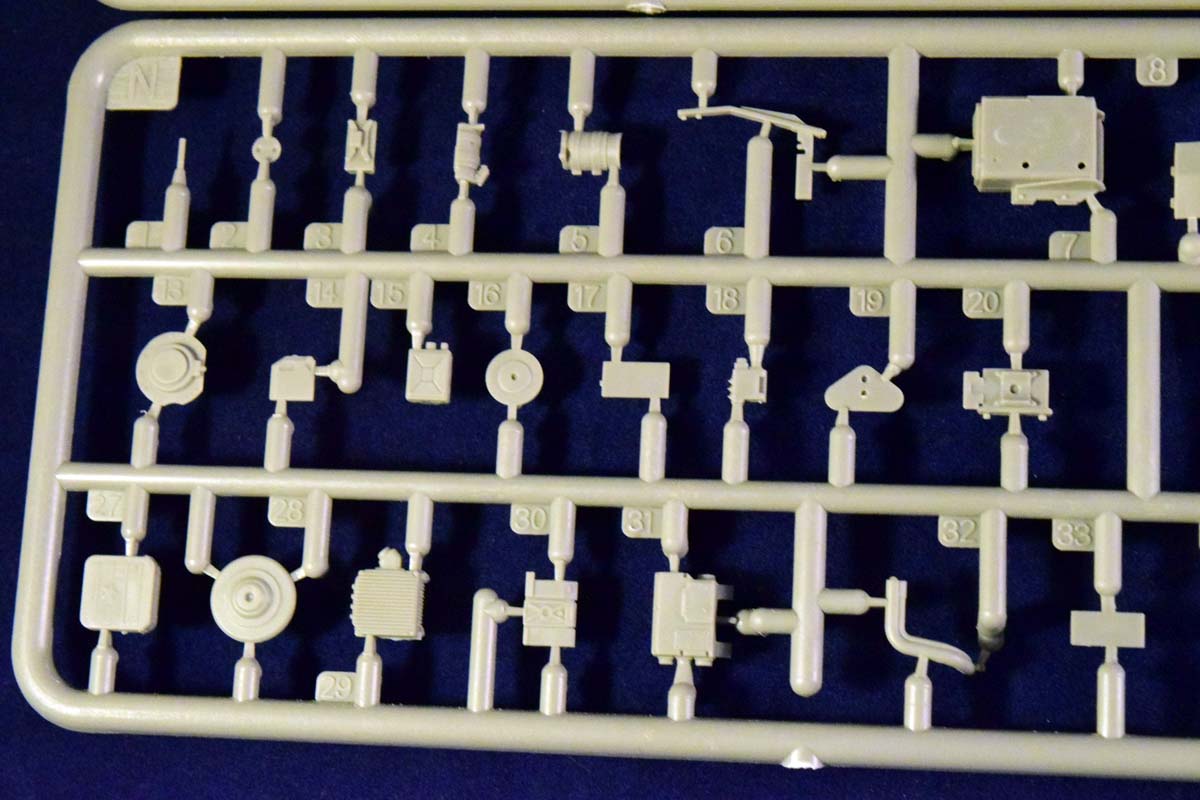
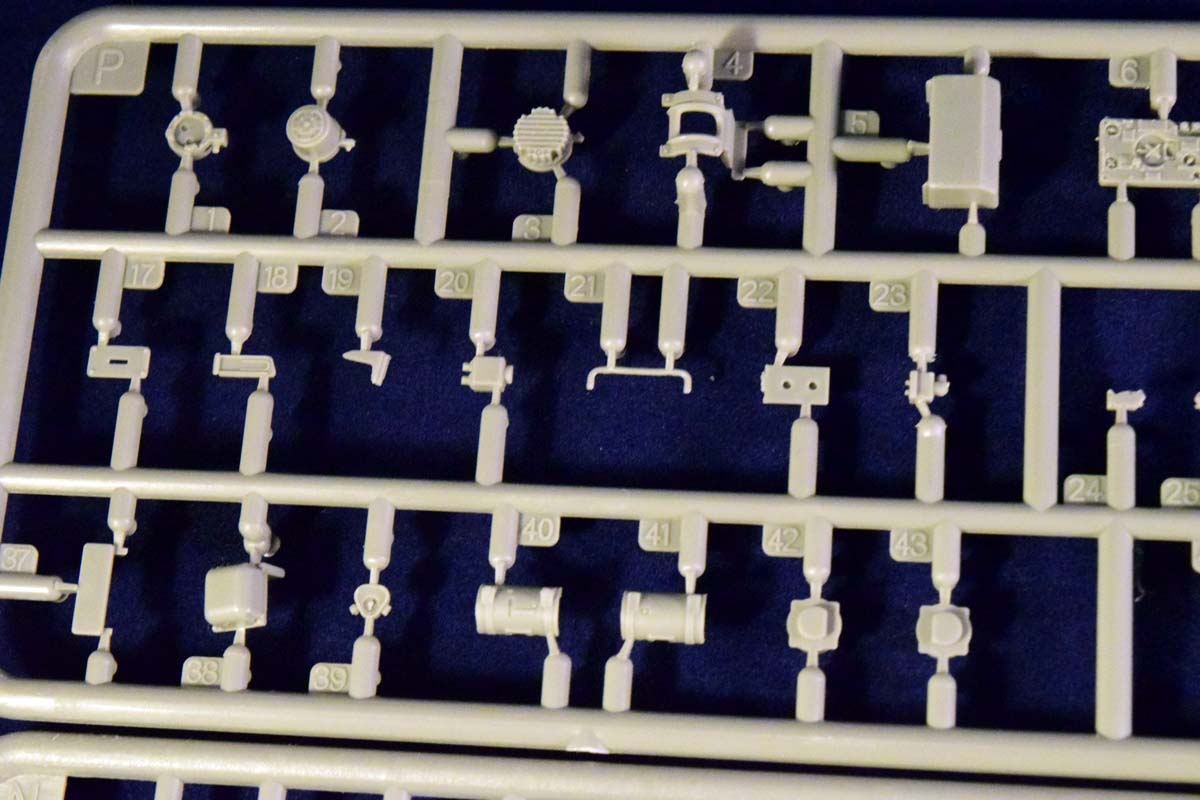
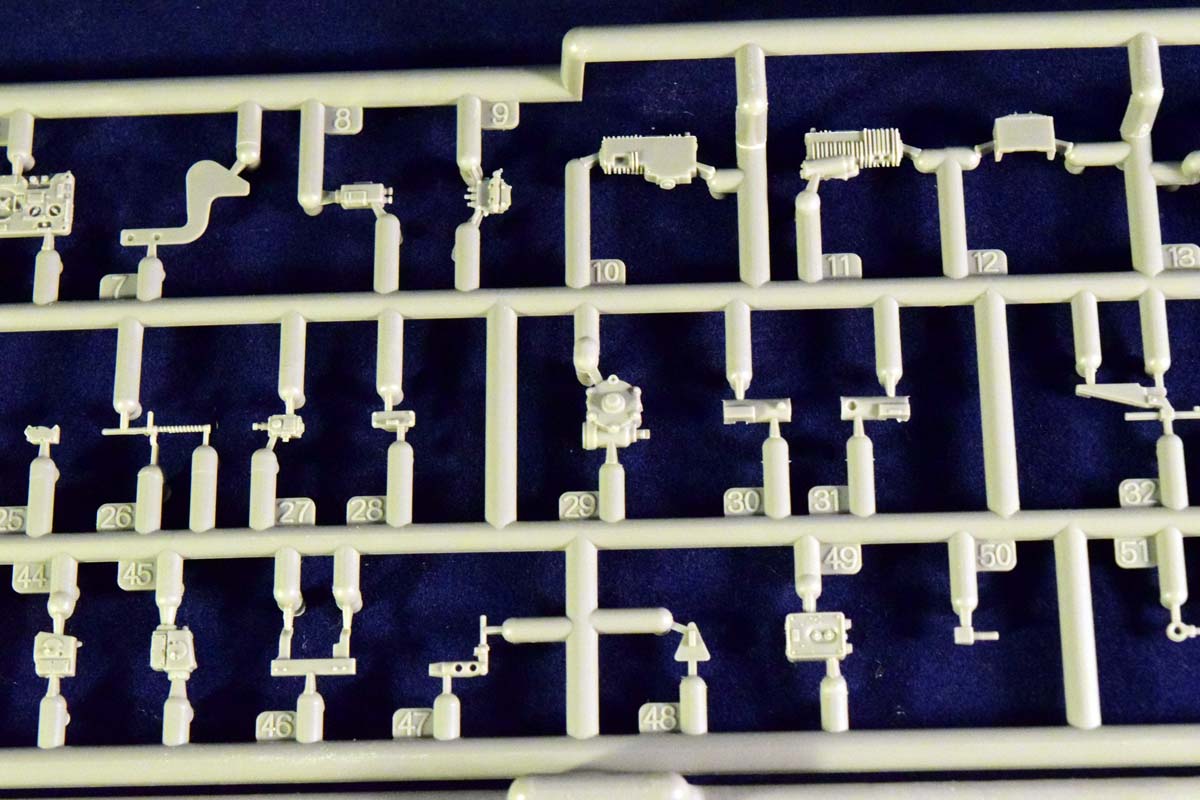
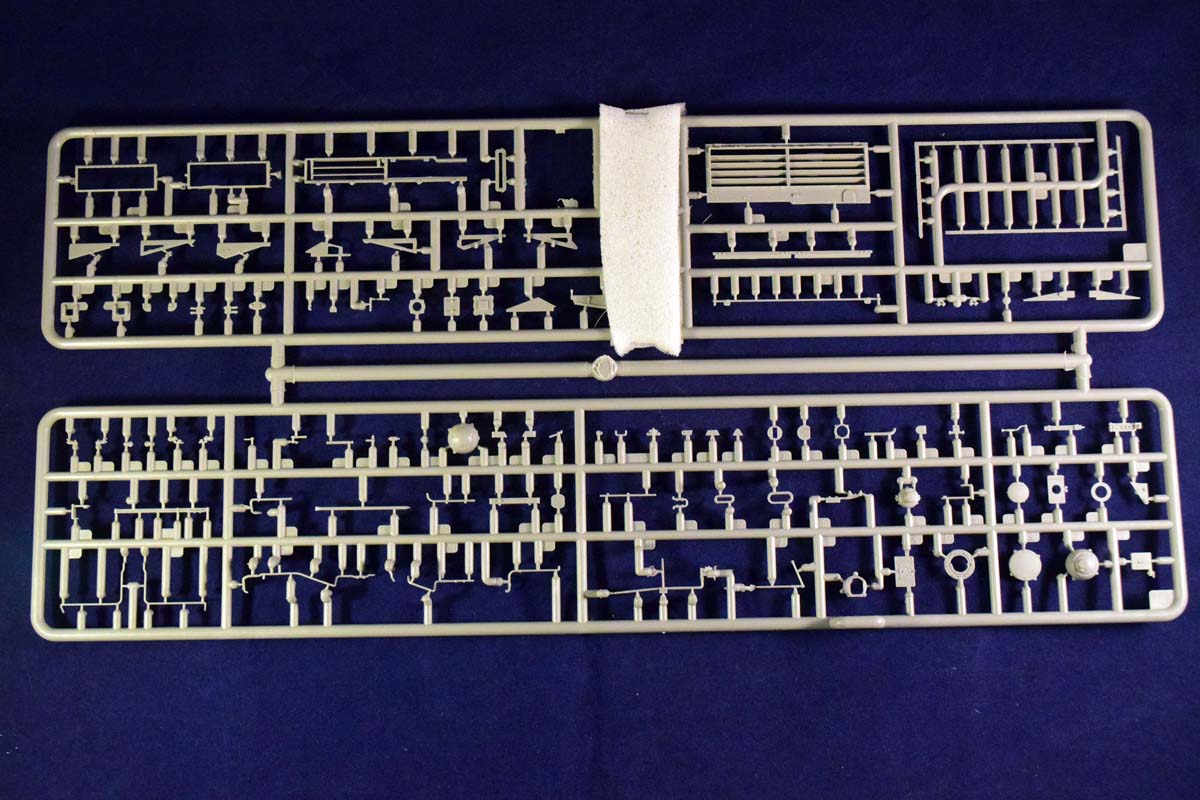
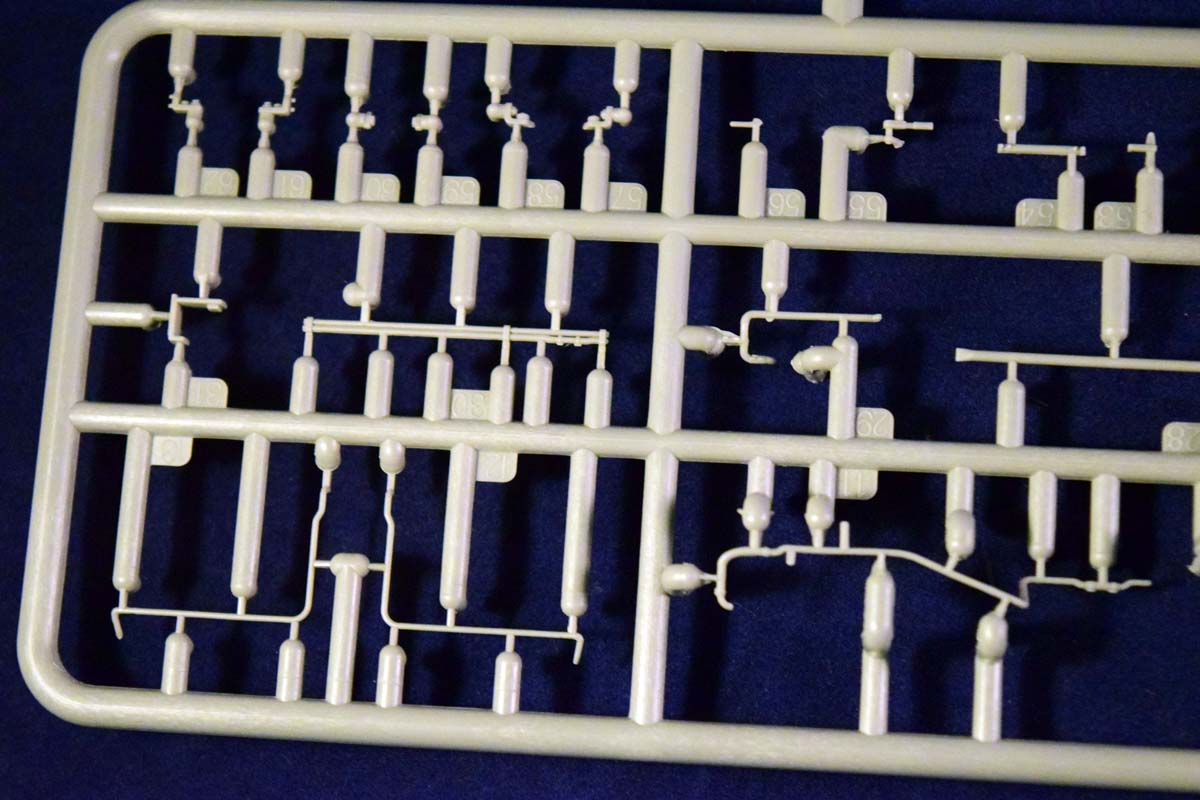
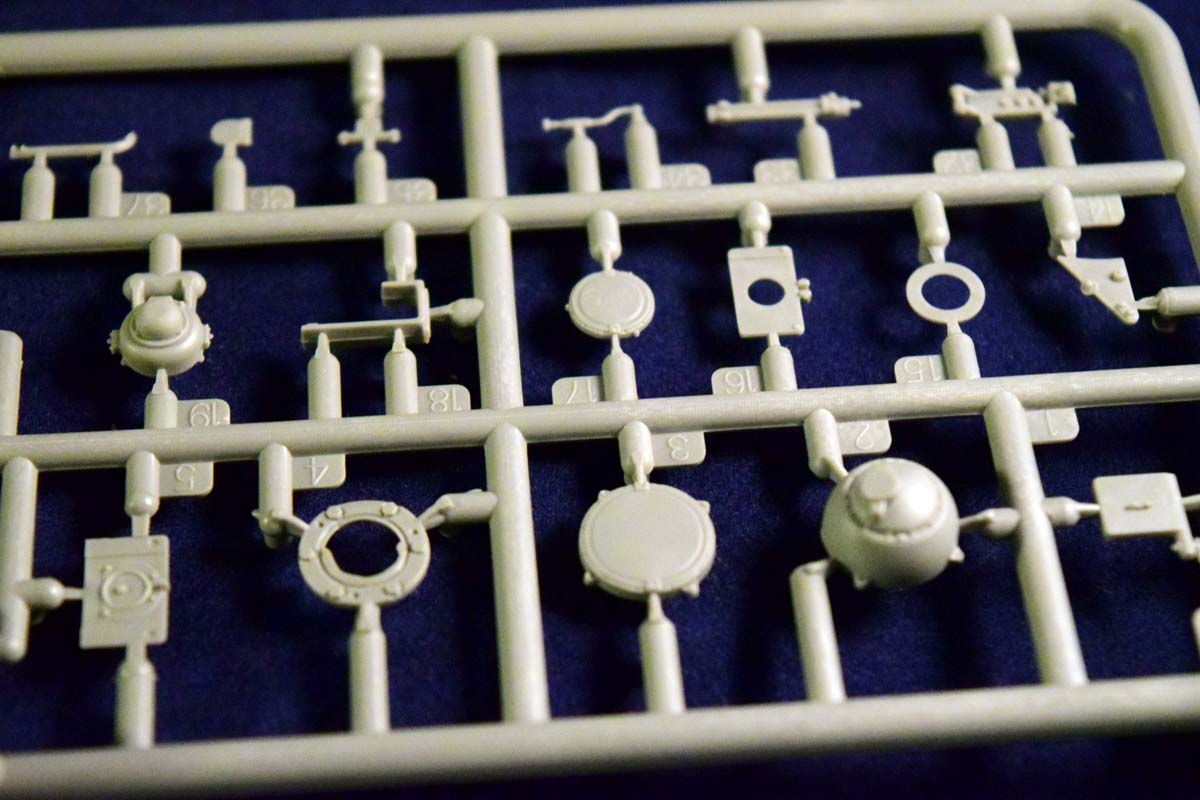
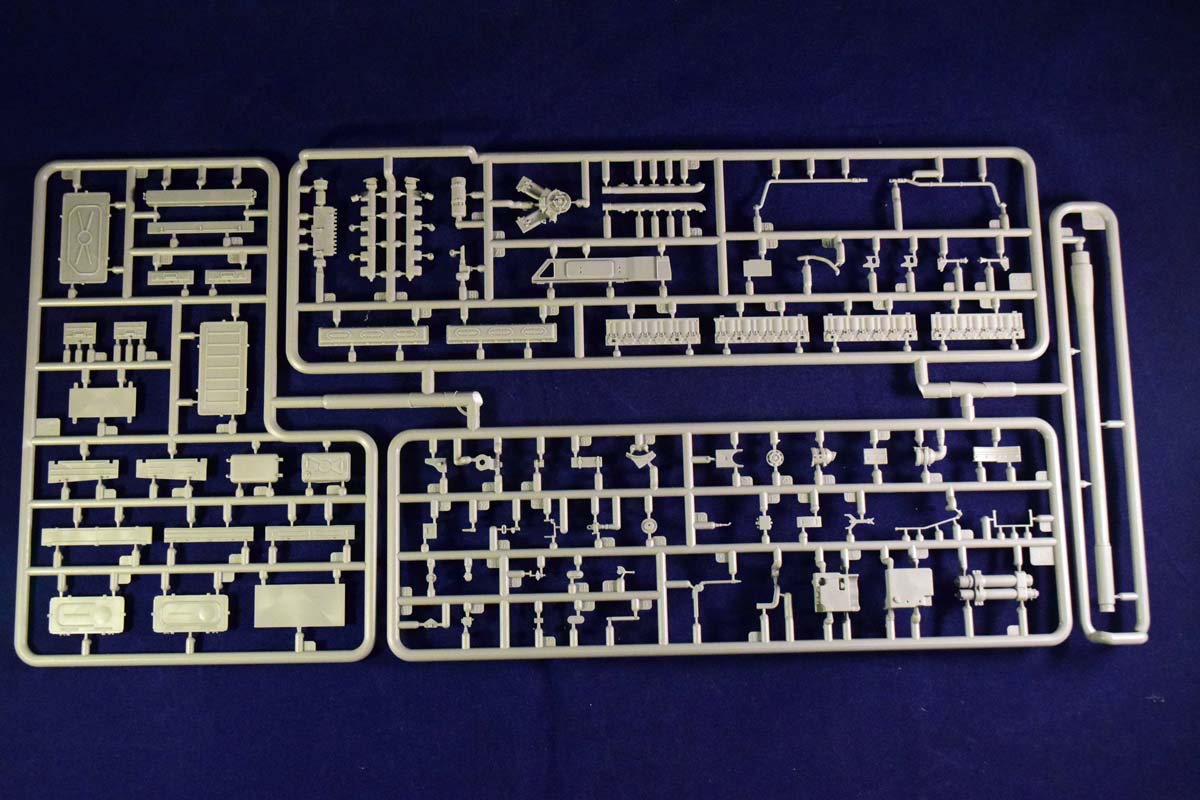
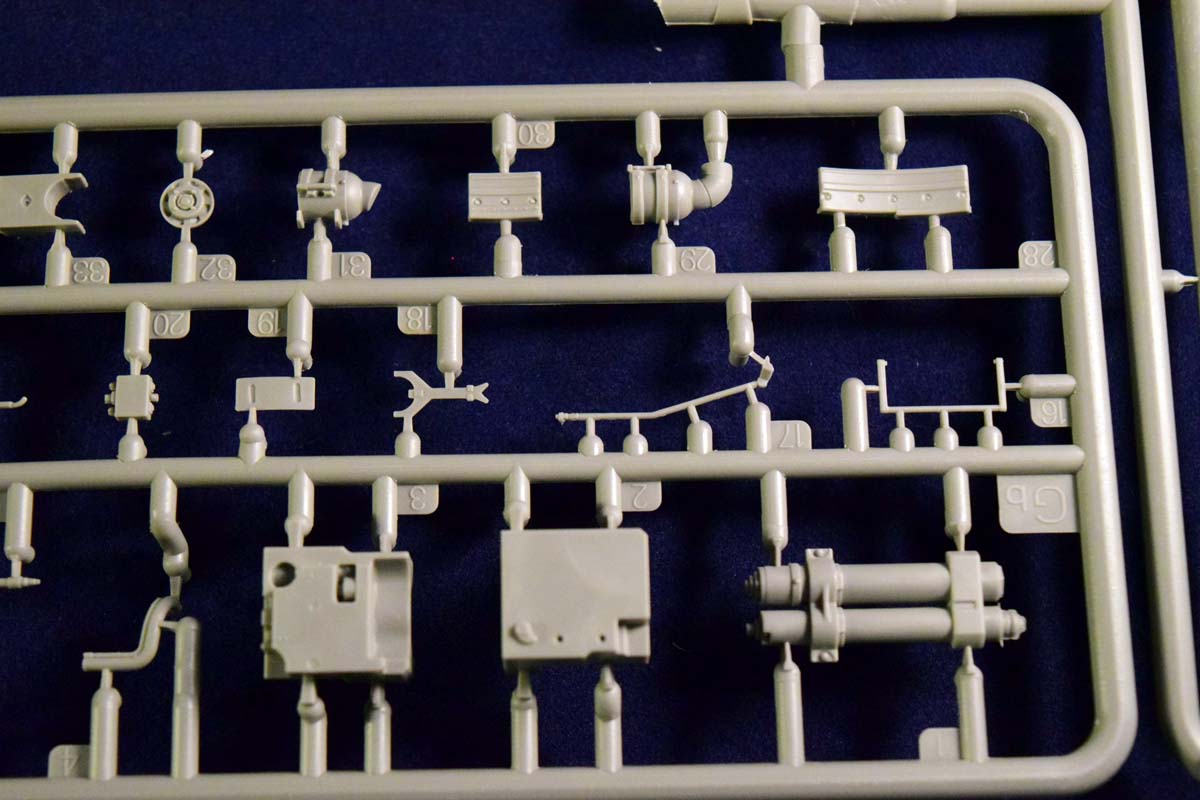
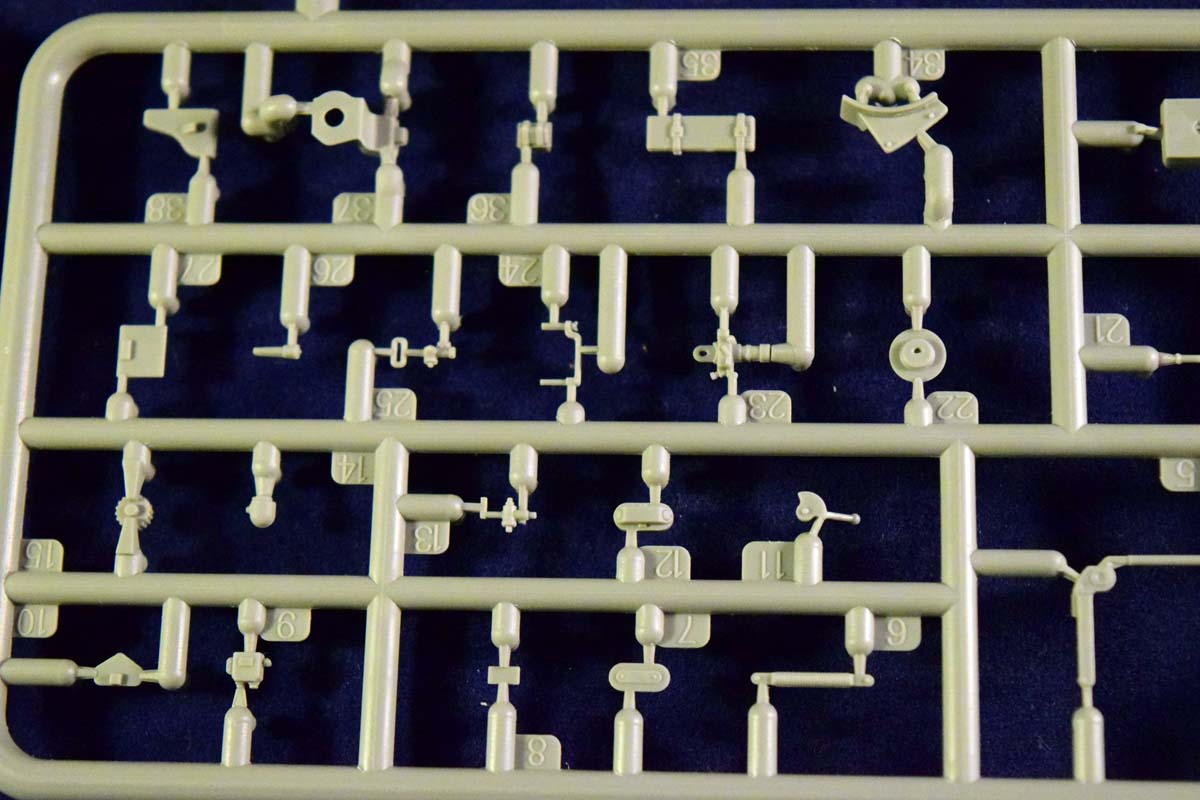
The plastic parts have virtually no flash, so not much cleanup will be necessary. There are a TON of sprues: small ones, large ones, medium ones. (By my quick count we have 95 plastic sprues included in the model Possibly a record, and also a missed opportunity by MiniArt to raise it to a full 100.) One reason for this is it allows MiniArt to easily produce different versions of the same vehicle by swapping a few sprues, and another -I suspect- is that it allows for more efficient packing. It produces quite a lot of plastic waste, though, so make sure you recycle, but more importantly it will make the assembly a bit tedious. Well, very tedious. Hunting for the appropriate sprues during an assembly phase is not fun; perhaps the best is to first sort out what sprues you will need for a given subassembly, and treat them as individual models. The kit has a total of 1284 parts (167 PE), so it is a complex and challenging build. (Two words I will use in this review a lot.)
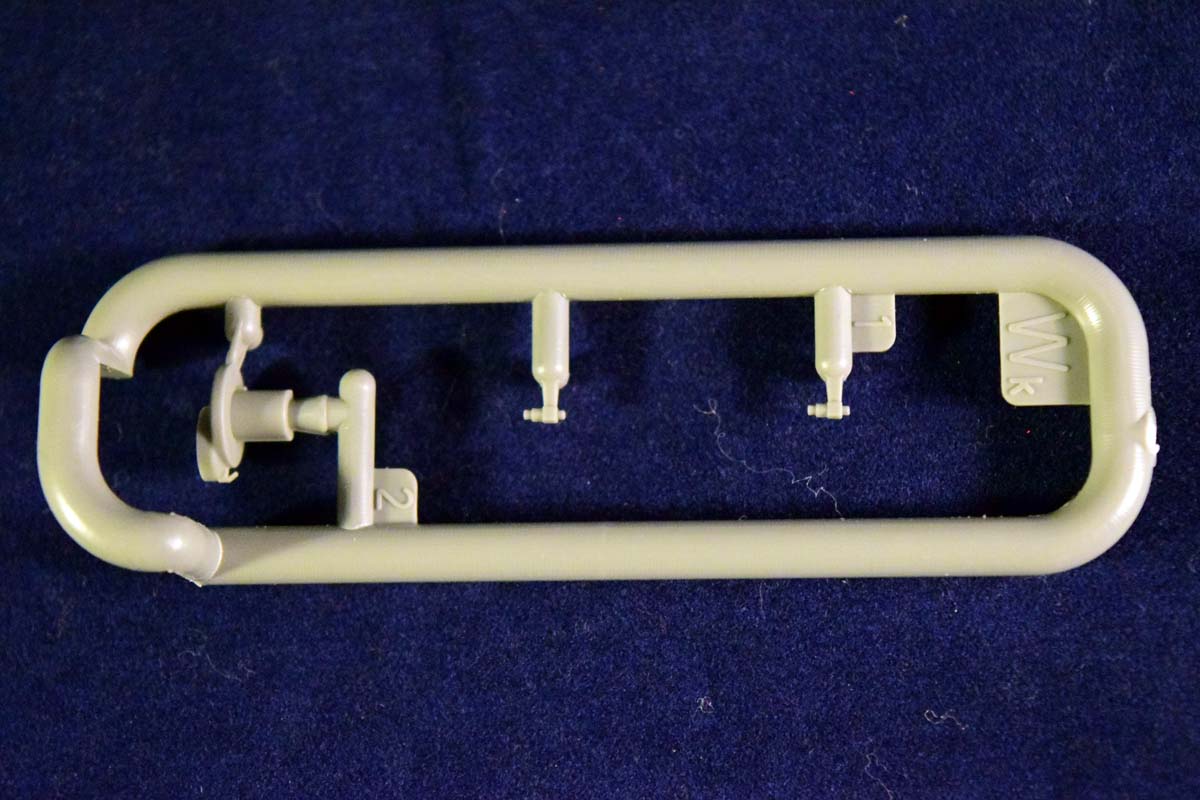
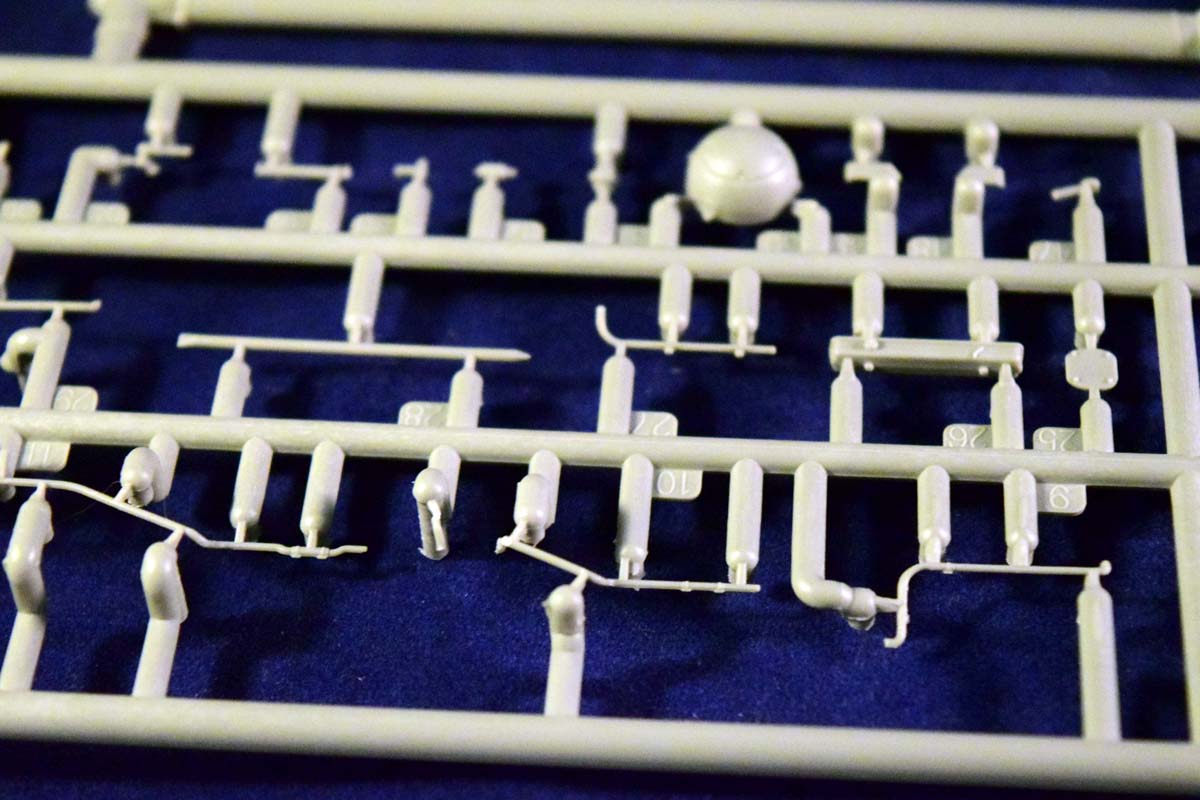
There are a lot of very thin and fragile plastic parts; as with previous reviews I can only suggest to use them as a template to fashion replacements from wire where possible. (Although Ive become quite adept at gluing thin plastic rods together when they snap while Im trying to shave off the sprue gate.)
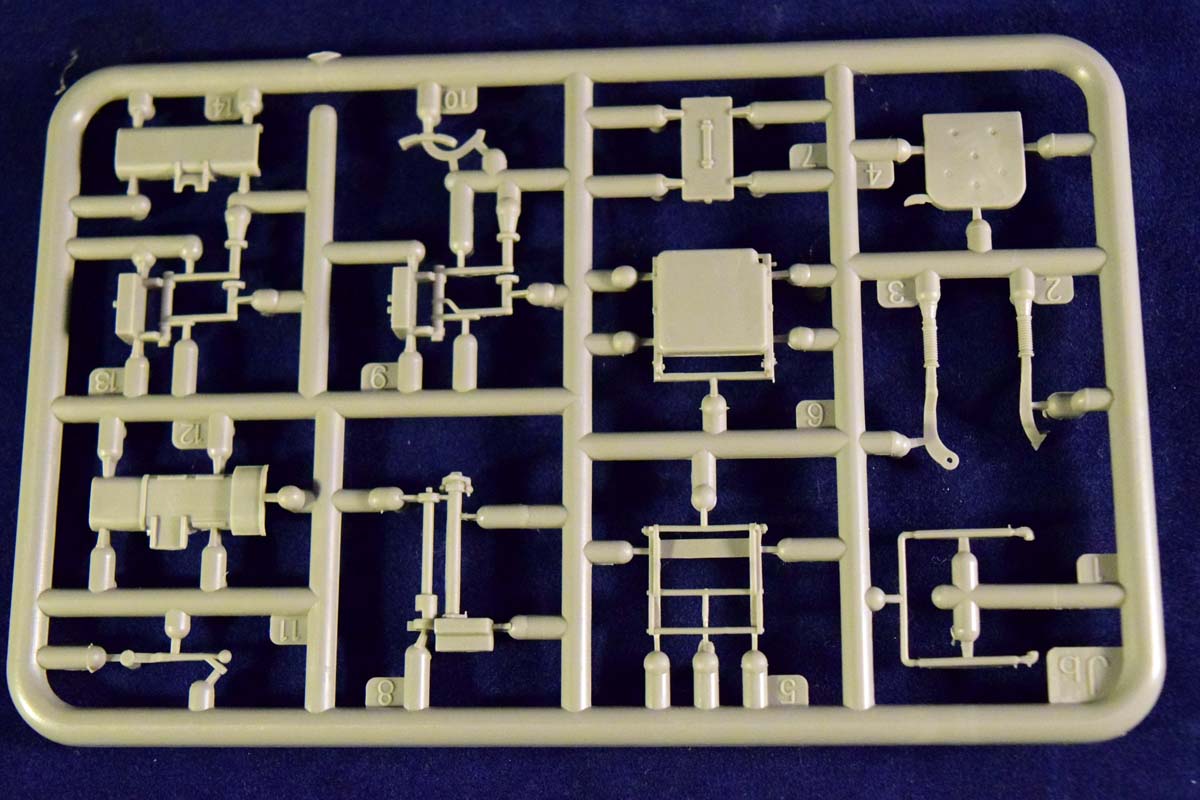
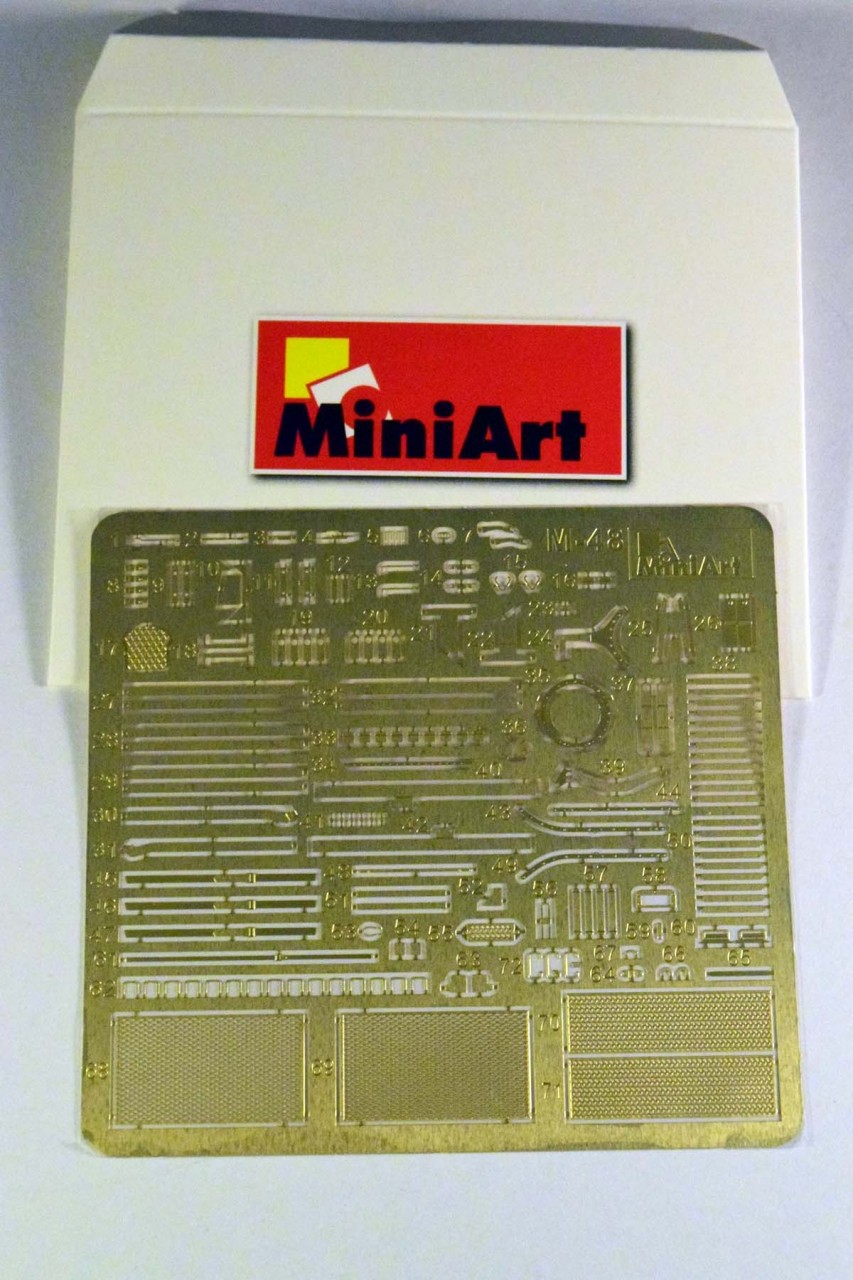
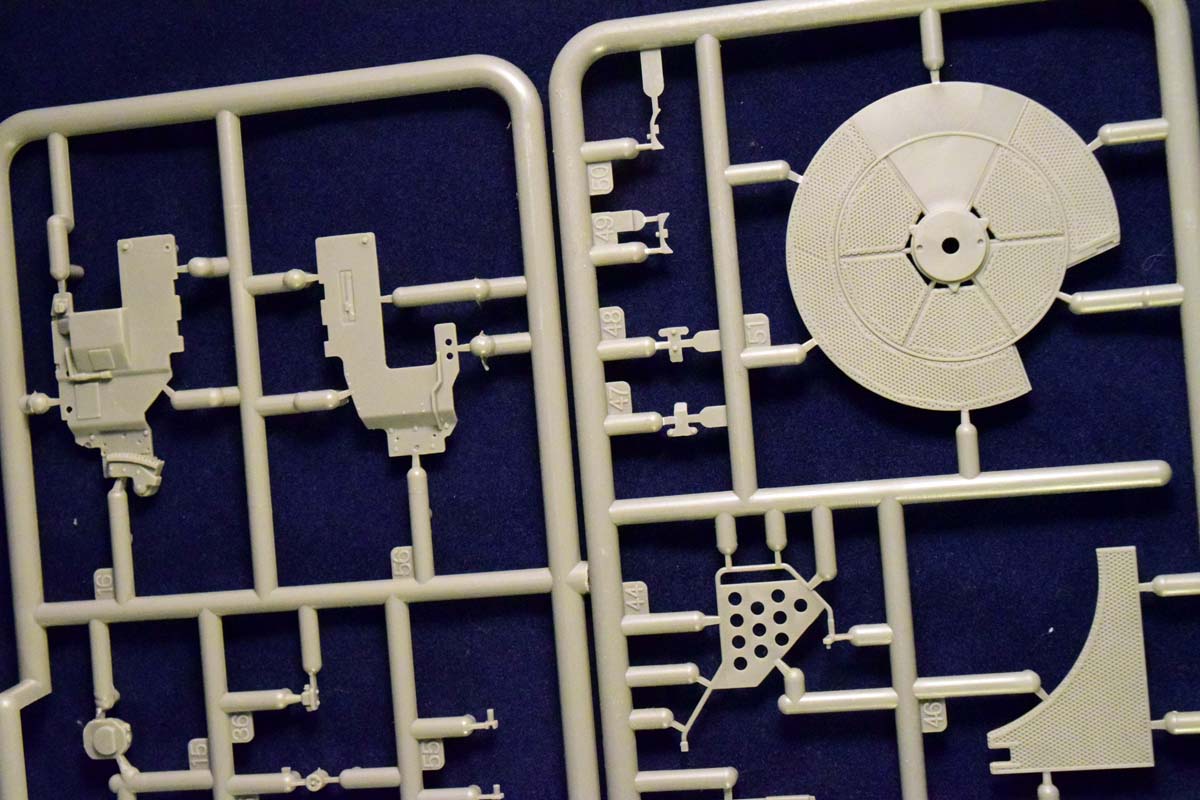
There is extensive PE provided with the kit; the etching is fine (I am really impressed by the mesh, for example), but if you dont like handling tiny PE parts, be prepared. There are PE bolt heads and other horrors waiting for you during the build.
The detail is astonishing. There are no other words to describe what you get in this model. Ive finished some of MiniArts previous offerings: T-44, T-44M, T-54-1, and now Im building the T-54-2; I have also just finished Tamiyas T-55 with a CMK interior and a Miniarm T-55AM conversion set. I have to say this model beats all when it comes to detail. All the previous MiniArt offerings had the same weakness: the drivers compartment was relatively sparsely populated (there wasnt even an instrument panel provided). Im happy to report that MiniArt has remedied this omission. Comparing the interior details to the CMK set I have to say that the resin parts cannot hold a candle to the plastic offering; the detail, as I said, is just astonishing. (You also get ammunition, which is missing from the CMK set.) I know I run the risk of sounding like a fanboy, but having experience with both sets (Tamiya CMK and MiniArt) there is simply no comparison between the two: if you want a T-55 with interior, the MiniArt kit is the way to go: its cheaper and more detailed. The price you pay for this is complexity. One thing this model still lacks is an engine compartment; we get an engine as usual (which is very nice to be fair), and thats it. If you want a complete interior, then the available aftermarket engine compartments are still your best bet. (MiniArt has issued the engine as a separate kit; I think issuing the interior would also be a good move as there are a lot of T-55 models out there.)
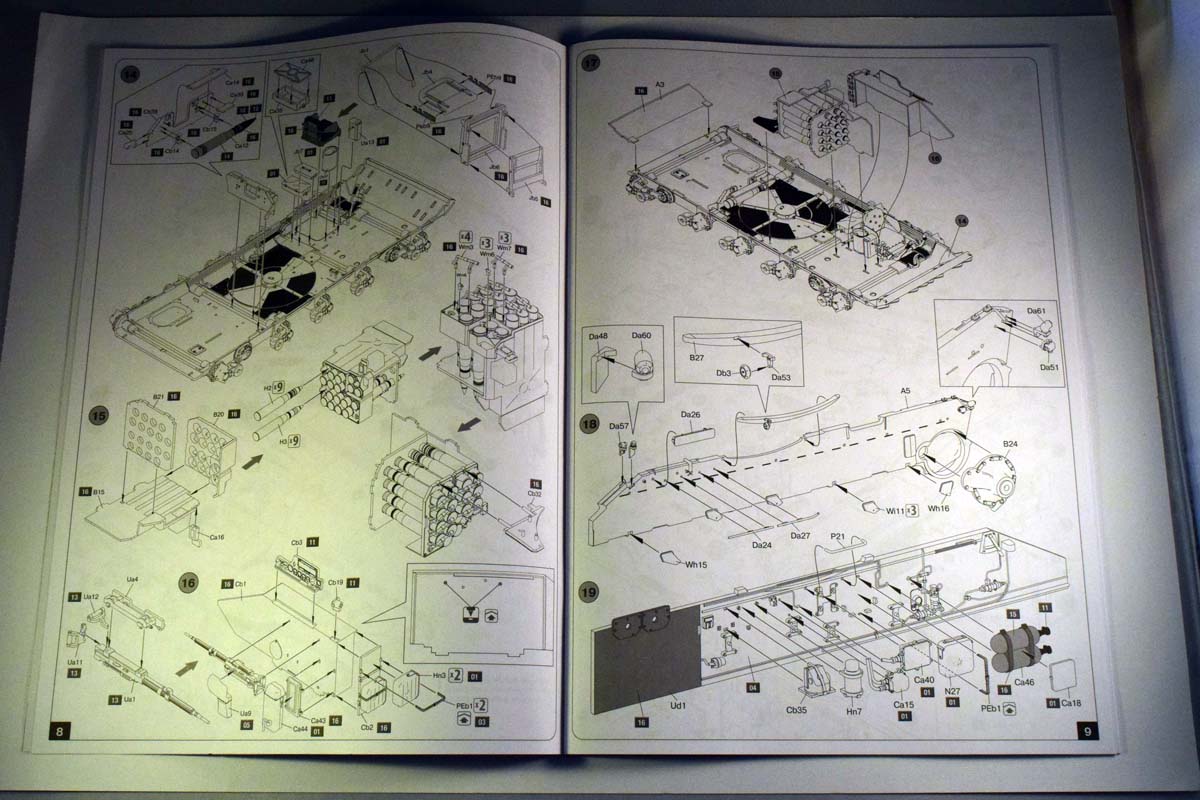
The engine
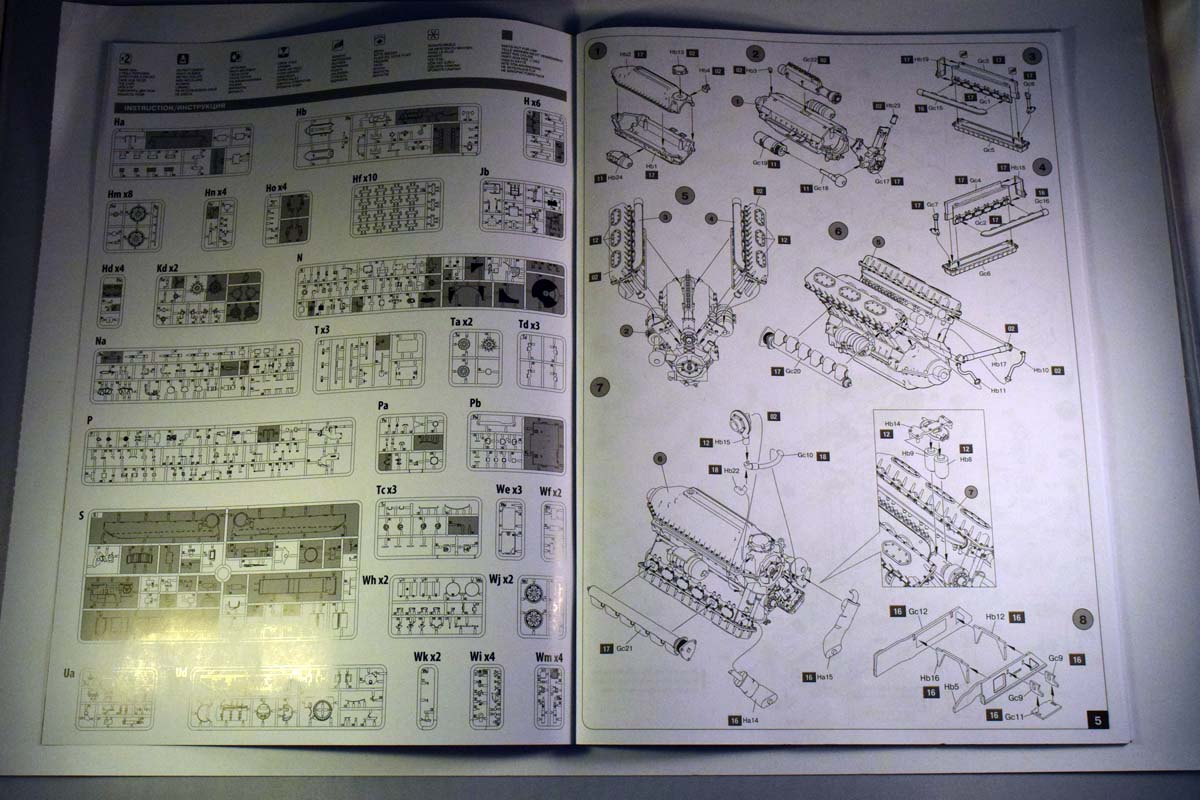
The first seven steps of the build is focusing on the V-55 engine. It is quite a complex little assembly on its own; if you really want to make it outstanding, look up photos and replicate the fuel lines, ignition cables, etc.; they can really make a difference. (MiniArt could provide schematics in the instructions.)
Its worth thinking about what you want to do with the engine before you start, though. Unless you want to open up the hatches on the engine deck, there is not much point building it as it will be completely hidden. Even if you open the tank up you will only see the top of the engine. I normally just display the engine in front of the tank; it would be a shame to hide it.
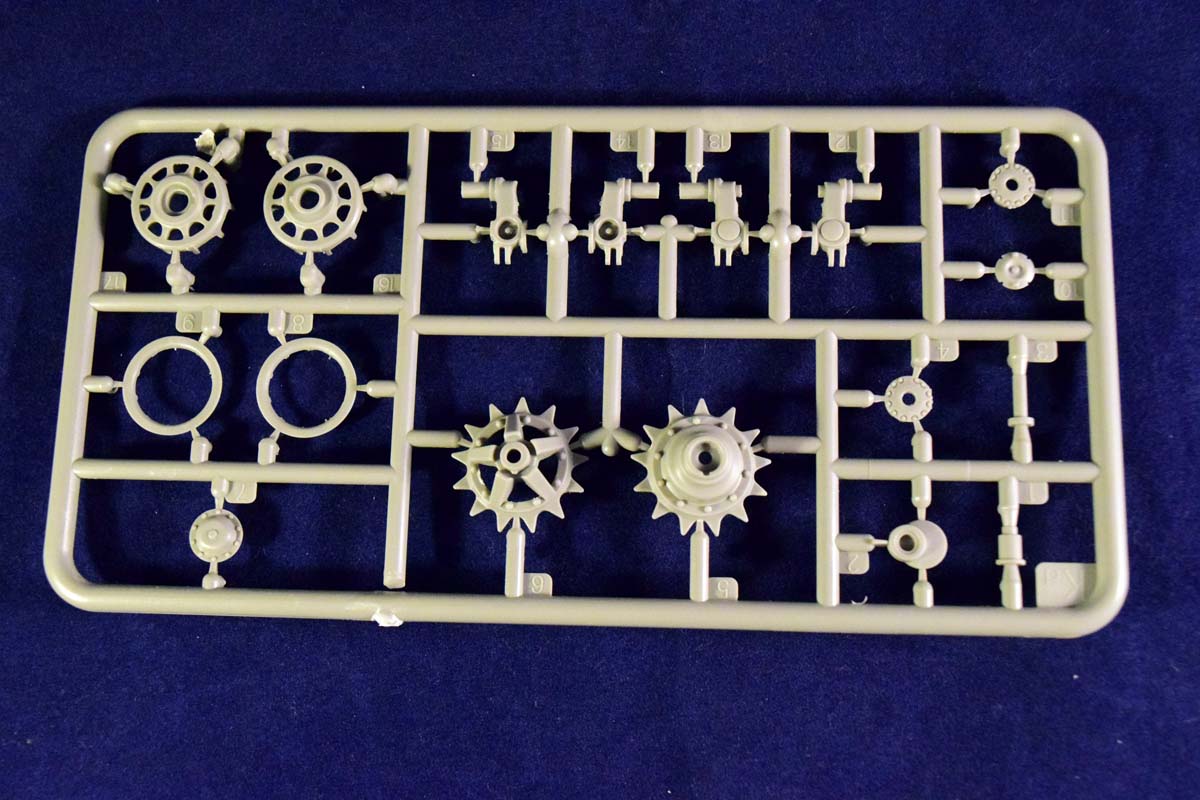
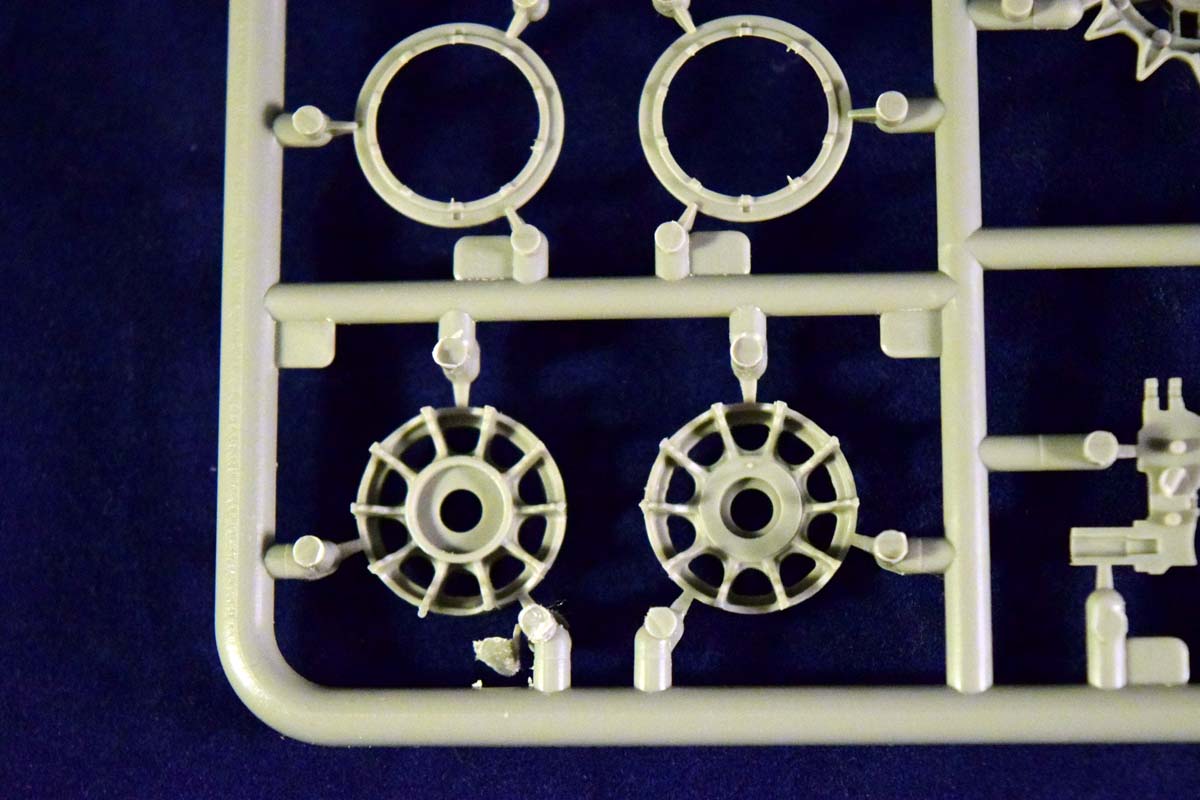
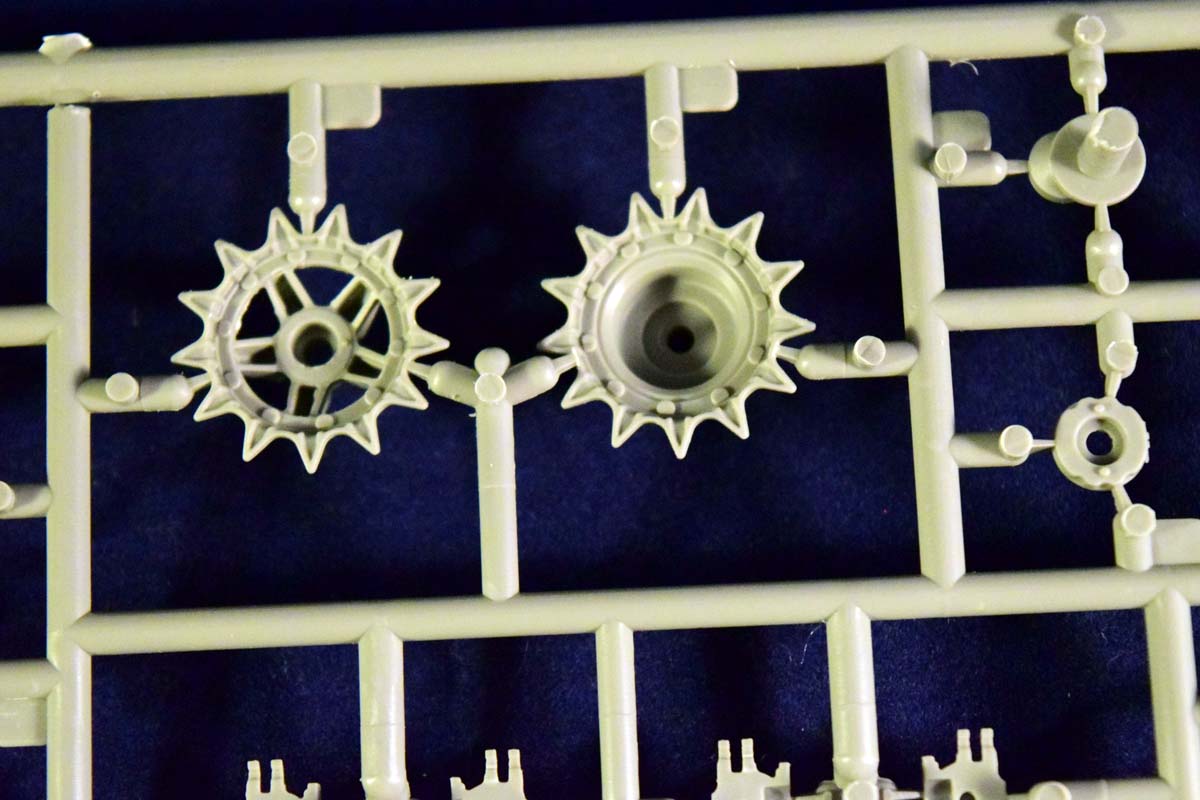
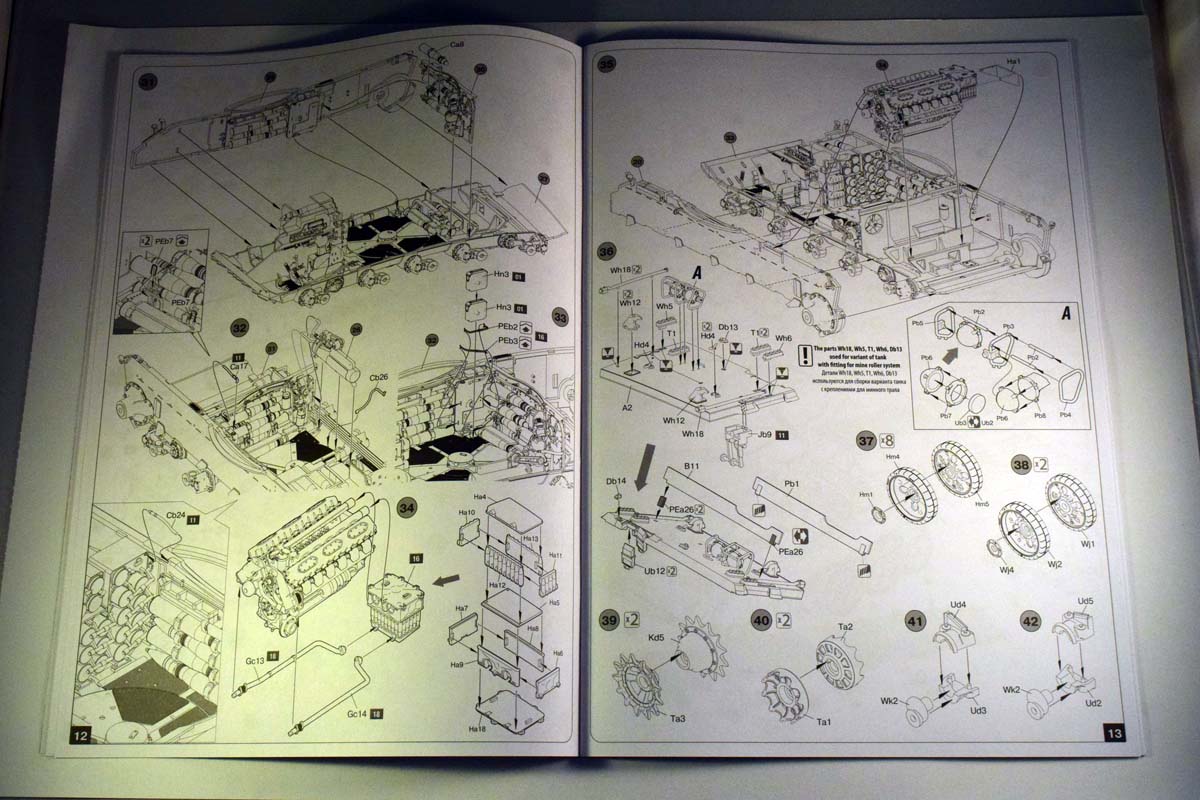
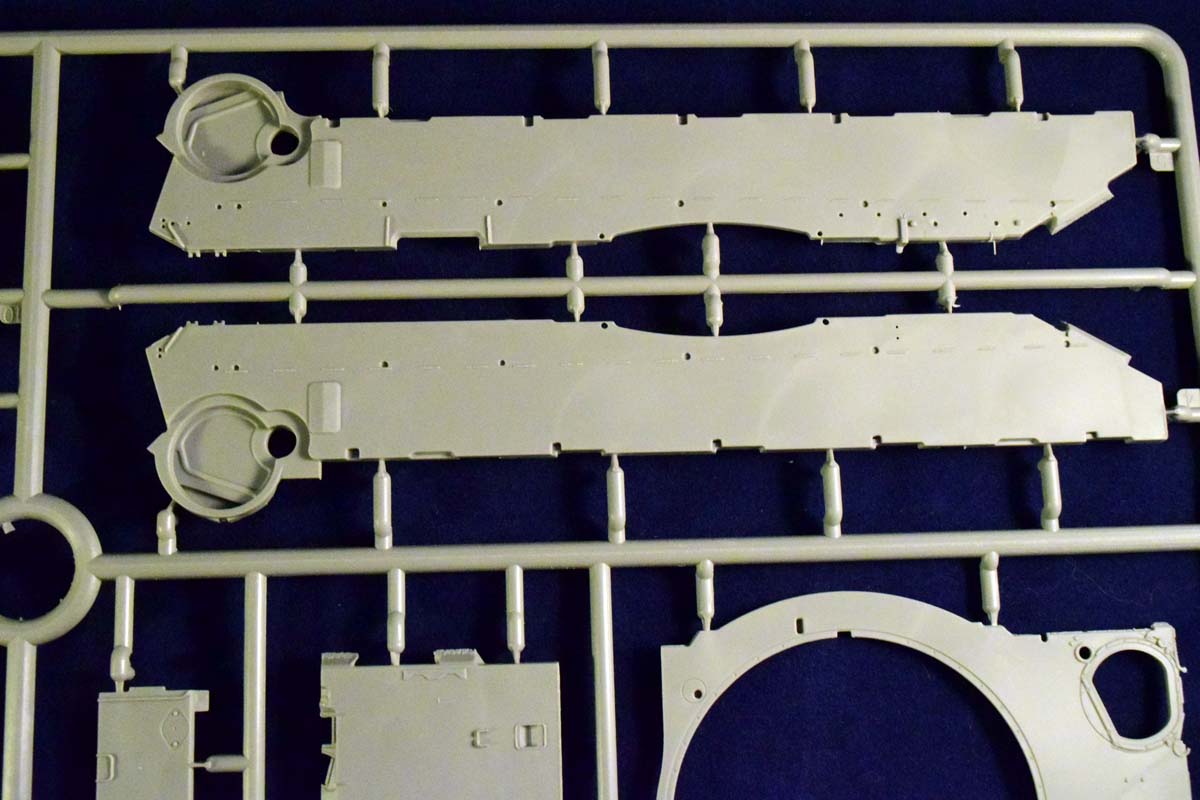
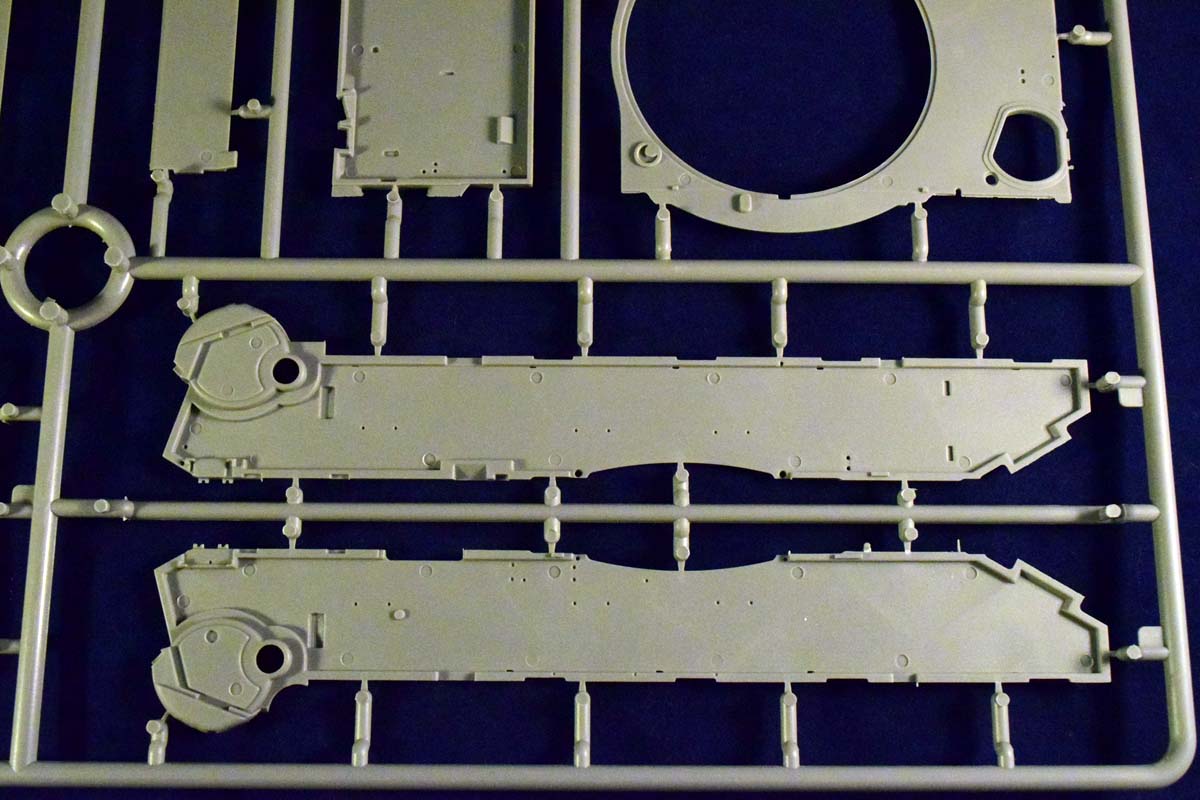
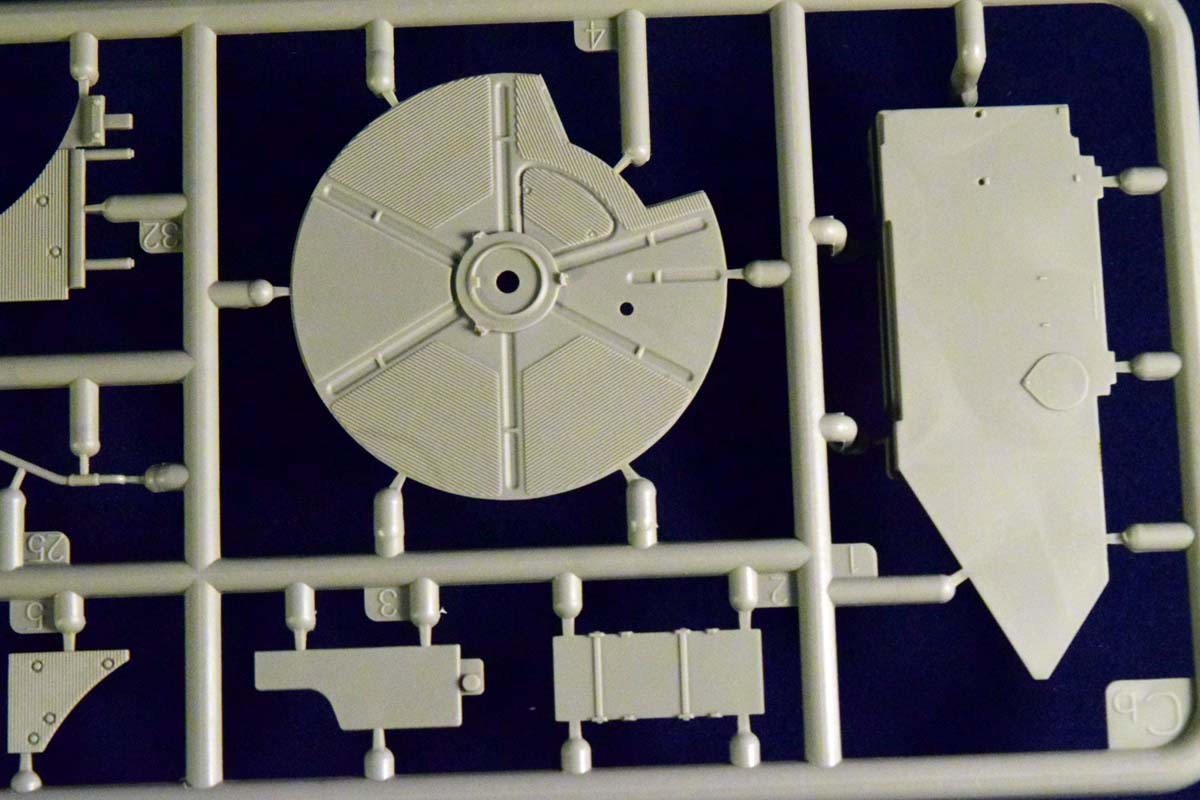
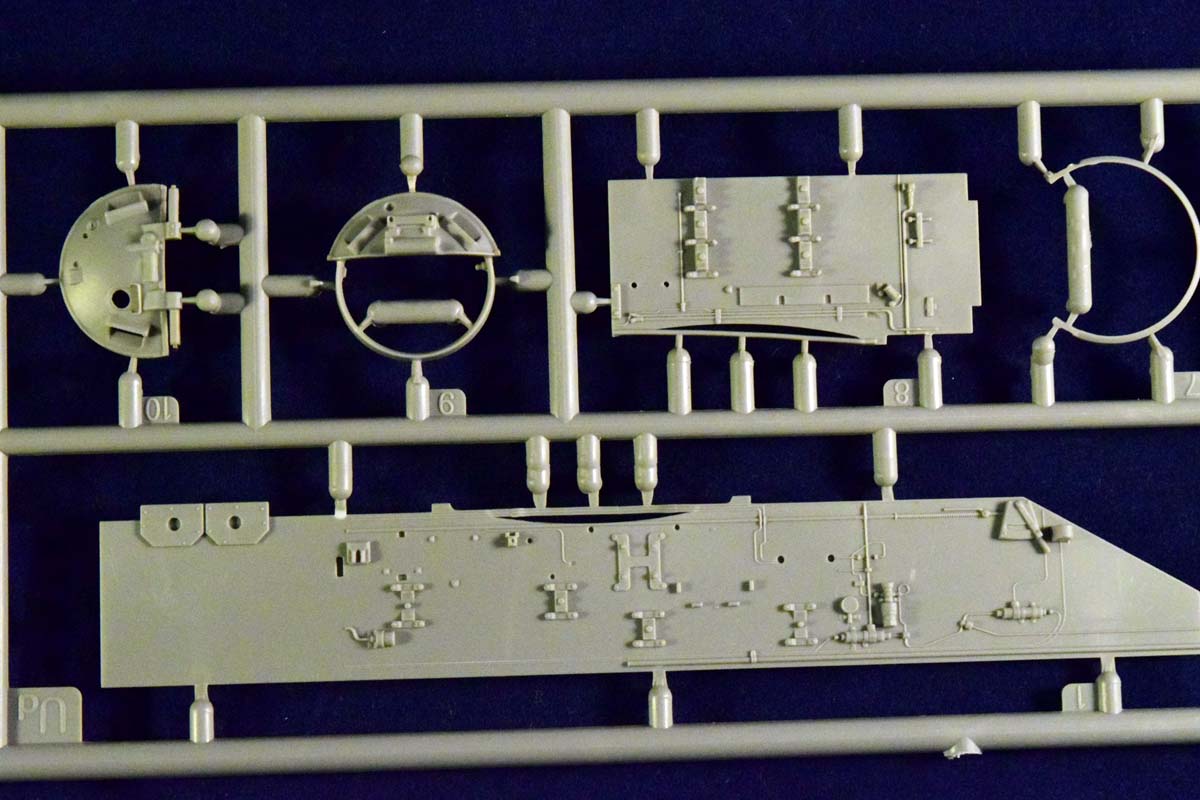
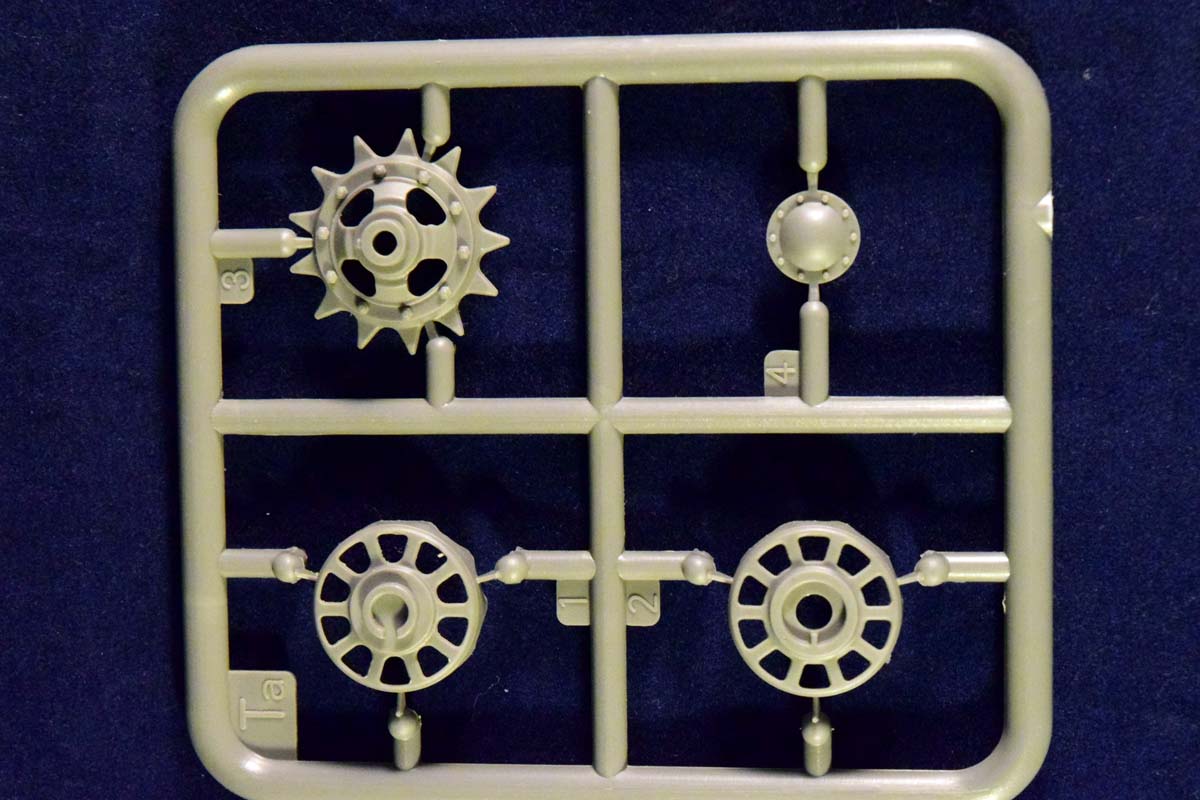
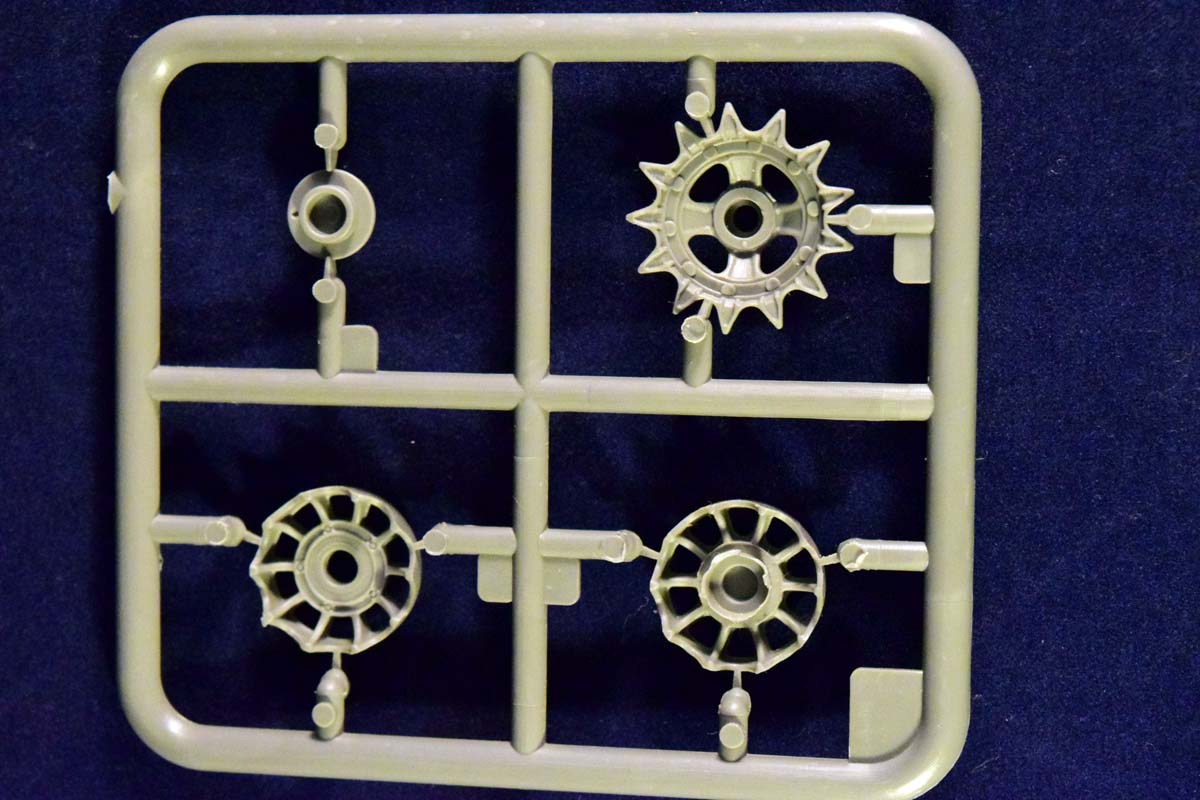
Lower Hull and running gear
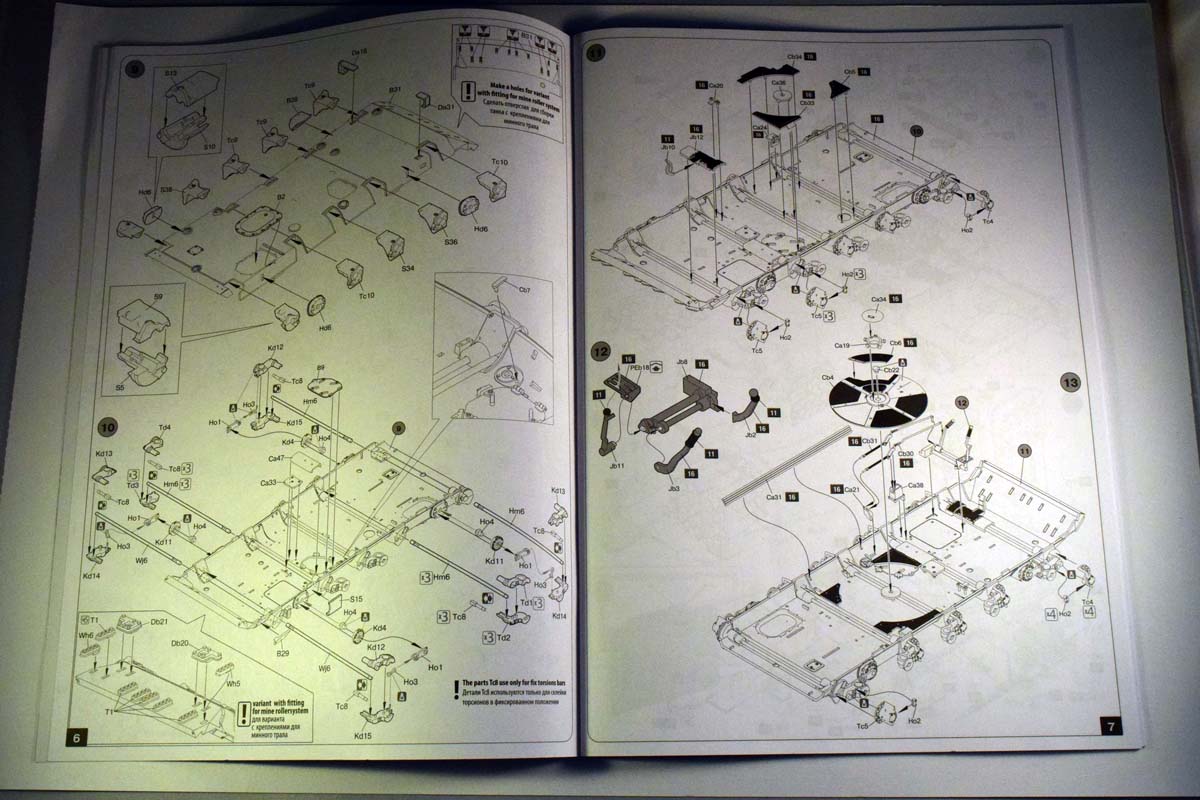
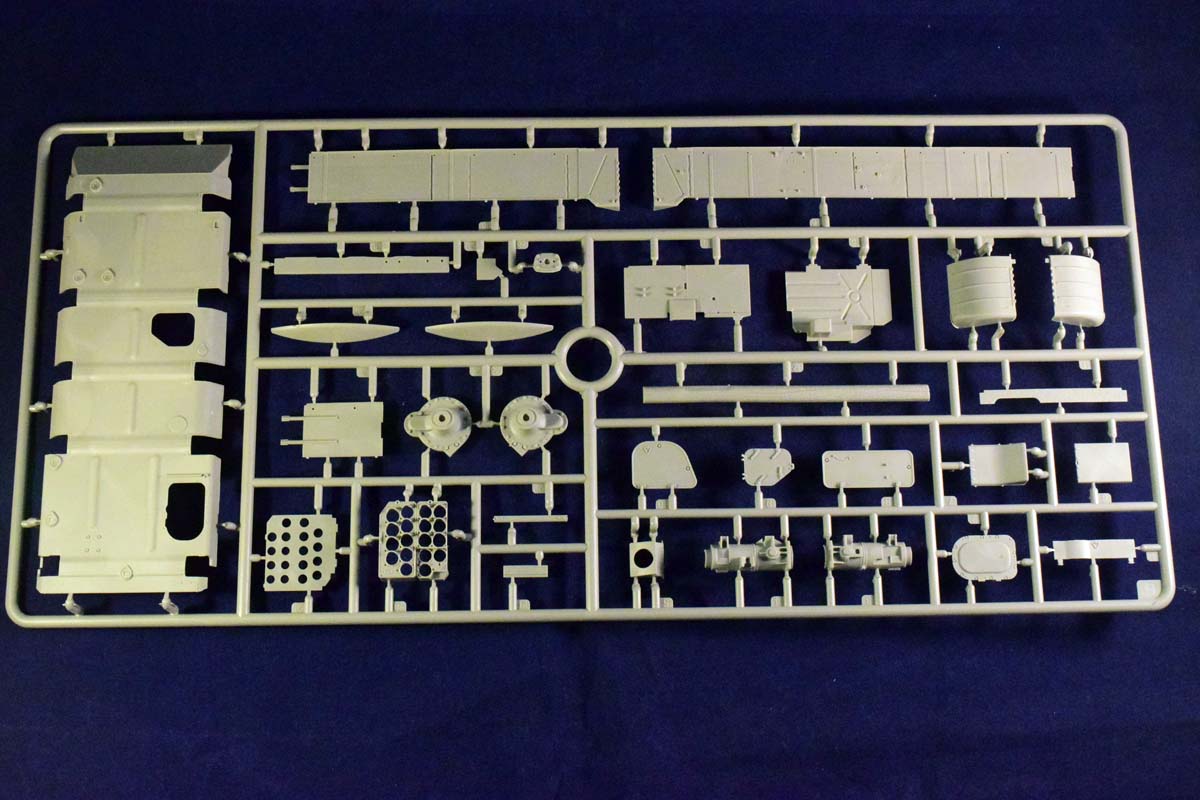
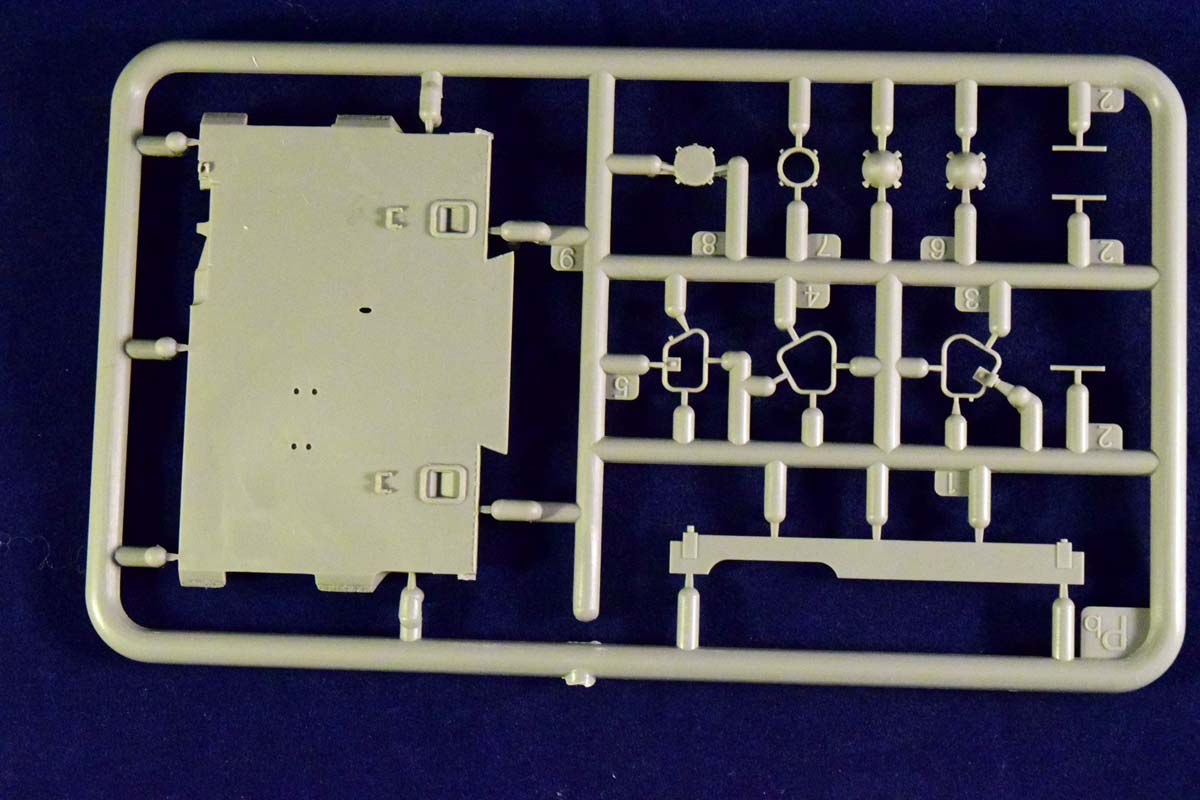
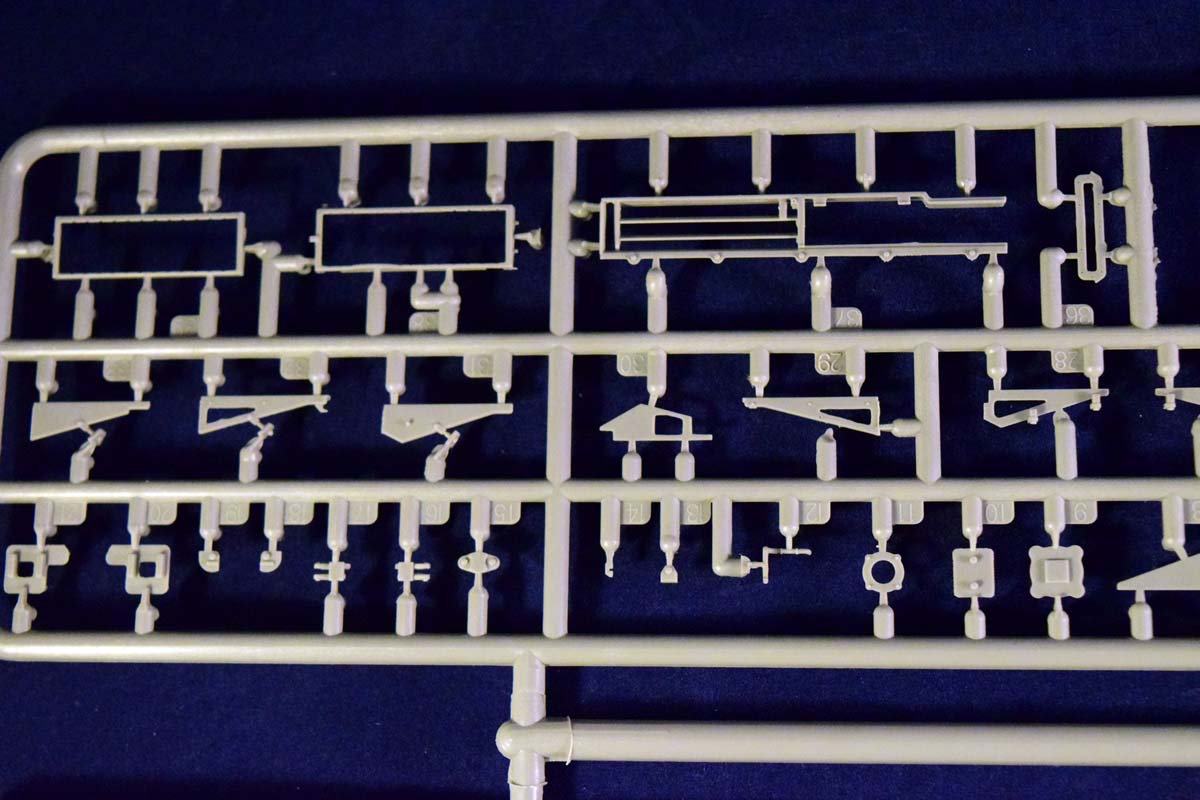
The following steps detail the assembly of the lower hull, and the running gear. As usual, there is no bathtub-like lower hull provided; you will have to assemble it from the bottom, sides and back panel. This might seem like an old-school approach to building a model, but it has two advantages: its possible to mould the side-walls and bottom with scale thickness, and you can finish the interior before putting everything together. The fit is excellent, so no worries about that.
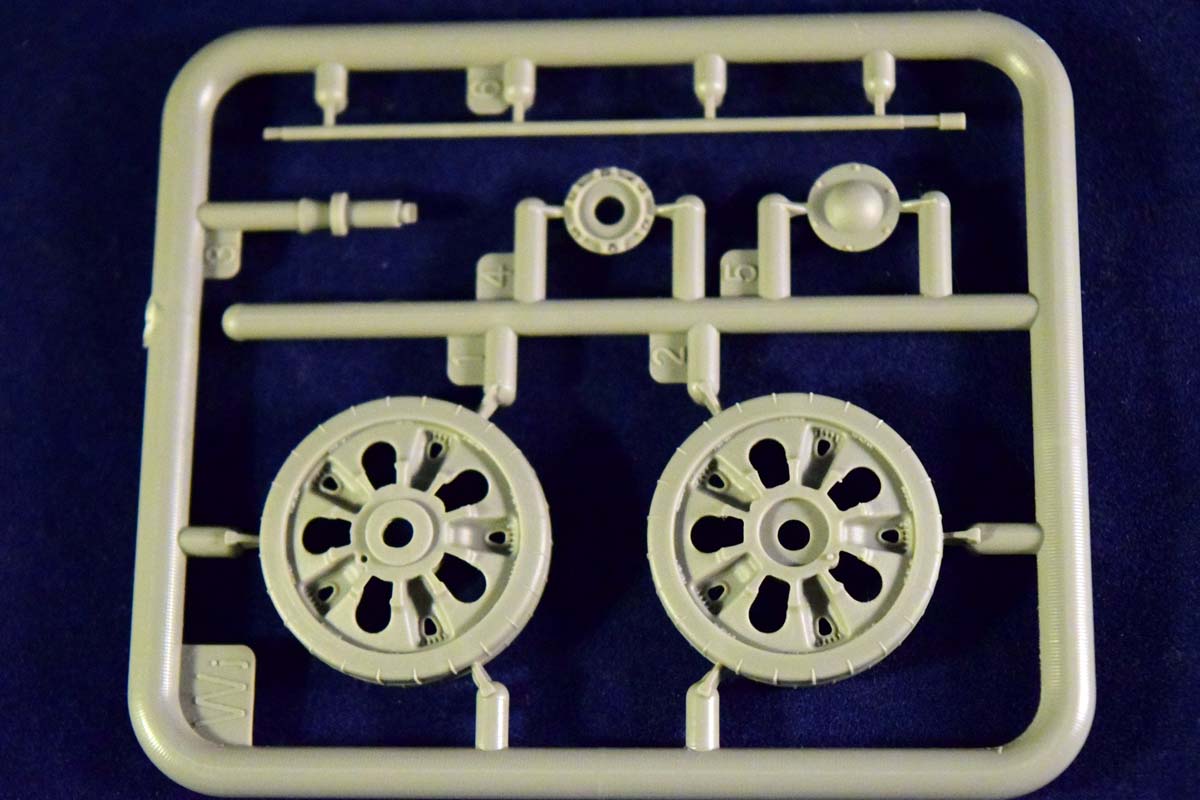
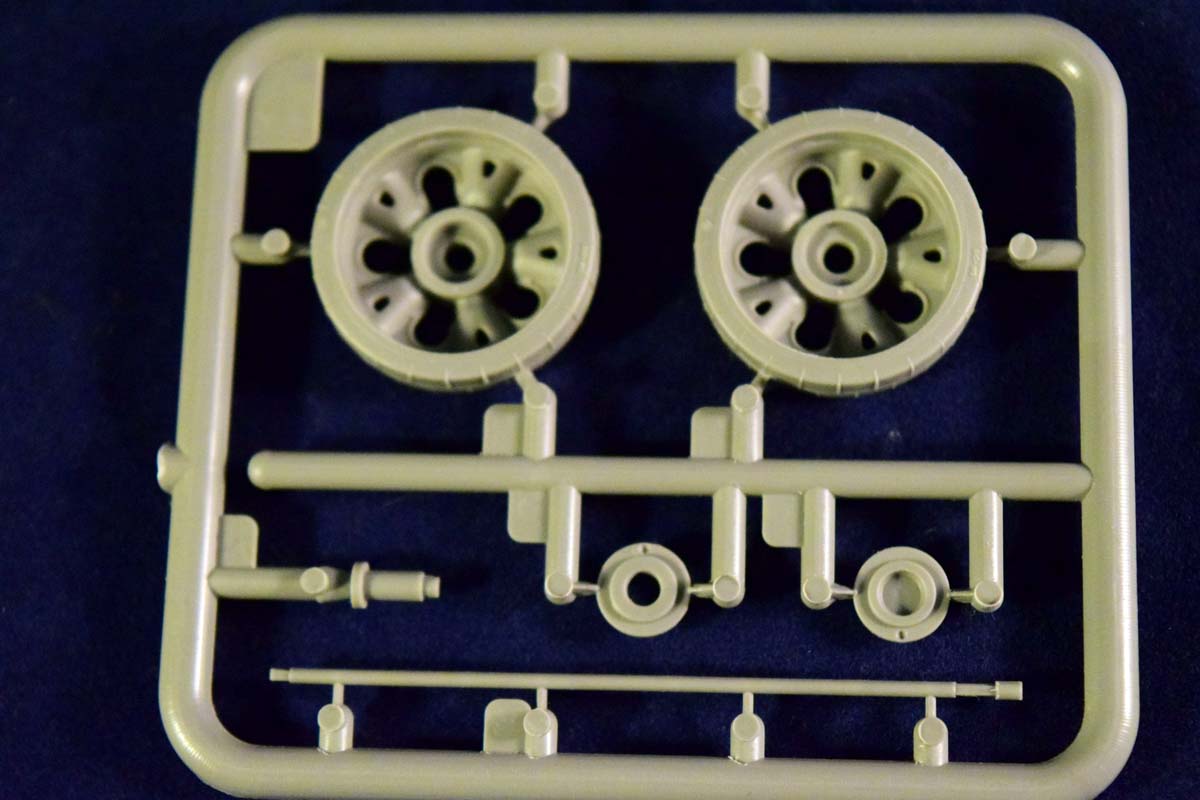
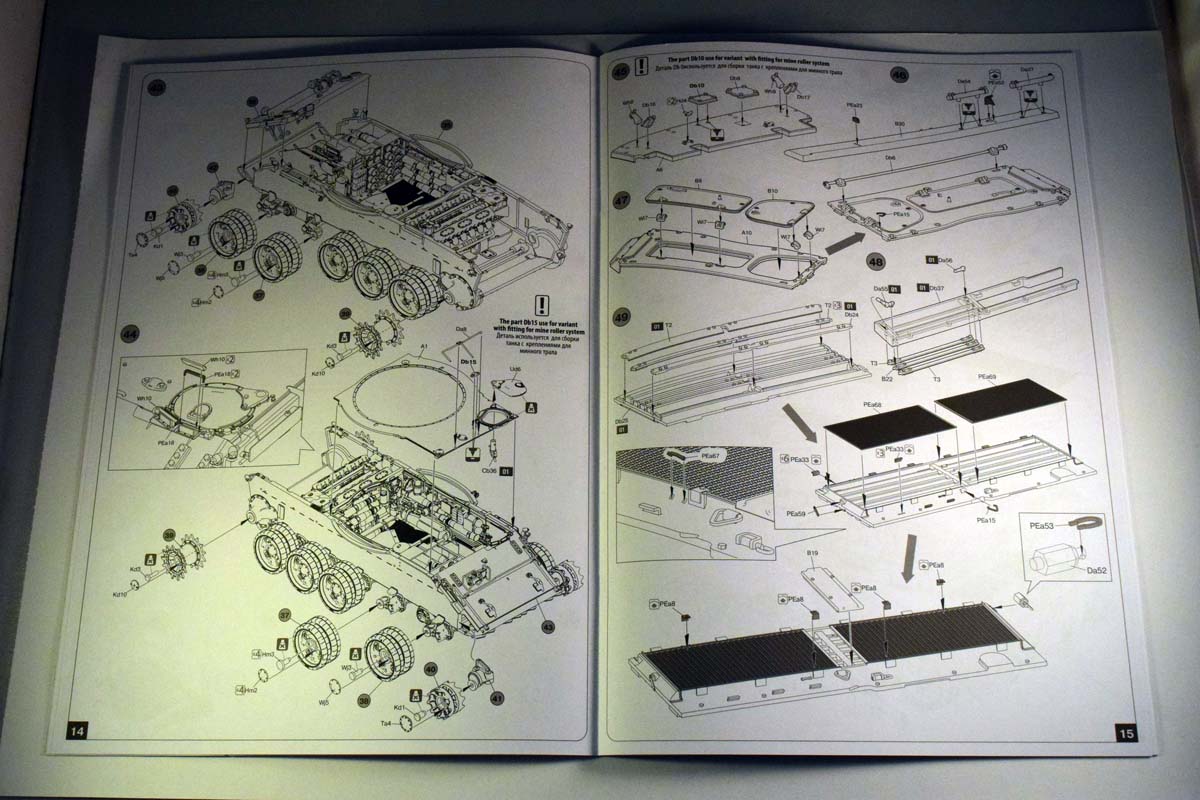
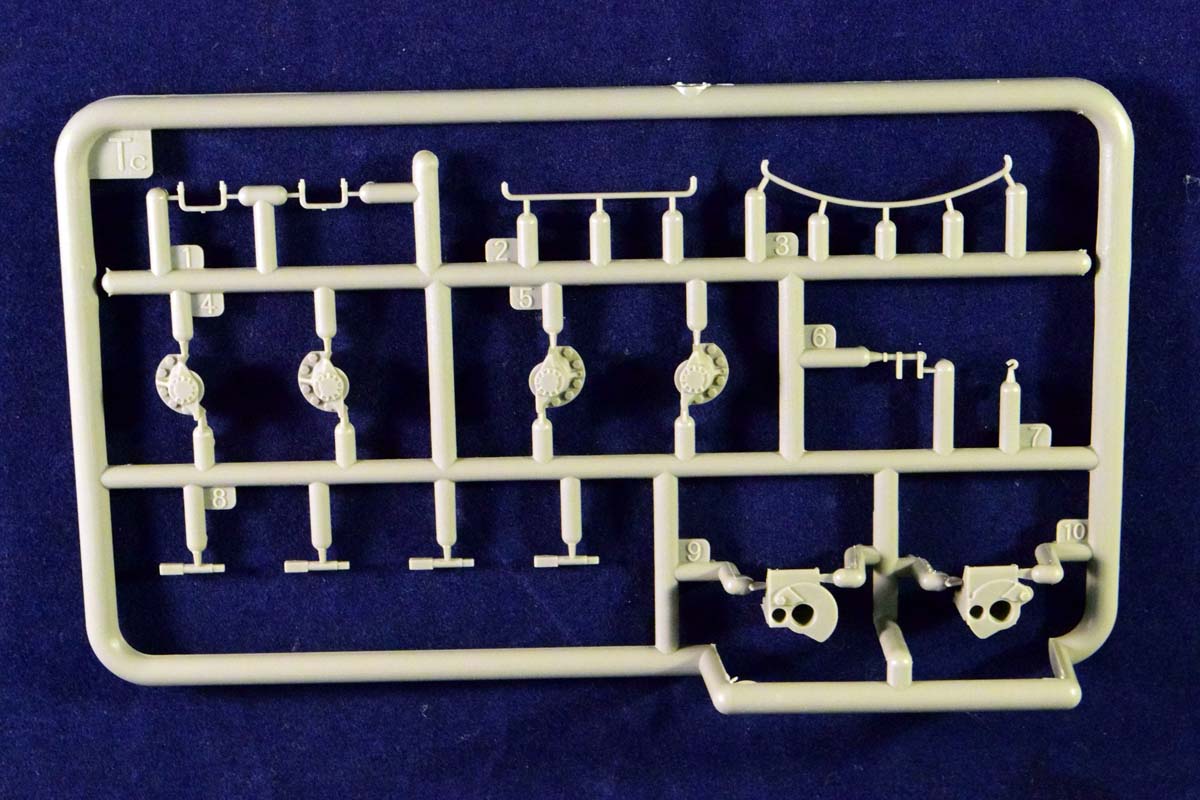
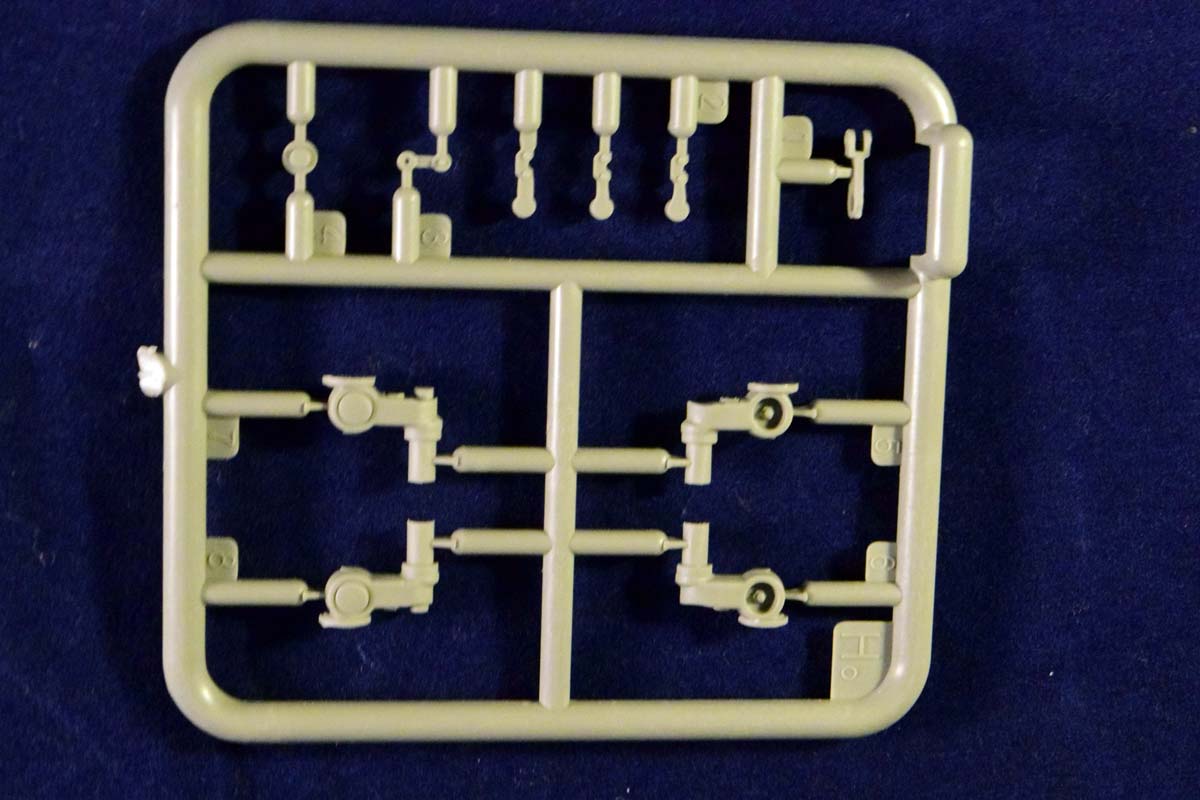
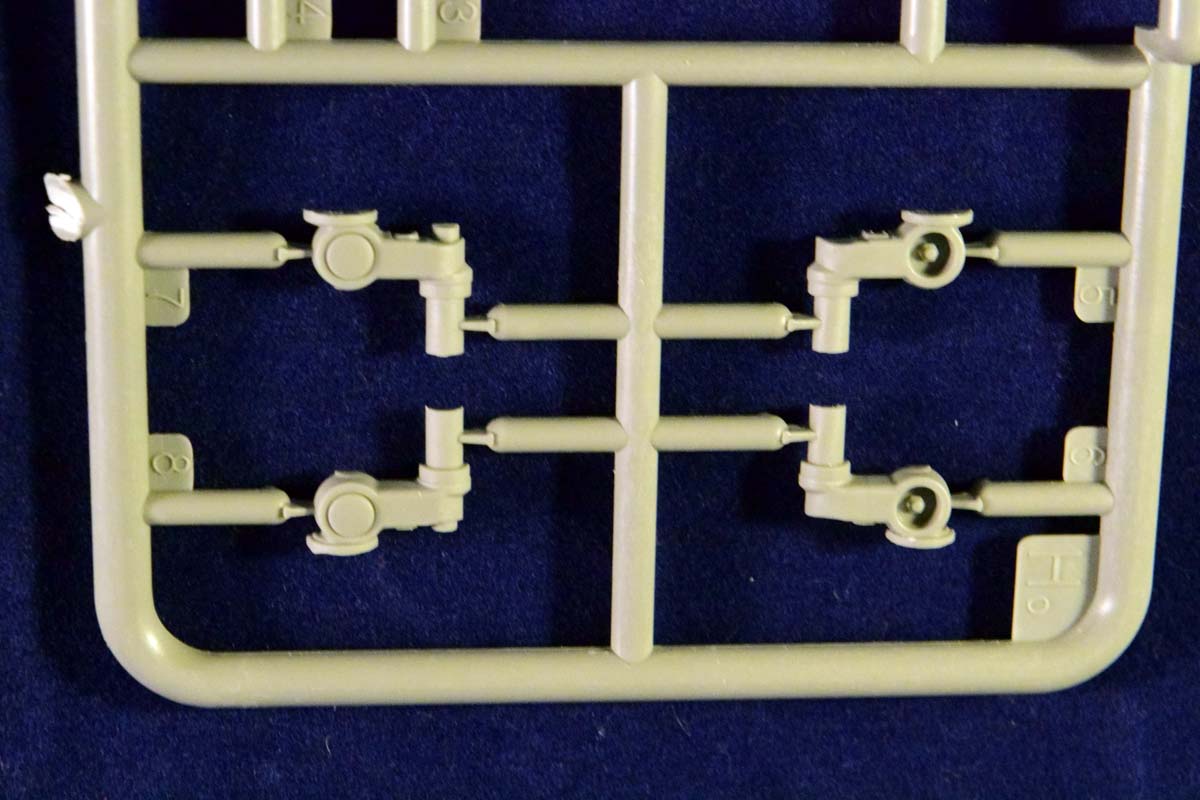
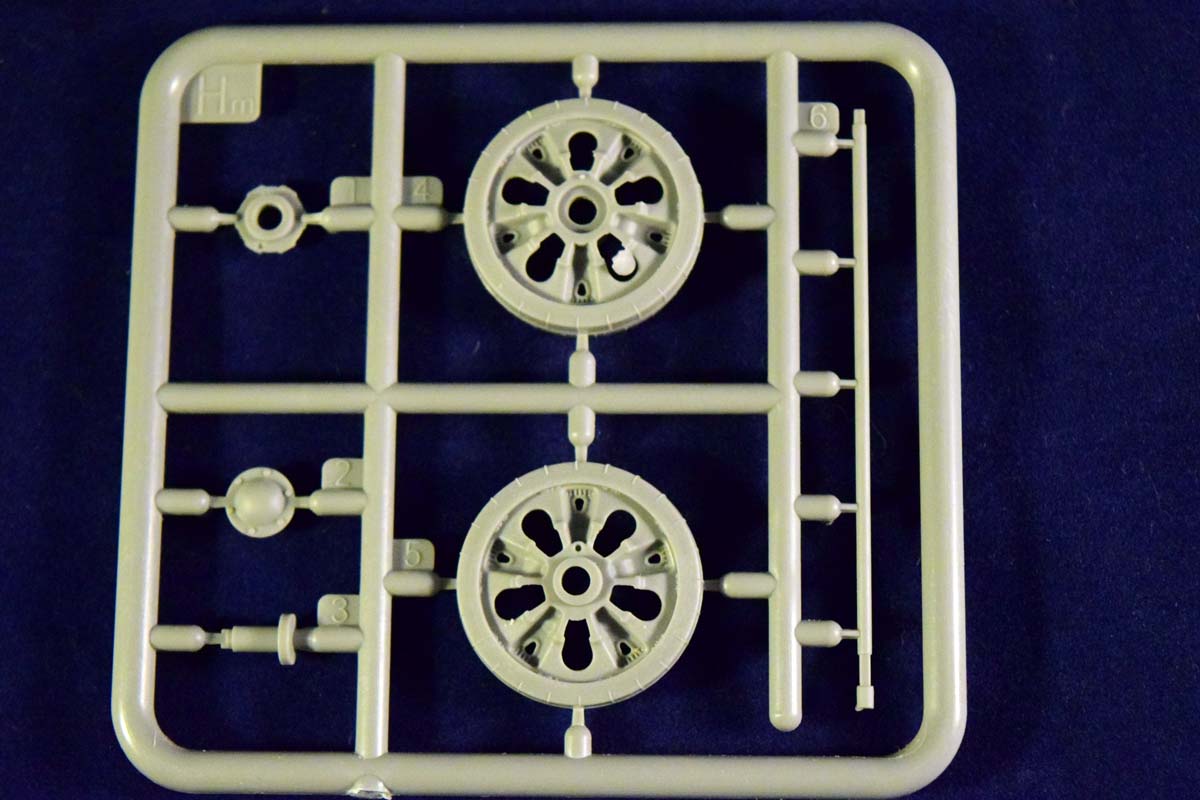
The running gear has torsion bar suspension; if you are careful with the glue the suspension will work. (The individual tracklinks are not workable though. Nevertheless this will be useful for positioning the tank in a diorama.) Theres a lot of subassemblies which are normally provided as a single part (even the swing arms are made out of several plastic parts), but the end results are worth it.The interior is, well, complex (Im justified in overusing this word), and incredibly cramped; these tanks were not very big on crew comfort, as you will start appreciating during the build.
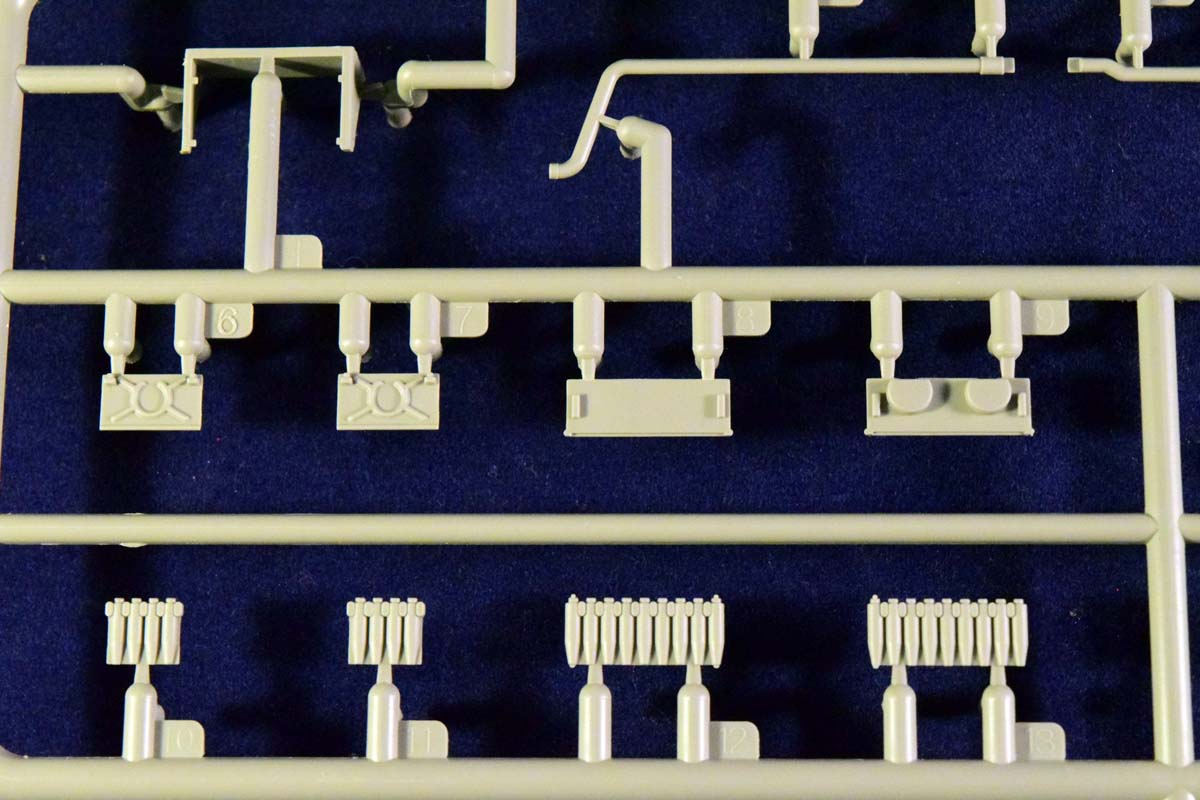
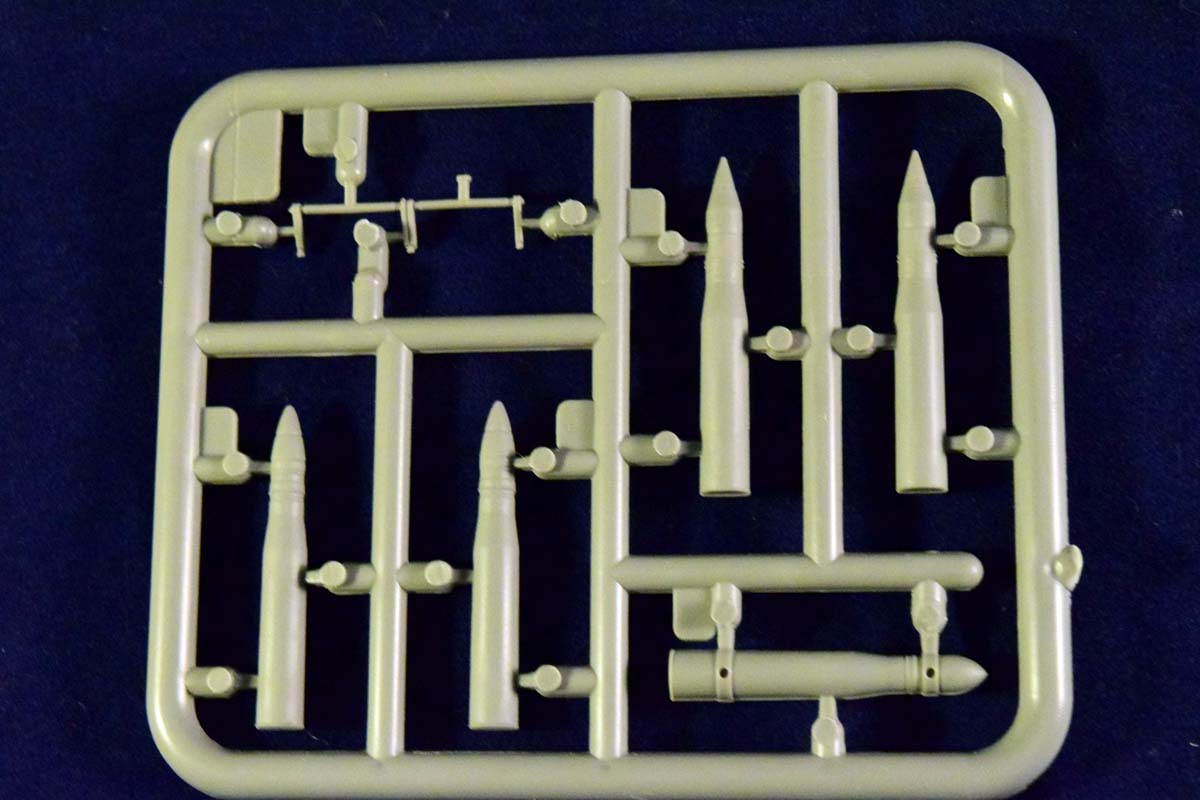
First steps will be to dress up the sides (all the electrical boxes, ammunition, etc.), the firewall, and add the drivers seat, the heater for the engine coolant, etc. to the bottom. The rotating platform under the turret is movable if you are careful with the glue. If you dont want to do extra work, count how many rounds you will need for this build, and only paint that many. I would even argue that the rounds going into the main rack behind the fuel tank (next to the driver) dont need to be fully painted. As I said the drivers compartment finally has an instrument panel; it also features a hull machine gun, which was dropped in later variants.
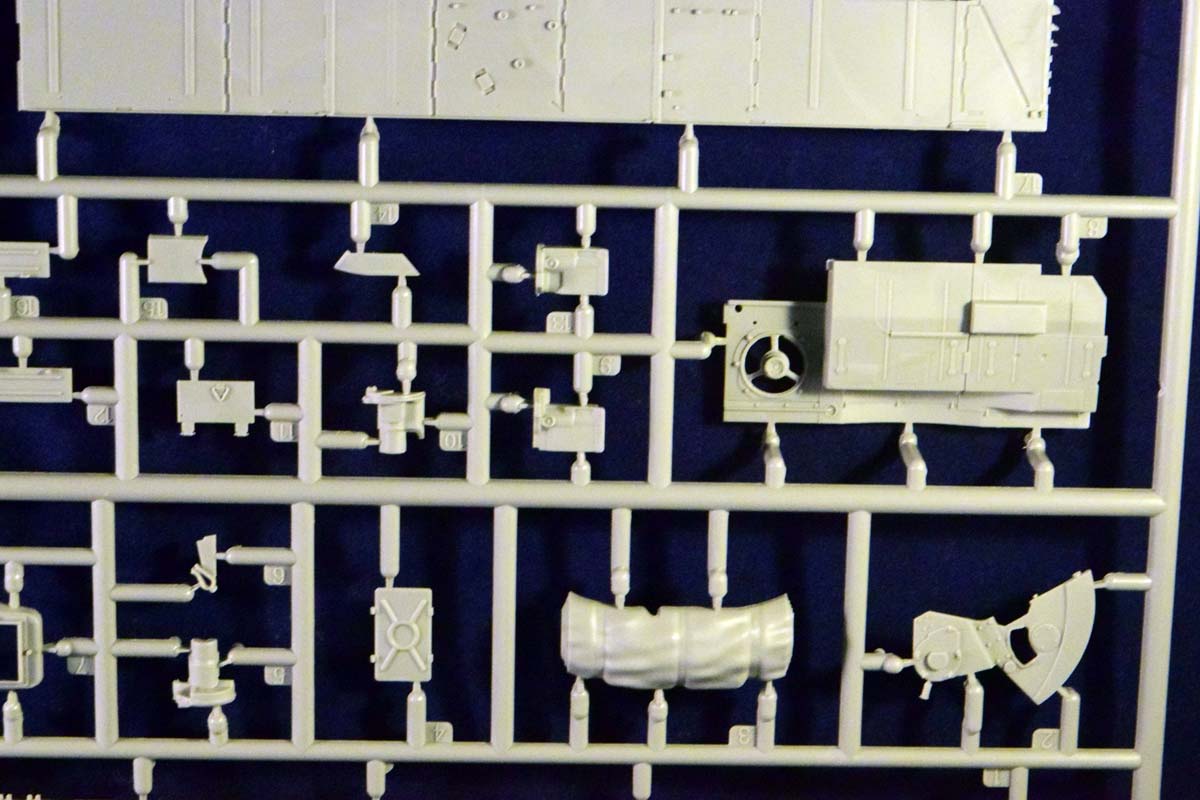
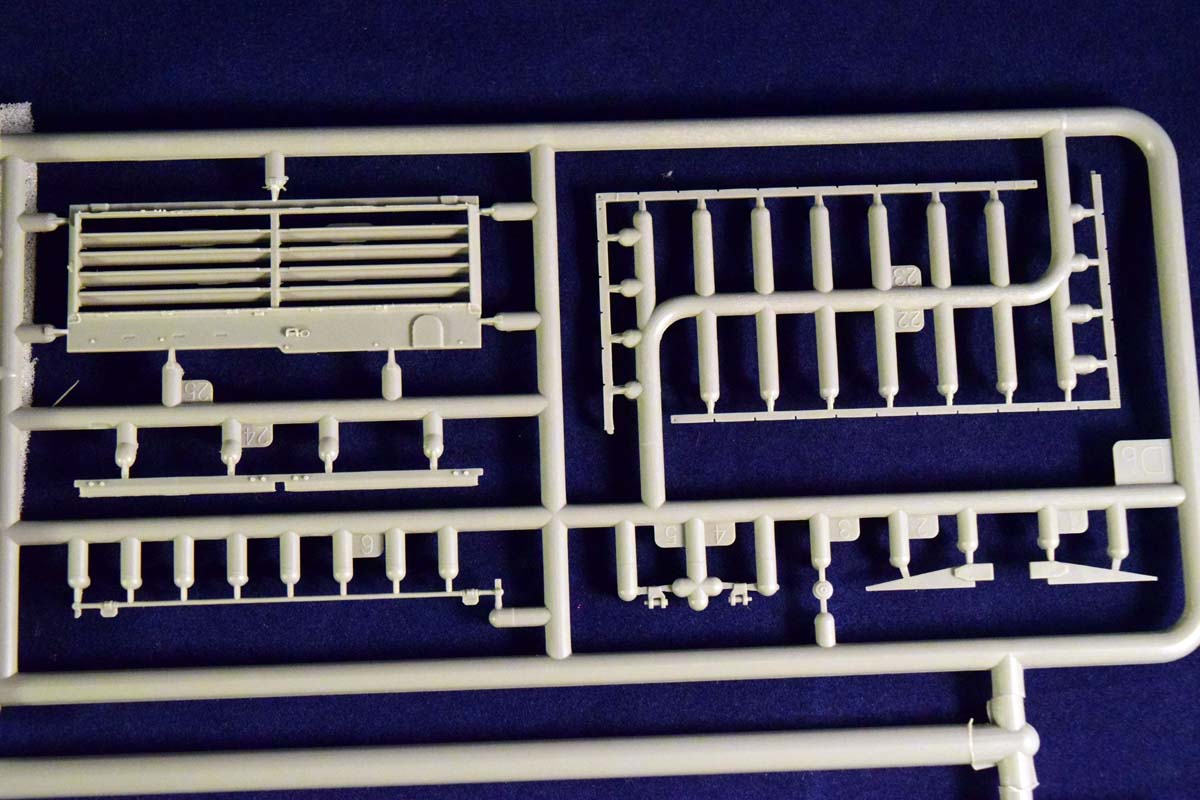
The engine deck is very nicely done; it is an accurate representation of the Russian made T-55s (but not of Polish or other versions). It is a complex assembly full of thin plastic parts and tiny PE; a veritable minefield if you are not careful. As usual my suggestion is try to replace as many thin plastic parts with wire, and brush up on your PE skills; handling parts no bigger than 3mm is not easy.
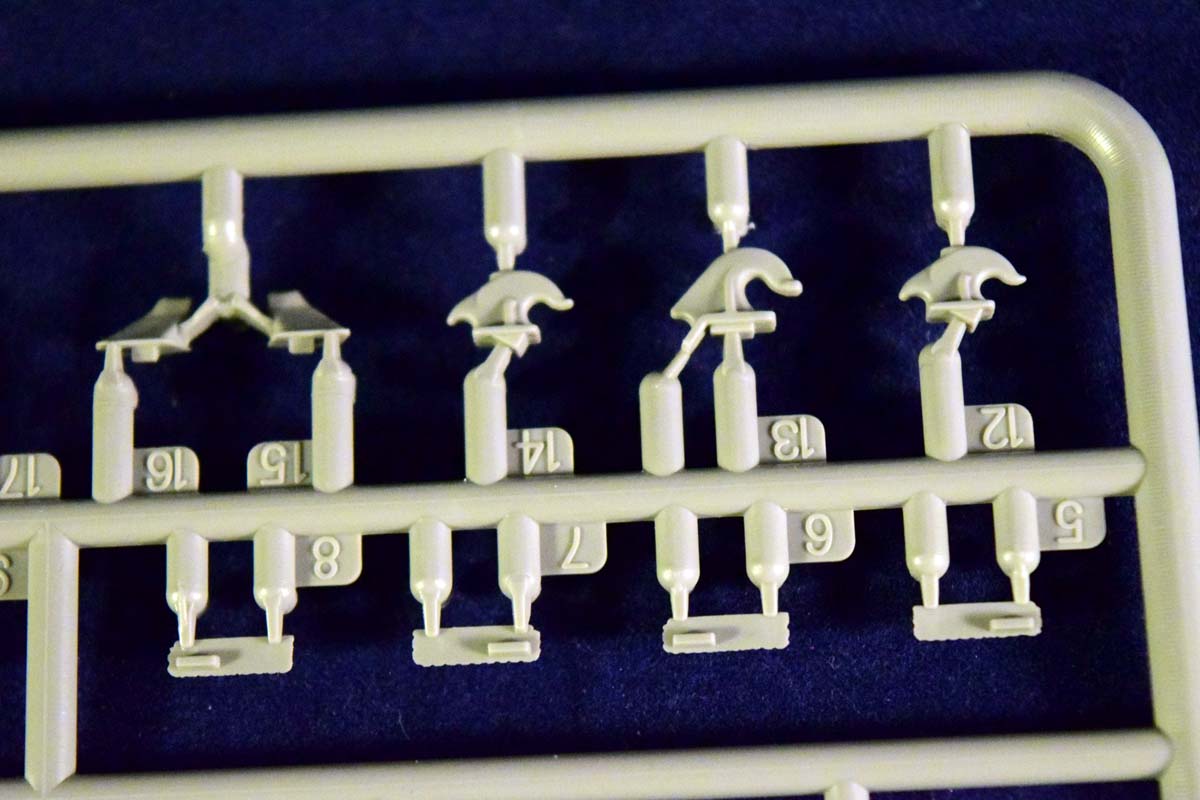
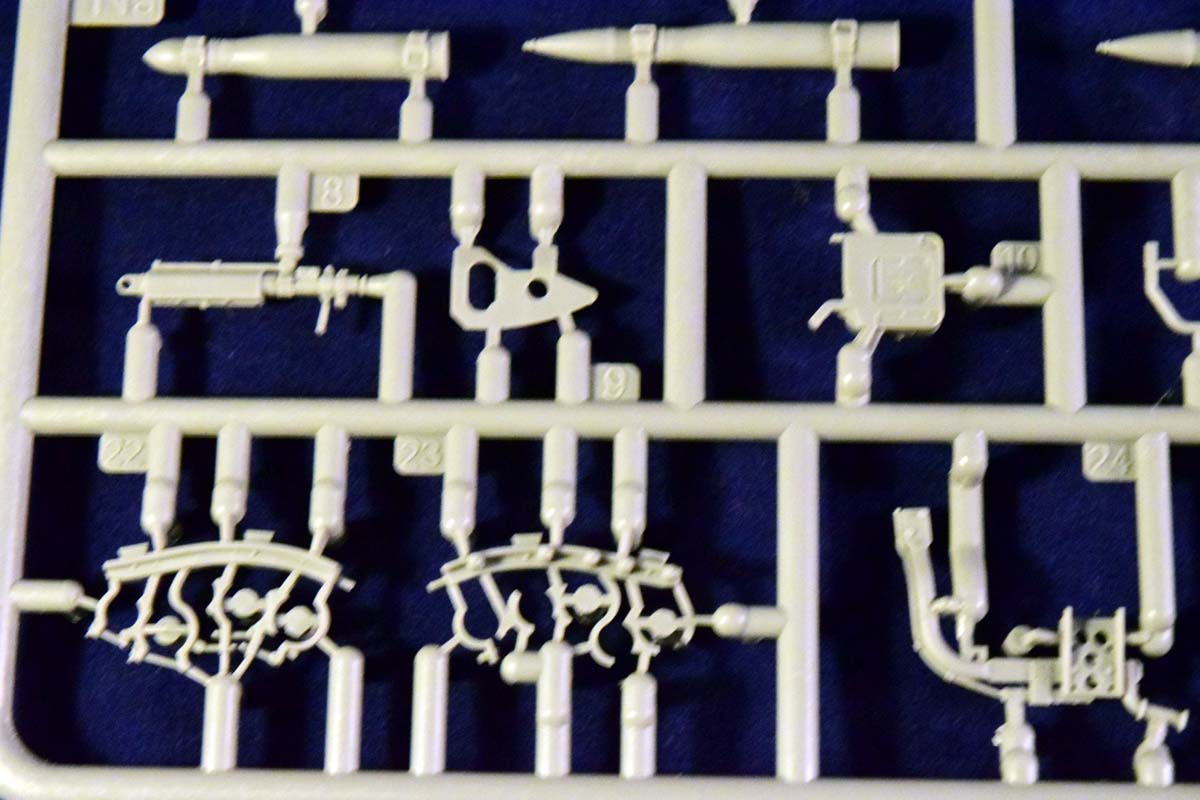
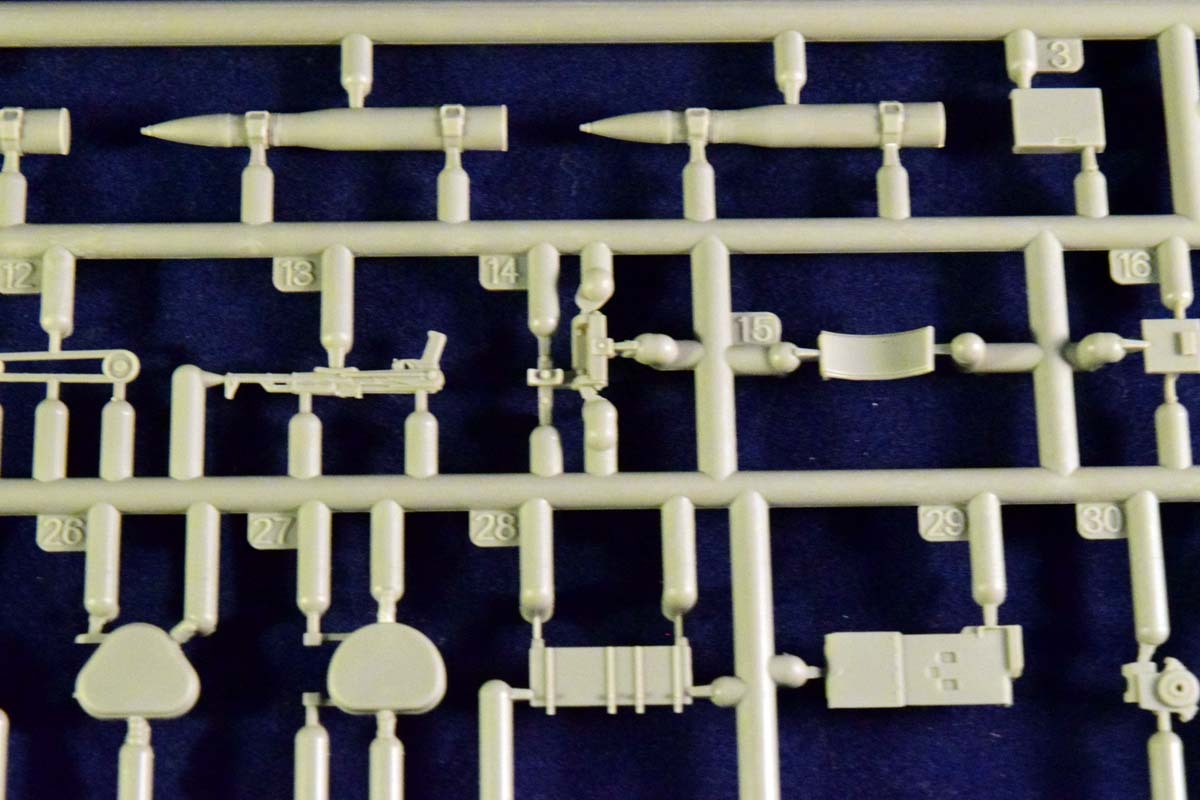
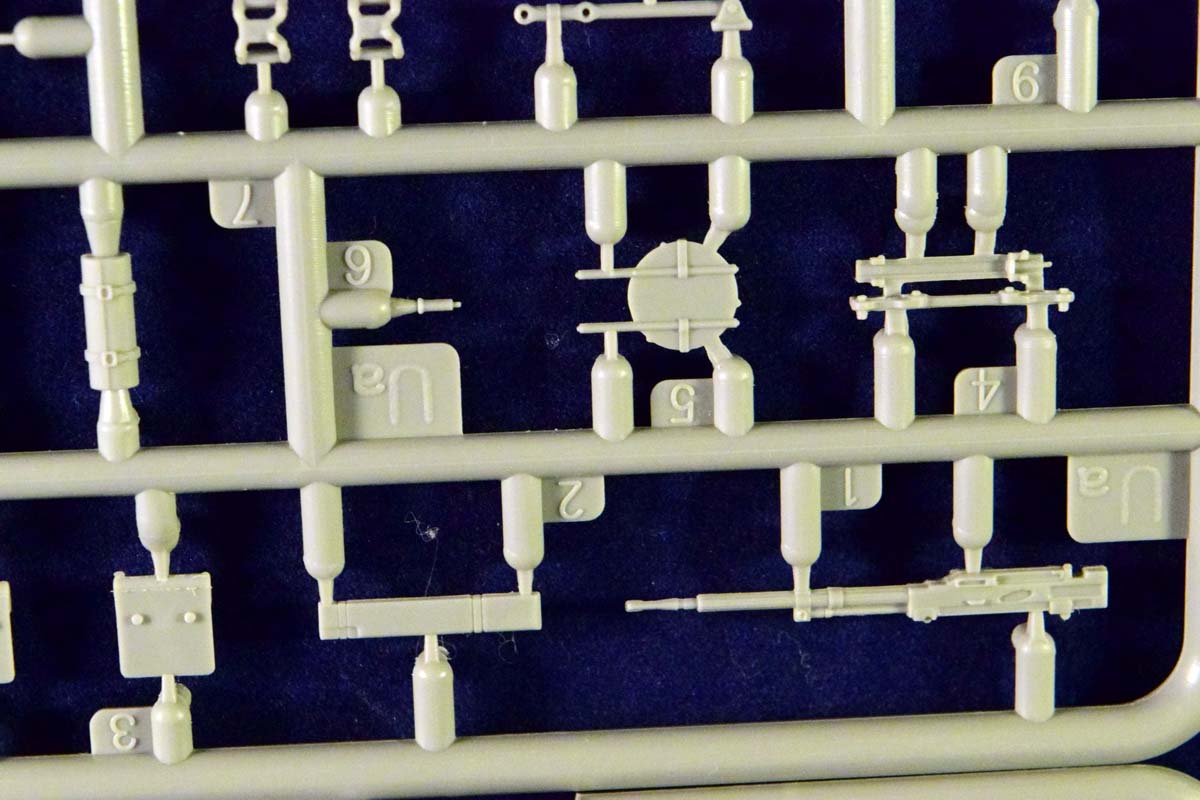
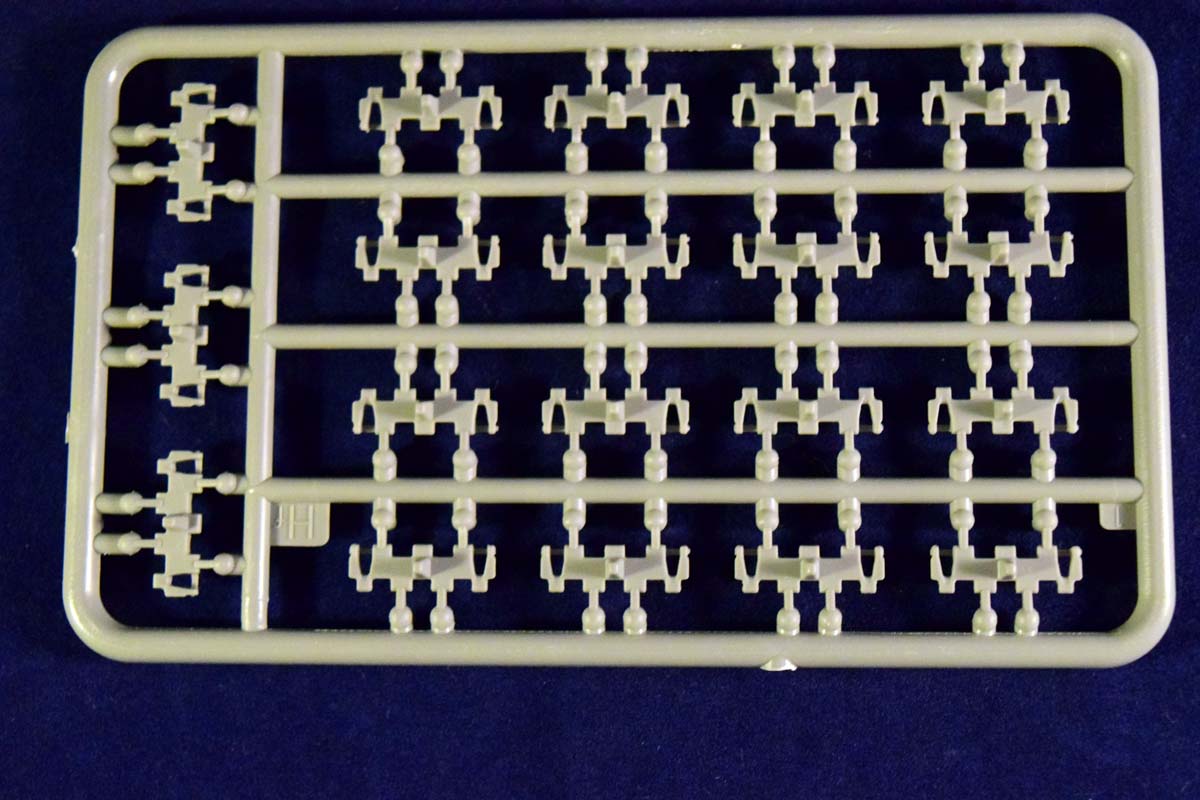
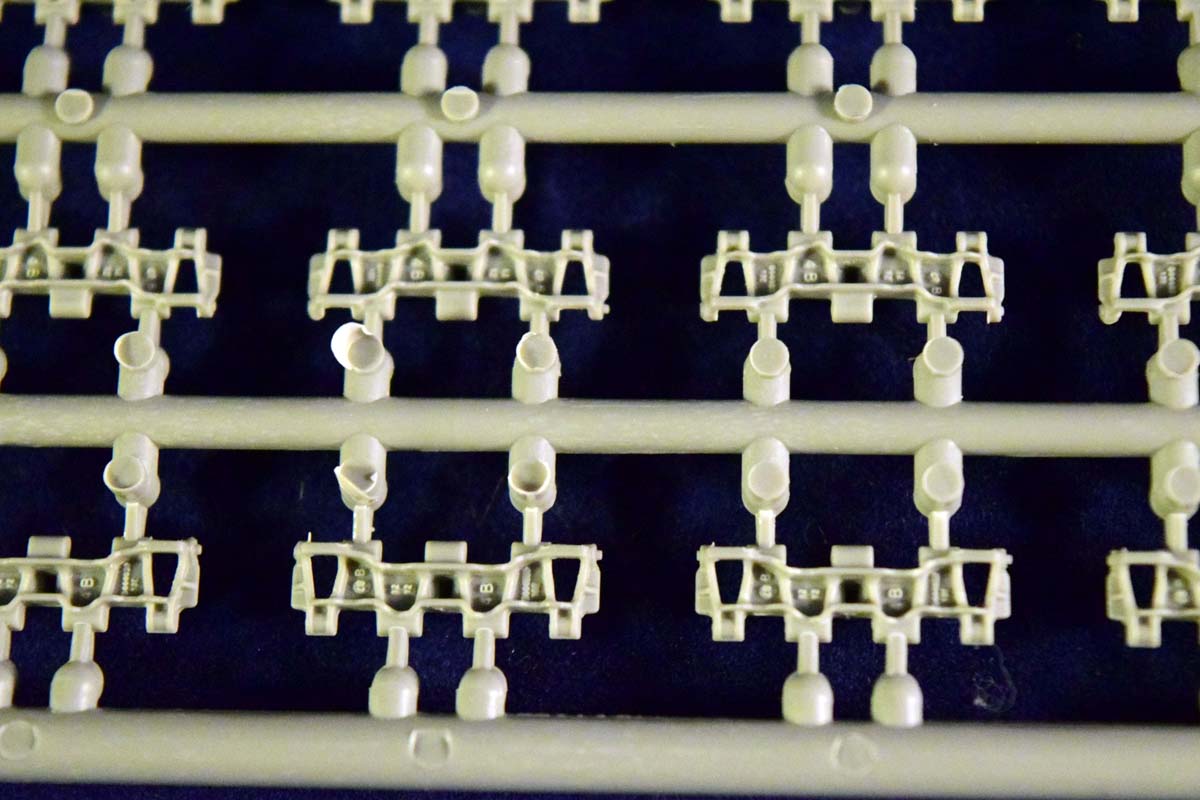
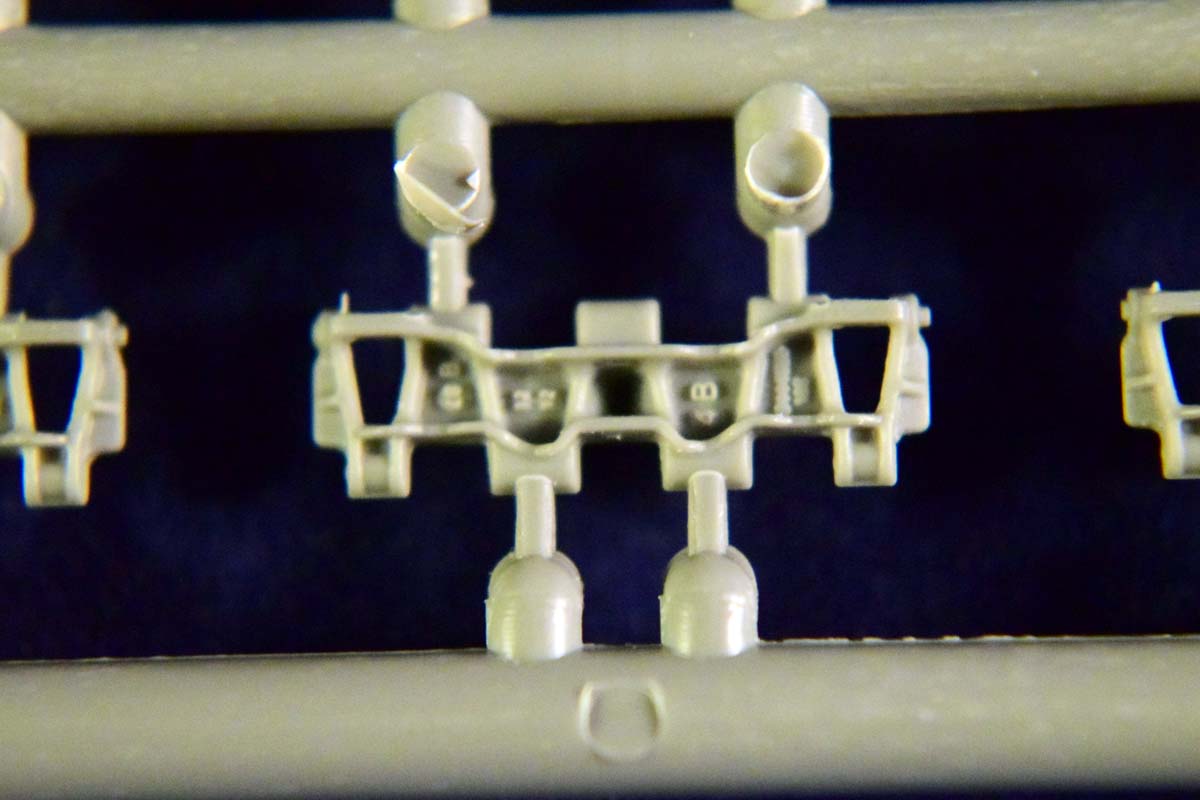
The track links are very impressive; Ive took some close-up photos to show that the casting numbers are clearly visible. Removing and cleaning them off the sprues is a time-consuming process; I was clearly spoiled by DMLs magic tracks (Having a favourite podcast running is a good way to get through the repetitive tasks.)
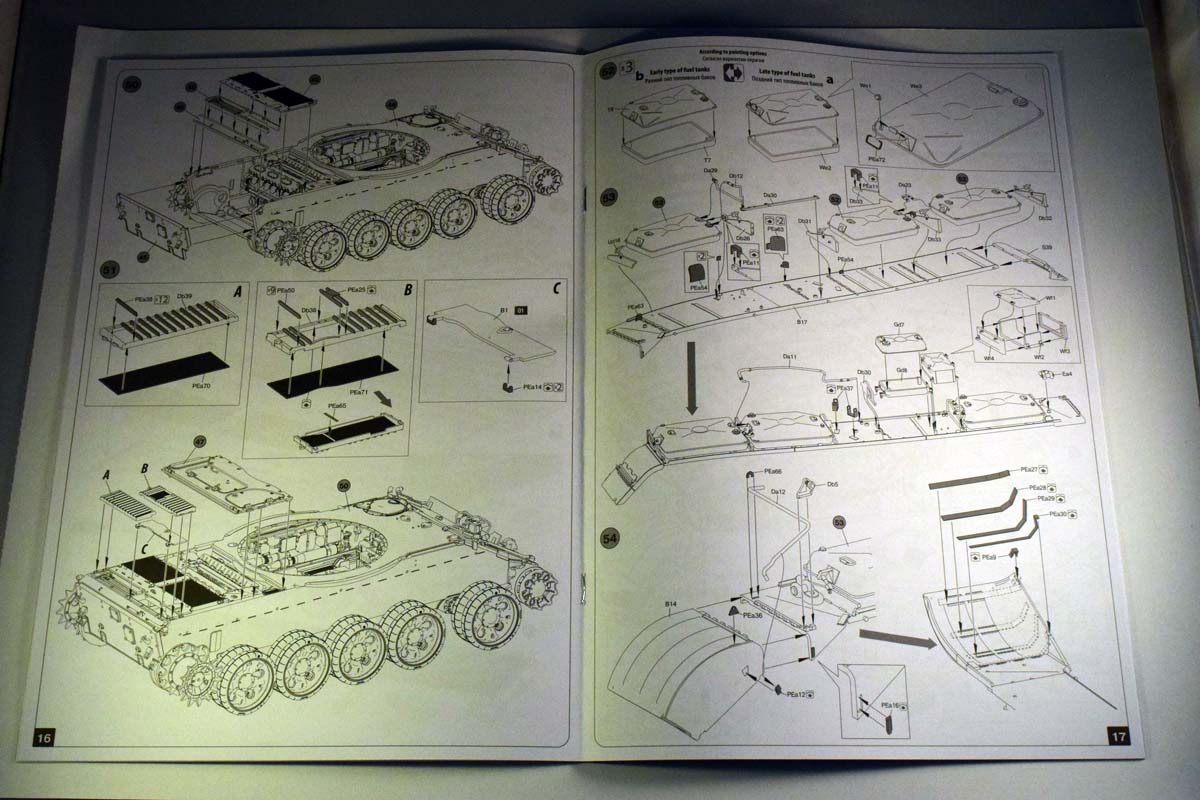
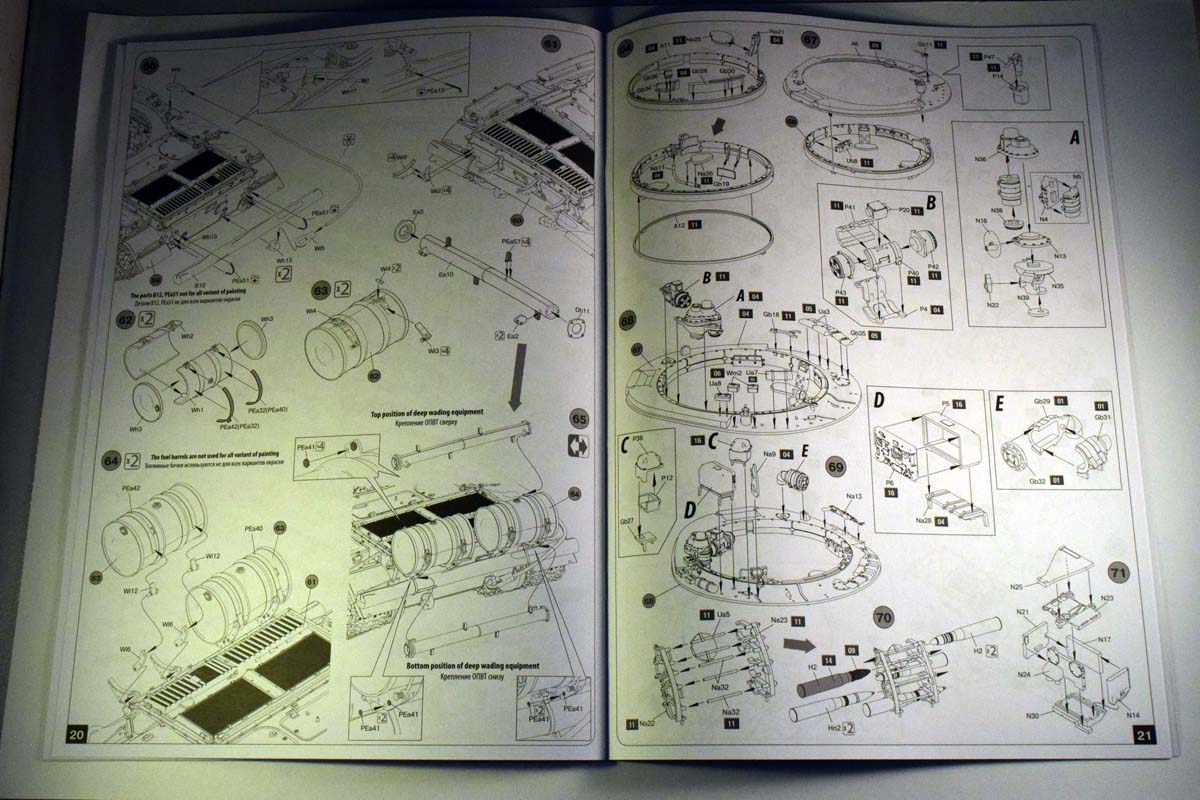
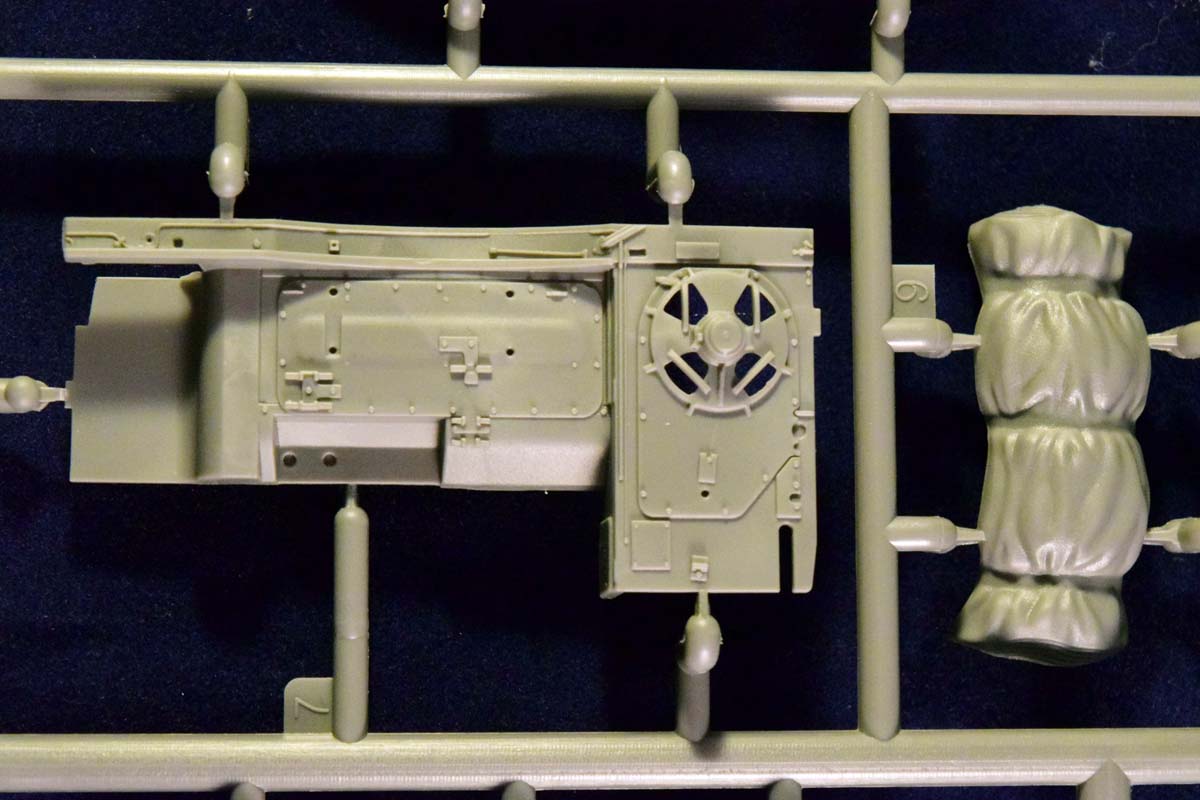
Mudguards and hull
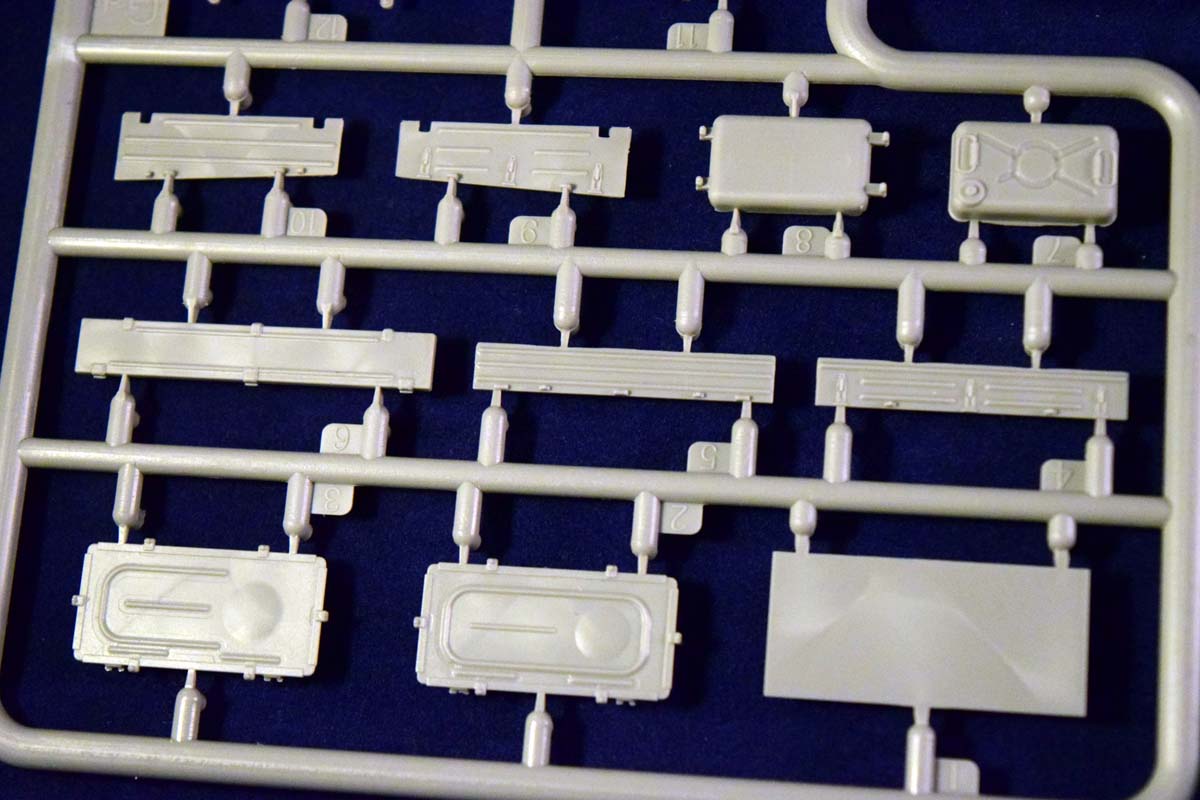
There are some options you can choose from during the build. The tank can be build with or without fittings for the mine roller system; there are aftermarket products if you want to fit one. There is also an option for the deep wading equipment (only in stowed position); and a rain cover can be fitted over the drivers hatch. There are two types of storage bins and external fuel tanks, also. The tank can be depicted in night-fighting mode, with the IR searchlights cover removed.
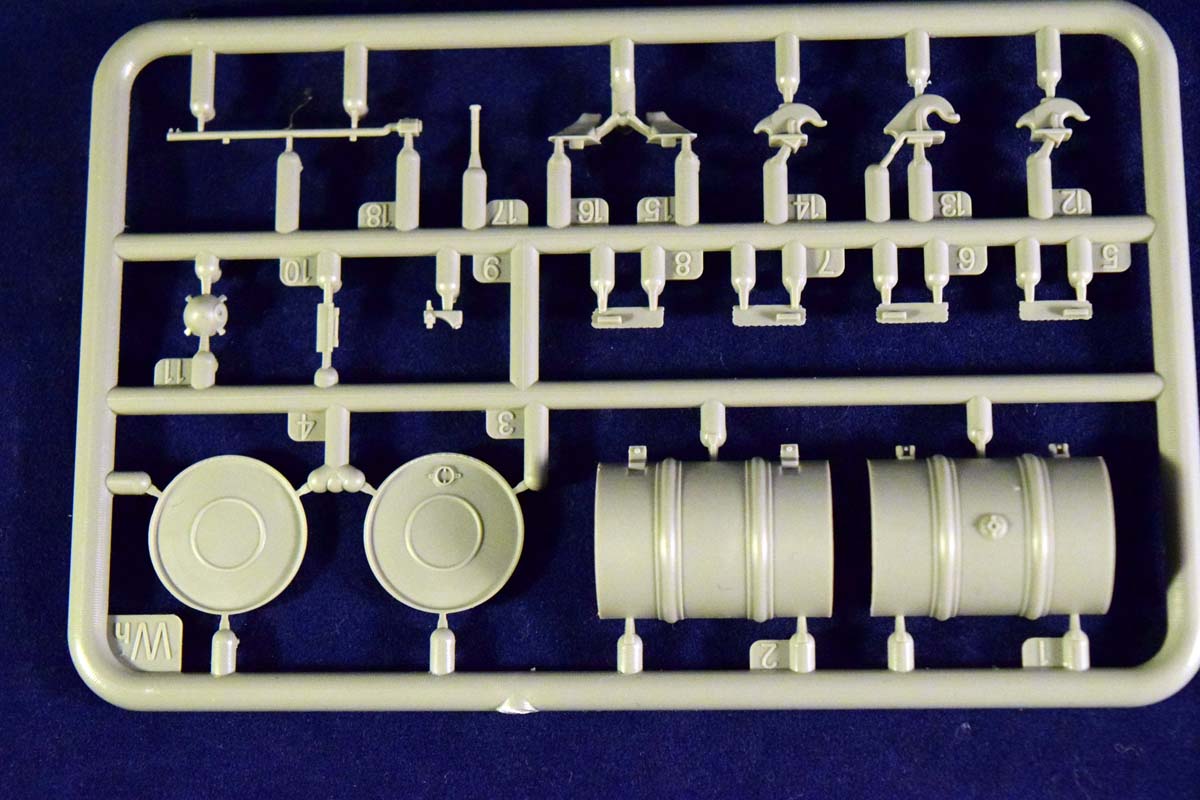
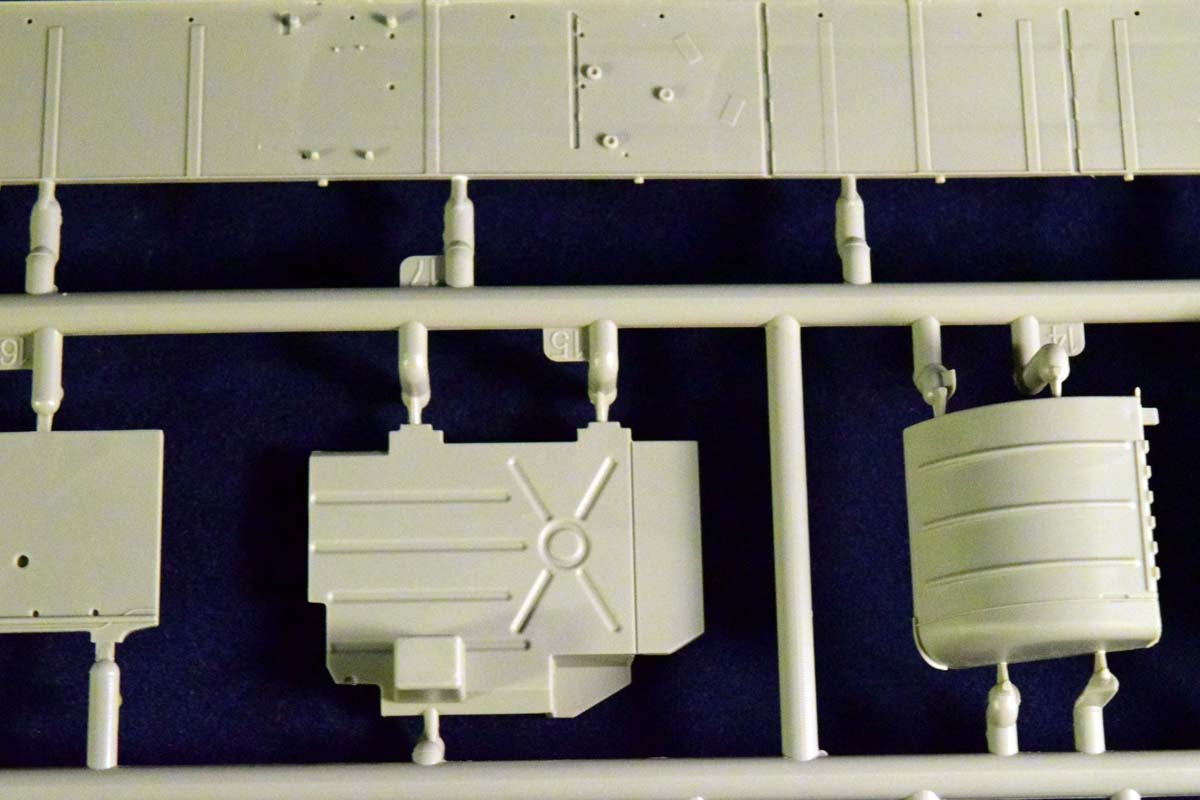
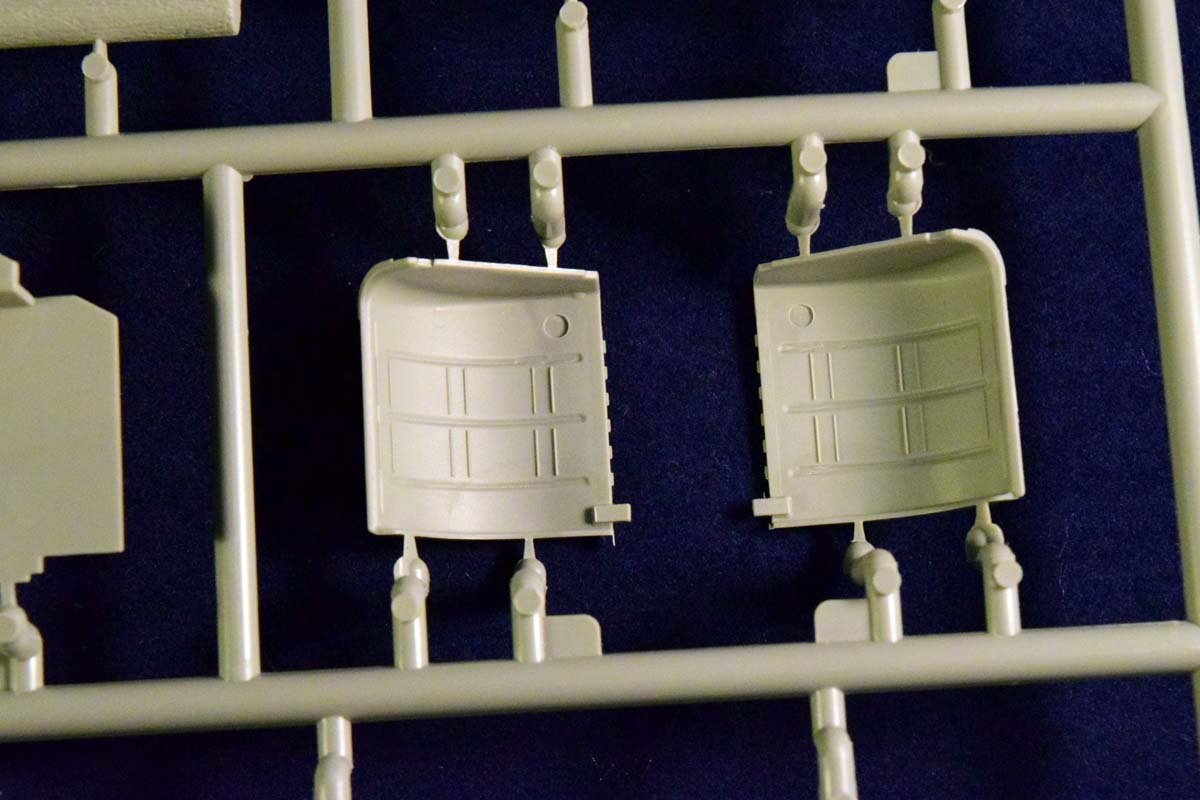
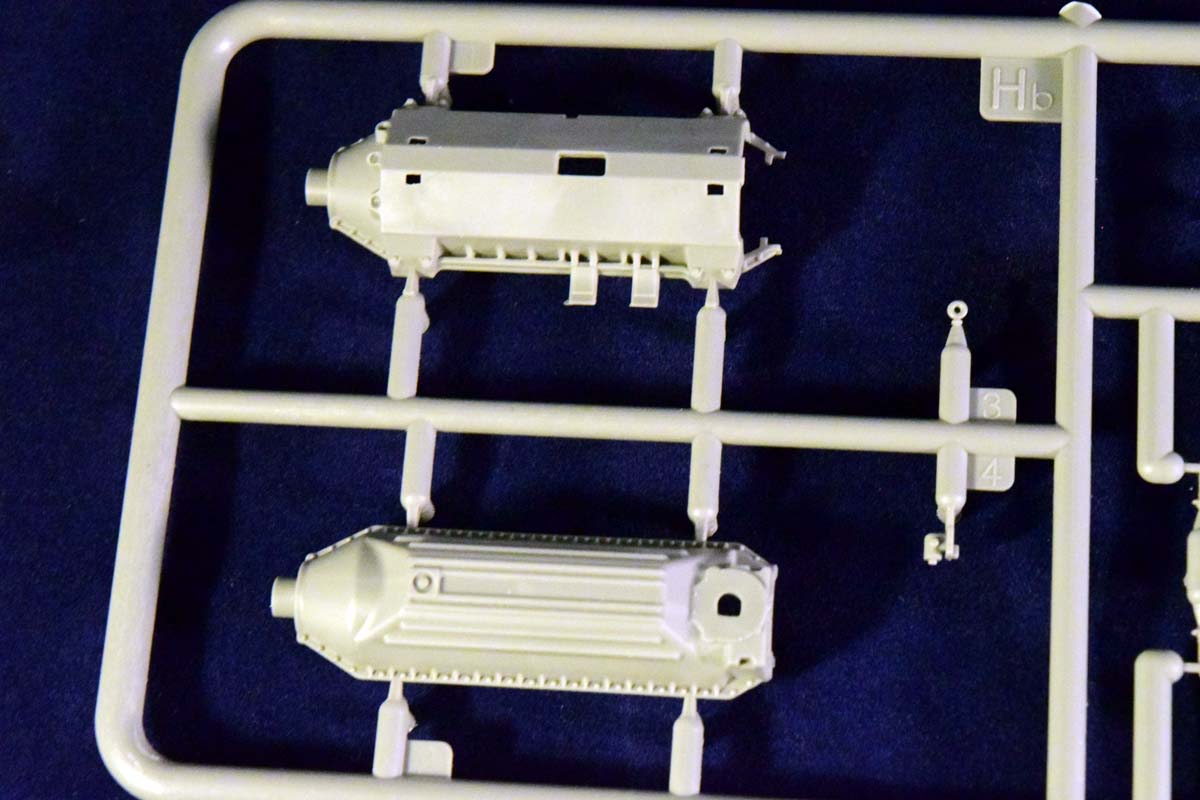
Fortunately MiniArt helps with the fuel lines on the external fuel tanks; this is a very nice touch. No more google searches for how the fuel lines were placed. The fuel lines themselves are very thin, delicate plastic parts with a complex shape - cleanup will be difficult. Again, the usual advice: you can use them as templates to form wire replacement (although youll lose the detail moulded on the plastic this way). There is a lot of very small PE involved: even the external fuel tank handles are provided as PE. It does look very good if done well, but it does make you wonder if moulded on details would have sufficed equally well. Or at MiniArt could have provided optional parts for the people who were less inclined to work with PE. The front part of the mudguard can be displayed in a folded-up position; it has a very nicely detailed underside.
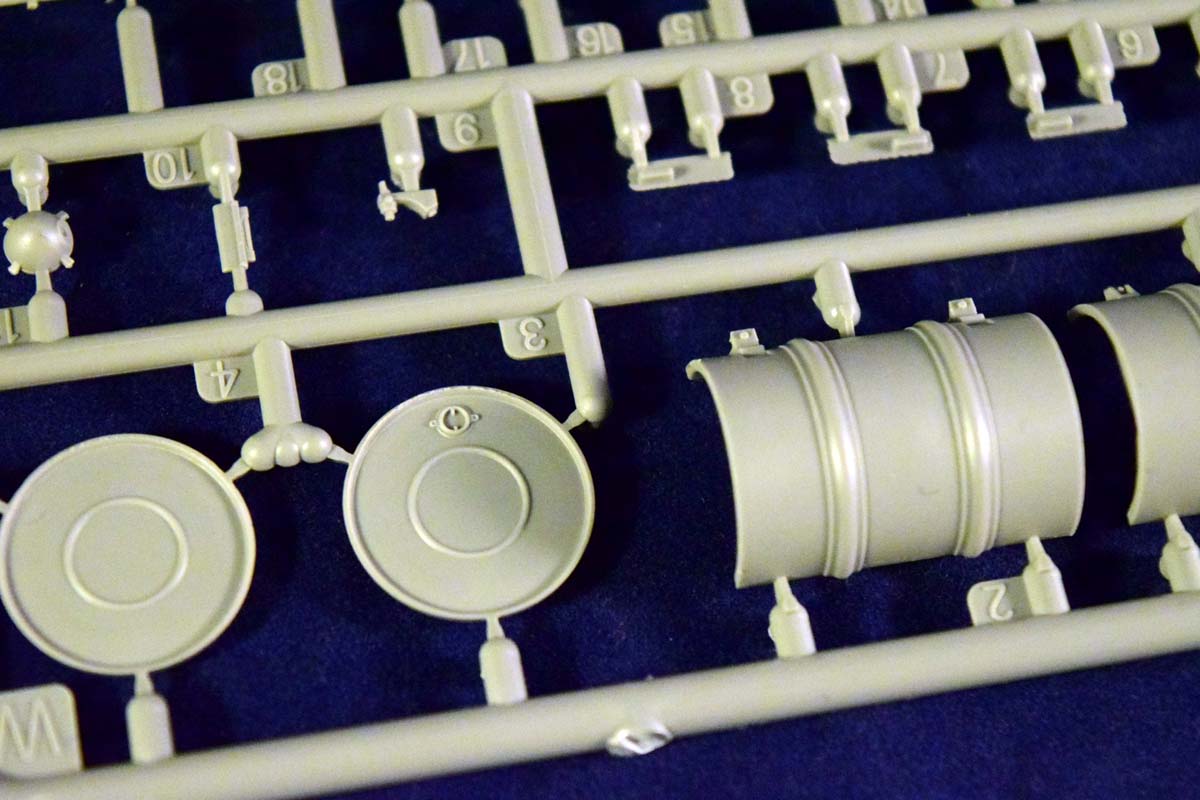
The large fuel drums on the back are made out of two halves; not an ideal solution as you will have seams to deal with. (Would be better to provide them as short cylinders which are joined where there ridges are. Un-ditching log has a very nice texture; normally I just switch it to an actual piece of wood, but this would be perfectly suitable once painted and weathered.
MiniArt has finally dropped the quite useless straight plastic towing cable; the best (cheapest) option to use is a coat-hanging wire. What the instructions do not tell you, is how long this cable should be. Its not hard to get an approximate length right, but still; it would be nice if this information was provided.
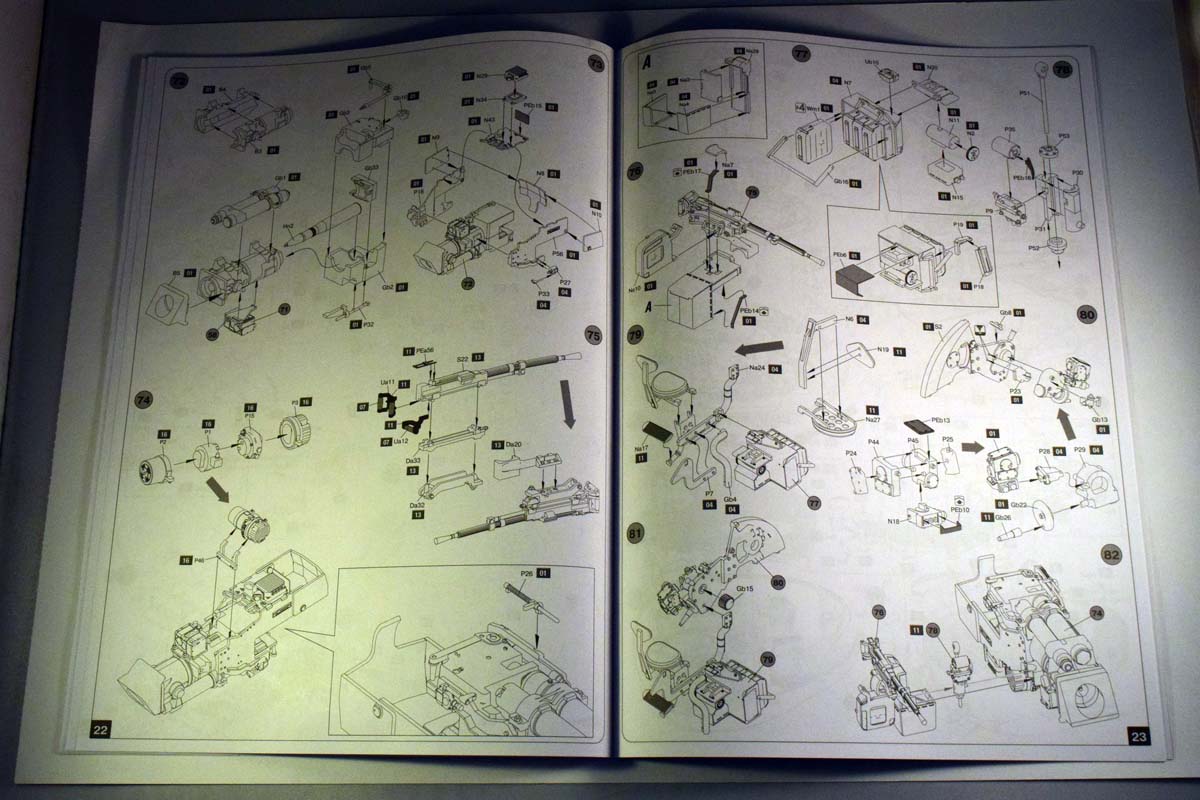
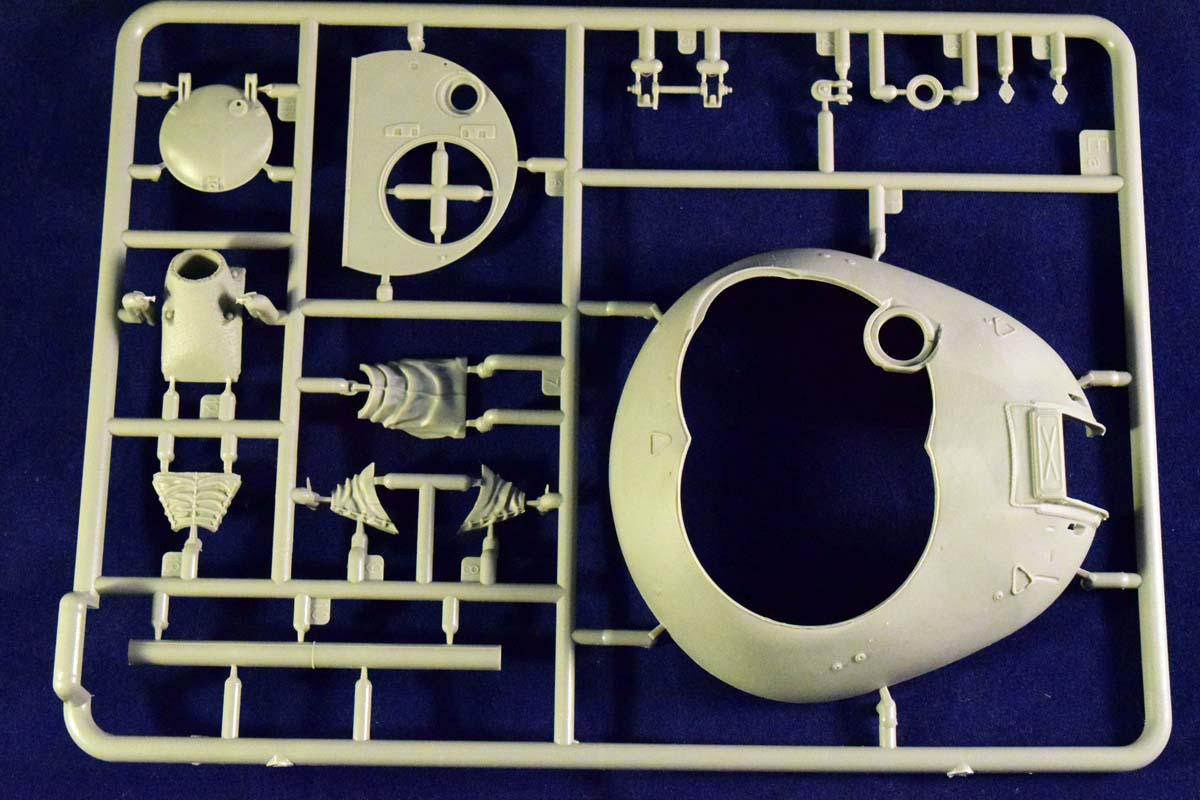
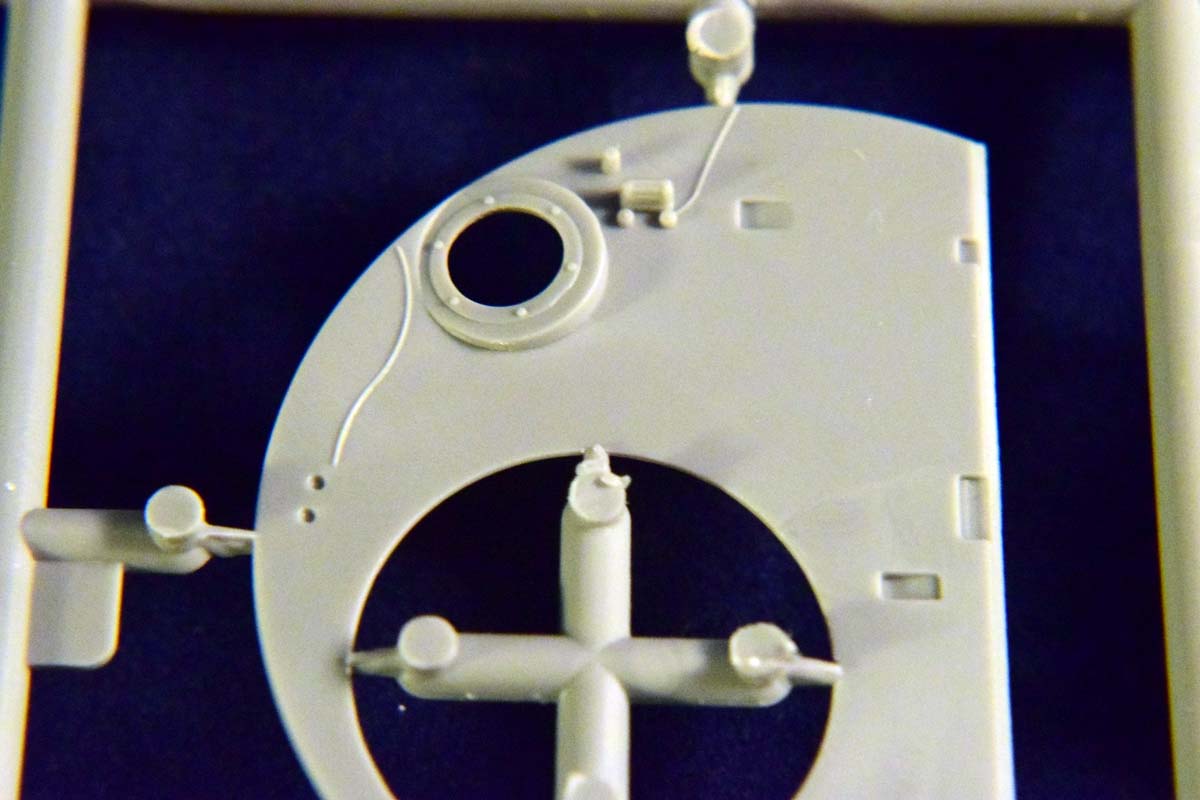
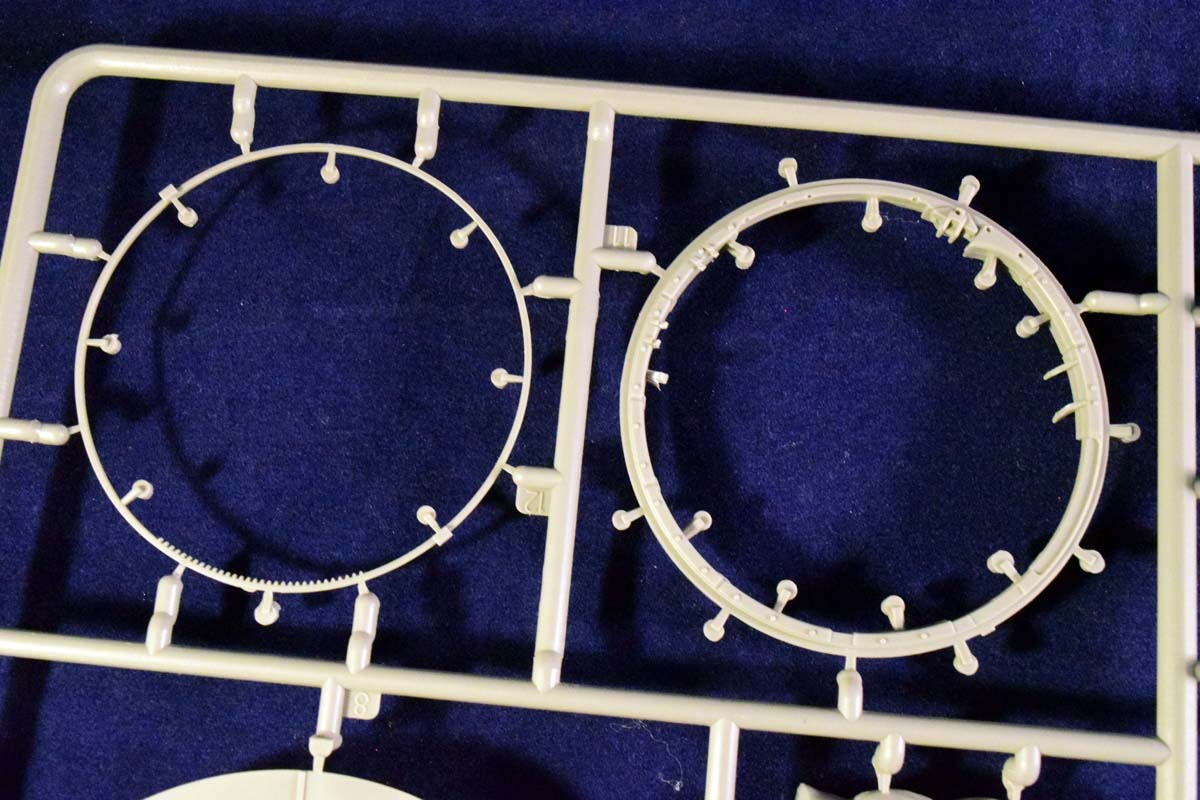
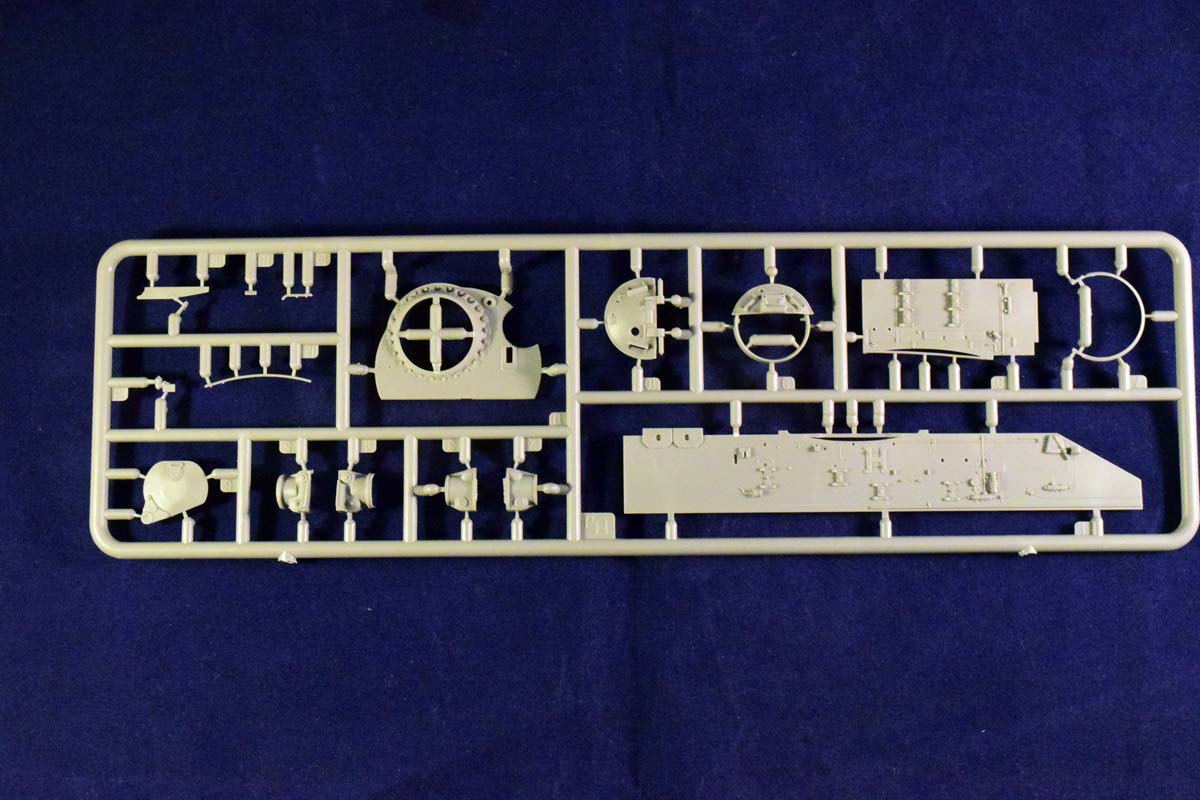
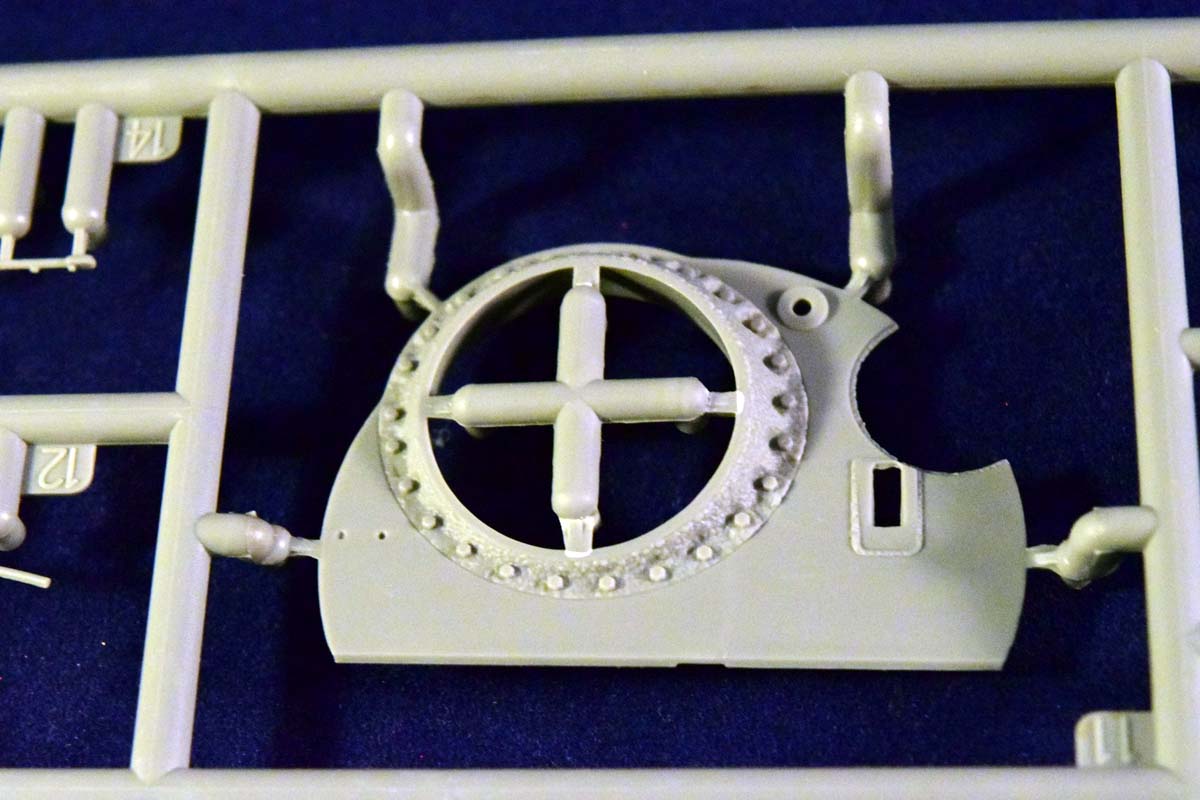
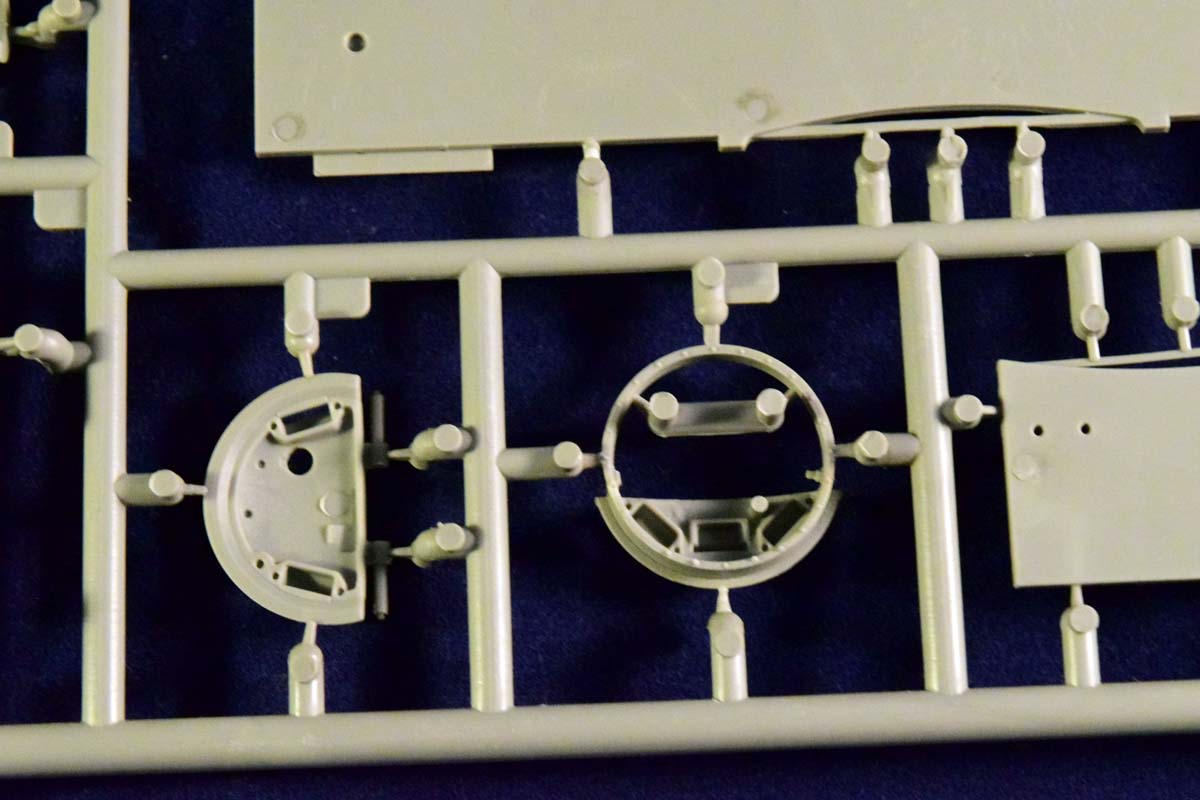
Turret
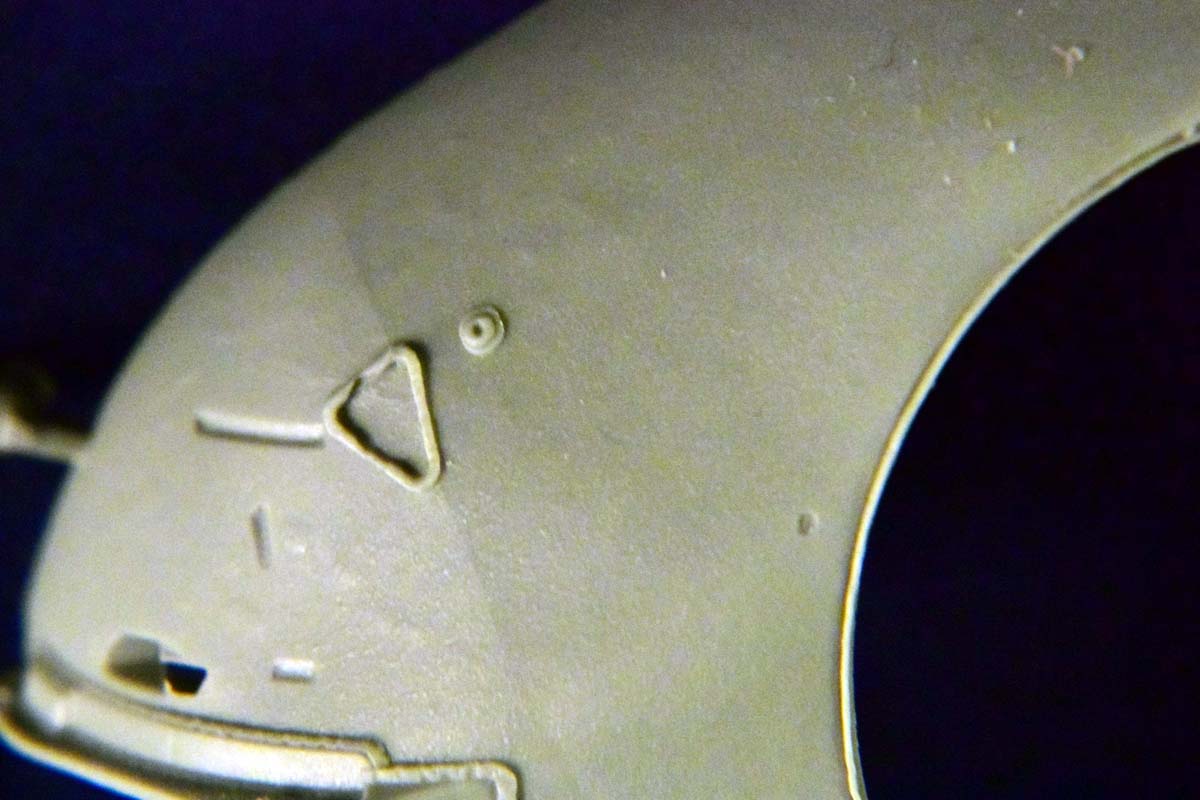
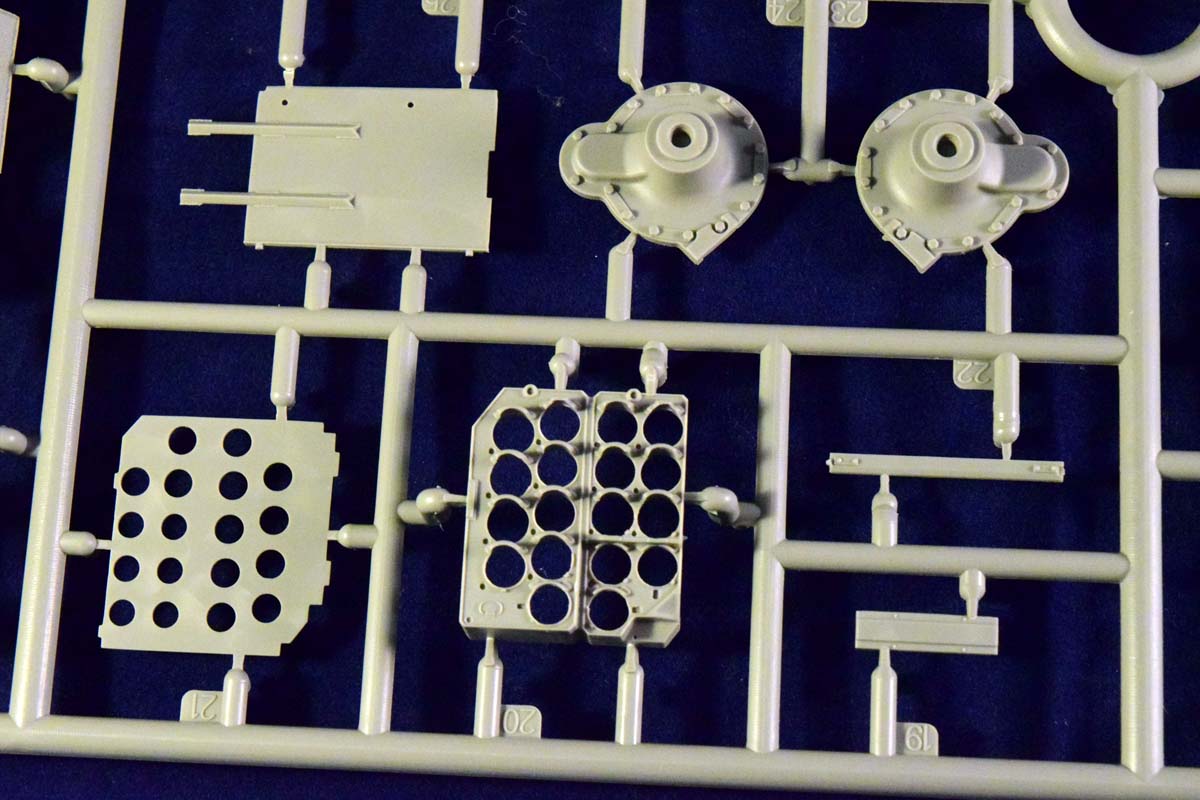
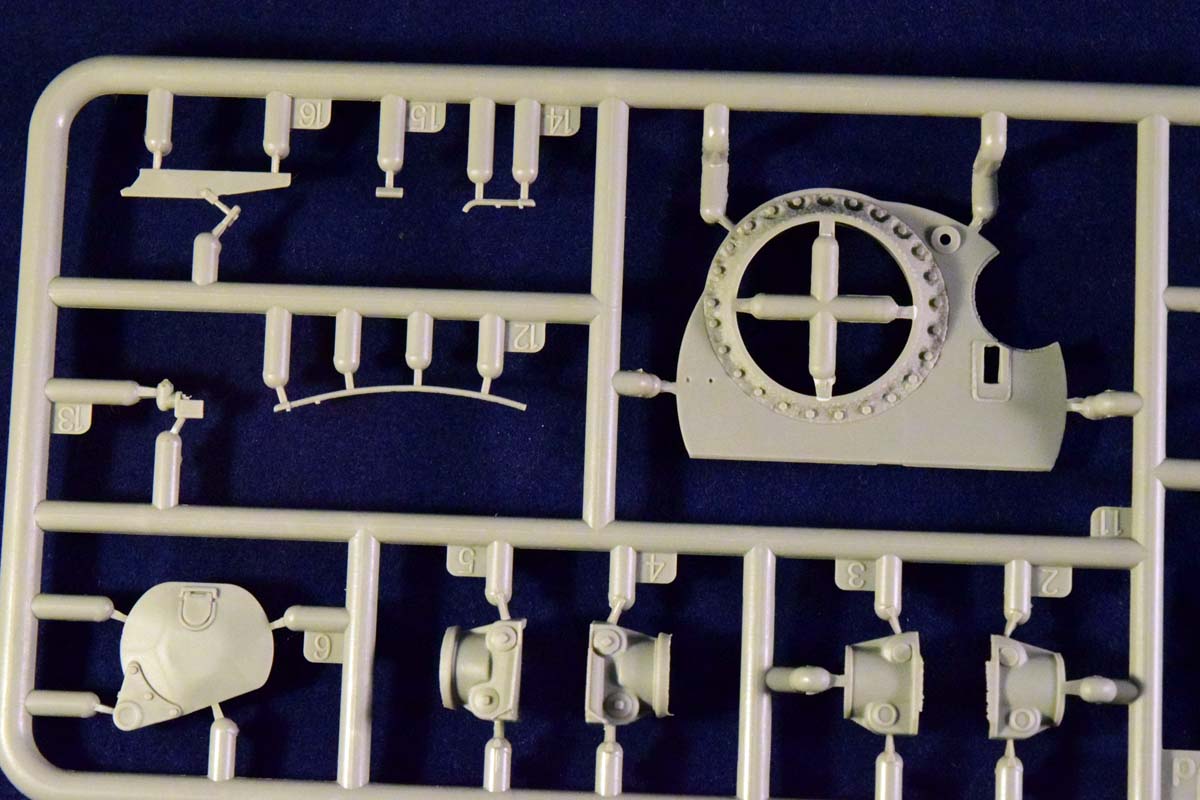
The turret has nice cast texture on the outside. More importantly the turret ring is accurately sized. One of the main issue I had with Tamiyas T-62 when I wanted to depict it with the turret off (as a brewed-up vehicle using Verlindens set), was that the model was not designed with interiors in mind, and the turrets opening was much smaller than it should have been. This is a recurring issue with a lot of models. No such problem here: the turret ring is accurate, and is made up by several parts, which allows the model to be built with the turret off. The cost of this is the very small locking pegs which make the installation of the turret difficult, and the connection between the hull and turret weak. (I just glued the turret in place in my MiniArt T-44s/T-54s.)
I have seen a photo circulating of a T-55 with the turret tilted up while the gun was being installed; I think Ill build this model in this configuration when I finally get to it. The MiniArt T-55 turret also features the ventilation slit for the air filtration system, and the chamfered edges on the sides -both are cool little details which are missing from other models.
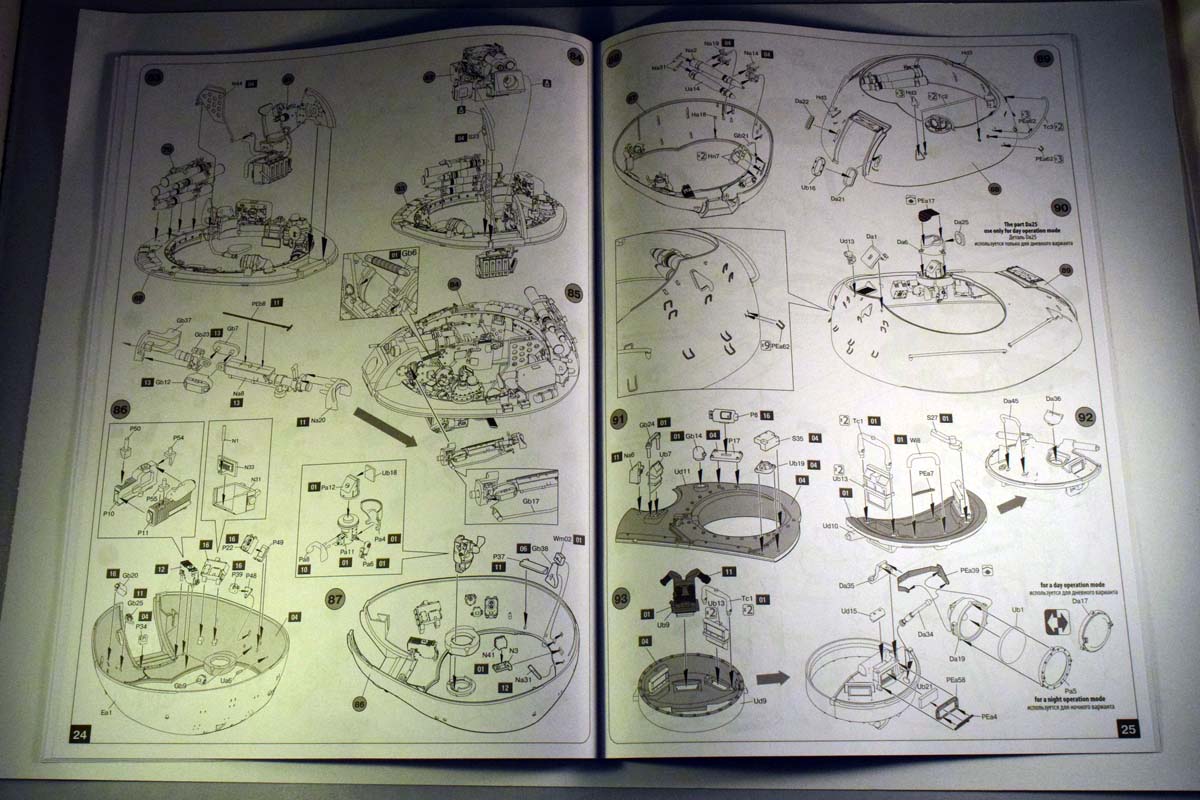
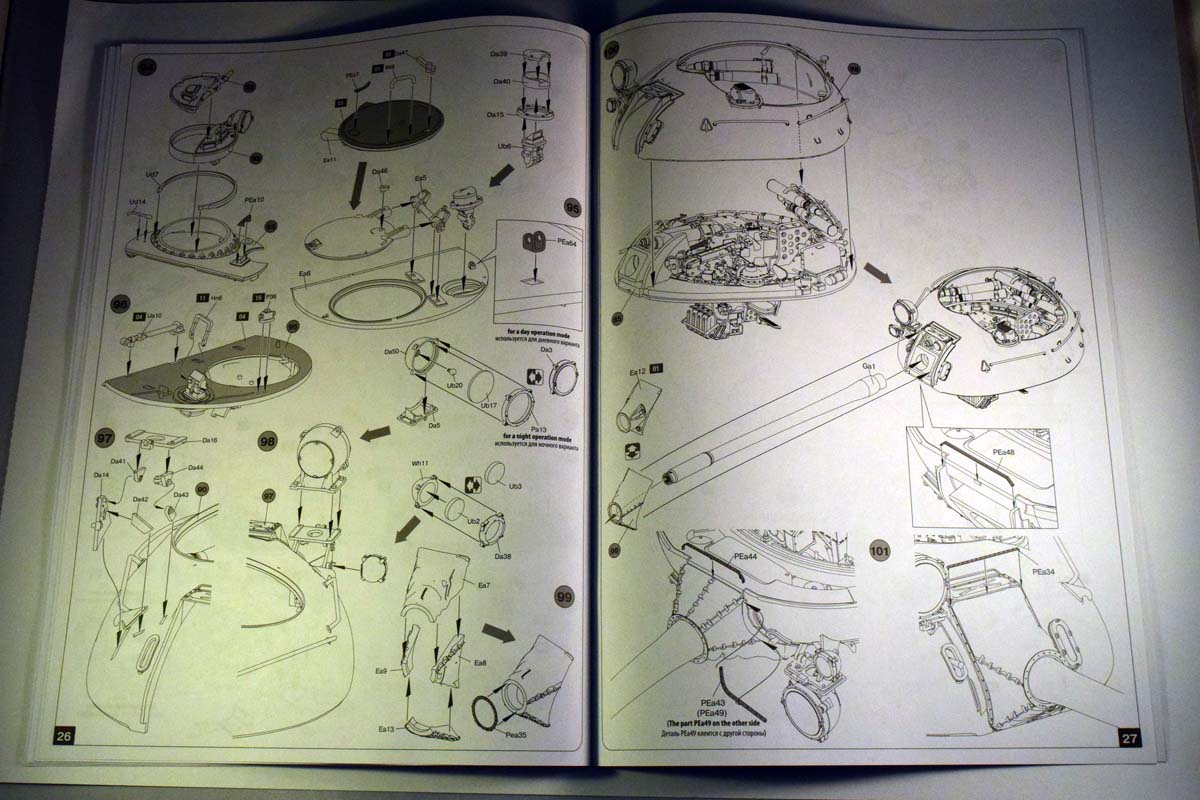
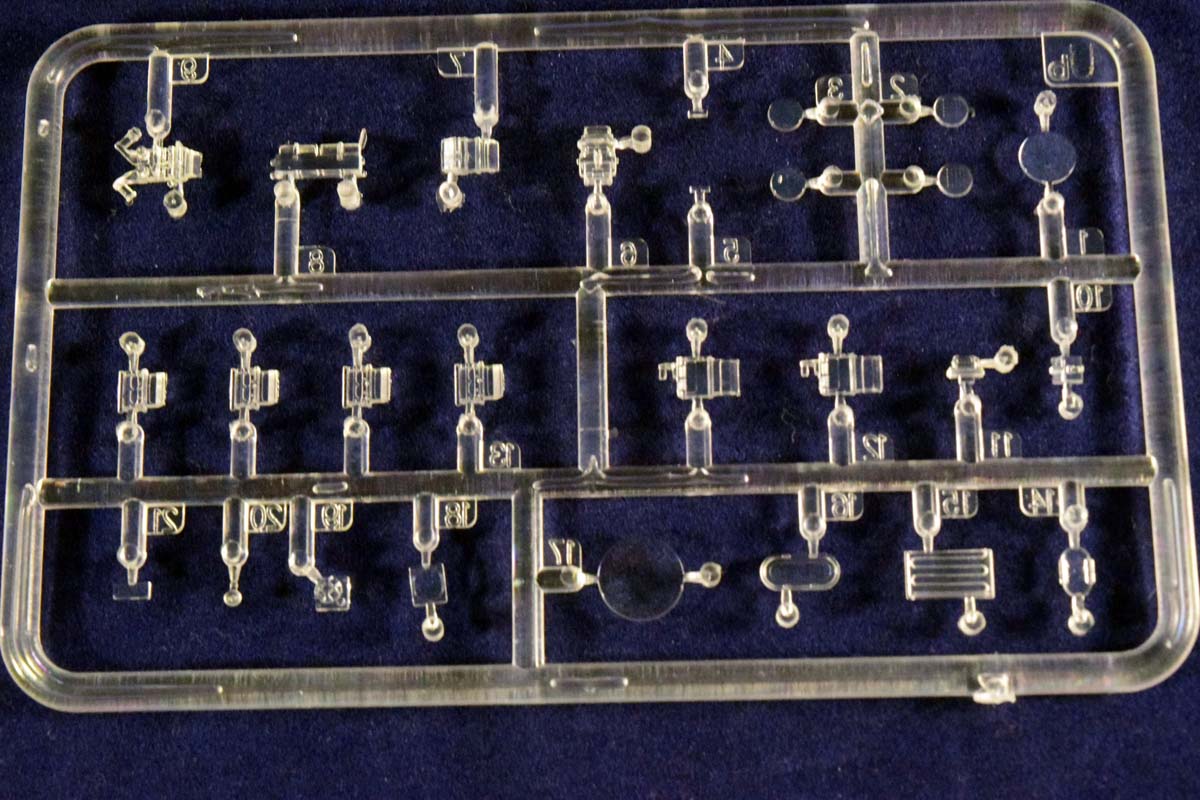
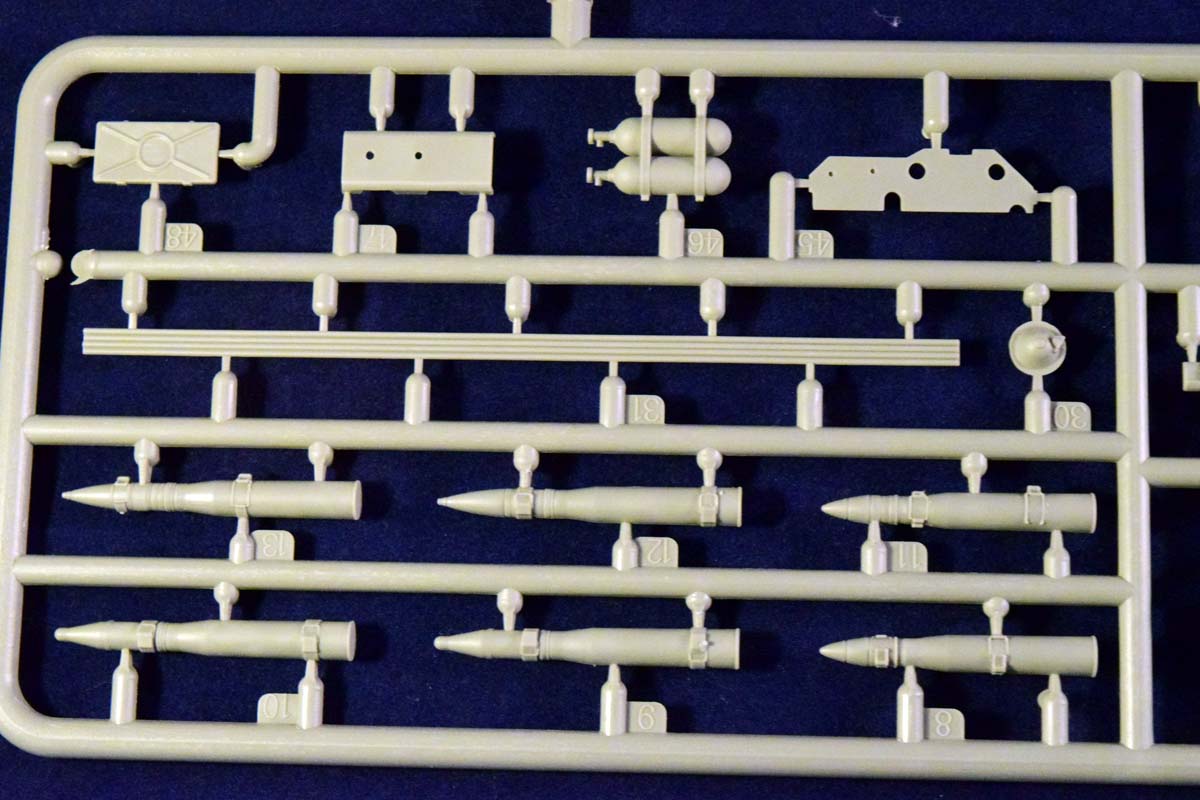
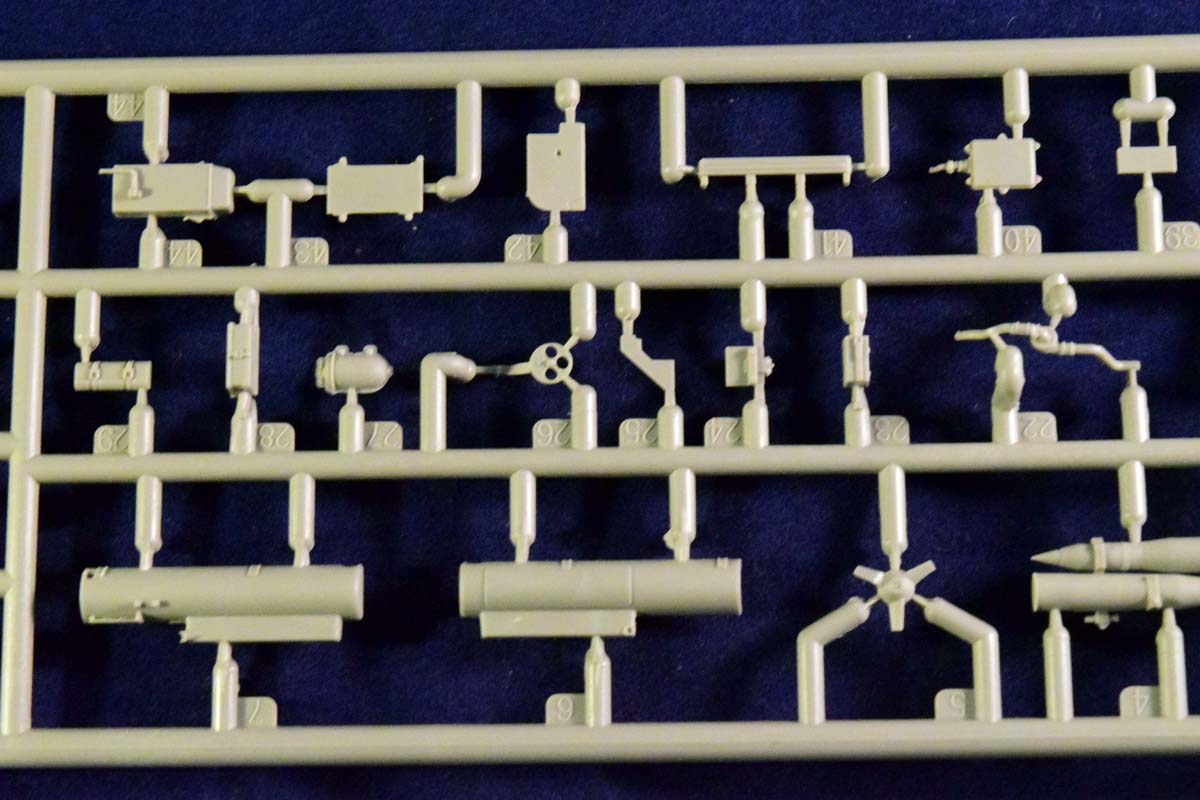
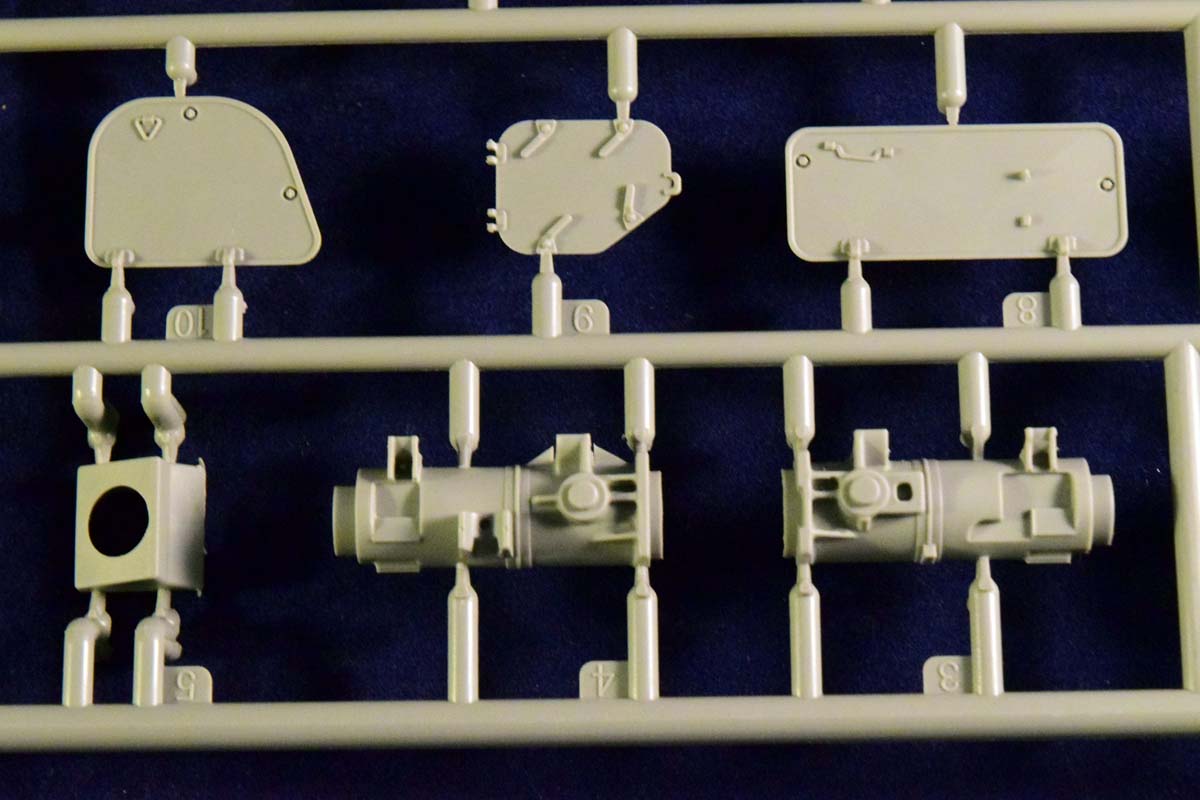
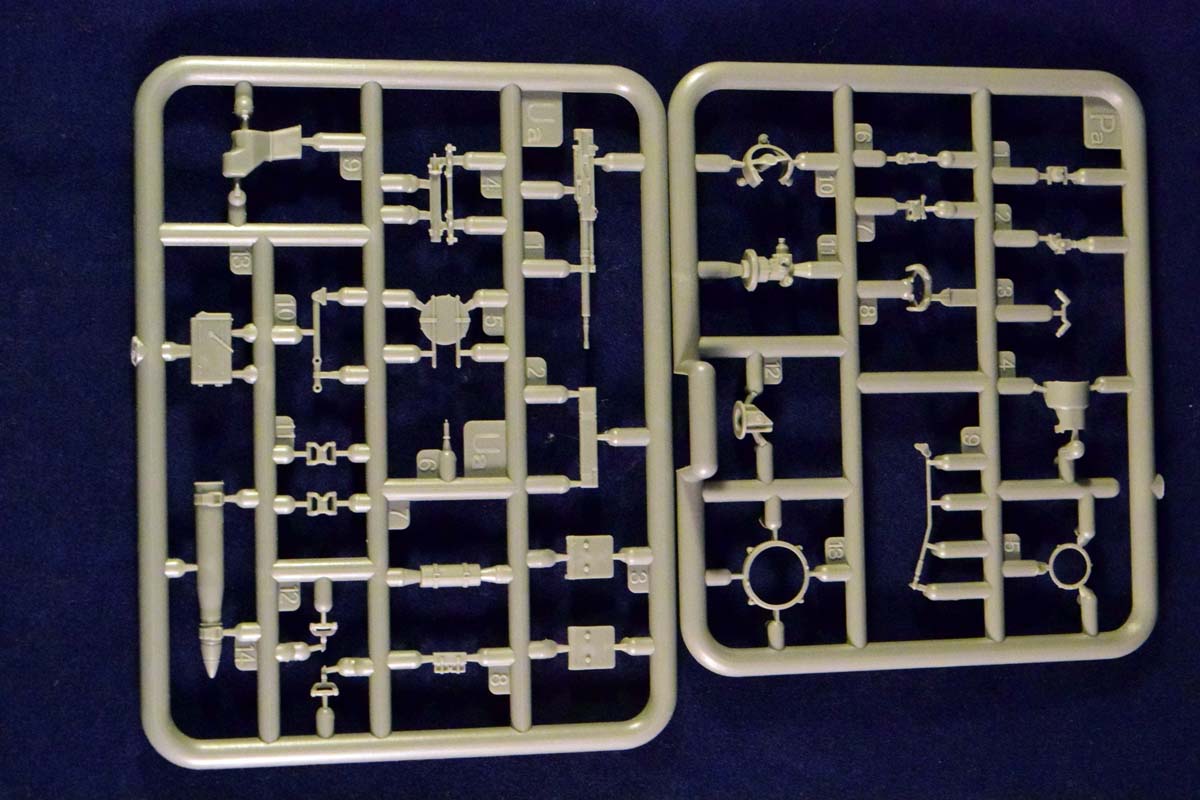
The turret -obviously- features interior details; quite a lot of them in fact. The main gun is complex little model on its own right. Good news is that the one-piece barrel is accurate and has subtle rifling in the inside; no need to get aftermarket replacement. The coaxial machine gun, the gunsight are all multipart assemblies. We get radios, electrical equipment, gun stabilizer, and a million other small details that make the turret incredibly cramped for the crew. The ready rack on the back is a very delicate assembly; based on my previous experience its better to first paint the main parts, and assemble it with the ammunition already in place. (First add the ammo to one side, then carefully slide the other side on.) The fit is very tight, and its easy to snap the plastic, especially if you try to push the ammo into the assembled framework.
The loaders seat can be placed in two different places, which the instructions do not mention, but the option is there. (The turret ring has two identical places where the seat could be hanged.) Once you install the gun/gunners seat assembly onto the lower half of the turret, it will be difficult to handle it without the parts sticking out breaking. I attached my T-44/54 turrets onto a jar with bluetac to make sure they dont get damaged.
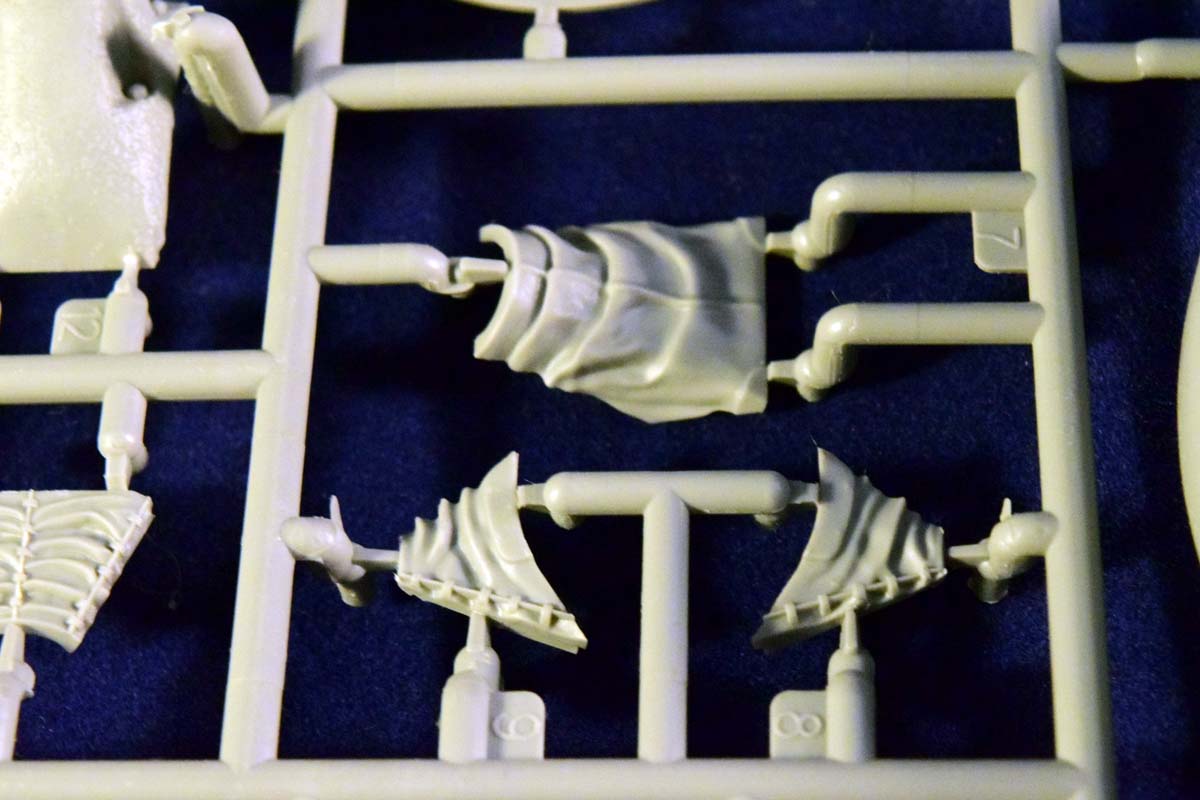
The canvas cover for the gun mantlet is made out of several parts, and the final product has good detail (just as good as on the resin Miniarm canvas I used for my Tamiya kit). Obviously the canvas fixes the gun in one position which may limit the display options on a diorama somewhat if you choose to install it. (Fortunately it is an optional part.)
The top of the turret is provided as separate parts -just like the real tanks. These panels are much thinner than the cast turret-shell (again, just like in the real tanks). I really liked the moulded-on wiring; this was also an overlooked detail until now. And this is the end of the long build: the turret is installed, and the tank is ready for painting.
To sum up this long review: I think this is the definitive T-55 model out there- and possibly the most (or one of the most) complex model of any type, too. You can argue that a lot of subassemblies are overly complicated and feature too many parts, which is a valid argument; on the other hand the level of detail you get is just astonishing. Another question is if you need this level of detail at all unless you do a cutaway or a blown-up tank, a lot of the interior is hidden, so much of the work goes unnoticed. (MiniArt also issues the simplified versions of their interior kits, with reduced interior details, for those who dont need this much detail in the inside.) But all this detail allows you an incredible level of flexibility. You want to replicate that incredible diorama with the T-62 cut in half? Well, you can do it easily without scratchbuilding skills. You can build burned-out, brewed up tanks; tanks under construction or retrofit; or just build a cutaway. The high level of detail and thought that went into the design of this model will allow you a lot of freedom without the high level of skill that was necessary with other models. (I can only refer back to my experience with the T-62 with Verlinden interior: I was not able to cut a larger turret ring easily, so I abandoned the idea of a blown-off turret.)
Its also not something you can build in a weekend. However, if you want an accurate T-55 with an interior, well, this is it.
So before you decide if this model is for you you need to think about these questions. There are no universal answers. Personally I love the amount of interior details and the challenge; other prefer simpler builds. (I like simple builds, too, I hasten to add.) I certainly would not recommend this model for a beginner; you do need some experience under your belt to make the most of it. For a beginner the Tamiya kit with the Eduart PE screens for the engine deck would be perfectly suitable. But for what it is this model is a definite gem. I give it a very high marking because it is definitely my cup of tea (although not necessarily my level of expertise), but mileage may vary; what cannot be disputed is that it's a highly accurate and detailed model. A final piece of advice: prepare yourself, and dont rush the build. If you feel frustrated, put it down for a while; it is a long journey but one that is absolutely worth it.
SUMMARY
Highs: Almost complete interior (no engine compartment), very accurate, incredible level of detail.Lows: Overly complex assembly, very high part number.Verdict: Recommended for everyone who 1. has some model building experience 2. wants an accurate T-55 mod '63 with interior 3. does not shrink from some challenge.
I am a biologist by trade, and as a hobby I've been building scale models for the last twenty years. Recently I started to write reviews of the models I bought. These reviews are written from the point of view of an average model builder; hence the focus is on quality of the model, how easy it is to...
Thank you
You and me both... But you know you never improve if you don't challenge yourself (at least this is what I keep saying to myself when I glue a 2mm PE strap to my fingers for the tenth time...)
Dunno want you mean. My eyes are not always twitching like that. (Bad joke. The model seems to be amazing; and judging by the others I've built it's absolutely doable. I challenge anyone to identify where the tiny PE straps are missing from on the T-54-1... I built. The thing is: if it's too much, you can always leave it off.)
I selected the easy route with the other T-tanks from Miniart in my stash, maybe possibly I should think about considering doing one with the interior. Need to think about all the little plastic pieces first ... / Robin
They must now have a complete interior set for every variation of the T54/55 class. Impressive. Wouldn't know where to start but for those looking for something like this a great find.
Not even close. They've still got a ways to go. They've basically only gotten all the major variants' first production model done so far. There are several later models of T-55 & T-55A they already have planned, there are upgraded T-54A and T-54B that could also be done. They're just getting started and since the T-54/55/62 series is my favorite tank I'm really over the moon with these kits.


Comments