MiniArts choice seems curious at first, since this little known tank is not exactly a legendary vehicle, unlike the T-54/55 series they keep producing as well. Regardless, it is a welcome change in subjects; we finally get a high-tech model of the T-60 with interior no less.
The T-60 was born as the replacement of the outdated T-38 series of light tanks. It was designed to be easy and cheap to produce in large numbers, and to be simple to use. The idea was to build up a large number of light tanks armed with a 20mm auto cannon which would support the infantry on the battlefield as a sort of cavalry, swarming around, overwhelming the enemy infantry. They were definitely not designed to fight other tanks or serious fortifications; they were supposed to scout and fight infantry (and perhaps lightly armored vehicles) with their main armament. The production started in 1941 and went into 1942 with about 7000 tanks built; they served until the end of the war. The T-60 was the third most produced armored vehicle in the Soviet Union after the T-34 and Su-76
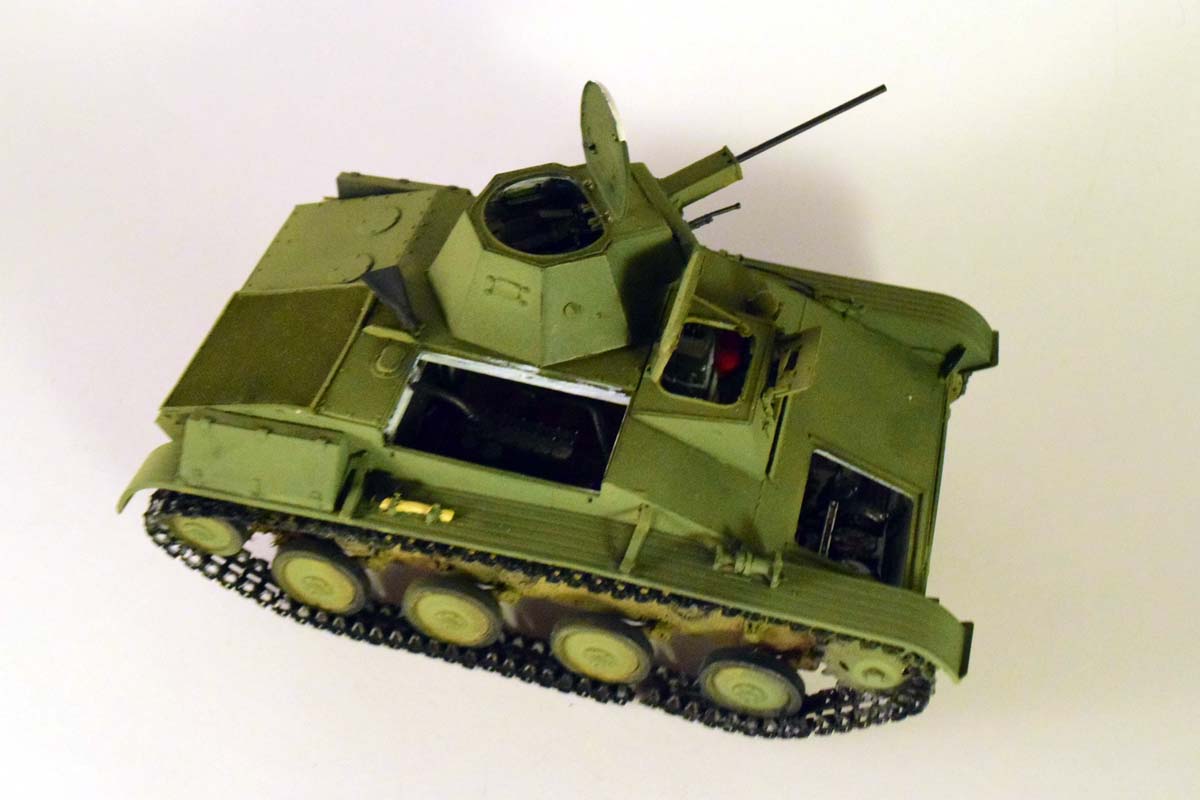
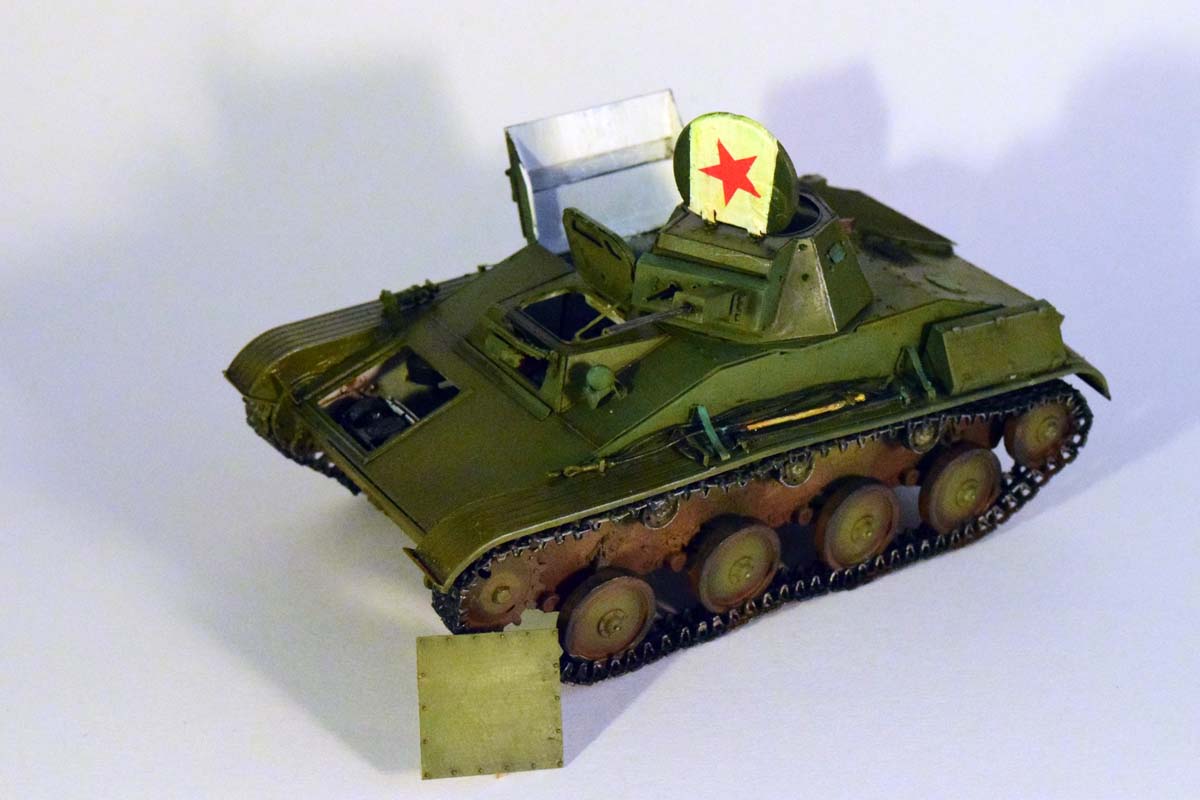
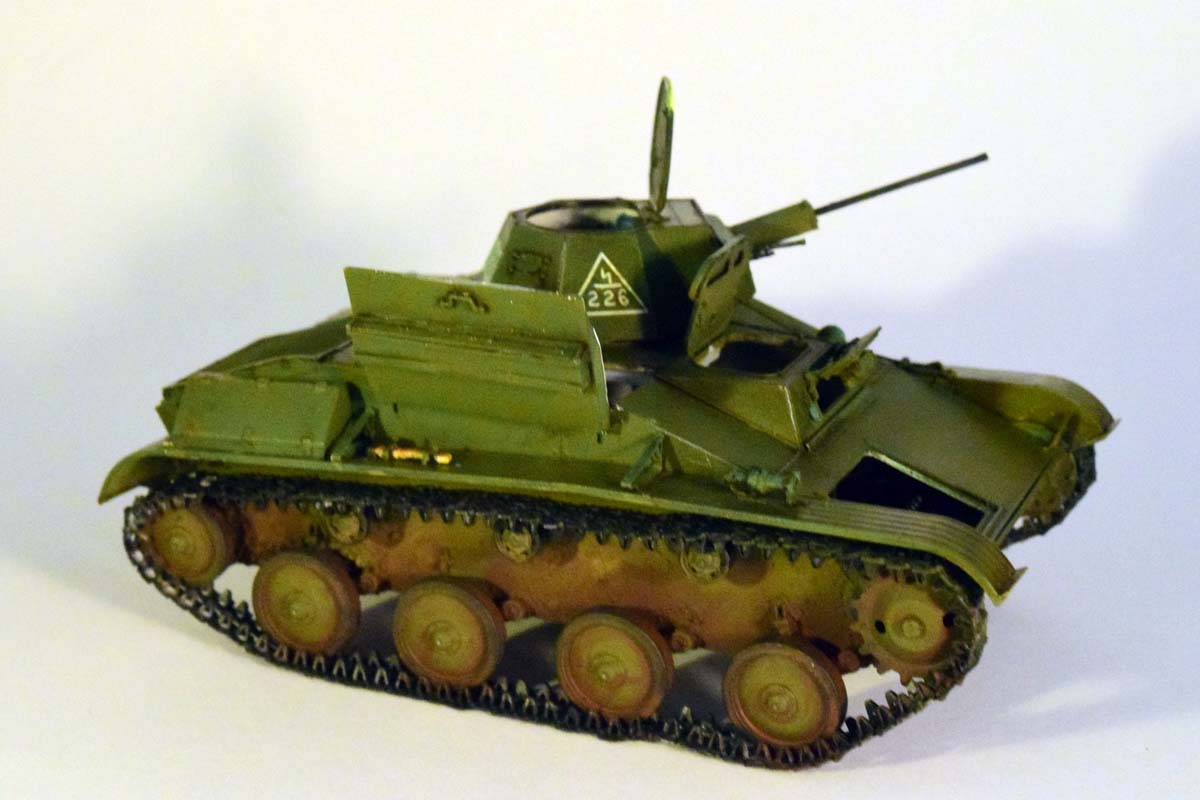
The tank featured sloped armor, and a two-man crew. The driver was sitting in the hull, and a commander/loader/gunner was in the one-man turret behind the driver. There was no radio provided for the crew. The tank was powered by a GAZ-202 6-cylinder engine which had 76 hp, and allowed the tank to achieve a whopping 27mph top speed. The range was about 270 miles. The main armament was a 20mm TNSh cannon, which was later in the war was upgraded to a 37mm ZIS-19 gun. This upgrade was not produced in large numbers since the ammunition for the gun was in a short supply. A later upgrade to the 45mm ZIS-19 tank gun necessitated the complete redesign of the turret; this project was abandoned when the T-70 project was approved as the replacement of the T-60. As an additional claim of fame, this tank was used in the famous flying tank project- attaching glider wings to the vehicle to make it airborne.
The Germans captured and quite a lot of these tanks, but I could not find any information on what they thought of the vehicle. Tanks captured by the Romanian armed forces were rebuilt into the TACAM T-60 tank destroyer. (The T-60 is a somewhat neglected vehicle; online references are scarce and I could only find one book that focused solely on the type. http://www.canfora.se/product/red-machines-1-t-60/)
The operational history of the T-60 was not very illustrious but it was crucial in the early days of Barbarossa when the Soviets needed tanks to hold back the German advancement while their industry was relocated further East. It was certainly reliable and could handle difficult terrain well; it was also available in large numbers -something that really counted when other, more superior weapon systems were not yet ready in large numbers. As a stop-gap solution it worked, but it was certainly not a good tank.
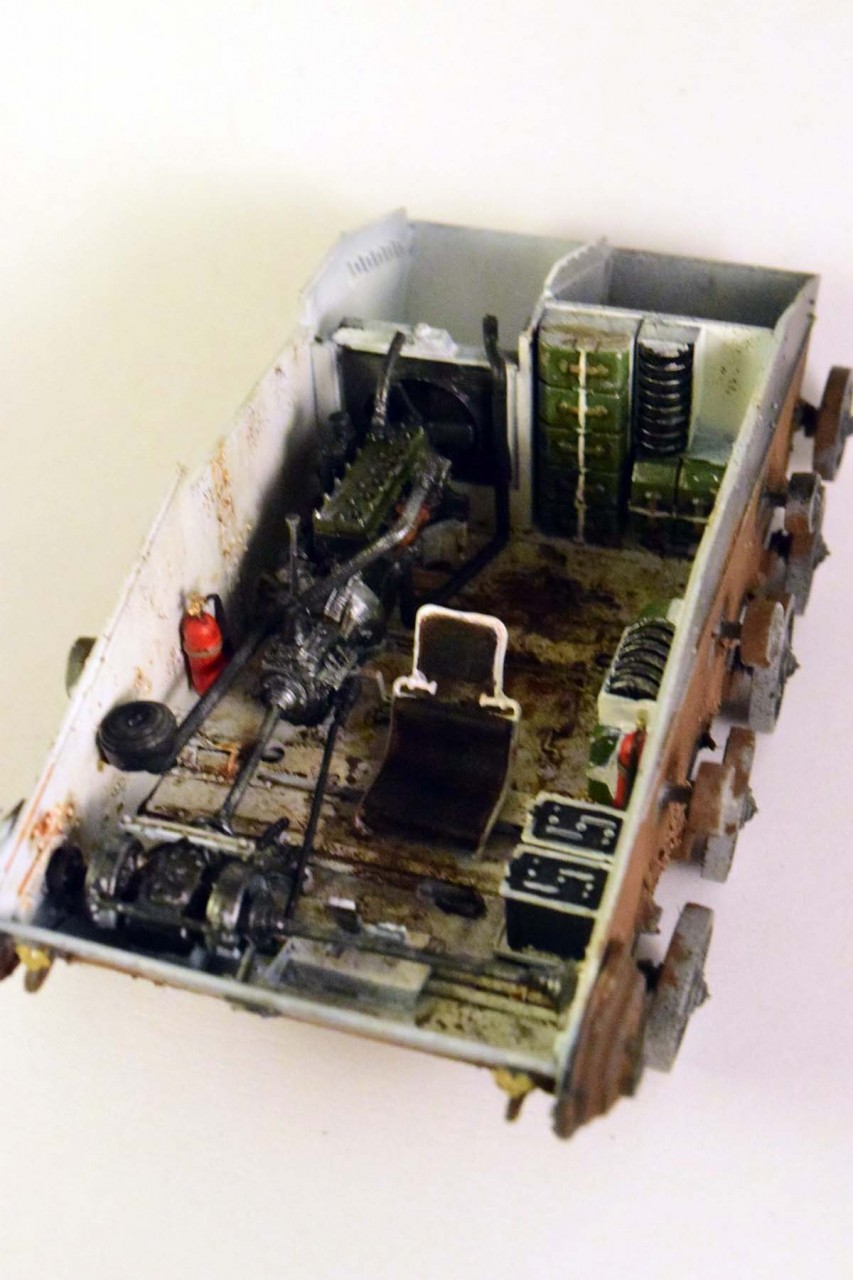
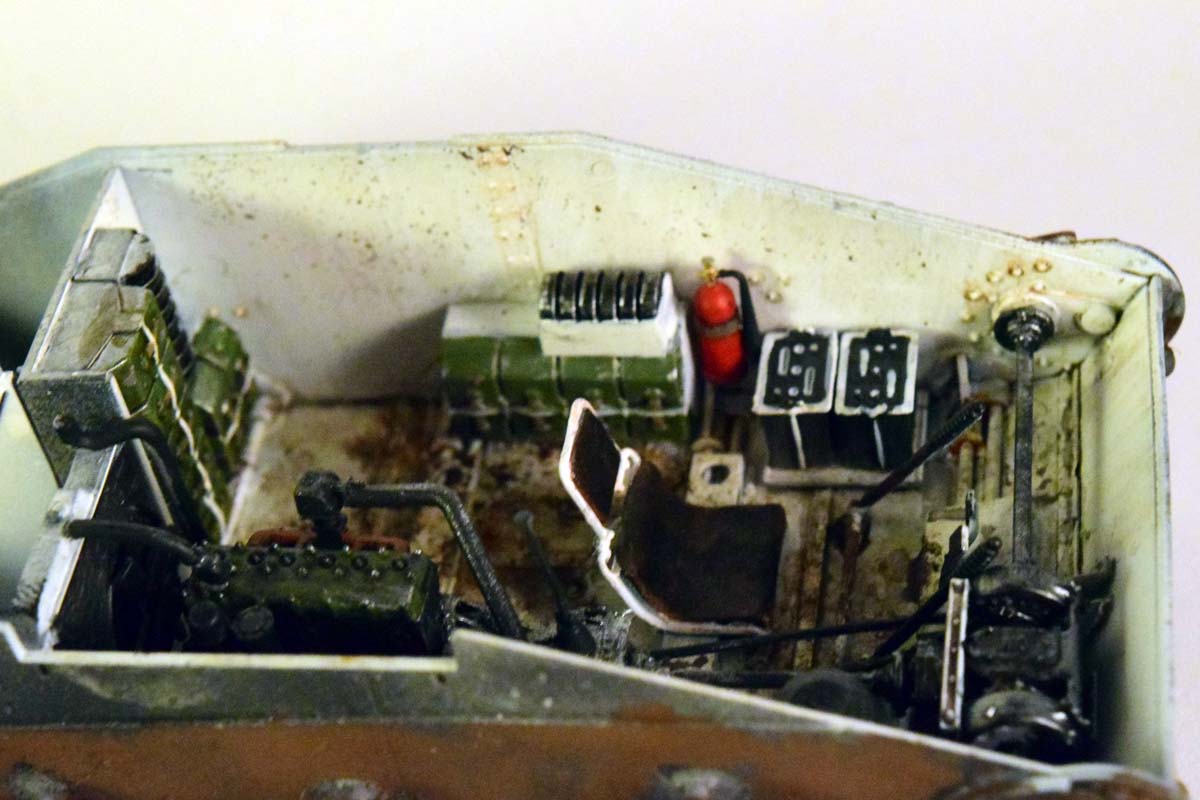
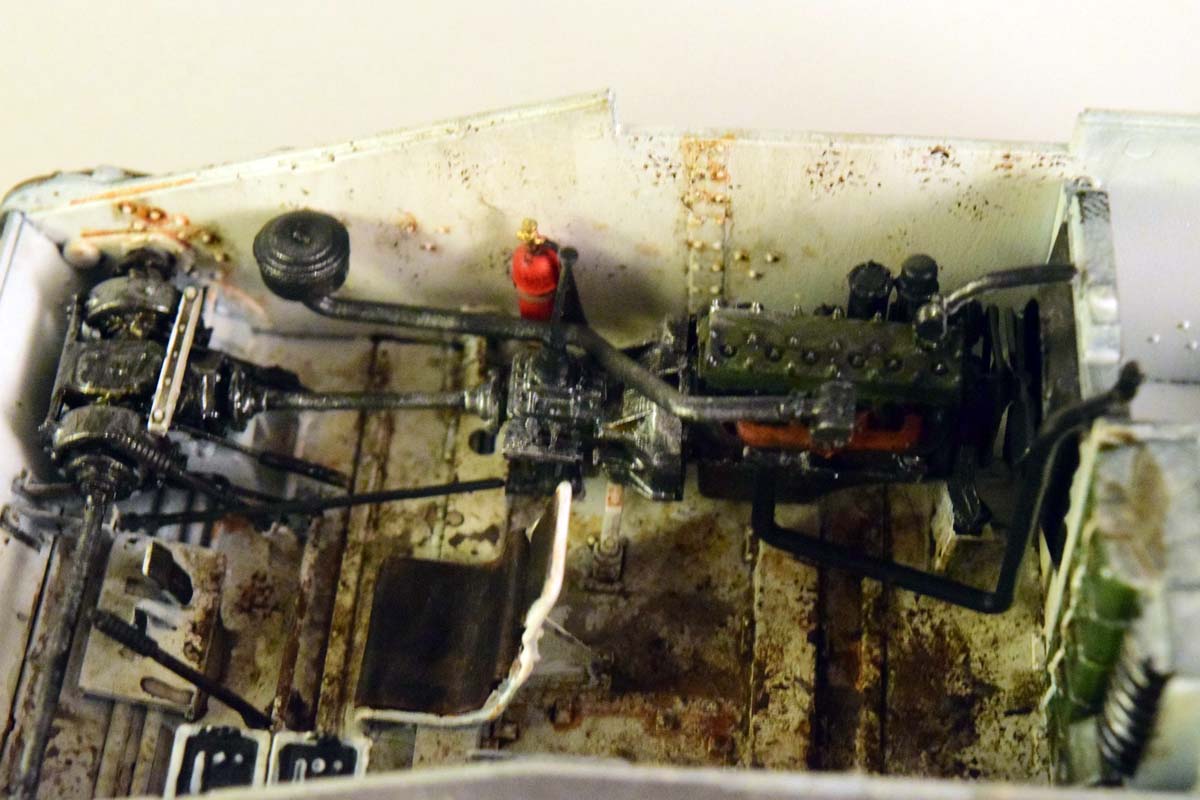
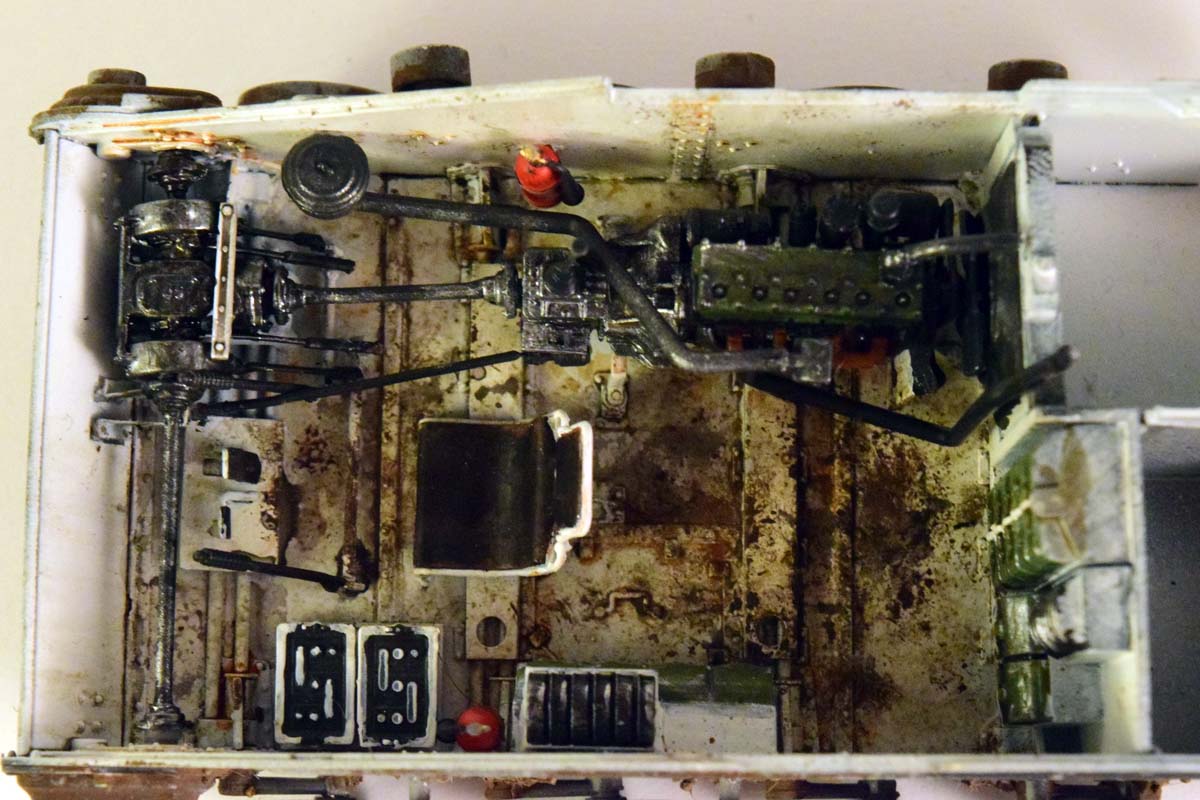
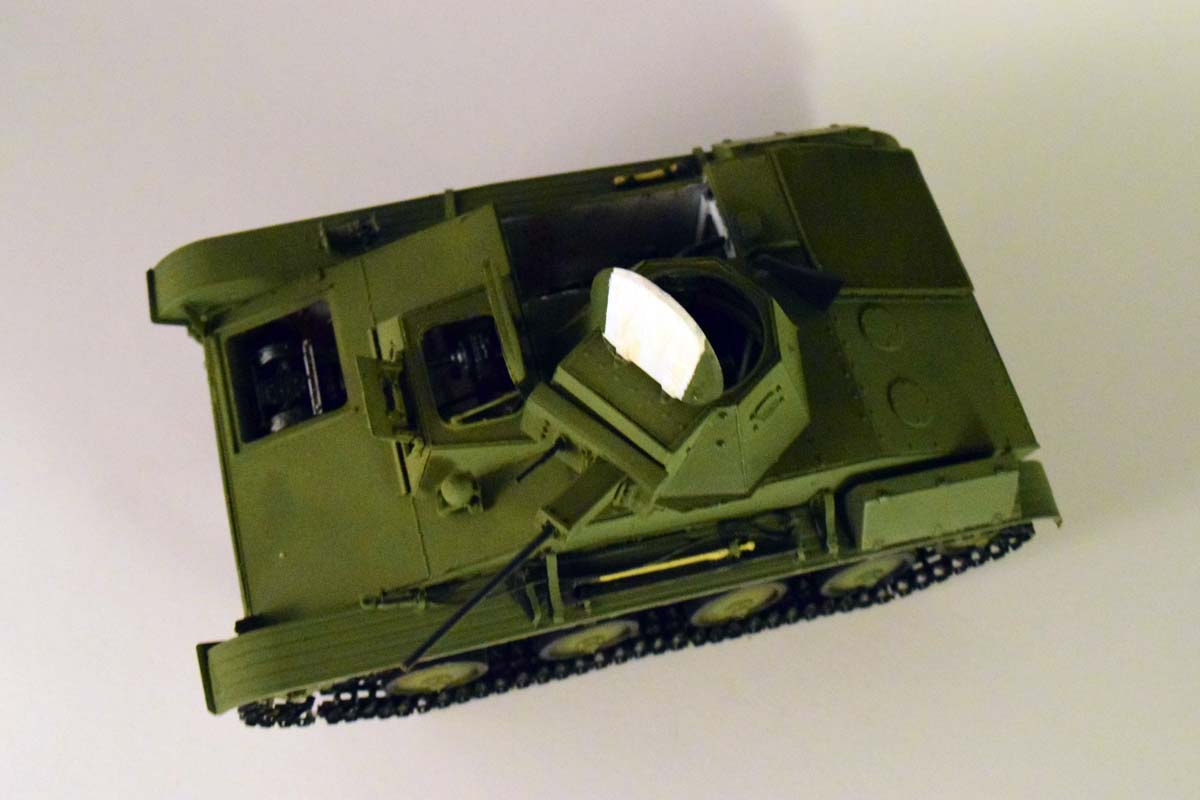
One of the reasons I like models with interiors is that you get an idea of what was it like for the crew to work and fight in these vehicles, and in this respect MiniArts offering is a very eye-opening one. I have to say based on what Ive seen of the T-60 during the build of this model, it must have been a singularly unpleasant vehicle to be in. It was tight, cramped, and the engine was in the same compartment as the crew. The driver had a large, hot engine with rotating shafts, fuel and oil pipes right next to him, and the position of controls were also pretty un-ergonomical, placed as they were literally behind him. If the turret was facing forward his hatch was obstructed by the gun so leaving quickly was not much of an option, either... All this in a tank that had an armor that could be penetrated with a relatively stern look.
This tank must have been extremely dangerous to operate even in peacetime, but having people shooting at you as well will transform the picture from grim to hellish. All in all, I do not envy the people who had to fight in tanks -any tank, really- during the war, but these little vehicles must have been especially horrid. The Panzer II, its most comparable German counterpart was positively luxurious compared to the T-60 -and it also had a radio to boot.
The Model
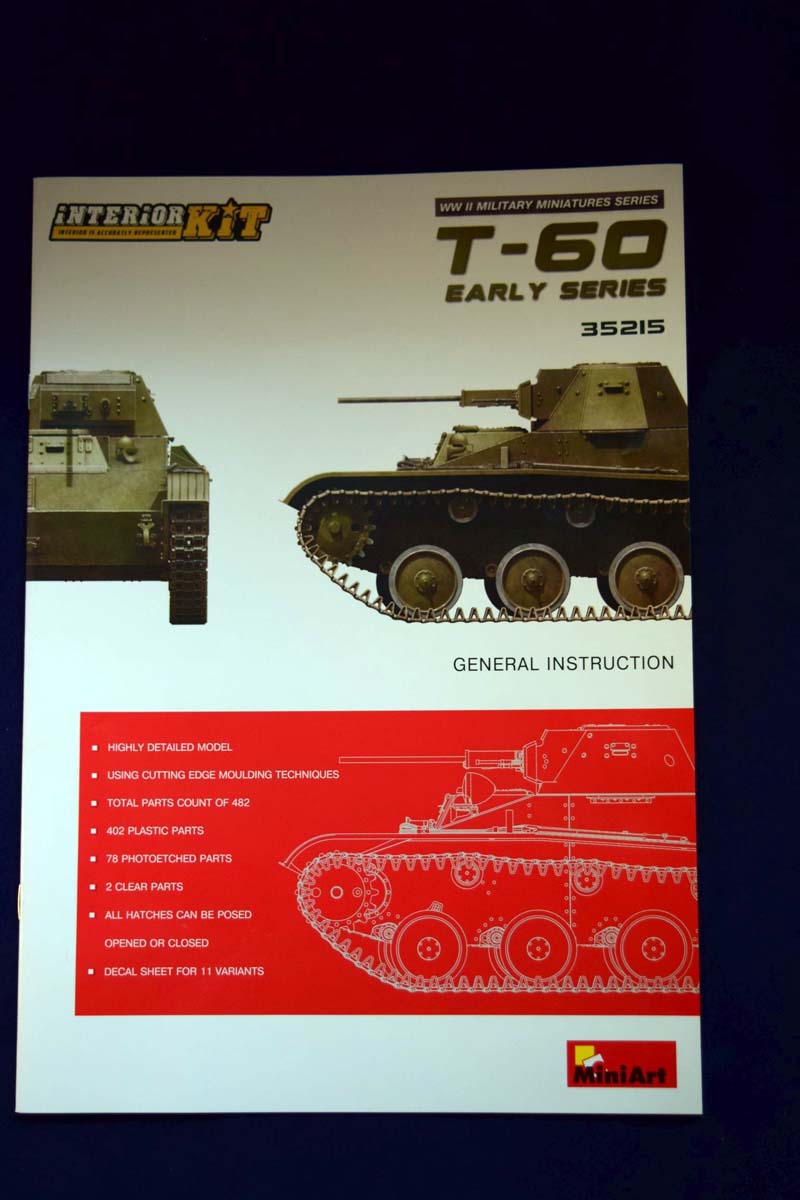
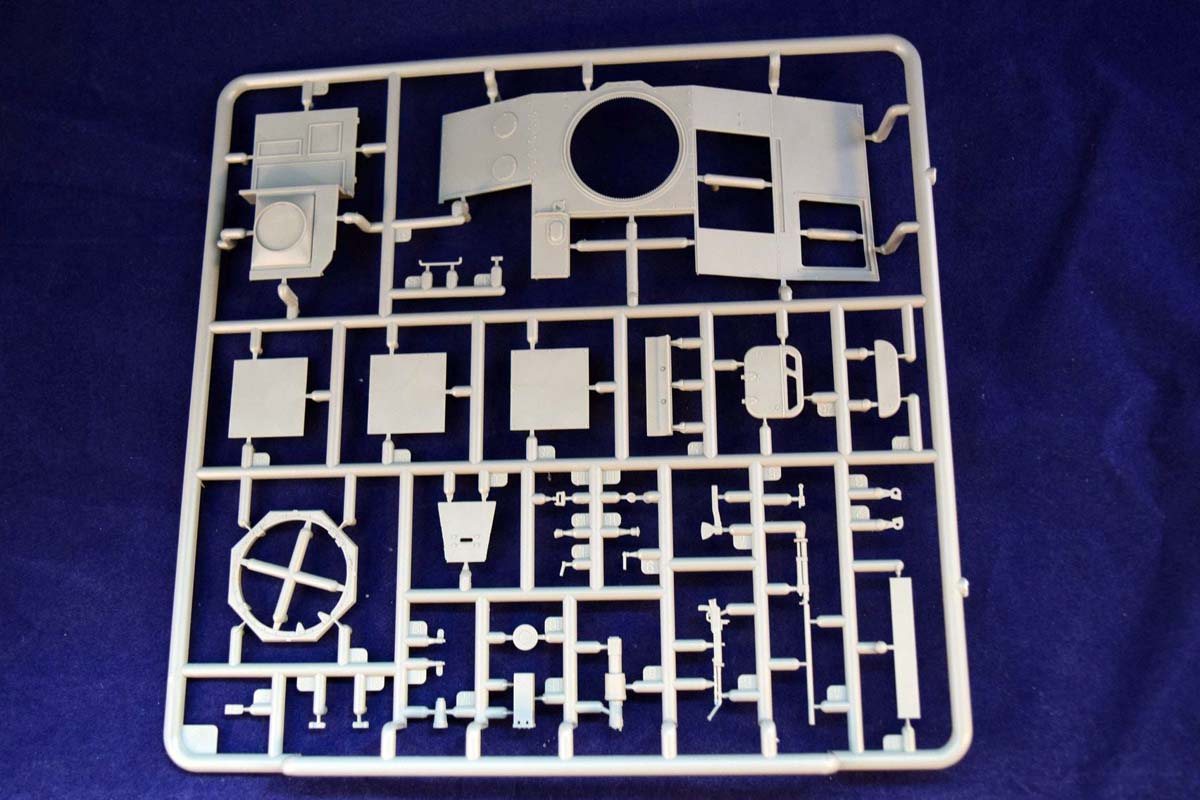
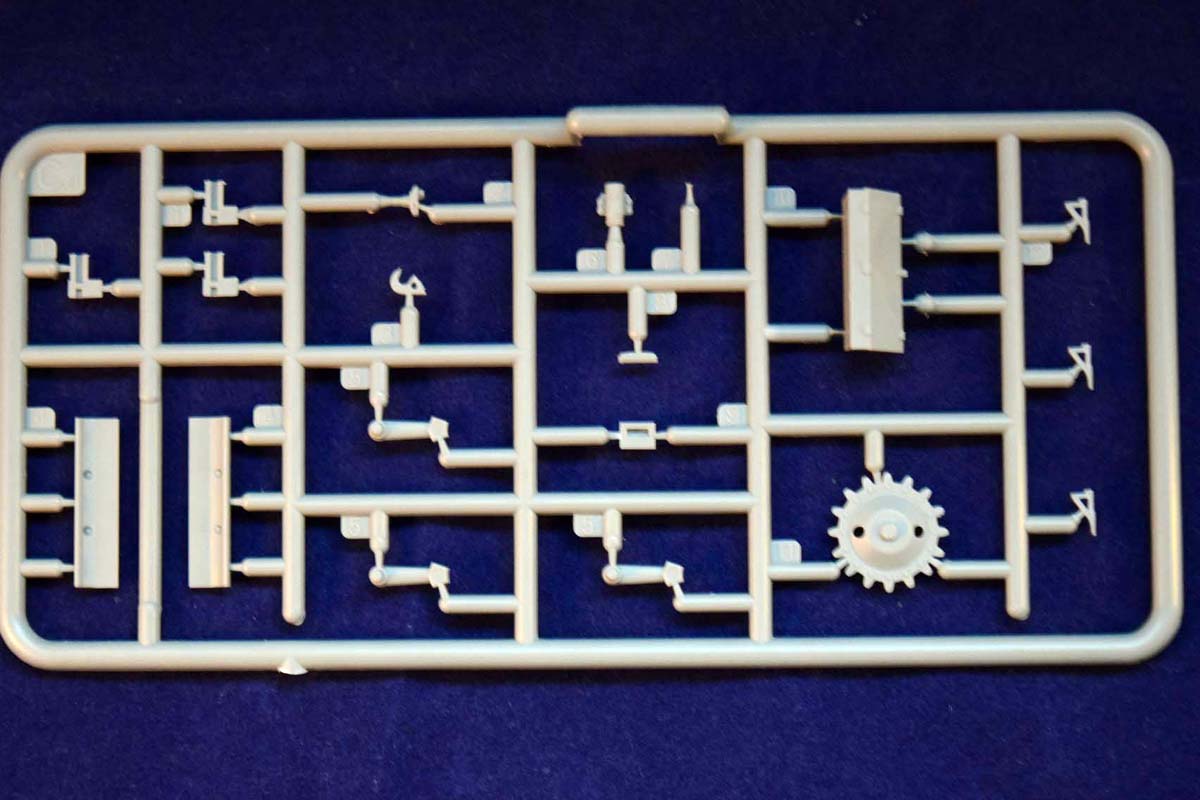
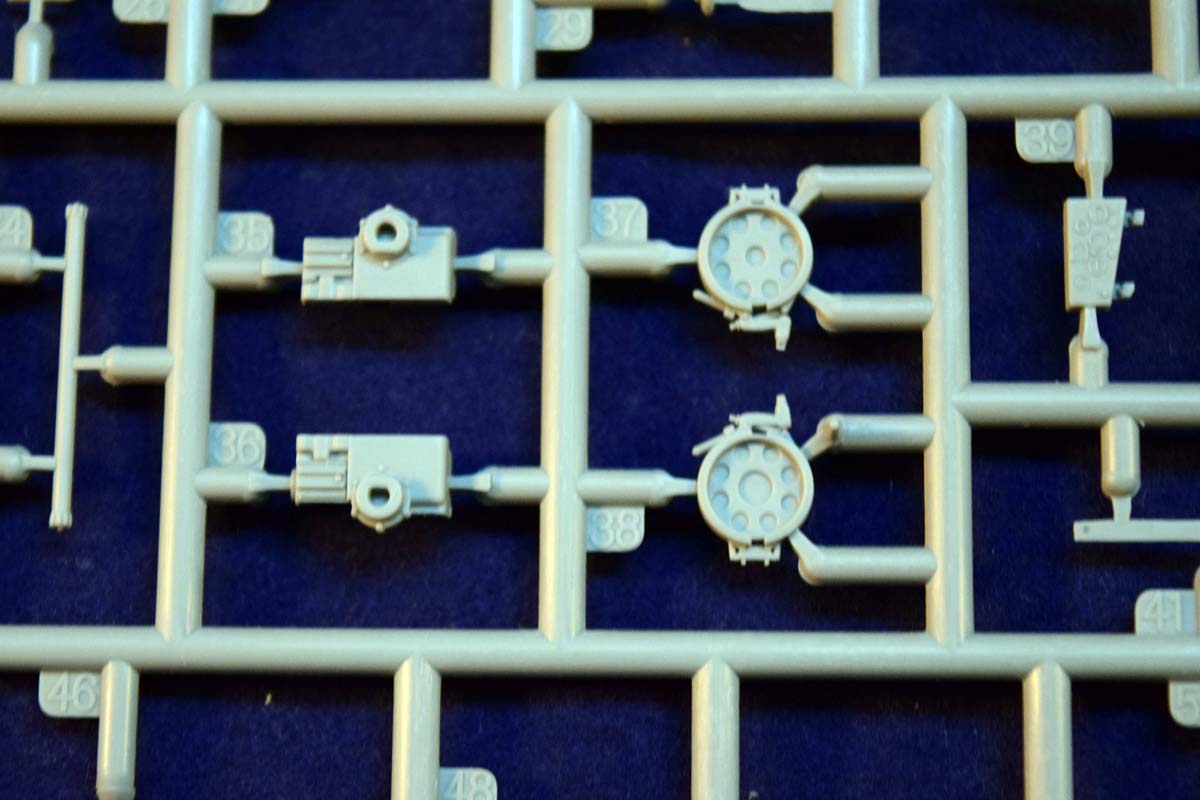
The model is your typical Full Interior MiniArt kit but despite of this it has relatively few parts. With 482 its about half of what the interior version of the T-44 had, but this is due to the size and simplicity of the real vehicle rather than due to MiniArt cutting corners. The model is full of details. The box art is pretty striking; it does create an interest in the tank itself.
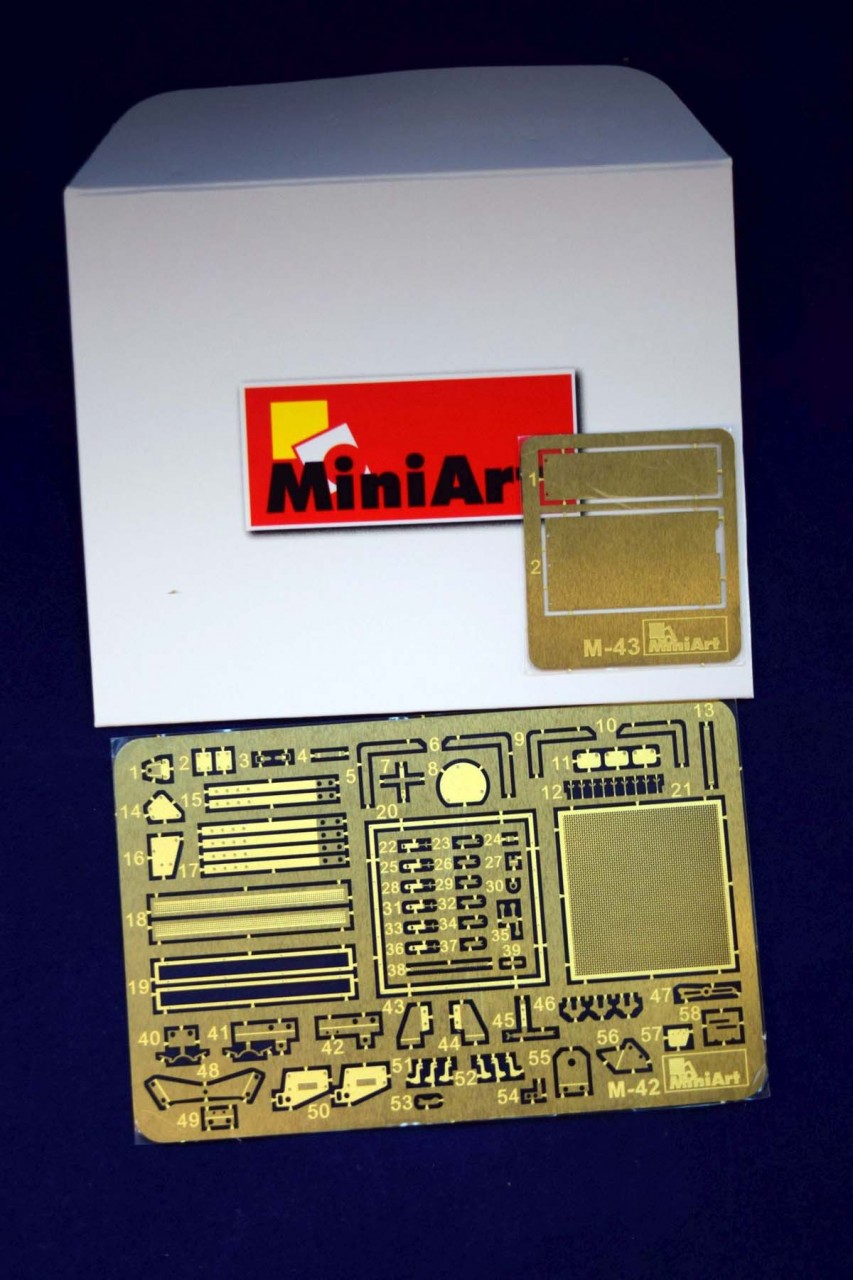
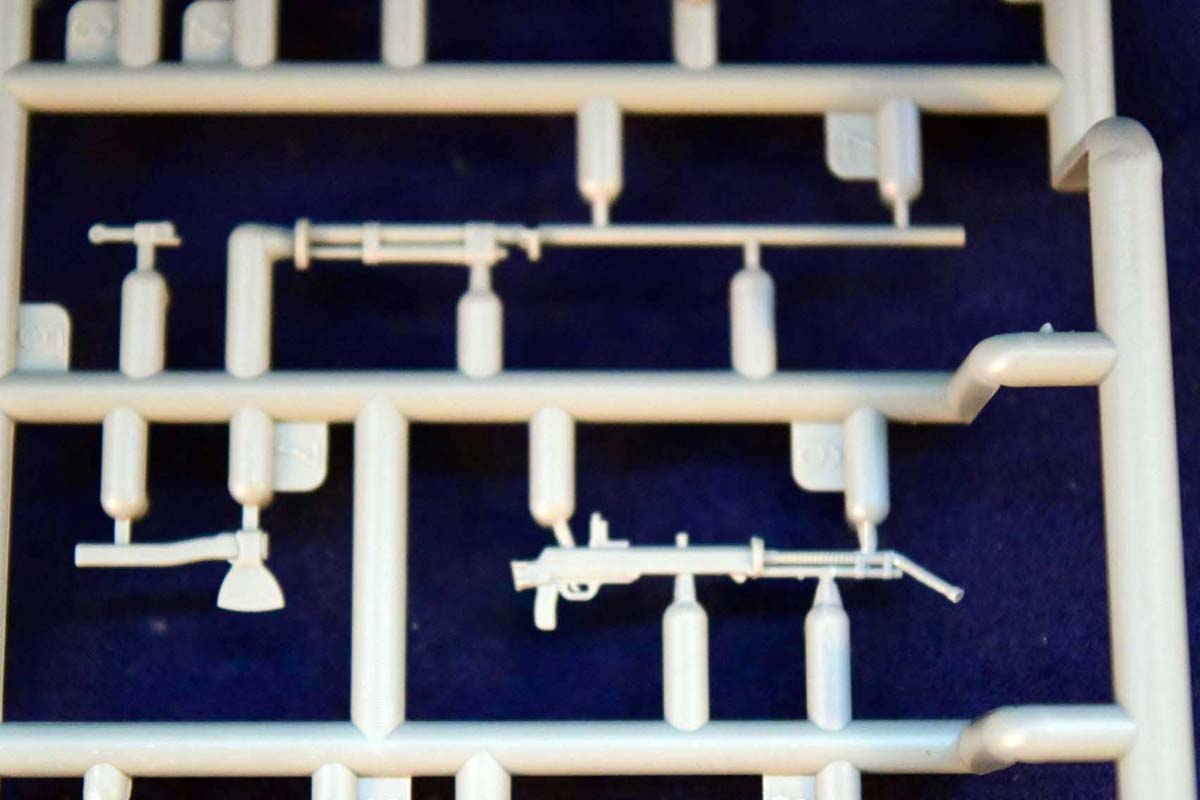
There is a very comprehensive PE provided (more on that later) with alternative engine deck covers, bolts, tool clamps. It comes in a nice little envelope with protects it very well. Speaking of protection: the barrel of the co-axial machine gun was bent due to the sprues movement in the box The plastic is very nice, and you have minimal flash; I only had to clean up some of the tools. The typical overly thin MiniArt parts are still here in the form of the towing cable. (At least its pre-formed and not a straight cable ) Instead of trying to remove it from the sprue gates and cleaning it up (which inevitably results in loss of detail and/or breakage) I just used a metal cable as a replacement.
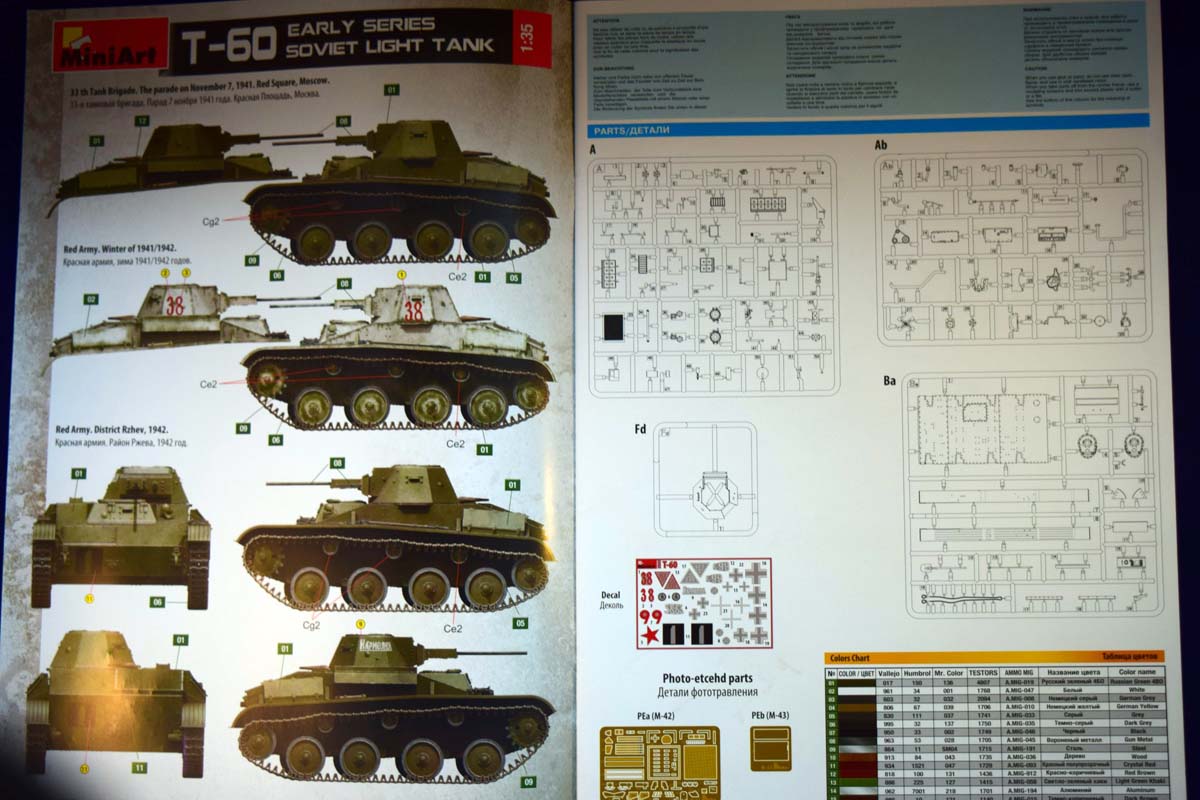
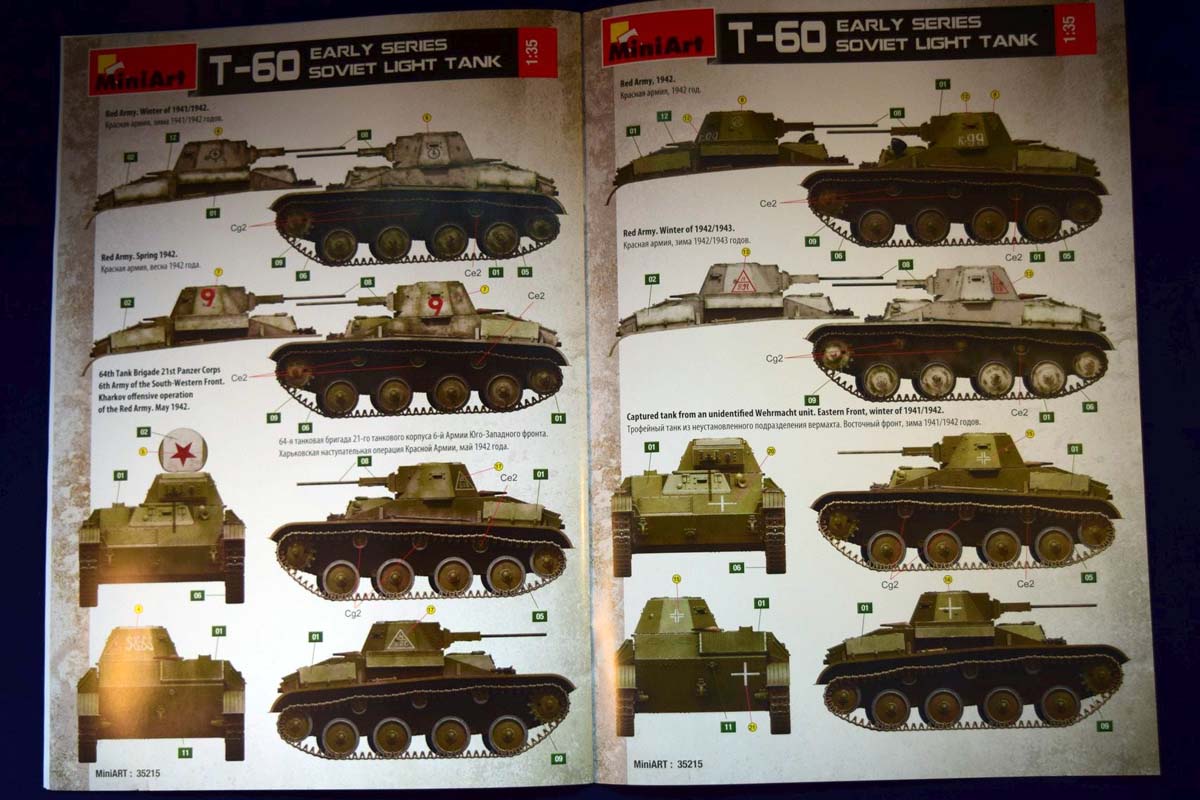
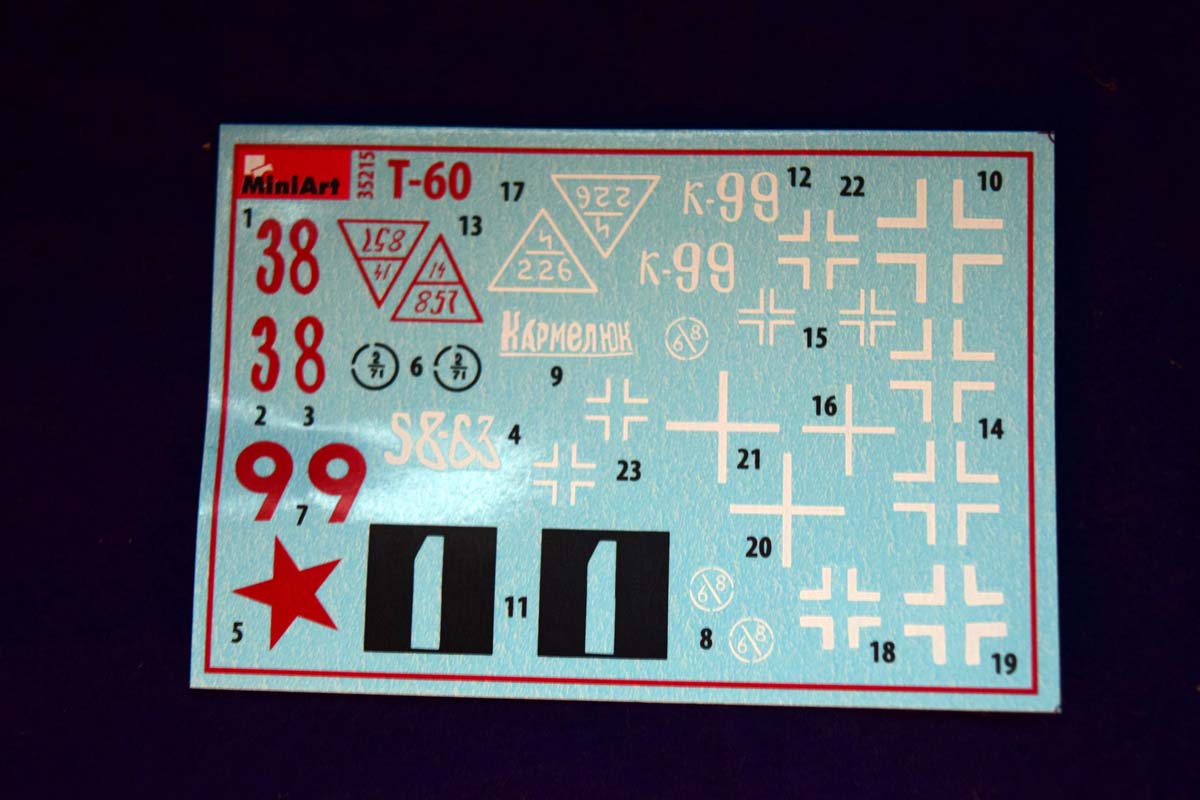
The instructions come as the typical MiniArt booklet we have gotten used to by now: few colored pages show the painting options, and a black and white step-by-step guide for the assembly.
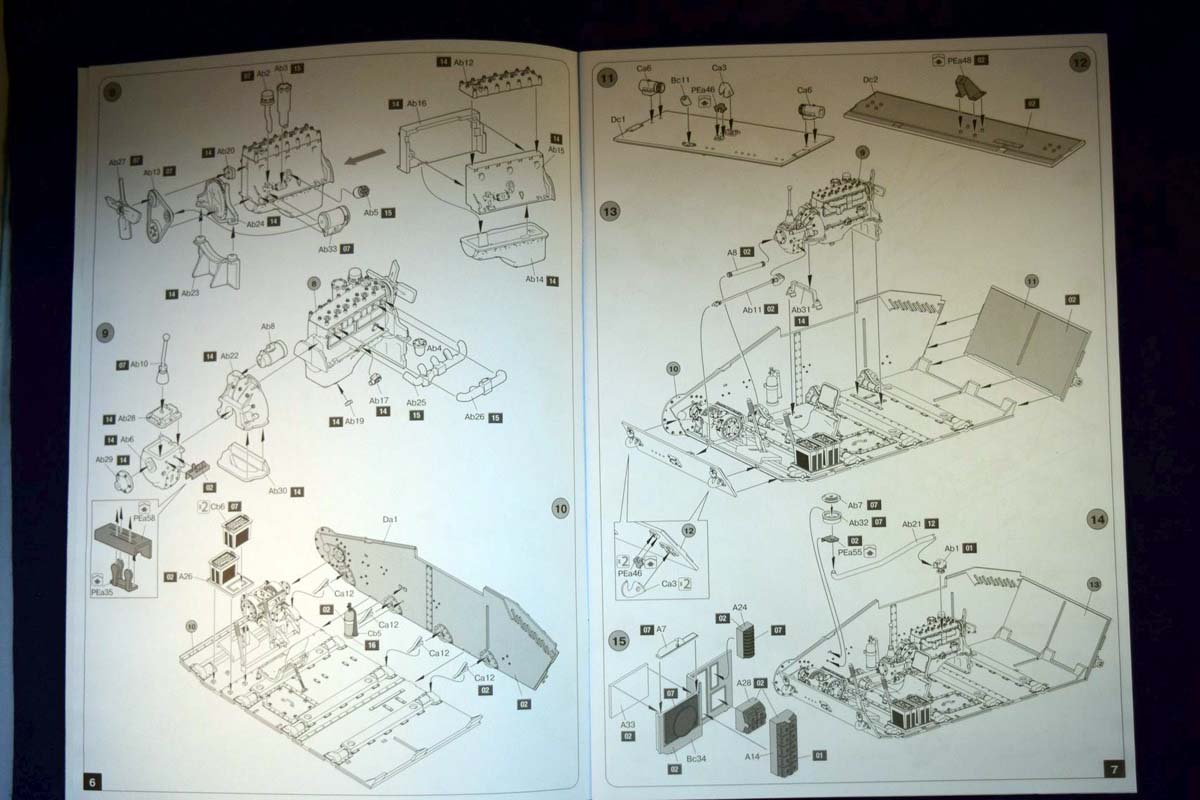
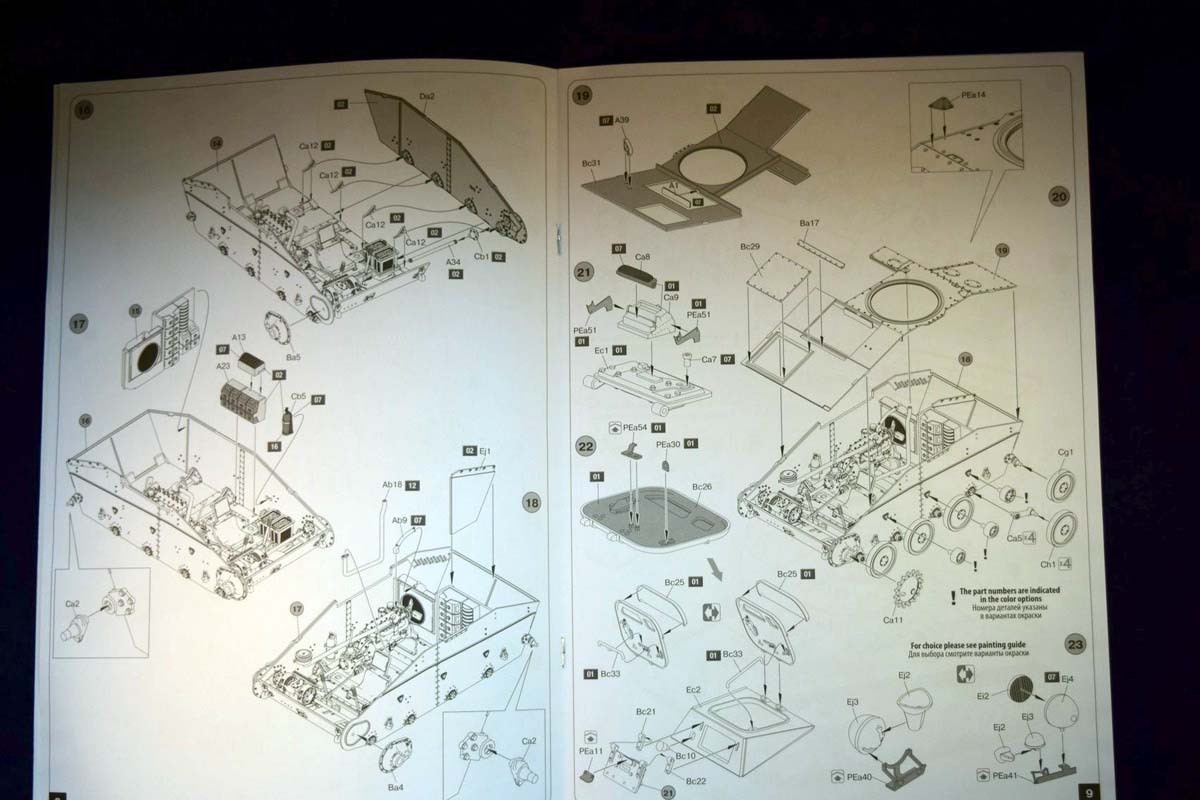
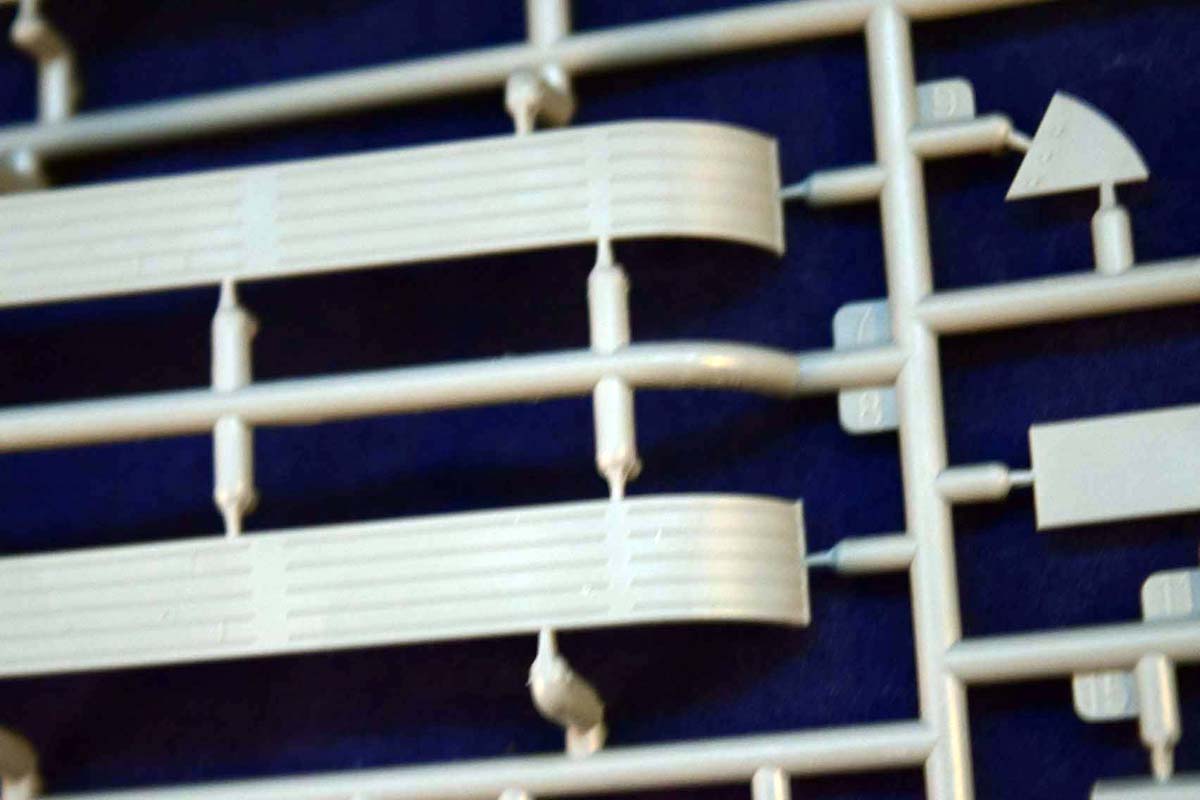
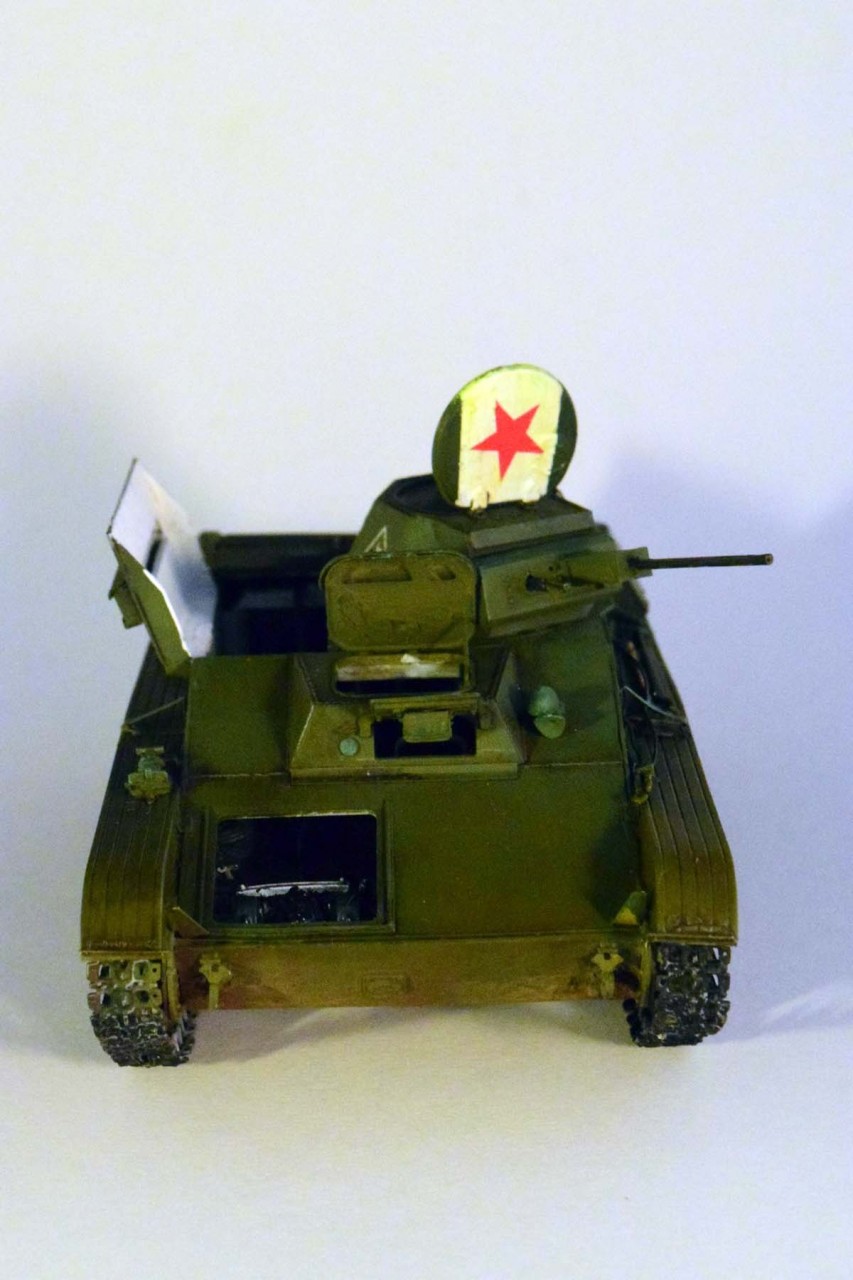
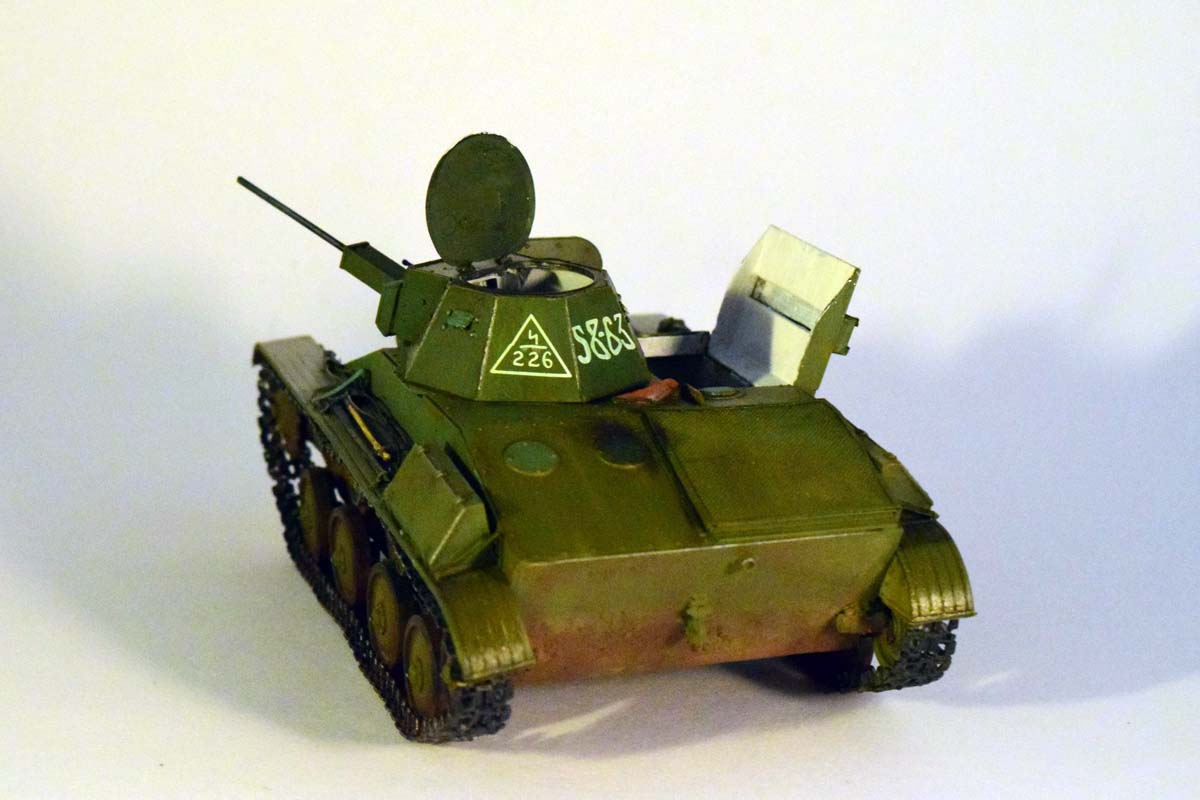
Normally MiniArt instructions are very easy to follow; this case I had some issues with them. For one, sometimes you have no idea how the finished article should look like (case to the point: the horn (?) assembly on the frontal glacis. For that particular part you will need to check the painting guide or historical photos. The other, bigger is that the order of assembly does not always make sense. The most outstanding example would be the mudguards. First you add some of the tools and other details to the mudguards (e.g. some of the holding brackets for the towing cable, but not all, and not the cable itself) but then you stop and move on to other parts of the model, leaving assemblies half-finished; later on you return and finish the build.
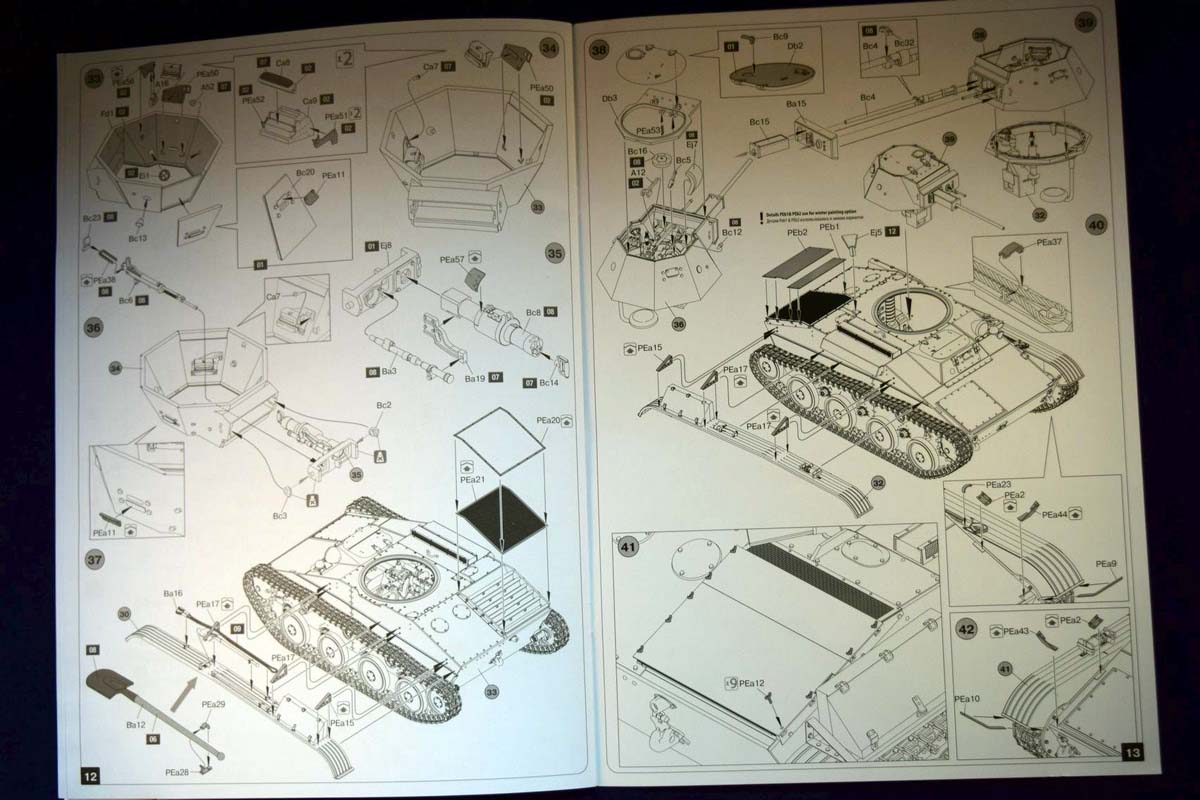
This can cause some issues: first of all, you need to cut/drill holes into the mudguards, and the instructions were not very clear where and how big. Second, the sequence did not always make sense. The clamp holding down the head of the shovel had to be removed because I could not fit the tool under it five steps later (I was not even sure what it was until I studied the later steps); and there were other, similar issues. If you follow the order suggested by the instructions it will be somewhat difficult to judge where the different clamps and tie downs should go, as some of the tools will be added quite a bit after. Its better to do them all together. The instructions also keep showing the mudguards in different orientations, and its quite difficult to decide which one is supposed to be the left and which one is the right side one at that given step. Best would be to finish the running gear, install the tracks and add the mudguards first; you can put on the details after. (This is what I did eventually.)
The other big problem was that sometimes the instructions show an assembly turned over, and then later steps showing it in the right orientation; this, combined with my inattention meant that I made a seriously silly mistake and put the main gun in the wrong position. I guess its fitting; as a left handed person now I can claim I have a left handed T-60. The mistake is mine, but the instructions dont make it easy to avoid. (Interestingly enough my version now gives more clearance for the drivers hatch to open I think I might have improved on the design.)
Another mistake I made due to this issue of showing parts upside down was the installation of the PE bracket for the hand-crank shaft; fortunately this was easy to remedy when I realized the mistake.
A last word of advice with regards to the instructions: there are several alternative parts and options provided (headlights, return rollers, etc.) with the different paint schemes; decide which one you want to build before you start building.
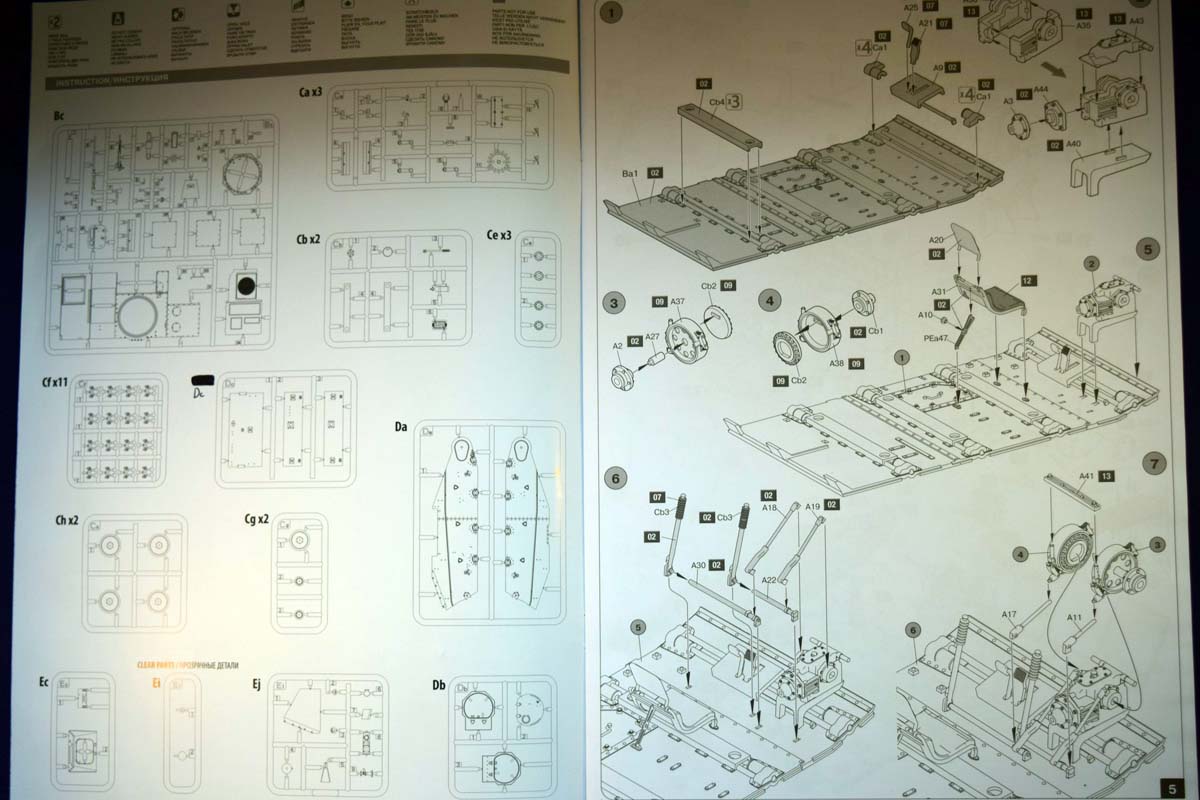
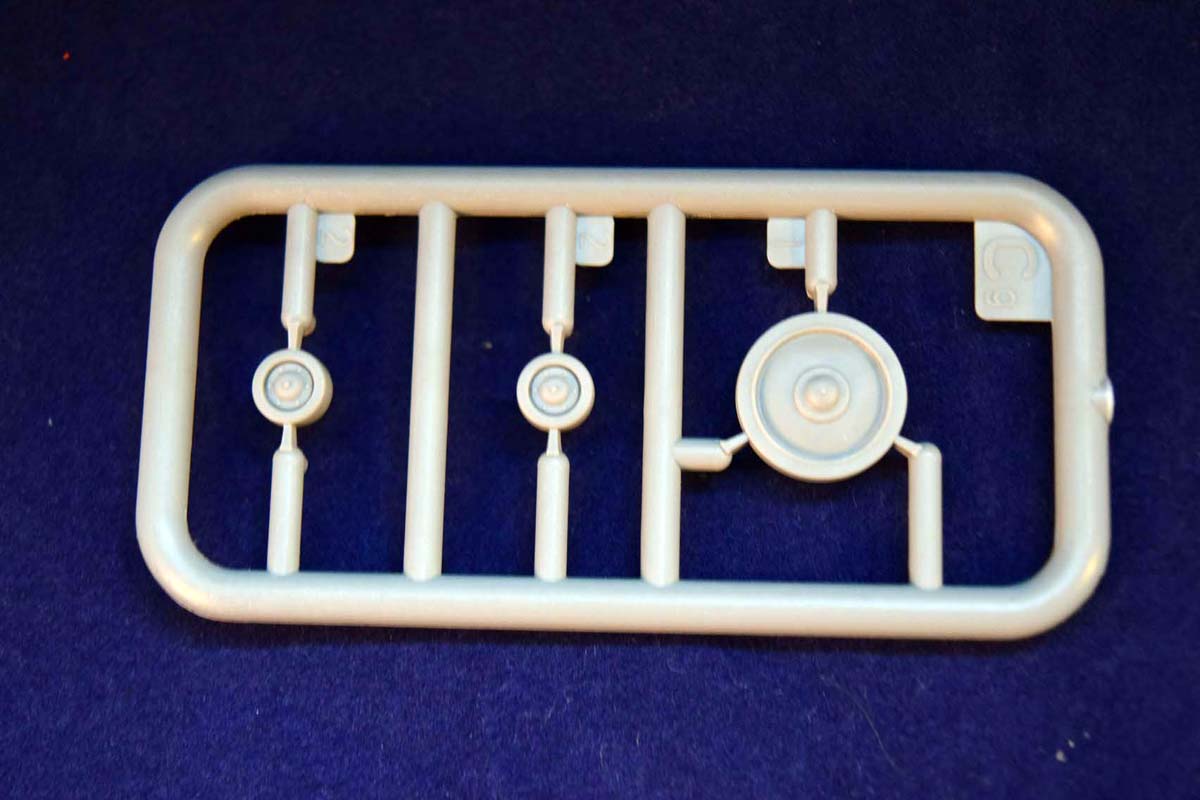
The build is quite straightforward and -with some issues aside- easy. The suspension is a torsion bar suspension, but, unlike in the case of the T-44, T-54, T-55 kits, its not functional. It is faster to assemble, but the problem is that the swing arms need to be manually positioned -something this kit shares with the older SU-76 kit. Not a big issue, but its not a welcome one.
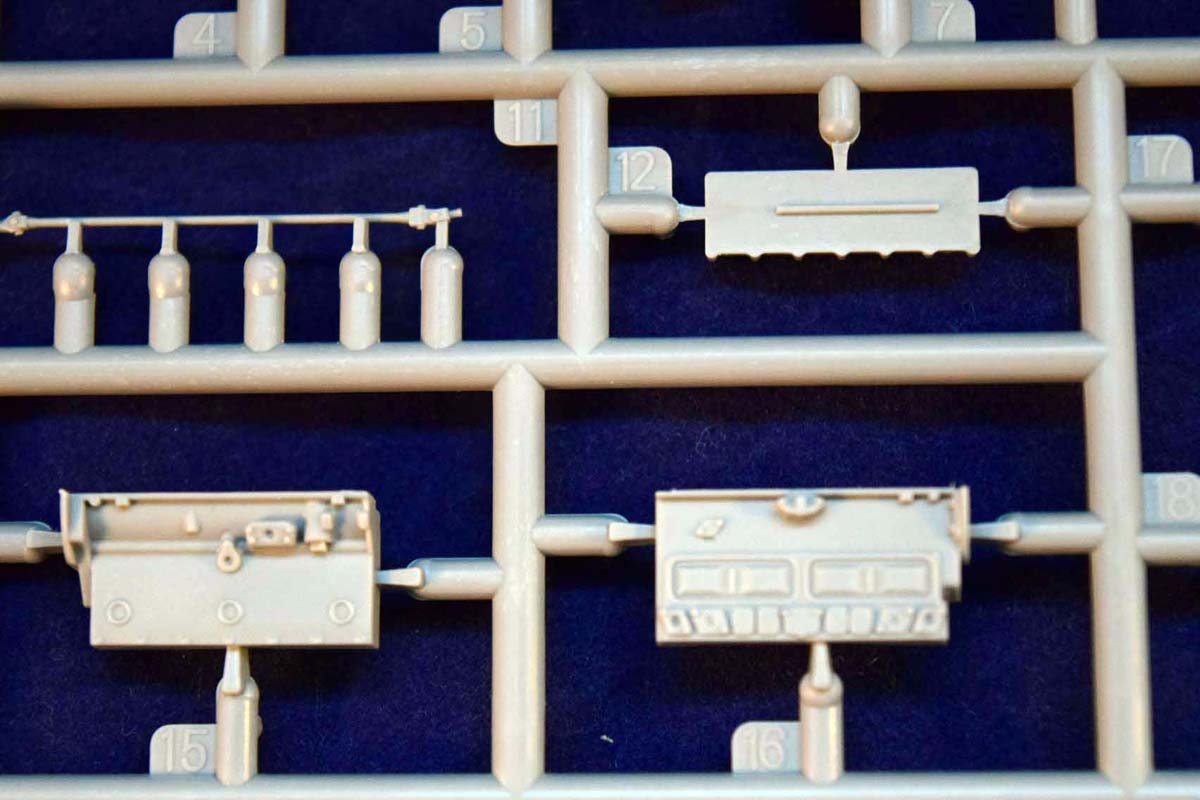
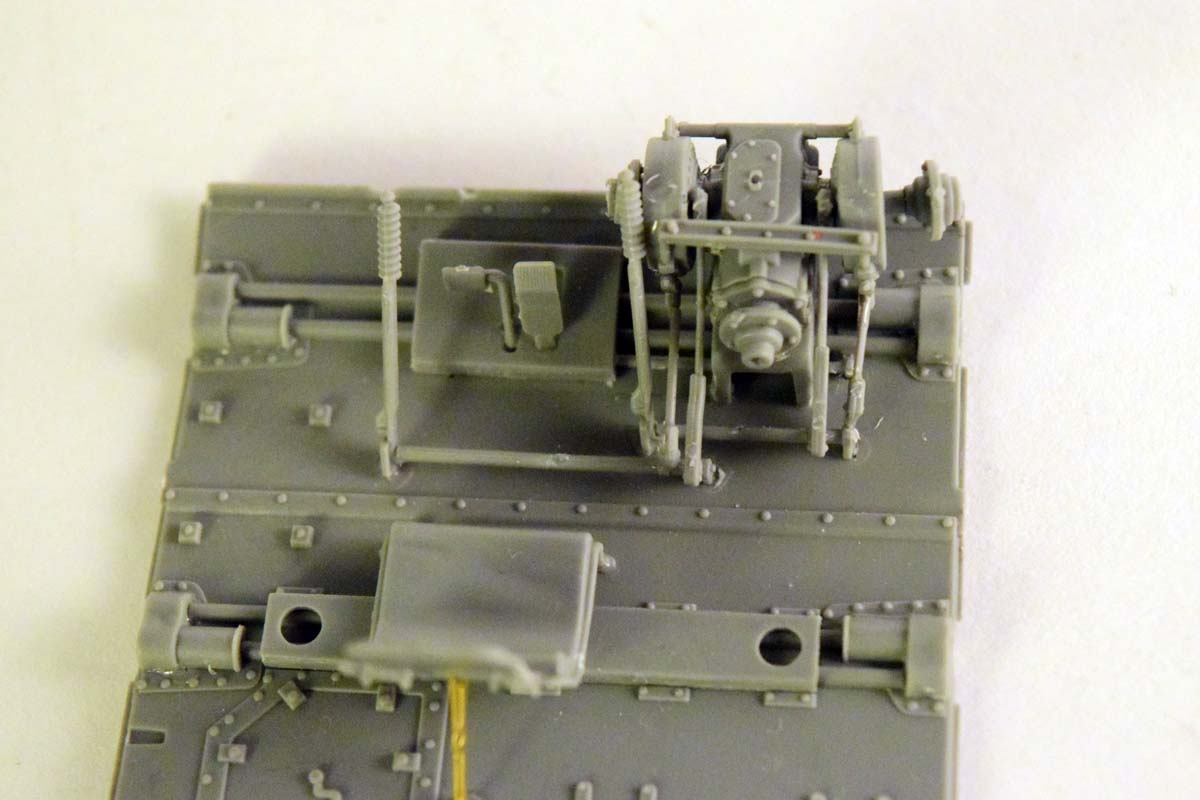
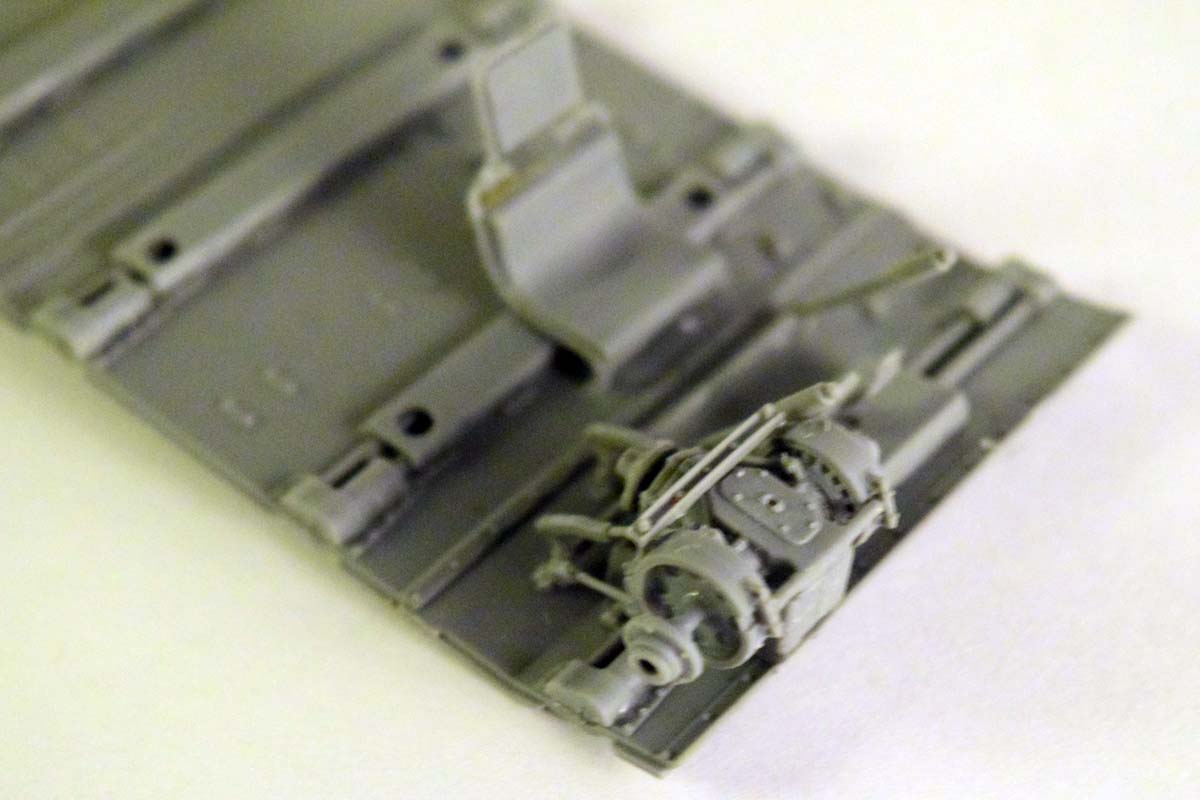
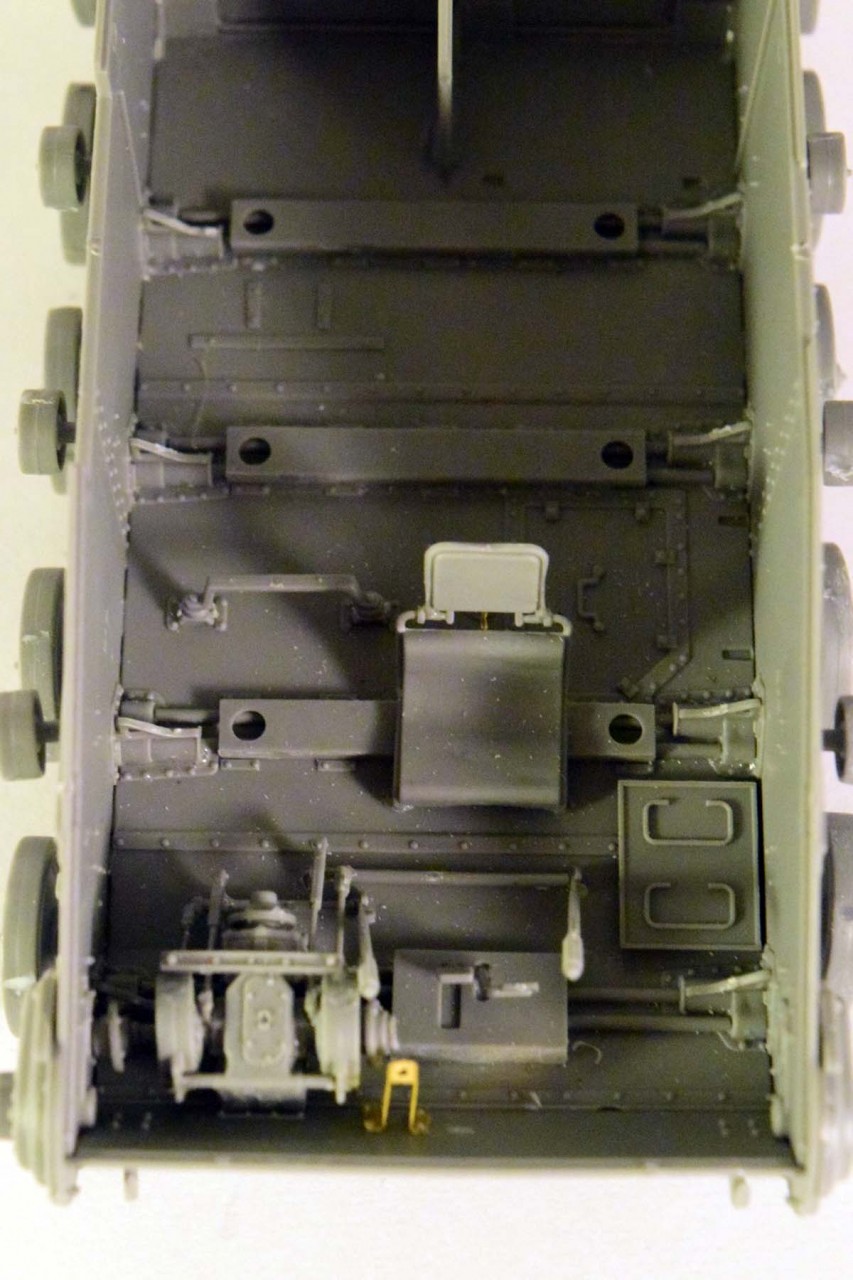
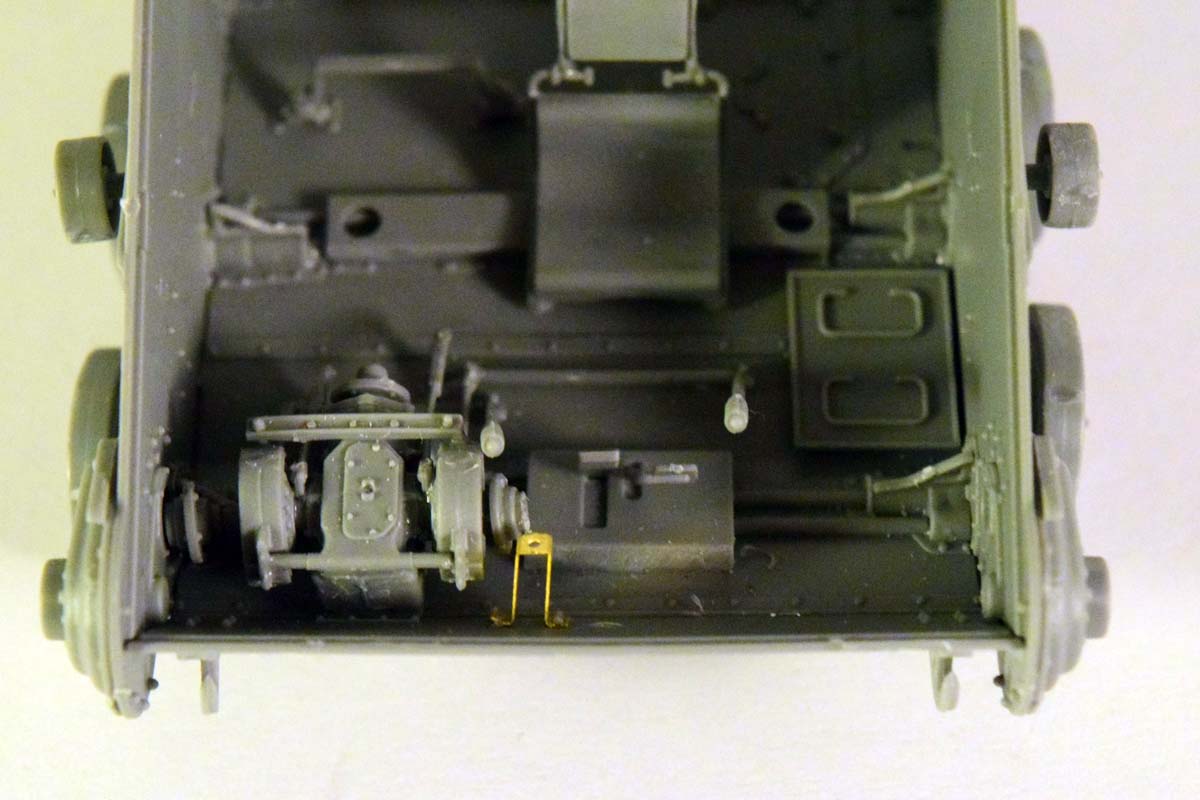
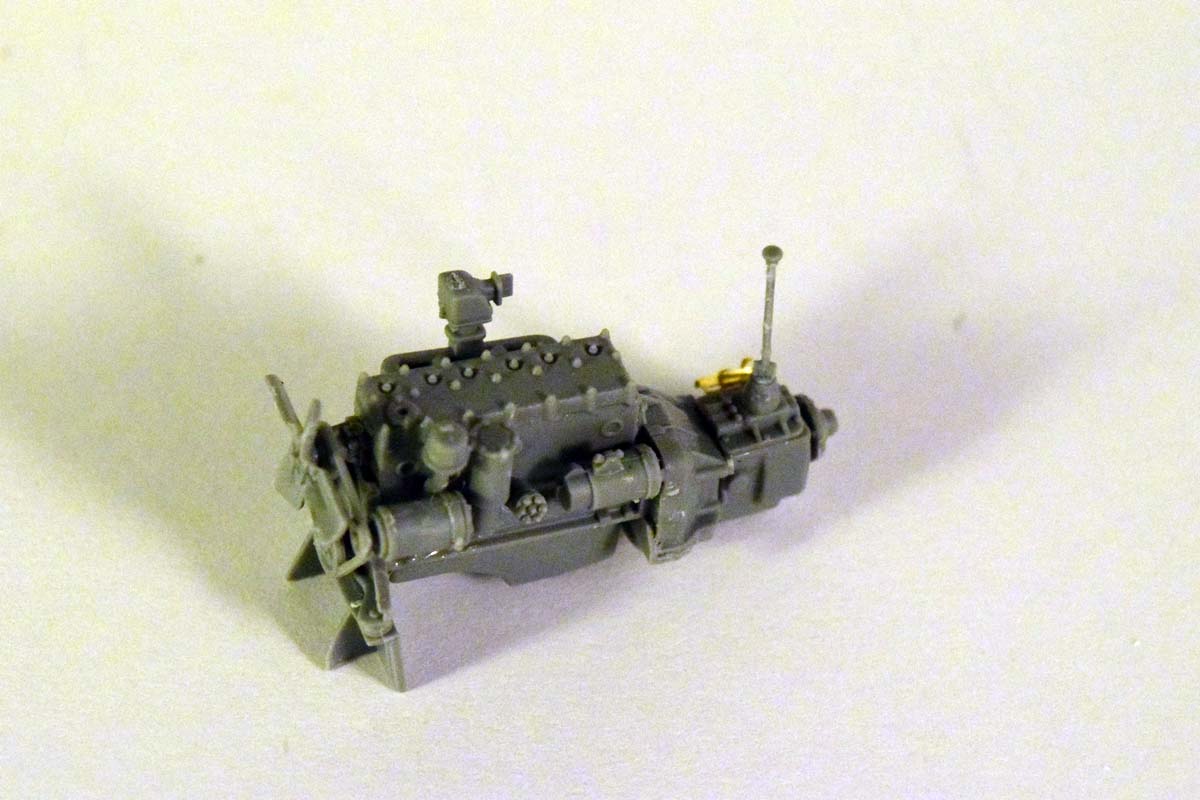
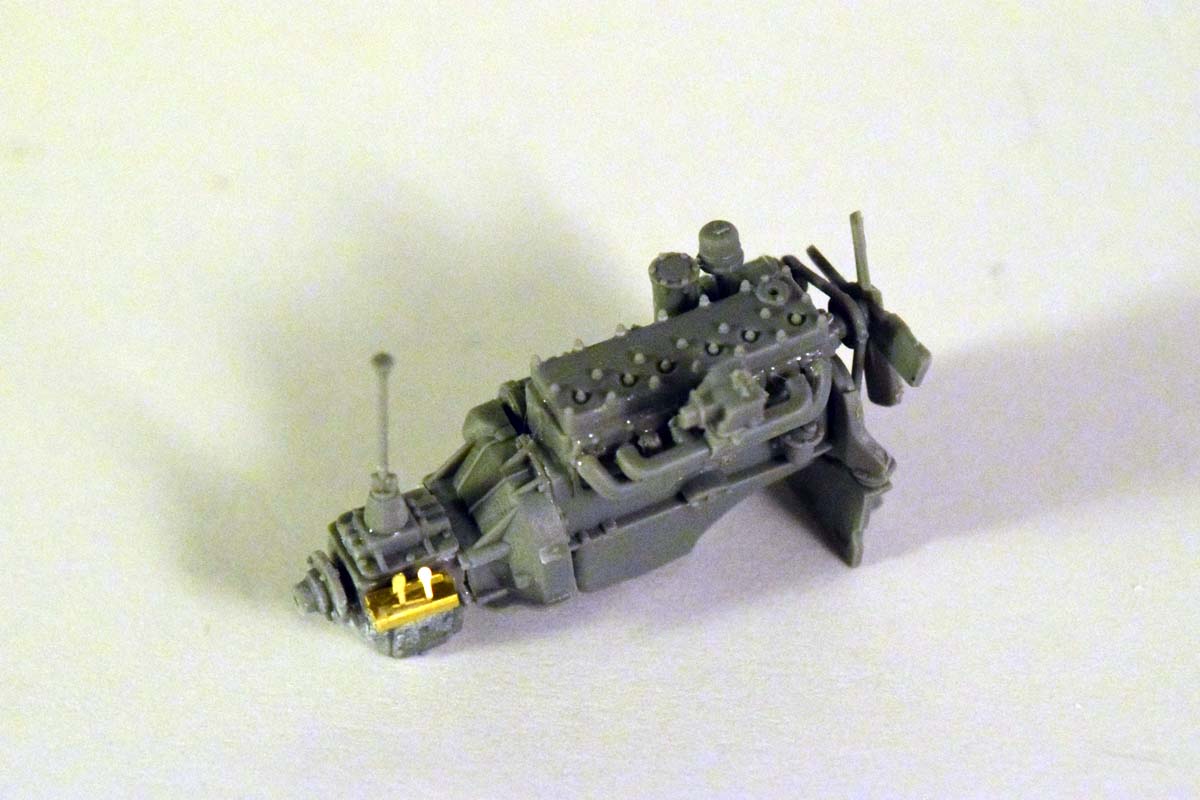
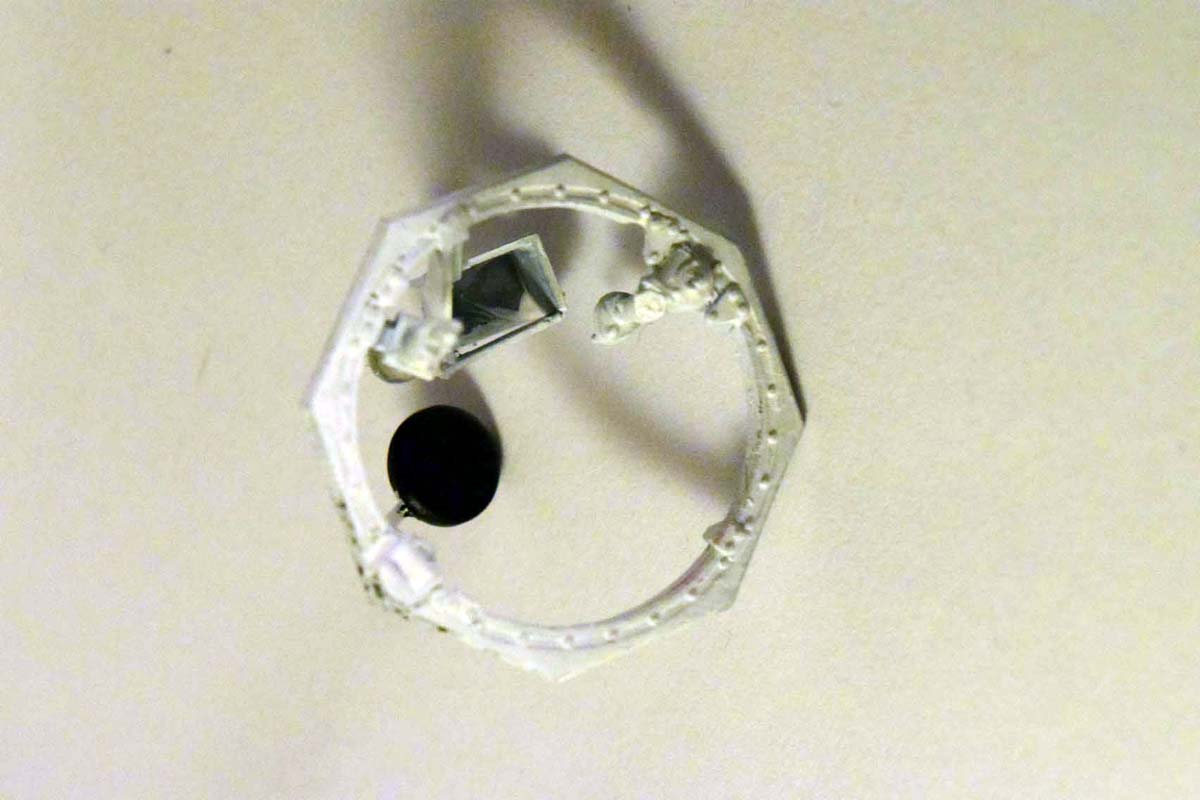
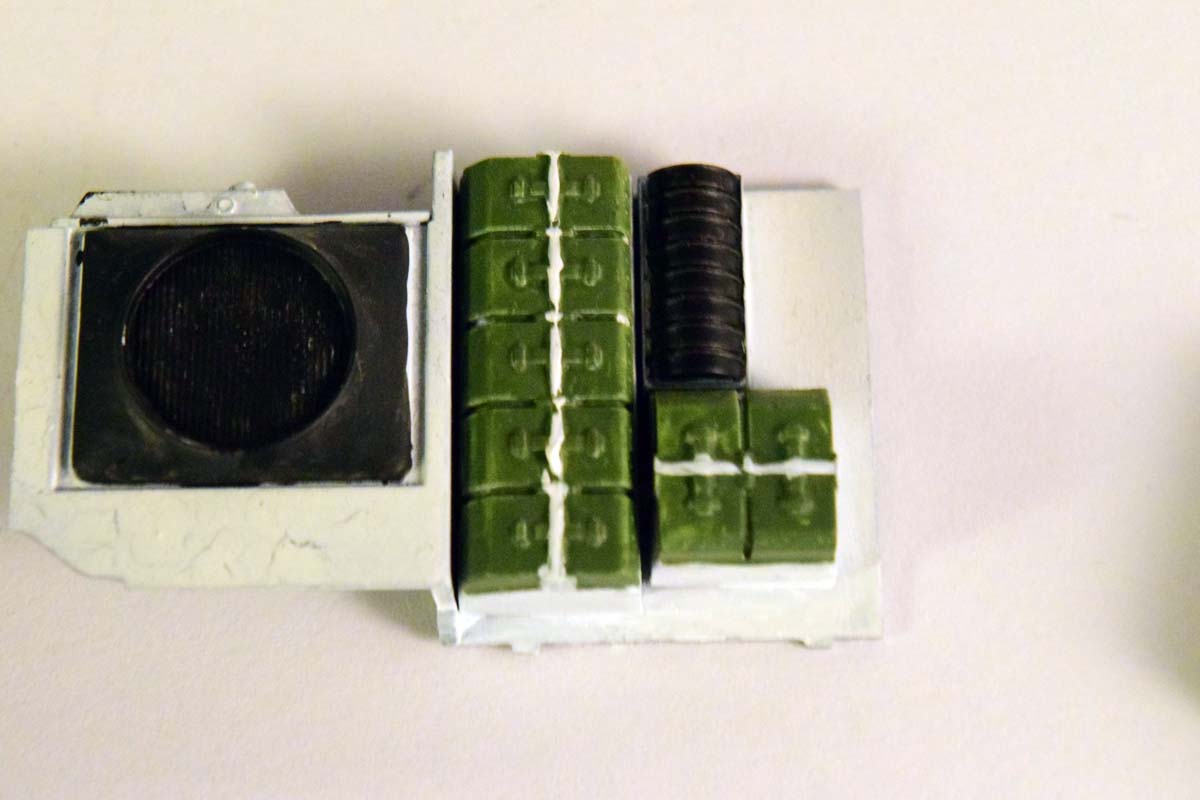
The interior goes together easily. The engine has really nice detail (I could not find reference on the cables, so I did not add them), the transmission is really nice, too. I replaced the plastic rod representing the shaft of the hand-crank because it was too delicate, and broke when I removed it from the sprue. I installed the different pipes (fuel, air, etc) after I weathered the interior as they are all over the place, which would make access to certain places more difficult.
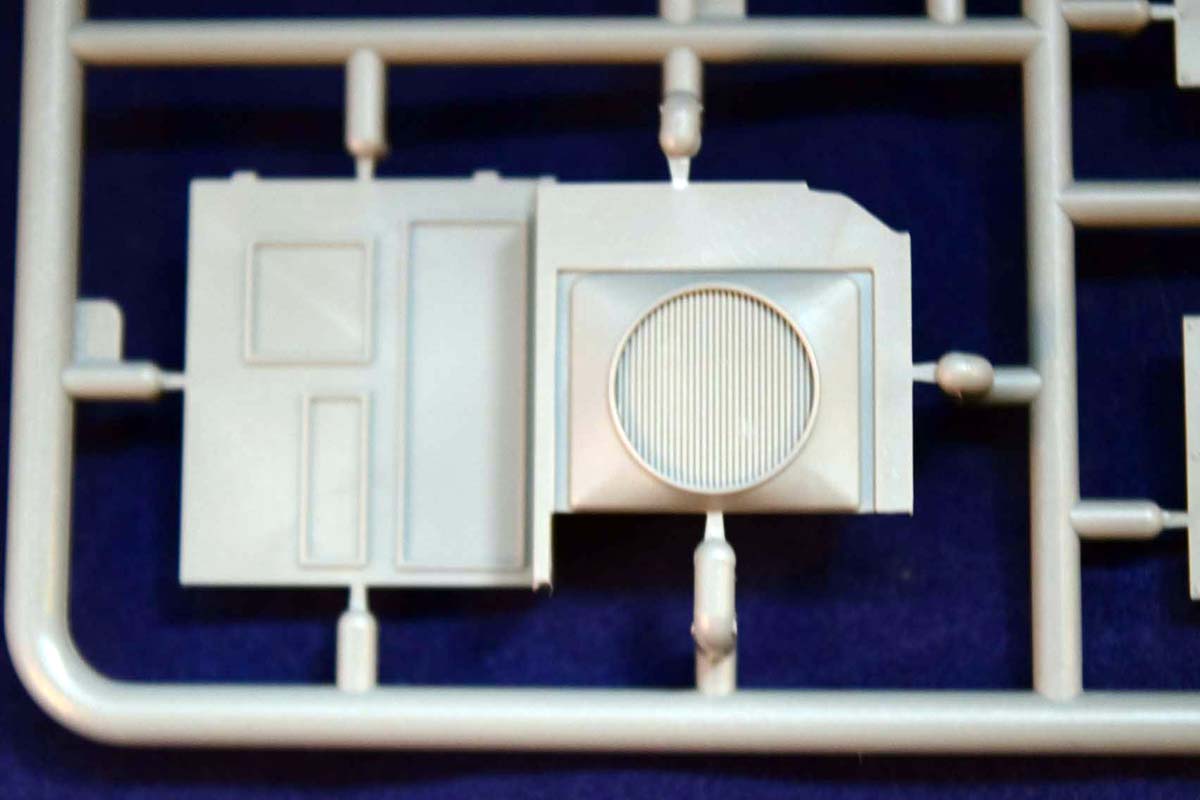
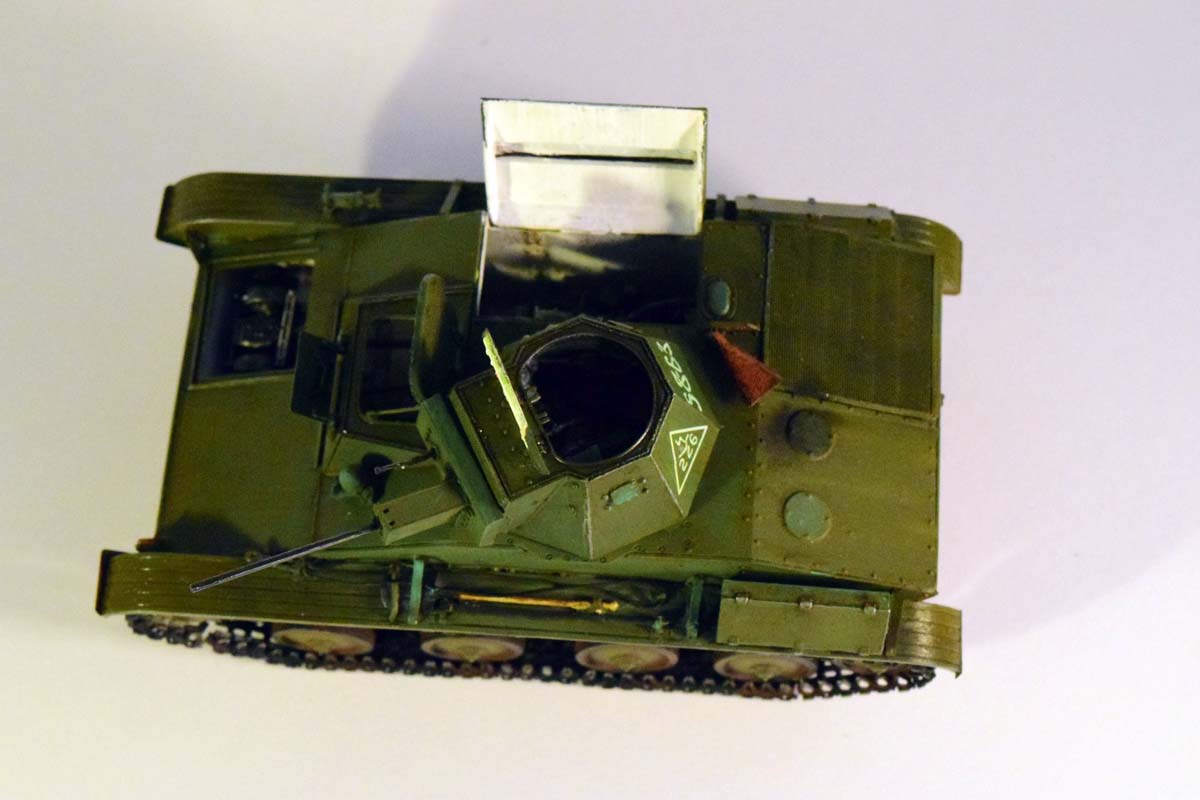
I had some difficulties installing the gills into the back of the tank; you are supposed to place them parallel to each other and the back of the tank. The guide ribs are not very pronounced and dont hold them very well, so actually inserting the gills into the right ones can be a bit frustrating. (As soon as the glue melts the plastic a bit the gills will freely move out of their ridge.)
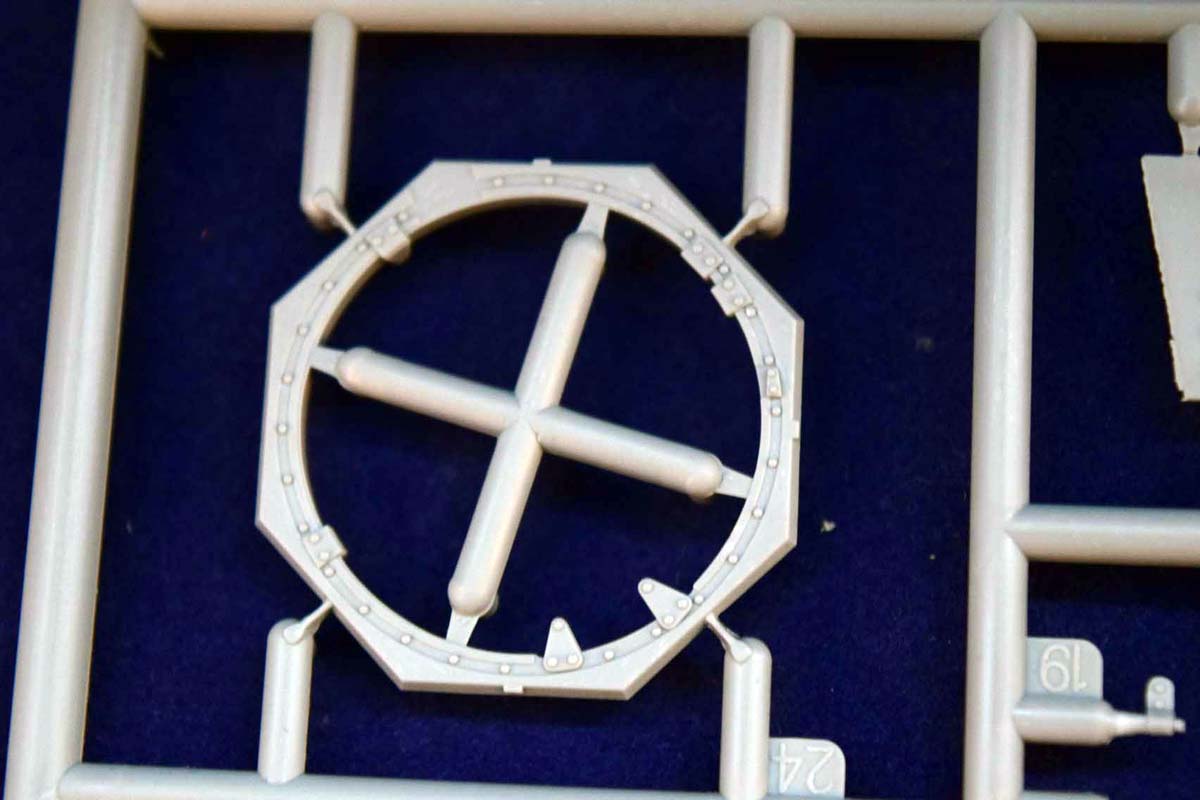
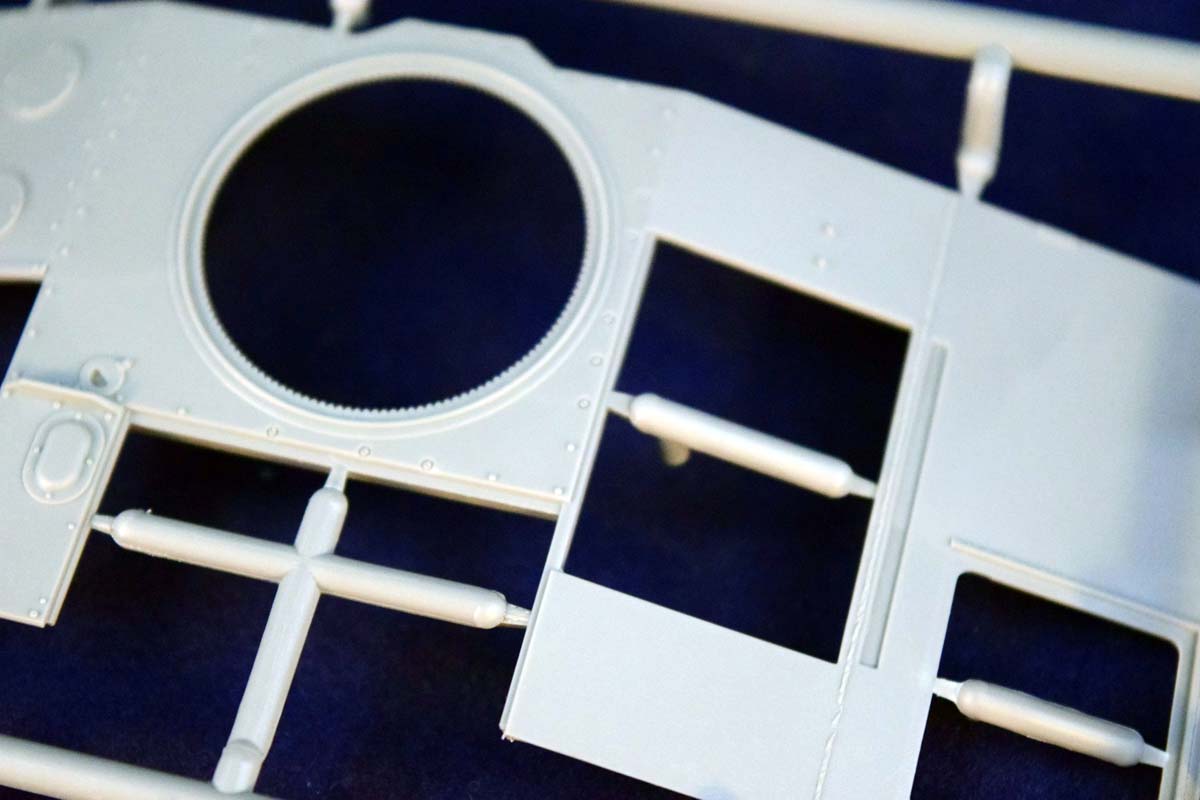
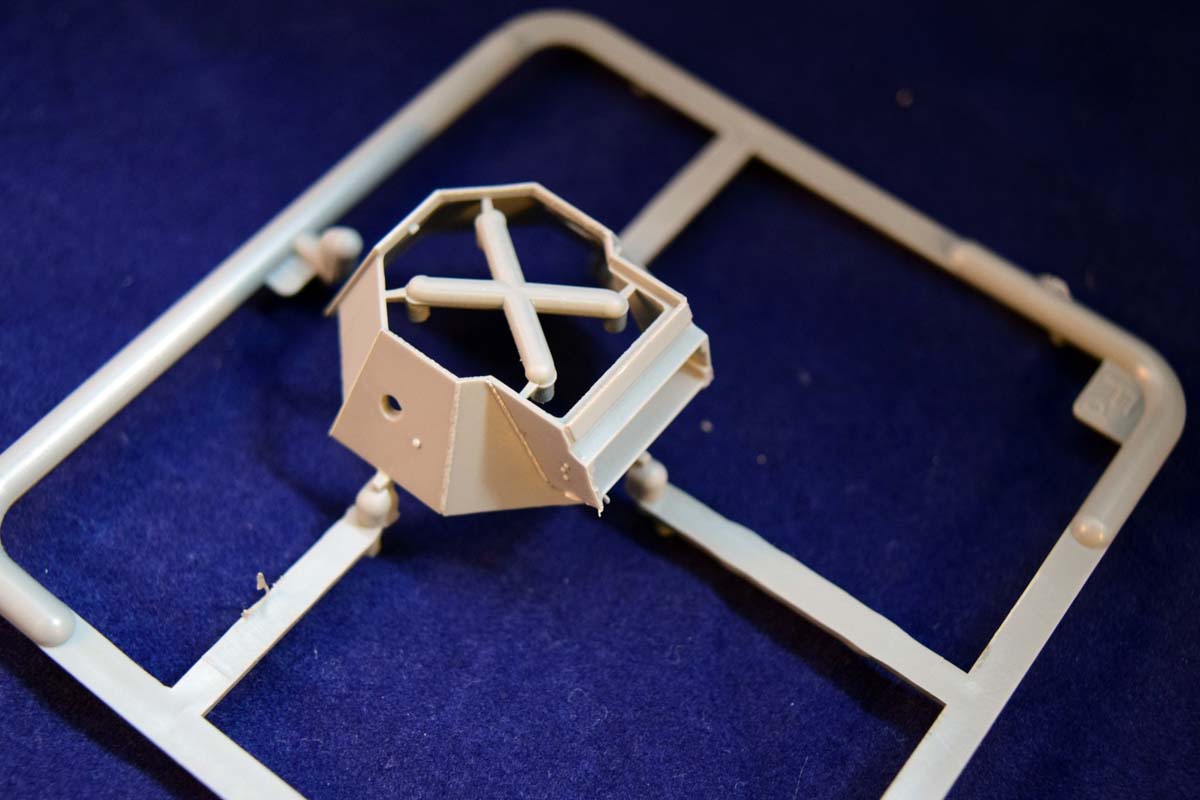
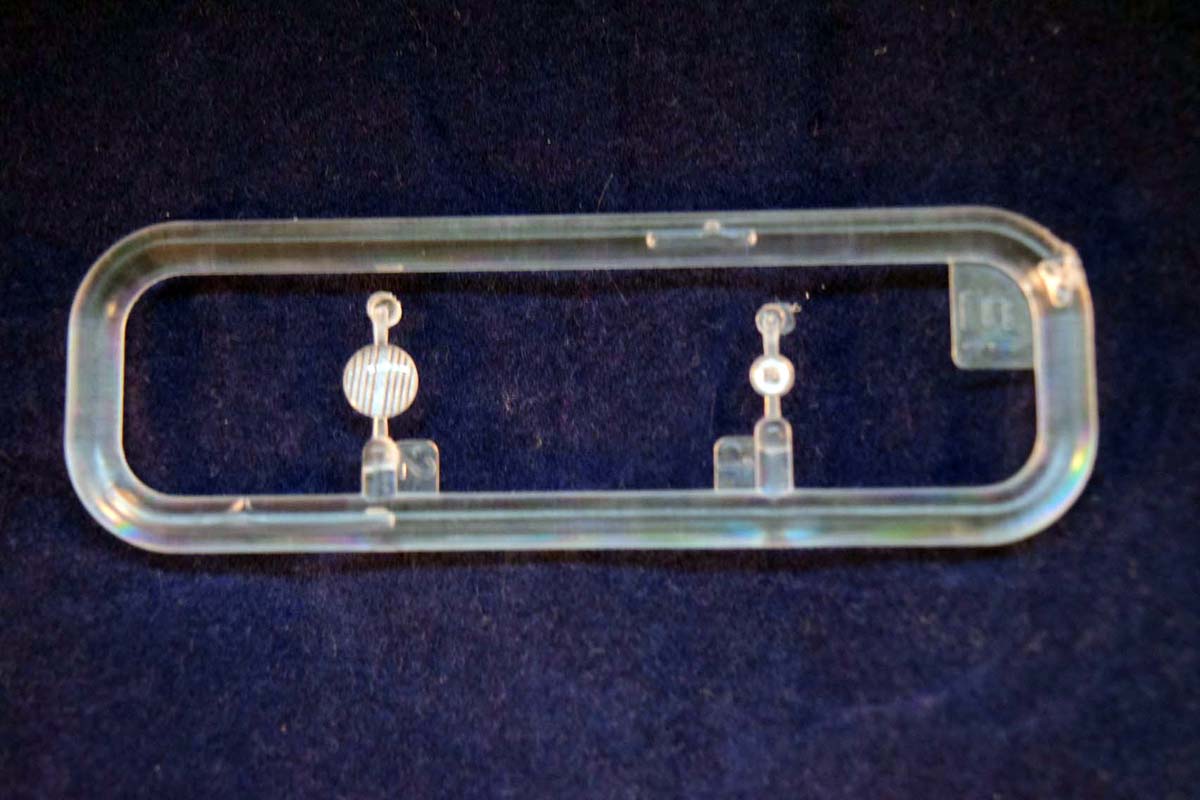
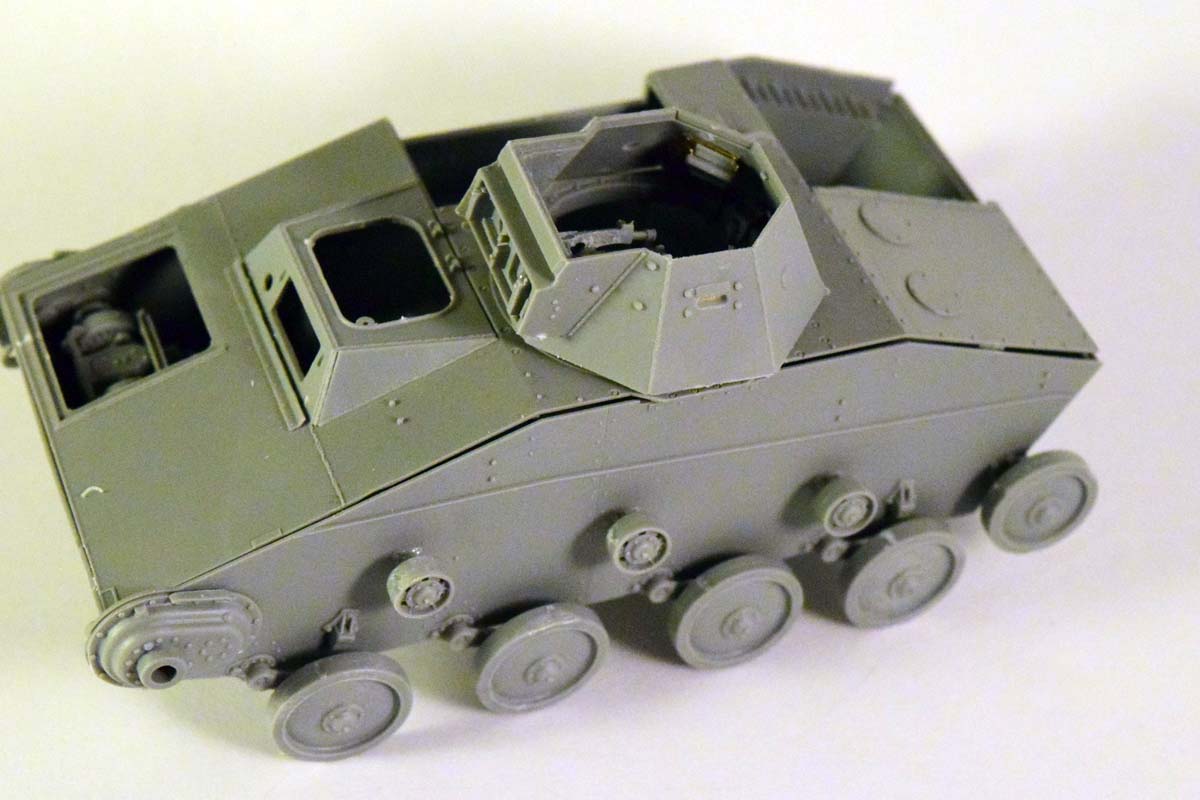
The engine service hatch can be posed open, which is very much welcome, since it allows showing off the interior. (Why else build it, right?) The instructions show this as a movable option with a hinge; however I find this to be a very optimistic assessment: the hinge is very small, and the fit of the hatch is quite tight. Its a nice touch that the turret ring has the appropriate pattern if you decide to depict the tank without a turret.
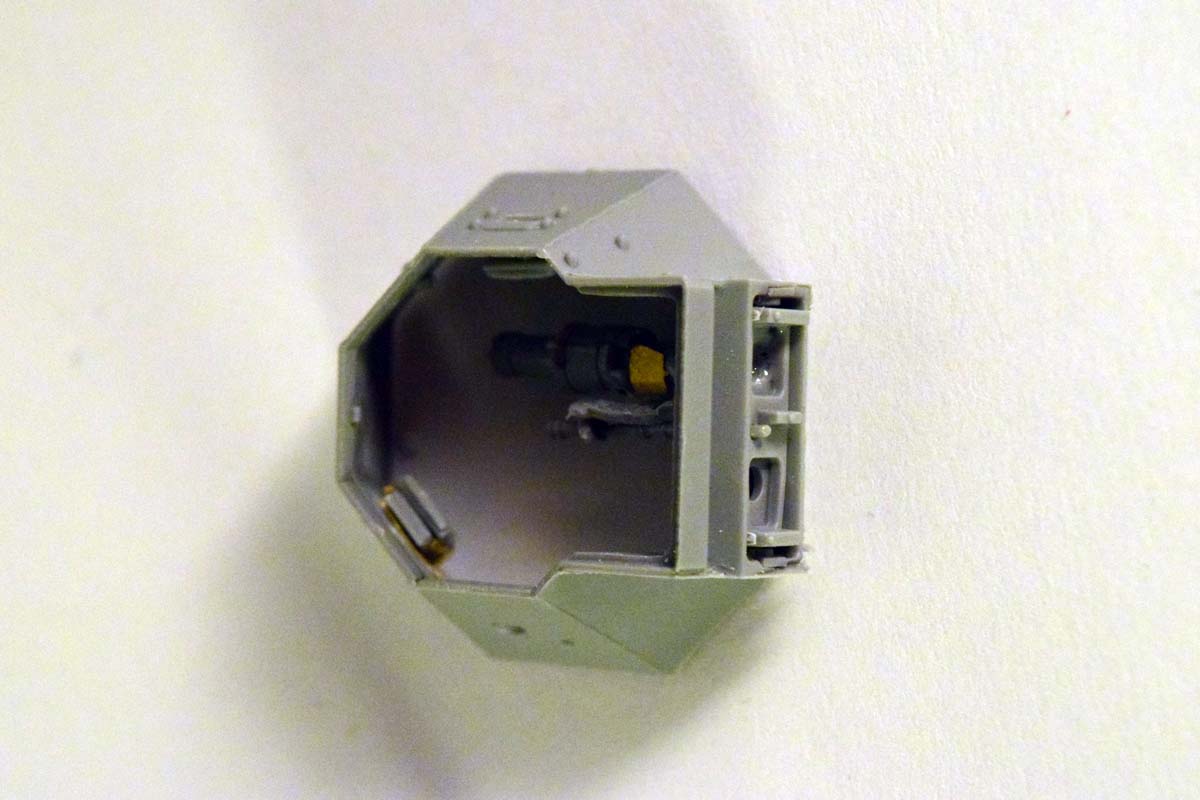
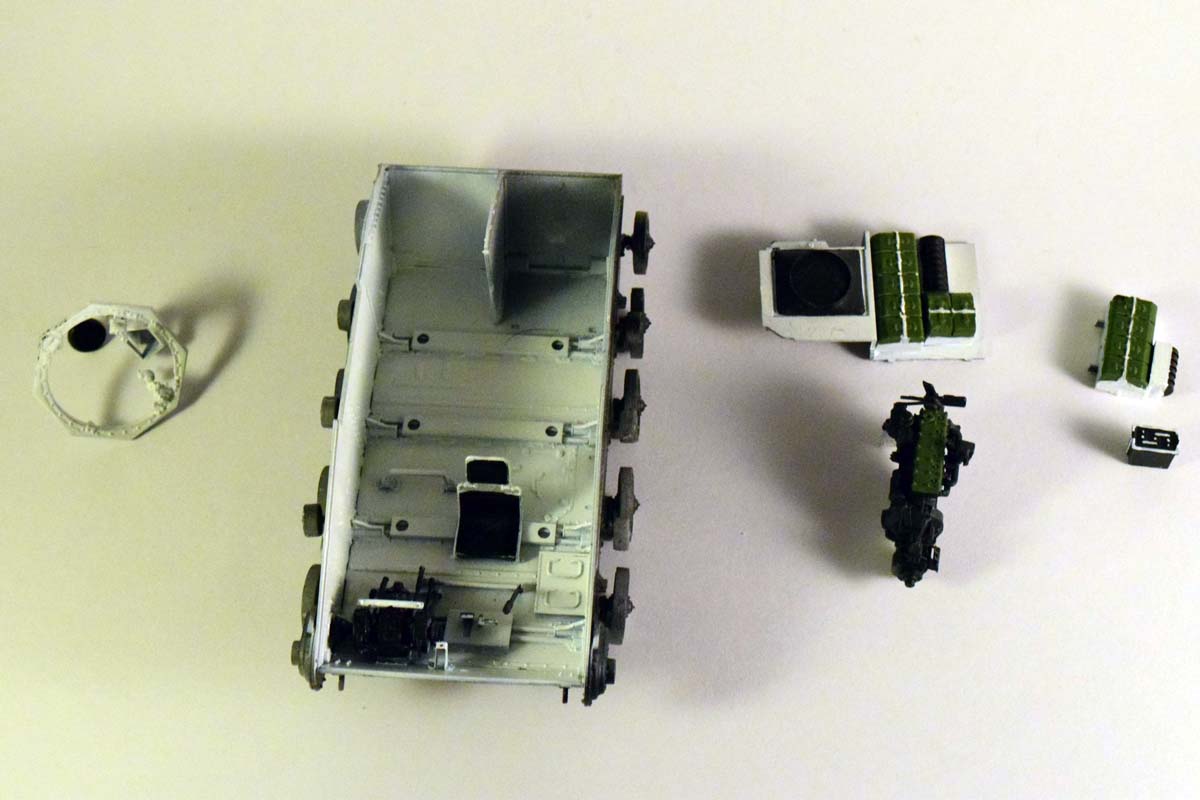
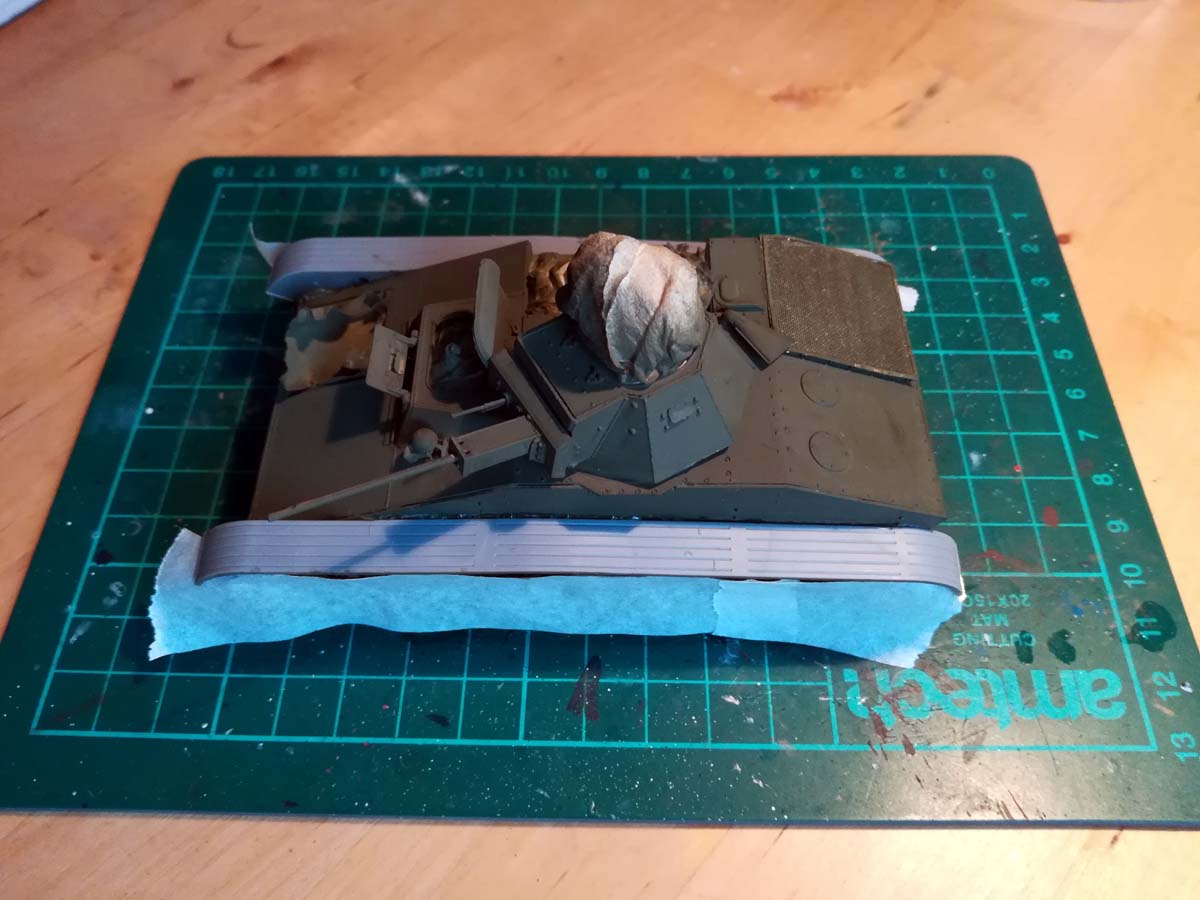
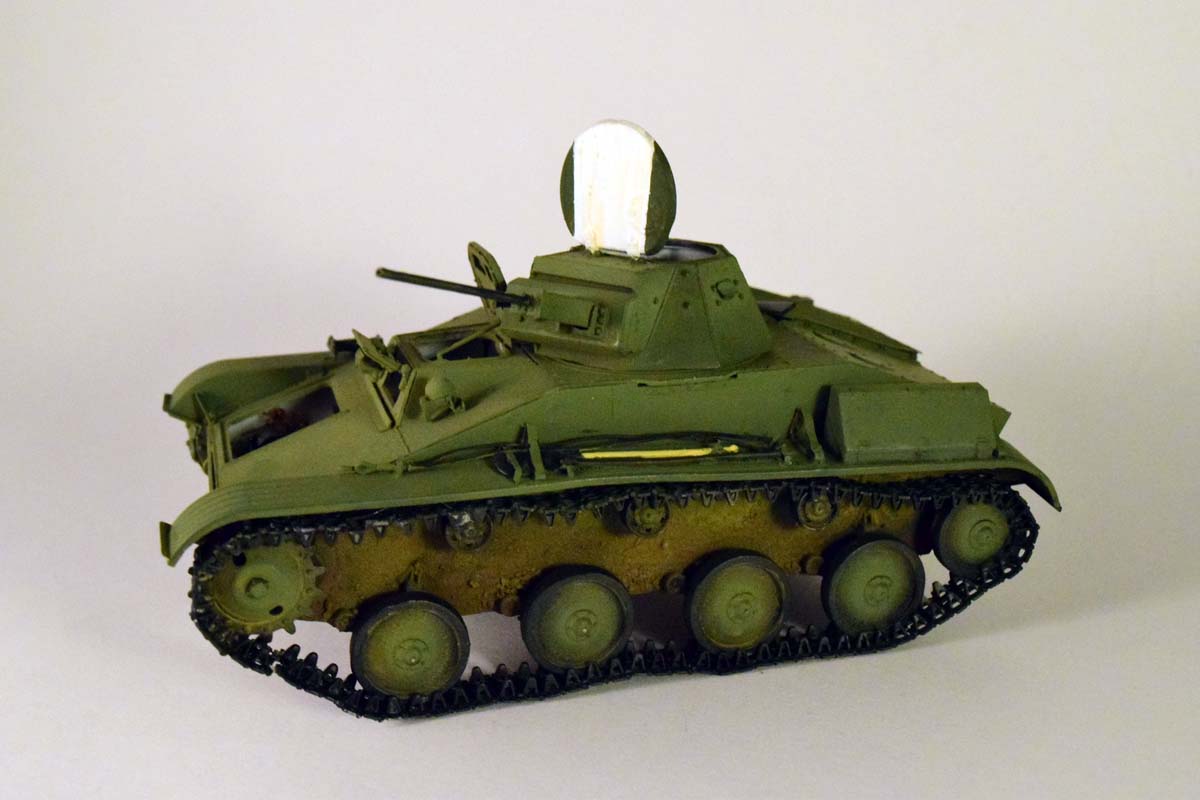
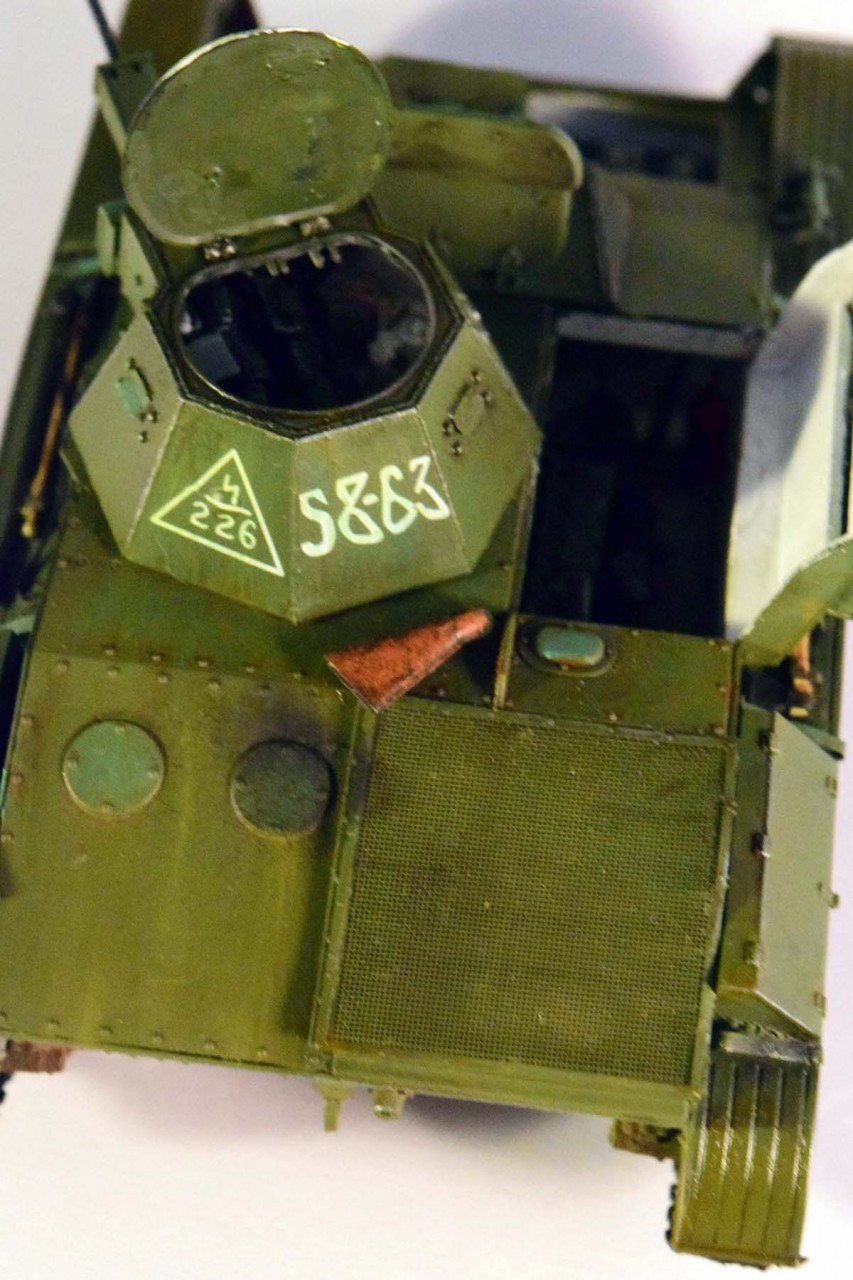
I painted and weathered the interior, closed in the hull, and moved onto the turret. As I mentioned I made a bit of an embarrassing mistake with the guns Otherwise the interior went together fine. What I found, however, is that the assembly of the main gun is somewhat unwieldy. Its made up of two parts (barrel and the interior part) which are glued to the holding part (Ej8) under the mantlet. Since they are not directly connected its very important to make sure they form a straight line. The gun barrel is bored out, which is quite impressive, really. The turret has a pistol port; the metal plug however has no PE chain that would hold it. Its somewhat disappointing, but easily remedied if needed.
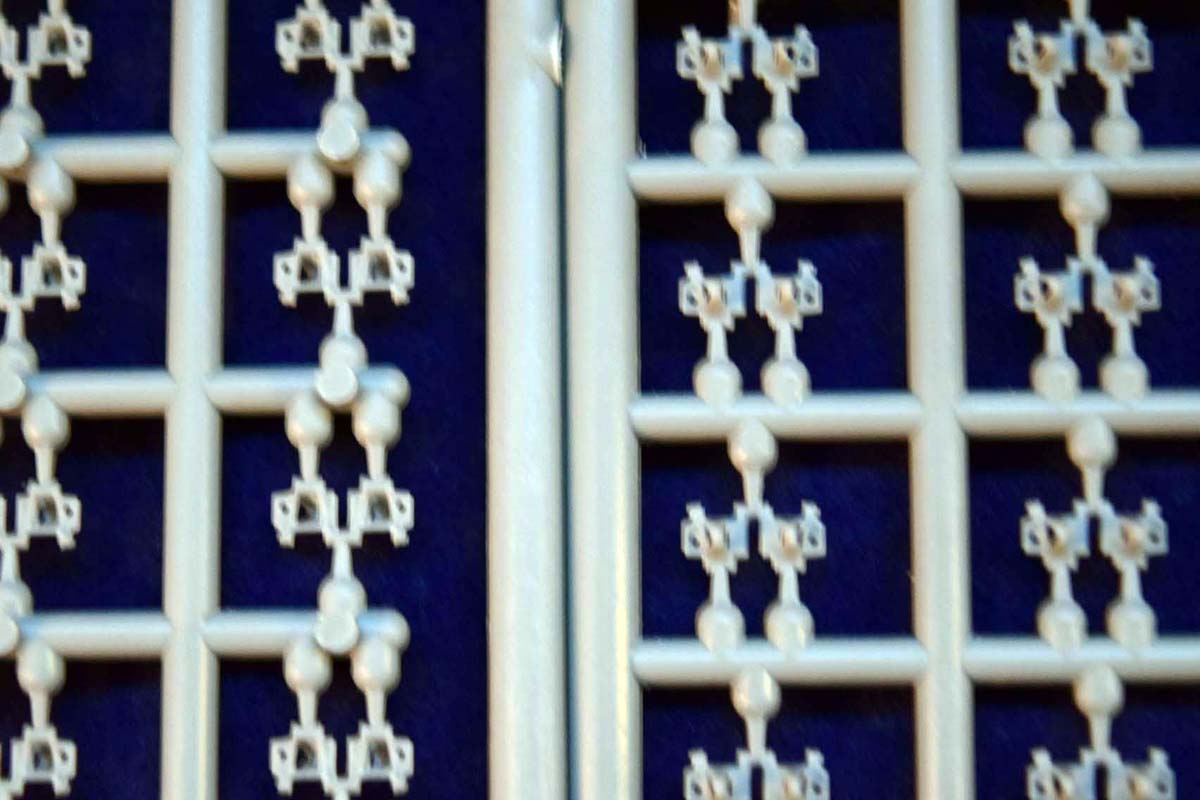
The track assembly is relatively simple; fortunately the links are not very small. The assembly goes as usual with individual tracks: glue them together with liquid glue, wait 20-30 minutes and gently shape them onto the running gear. (Best work in sections as the links do not hold onto each other very well.) It would be really nice if MiniArt provided a jig to form a realistic sag between the return rollers.
As I mentioned before the mudguard assembly is not the most logical one; and I ran into other issues with the kit I did not like. Its a personal preference, but I dont particularly enjoy working with PE parts that are smaller than 3 mm. (If you decide to build a winterized version, the protective shield of the engine cooling deck has individual PE wing nuts to install Which made me decide really quickly that I dont like white wash that much after all.) MiniArt so far has avoided the overly tiny and complex PE assemblies, but in this kit they went all-out with the tool clamps; be prepared. (It would be great to provide alternative options with clamps molded on; to be honest the detail on the locks of the tool boxes makes me think a plastic alternative would not look to bad.)
The other somewhat annoying issue is that the triangular braces (part PEa15, PEa17) attaching the mudguards to the hull have no pre-formed folding lines. You are supposed to make right-angled triangles, but there is only one side that has a marked fold-line. Pythagoras, here we come, I guess (or do it trial and error).
The model only received some basic weathering - with the Christmas break coming I ran out of time. It will receive some more dust and rust later on, once I'm back.
Conclusion
Other than the issues mentioned, the build was quick and enjoyable. I am sure that a more professional builder would find a lot of these issues to be non-issues, but Im writing from the point of view of your average Joe. While I found this model to be a great one (if not by size ), but I have to admit it caused a little bit more of a headache than the 1000 part T-54s Ive been building from MiniArt. While I did point out the issues I ran into during the build, it does not mean by any means that its not a good kit. Just be prepared, plan ahead, and you will be perfectly fine. Overall, it is a good kit, and will probably serve as a basis for other modifications; there was an interesting air-defence version, the already mentioned up-gunned modifications, and, of course, the Romanian tank destroyer built on the T-60 chassis, so we might (and I hope to) see more of these little tank coming out.
SUMMARY
Highs: Interesting topic, interior, nice detail, relatively quick to build.Lows: Experience with PE needed, tiny PE parts, instructions can be difficult to understand.
Verdict: Recommended
I am a biologist by trade, and as a hobby I've been building scale models for the last twenty years. Recently I started to write reviews of the models I bought. These reviews are written from the point of view of an average model builder; hence the focus is on quality of the model, how easy it is to...
Naturally if they've got a T-60 hull from the previous article, it only stands to reason that they'd release a regular T-60. Looks like fun in a tiny, fumbly sort of way. I think the same thoughts when I build a Pz 1.
Well, this is a "regular" version; the turret is production turret. There are several different production versions, though, so there probably will be some more coming out.
Thank you for your kind words, John (Will finish it in January; some more grime, some dust and rust is needed I think. Although to be fair in real life the vehicles had probably no time to rust...)


Comments