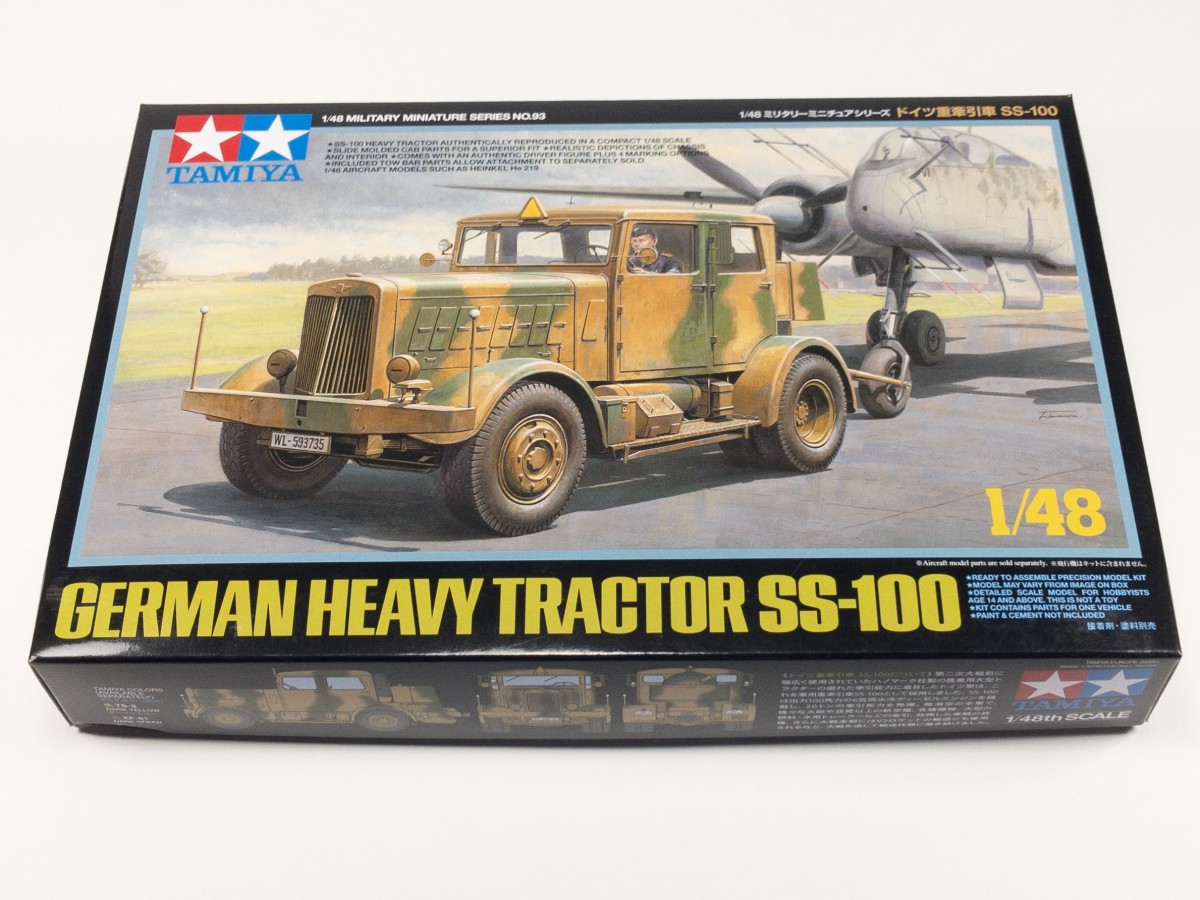
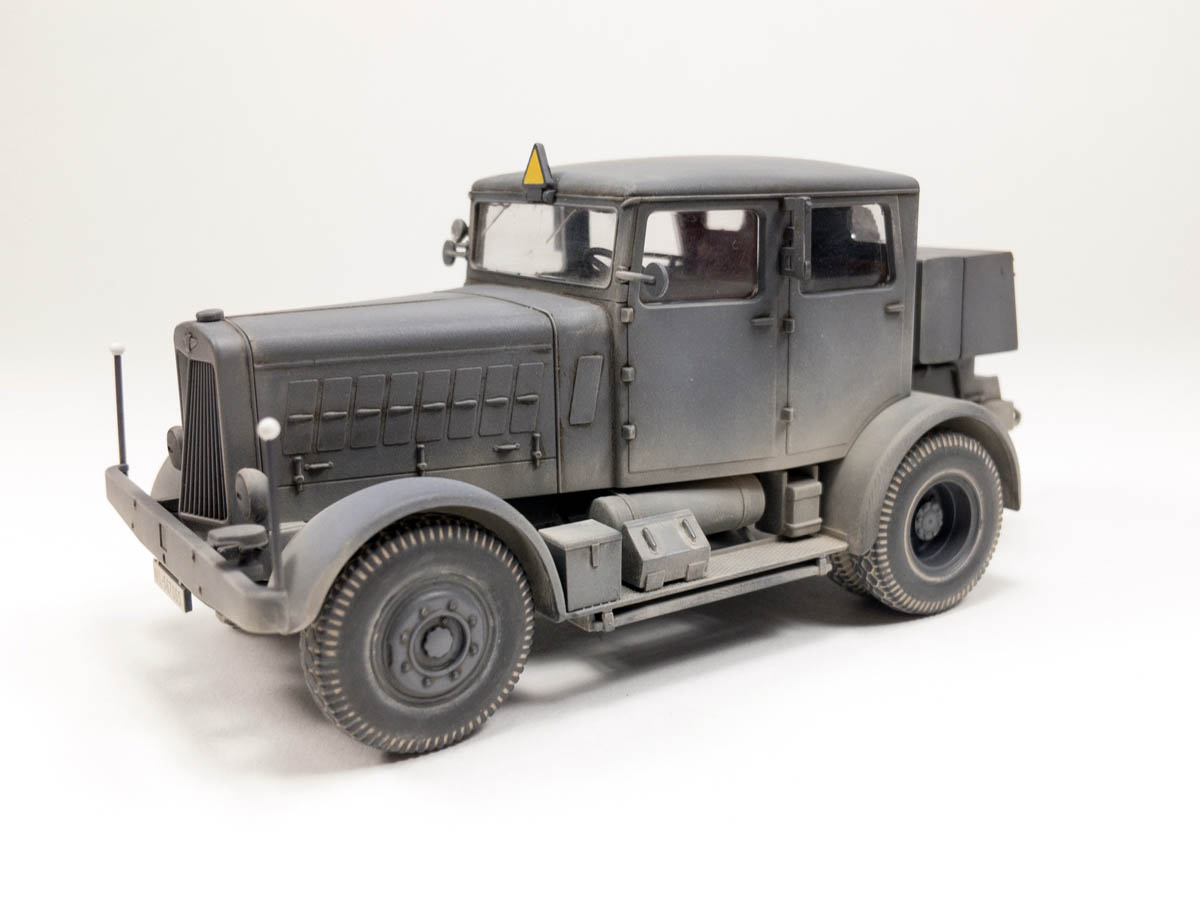
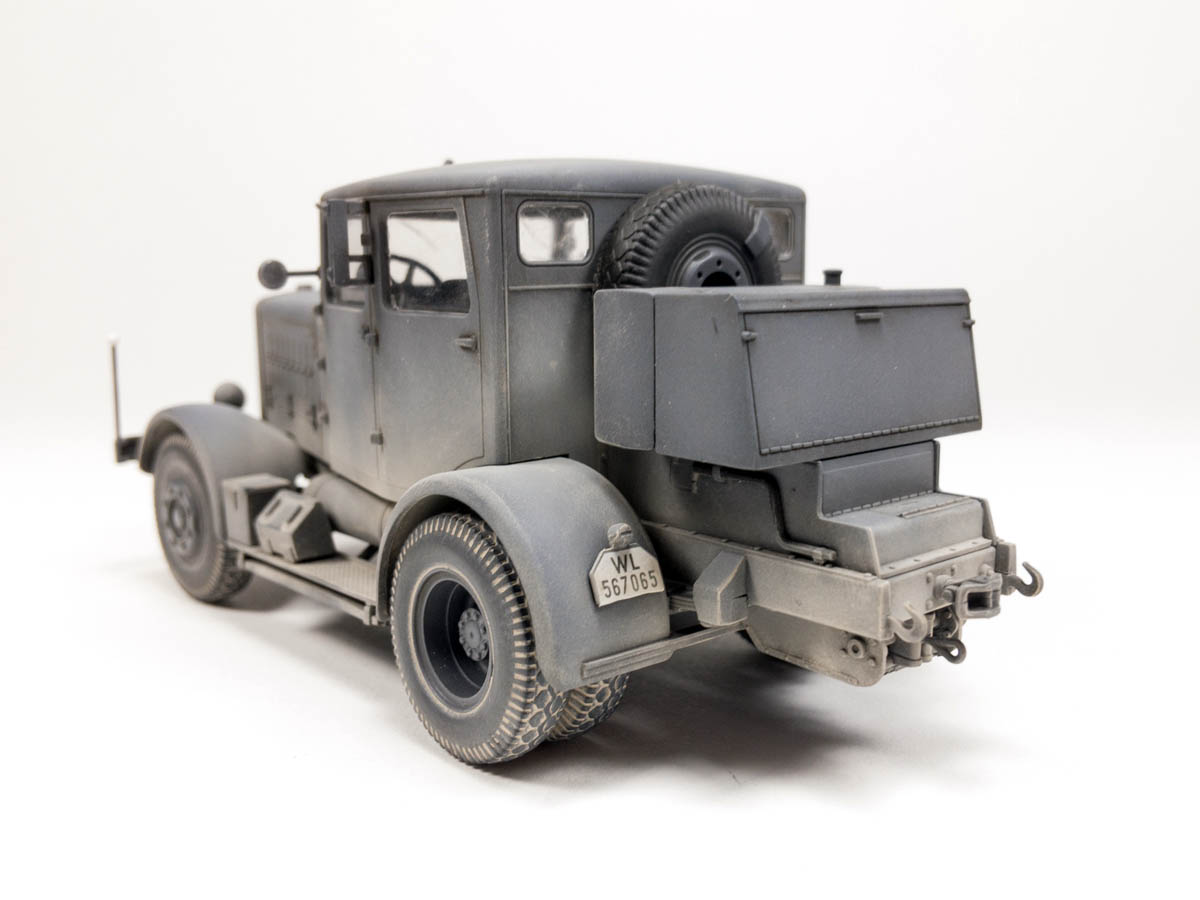
Originally manufactured in 1936 as the SP-100 heavy agriculture tractor, it was quickly commandeered for use by the military. Modified and produced in both two and four-door versions with a new designation of SS-100, this Hanomag vehicle became one of the most widely used heavy tractors in German Military service. It could accommodate up to five passengers and a driver and sported a variety of supplemental equipment attached to the rear frame. Its civilian designation was Gigant, the Luftwaffe referred to it as a heavy road tractor, in the United States it would fit more into the category of Semi-Tractor Truck.
Best known for its use with the V-2 missile towing the Vidalwagen which transported the V2 rocket from the railhead to the launch units preparation facility it was also used for towing aircraft, bombs, gasoline trailers and B-Stoff trailers for the Me-163 Komet program. Its use was not restricted to the Luftwaffe, the German army used it and a version had been produced for use by the French Army. Even after the war production continued, Hanomag tractors were popular for use as fairground equipment transports well into the 1960s.
The Kit
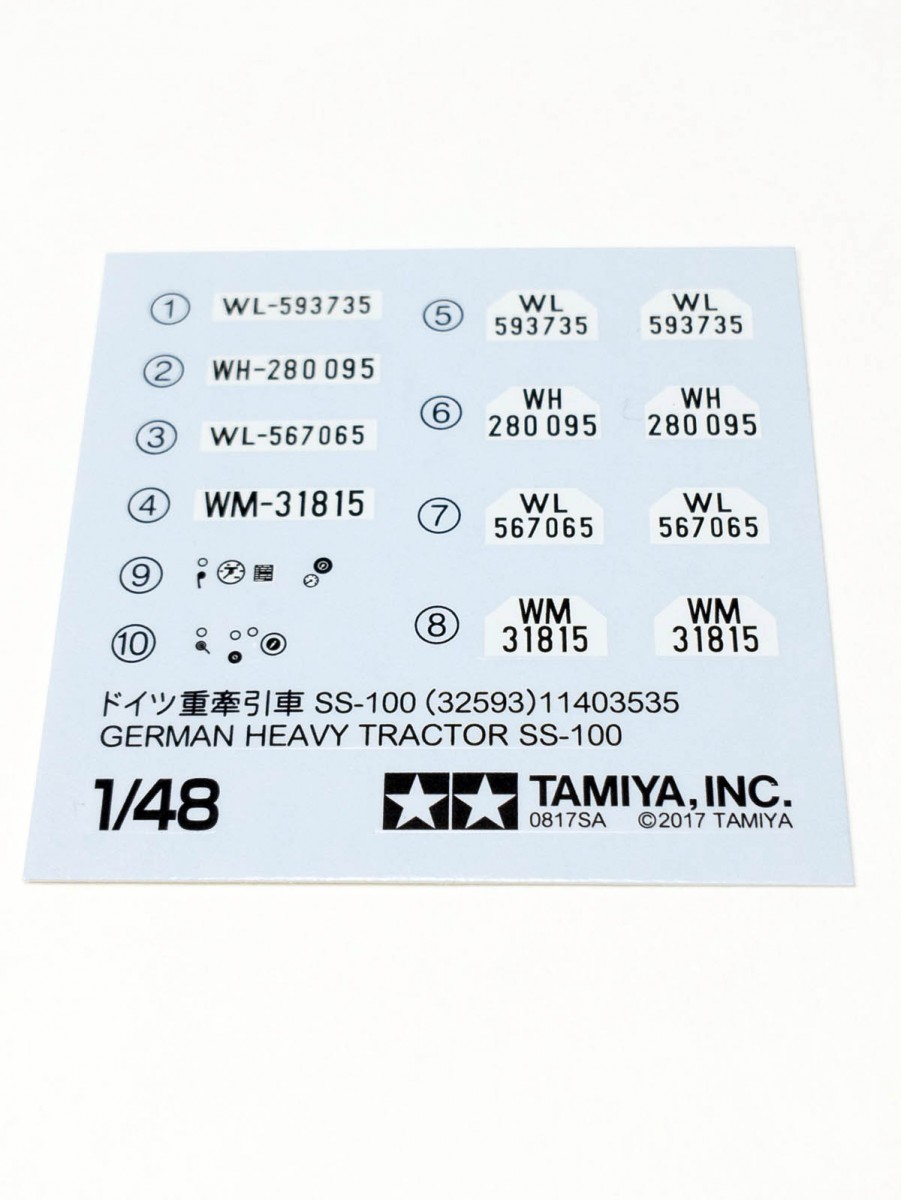
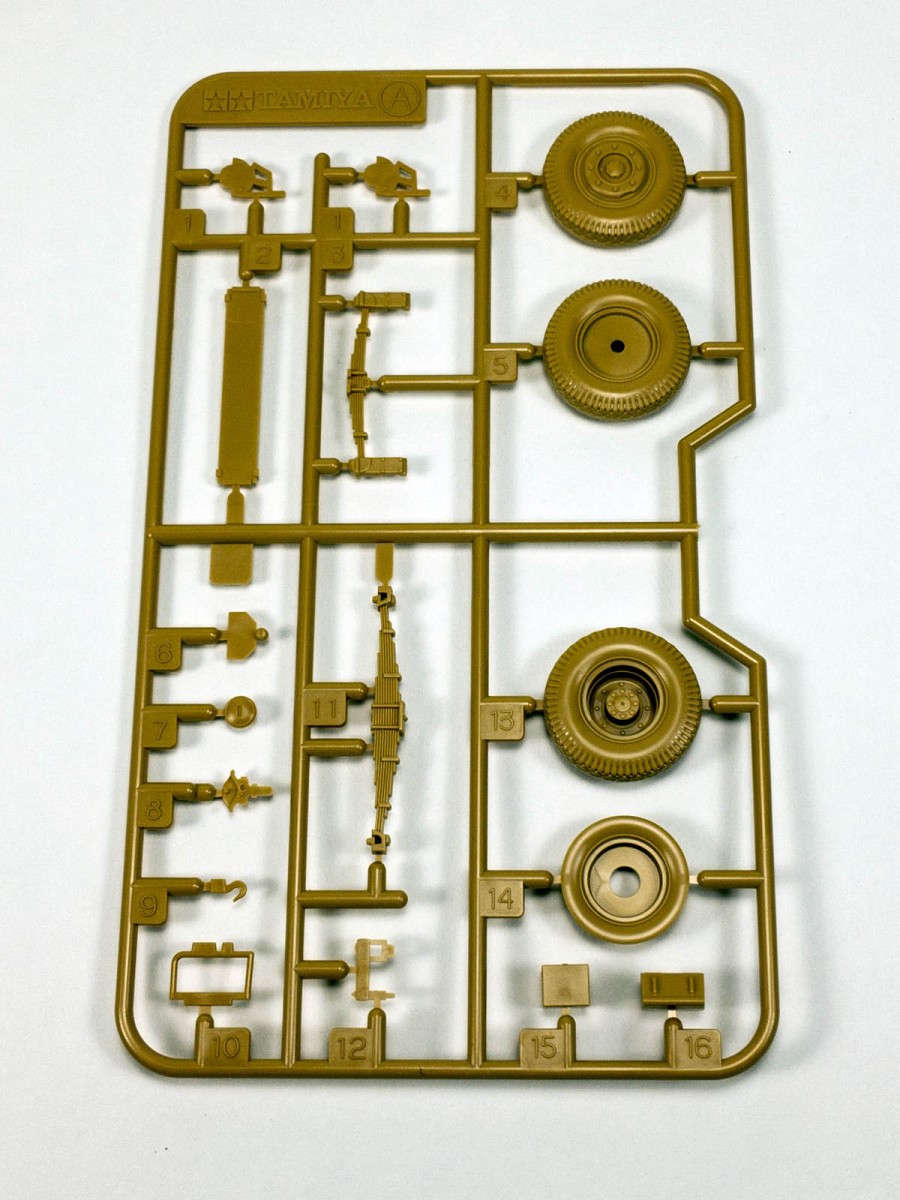
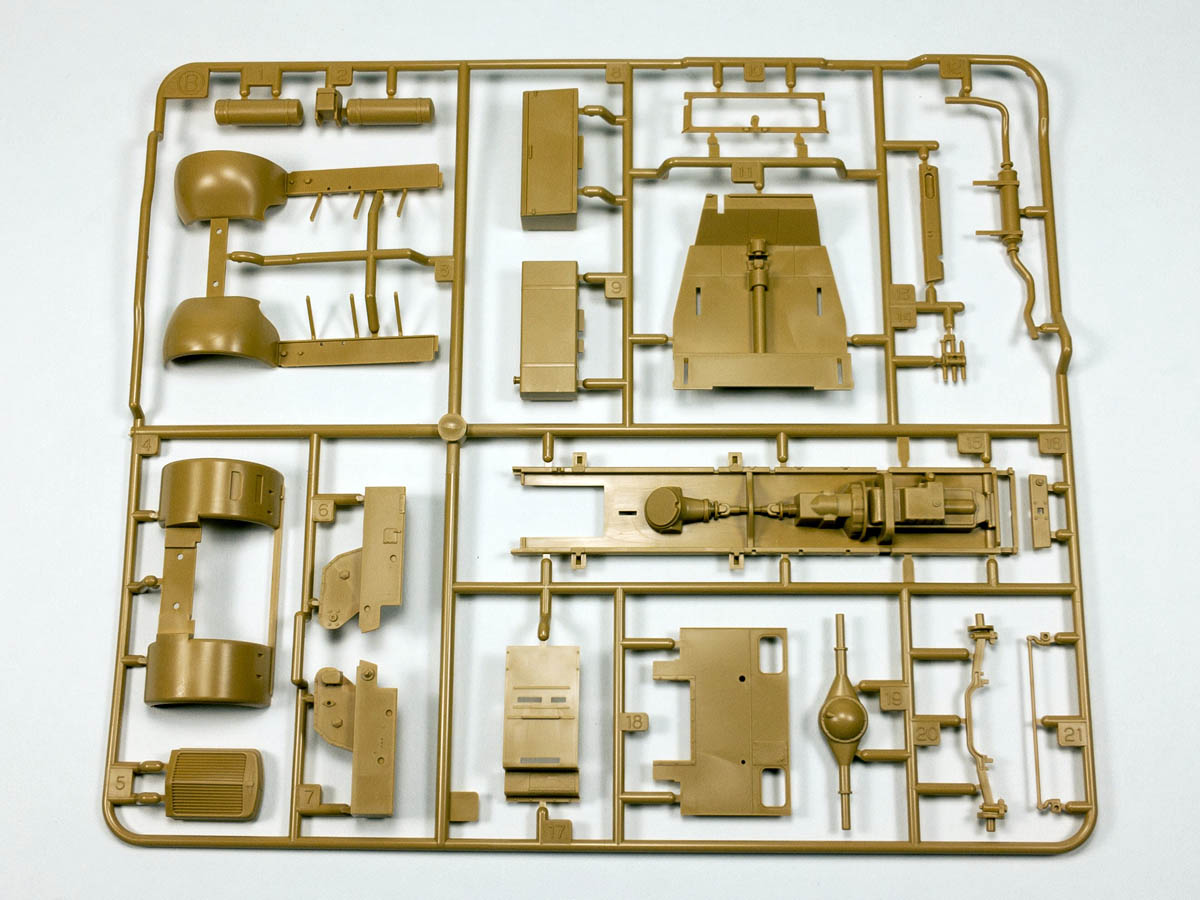
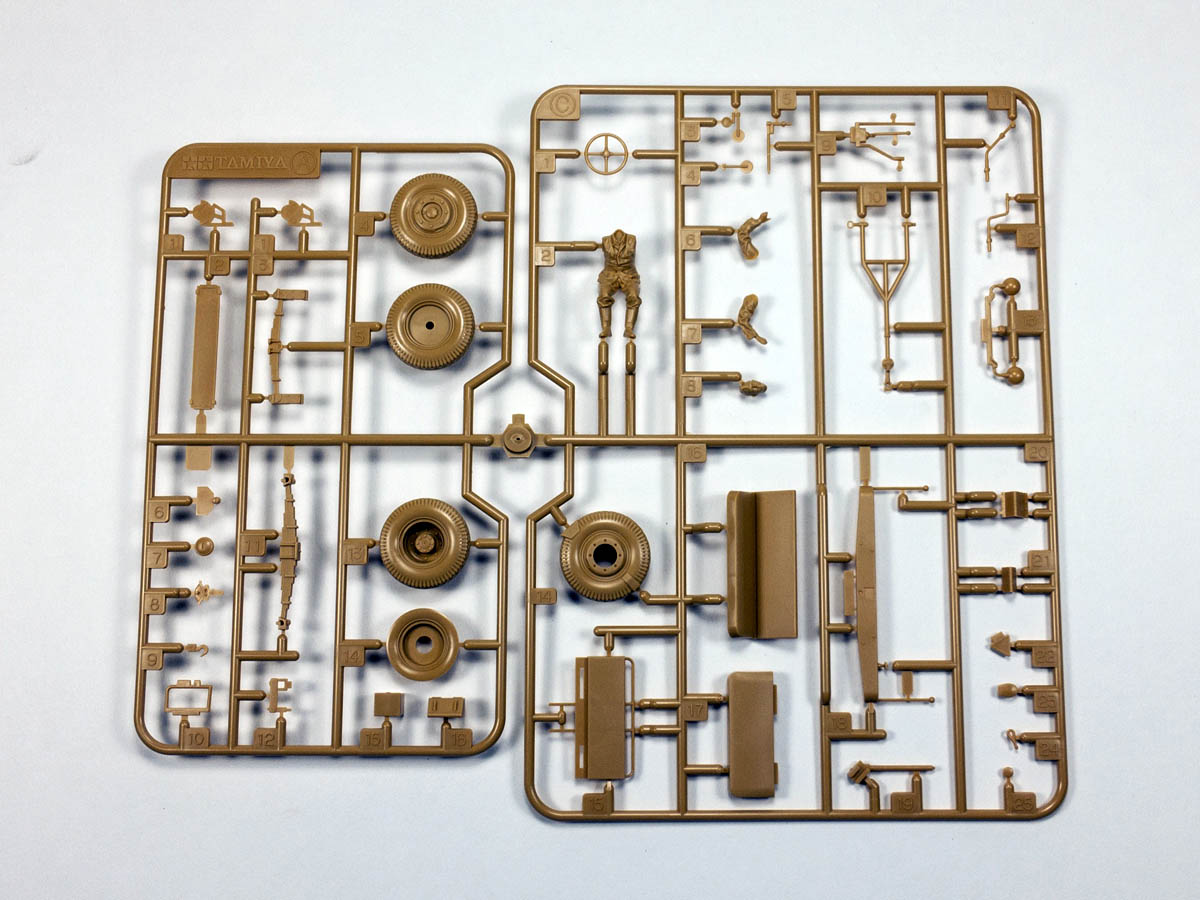
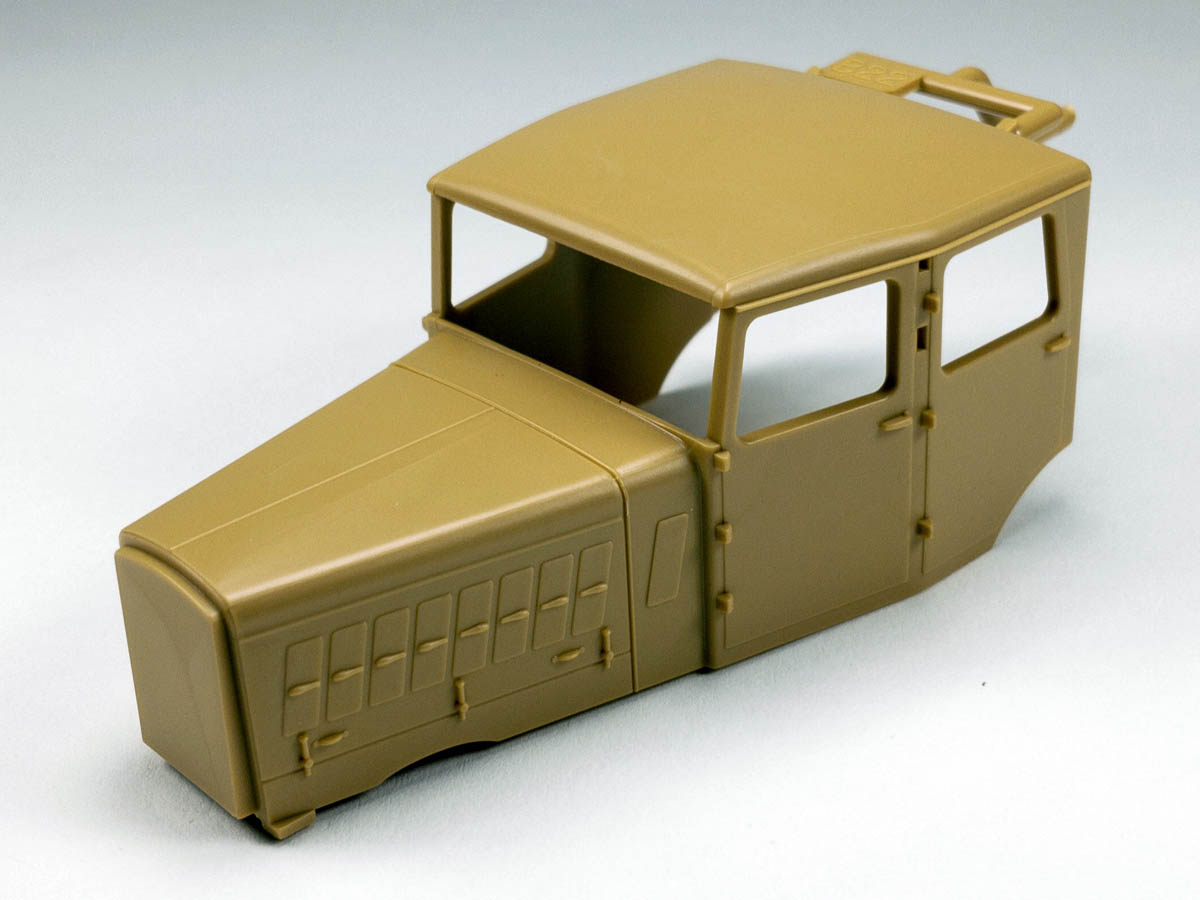
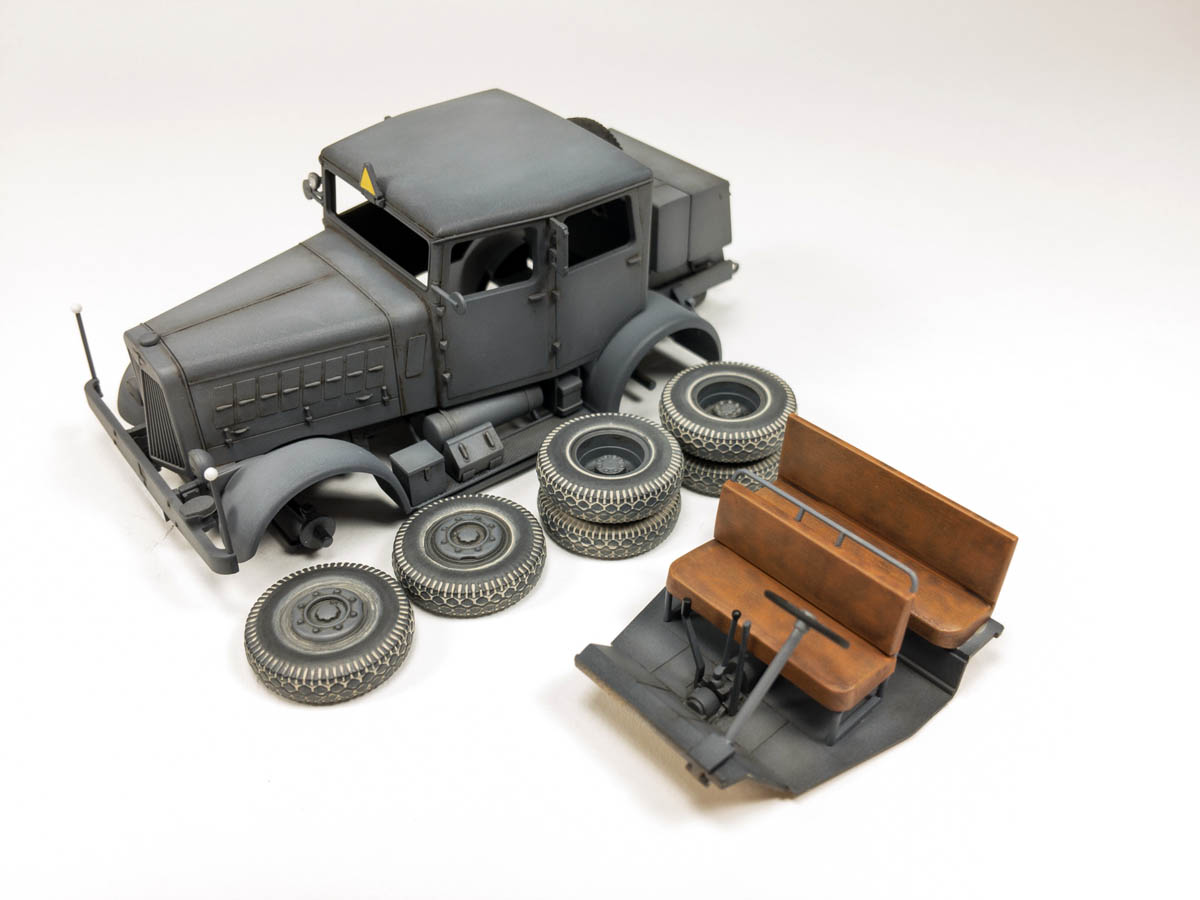
The kit comes crisply molded on five sprues, two A sprues, B and C, as well as a clear sprue for the windows. The cab is molded in one piece with the doors molded in place. The parts are well detailed and free of any flash or mold lines. One seated figure is included. Markings are provided for four vehicles, two luftwaffe, one army and one navy vehicle.
The Build
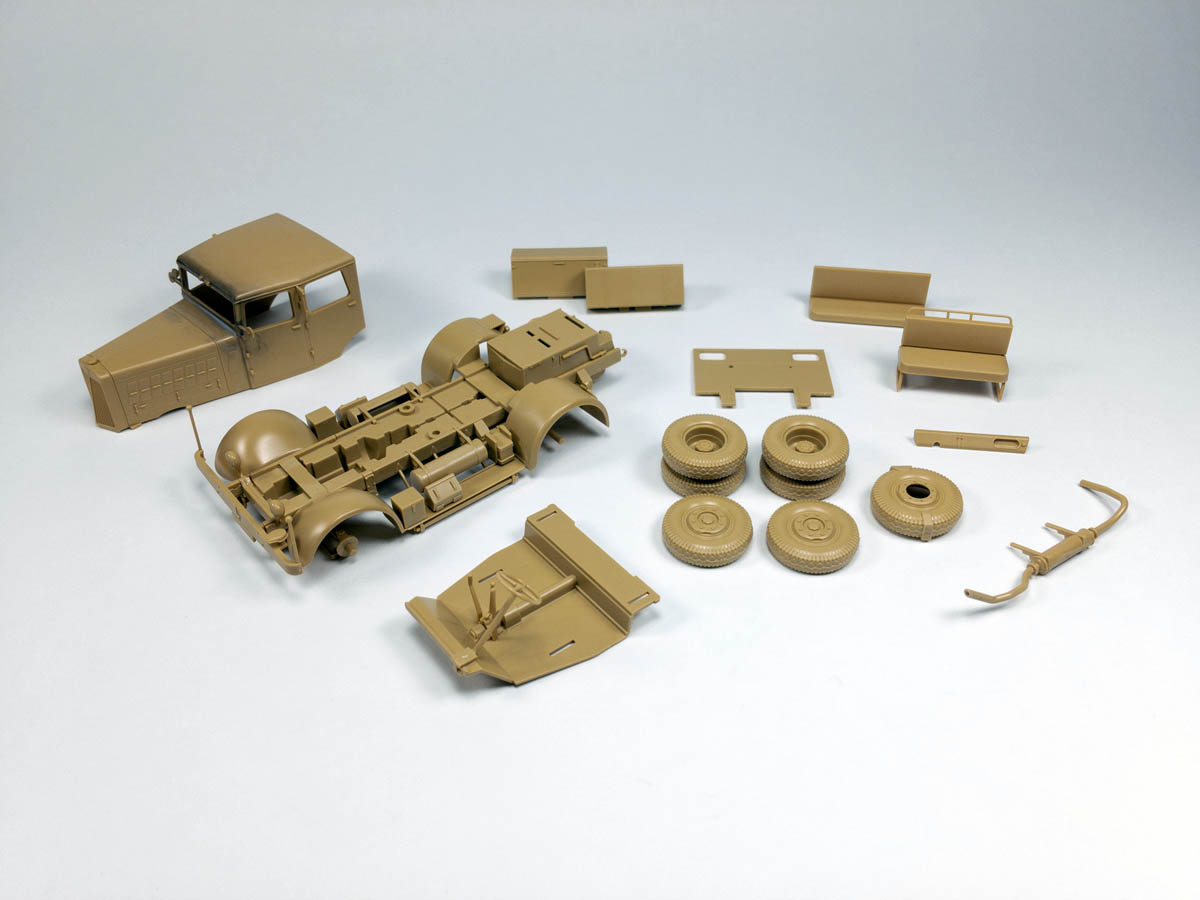
As with most Tamiya kits, this one simply fell together. Construction starts with attaching the leaf spring suspension units to the frame. Tamiya simplified the undercarriage by molding the frame, oil pan, and transmission as one piece. No engine details are included in the kit.
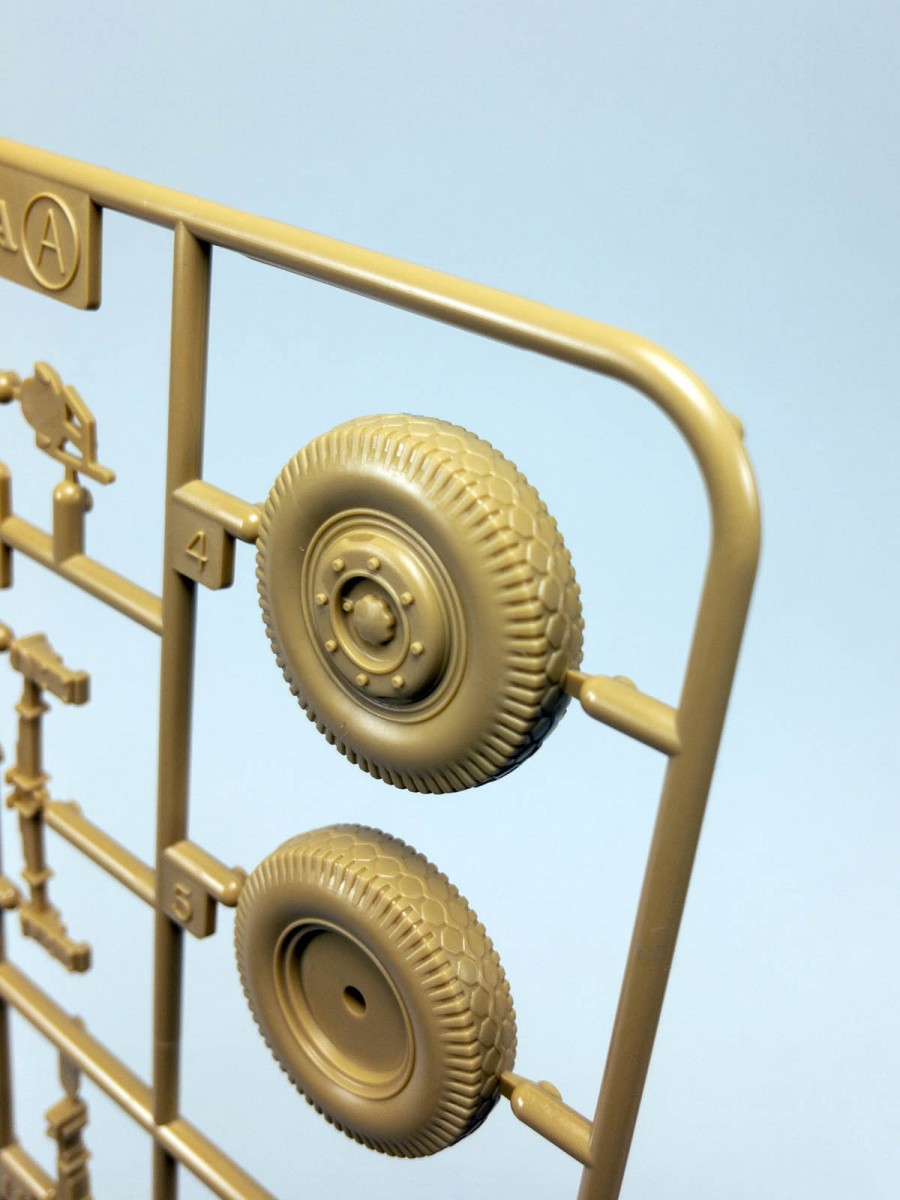
Pay close attention to the instructions when attaching the front fenders as there is a certain position they must be installed from. The rest of the suspension went together without any issues. The wheels included in the kit are of the correct tread pattern for a wartime vehicle from my research. Take your time removing the wheels from their sprues, the sprue runners go directly into the tread pattern and care must be taken so as to not remove any more material than necessary.
Assembly of the interior went without any issues as well. The kit provides for a basic interior. Floor pan, dash, steering wheel, bench seats, and levers are all that's represented. Following the instructions has you installing the windows and then placing the cab over the interior mating the cab to the frame. I chose to hold off until after painting and weathering before installing the windows.
My test fit between the cab, interior, and frame were tight enough to not need any glue. Make sure you pay attention to the way the cab mounts to the floor. The instructions have you angle it in so the steering wheel clears the dash board. The rear bench seat is supposed to flex a little bit to allow the cab to sit flush. I had only used wood glue when I attached the rear seat (I glued it down after painting) and it popped loose. If you plan on painting the rear bench separately and then attaching it to the floor you'll want to use something more substantial than wood glue. I had to then go back and use some C.A. glue and that seems to do the trick.
The entire build took me maybe three hours combined to complete. The kit goes together very effortlessly. I actually had to tell myself to stop while the glue dried in some instances. Tamiyas Hanomag SS-100 can easily be built and painted in a weekend.
Painting and Weathering
Now for the fun stuff, painting and weathering! It's been awhile since I've done a panzer grey paint scheme so I chose to represent a luftwaffe vehicle.
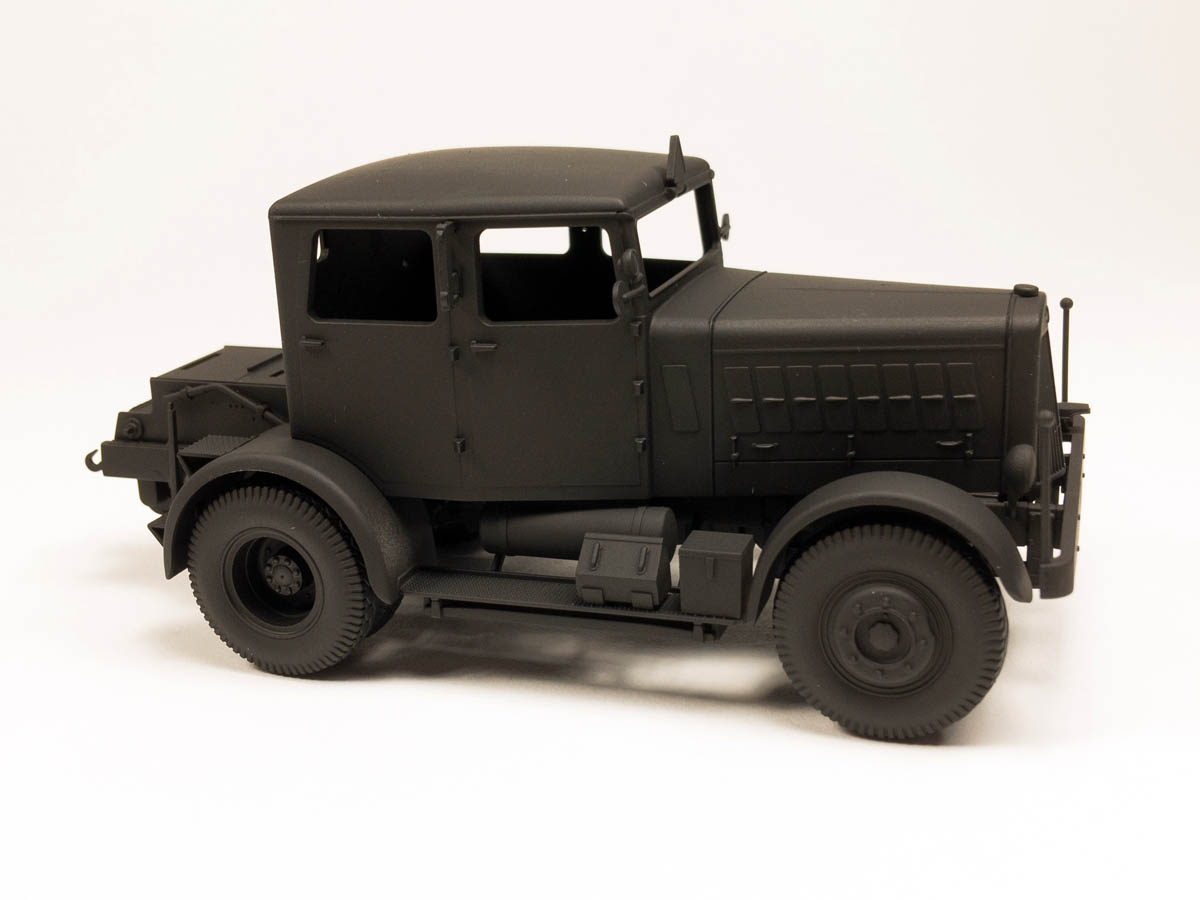
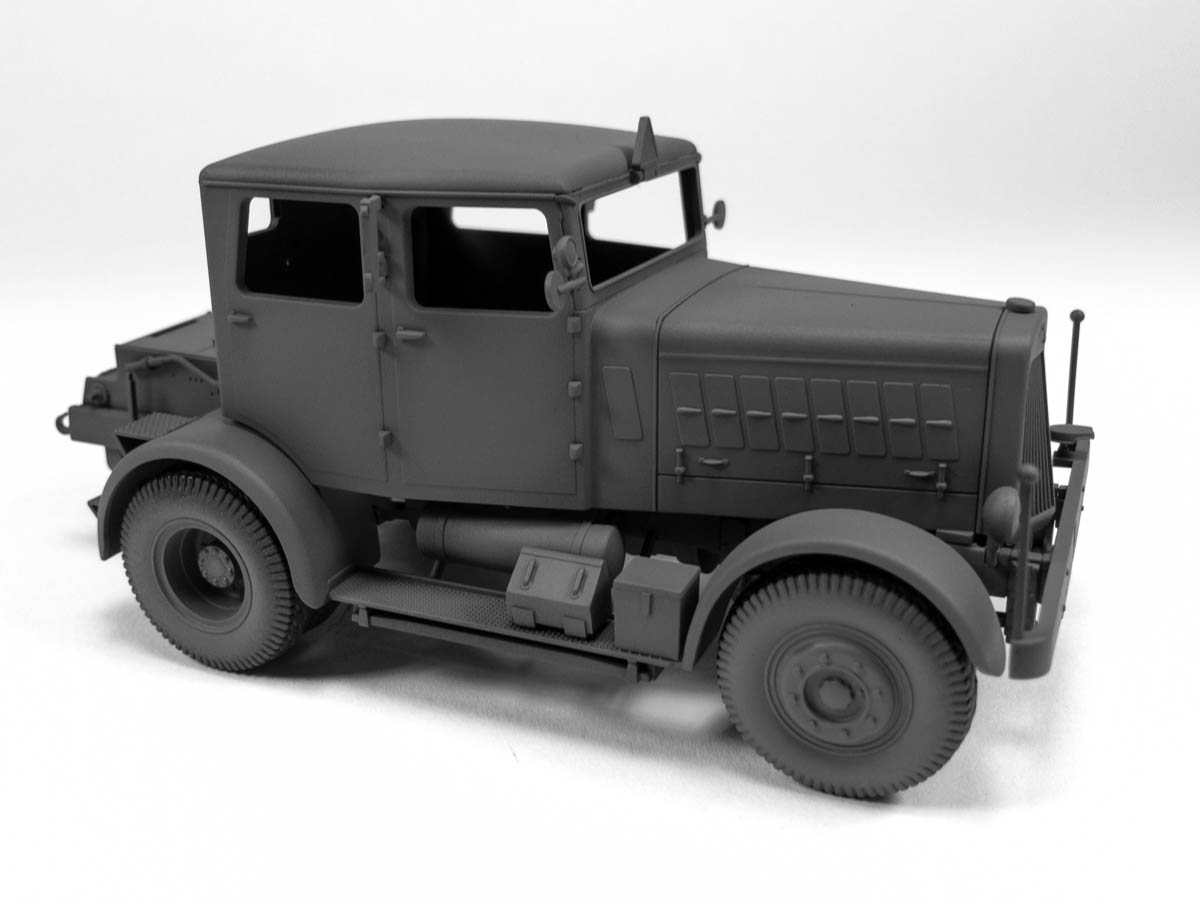
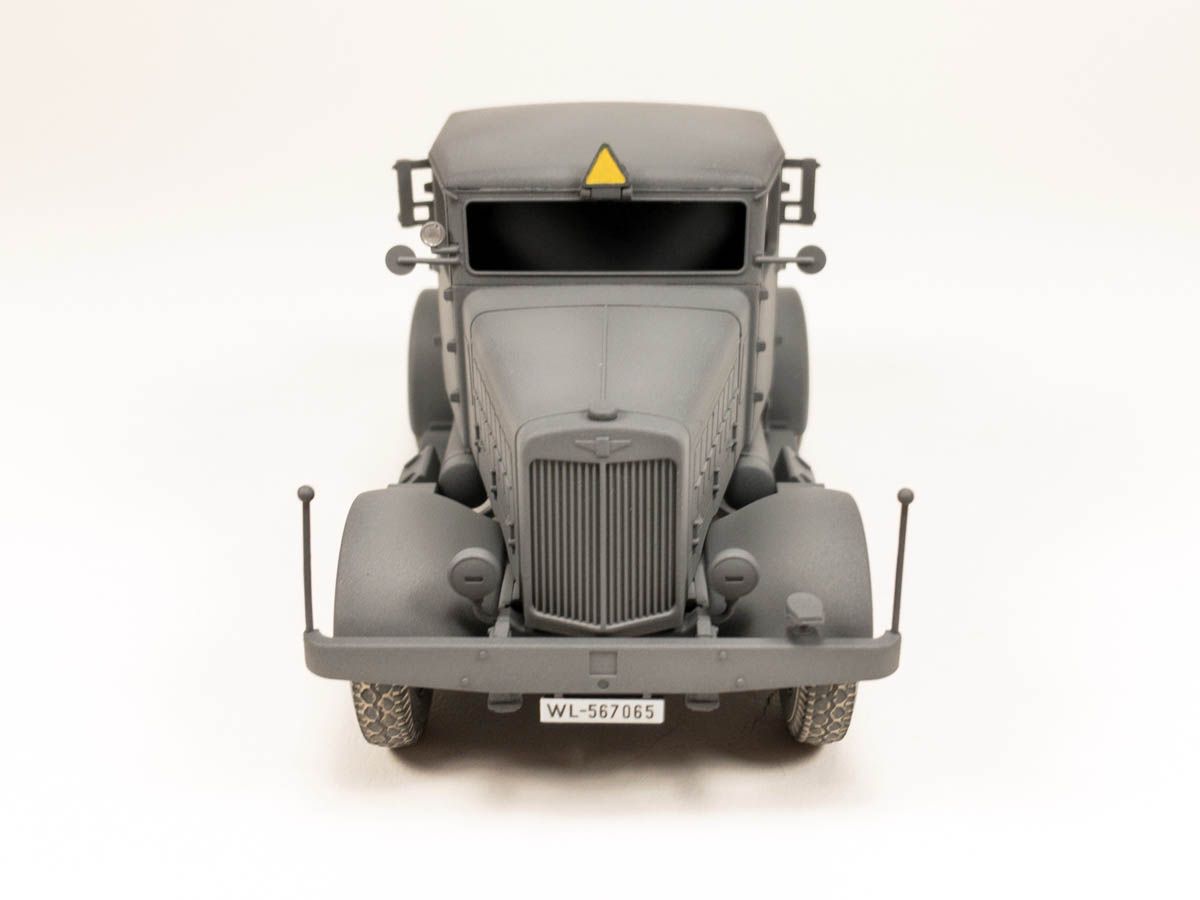
I gave everything a coat of Vallejo black primer. This helped prime the surface but more importantly covered all the nooks and crannies. Tamiya XF-24 Dark Sea Grey was sprayed as a basecoat. I didn't cover the black completely as I wanted to create some shadows. Once the base coat dried I went back with Tamiya XF-54 Dark Sea Grey and concentrated on highlighting the center of the panels, trying to create a bit more contrast in an otherwise monotone scheme.
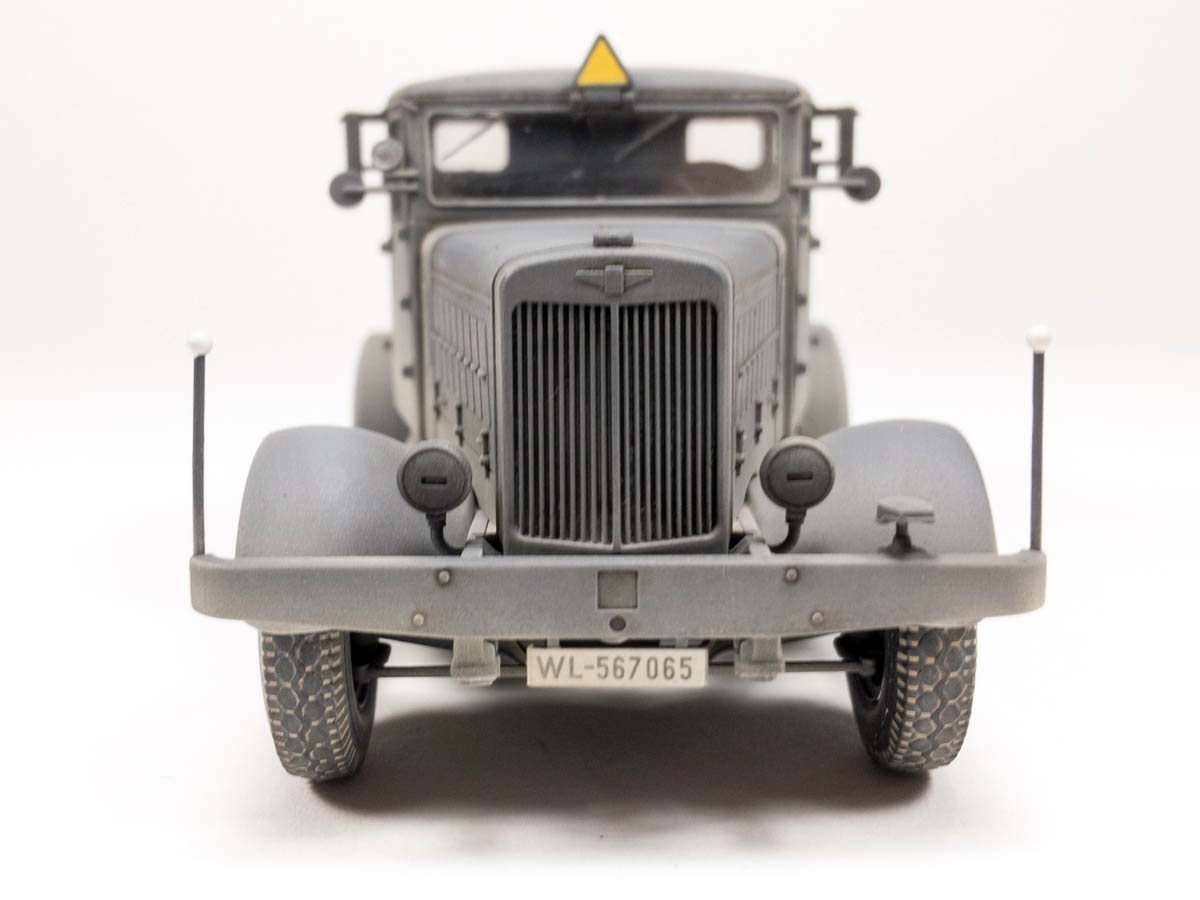
Moving onto the markings, a customary coat of Future was brushed onto the license plates in order to help the decals adhere. The decals have quite a bit of excess carrier film and I would recommend trimming them down. I didn't notice until I had already started soaking them and as a result the decals on the rear sit a little too low. Fortunately, a quick application of Solvaset helped the carrier film snuggle down around the license plate frames. The model was then set aside while the decals set up.
While the decals were drying, I started painting the interior. Tamiya does not give a specific color to use for the interior and photos showed the interior being either grey, or a color similar to interior green. I decided to go the grey route and sprayed the interior of the cab dark sea grey. The floor received the same layered approach as the exterior. The two bench seats got a coat of orange brown to depict a warm leather color. A dark brown wash was applied to the seats and allowed to pool to try and create some dimension to the paint. Once the wash had dried orange brown was dry brushed to unify the colors.
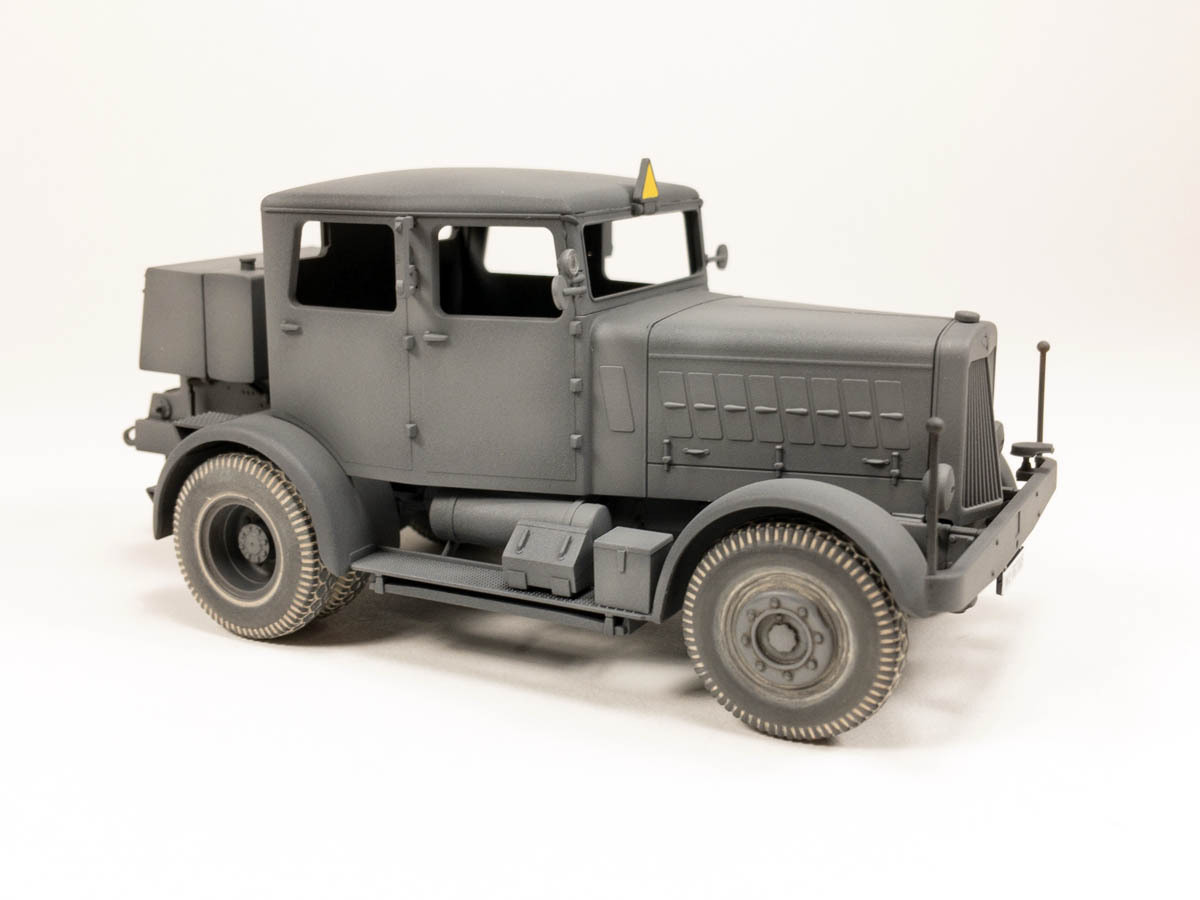
The whole model was given a burnt umber wash to bring out the details and create some shadows. Since I was representing a Luftwaffe vehicle I wanted to avoid a heavily chipped and weathered look. Thinned white oil paint was blended into the exterior surfaces to try and replicate paint that had been faded by the sun.
The wheel hubs were sprayed dark grey followed by a heavy wash of burnt umber. This was allowed to dry for approximately 30 minutes before being wiped off with a q-tip dampened with clean mineral spirits. This left the wash around all the details without altering the base color too much. The tread of the tires were then painted with flat black while the side walls were painted with AK rubber/tires. A 50/50 mixture of European dust and light dust mixed with water was applied to the wheels and then rubbed off when dry leaving behind a nice dusty look. Lower parts of the vehicle were given a light coating of dust to finish the weathering process.
Conclusion
Tamiyas Hanomag SS-100 was an excellent kit to build. The details and overall fit is outstanding and Im sure it will find a home in many armor and airplane dioramas.
SUMMARY
Highs: Excellent fit and details.
Lows: Lack of separately molded doors.Verdict: Ease of assembly and good details make this a great kit for a weekend build.
Our Thanks to Tamiya USA! This item was provided by them for the purpose of having it reviewed on this KitMaker Network site. If you would like your kit, book, or product reviewed, please contact us.


Comments