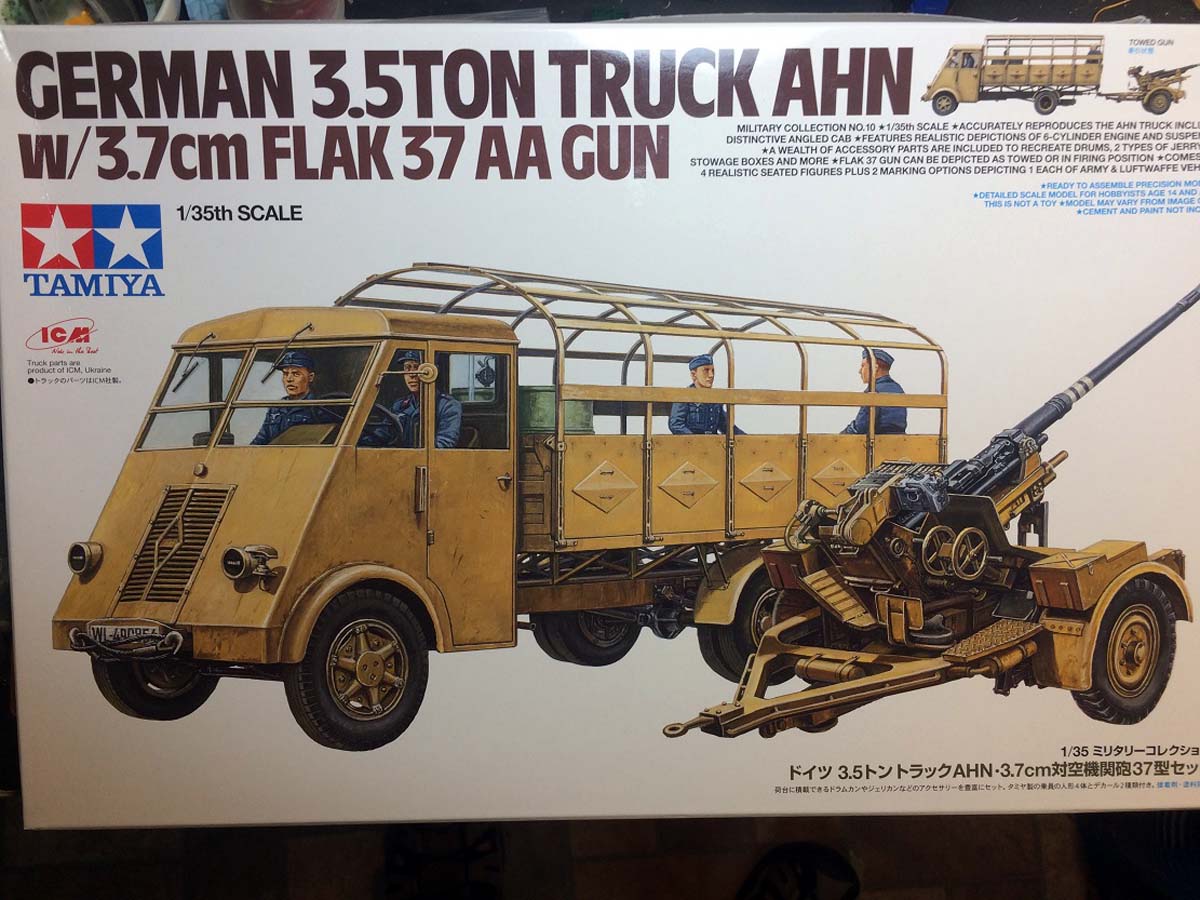
Tamiya has recently released another of their joint efforts, this time with ICM. This kit is a combination of the still fairly recent ICM Renault 3.5ton AHN truck and the older Tamiya 3.7cm Flak 37 anti-aircraft gun. In addition to those two kits Tamiya has tossed in a couple of jerry can and fuel drum sets plus some figures for your modelling pleasure.
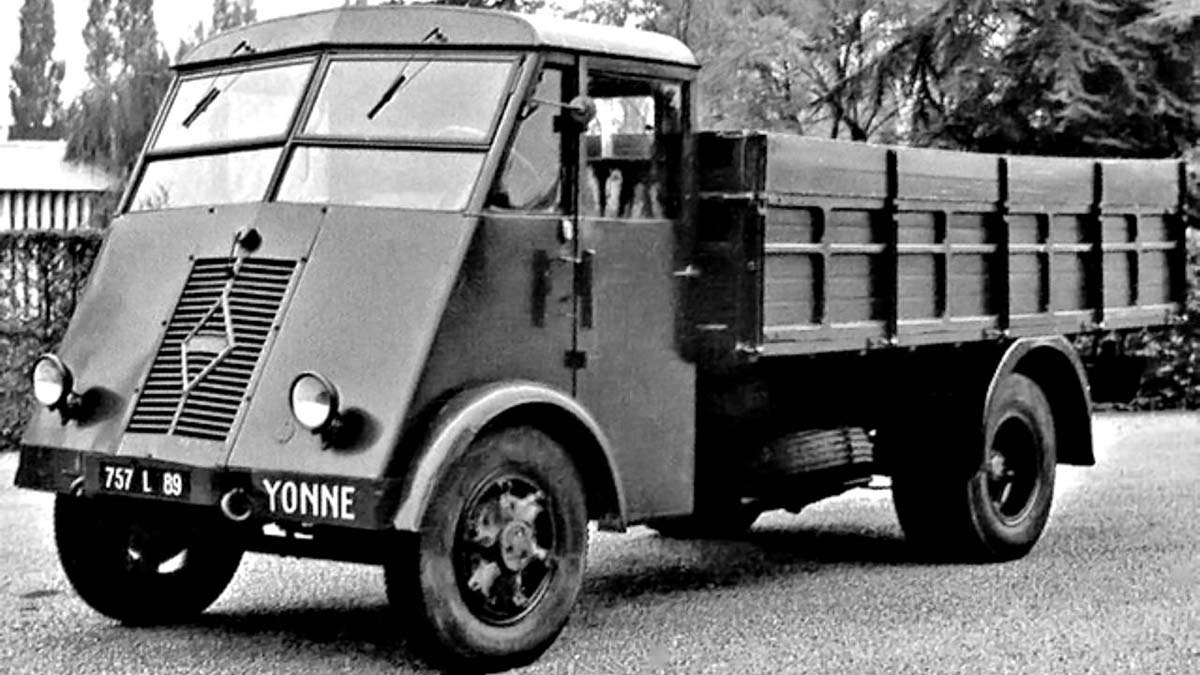
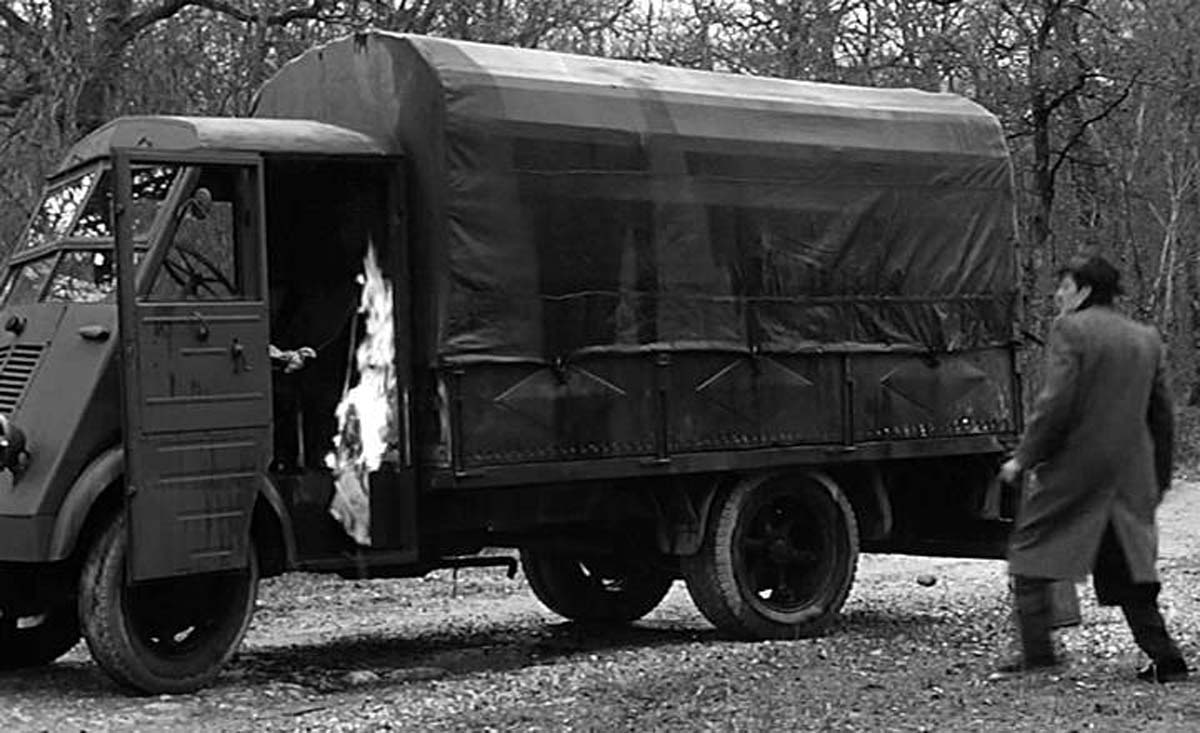
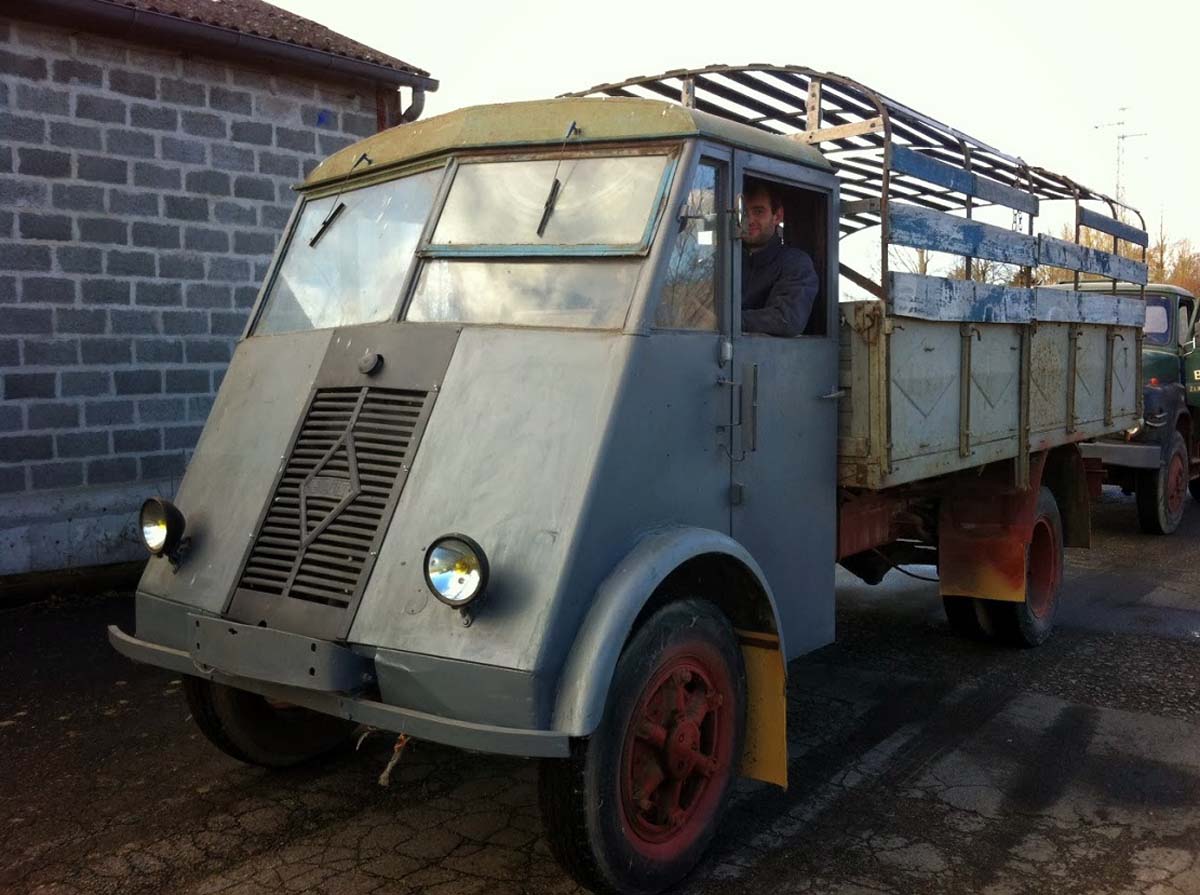
The Renault AH series of trucks were originally designed for the French Army but were rejected. The German Army realizing the utility of the design ordered them into production after the fall of France in 1940. The resulting production of the oddly angled cab over design consisted of three different types, the AHN, AHR, and AHS. The AHS were far more common with 23,000 units built as compared to 4,000 for the AHN and a further 1-2,000 of the AHS.
Review
For this review I concentrated on the newer kit, the Renault AHN truck. If you are looking for a review of the older Flak 37 gun (still a decent kit) you can take a quick look at this older Armorama review from DMD; https://armorama.kitmaker.net/review/159
The ICM/Tamiya AHN consists of only 4 main sprues, which doesnt seem like much in comparison to some of the newer kits with a huge number of parts. The engine, interior, small fittings, and frame parts are all on sprue A, sprue B carries the cab exterior and the railings for the cargo bed. Sprue C is for the cargo bed and the undercarriage rails while D is for the cargo support braces and the sides, front and back of the cargo bed. You also get a smaller sprue with the wheels and hubs and another with the tires as well as a sprue with the clear parts. The decals provide markings for four different trucks, a pair each of Wehrmacht and Luftwaffe examples. The instructions are from Tamiya, Im not sure how they differ from the ICM set but they are broken into 31 steps and are clear and easy to follow.
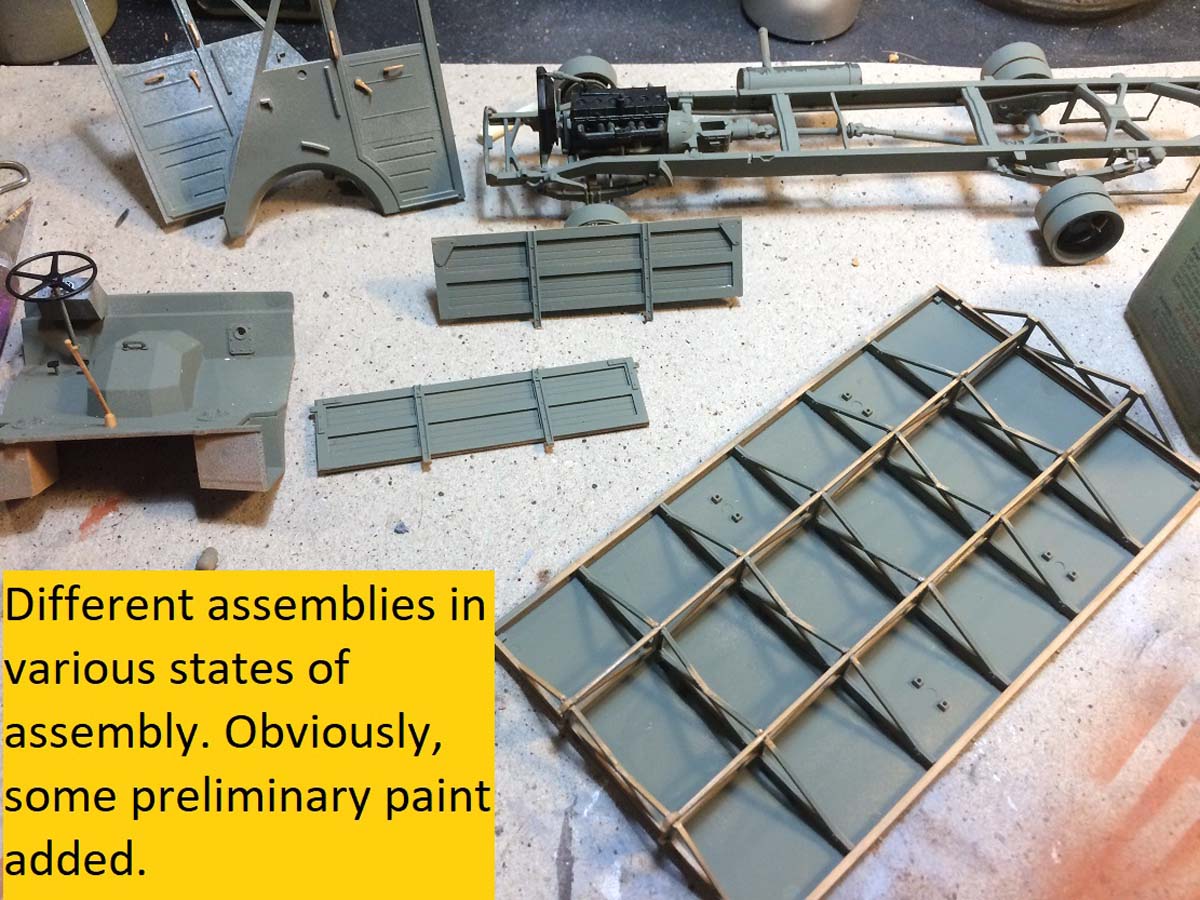
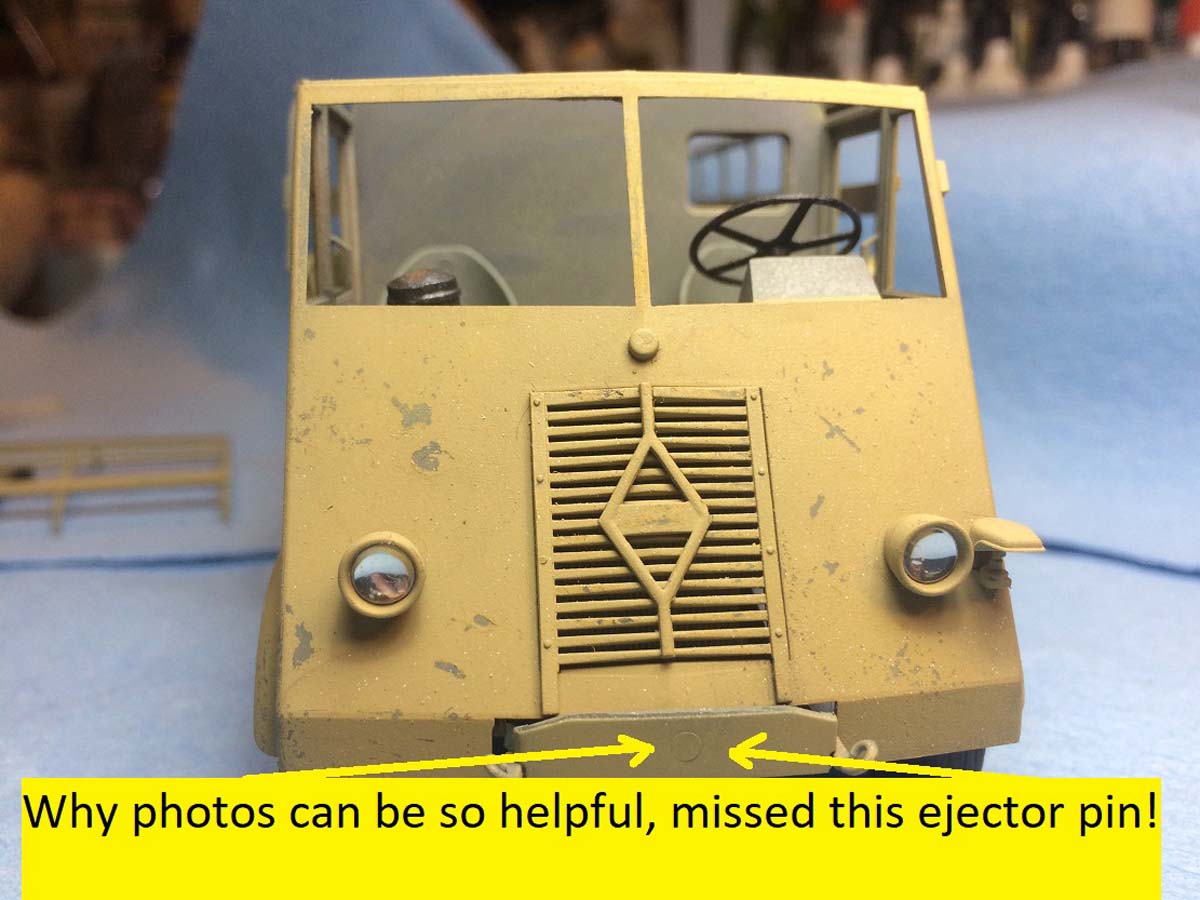
My first impression was that the moldings were all crisp with nothing in the way of extraordinary clean-up that would be required. Not to say it was perfect, flash was virtually non-existent but there were a few ejection pin markings that needed sanding or filling, primarily inside the cab area.
The Build
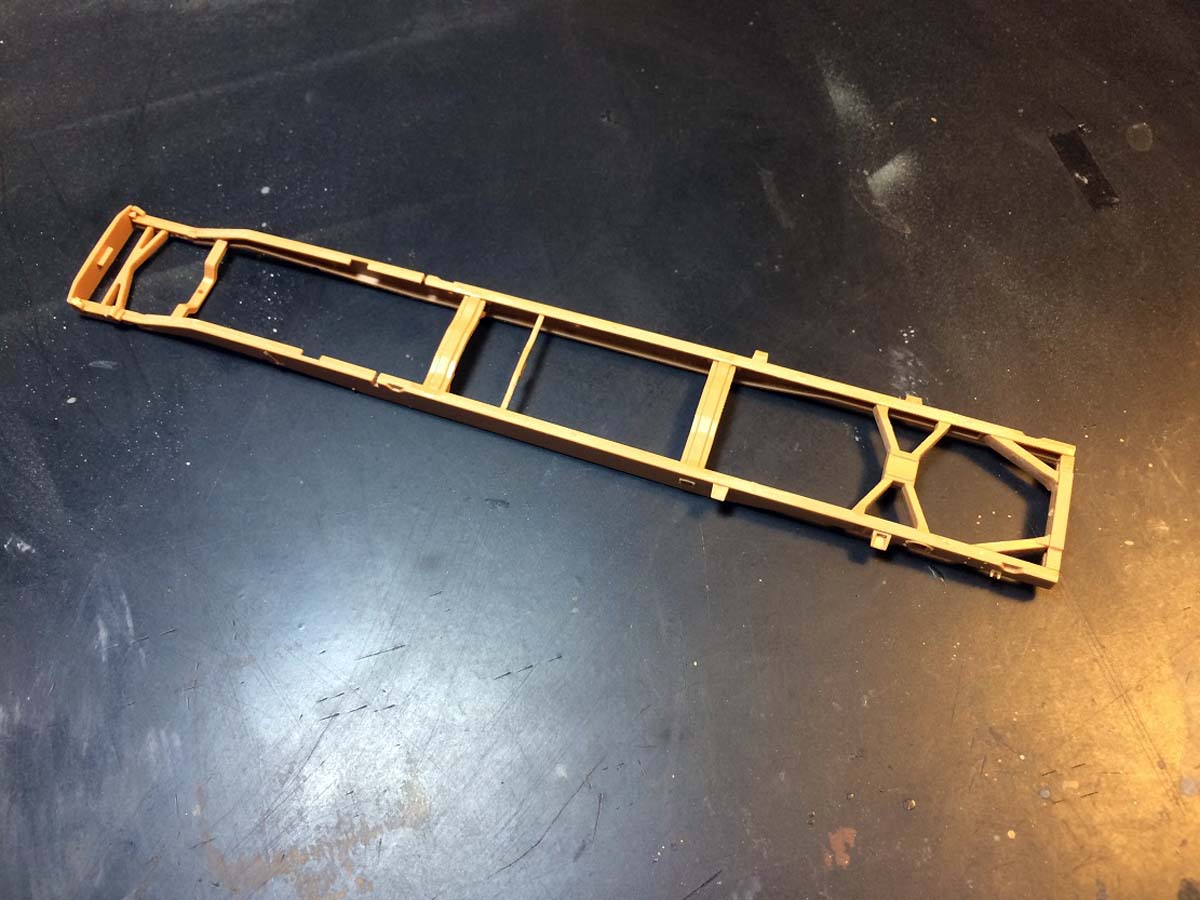
Construction started, like most soft-skins, with the frame and engine. I quickly formed the impression that the kit featured not only the ICM molds but most probably sprues that were molded by ICM rather than Tamiya. The plastic reminded me of older ESCI kits that I have built back in the day (well back in the day truthfully). It was very soft and I would recommend keeping a fresh, sharp blade available as anything less tends to tear at the plastic rather than give a clean cut. The good thing with softer plastic is that it doesnt seem to me as susceptible to breaking when working with thin parts, you get an extra measure of flexibility that can make things a bit less stressful.
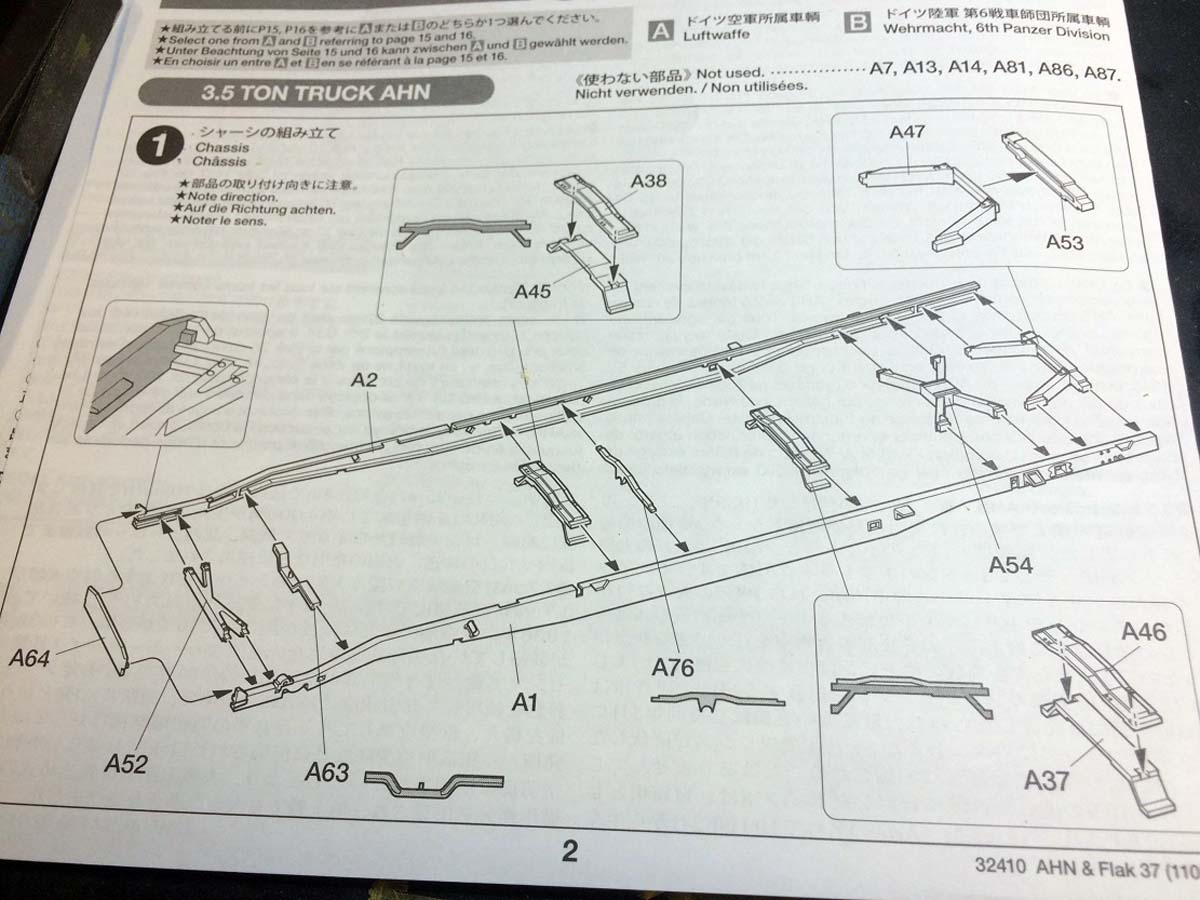
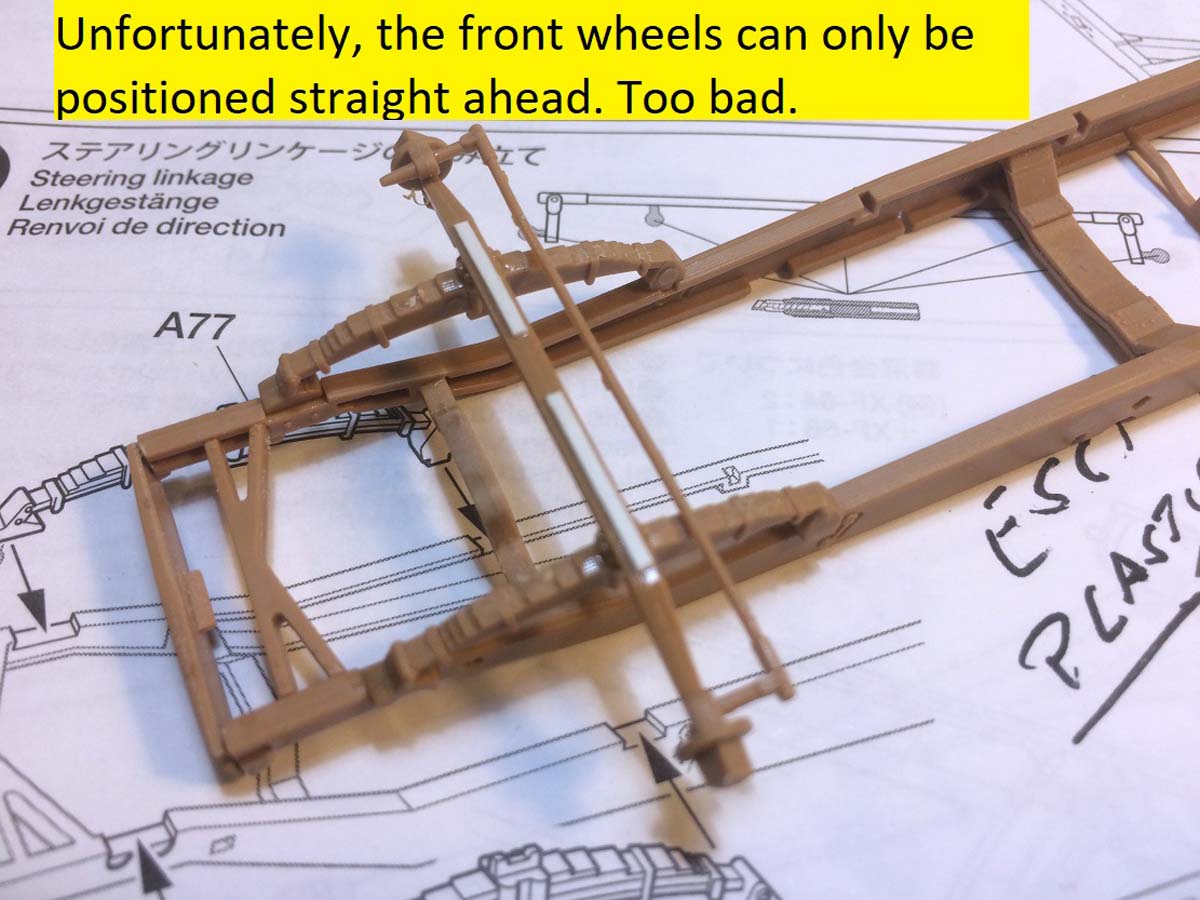
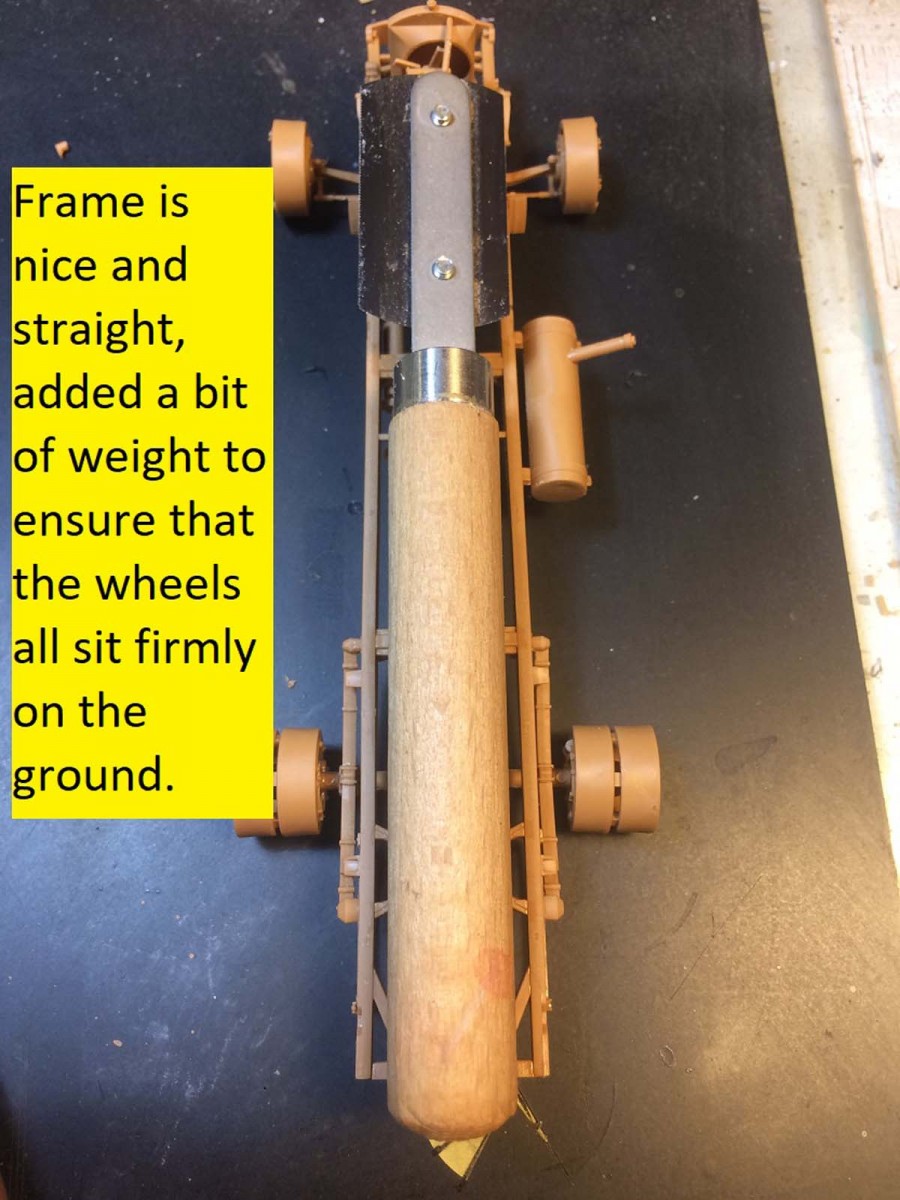
The frame went together easily. The nice large X style cross members help to give a good solid feel and really kept everything nice and square. I appreciated the nice large keys for the leaf springs which helped in not letting anything get out of plumb. One mistake that I noted in the instructions, parts A61 and A60 need to be reversed otherwise the engine will sit off-center and throw the rest of the drive train assembly off later down the line as well as the fit of the cab.
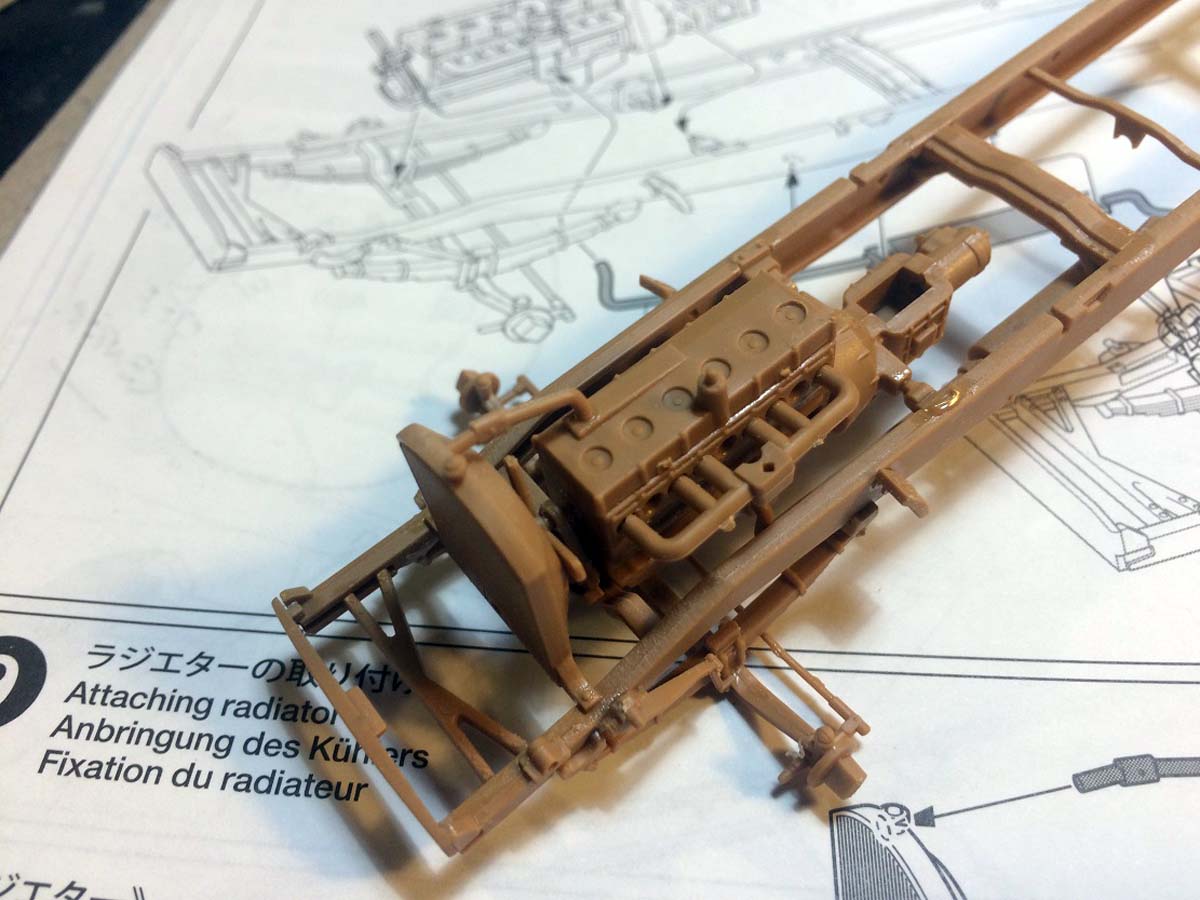
Unfortunately, there seems to be no way to display the engine without some major cab cutting and I didnt need any way for the diorama I was planning so I ditched most of the detail on the engine. The engine is an inline 6 with all the basic components so if you want to build it up Im sure it would look nice and with a bit of extra supper detailing even nicer.
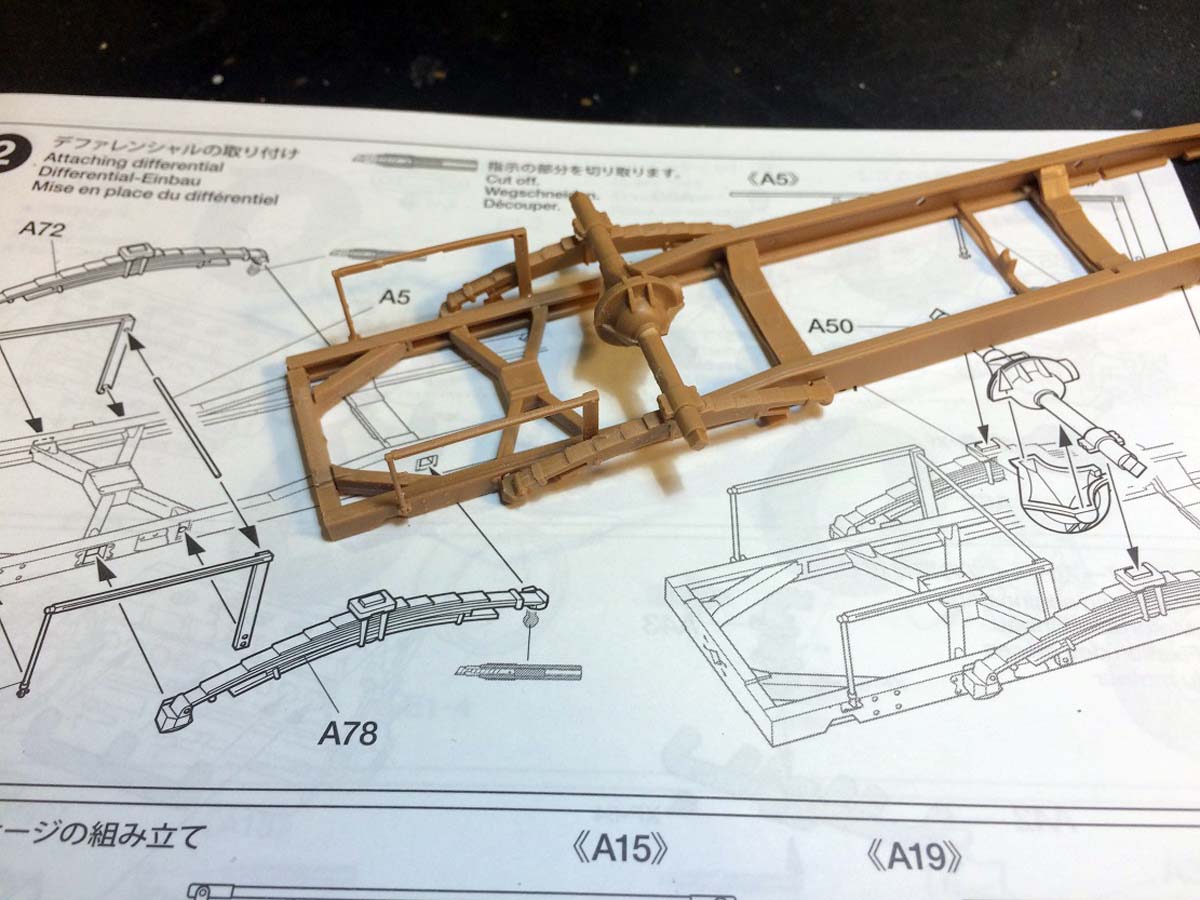
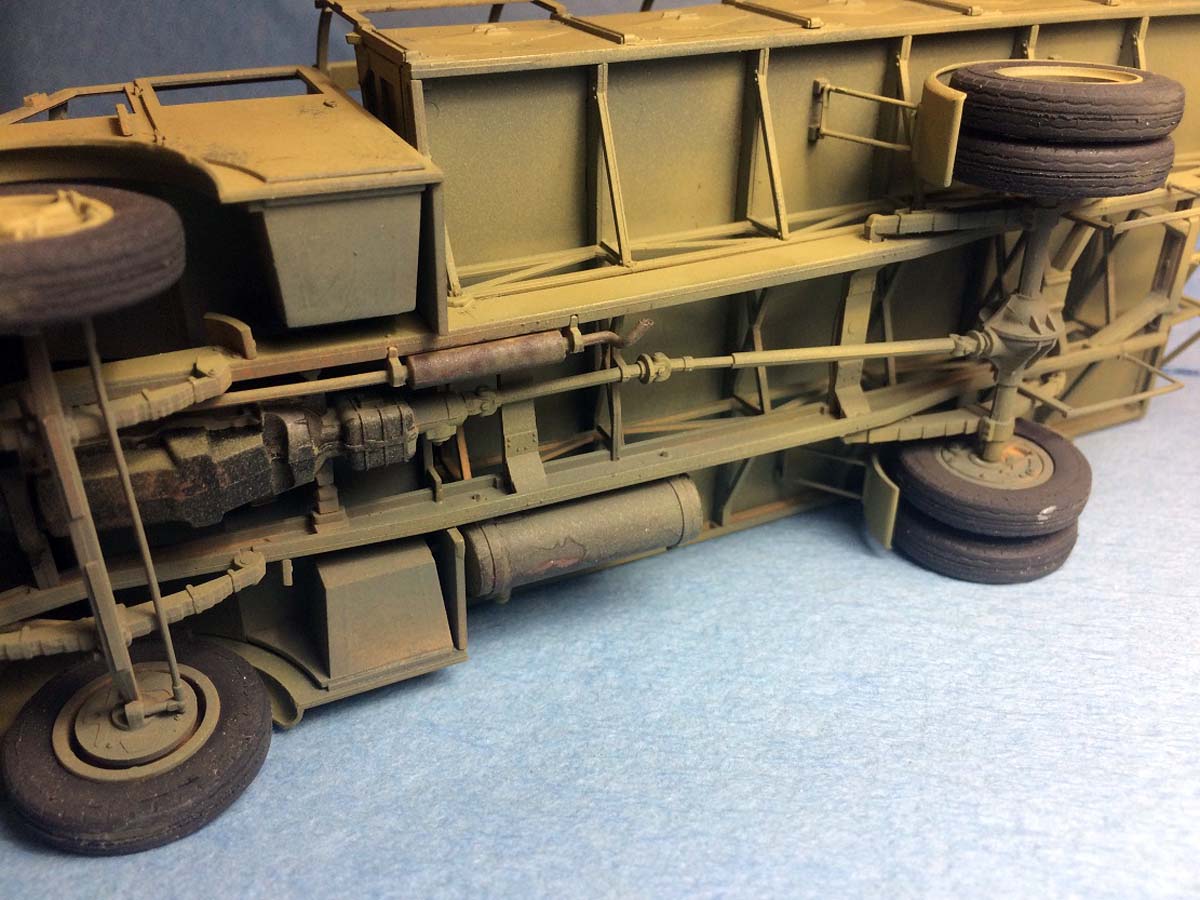
After the frame and engine work was completed I finished off the underside with the radiator, wheels, fuel tank, exhaust and drive shafts. I should give a nice shout out to ICM over the fit of the drive shaft; the shaft popped easily into place without any twisting of the differential or transmission to make it fit. I left the tires off the hubs until after painting attached the last of the small fittings without incident and got ready to tackle the cab and the cargo bed.
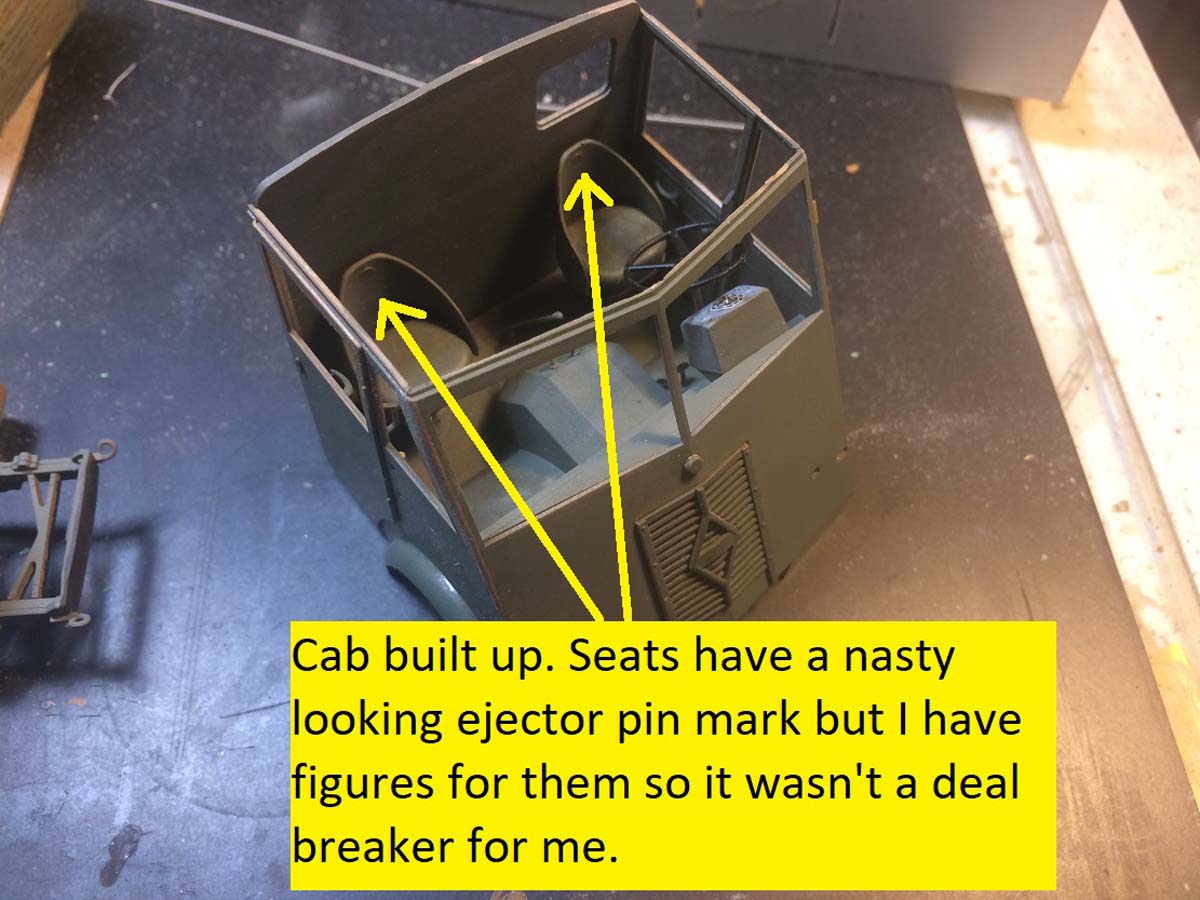
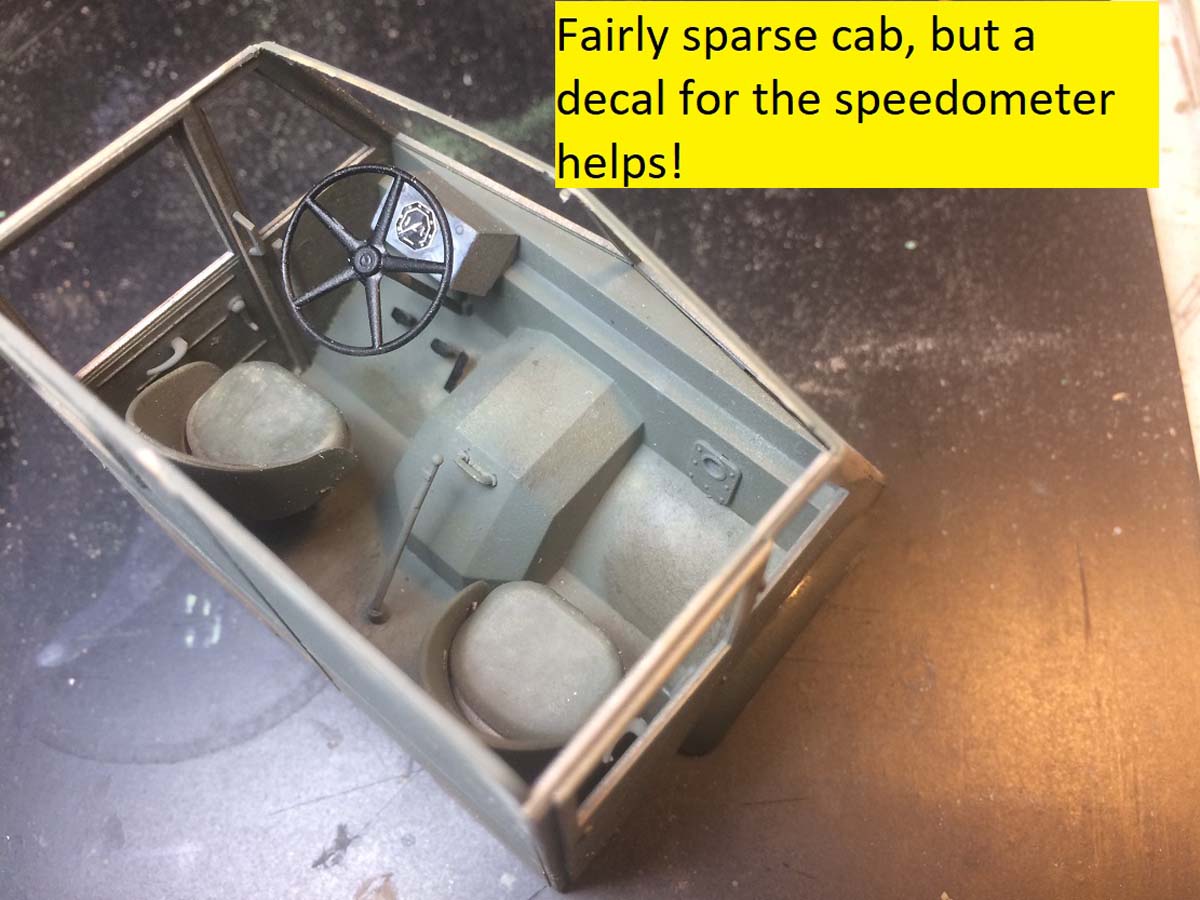
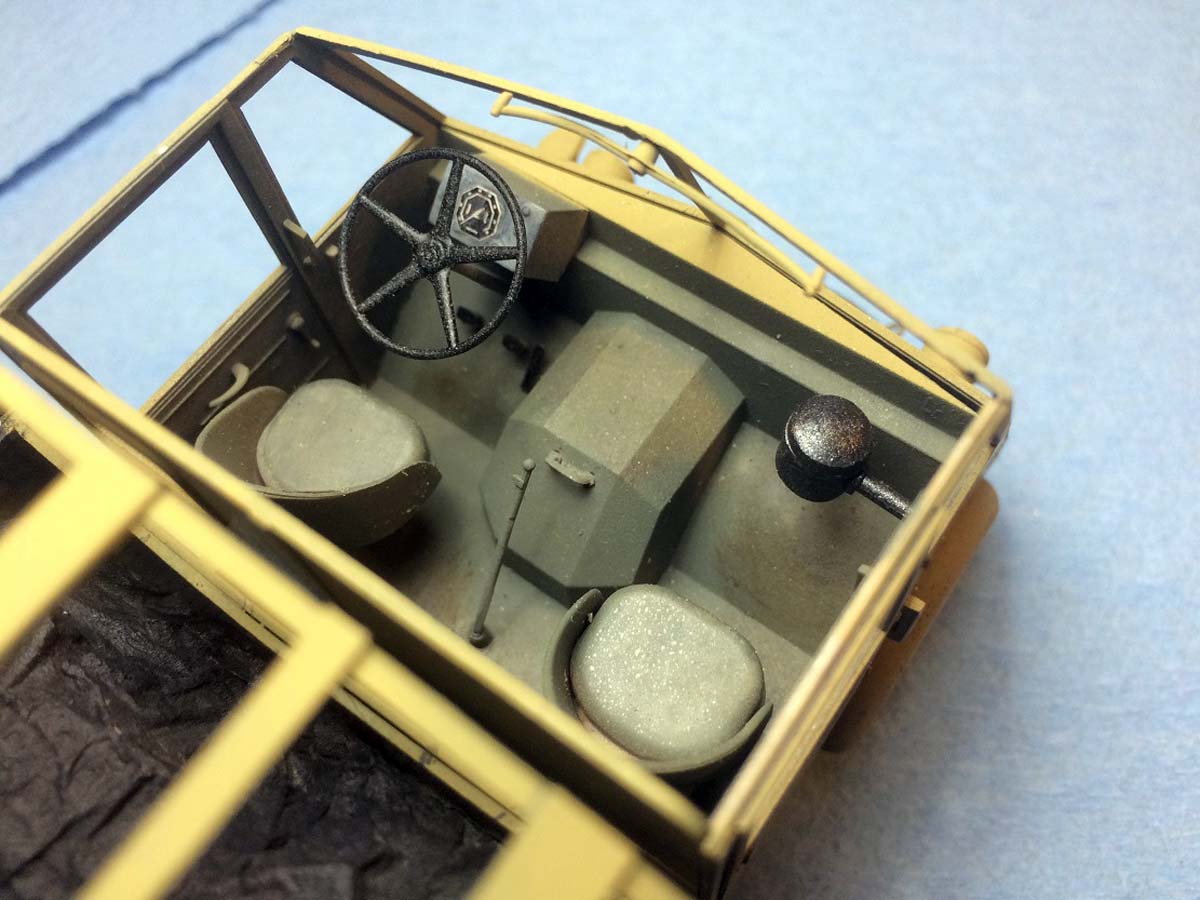
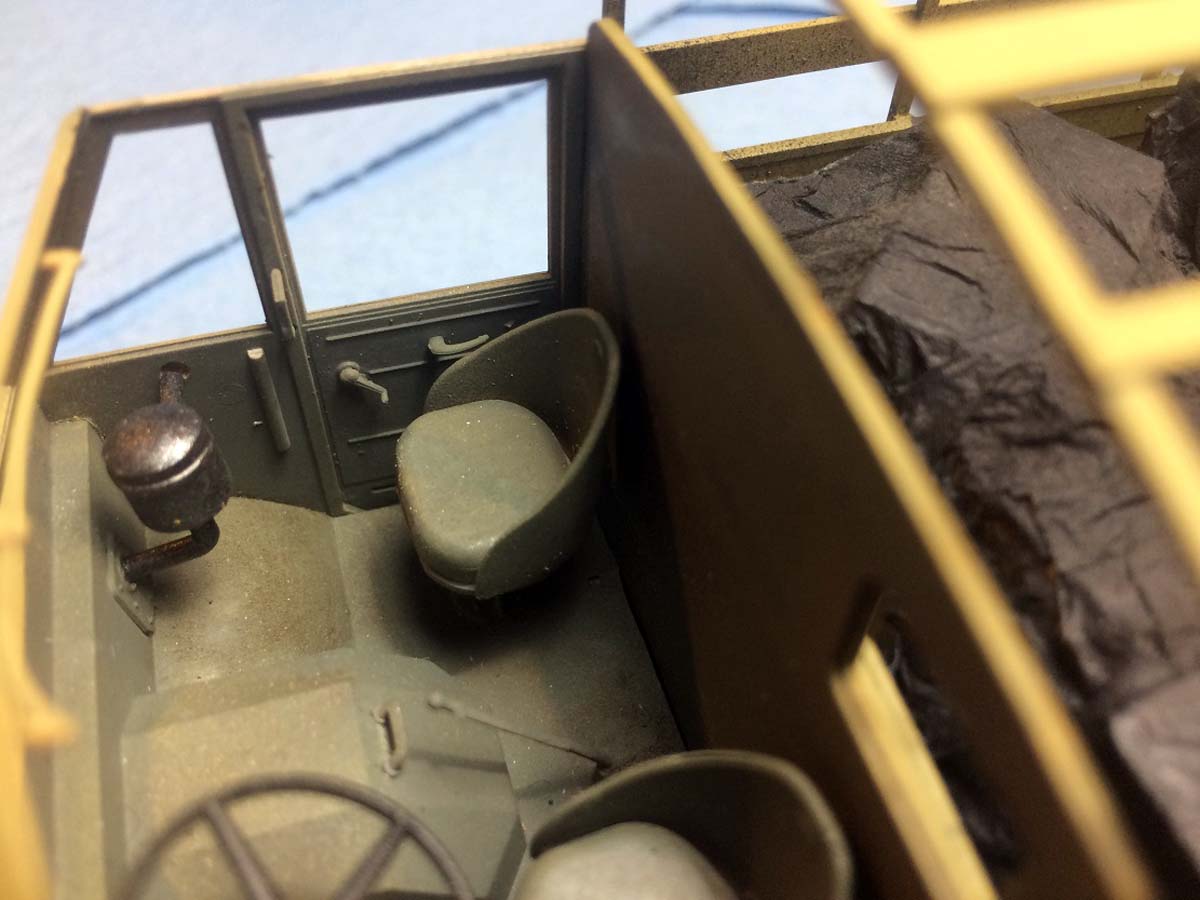
The cab is about as straight-forward a construction as can be. Start with the steering wheel, work through the inside cab steps, the steering column support piece, and some kind of firewall access panel that the air cleaner connects to. The drivers pedals are all molded separately. The seats were put up on a pedestal with an odd 1960s looking wrap around back. They were a bit tricky to get to set up and sit correctly as they are so top heavy with a somewhat inadequate attachment point for their weight. Nonetheless, I finally got them upright and solid. The doors are nice with a door handle and a window crank provided as well as a grab handle on the upper door frame. The control panel/box is dressed up with a nice decal for the main speedometer gauge.
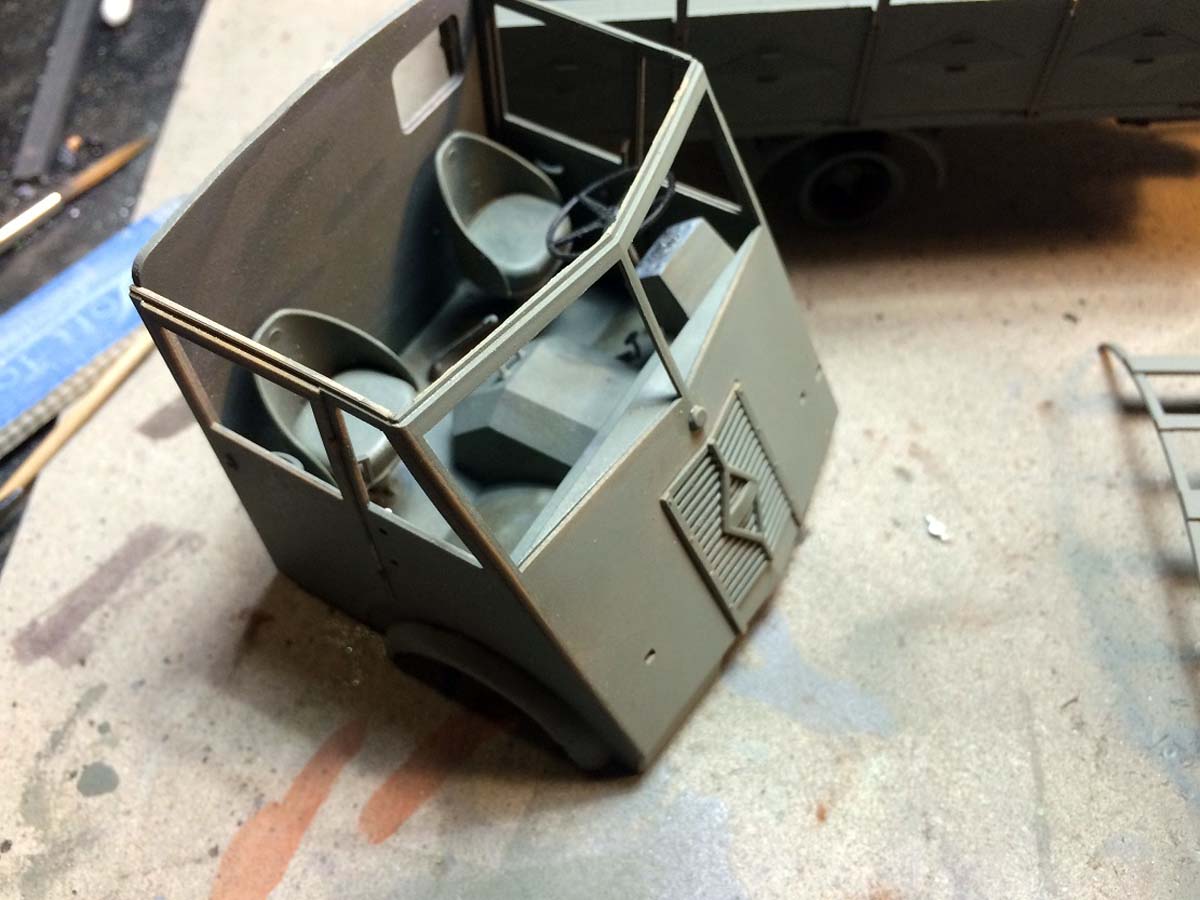
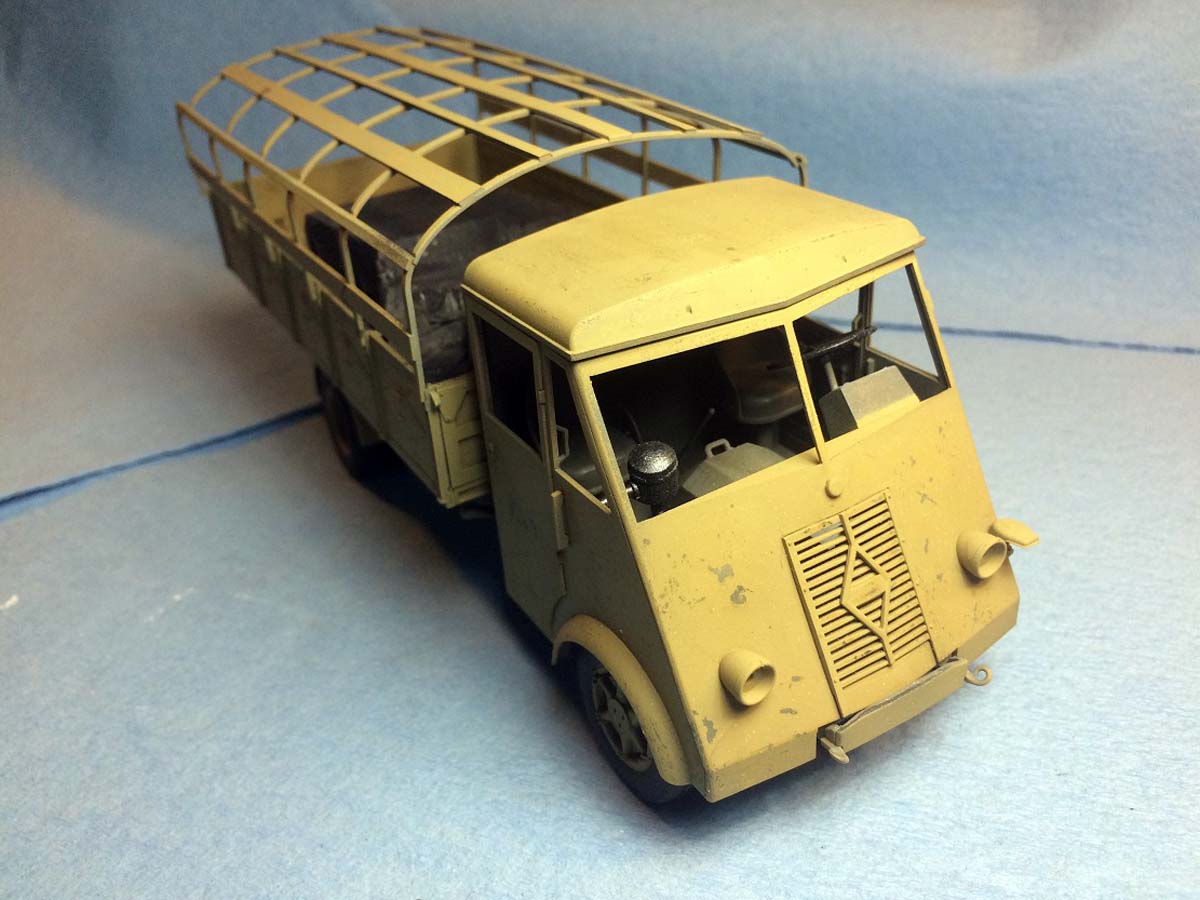
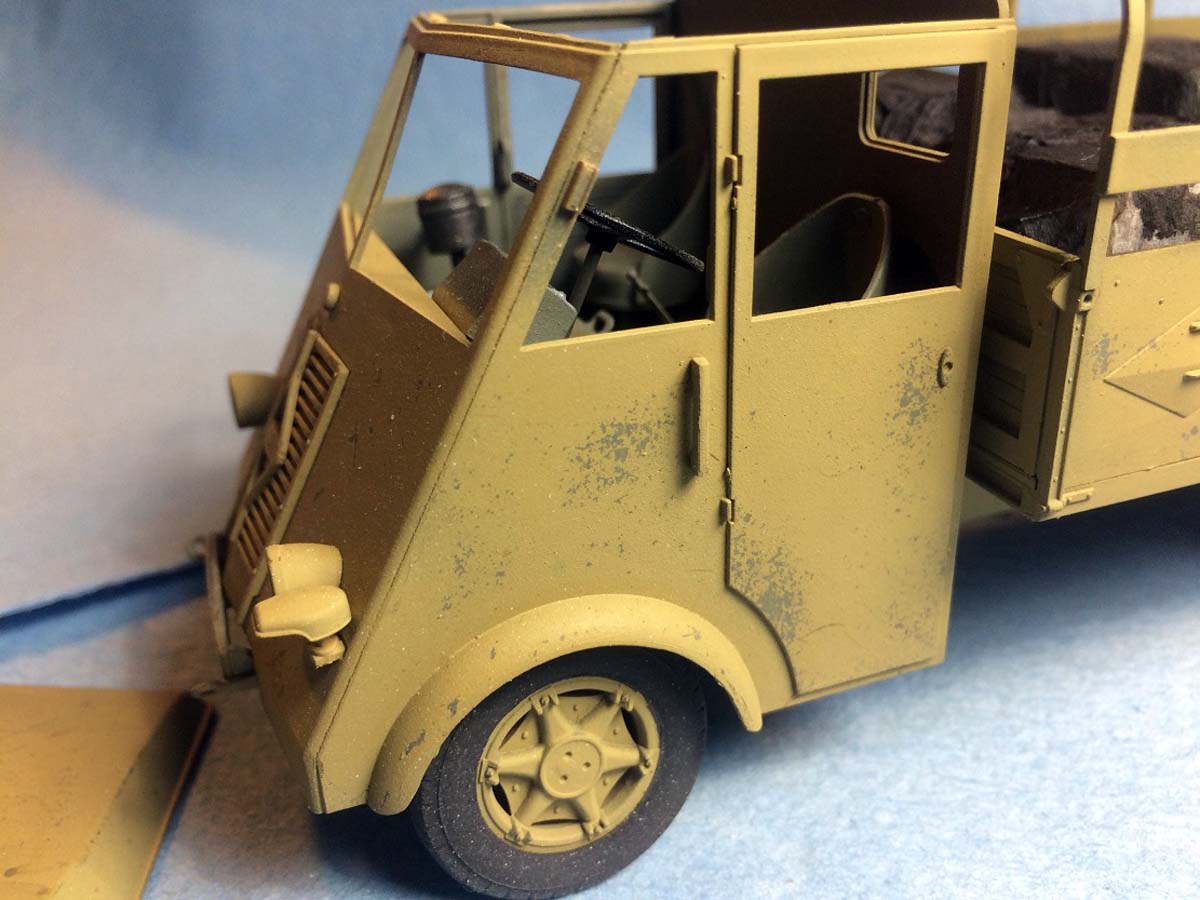
After the doors are done you can attach them to the cab floor along with the full front bonnet piece. The front piece is a large affair that fits well and required just a tiny bit of filler to close the small gap were the doors attached. Inside the front windshield frame ICM has provided the small wiper motor and conduits to each of the two wiper blades for that extra bit of detailing. The air filter was a bit tricky to get to hold on as it is essentially two pieces of pipe at a 90-degree angle with the air cleaner hanging in the middle. On top of that the attachment points for both ends are little more than butt joints so I would recommend gluing it into place then bracing it up from underneath and working on the cargo bed while it sets up.
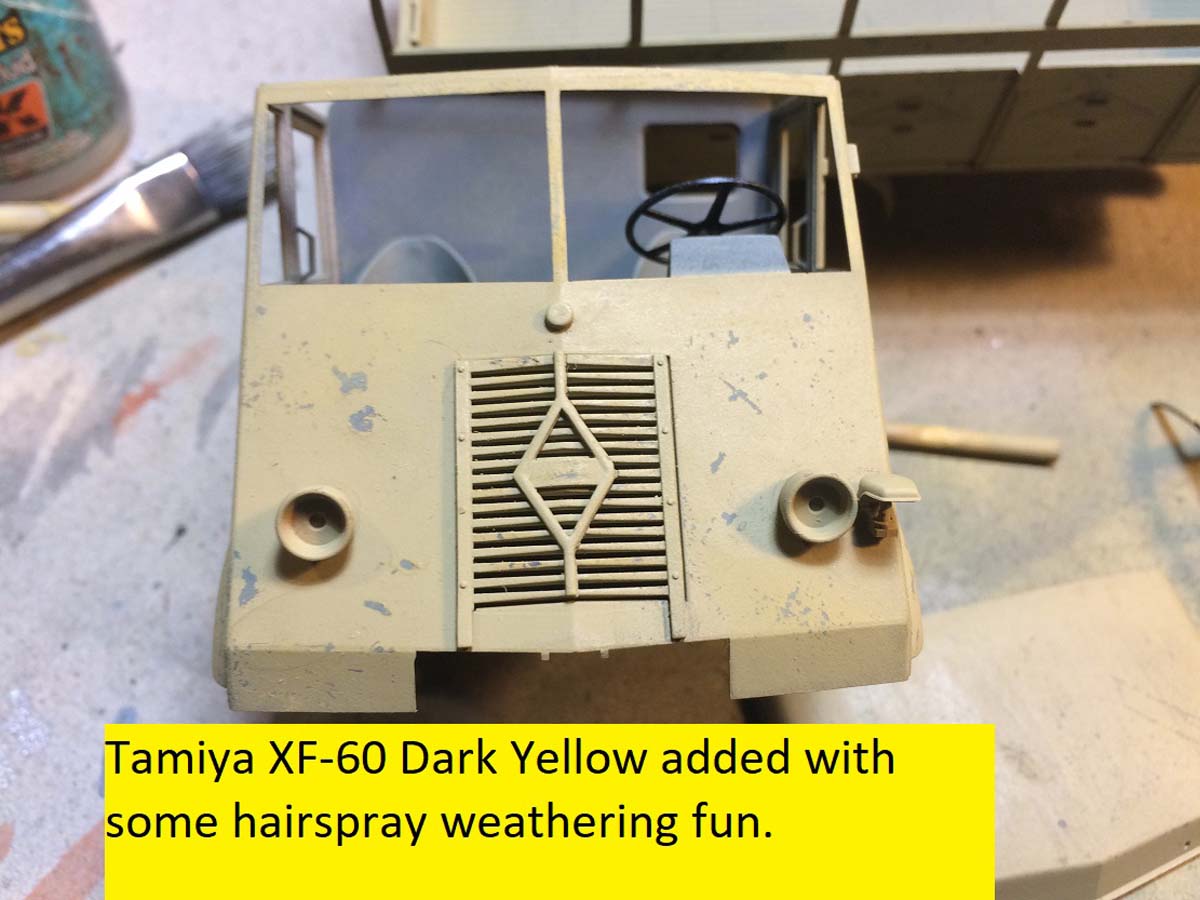
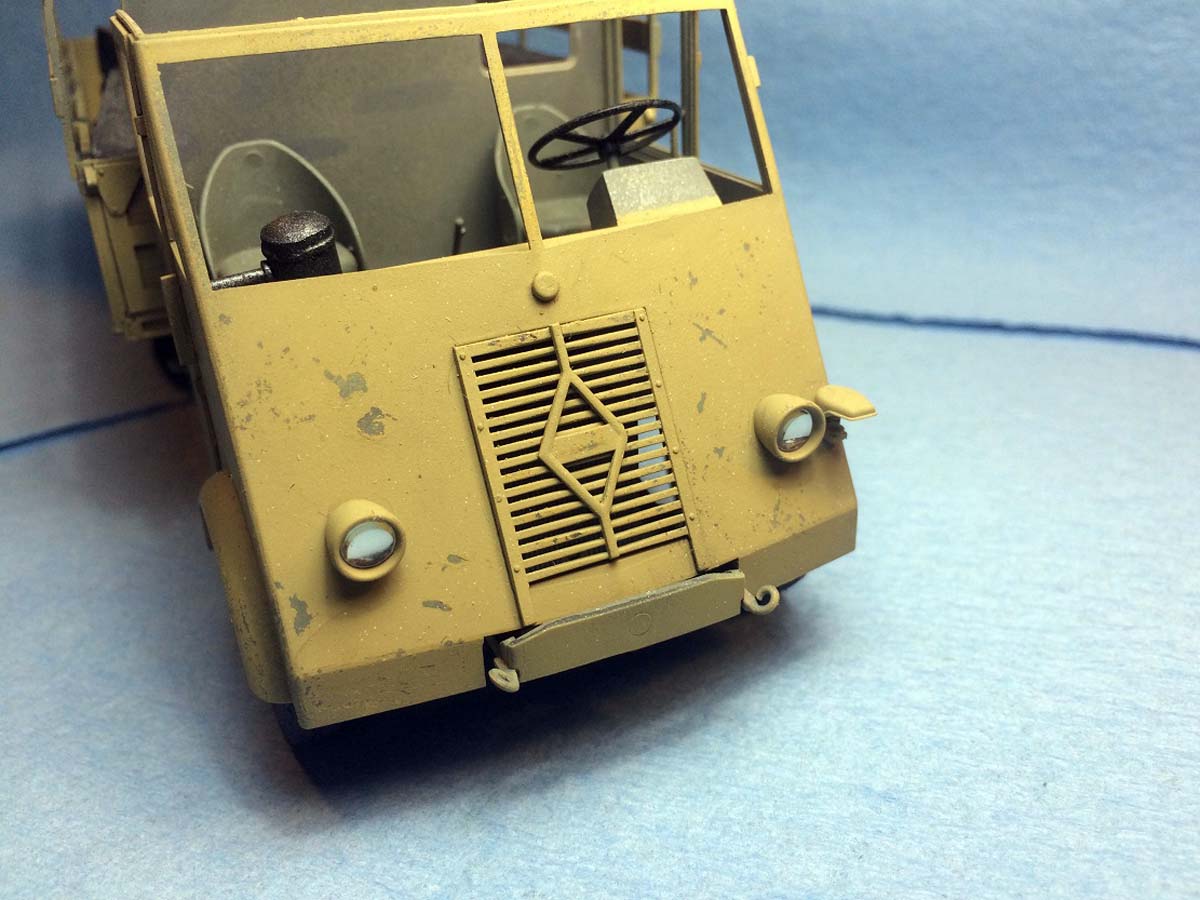
The front of the truck gets a bit of attention with headlamps, Notek light, wipers, and the grill. The grill consists of two pieces that look very convincing when done and fit perfectly into the face of the cab.
I found it easier to paint everything up front before I put anything together and do a bit of touch up afterwards. Im sure everyone has their own favorite technique when dealing with interiors, but if you are new to the game keep in mind that if you close everything up some things will be problematic when it comes to painting.
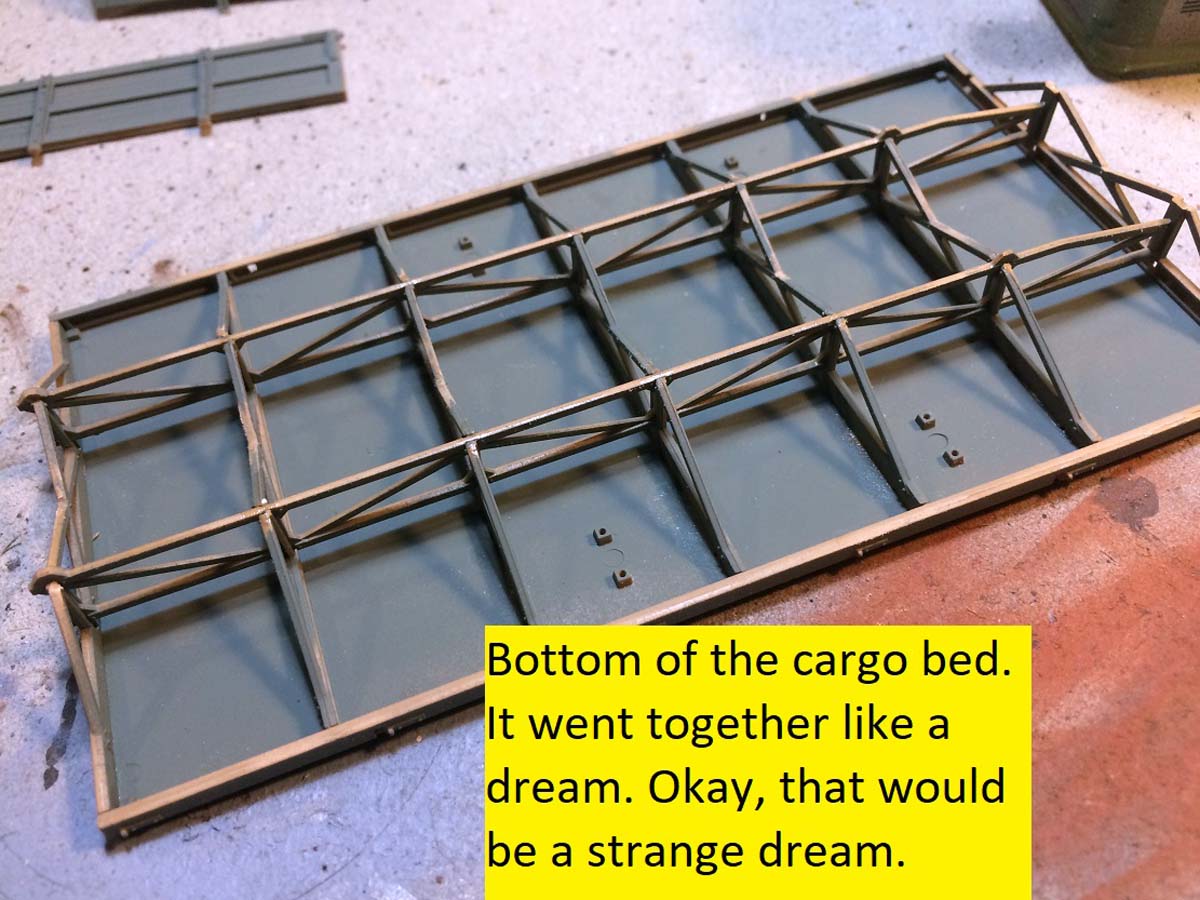
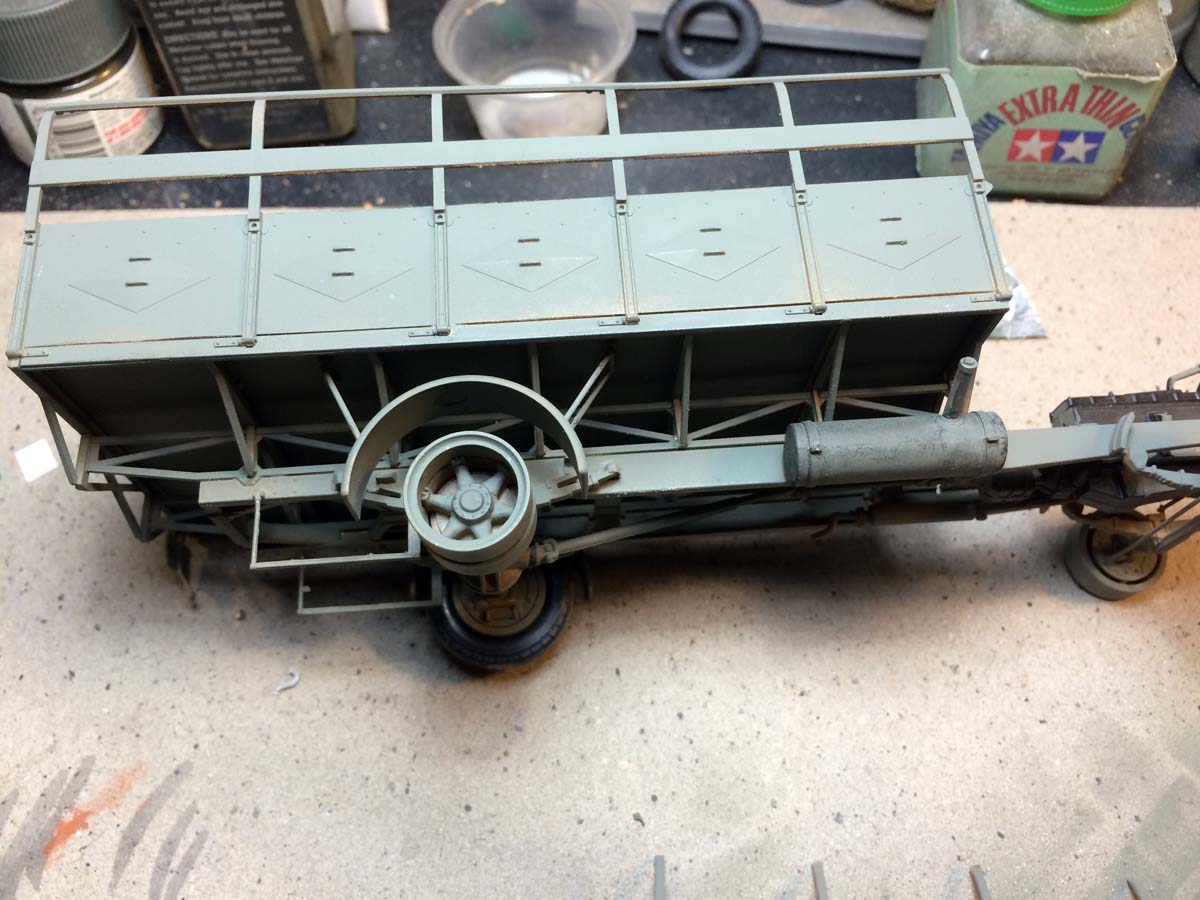
The cargo box was a joy to construct. The bed underside features two large and complicated main frame rails that are mercifully a single piece molding as well as 7 equally complex crossmembers. Make sure you get the correct crossmember in the correct location or the smaller outer rails will not fit correctly. With that many pieces I was concerned with keeping everything square but the slide in style construction makes that worry a moot point. That assembly attaches to the bottom of the cargo bed and fit perfectly.
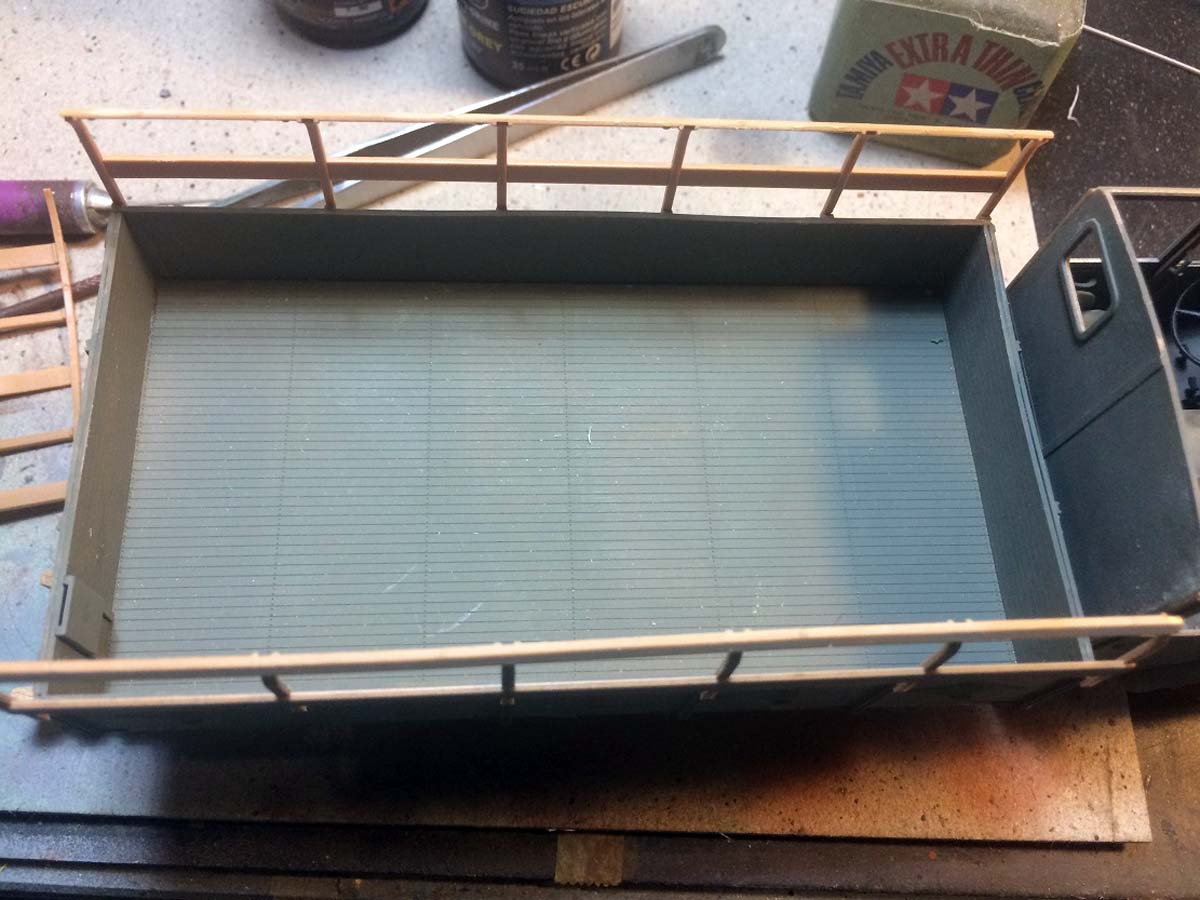
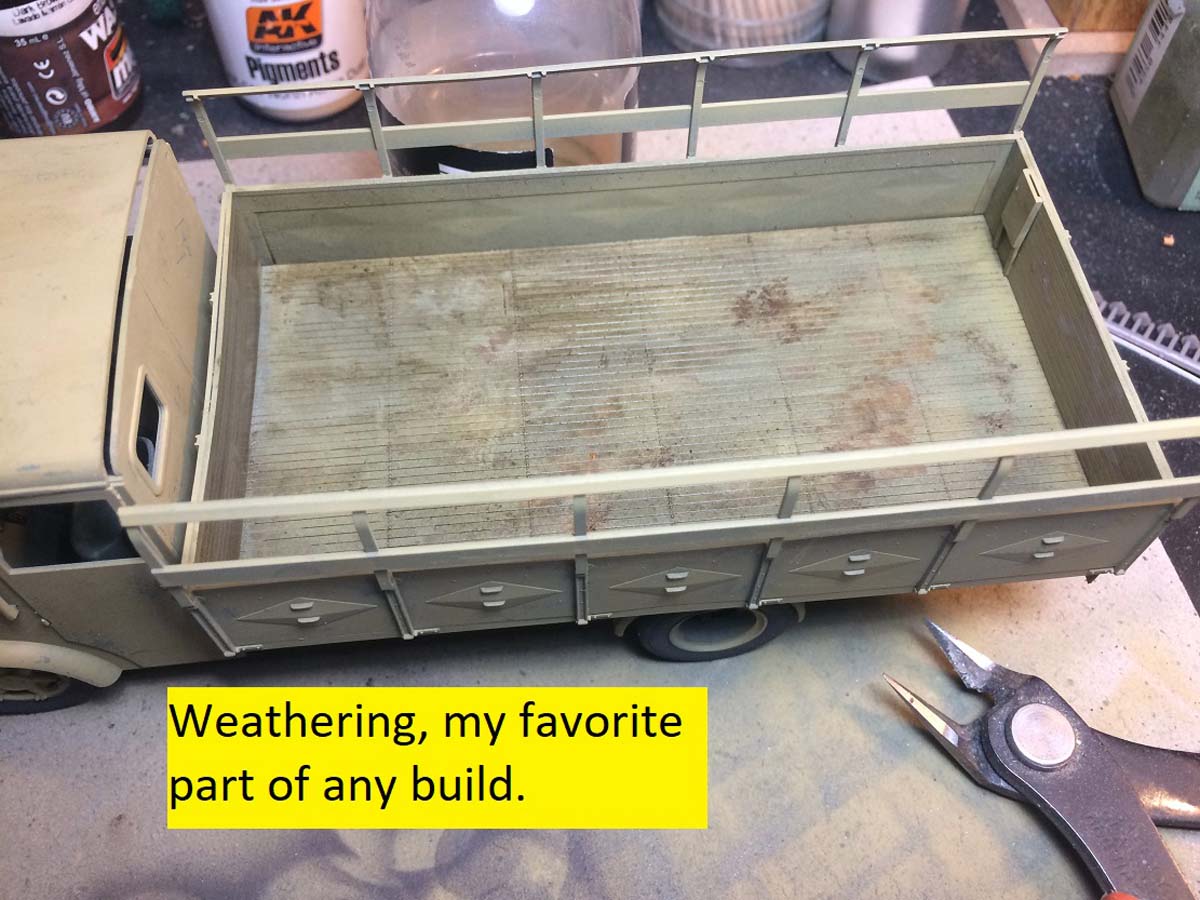
The cargo bed floor is of wooden slat construction but the molded in slats look a bit off to me. The scale out to about an inch and a half wide (about 4cm) which seems way to narrow to my eye but perhaps that is exactly what it should be? If anyone has more information please dont hesitate to add to the conversation.
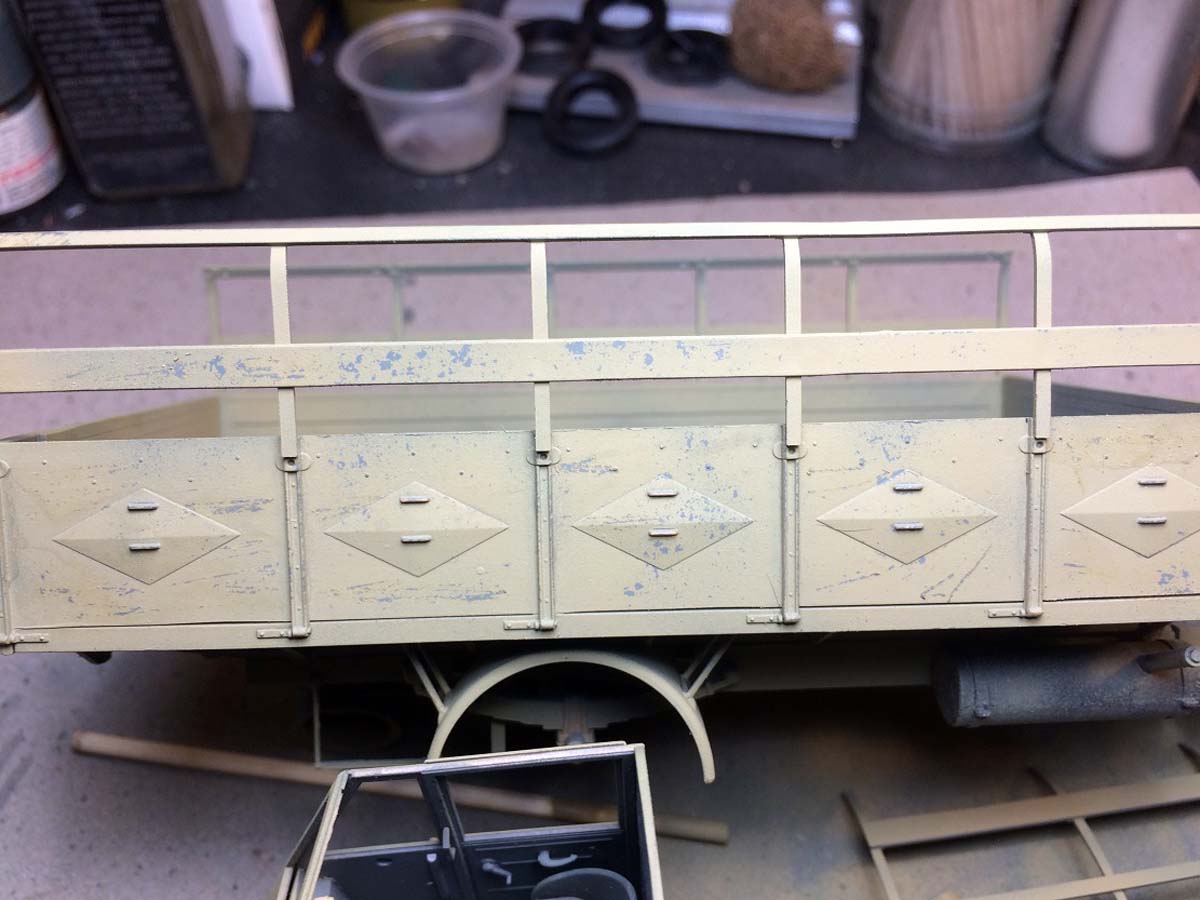
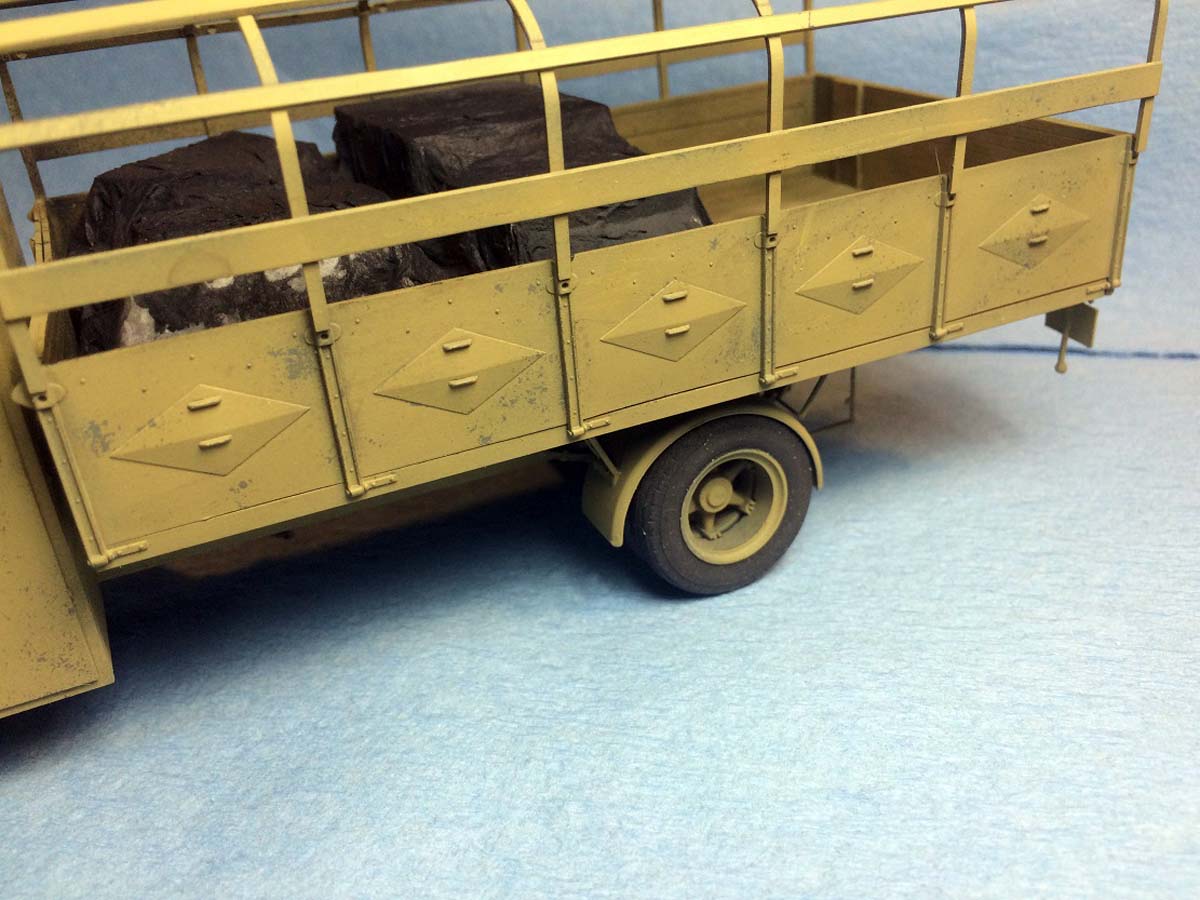
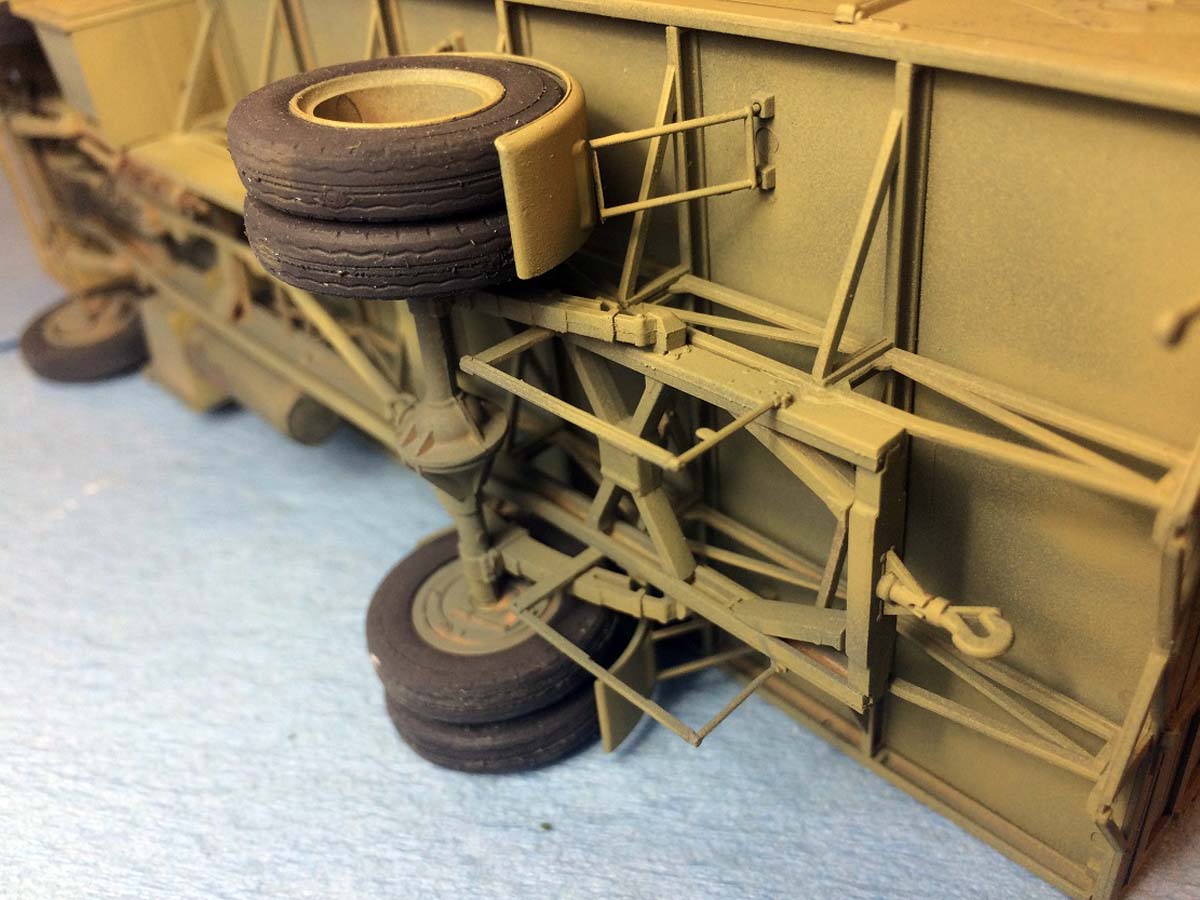
The side walls, with their very cool looking pressed steel sides, attached easily and really give it a nice distinctive look (as if the cab isnt distinctive enough!). The front of the bed and the drop-down tailgate finish off the basics. I attached the rear wheel fenders next. Okay, this was a bit tricky. The only thing that holds the fenders are two braces. The two braces are very thin affairs that sit with a slight angle that cants them towards each other. The fender itself is designed to set on the two braces. I let the braces sit for about five minutes before attaching the fenders so that I would still have some time for the inevitable adjustments but the weight of the fender caused the whole thing to flop over. I tried again with some additional bracing the second time which worked much better. I only did one at a time so that I could align the left side with the right side using my Mark I eyeball.
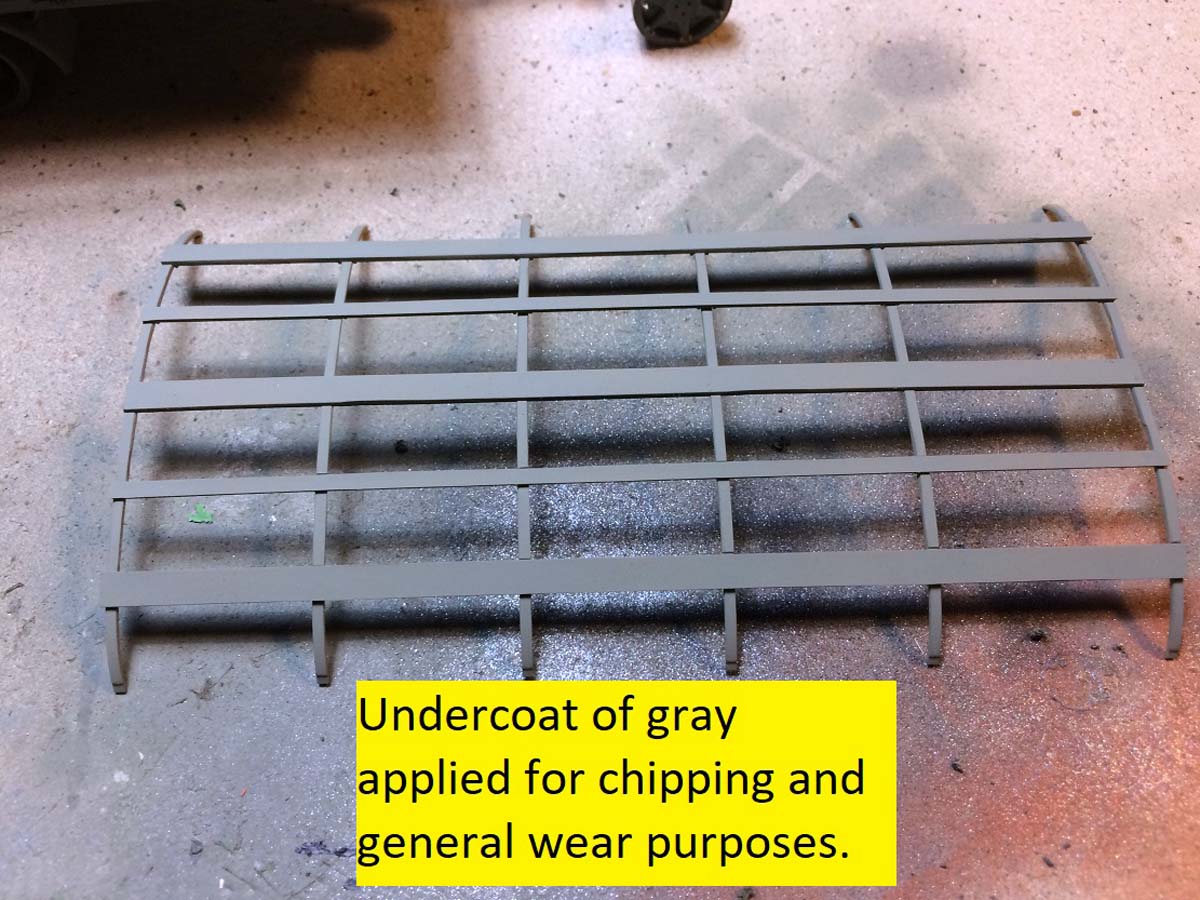
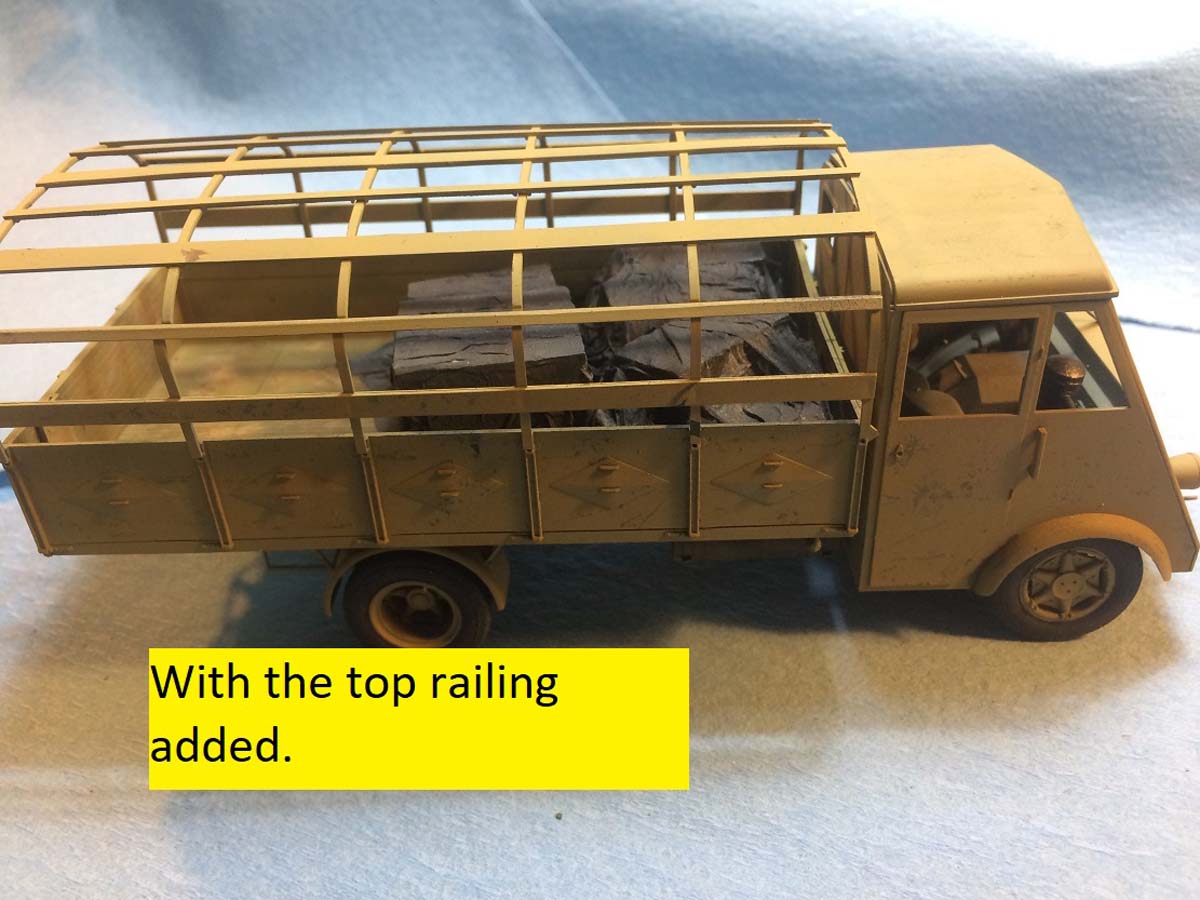
After that issue was solved I turned toward the home stretch. I attached the cargo bed to the frame and added the side rails. The large curved roof railing was one large piece with 4 rails that attach for a very distinctive look. The large piece requires a bit of careful cleanup as it has a good number of those small nodes we have all come to love and appreciate as a part of the modern molding process. Take your time and you will have a very nice addition to your cargo bed.
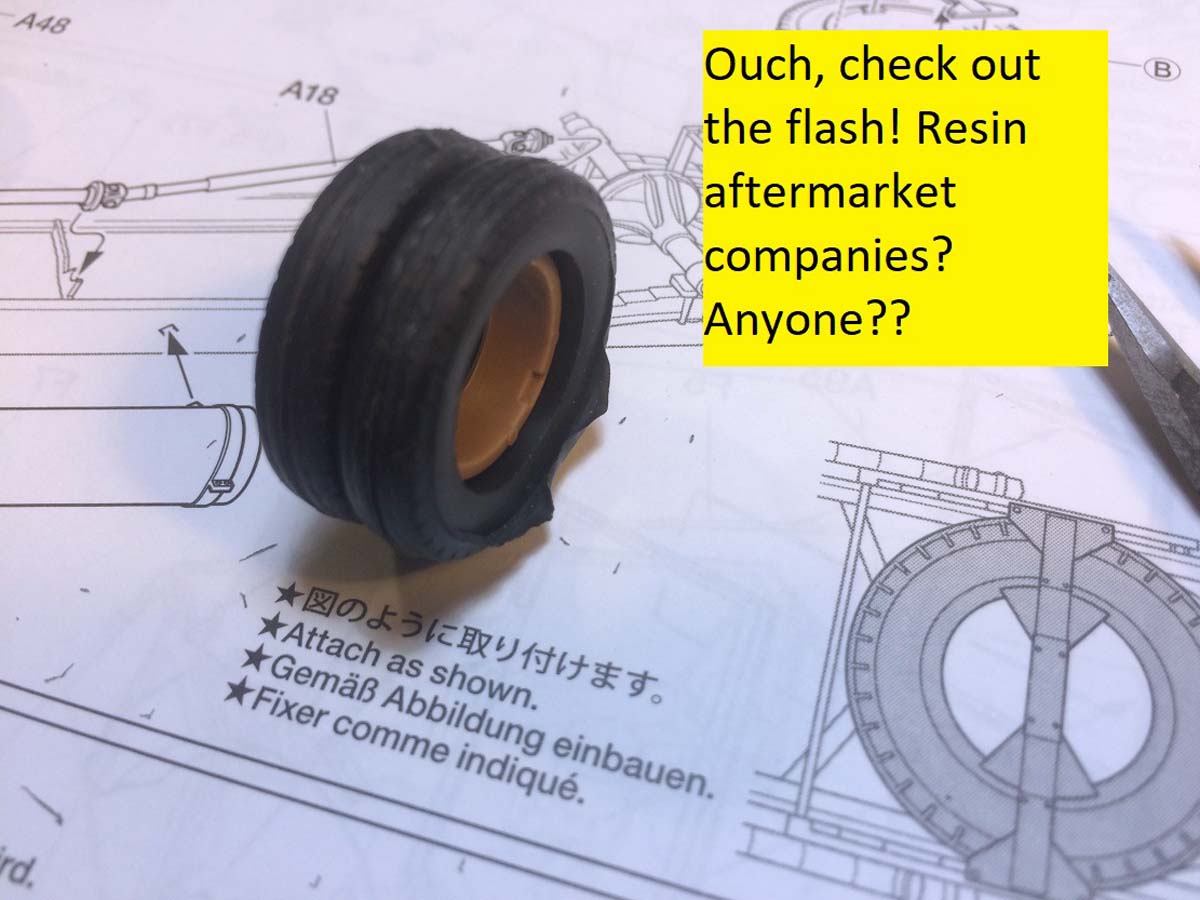
I only had one more thing to do at that point; add the tires. Okay, the tires are a real let down. I wish they had just gone ahead and molded them in styrene but if wishes were horses well, you get the picture. The tires were very flashy and required way more cleanup than they should have. I have read some other accounts of the ICM kit that claim the tires are undersized which may well be true. Every photo I have seen seems to bear that out but I still dont know just what tire these guys rolled on. My other issue can be laid at my feet, I left the tires off to make painting everything else easier and planned on sliding them on to the hubs after. The hub to axle connection is very weak and both rear wheels assemblies broke; probably a combination of poor mating surface, soft plastic, and my ham-handedness.
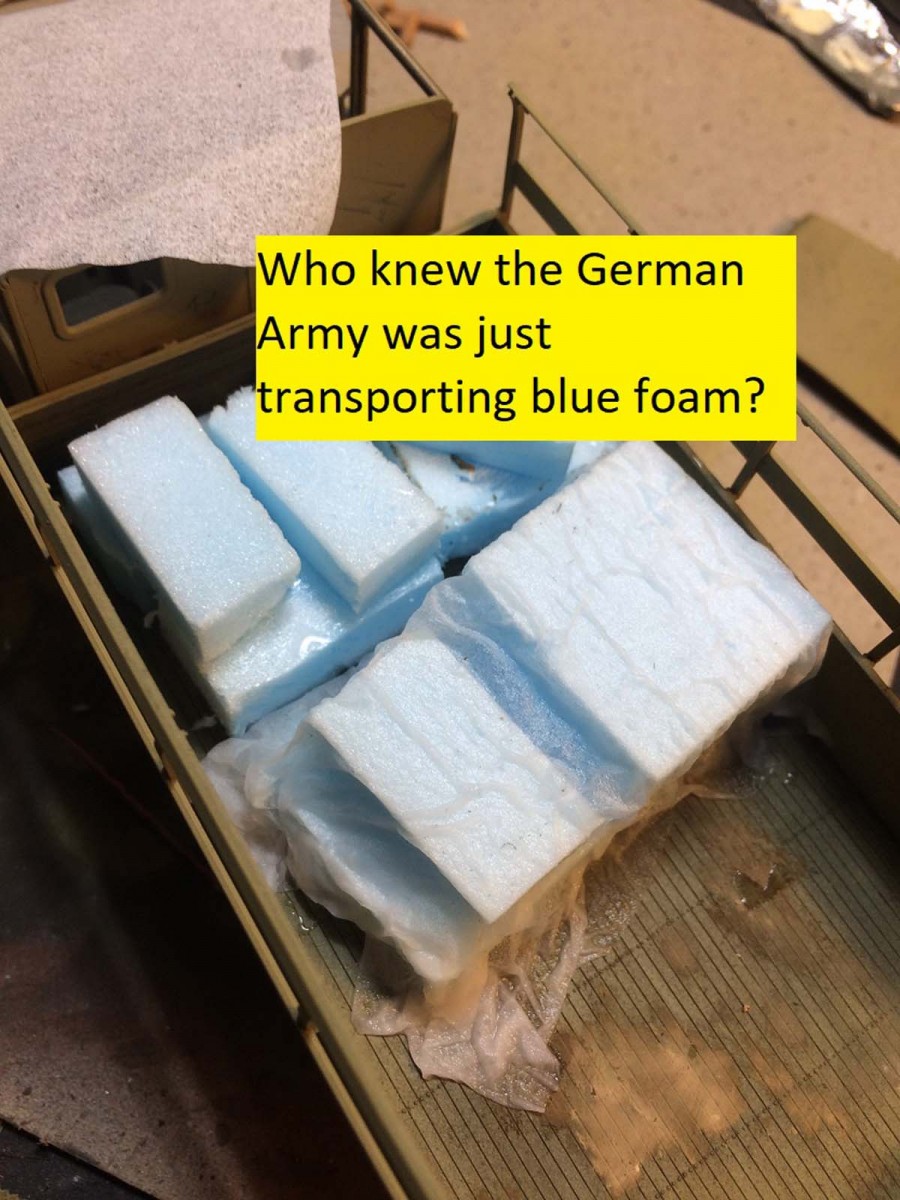
I had already painted the truck in a typical dark gray as an undercoat and then a quick spray of chipping fluid for the hairspray method and then German Dark Yellow from Tamiya (XF-60) over the outside of the vehicle and the cargo bed. The tires were sanded down and painted with Mig Rubber. After I wore away some of the Dark Yellow I weathered in the normal way, filters, washes, a few more chips, etc. and added some cargo. I am still poking around for some decals that place the truck in France and will add them soon.
And thats a wrap. I still have a few minor bits to add, rear view mirrors, wiper blades, interior glass and outside door handles. I havent added them as I am prone to knocking those kinds of things off. I am working on a diorama that includes the truck so I hope you will indulge me that small favor.
SUMMARY
Highs: Kit is an easy build with lots of stuff in the box; a veritable diorama in a box with all that comes inside. Not only that but a very unusual subject that you don't see very often. Lows: Plastic is a bit soft. Wheels seem to be a bit smallish, almost like golf cart tires. There are only two marking options despite the vehicle serving throughout the war. Front wheels are not steerable. Verdict: I would recommend, particularly to those with an interest in trucks, a great addition to a growing bevy of choices. Despite some minor issues as noted the kit was an enjoyable build; in the end Tamiya/ICM have filled the requirement
Our Thanks to Tamiya USA! This item was provided by them for the purpose of having it reviewed on this KitMaker Network site. If you would like your kit, book, or product reviewed, please contact us.
About Rick Cooper (clovis899) FROM: CALIFORNIA, UNITED STATES
I have been modeling for about 30 years now. Once upon a time in another century I owned my own hobby shop; way more work than it was worth. I tip my opti-visor to those who make a real living at it. Mainly build armor these days but I keep working at figures, planes and the occasional ship.
A truck so homely that its interesting. Its a shame that Tamiya hasn't in some way upgraded the 37 on re-issue, though it is still a fine kit on its own.


Comments