Armory -a company well known for their 1/72 scale resin and PE sets and models- has issued the Luchs as an injection moulded plastic kit last year. It is a multimedia model which comes with a lot of PE. An interesting feature of this particular model is that you can build three different versions of the same tank: the initial, a mid production, and the final, up-armored version. (A notable feature is that the back turret hatch is different on the initial and the final production. I have not seen this on any of the available 1/72 Luchs models before, and could not verify this difference using historical photos. Quite possibly Armory has simply not made a shortcut what other producers did.)
Review
The model comes in an envelope-style box, opening on the ends. The front has an artwork of the tank, the back has a couple of CAD images of the assembly. The instruction manual is well designed, easy to follow; and we get a separate colored sheet with the different camouflage options. (There are photos available on Henks website of the sprues and instructions. http://henk.fox3000.com/armory2.htm Unfortunately in early January my hard drive crashed, and some photos were not backed up yet the sprue shots among them.)
There are four sprues: one has the link and length tracks, one has the small details and the running gear, the other two have the parts of the hull and the turret. The quality of plastic is good, easy to work with. The moulding could be better; there was a lot of flash everywhere. The detail is somewhat soft; its not as crisp and well defined as in some of the newer high-tech models. One prominent issue I had with the kit was that the parts were not numbered on the sprues; you had to use the layout printed onto the instructions to find the appropriate parts.
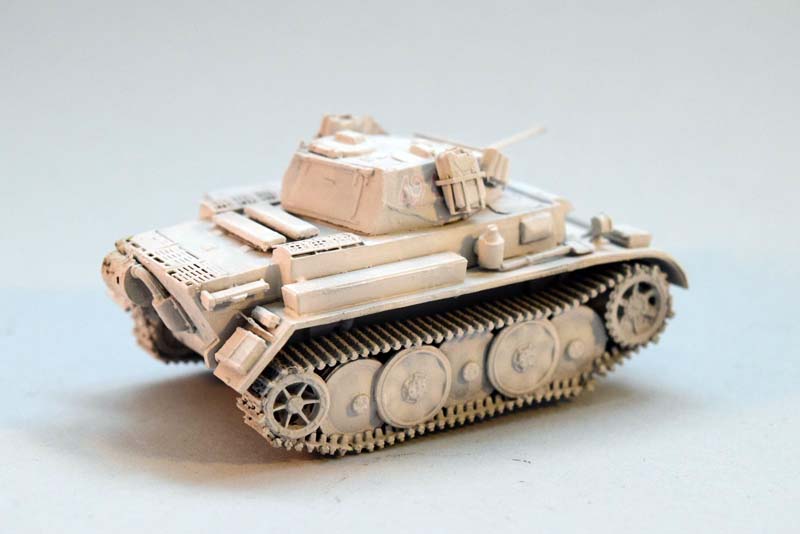
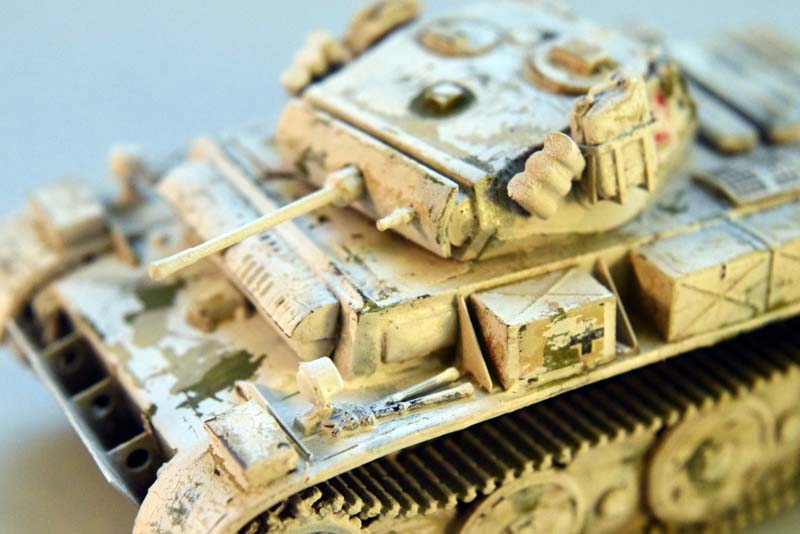
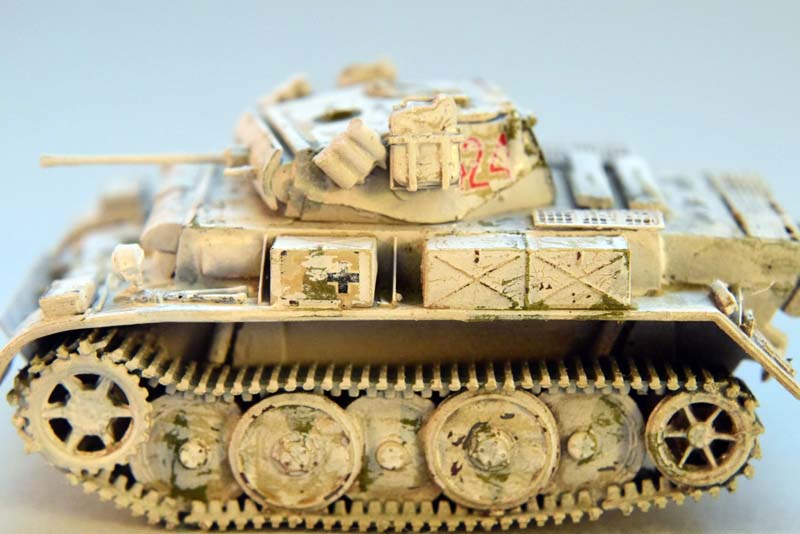
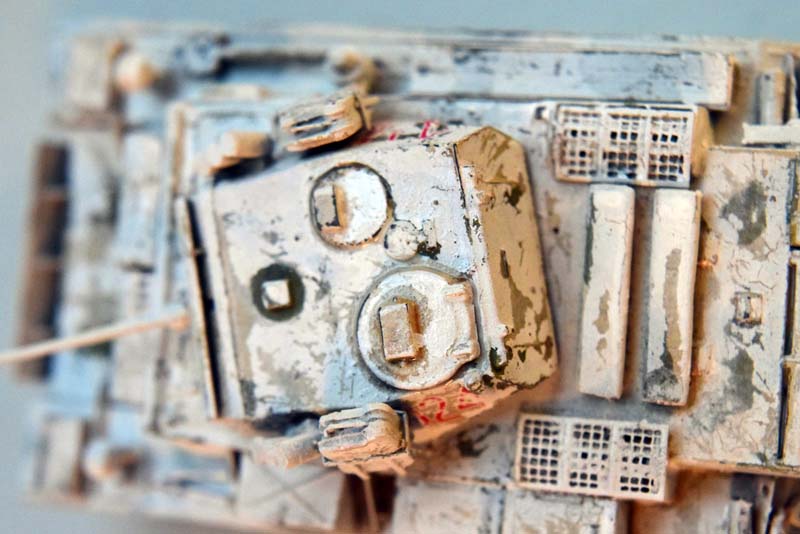
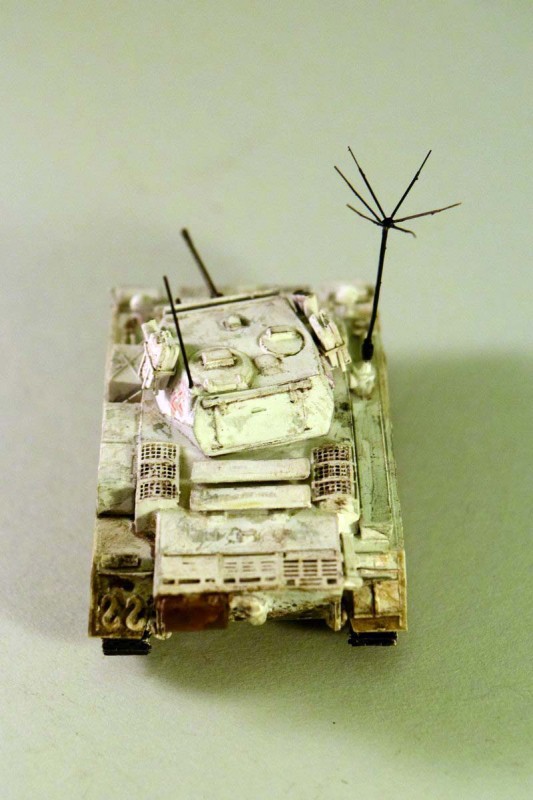
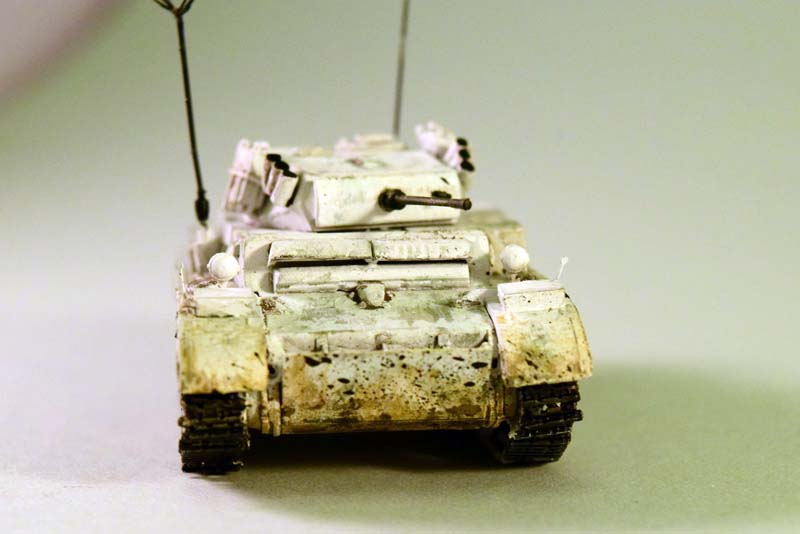
Strictly looking at the detail on the plastic, the model is fairly basic. However, once added, the PE detail really does dress it up. The small but comprehensive PE fret adds a ton of detail. The frontal added armor plate looks especially nice, but the jerry can holders, the crows feet antenna, the wire mesh on top of the engine deck, etc. all add crucial detail which greatly improve the overall look. One thing not included was the width indicator rods; Ive used Dan Taylors replacement set. The tools are very simple; its probably better replacing them from the spares box. (At least they are not moulded on; a constant gripe of mine with a lot of small scale models.)
The decals are well done, and easy to use.
Hull assembly
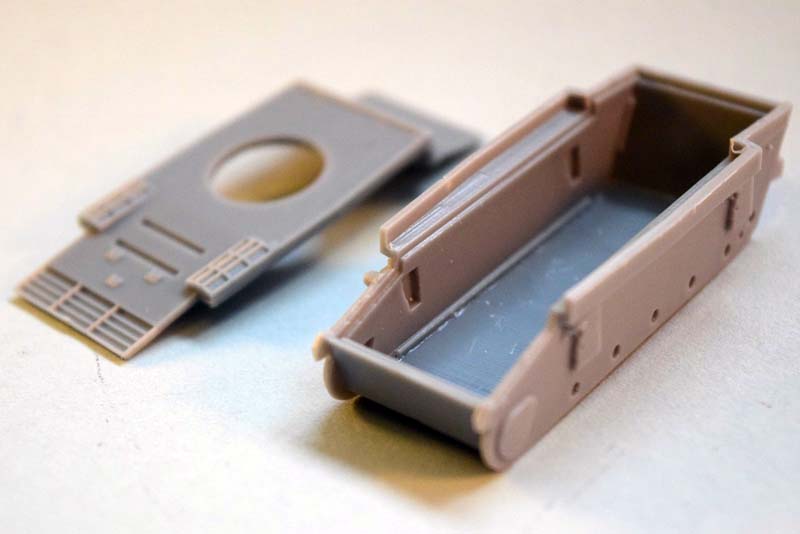
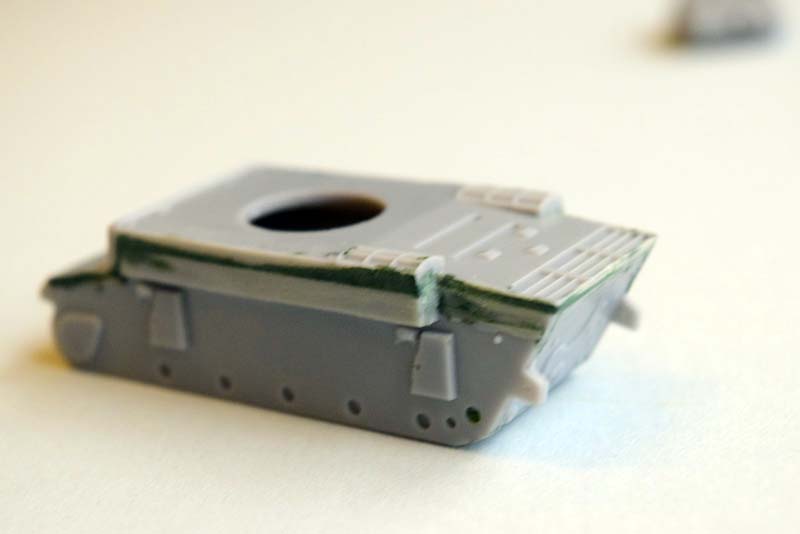
The model was produced with conventional injection moulding technology. The layout of the model hence looks like your typical Eastern European 1/72 plastic model: the bottom of the hull is assembled using separate parts - it does not come as a one-piece tub. The top of the hull sit on the top of the sides, but unfortunately this arrangement creates a seam line on the side of the superstructure. It would have been more fortunate if the top of the hull was inserted between the sides. The plastic, in general, feels a bit thick, but once in place it looks the part.
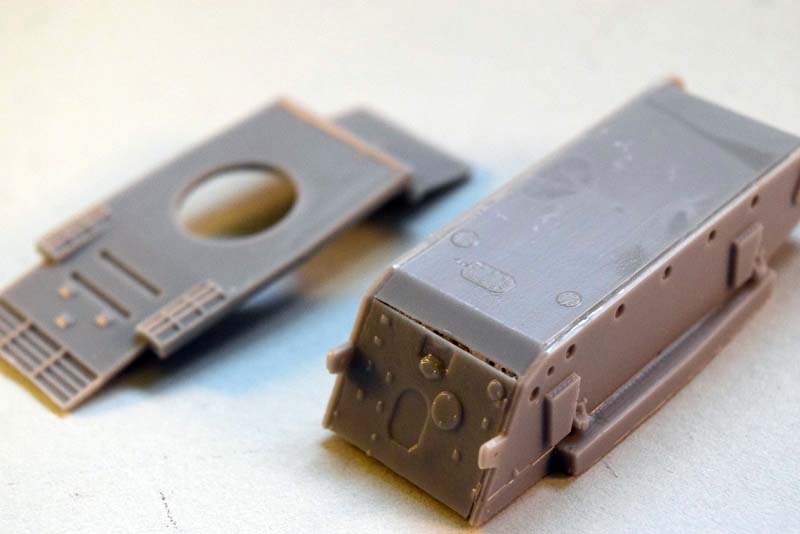
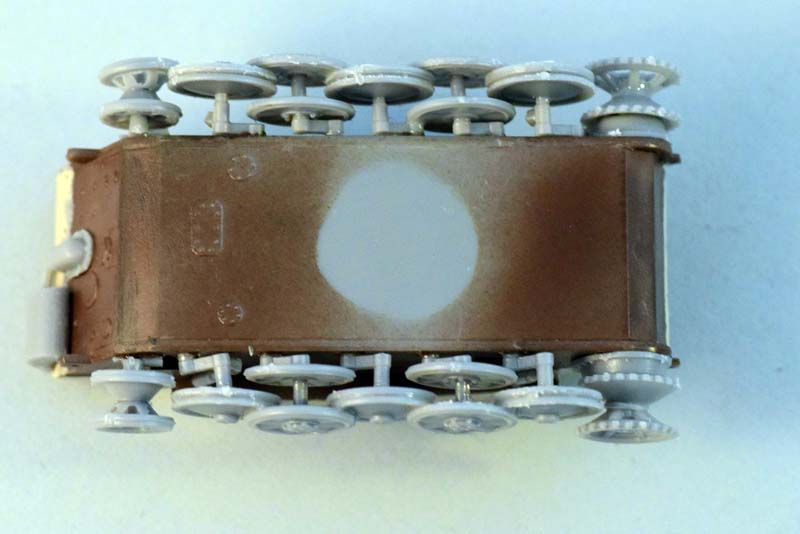
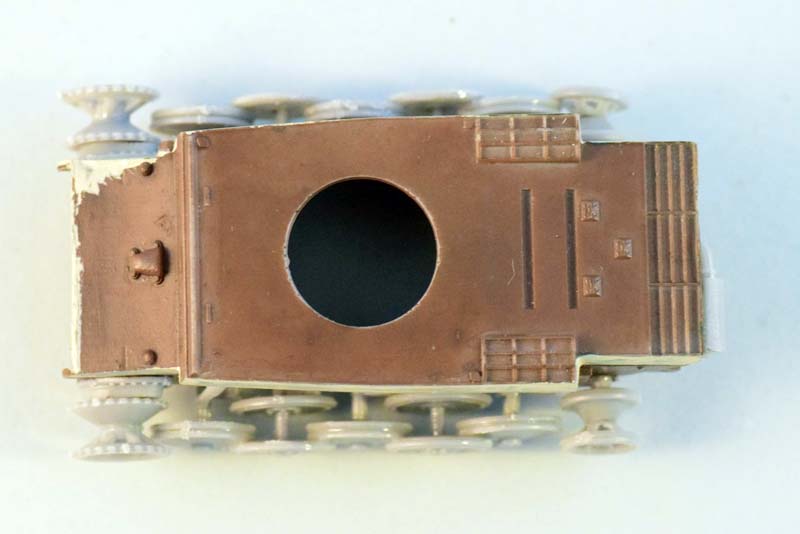
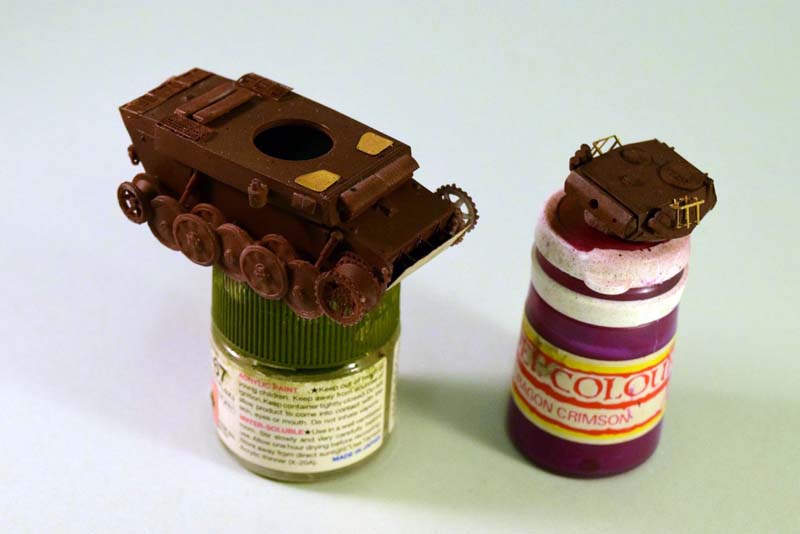
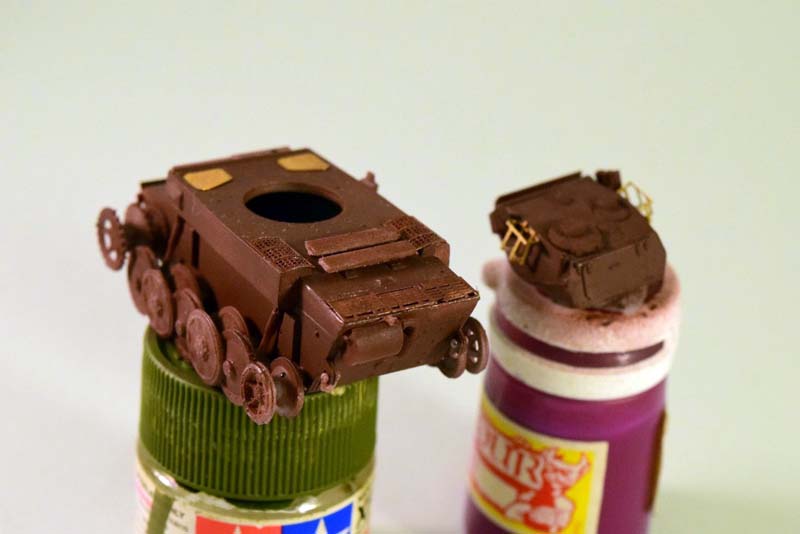
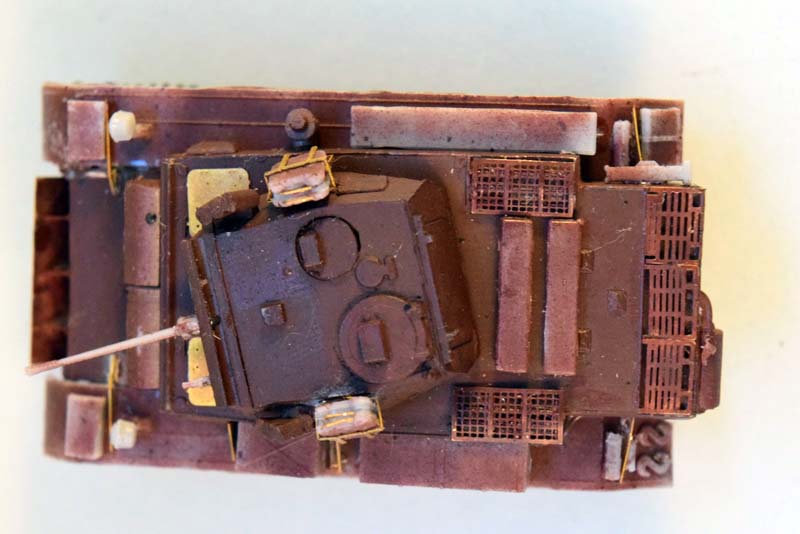
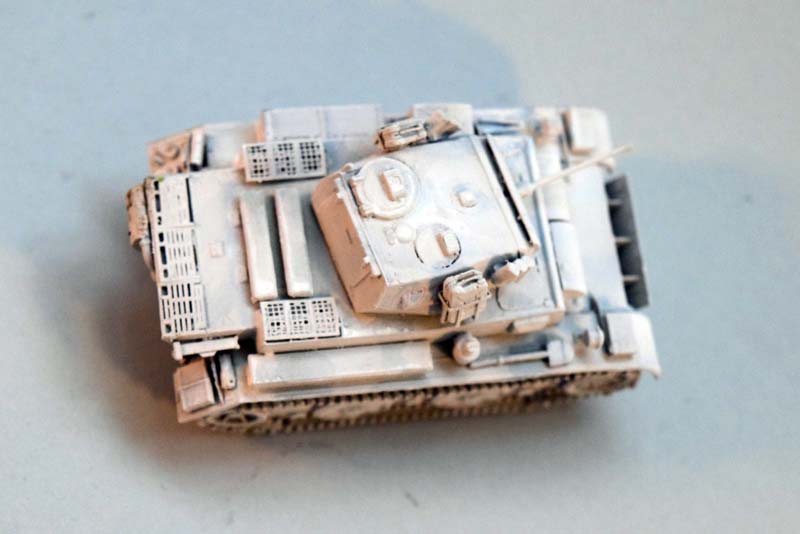
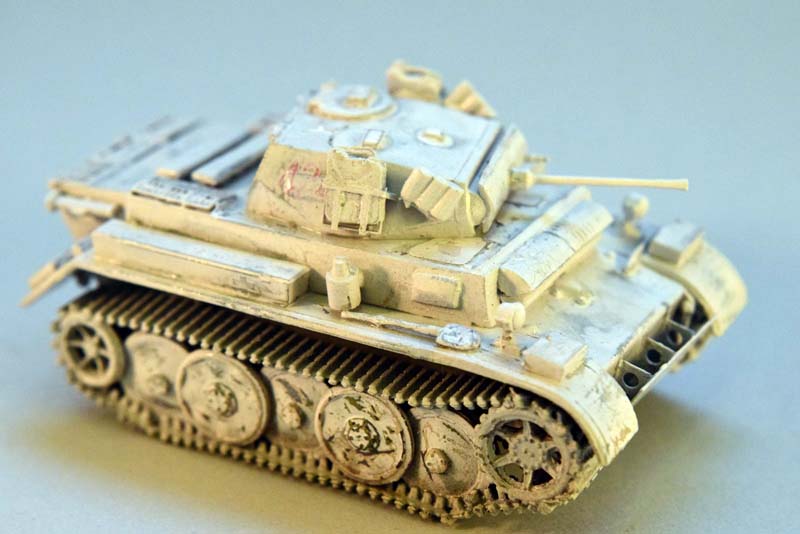
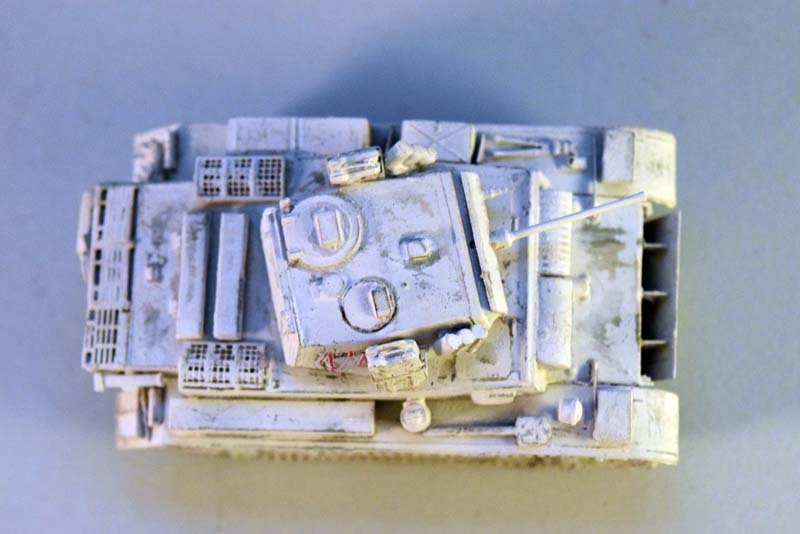
The assembly quickly except for the filling and sanding of the seamline on the superstructure. The fit was generally good, although the turret ring is a bit thicker than the hole on the hull; I had to enlarge the hole so that the turret would fit. The holes on the roadwheels were similarly undersized, but then again: its quite easy to adjust them with a blade. There were some seams on the back of the hull which needed to be filled, but nothing that was difficult. (photo 1.5)
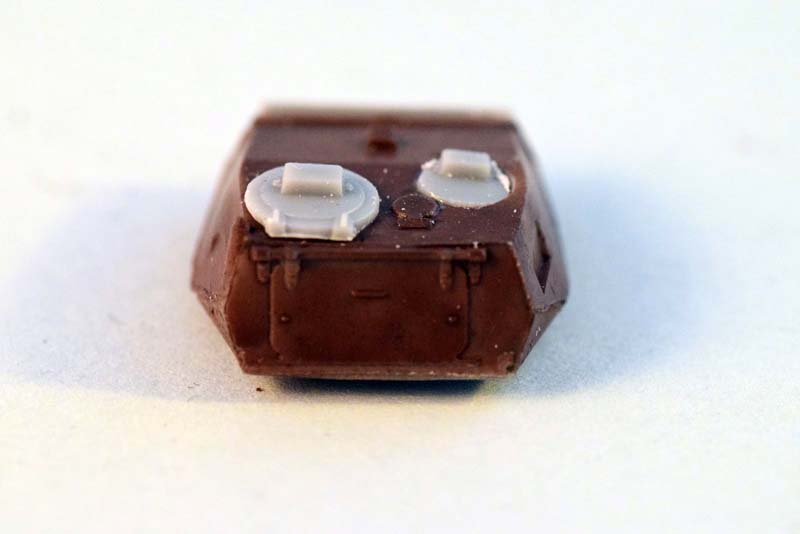
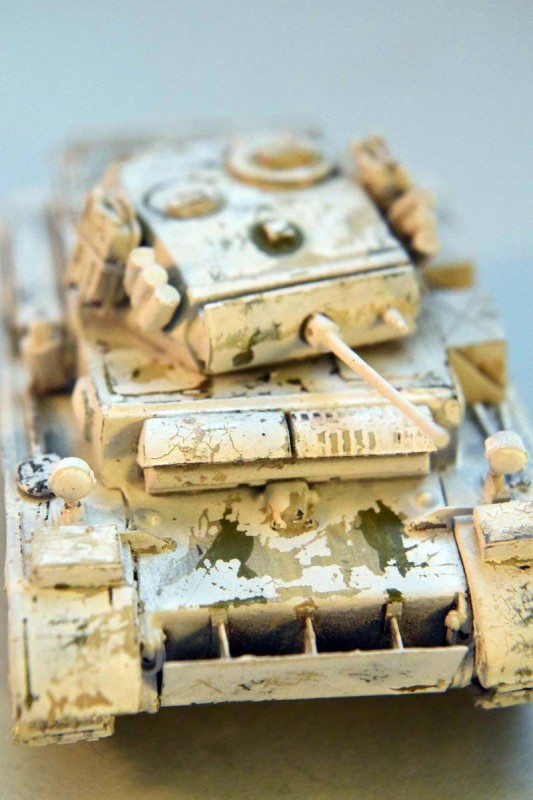
Half of the added armor plate protecting the front of the tank over the drivers hatch is quite smooth. It should be ribbed, if the black-and-white historical photos are any indication.
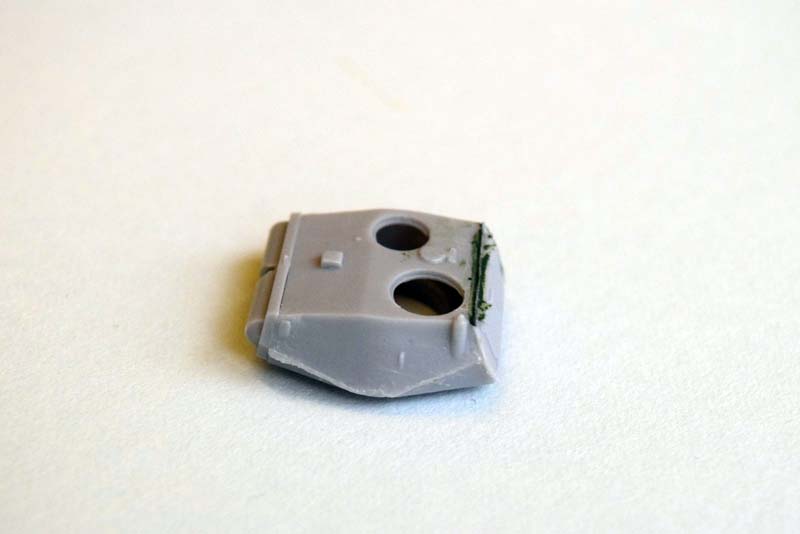
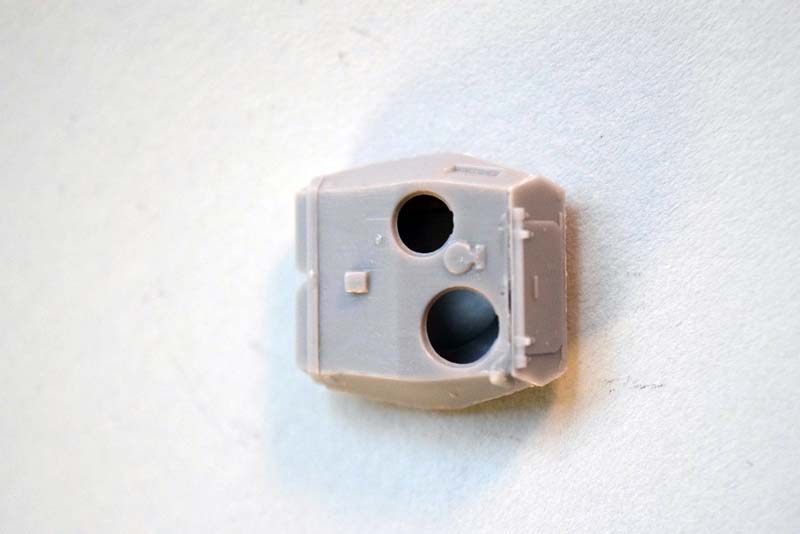
Turret assembly
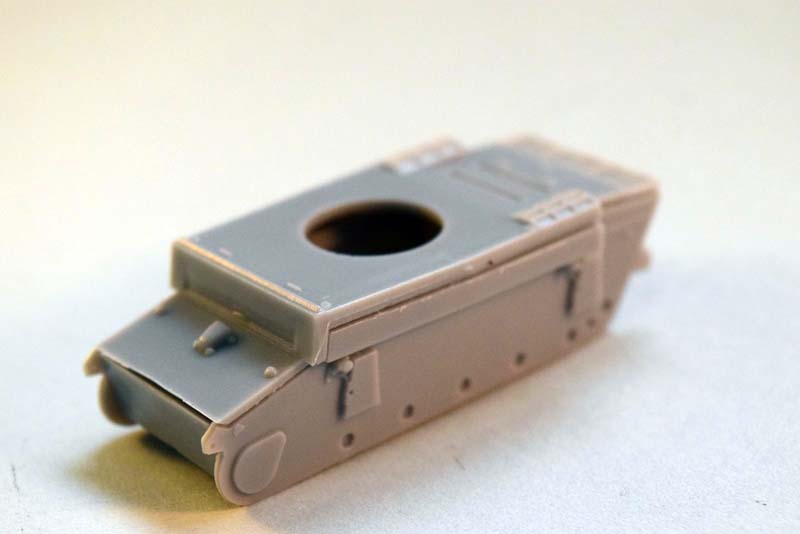
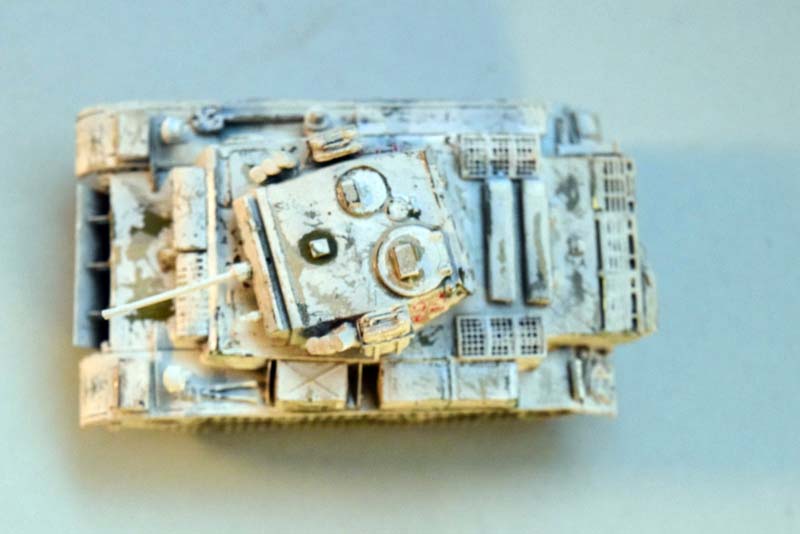
The turret is made out of several flat pieces; some filling and sanding was necessary.
The turret hatches on the top need to be adjusted a bit so that they fit perfectly into their holes; I would not recommend depicting them open as the interior is empty, and the hatches themselves are quite thick.
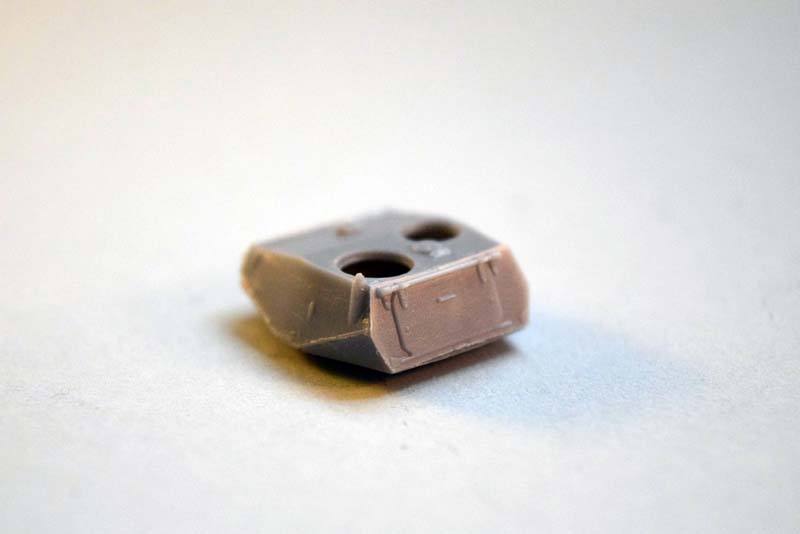
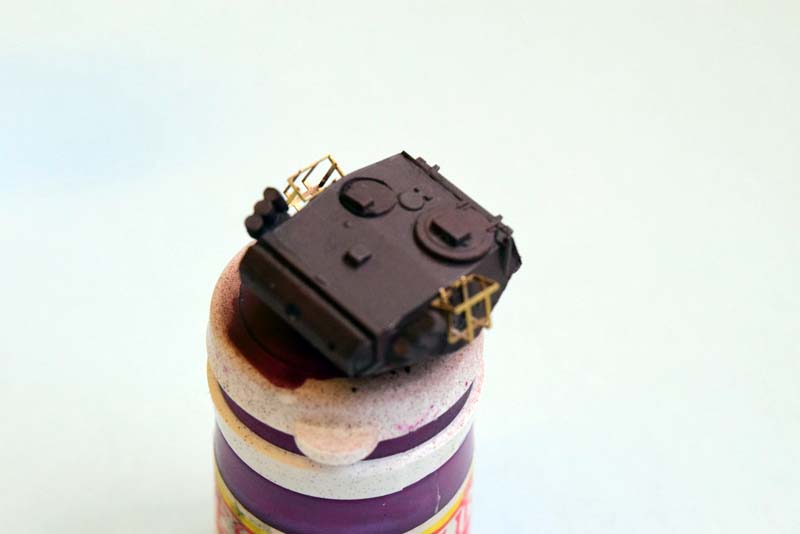
The smoke canisters on the side of the turret are almost parallel -the only historical photo (https://s-media-cache-ak0.pinimg.com/736x/31/8a/00/318a00837b1a0b6a3d0b02b11bb15a40.jpg) I found shows these canisters slightly angle away from each other.
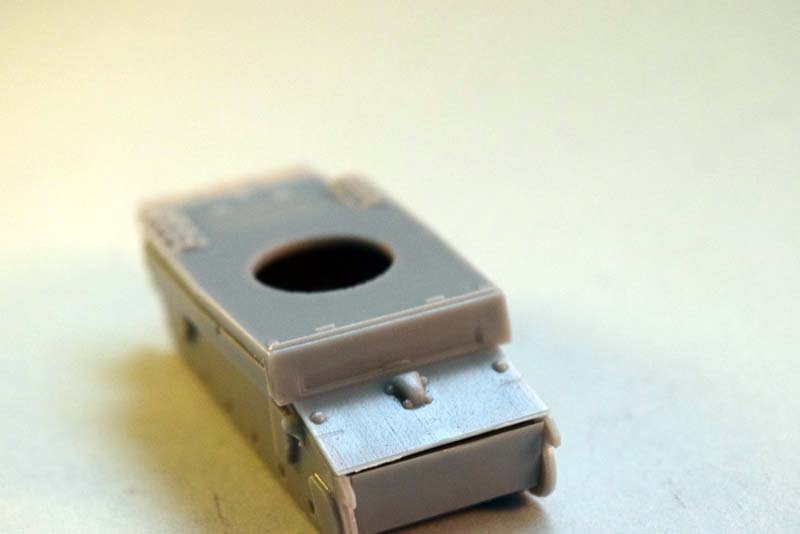
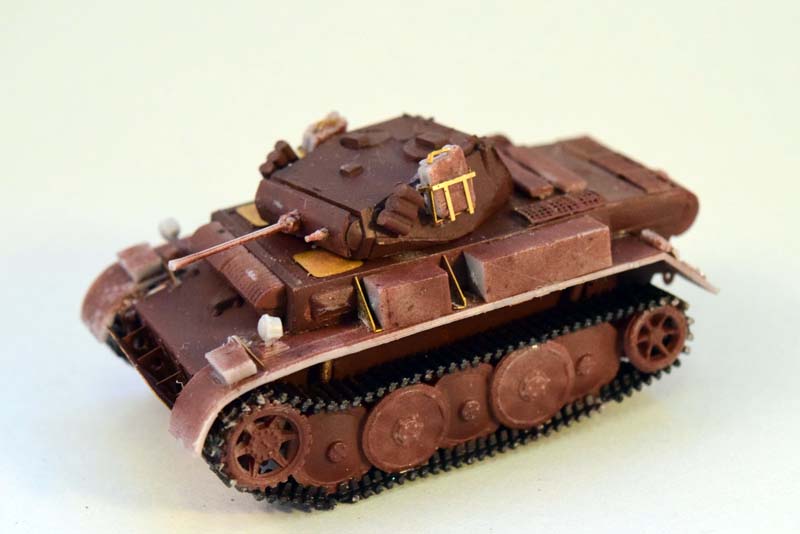
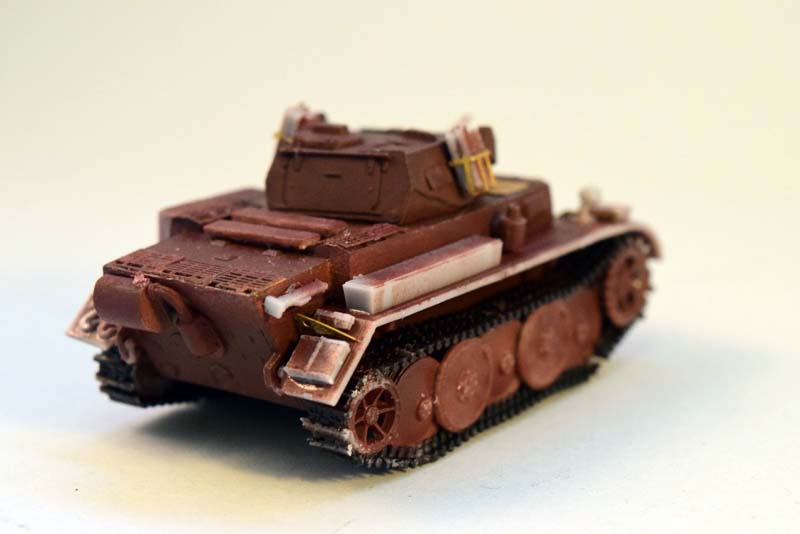
The model went through several steps of building and priming. The first layer of red oxide primer was applied to check if there were seams left over after filling and sanding. Once I was satisfied that no seams were visible, I added some more details (road wheels, PE, etc), and applied another layer of primer to blend everything together.
I added the tracks, the mudguards, the frontal armor plate, more small details, and added a final primer layer.
The building stage was done in a couple of hours; the next step was to determine what color scheme I would like to use.
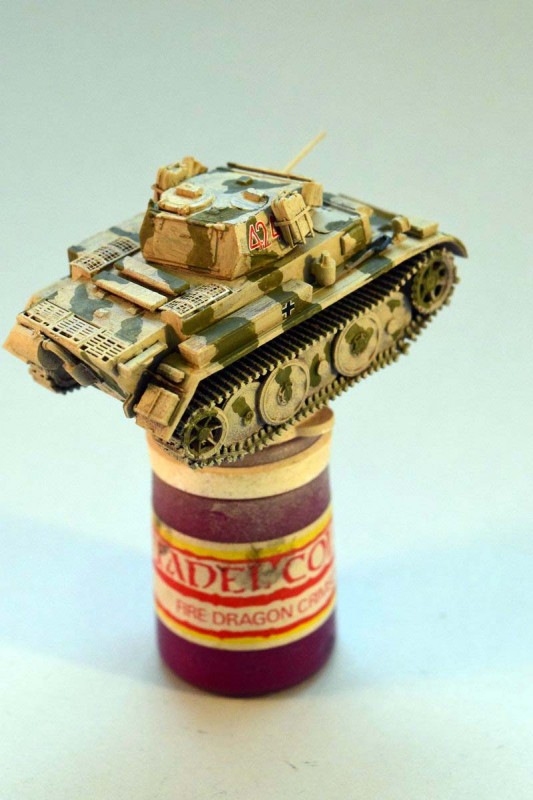
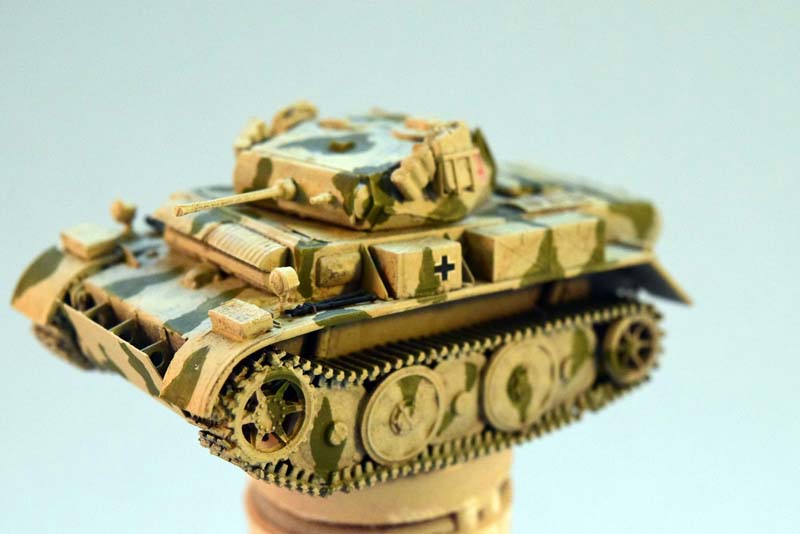
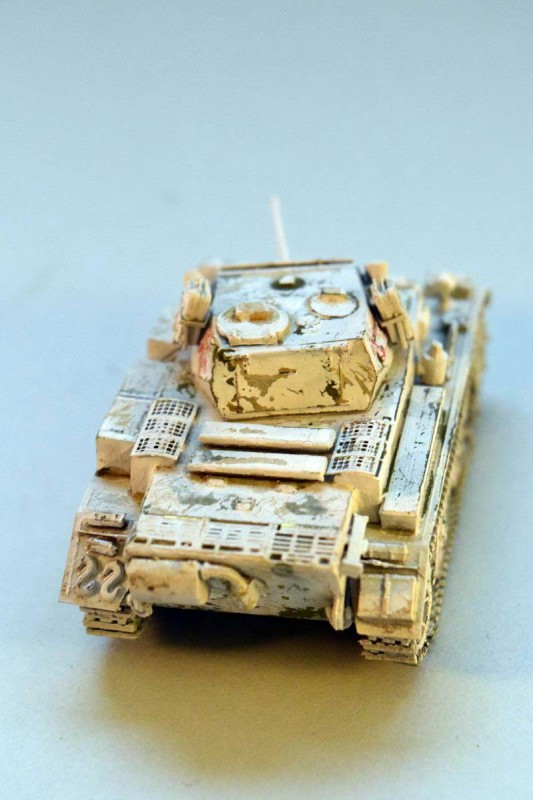
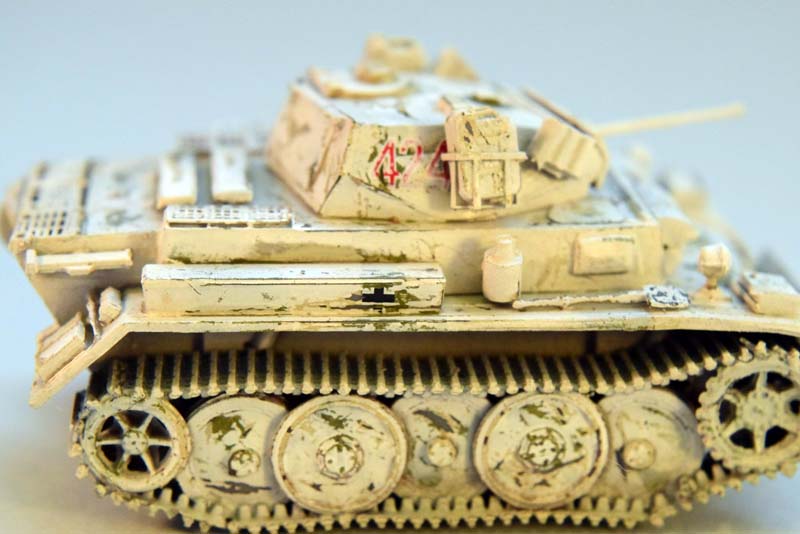
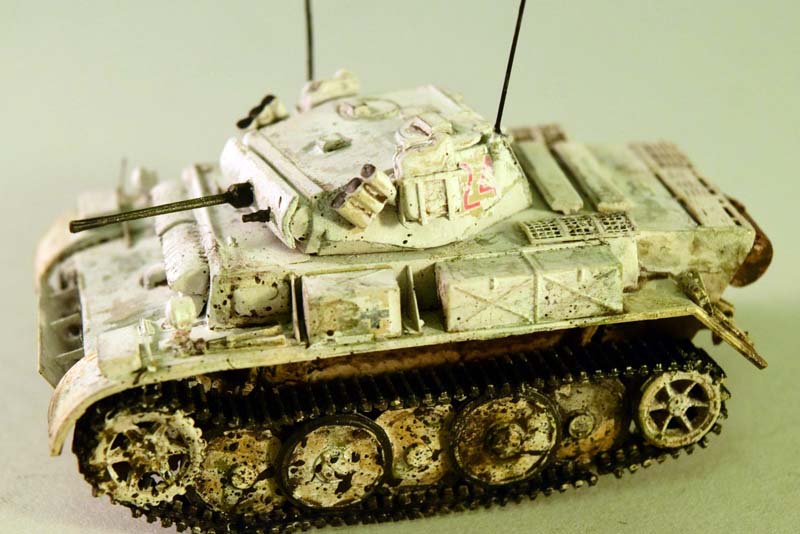
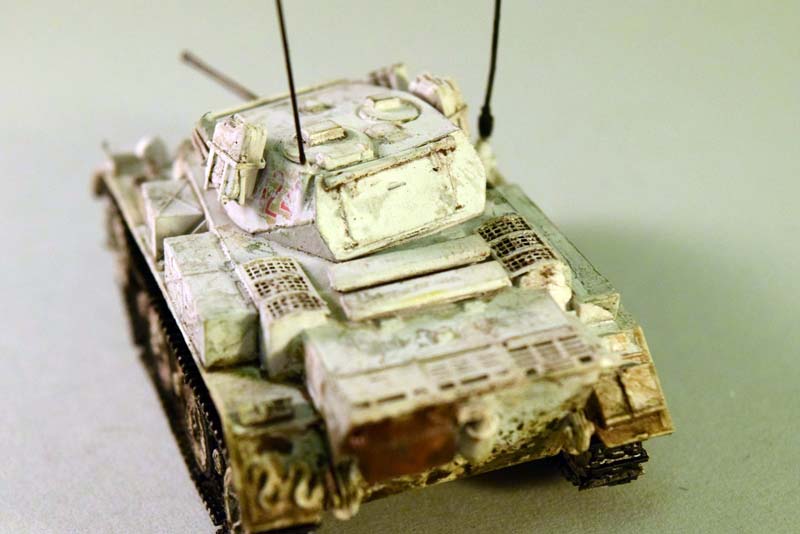
Since I wanted to experiment a little, I chose a late-war vehicle with a two-tone camo with a winter whitewash applied.
I used MIG Ammos RAL 7028 Dunkelgelb 1944 as a base color, and carefully painted the pattern using Tamiya olive green lightened with deck tan (for scale effect) with a brush. I was not particularly concerned about how even the patches were, since they would not be prominent after the whitewash; only small parts of the underlying camouflage would be visible. I did use a light brown filter to tone down the contrast a bit. The decals were added this point, since the whitewash was applied on the field, onto a vehicle already in service.
Once the basic painting was done, I sealed the paint with Testors Dullcote to protect it from the subsequent steps, and covered the whole model with AK Interactive Heavy Chipping Medium. This was followed by Tamiya flat white, and after about ten minutes of waiting I went on creating chips with a wet brush and a toothpick. The paint was nicked carefully at places using the toothpick, and I used the wet brush to enlarge these chips.
Once I achieved a decent amount of chipping and cleaned off the model with some running water, the contrast between the white and the underlying colors was really stark.
Photo series 8
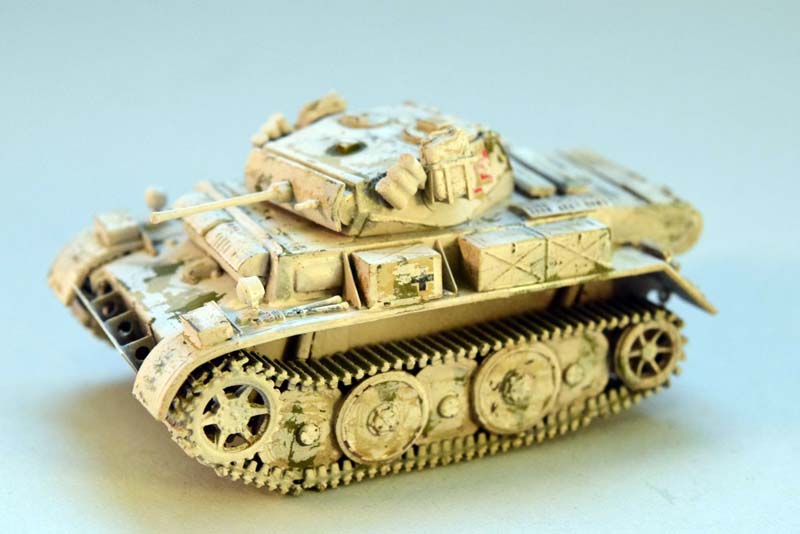
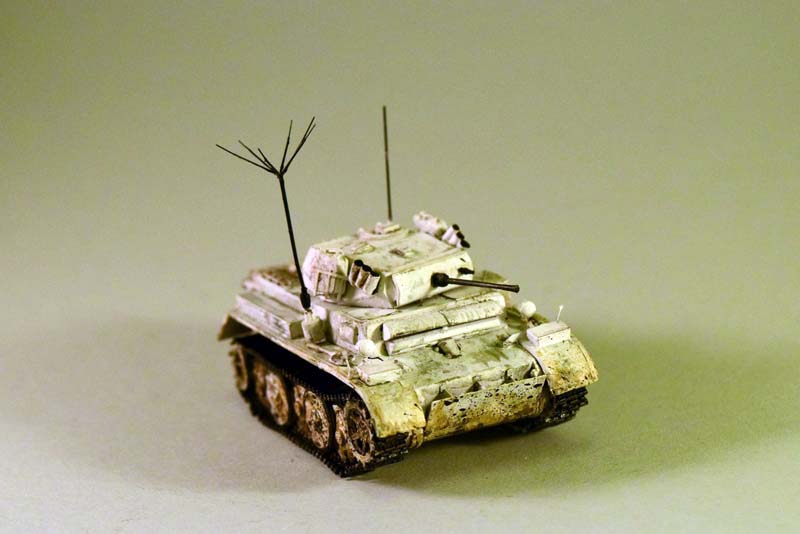
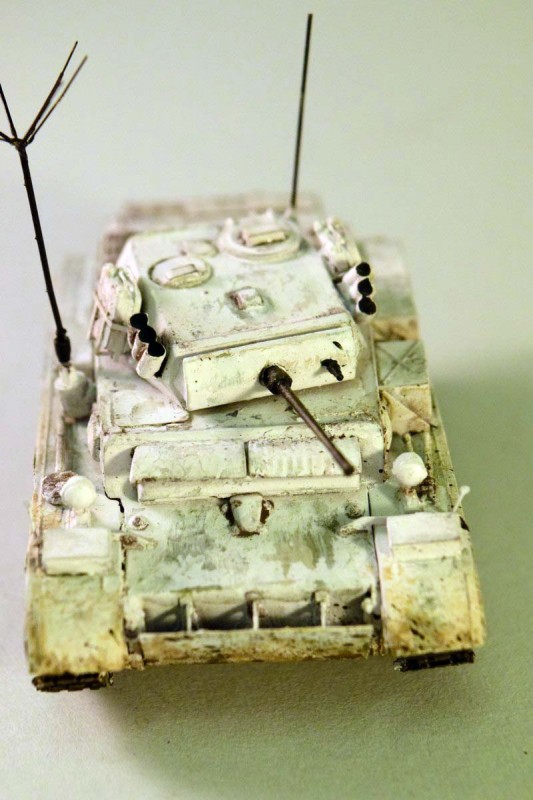
Sealed everything with Dullcote again, and picked up MIG Ammos washable white. I covered the model with it using an airbrush, and after it had some time to dry I created a transparent, uneven white layer over the whole tank using a wet brush. Moving the brush with a downward motion I blended everything together nicely; the paint left a translucent white layer on top of the model.
The weathering part is always a bit difficult, especially in 1/72; its really easy to overdo in this scale. One thing Ive noticed is that the camera and the eye sees differently. Its probably the trickiest part of the whole process to make sure the model looks good on screen as well as with the naked eye. As a general rule if by eye the model looks good, on photo the effects will appear somewhat overdone.
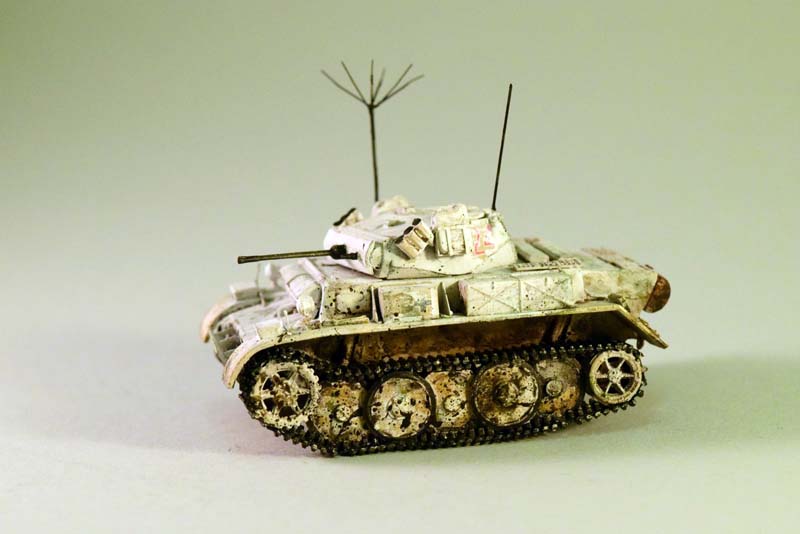
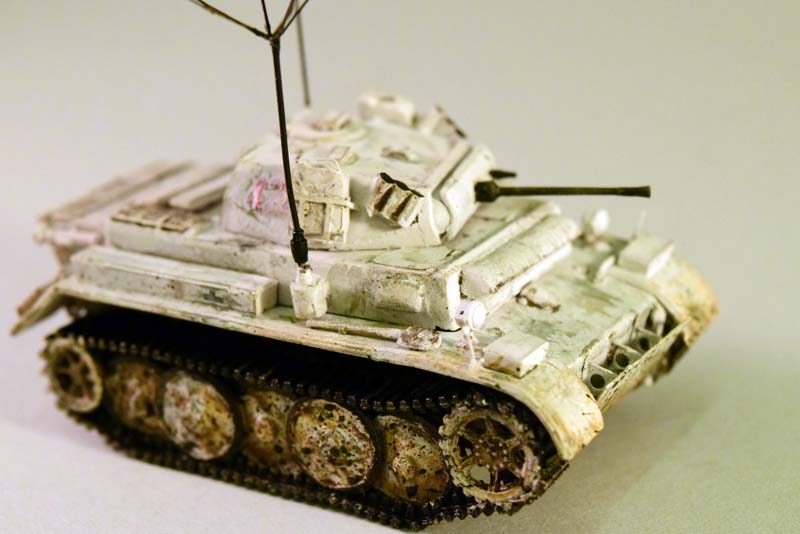
I used some heavily diluted winter streaking grime from AK Interactive as stains on the lower chassis. Different brown pigments mixed with white spirit and splashed mud from Vallejo was used to simulate the mud thrown up by the tracks onto the lower chassis and the road wheels. A silver pencil helped to create a worn, shiny metal look on the edges of the tracks, and gave a metallic sheen to the gun. (Normally I use it on all edges, but in this case the whitewash made it unnecessary.) Ive used a guitar string -E string- for the whip and the crows feet antennae.
Well, pretty much this was it. The model was not very difficult to build (some experience with PE required), and the detail looks good when finished. The crows feet antenna looks especially good compared to most of the other offerings in this scale.
SUMMARY
Highs: 3-in-1 option, great PE.Lows: flash, somewhat ill-fitting, no numbers on sprues, some details could be better.Verdict: Recommended.
I am a biologist by trade, and as a hobby I've been building scale models for the last twenty years. Recently I started to write reviews of the models I bought. These reviews are written from the point of view of an average model builder; hence the focus is on quality of the model, how easy it is to...
Neat. I just picked up one of these from the FlyHawk line. Really enjoying the modern molding braille scale armor. When I put one of the newer kits next to an old Esci 1/72 kit, I am amazed at the detail and difference in engineering.


Comments