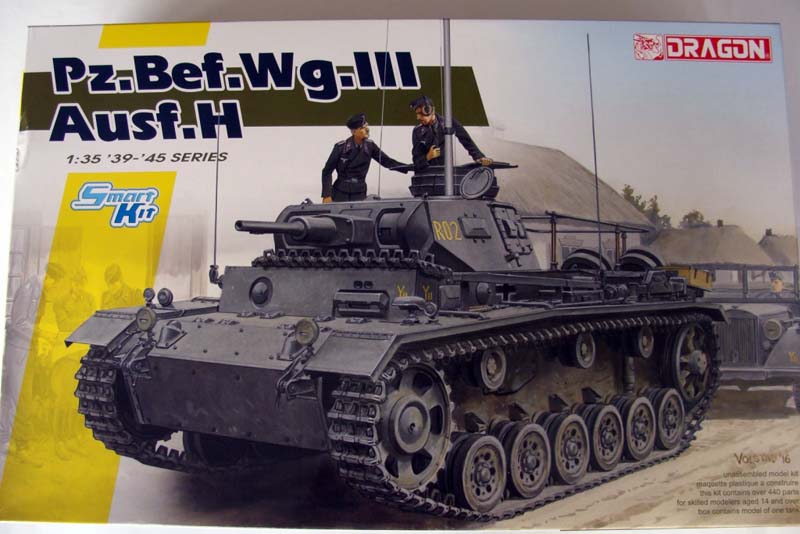
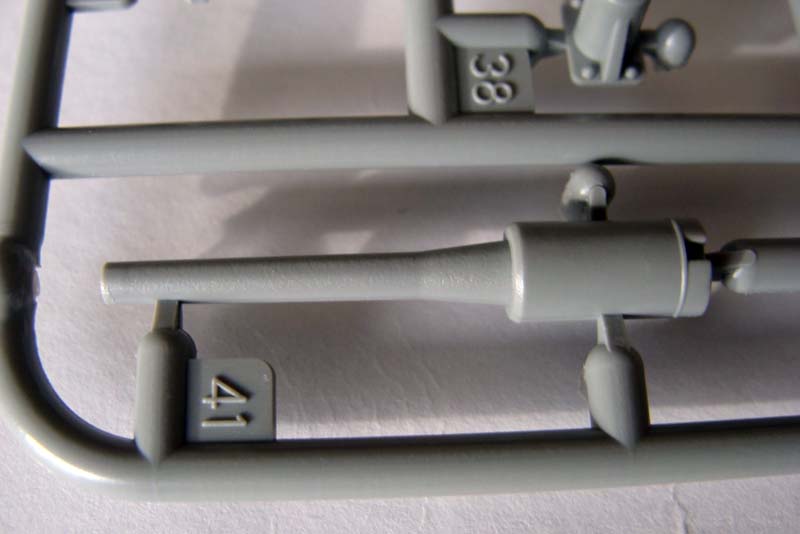
German armor tactics demanded commanding from the front line, so to keep up with the fast moving AFVs and having the equipment for communications, the Germans converted several tanks into command vehicles. These vehicles looked very much like a normal tank, but in most cases, for making room for the extra radio equipment, the main gun was removed, and a dummy barrel was installed instead. In this case a machine gun in a kugelblende was installed in the position of the co-axle machine gun where it was normally was located. Between November 1940 and January 1942 175 Pz.Bef,wg. III ausf. Hs were produced.
Kit Contents
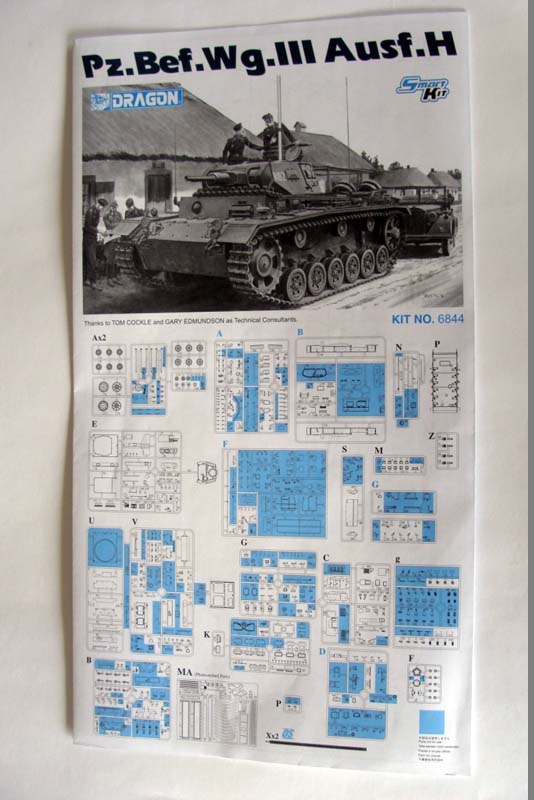
The kit comes in the old familiar Dragon Models sized box, with a nice box art from Ron Volstad. On the side and bottom of the box, theres depicted the numerous special features of the kit. The sprues come in clear sealed plastic bags, and the whole kit contains over 440 parts and includes the following:
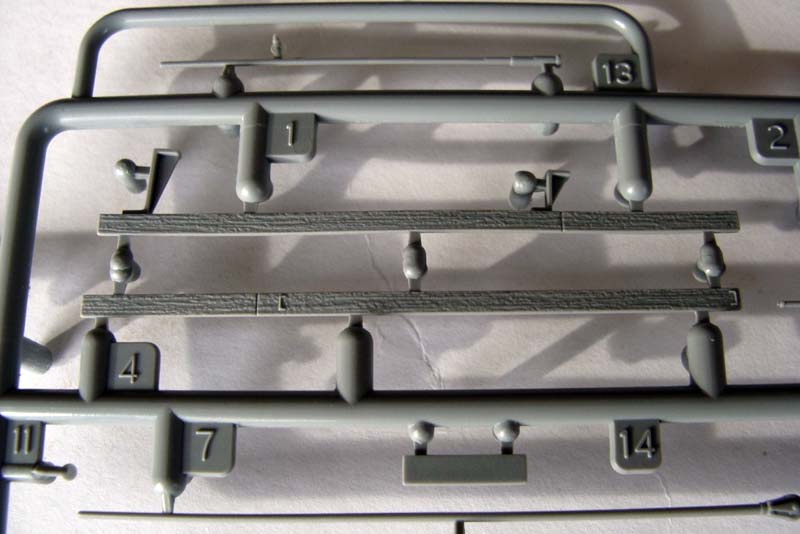
19 sprues molded in grey styrene
2 sprues molded in clear styrene
1 separate hull tub
1 separate turret top
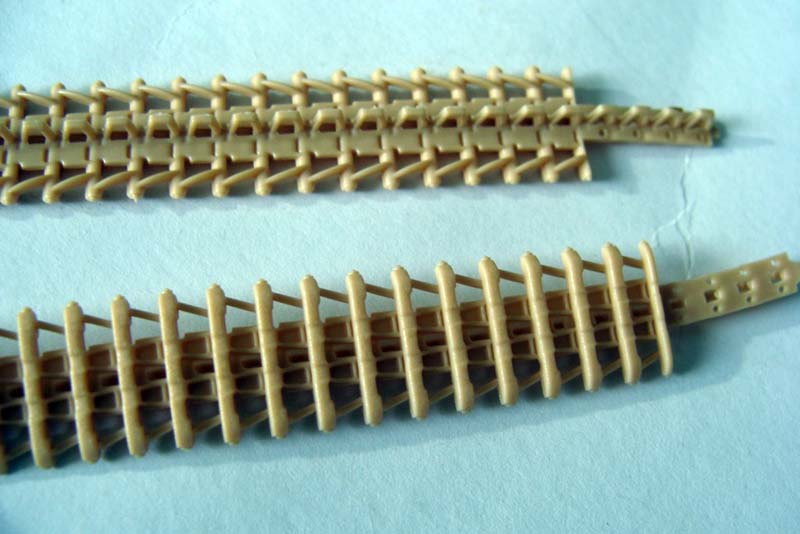
1 pair of DS Tracks
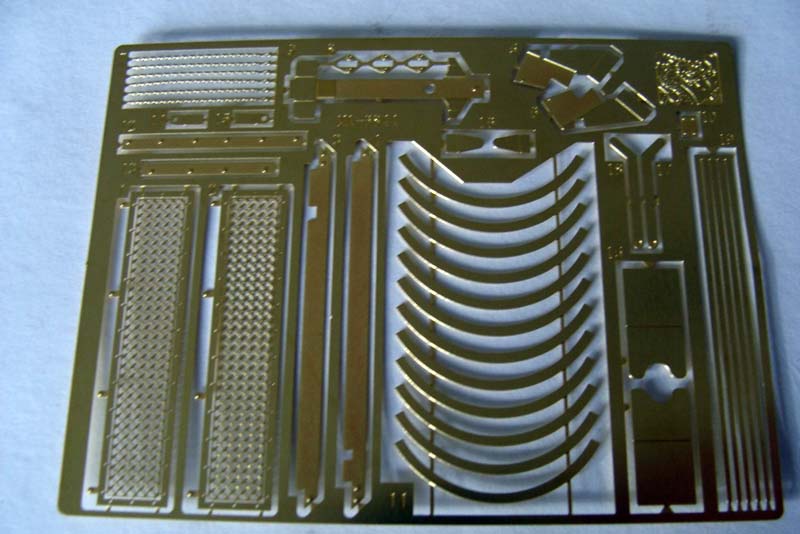
1 fret of photo etched parts
1 very small decal sheet
1 instruction booklet (Black and white)
1 poster depicting the box art
Review
Dragon Models has released this kit as a SmartKit, which means that the details and parts are simplified, and should be easier to assemble. Thus simplified, it doesnt lack details; on the contrary, this kit has loads of crisp and well-engineered details. Even under the turret and on the underside of the fenders there are nice surprises to be found. Even some very nice interior details are to be found in both the hull and the turret, which really adds to the realism, especially if the hatches are left open. As a Dragon Models tradition, there are also a lot of parts, which are for other Pz. III (and even some Pz. IV and one from the Sd.Kfz. 251/6) kits, and therefore not to be used on this kit. Id estimate about 40% of the parts are not to be used in this kit, so plenty for the spares box.
The Running Gear
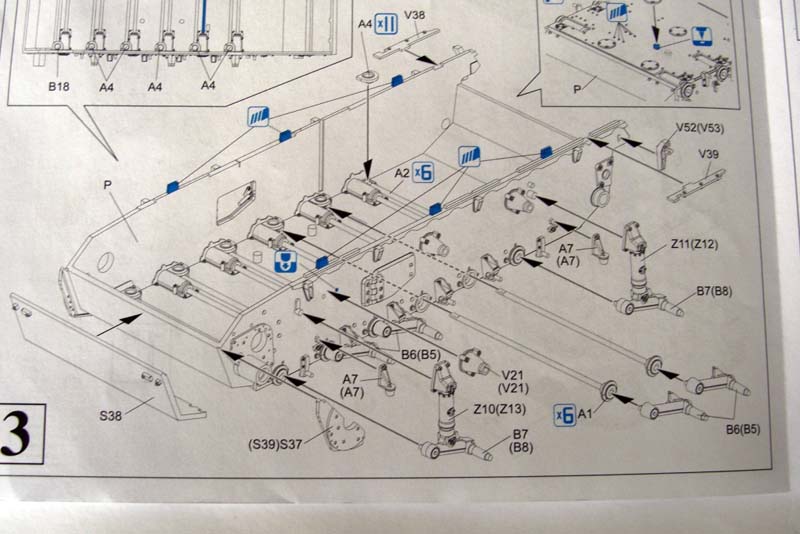
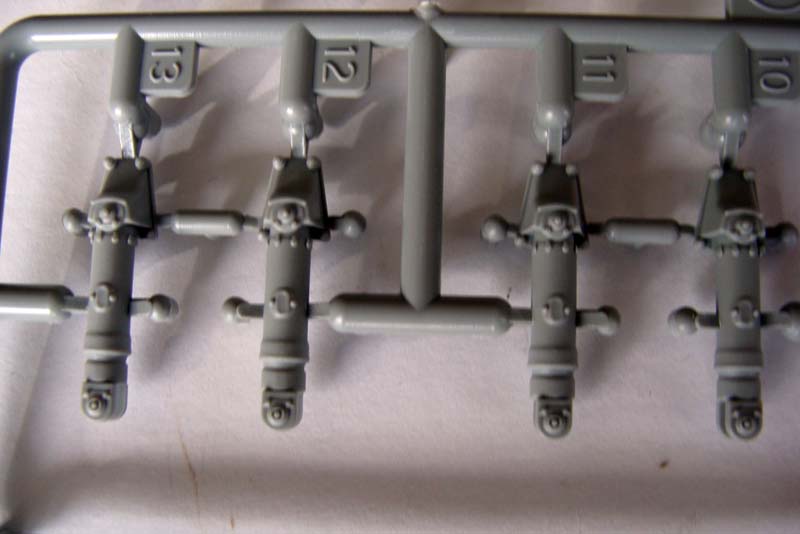
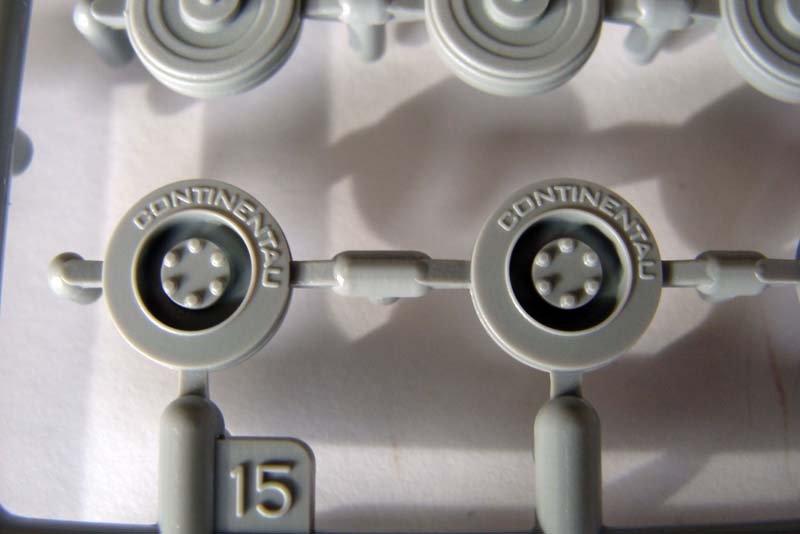
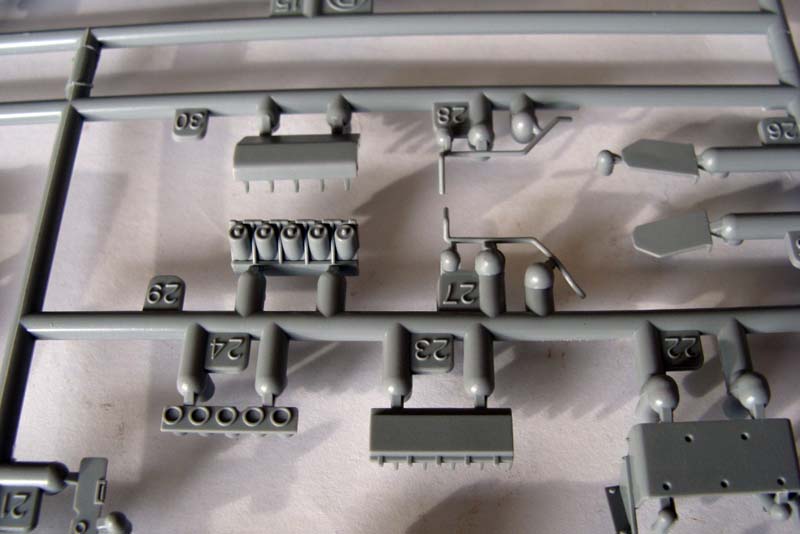
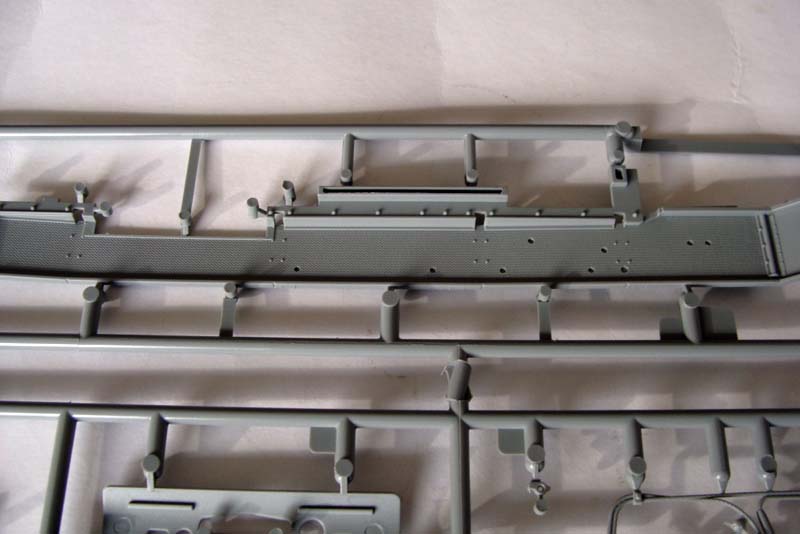
The assembly starts with the drive sprocket, idler wheels, return rollers and the road wheels. The drive sprockets and idler wheels are the same as in the StuG kit, and depict these Pz. III features beautifully. The idler wheels are to be fitted with PE for that extra detailed look. But Dragon Models has designed these PE rings, such as they come in 3 parts instead of just one. This does not make the construction easy, and I really dont understand this move, because in earlier kits, this PE part came in one piece, which is so much nicer to handle, than three tiny parts, which are to form a perfect circle. Not a good development in my opinion. The road wheels and return rollers are also from Dragons earlier StuG. Ausf. G kit and they are nice and crisp and very well detailed, which even have Continentau (the last u should be made an l) molded on the rubber rims, and the hubs on the road wheels also has the screw for filling and controlling oil. A well thought detail. The track tension mechanism is made up of 3 parts, and looks so much better than the lumps from the old kits from back in the 90s. Except for one torsion bar, which is to be removed, this kit also has the workable torsion bar system, which actually, if very careful with the glue, does work!
Lower Hull
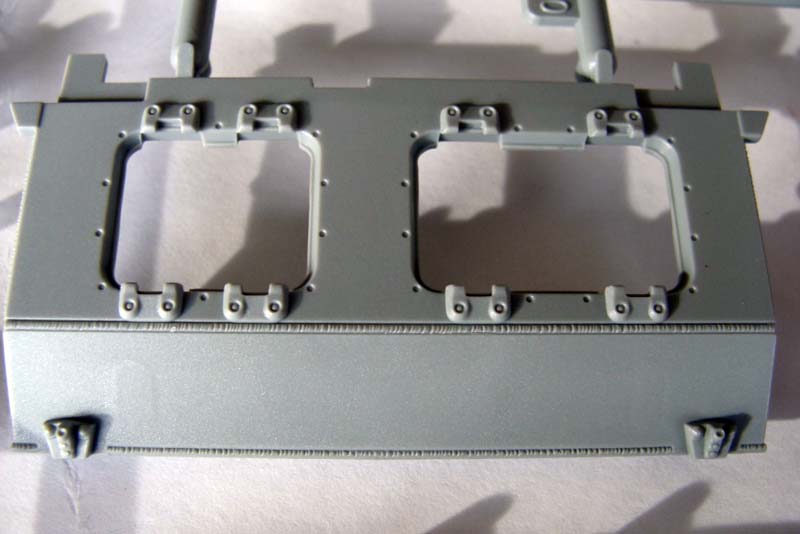
Next is the hull assembly, which starts with inserting the torsion bars and road wheel arms. This is followed by the escape hatches, which can be made either open or closed, and have nice details inside, such as bolts and handles. Beware though; there are 2 nasty punch marks on the inside of each hatch. The lower hull tub is a masterpiece itself. If you for some reason want to portray the vehicle turned over, the bottom of the hull is loaded with details, even very realistic weld seems! The shock absorbers are of new tooling, and these are truly small gems. Very well detailed, and with a minimum of clean up.
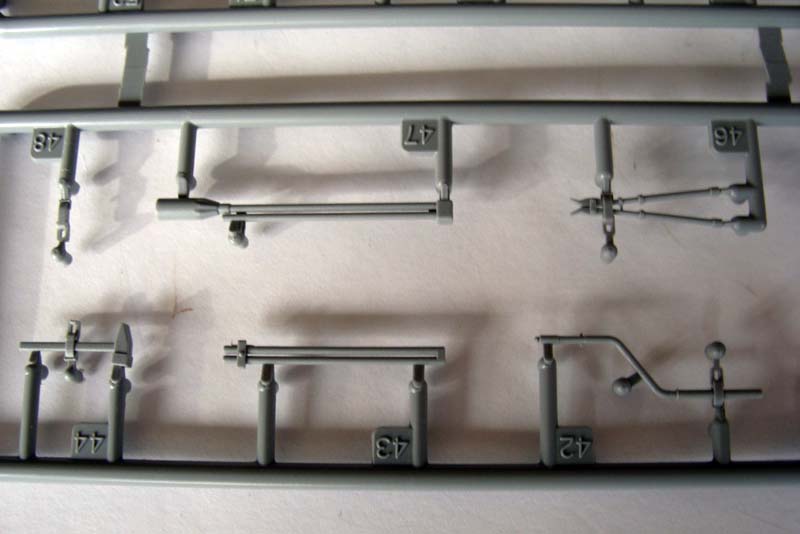
Step 4-6 is the assembly of the rear hull plate, which holds two 3 piece towing eyes. The exhaust pipes are hollowed out for you, so they look like the real deal. Dragon Models provides an option of two different smoke pots for the rear upper armor plate. One of the options even got small PE chains, which really looks excellent. The drive sprocket, idler wheel, return rollers and the road wheels are fitted, as well as the rear hull plate and the rear top armored plate. If you are to use the included DS tracks, you can wait installation of the wheels, because this will make the painting and weathering a bit easier.
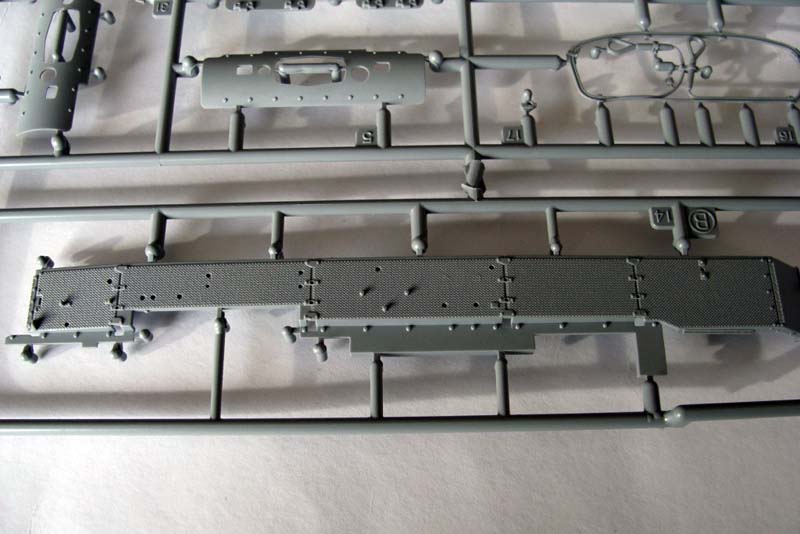
Next up is the fenders, which in my opinion are excellently executed. Theres just as much detail on the underside than on the top side. The fenders are made thinner in the ends, so they look more in to scale, and even the small hooks for holding the mud flaps into place are included both in styrene and PE. The tools are very nice in detail. I really like the tool clamps, they are a huge improvement over the old lumps from the dark ages. The Bosch head light come in 3 pieces! Be careful to remember to drill the right holes in the fenders for some of the tools. Its very annoying to discover, that these should have been made after you have glued the fenders on.
Upper Hull
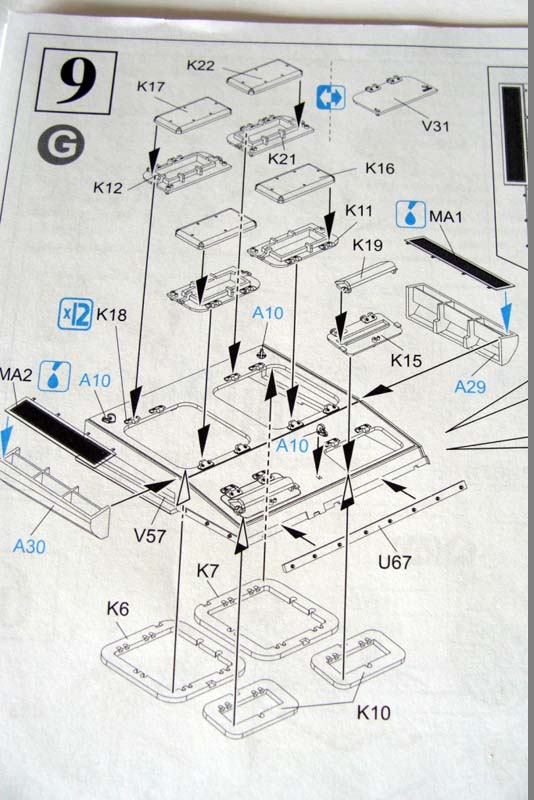
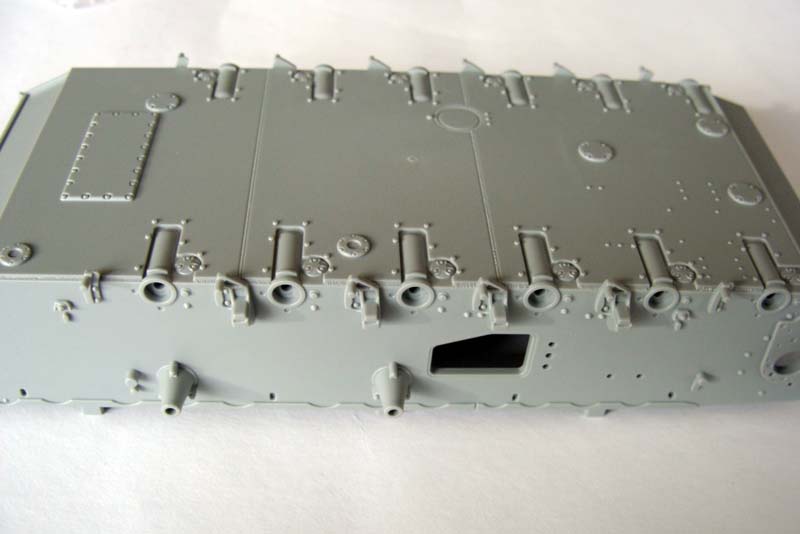
The assembly of the upper hull deck starts with the engine cover and the construction of the many inspection hatches and air intakes. The latter has some great looking PE mesh screen, which is a nice addition. All the hatches on the engine deck can be glued in either open or closed position, and they are fully detailed on both sides. And these hatches have no sink marks! The same goes for the inspection hatches for the transmission, which also can be set at open or closed, but on these the handles are molded on the hatches. Dragon Models has provided us with two options with the tow cable; mounted and missing/in use. This is a nice option.
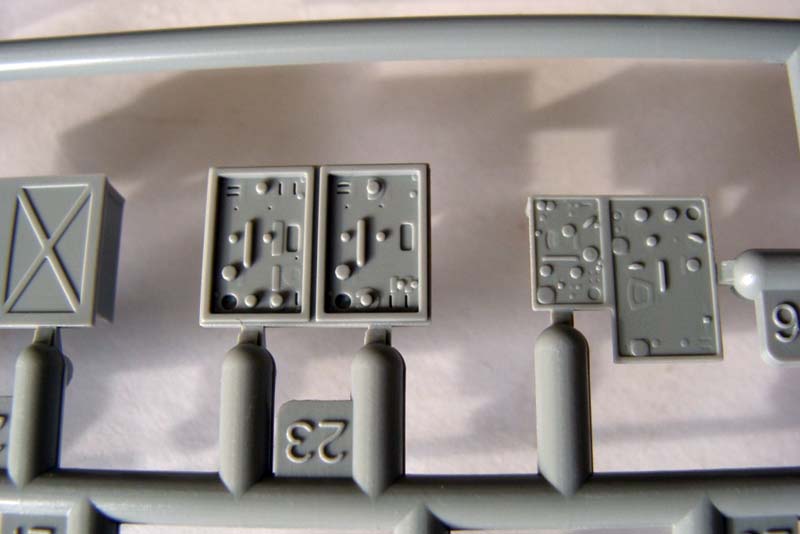
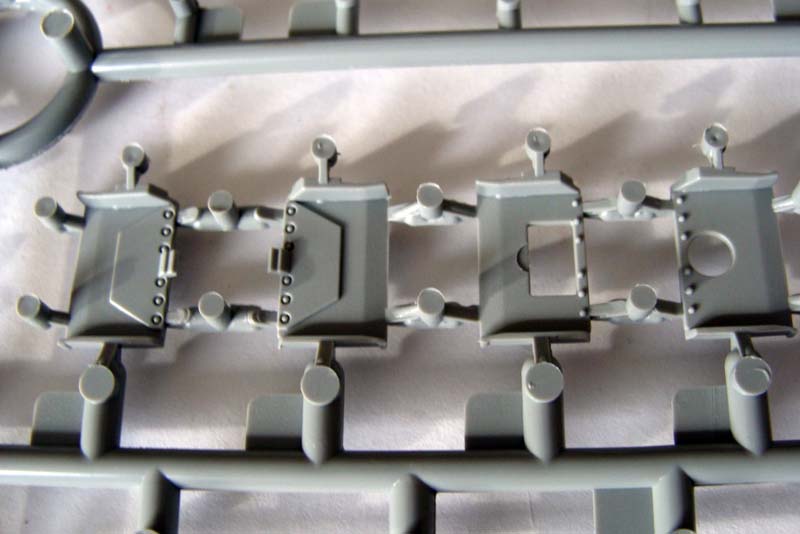
Next up is the construction of the sides and frontal armor, which has lots of detail both on the outside and on the inside. All the vision ports can be built open or closed, and on the inside left side wall, some quite delicate photo etch food canisters are located. This might be the forerunner for the cup holder!
The two antenna mounts are going on the radio operators side and in front of the left air intake, but I strongly suggest, not gluing the antenna on until the rest of the vehicle is assembled. I would definitely break that thing of several times, before I would have finished the model. The front glacis has its ball mount Kugelblende 30 removed for this conversion, so in this case the hole is plugged shot.
Step 14-16 is the construction and fitting of the interior. This is really a great feature, since it will add tremendously to the all over realism of the build, especially when build with the hatches open. This stage finishing the construction of the hull, and the additional 30mm armor plating and towing eyes is fitted to the frontal lower hull.
Tracks
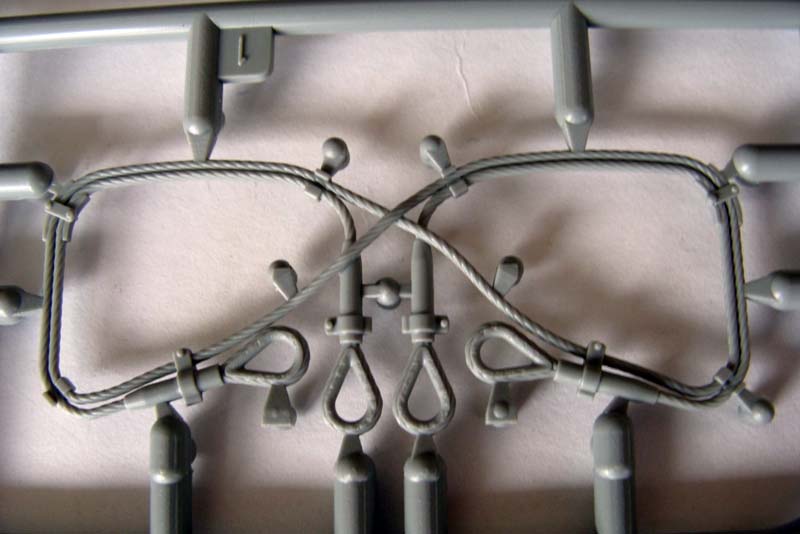
Dragon Models has provided us with a full set of their DS Tracks. I still dont get this, I mean, why on earth does a company like Dragon Models invent such brilliant individual tracks as Magic Tracks, and then go back to the old style of rubber band tracks. It simply doesnt make any sense. I have to admit, that the DS Tracks are beautifully cast, but I just dont like using them. Why not just include both kinds, and everybody would be happy. SIGH!
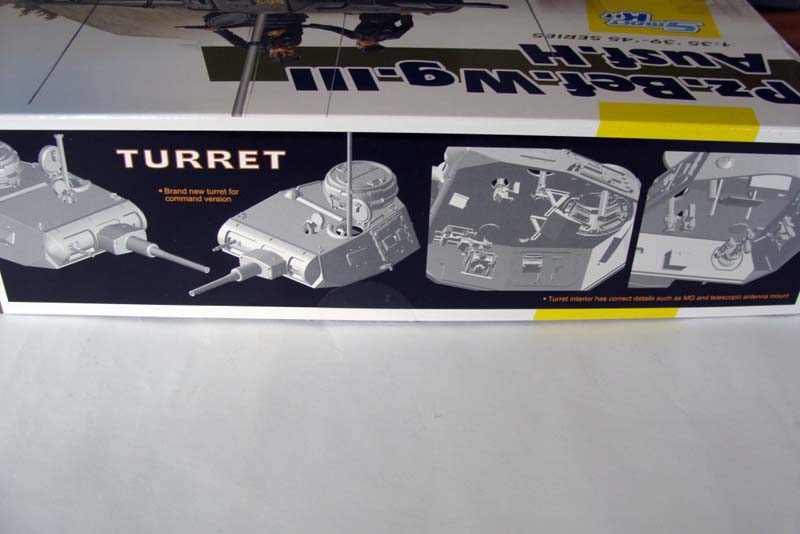
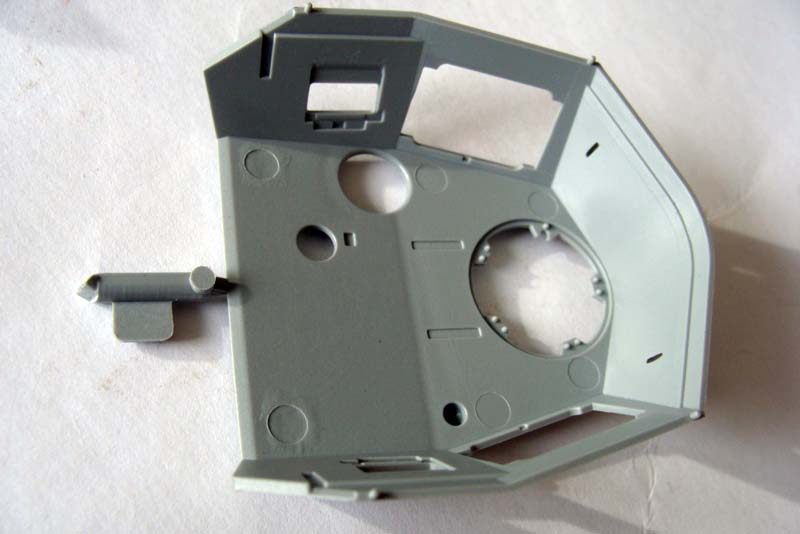
Turret
Now its turret time, which starts with assembling the dummy gun and mantle. The dummy main gun is beautifully slide molded, which means the barrel is hollowed out for you. You just have to be a bit careful when removing the sprue, so there wont be a dent in the gun barrel. I will suggest using a very sharp knife and then a fine file. For the ball mounted MG 34 machine gun, Dragon Models provide their excellent and fully detailed standard MG 34, which really looks great.
Both vision ports and the crew hatches and the hatches for the large telescopic antenna and the observation optics can be open or closed. Also, at least I think it is a kind of map table is located under the turret roof in front of the commanders copula. The commanders copula is actually a model in itself. Its build-up of no less than 14 parts, and can of cause be modelled either open or closed for both the observation periscopes and the hatches.
The top part of the turret comes in one slide molded piece, and looks quite good. Dragon Models has done a wonderful job on this. Great weld seems and some really minute screws on the top. The only punch marks are inside on the roof part of the turret, but these will be very hard to spot, once the whole thing is assembled. They can be filled and sanded, but if you going to do this, I suggest doing it before youve started the assembly.
Final Assembly
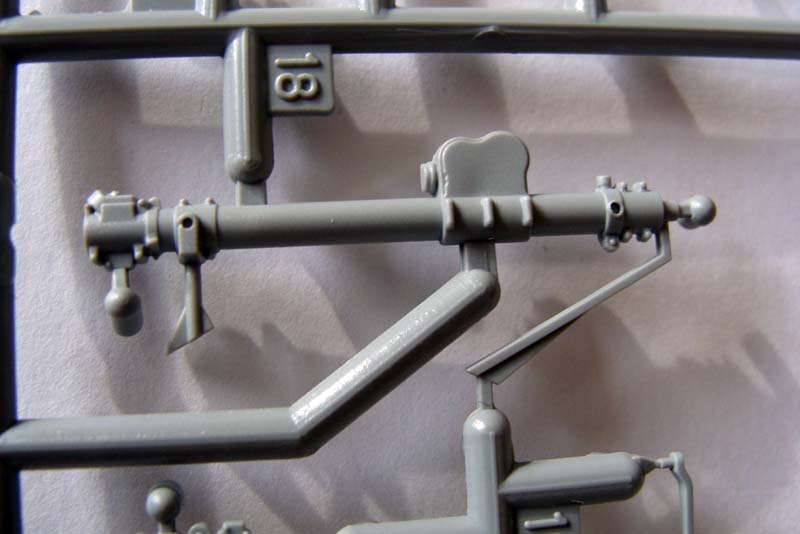
The last steps are the construction and fitting of the telescopic antenna for the inside of the turret, the frame antenna for the engine deck and the two antennas on both side of the hull. The most spectacular piece is the telescopic antenna, which can be assembled lowered or raised. If constructed with the raised telescopic antenna, this model will really stand out from the crowd.
Painting and Markings
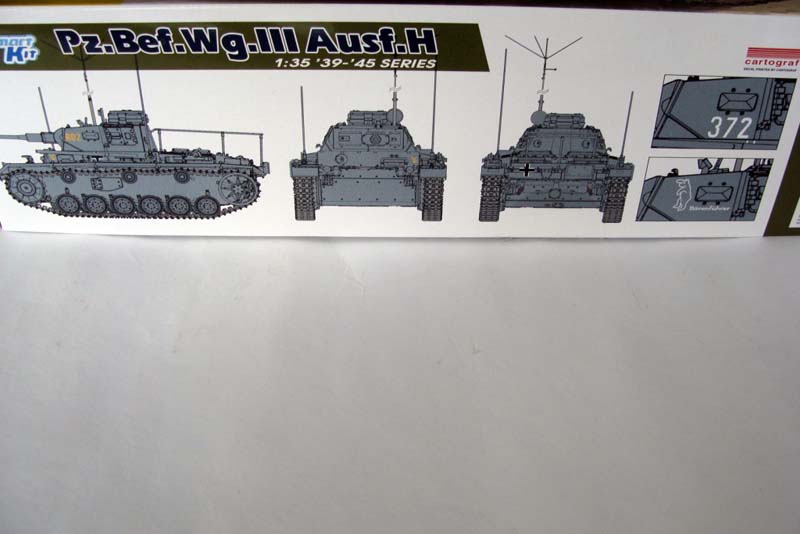
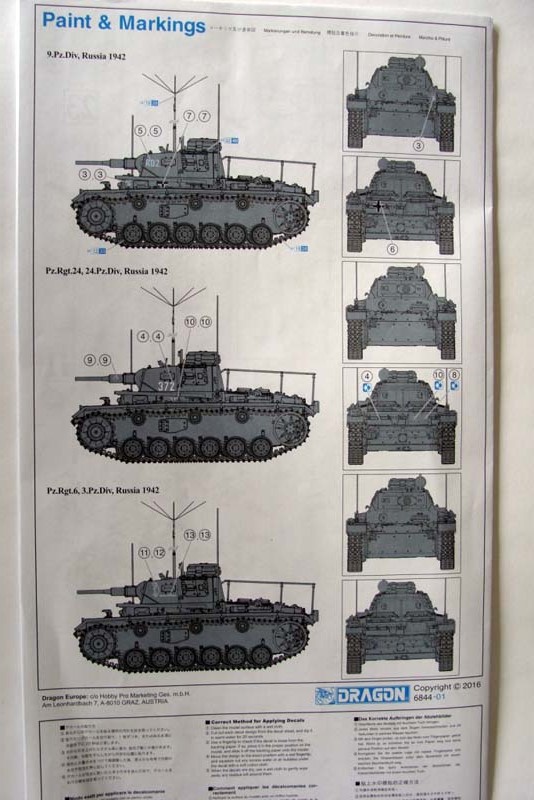
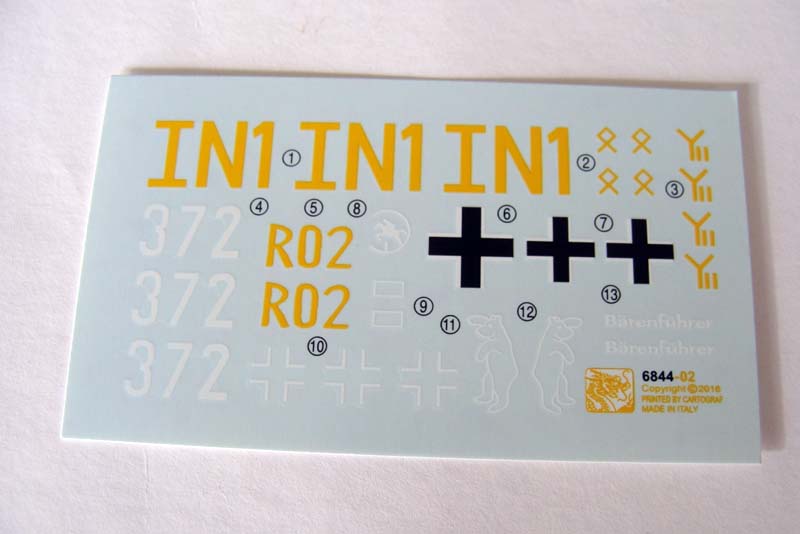
Dragon Models gives you the following 3 options for painting and markings. All 3 have an all over panzer grey:
9th Pz.Div., Russia 1942
Pz.Rgt.24, 24th Pz.Div., Russia 1942
Pz.Rgt.6, 3rd Pz.Div., Russia 1942
I really wonder why Dragon Models didnt provide us with a DAK option of this vehicle. Ive seen a lot of pictures of this Befehlspanzer in the dessert, and it would be a break from the panzer grey colors.
Conclusion
This is a really nice and well executed kit. It represents the Panzerbefehlsswagen III ausf.H very well and it can be produced into a great kit straight from the box. Dragon Models has paid a lot of attention to even the smallest detail, which in the end will make this kit top of the line. I highly recommend this kit, and Im sure Dragon Models will keep pressing on to give us these and maybe even more impressive kits in the future. I thank you for this fine review sample.
SUMMARY
Highs: Great subject with lots of crisp details.
Nice interior detail.Lows: DS Tracks and the three parts PE rings for the idler Wheels.Verdict: This is an excellent kit, which builds into a great model straight from the box. The only real let Down is the DS Tracks insted of the Magic Tracks. It's a very nice addition to the ever growing Pz.III familly.
I highly recommend this kit.
Our Thanks to Dragon USA! This item was provided by them for the purpose of having it reviewed on this KitMaker Network site. If you would like your kit, book, or product reviewed, please contact us.
Karl: Just because you and I don't like these kind of tracks doesn't mean that others can't like them.
Personally I'd like to see both kinds included in each kit, so you'll be able to choose which ever makes you happy.
Jacob
I hear what your saying but why should I have to buy after market tracks which costs £30 just because Dragon are cutting corners and trying to save a few bucks.
I will continue to buy Dragon but only their wheeled AFV's or their older kits.
The only major gaffe I found buliding this kit was part U-2, the front armor plate. This should have had a round cutout for the MG Klappe on the BefWg. DML has it right on their boxart and the drawings in the instructions, but didn't follow through with an actual plastic part. Same old piece from their other Pz III kits with square cutout. Annoying.
Nice kit, blah blah blah. Probably somewhat better than the earlier release but it makes you wonder how many times they're going to do this to us? Improvements are great, re-releases for the heck of it while implementing hefty price increases are not.
I agree with those that wonder why this people don´t take a salomonic decision and put both kind of tracks in the box, I guess that this decision will skyrocket the sales. And the cost would be negligible.
Hi all
I really want to further comment this kit, since Dragon Models' kits seems to get a lot of negative comments in general.
I've actually just finished assembling this kit, and I have to stick to my earlier verdict, and highly recommend this kit. As someone mentioned in an earlier post, there is an issue around the square opening in the frontal armor plating, which should have been round. This is very easy to fix with some plastic card and a bit of putty. No big deal at all.
I've changed the DS tracks with some Magic tracks and used some PE handles for the tool clasps, and that really made a great model.
I'll show some pictures of the finished model, once I'm done.
Jacob


Comments