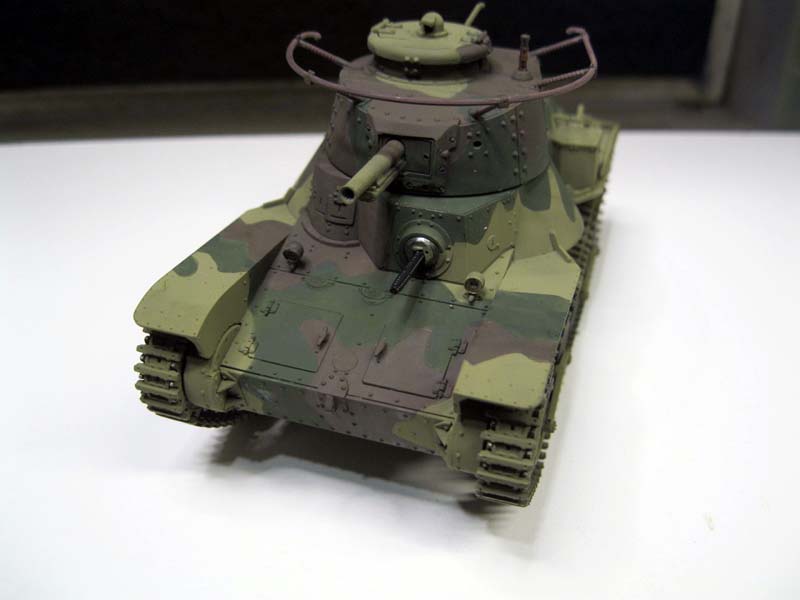
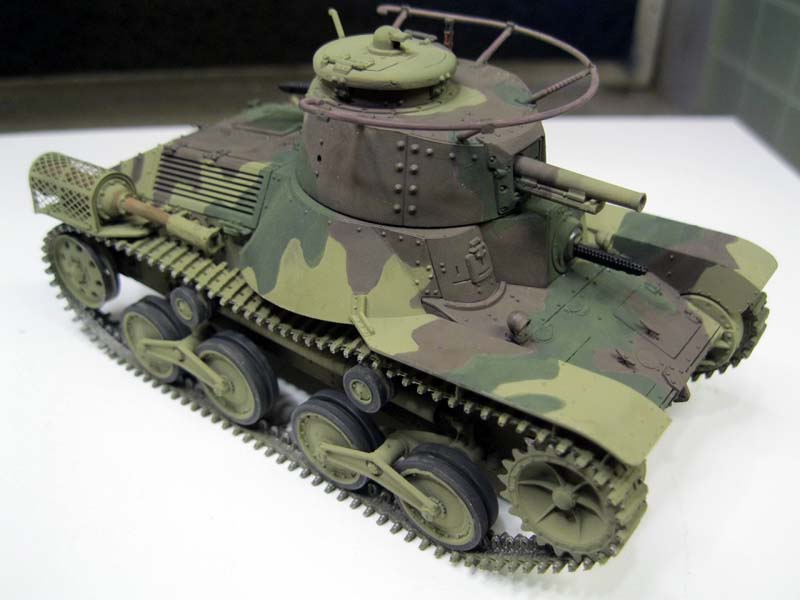
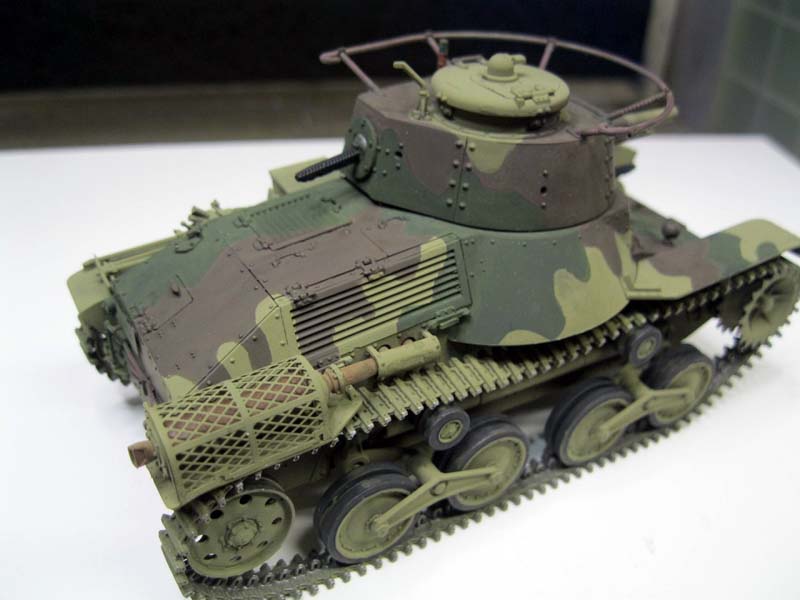
The Type 4 light tank, designated "Ke-Nu" has a fairly simple background, according to the website www.historyofwar.org. The Japanese Imperial Army developed a new 47mm high velocity gun and a new turret for the type 97 medium tank "Chi-Ha". This left them with a number of surplus 57mm gun turrets. Having noted the poor performance of the 37mm gun of the type 95 Ha-Go tank, the hull of the type 95 was slightly modified and the type 97 57mm gun turret was installed, providing a significant increase in firepower for a close, infantry support role. Roughly 100 tanks were so converted. The new turret increased weight and resulted in a slight decrease in speed. The tank still had the same thin armor which was severely deficient by the time the Type 4 entered service. Some were deployed to Korea and Manchuria, the latter seeing limited combat against Soviet forces when they invaded. The rest were retained in the home islands to await the anticipated invasion of US forces.
There is one surviving example left and that is on display at the Kubinka Tank Museum.
The Kit
Dragon Models have followed on their previous, excellent releases of the Type 95 Ha-Go with this bonus kit, which represents not only a real vehicle, albeit one that saw limited action, but also the first step, with the turret, of a Type 97 medium tank, with some indication they plan to pursue that subject as well.
For those not familiar with Dragon's Japanese WWII subjects, I will state that the Type 95 and amphibious Type 2 tanks previously released rank at the top of their releases in terms of detail and offer relatively hassle free builds. For those complaining about another "Tiger, Panther or Sherman" release, these gems have been waiting for you.
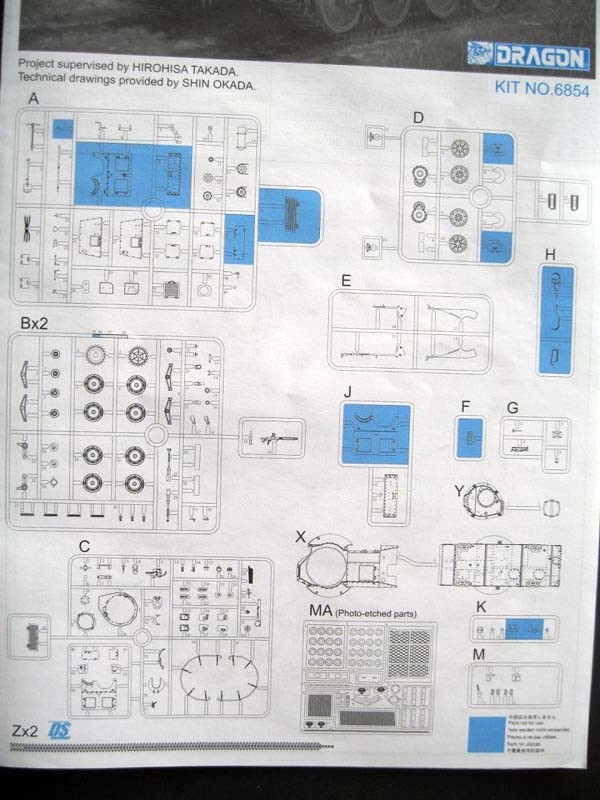
With this subject, the kit comes in a largish sized, top opening box with attractive artwork on the box top and two small pictures of the included marking schemes on the box side. The kit contents are not crammed into the box with no room to spare and are easily and quickly sorted through. Sprues are bagged individually to protect the parts and a small zip lock pouch with photo etch parts and the decals sits at the bottom and may be easily overlooked, which I did the first two times I searched the box.
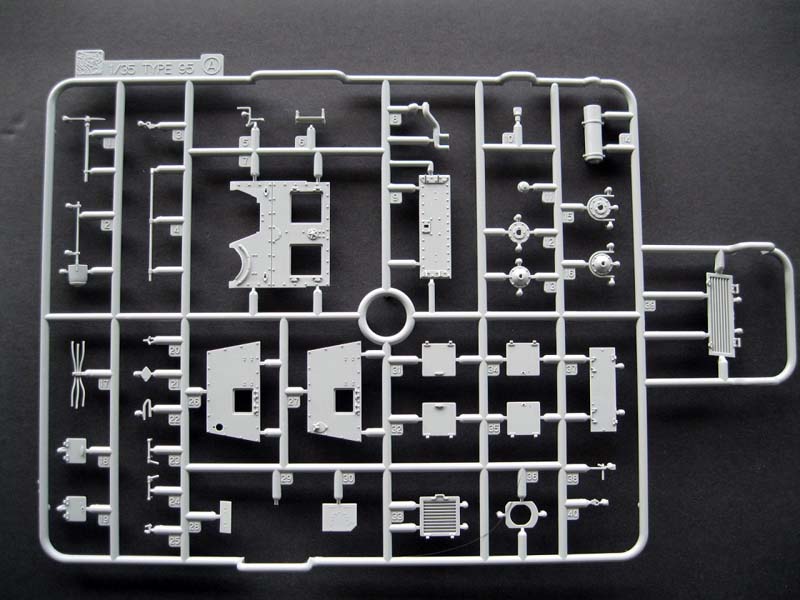
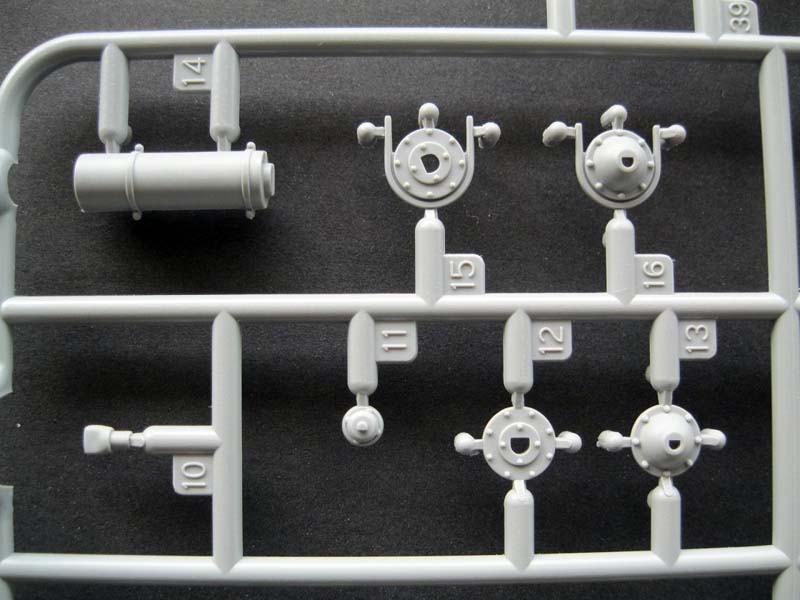
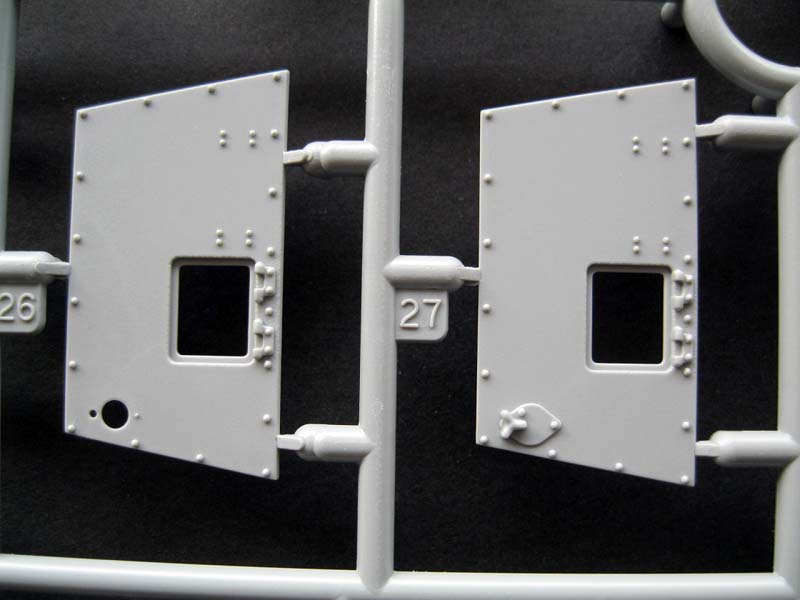
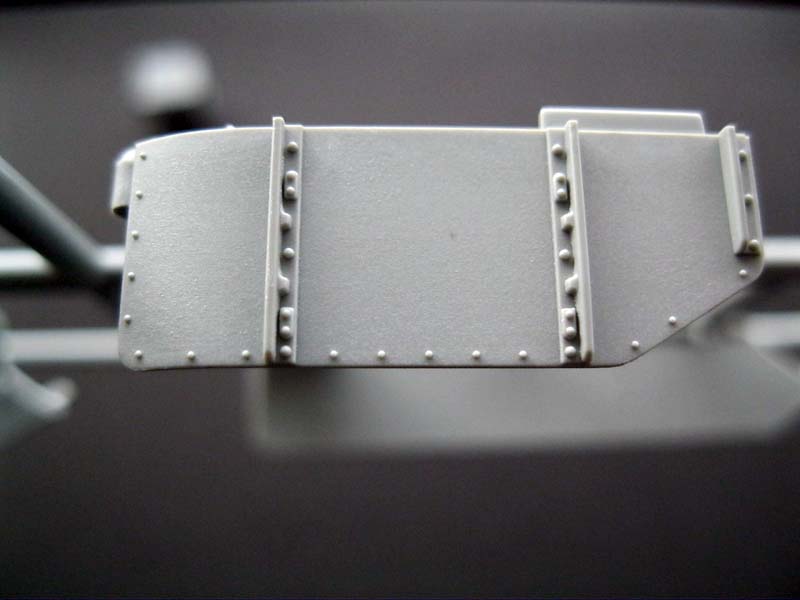
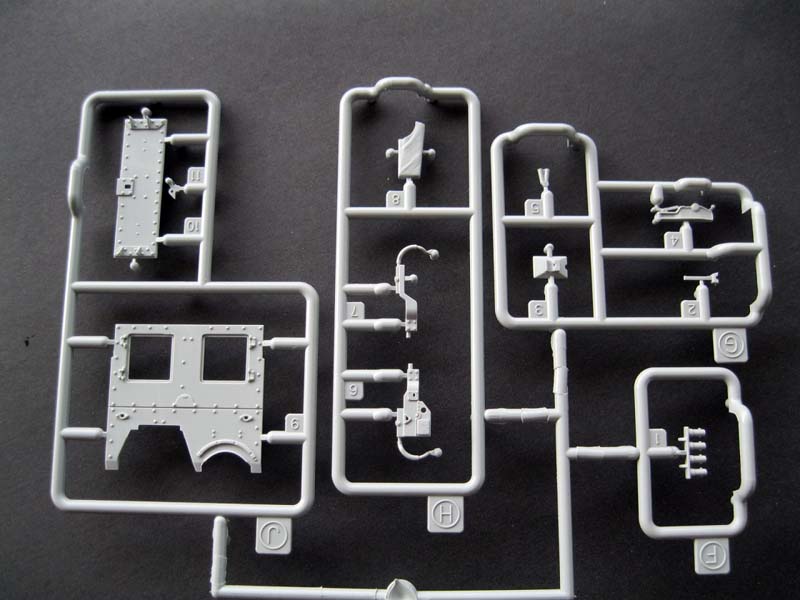
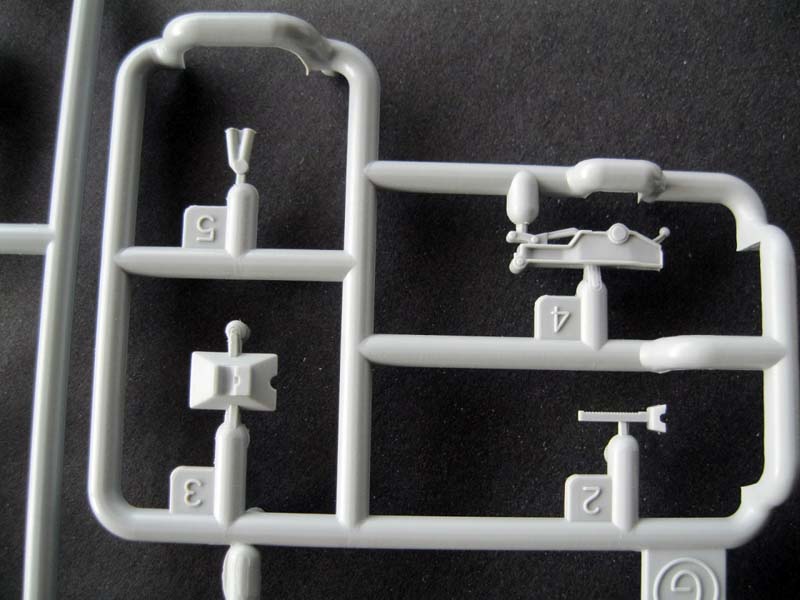
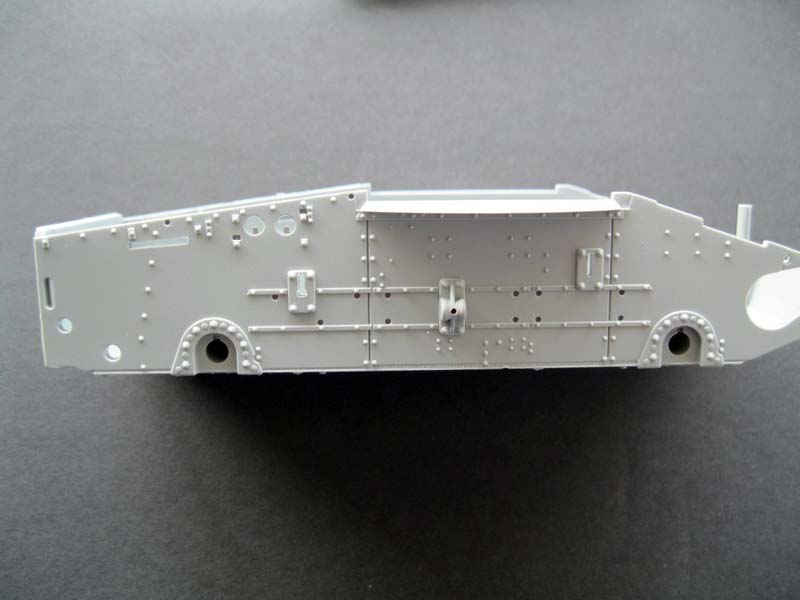
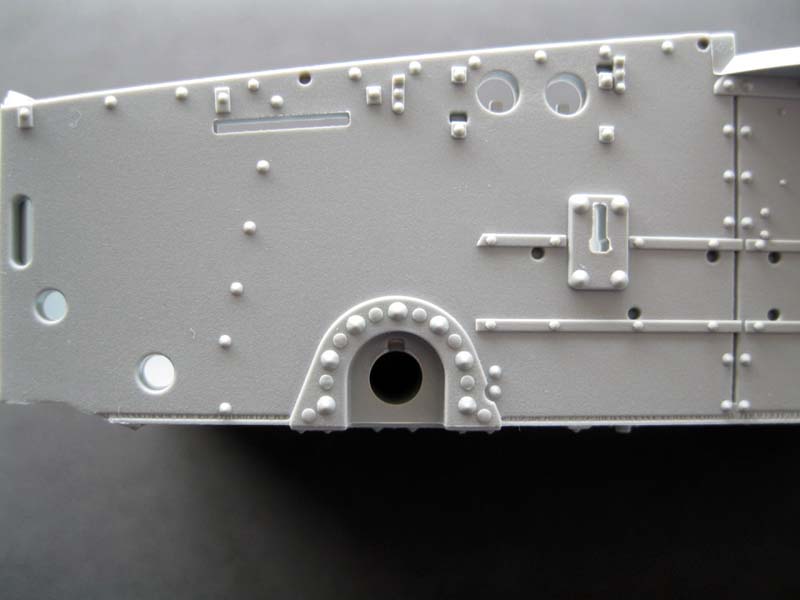
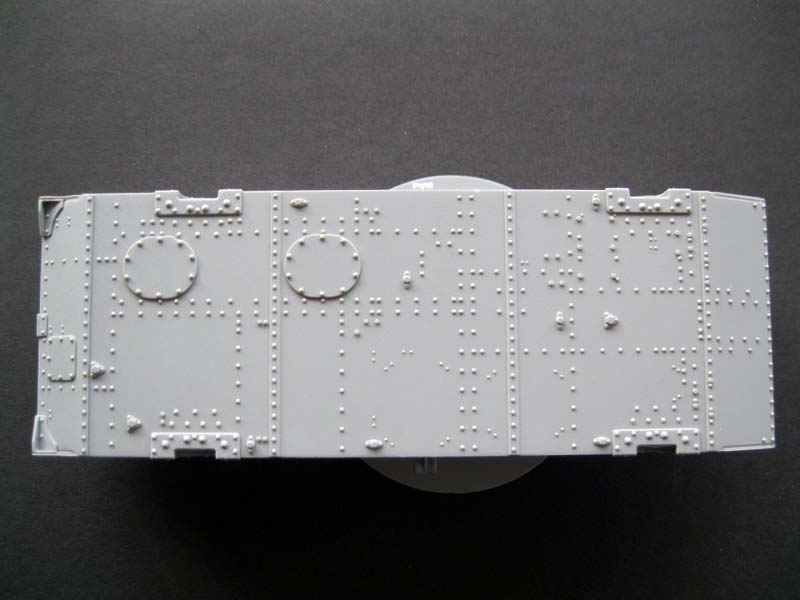
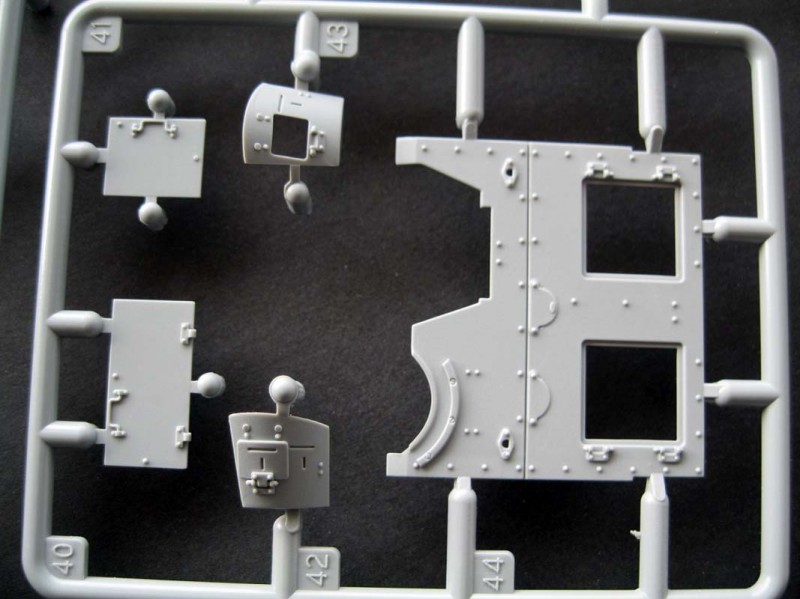
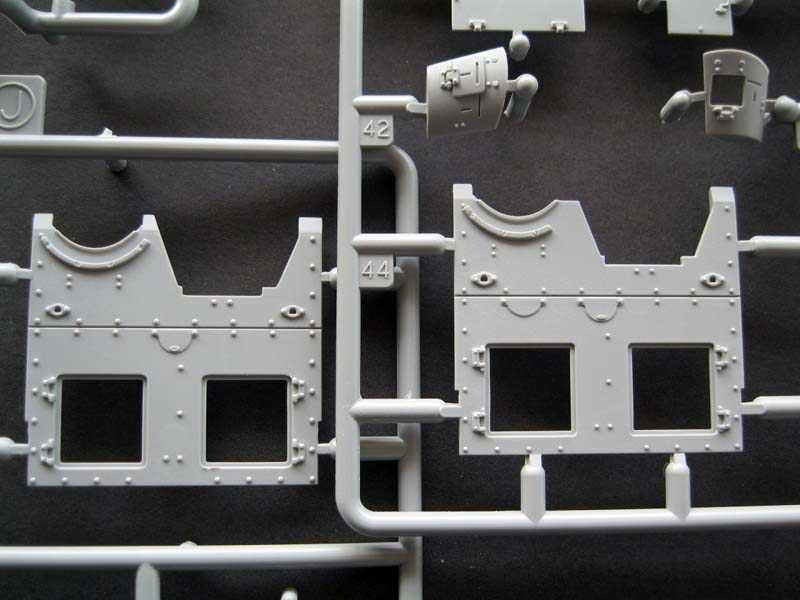
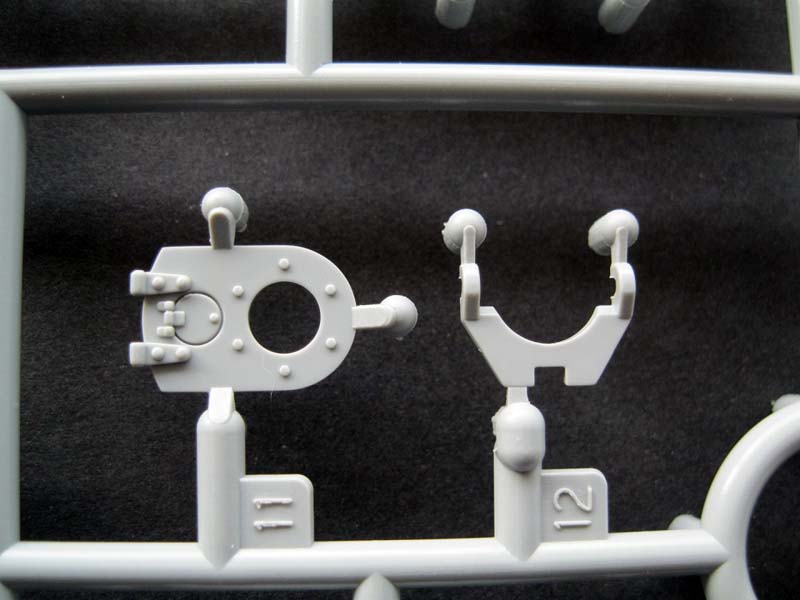
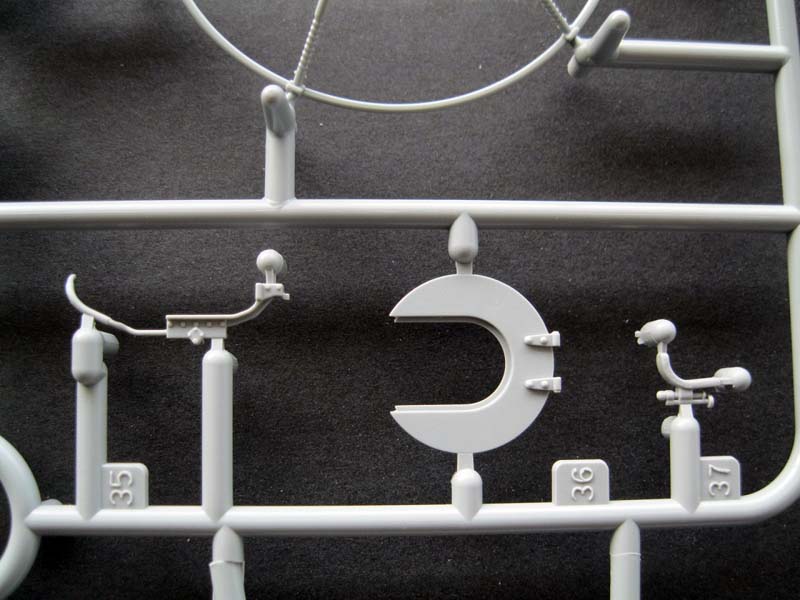
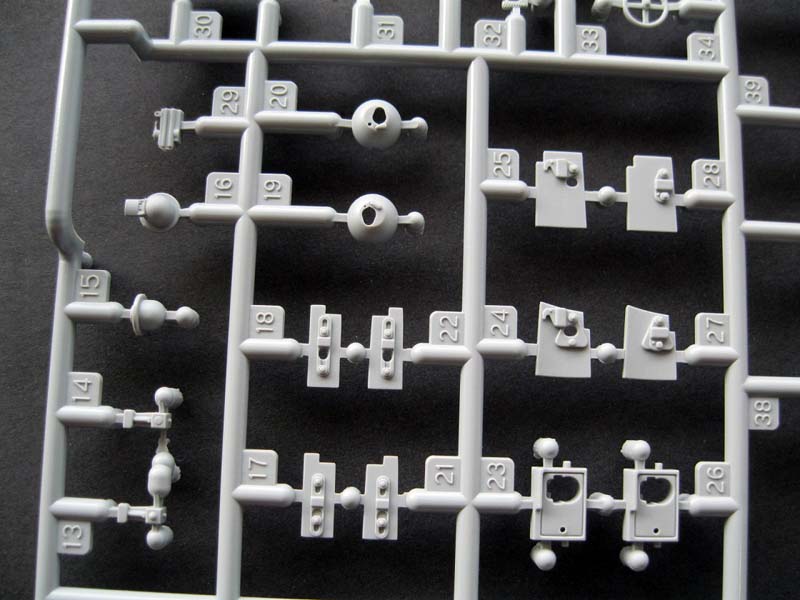
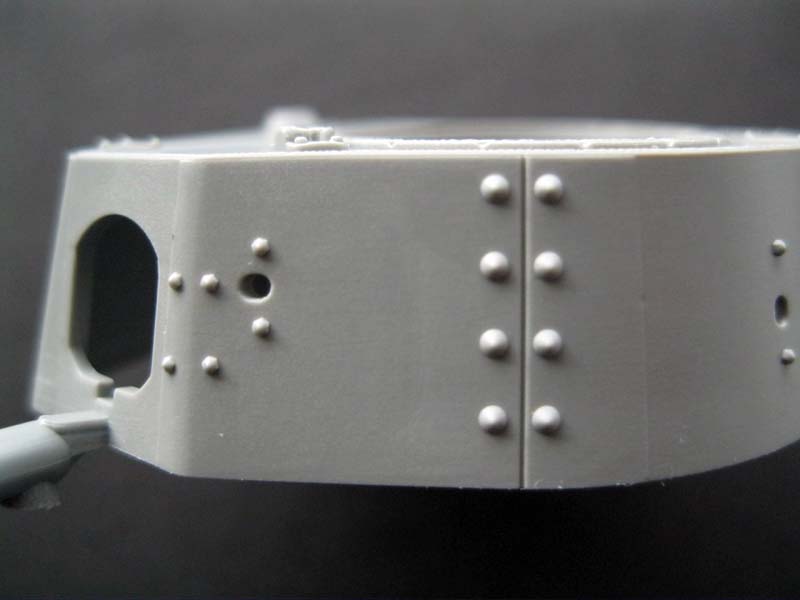
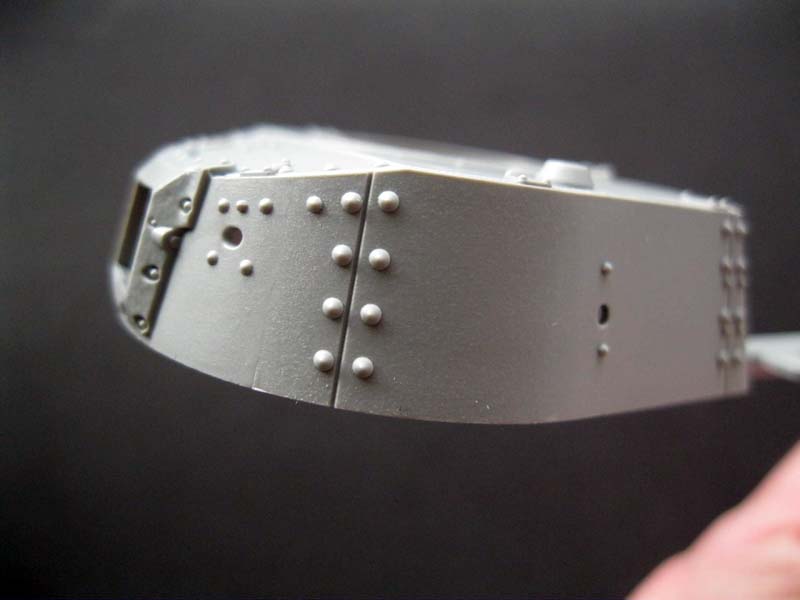
The parts are well detailed, and I found no flash, sink marks or other molding issues. Sprues from the previous Type 95 "early" and "late" releases are included as some parts are still used, but a new glacis plate and upper hull are provided as the addition of the new turret required some minor reshaping of the driver's compartment and engine deck.
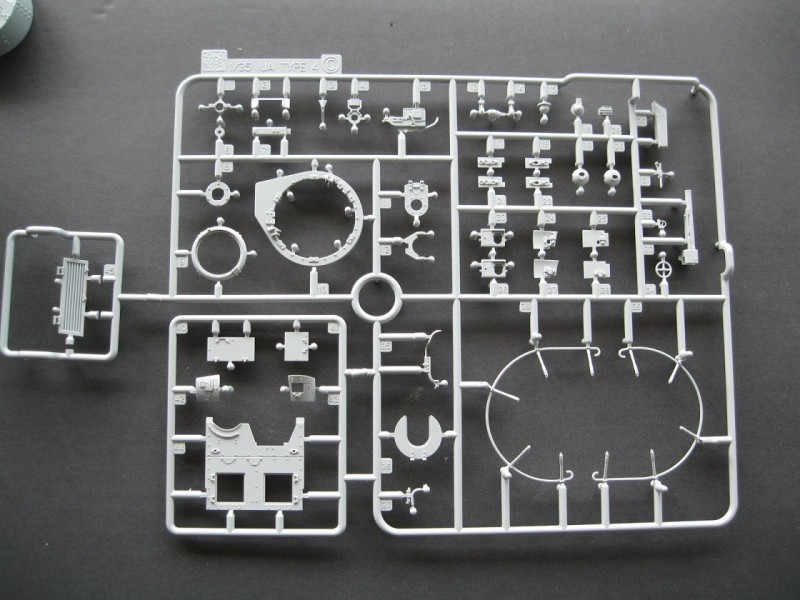
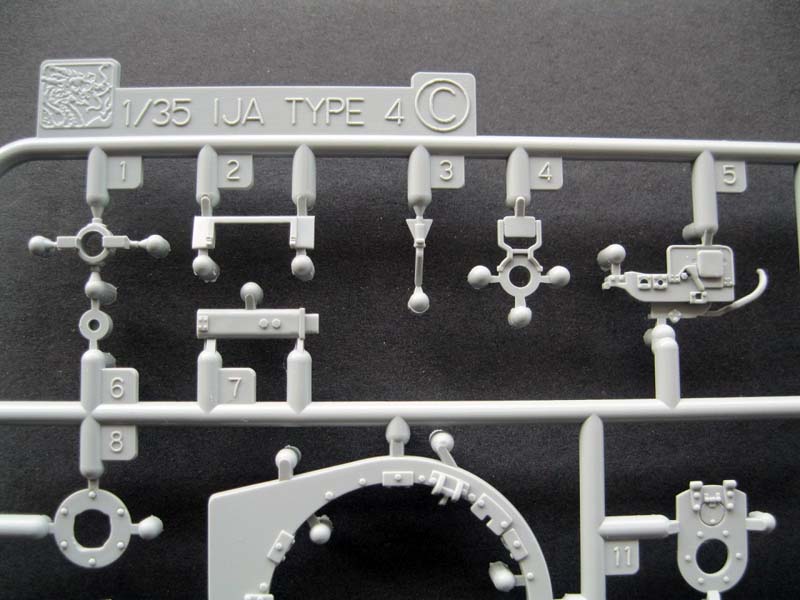
The parts layout is as follows:
"A" sprue, various hull fittings and rear engine plate.
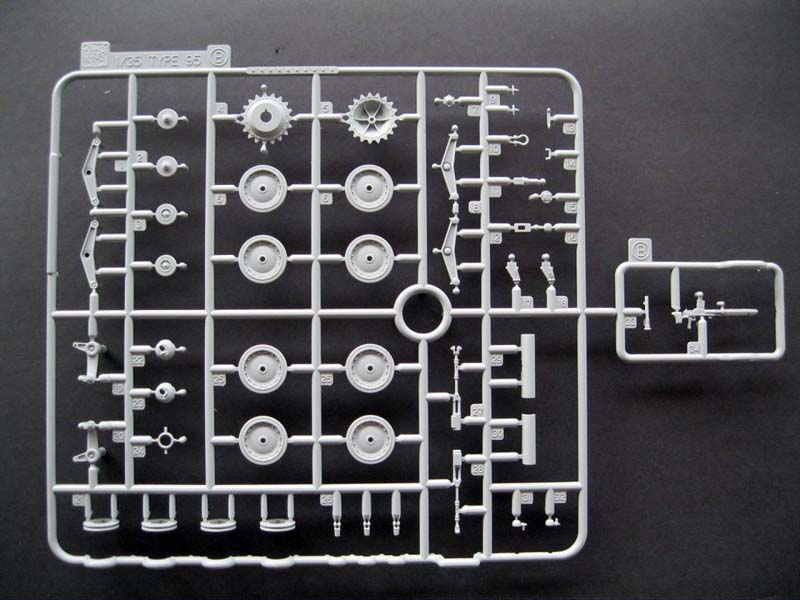
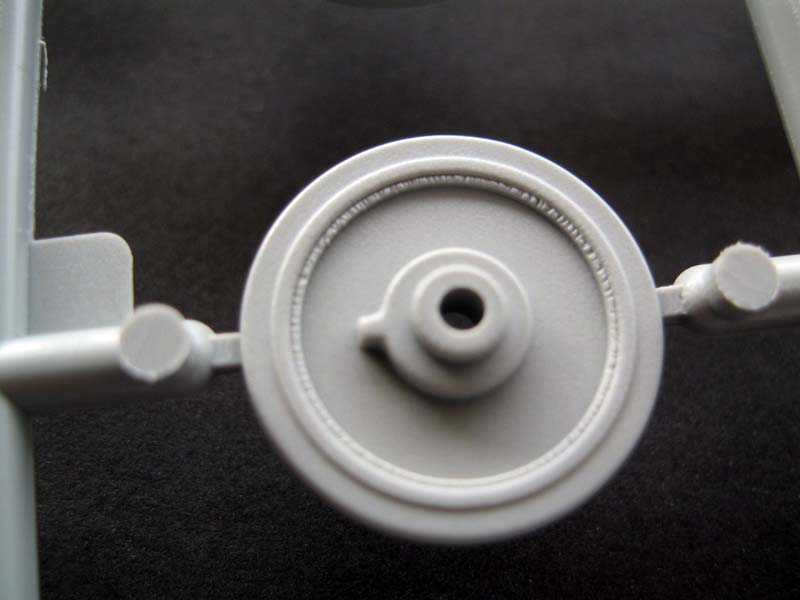
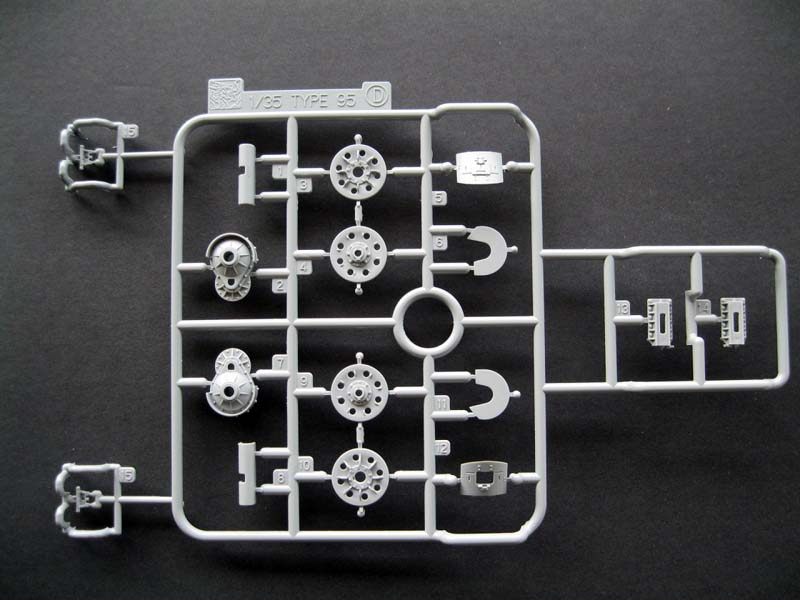
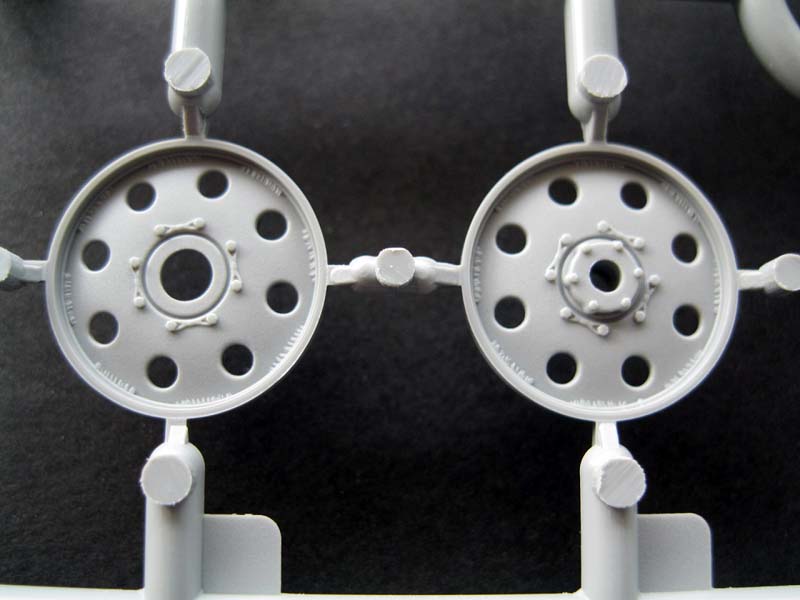
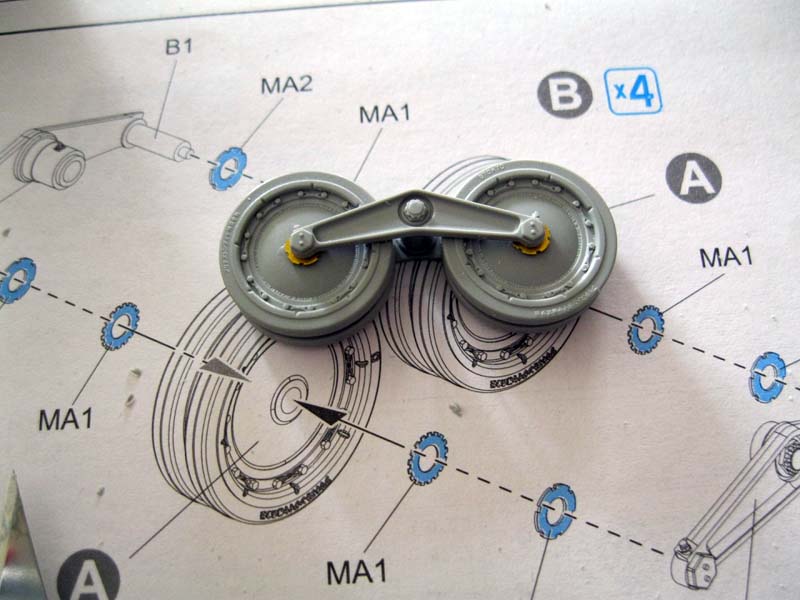
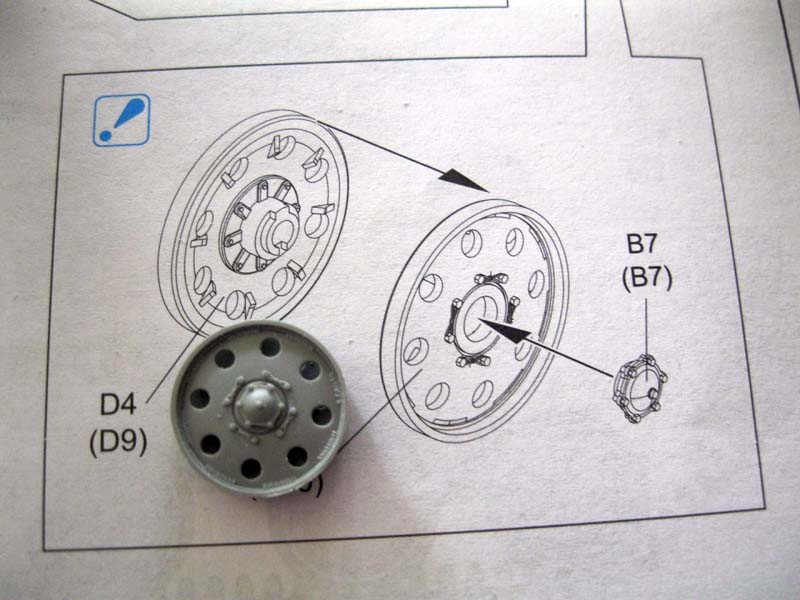
"B" sprue, suspension and road wheels.
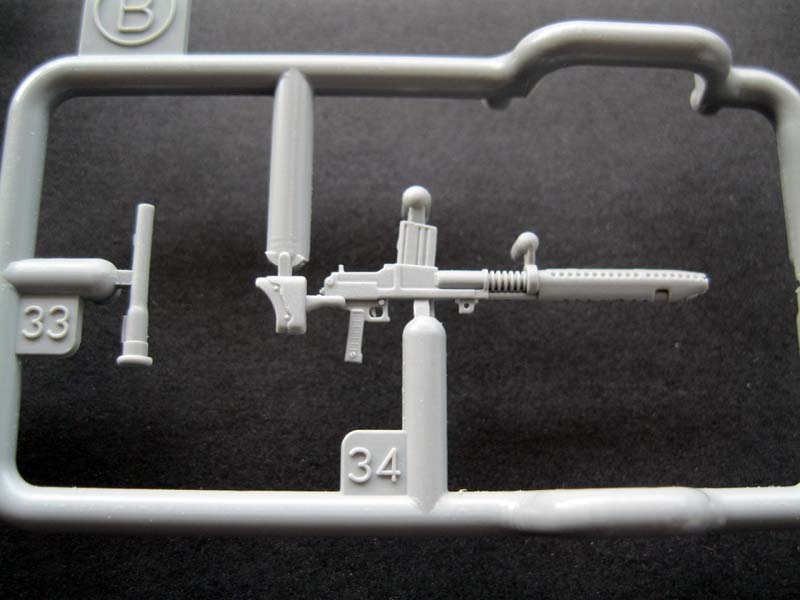
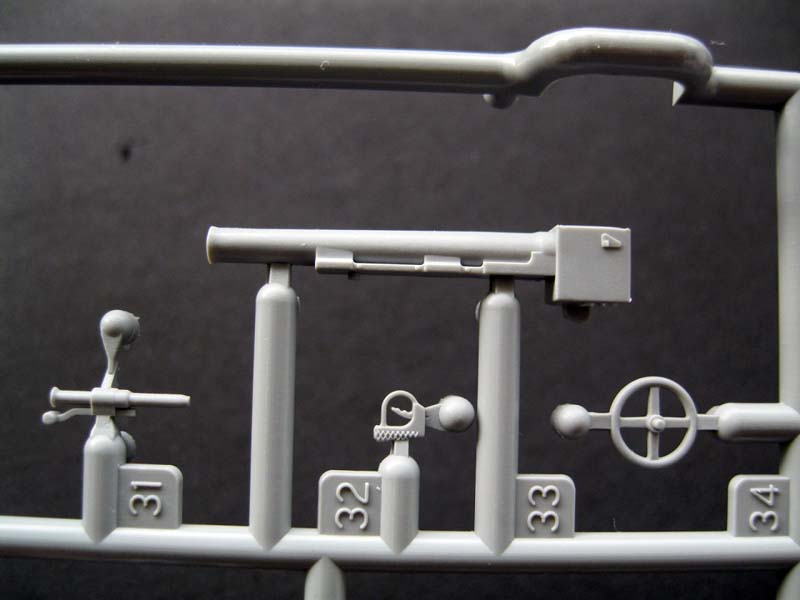
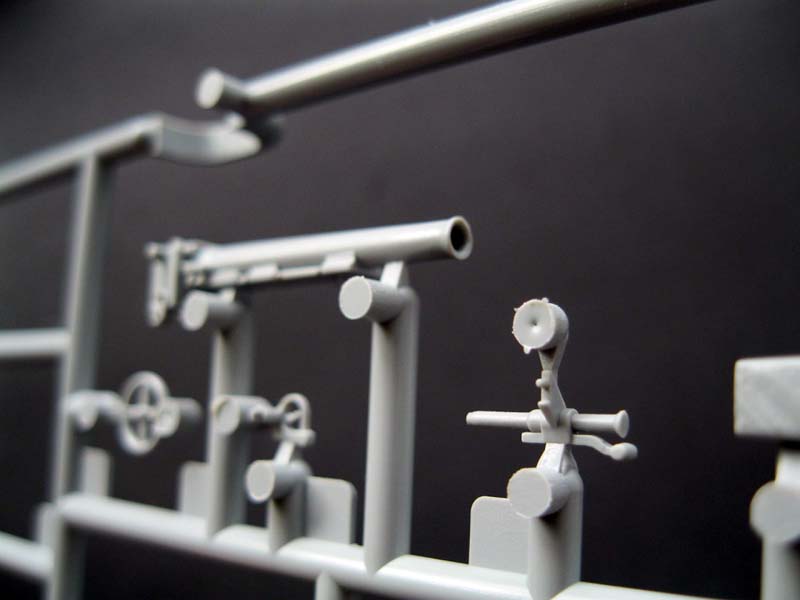
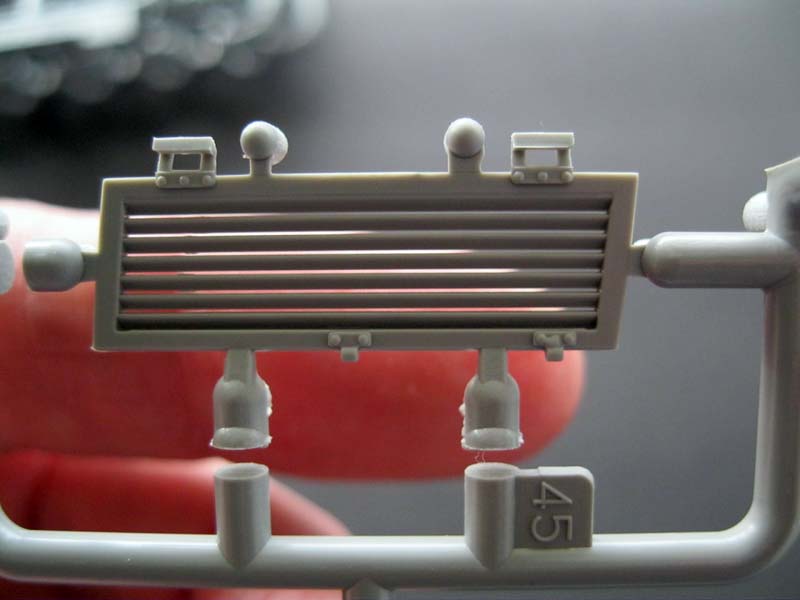
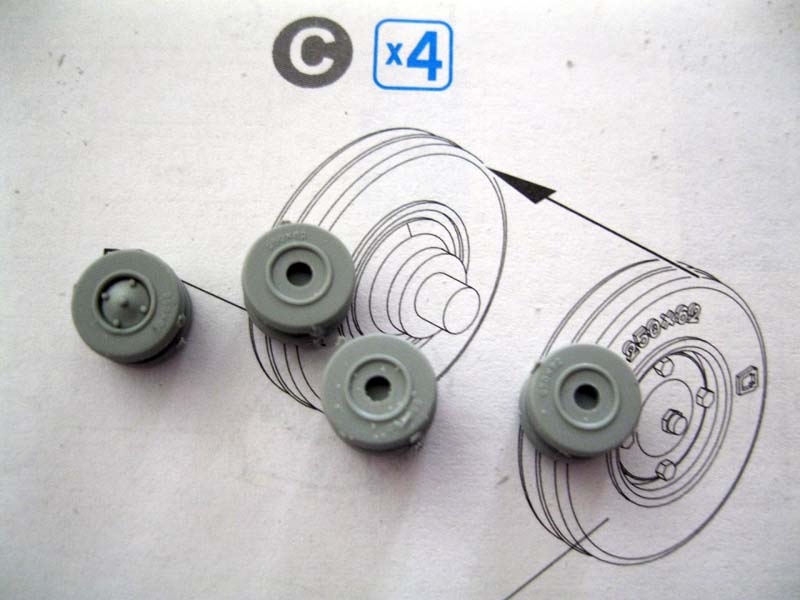
"C" sprue, new to this kit with the Type 97 turret and 57mm gun
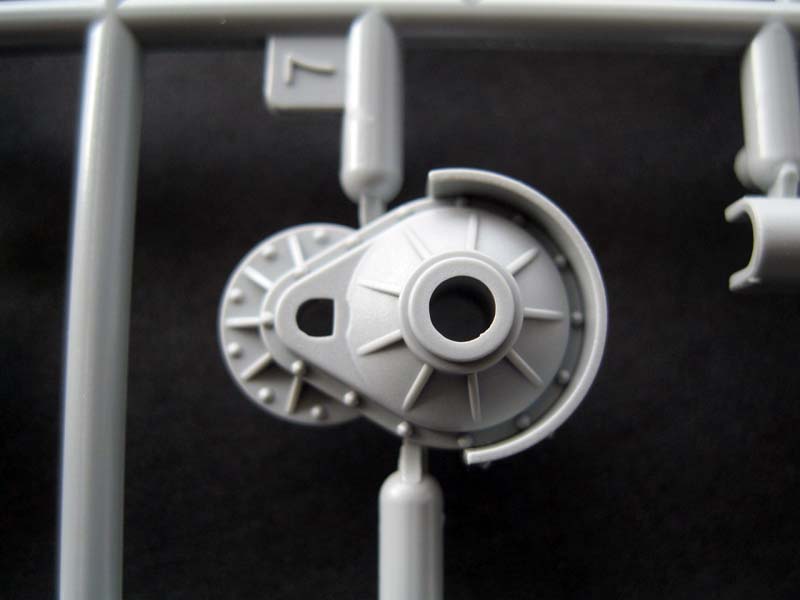
"D" sprue, final drive housing and idler wheels.
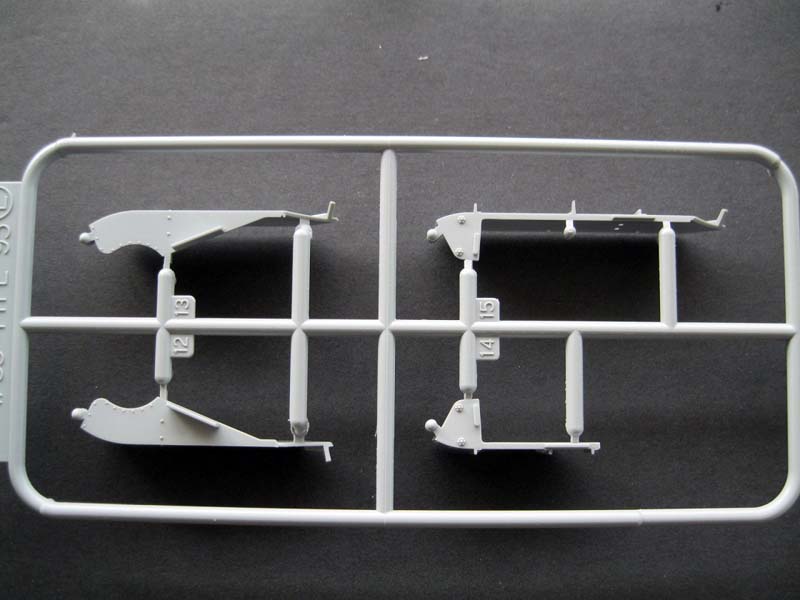
"E" sprue, fenders.
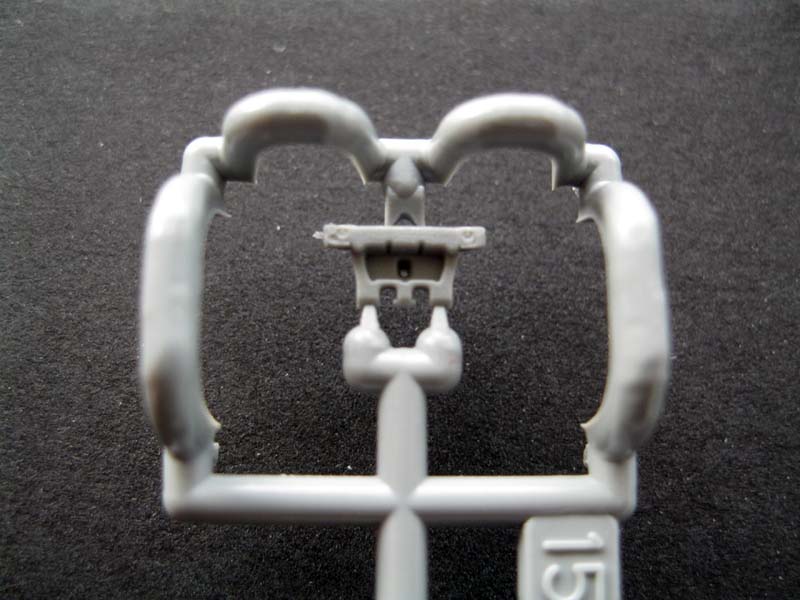
"G" sprue, jack.
"F" and "H" sprue are unused but attached to the "G" sprue.
"J" sprue, lower front hull plate.
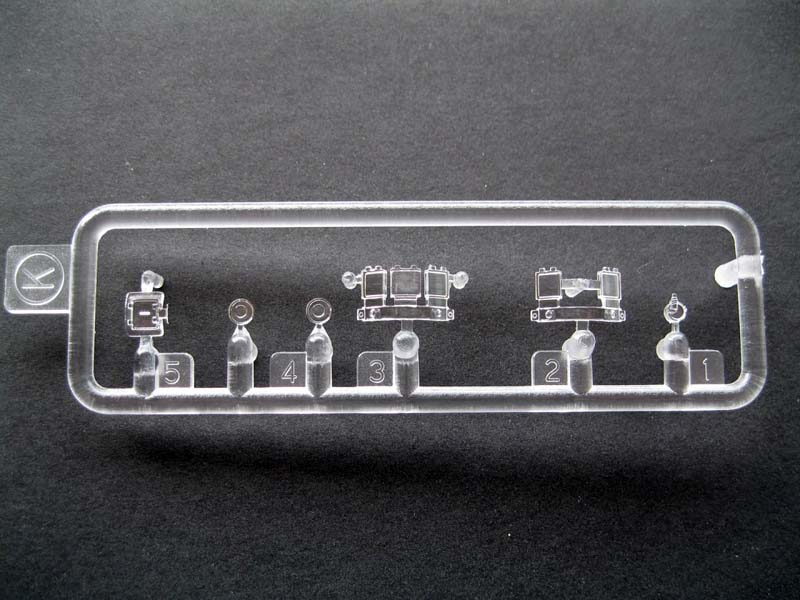
"K" and "M" sprues, clear parts
"X" is the new, upper hull and previous lower hull.
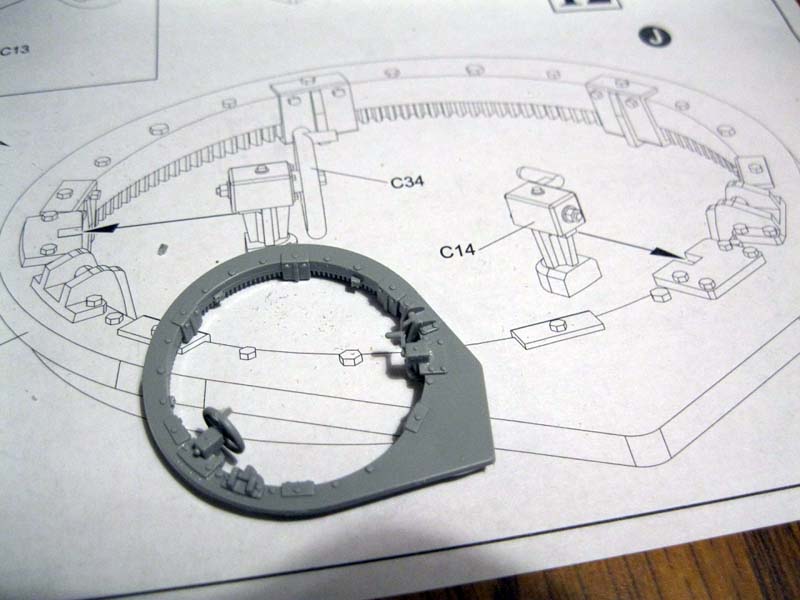
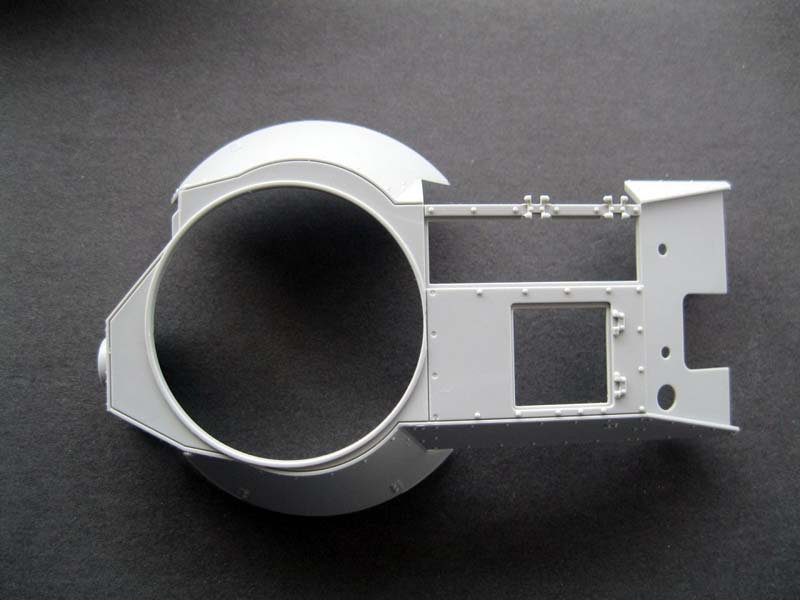
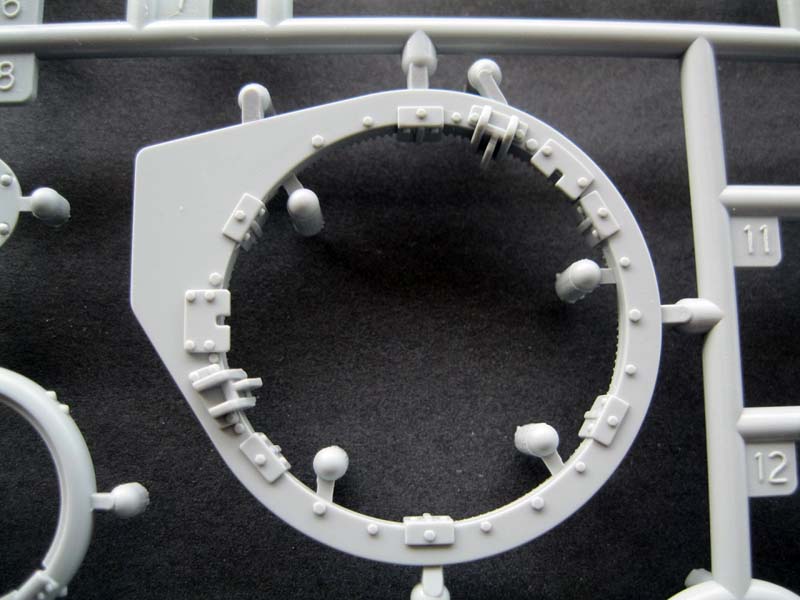
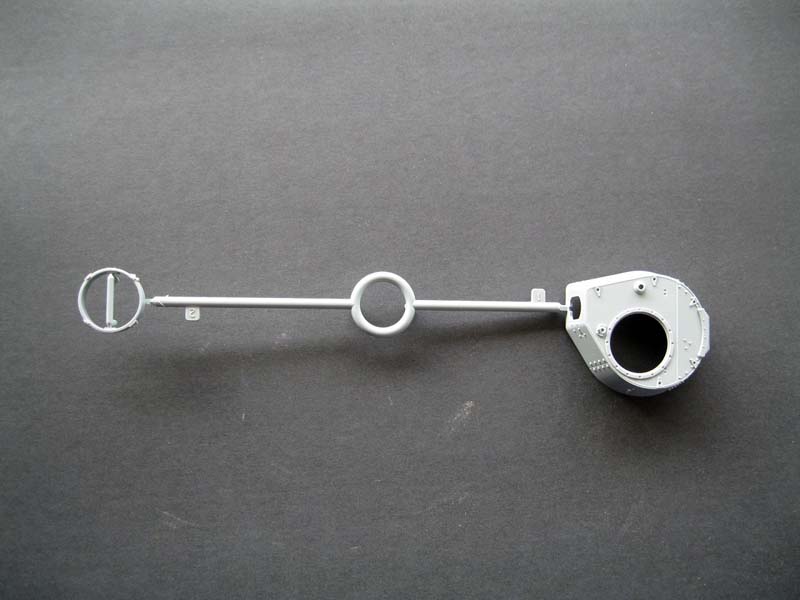
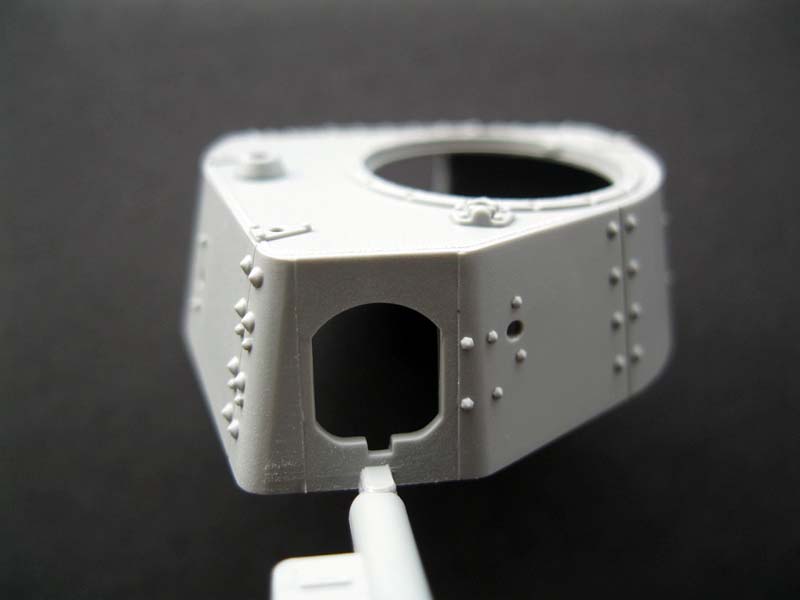
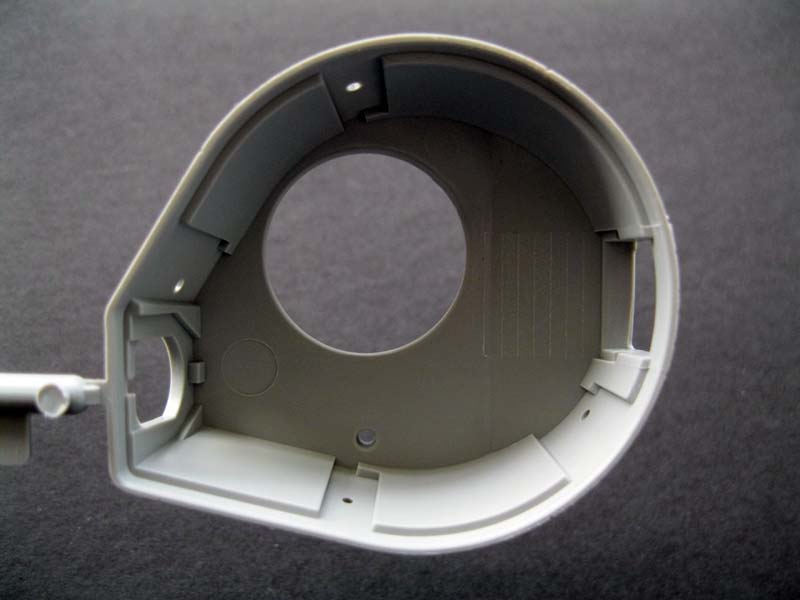
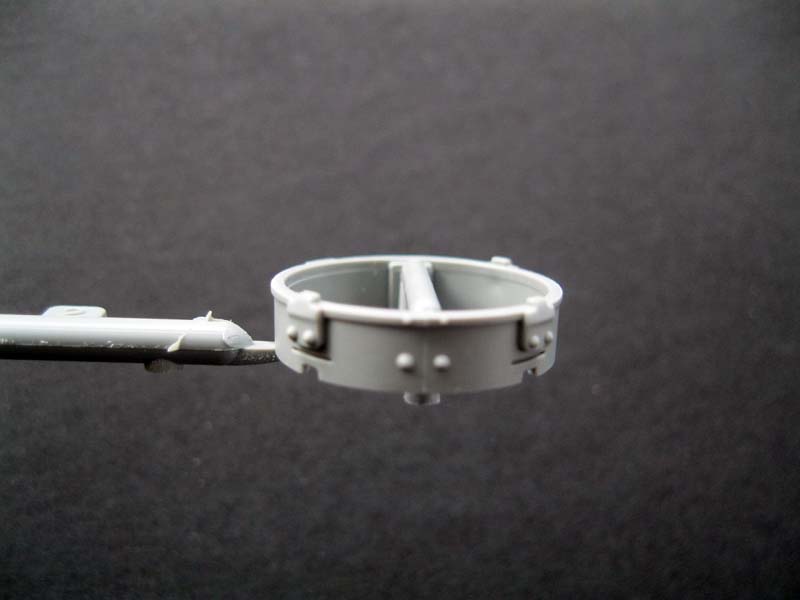
"Y" sprue, type 97 turret and cupola.
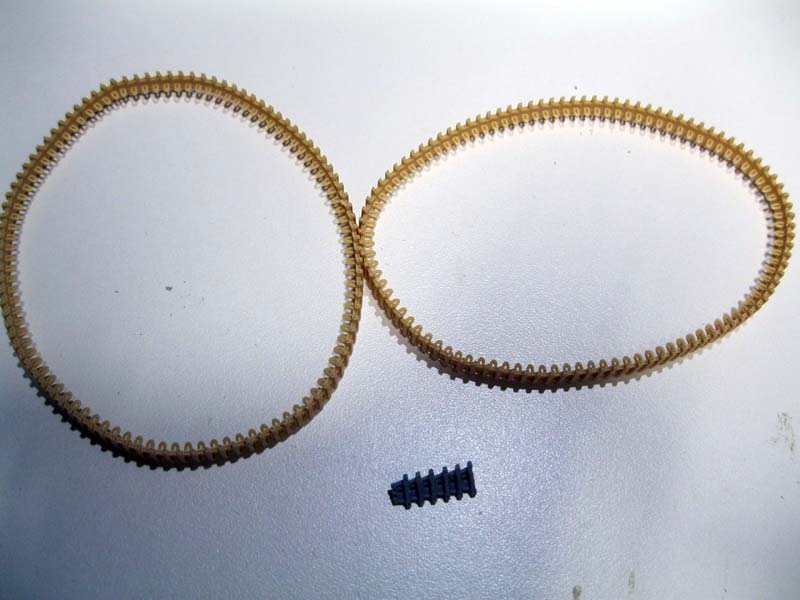
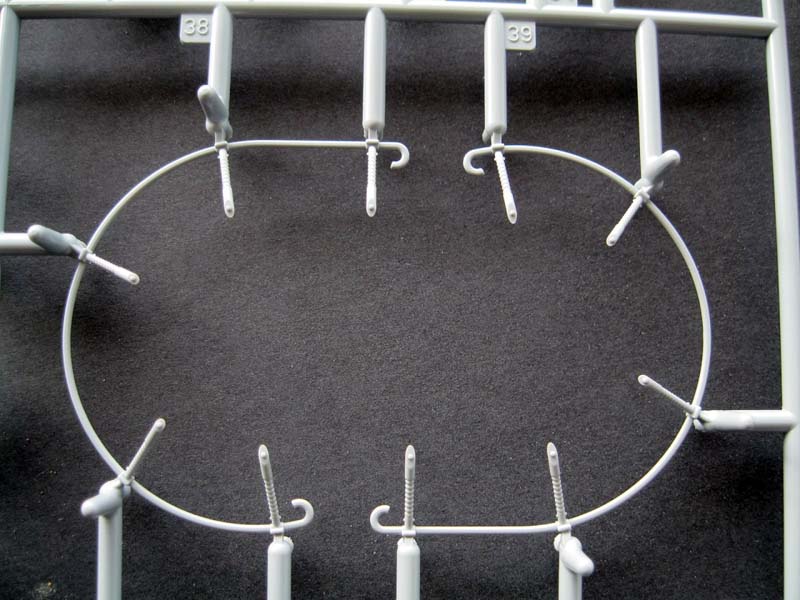
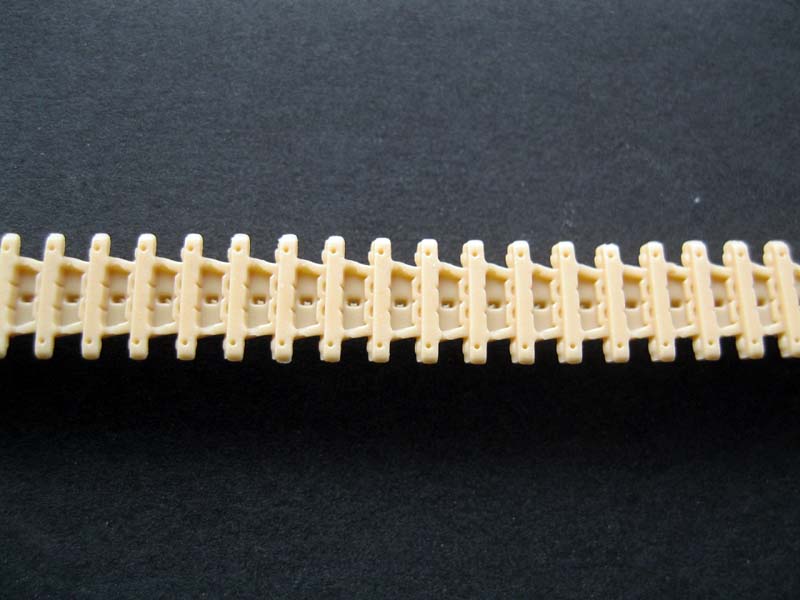
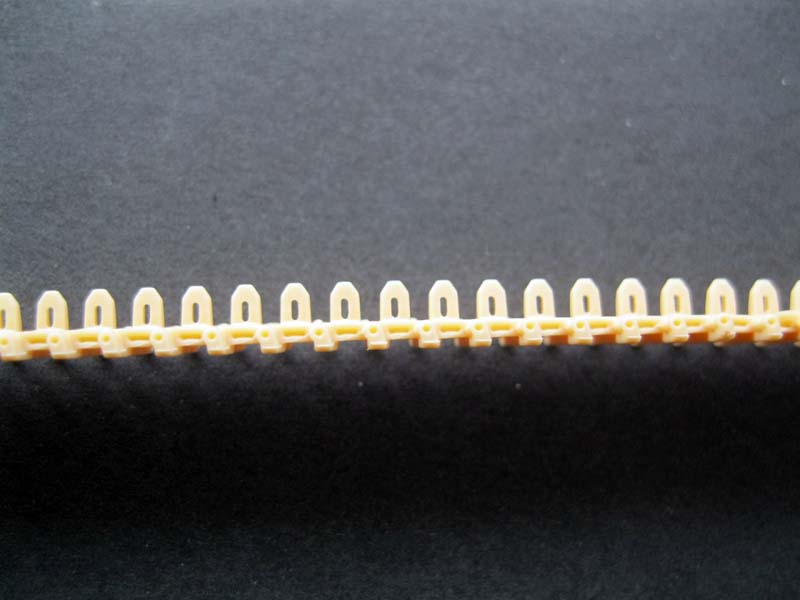
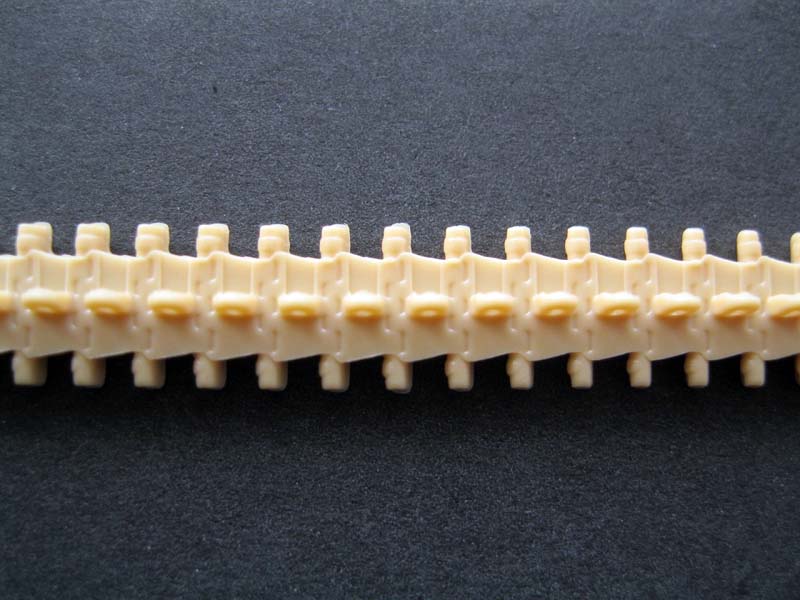
"Z", two lengths of DS track.
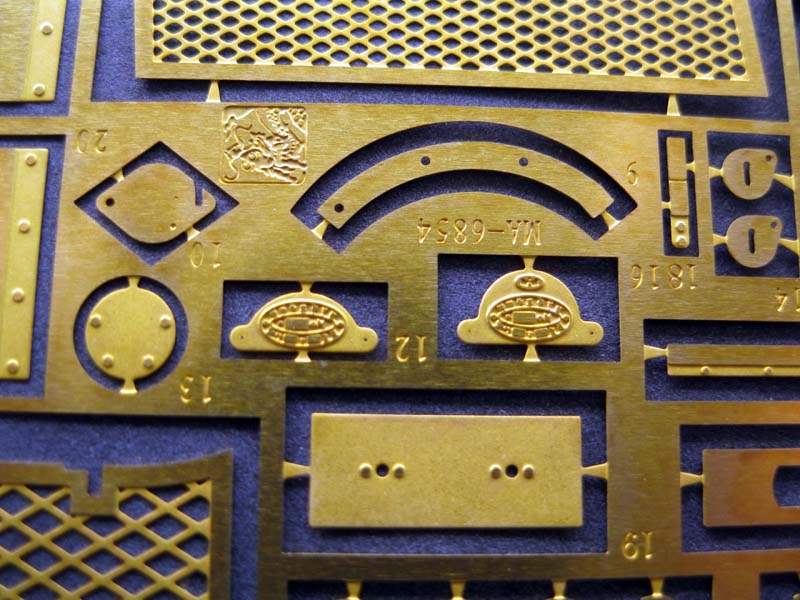
"MA" is the photo etch fret.
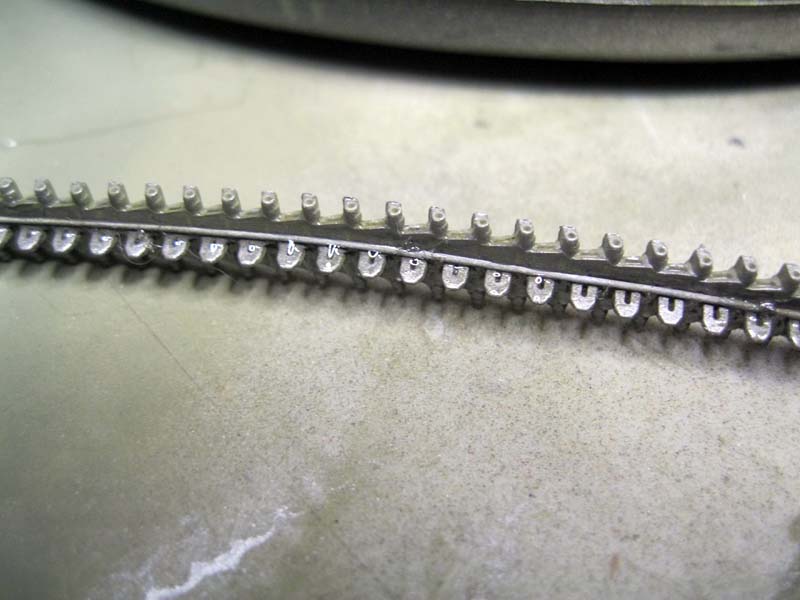
The only issues I could find with any of the listed parts are (1), the jack is solid, but the instructions show it should be hollow to insert the lift plate. Minor hassle, you simply trim the lift plate and glue directly to the body. (2), the two individual track links included did need a slight bit of clean-up. I will need roughly 76 more of these kits to get a full track run, or go the after market route because (3), the DS tracks are too long and are showing flash, but I am jumping ahead of myself.
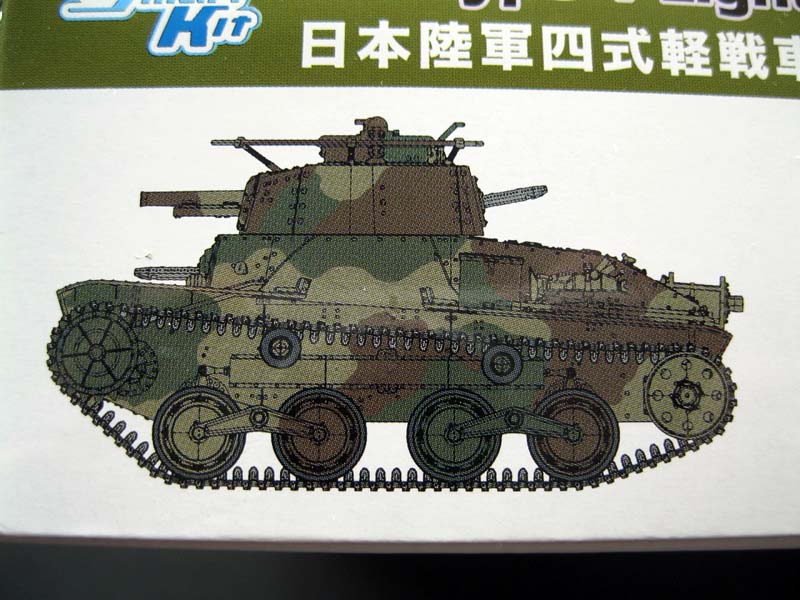
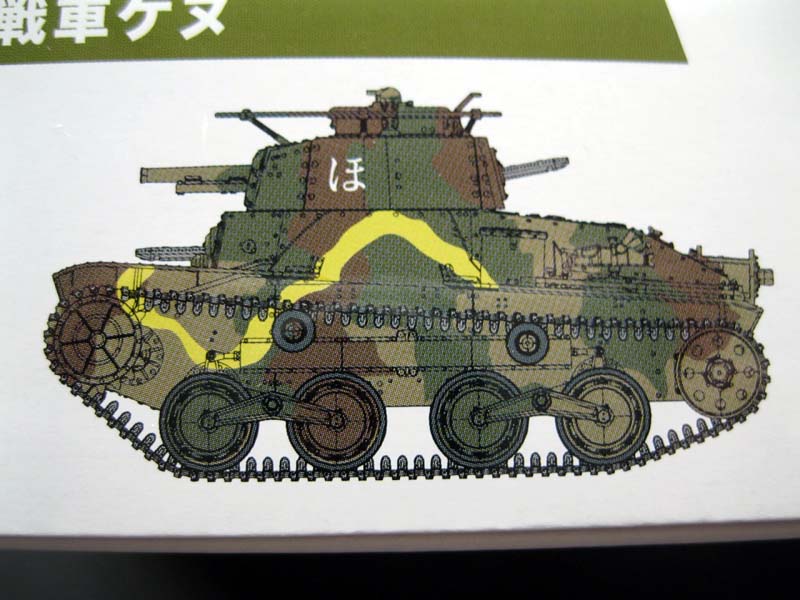
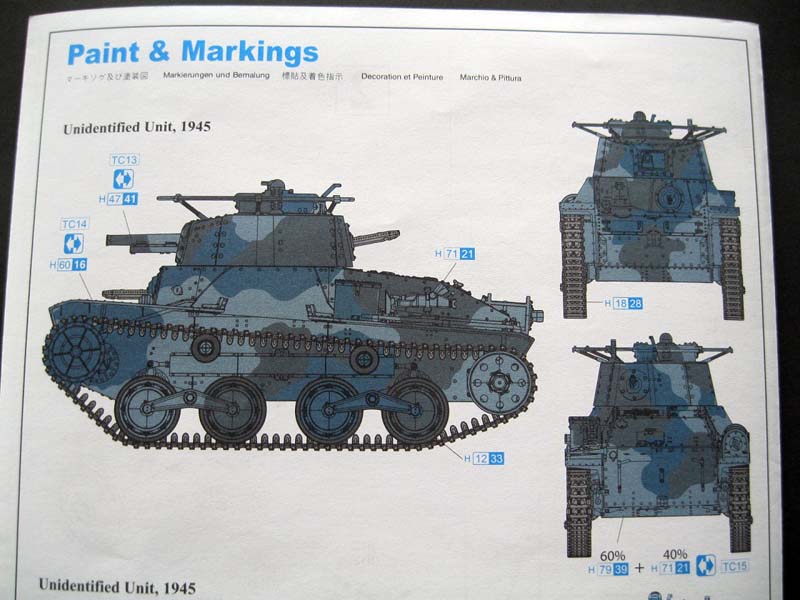
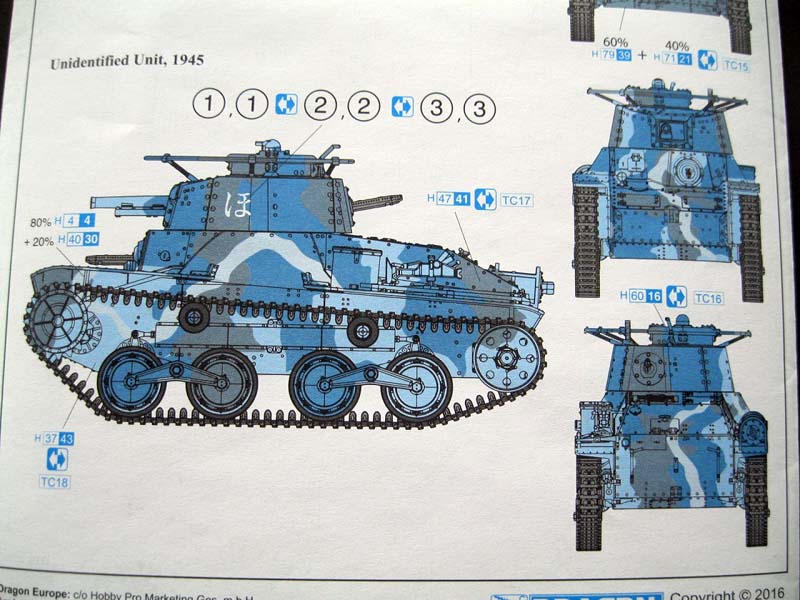
The instructions are line drawings and are clear, error free and easy to read and follow. The painting guide includes paints by name and color number from GSI Creos Aqueous Hobby Color, GSI Creos Mr. Color and Model Master enamel paints. The paint schemes depicted at the end of the instructions provide tanks from two unidentified units, both 1945; first is the "new" paint scheme of parched grass base, with earth and grass green disruptive pattern. Here, Dragon includes the Gunze TS colors which are not included in the color call out. Second is in the older pattern of Army Khaki base with green and brown clout pattern and disruptive yellow stripe, again with the Gunze TS colors. My guess is that the person responsible for the painting guide was not on the team that did the tank and the remainder of the instructions as those are top not efforts.
The Build
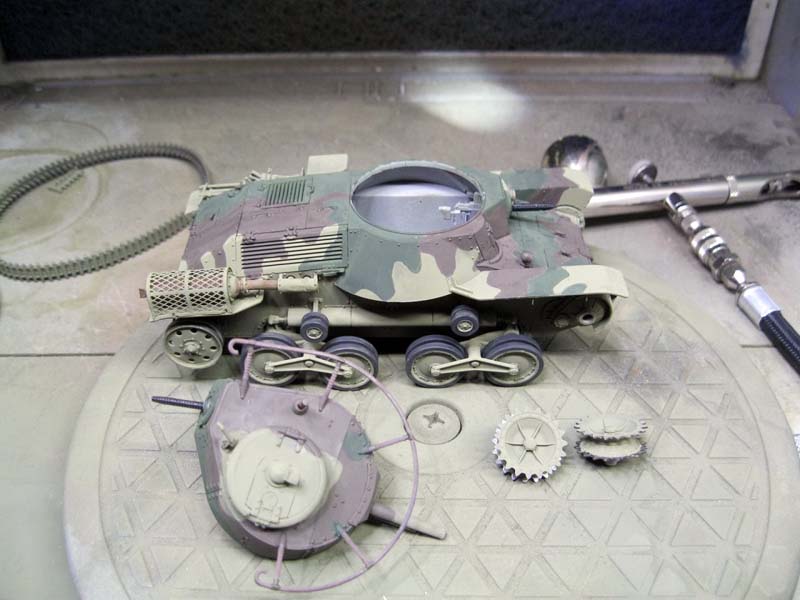
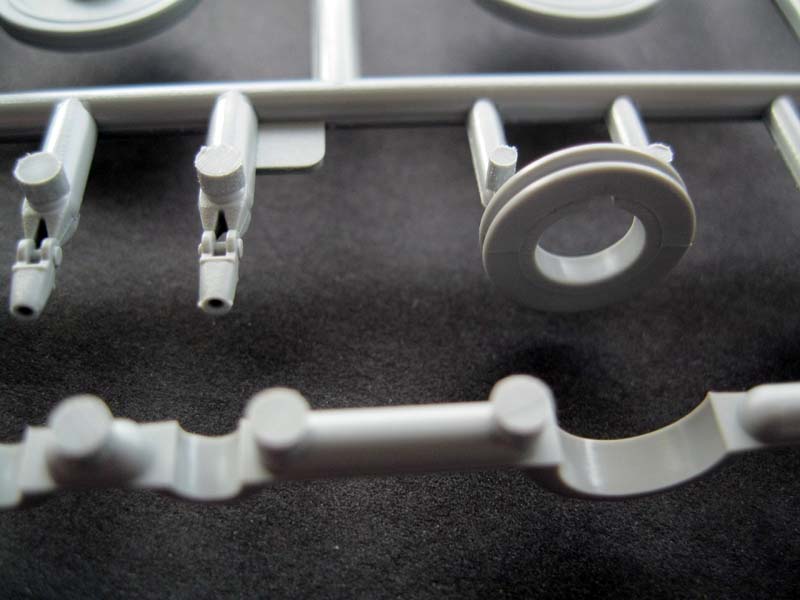
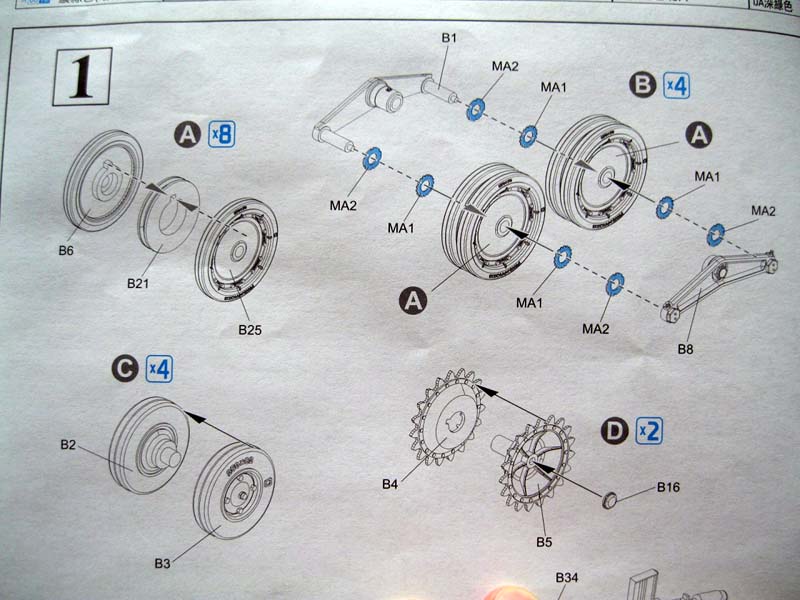
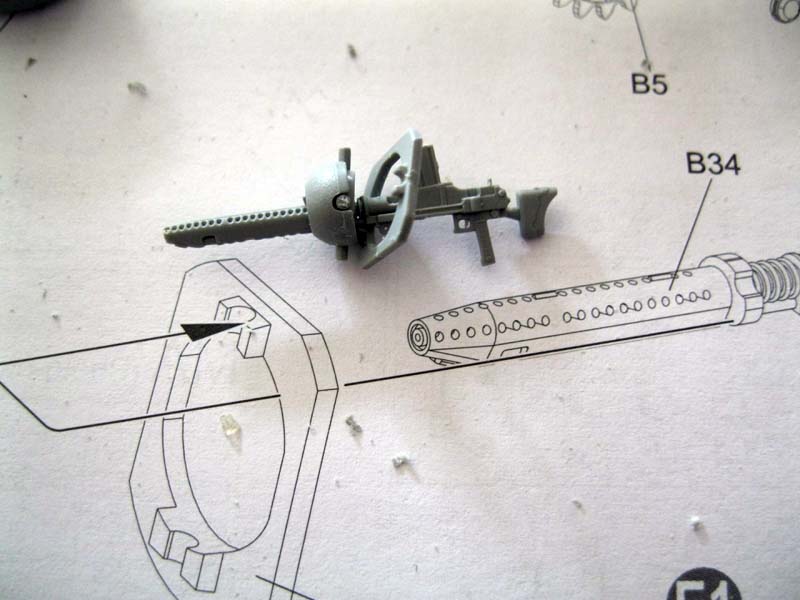
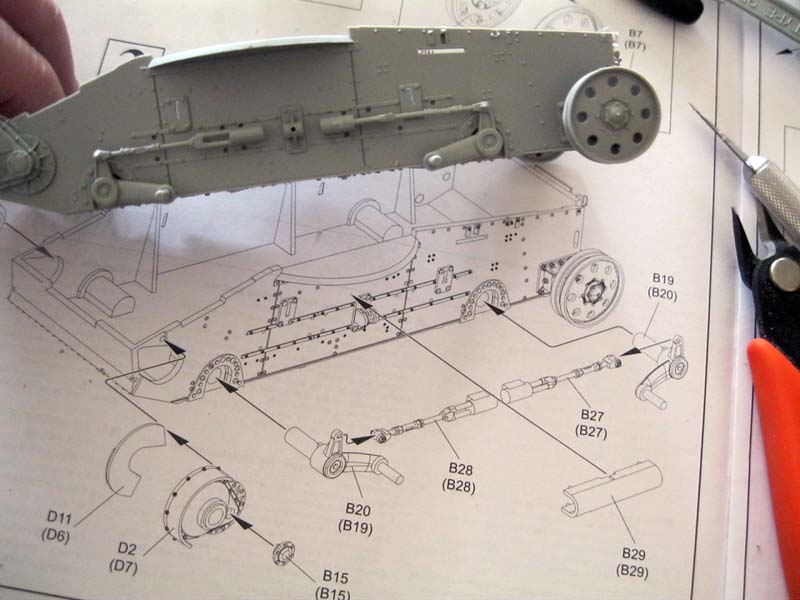
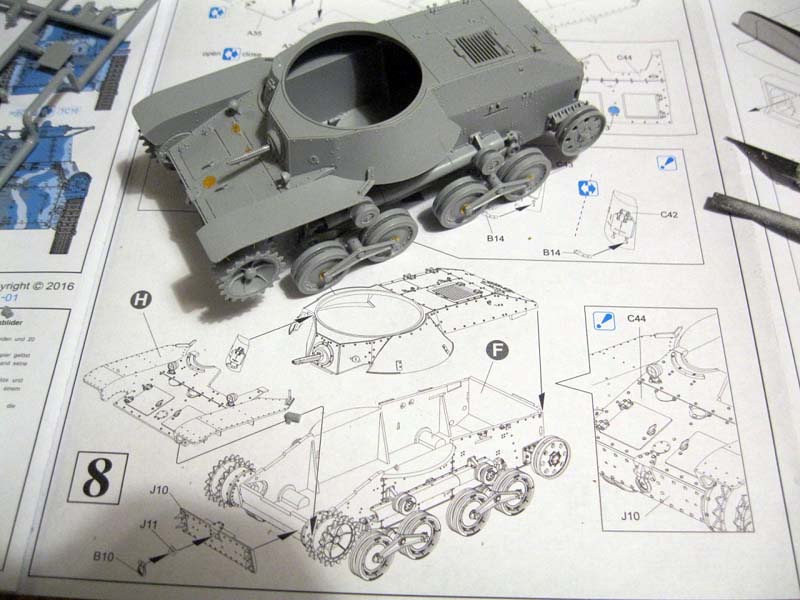
The build process follows the logical and familiar process of assembling the running gear and lower hull first. Step 1 also includes assembly of the hull MG, but as there is nothing for this to attach to, hold off until it is needed. The road wheels call for two small etch washers to be attached to each side of the wheel. From previous builds, I have found that it makes the wheel assembly too thick to fit between the bogie arms. My solution was simply to leave off the two parts that go on the rear, as they will not be visible. Even on the completed front, it is hard to tell that there are two parts present.
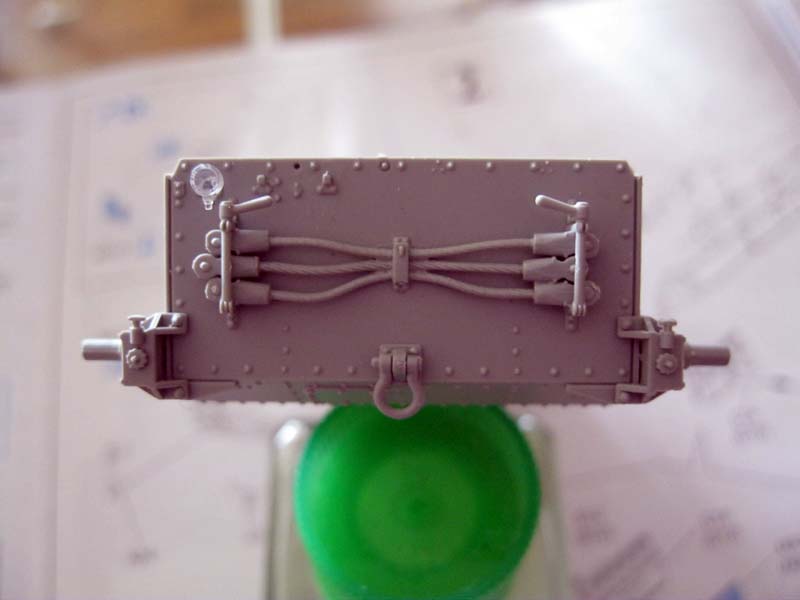
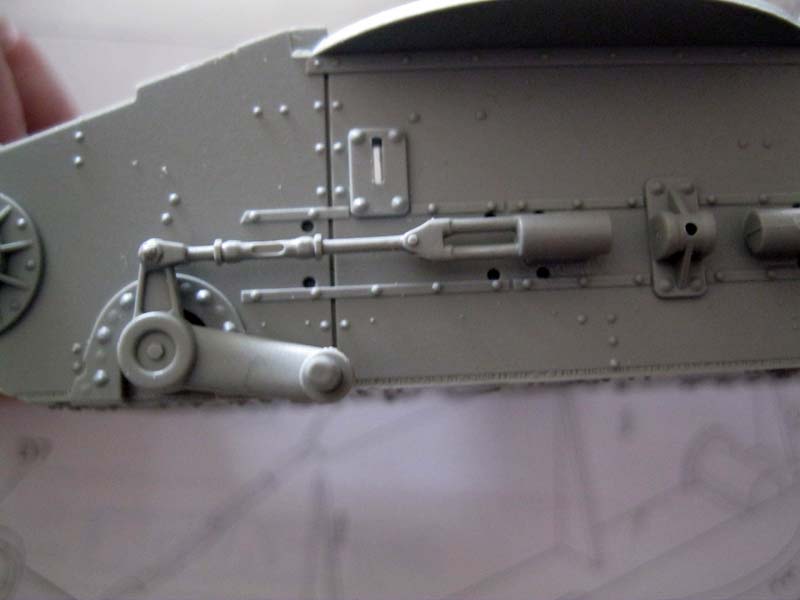
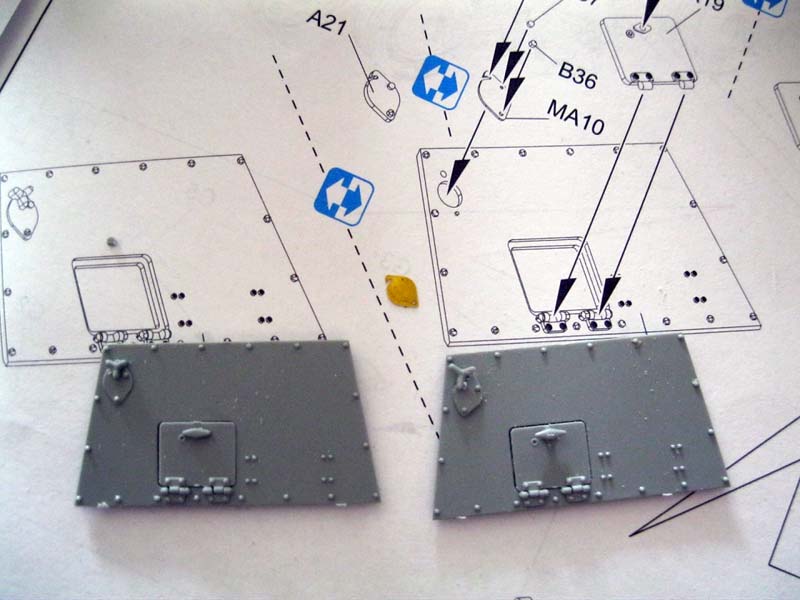
The rear hull is then assembled next. I added the towing ring, B10, the ring to the front but should have saved them as they were not glued and fell off during construction. I have no idea where they are now. You have options throughout the kit of either using etch or plastic parts, such as for the rear plate. Also, options to show the three tow cables or an empty bracket. With care the idler wheels will be adjustable when assembled, which can help take up some of the slack from the DS tracks.
In step 3, the final drive housings and suspension are added. The creative modeler will be able to remove the small pin that locks the suspension arm into a flat sitting position and the arm and spring tension bar can be adjusted to plate the tank on rough terrain. There are two long pour pins in the lower hull tub that do need to be trimmed off.
Step 4 places the suspension parts, but I did not glue the drive sprocket or road wheels in place to make painting and track placement easier.
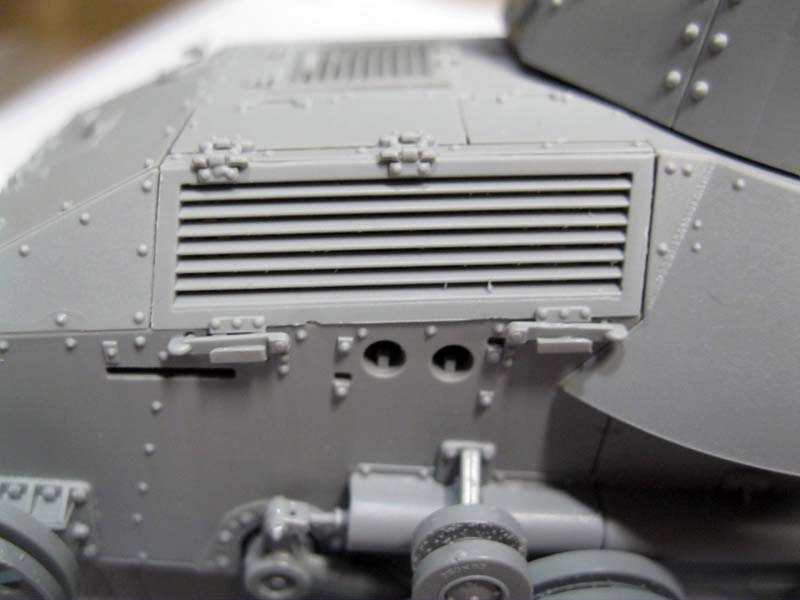
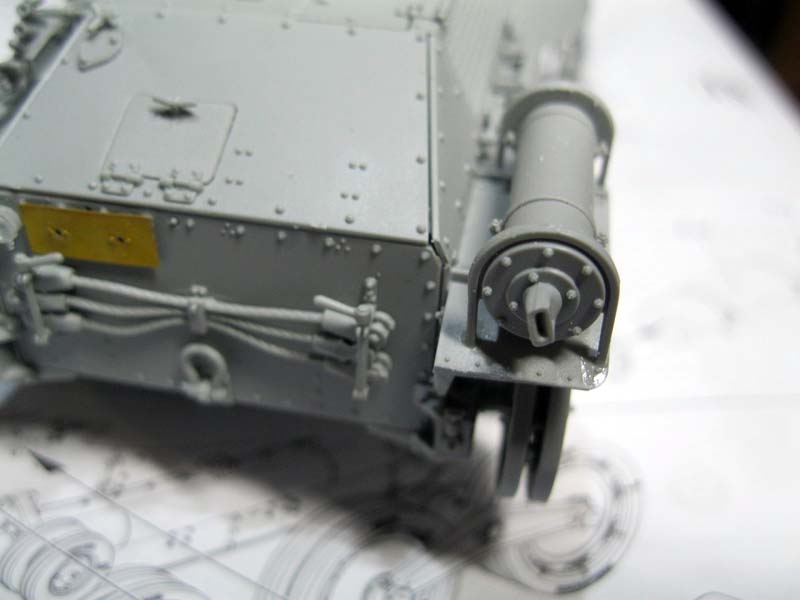
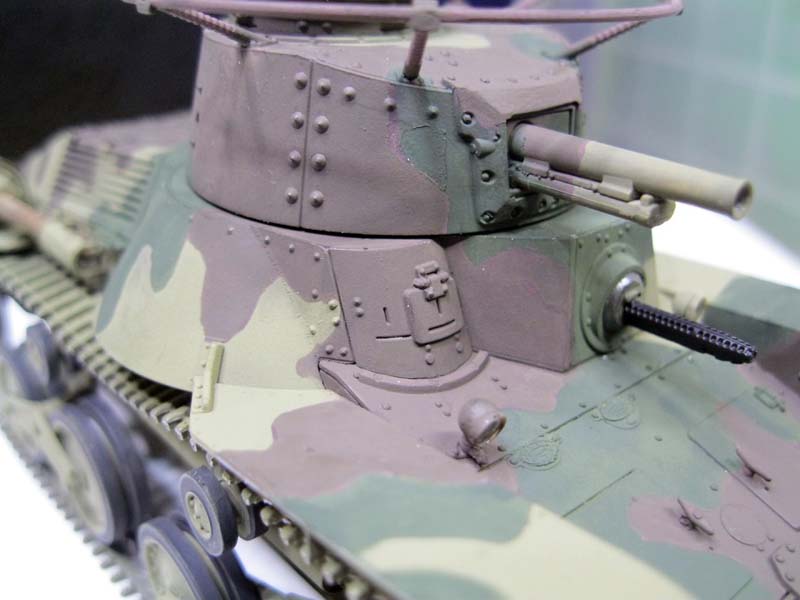
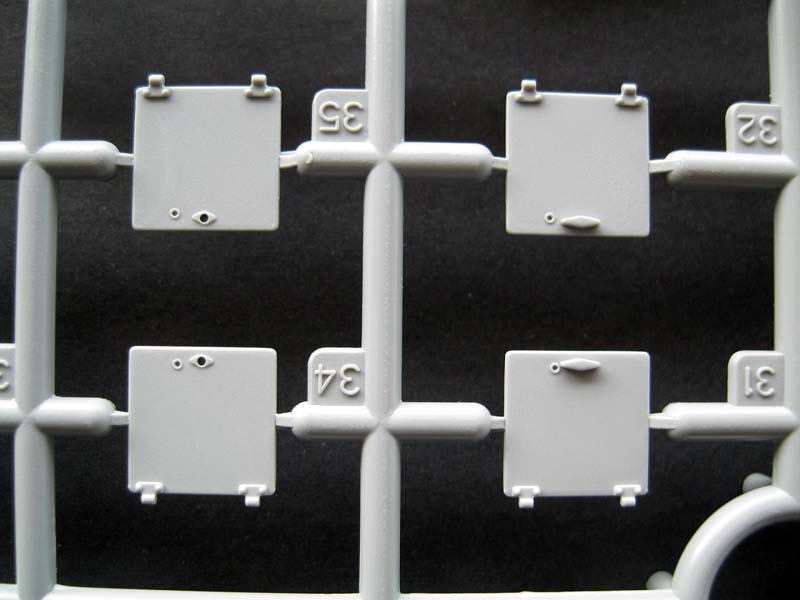
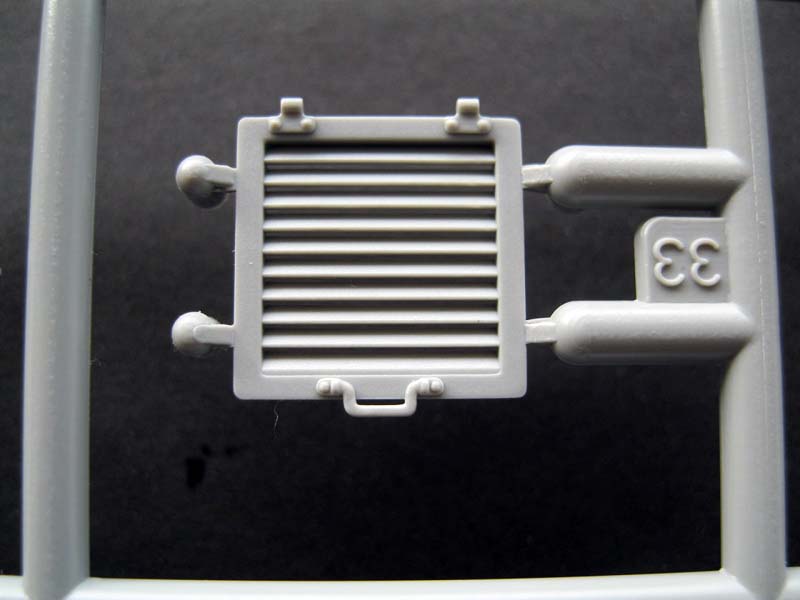
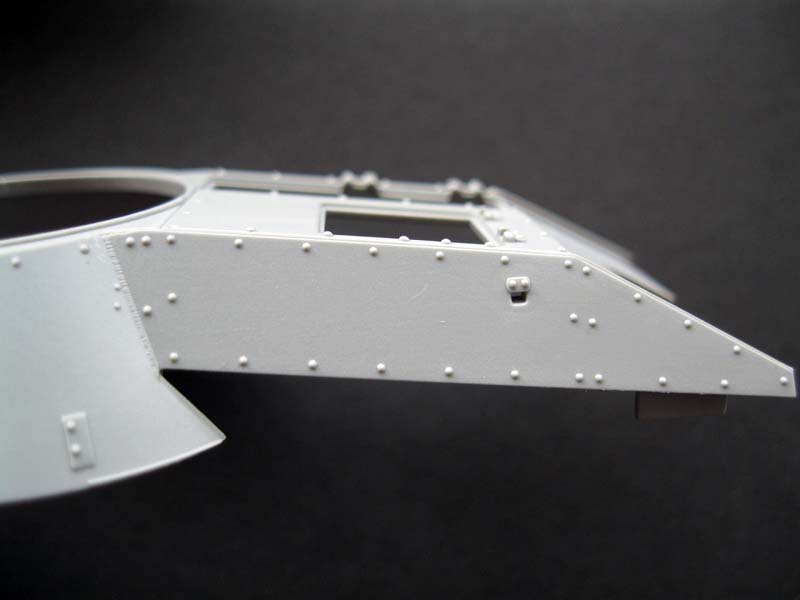
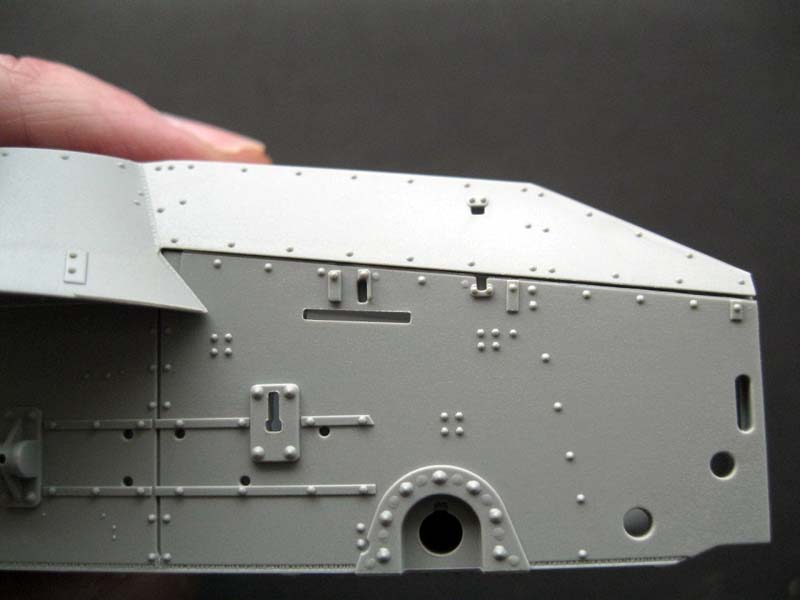
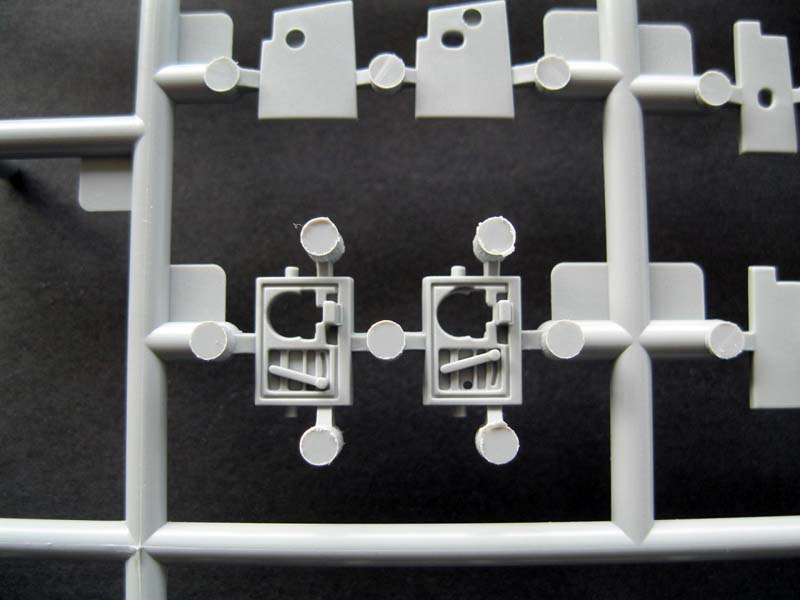
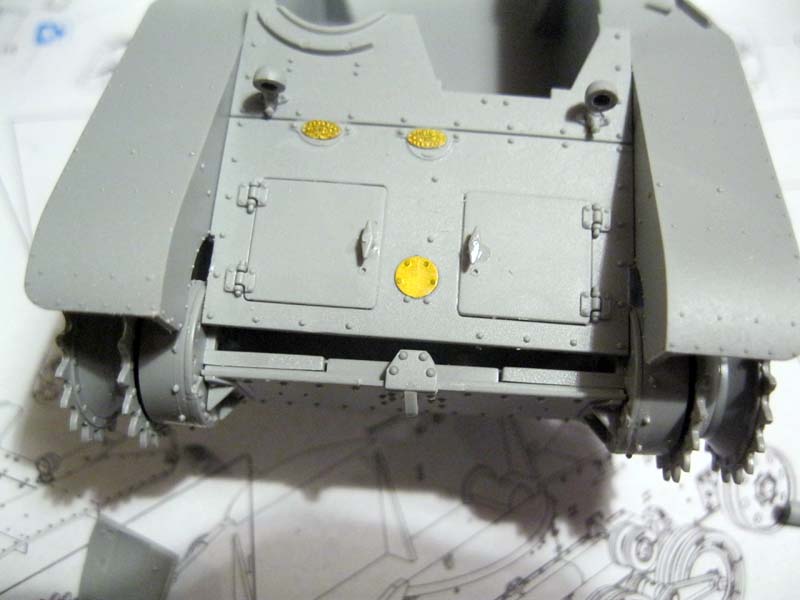
Step 5 is the upper hull assembly. Here you have more options: Optional rear plate with etch parts or molded in place and engine hatch door with molded on handle or separate. There are etch screens that go under the louvred access panel and you can remove the small armored cover over the drivers peep hole on the side and replace it with an etch part. This is where the hull MG is added. I compared the shape of this part to the older hull shape and you can see the difference made here with a new mold.
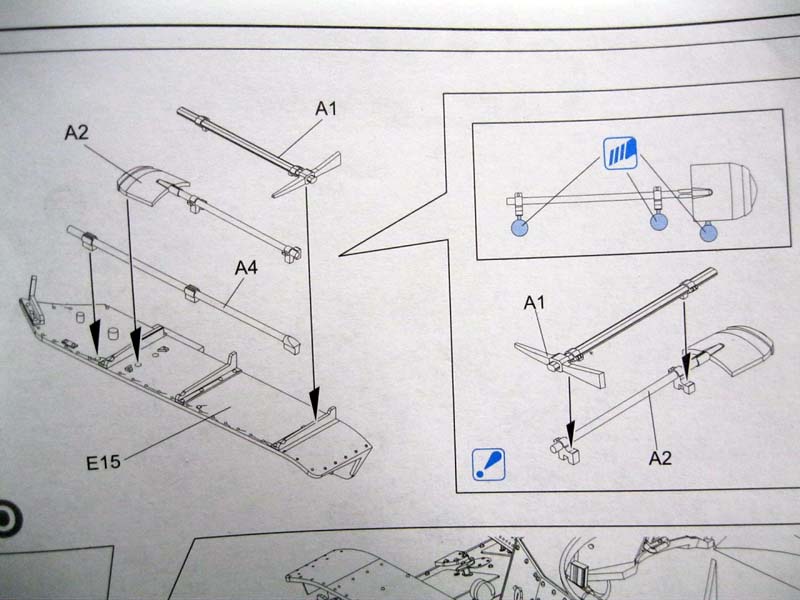
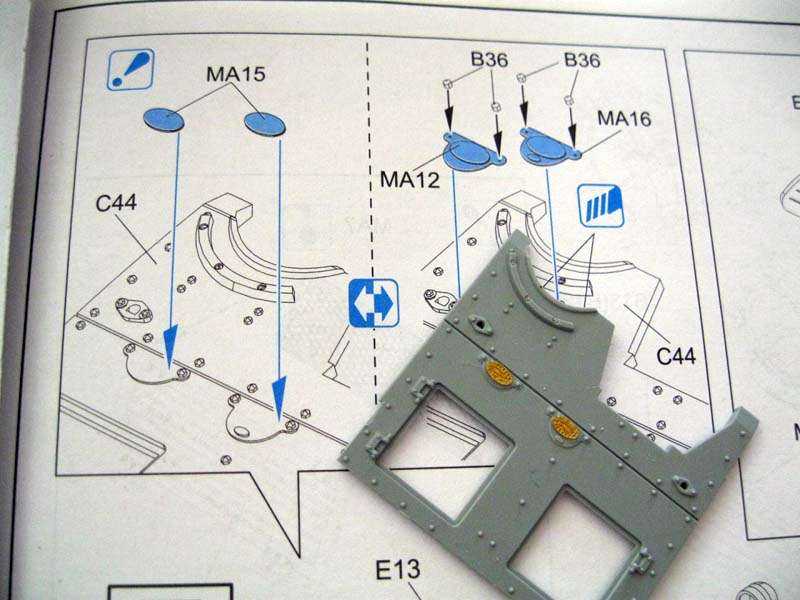
Steps 6 and 7 are assembly of the front fenders, with etch mud flaps, and new glacis plate (also compared to the old to show the differences) with the option of attaching a small etch manufacturer plate to a molded on base, or removing the base and adding a larger etch base and plate. AGain, doors have the option of molded on or separate handles and headlights can be forward facing or reversed. The driver's vision port can be molded open or closed and has two optional parts for the armored glass, or you can opt for the closed port. There is a small etch part that attaches to the forward glacis as well.
Step 8 adds the upper assemblies to the lower hull. Fit was quite good and I worked my way around the hull carefully, starting with the lower plate, then glacis and finally the upper hull.
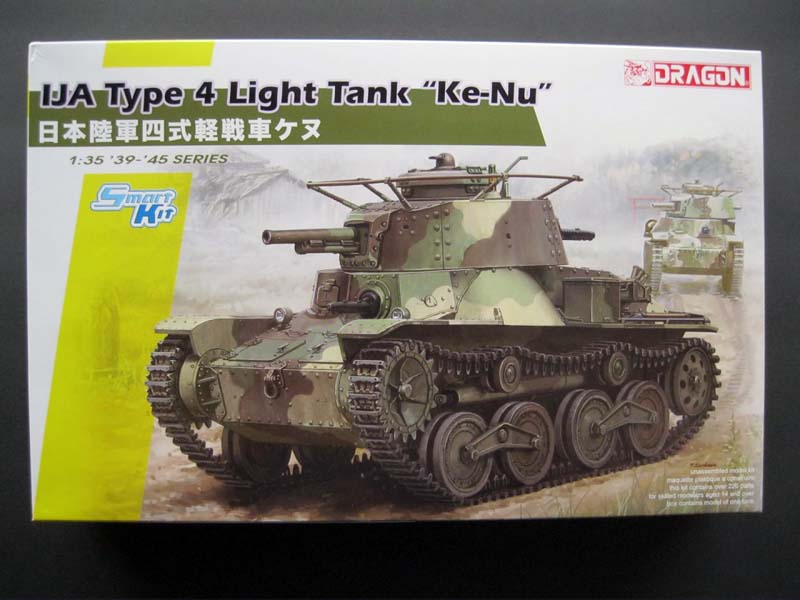
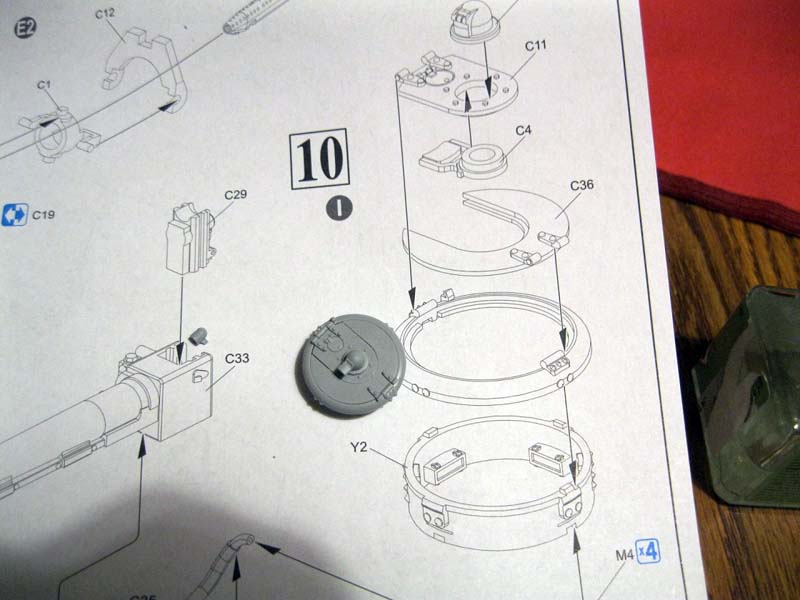
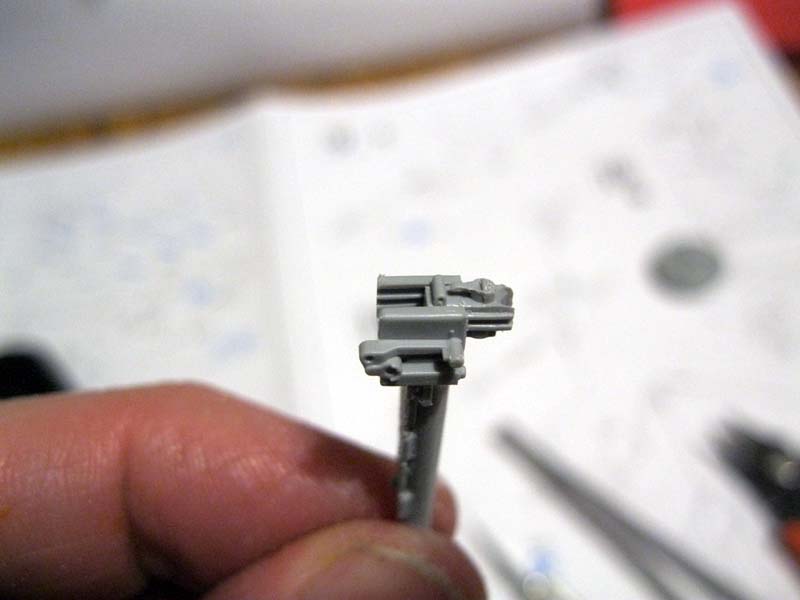
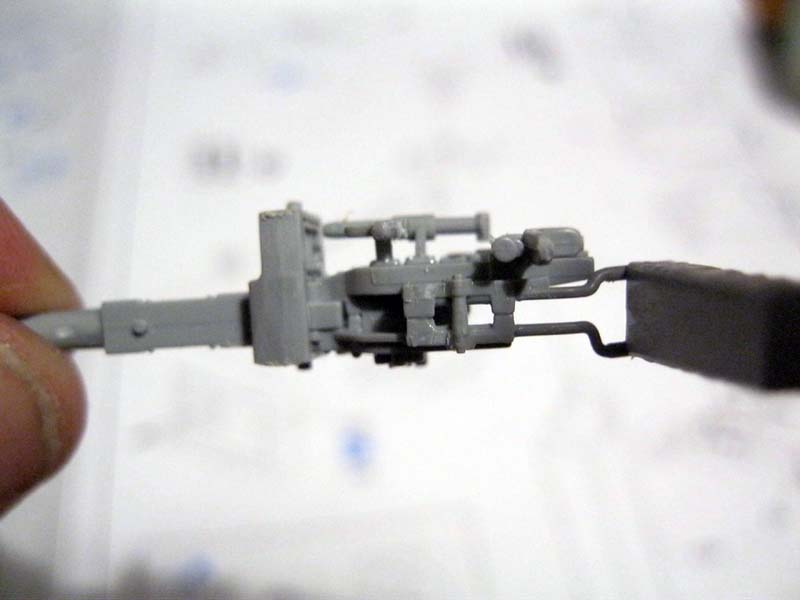
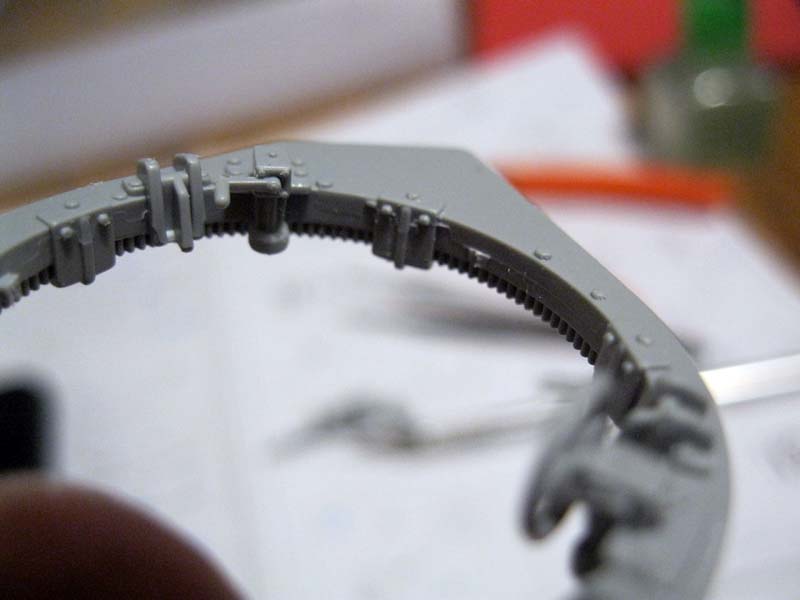
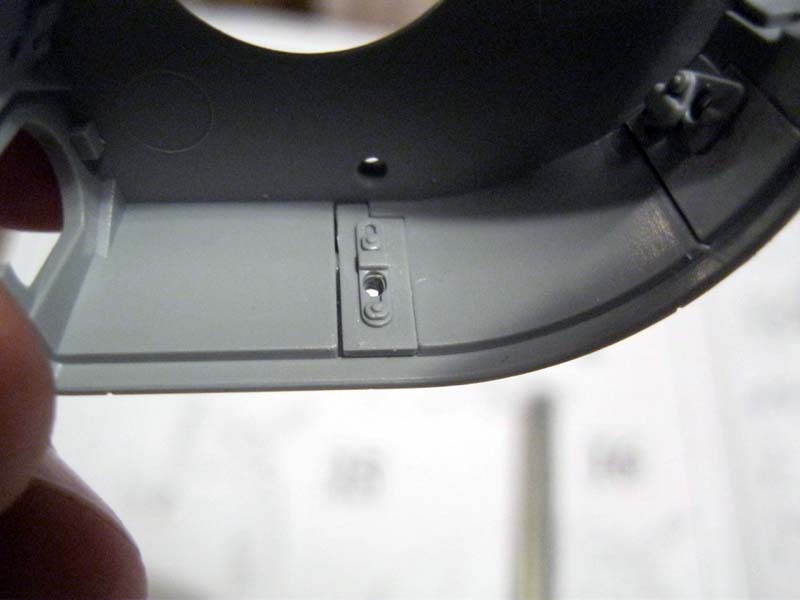
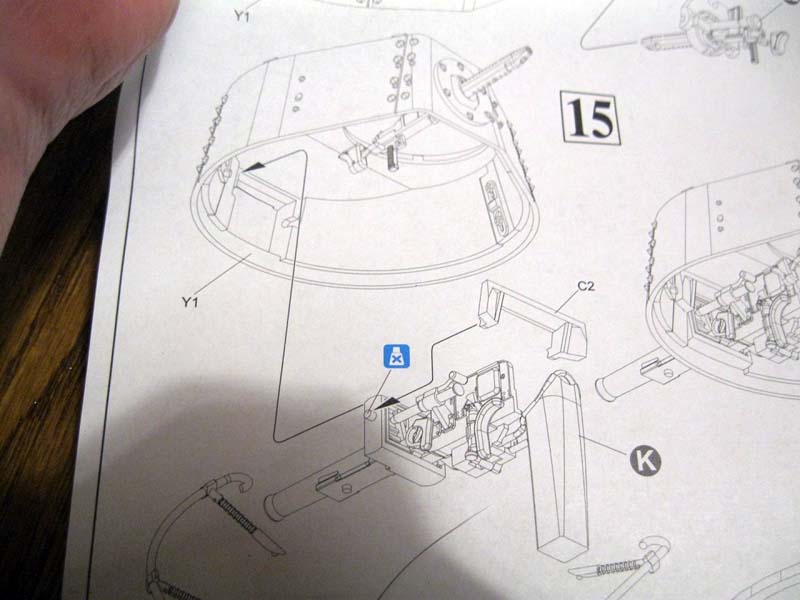
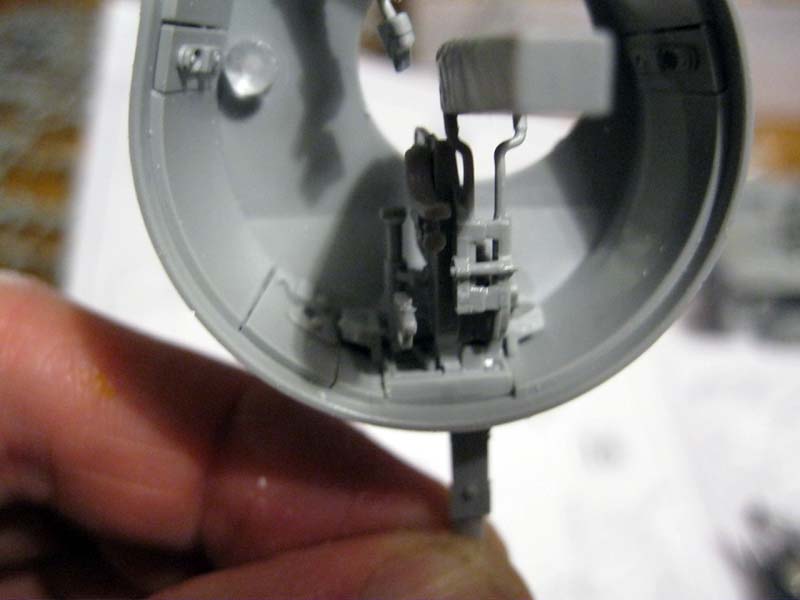
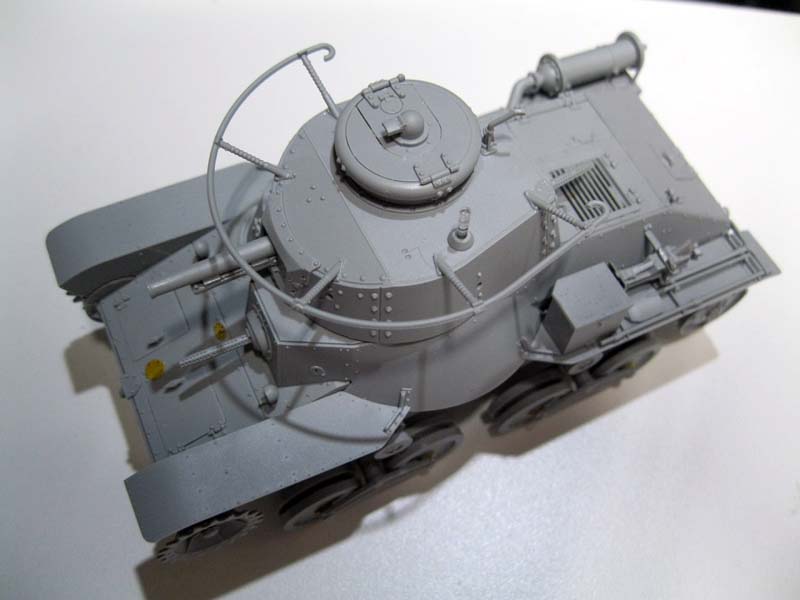
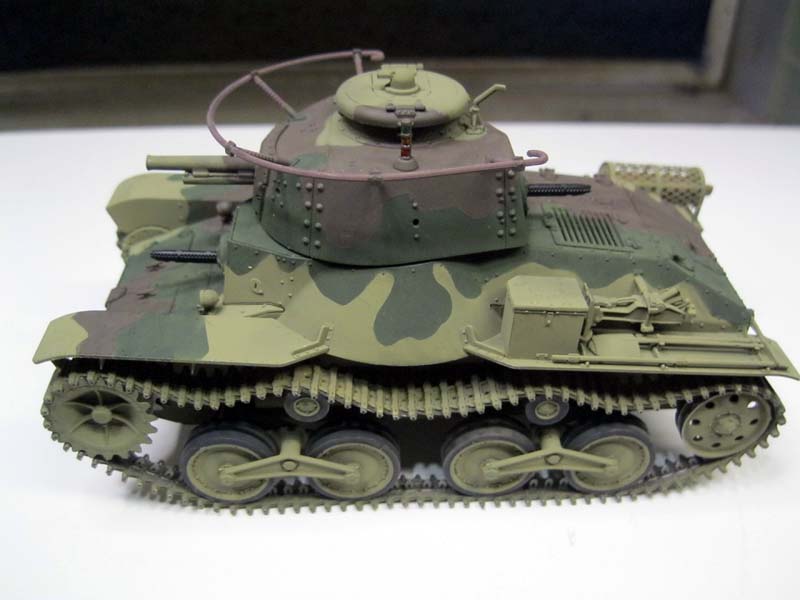
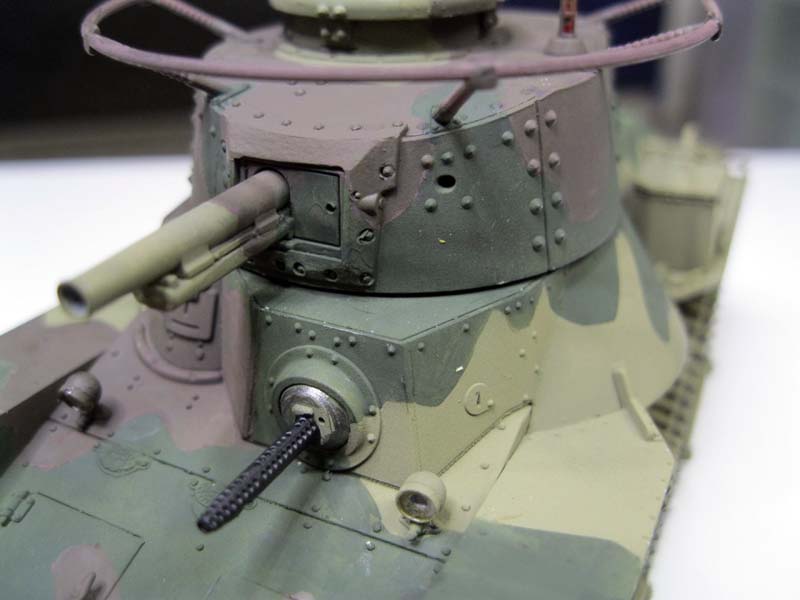
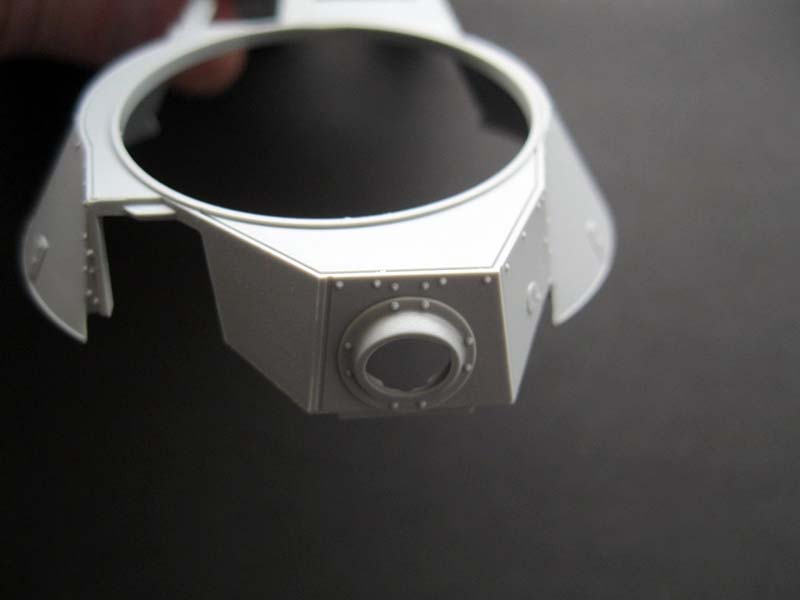
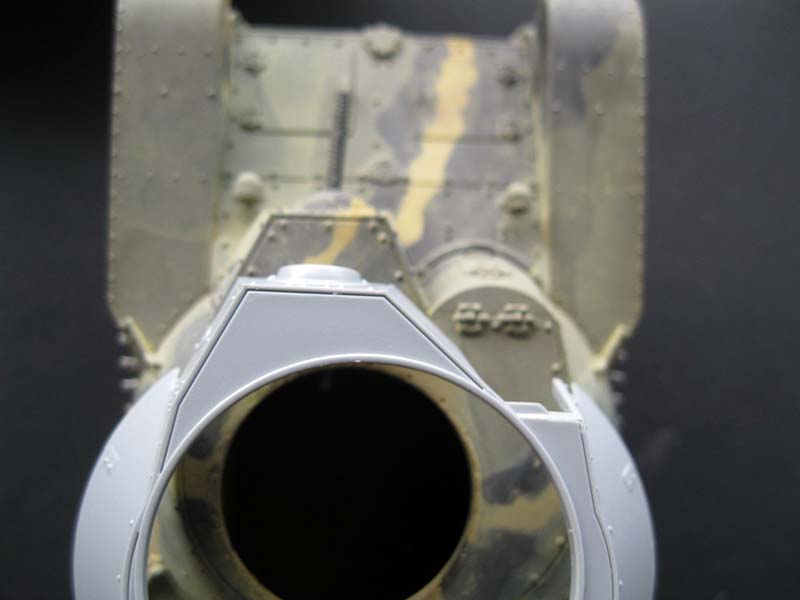
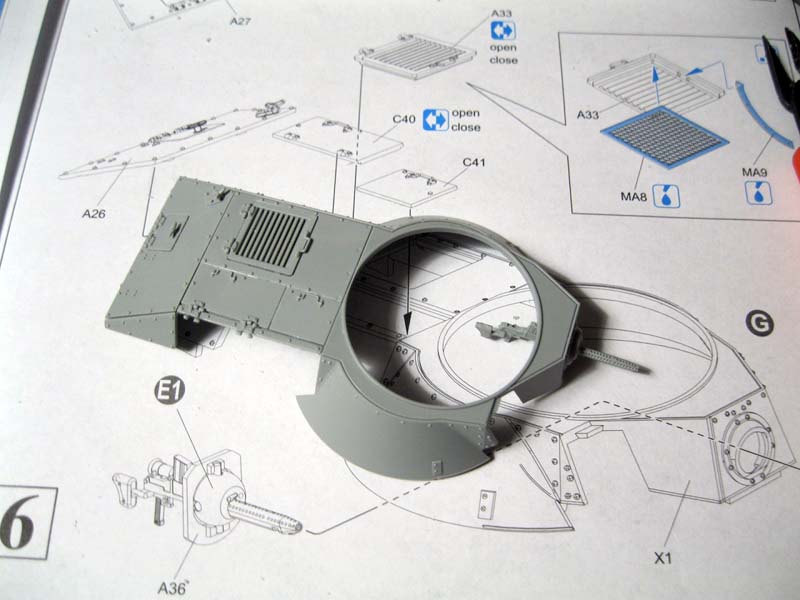
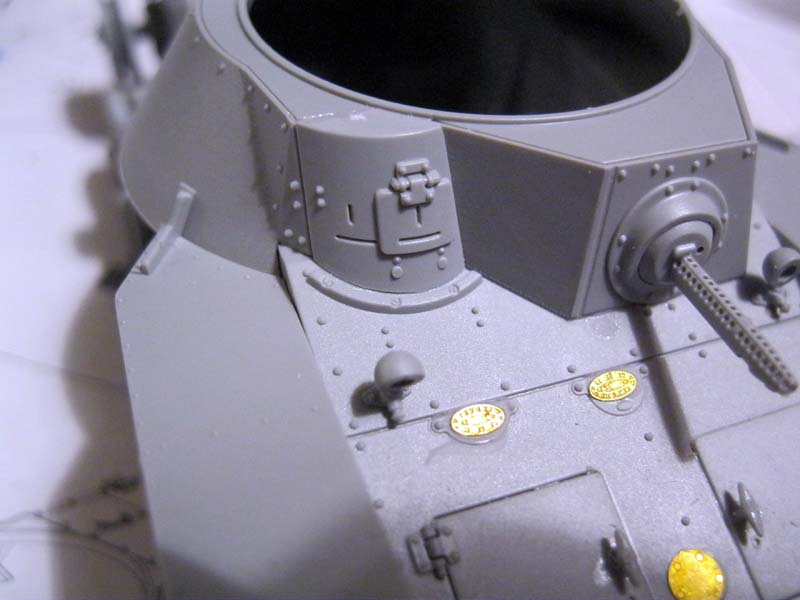
Steps 9-12 are the assembly of the turret MG, cupola, main gun and turret base. There is nice detail throughout, with clear parts for the cupola vision ports, a multi-part hatch, rifling in the gun barrel and a full breech, optional mantlet with the sight open or closed and traversing gear for the turret base. If the hatch is left open, there is some detail to look down on.
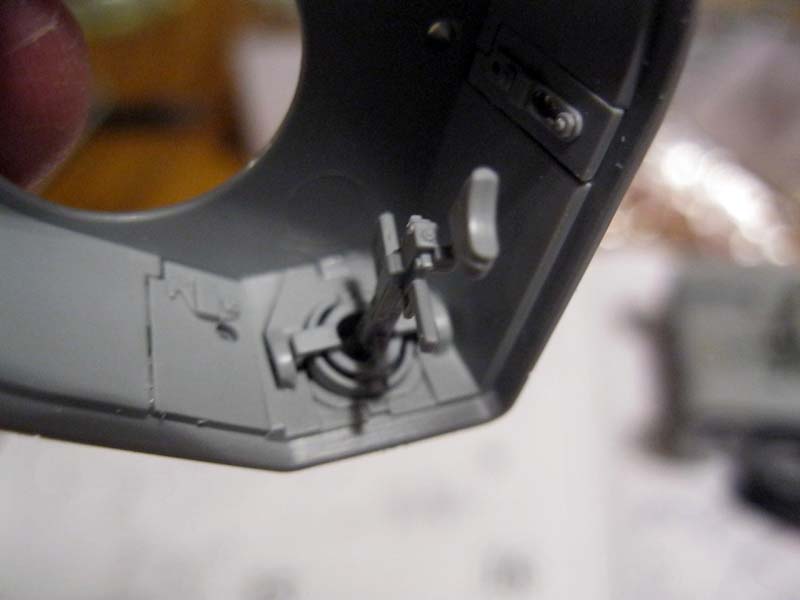
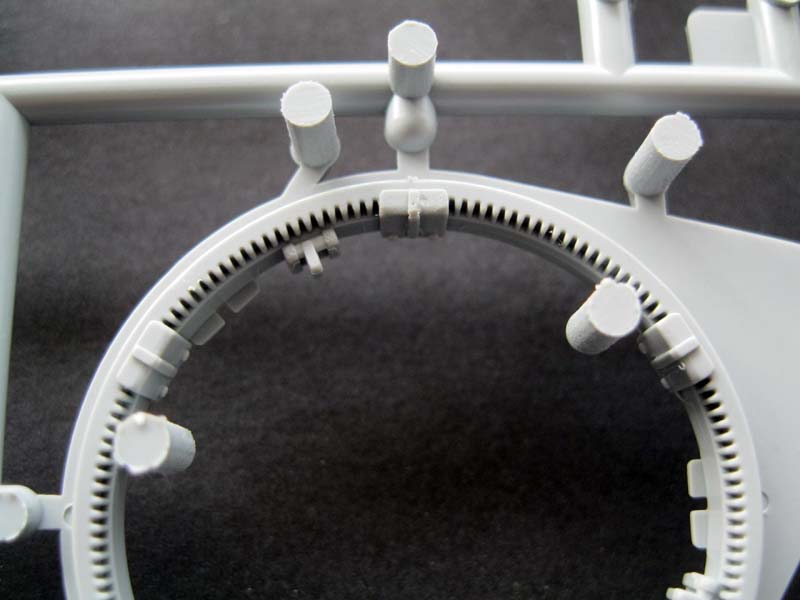
Steps 13-17 add interior detail to the turret, with the option of open or closed covers for the vision ports, mounting the hull MG and main gun and adding the cupola and antenna ring. The main gun mount is a little tricky as the bracket that allows it to swivel sits at the top and was difficult to reach and position well. There are two options for the antenna, with one having a slightly lower profile than the other.
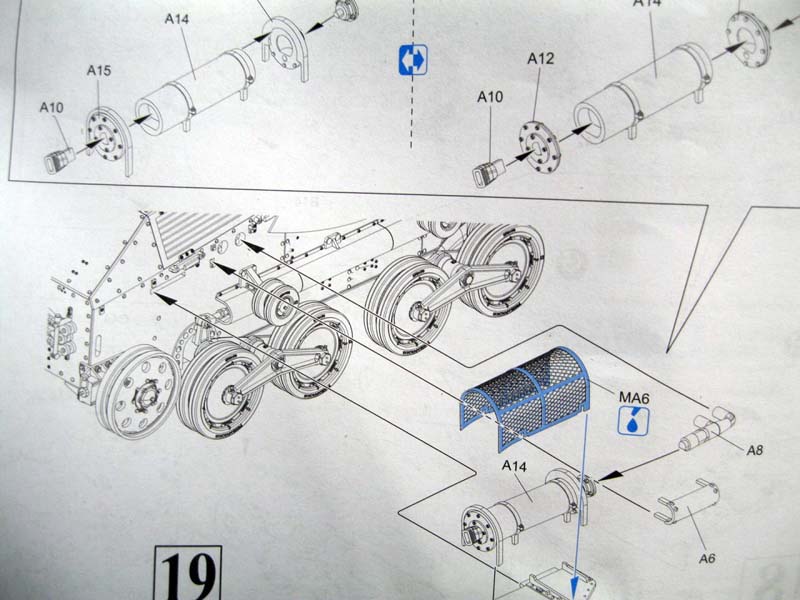
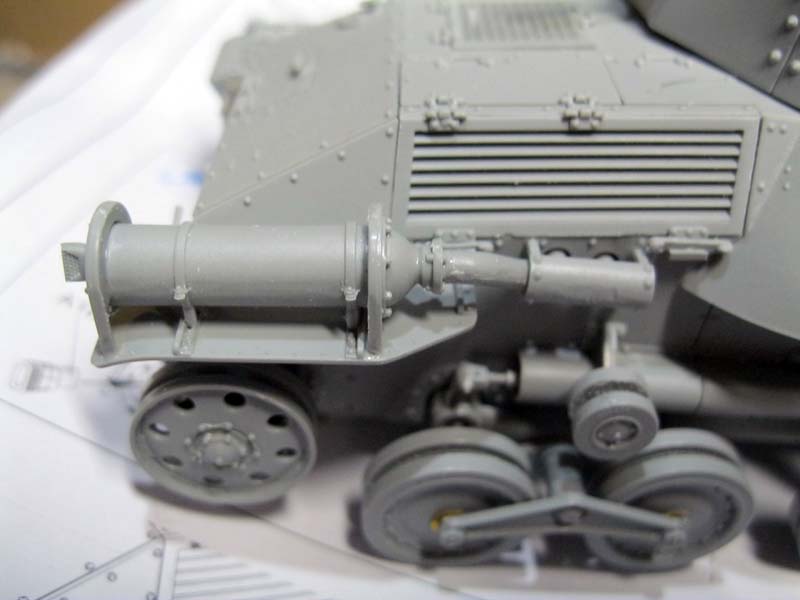
Steps 18 and 19 add the louvred side access panel, with an etch part for the inside, in either an open or closed mode. The muffler can be assembled with the etch screen or without as well. For painting, it is best to leave the screen off so you can paint and weather the muffler as you like, and then add the screen.
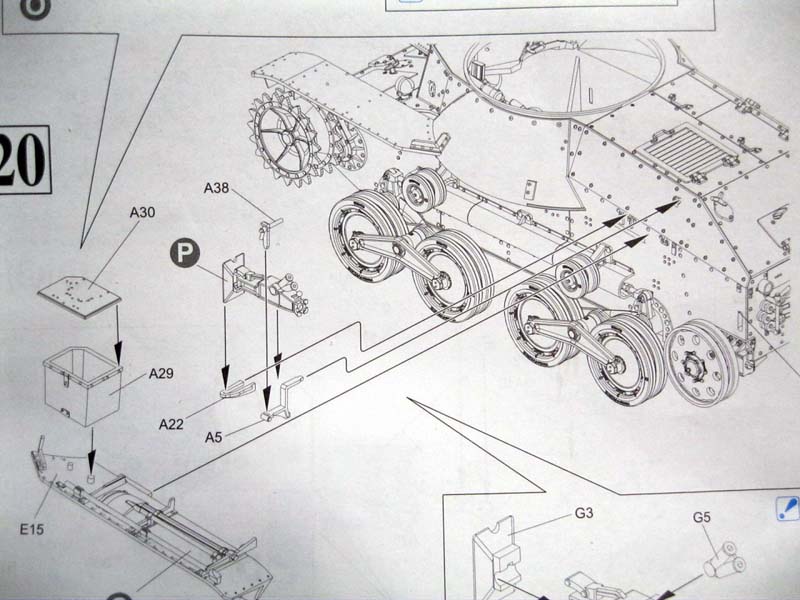
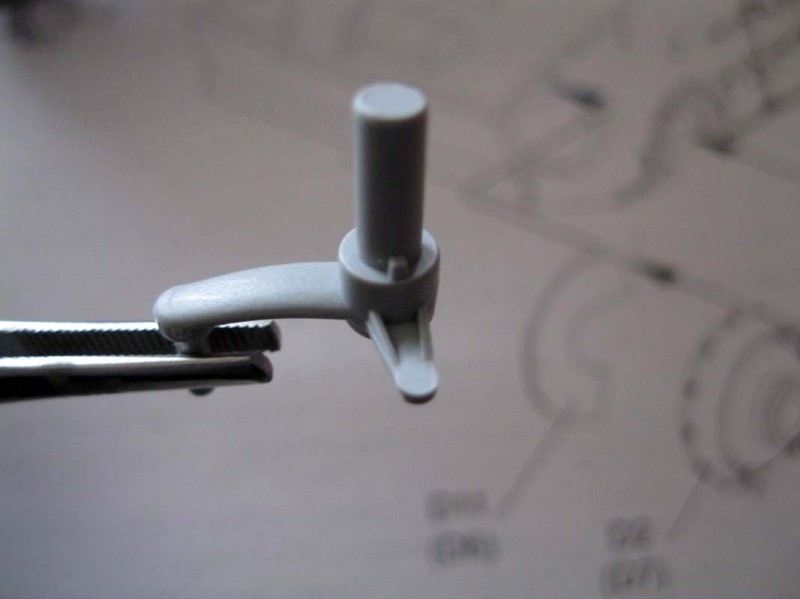
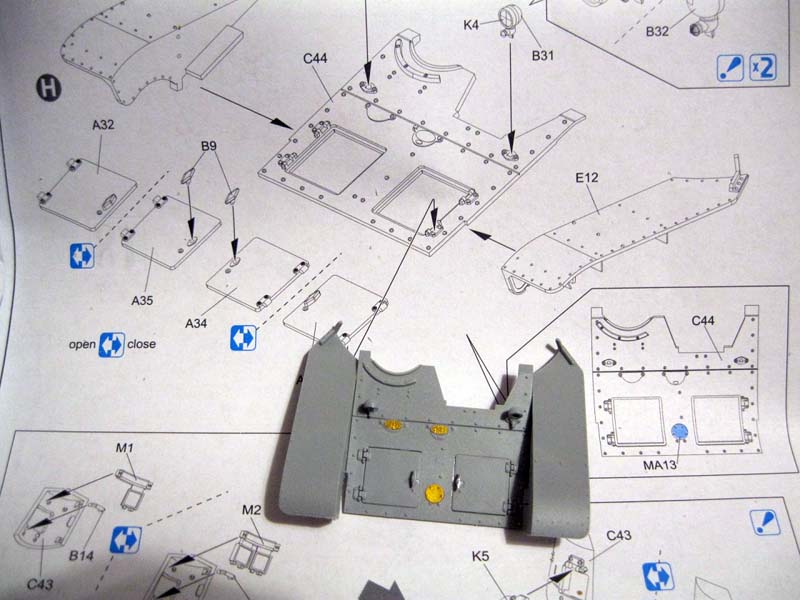
Step 20 adds the rear left fender with tool box, jack and pioneer tools. These are all well molded though as I said earlier, the lift plate part G2, does not fit into G4 as it was not molded open. I opted to assemble the two spare track links, along with the two pair from previous kits, and place the run on the rear fender with the tools.
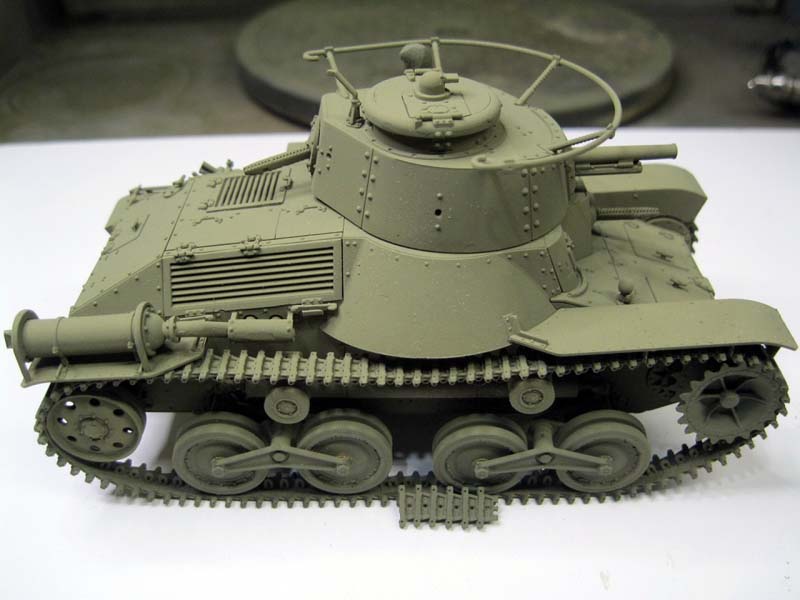
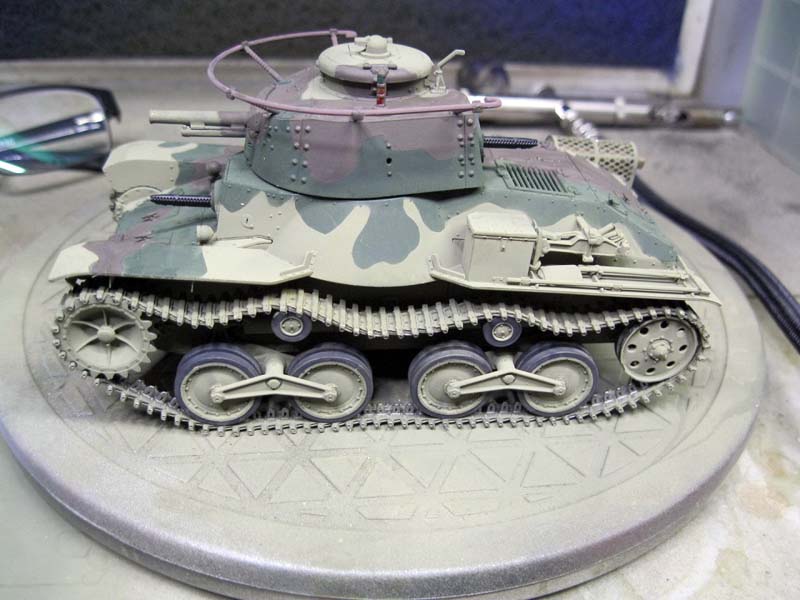
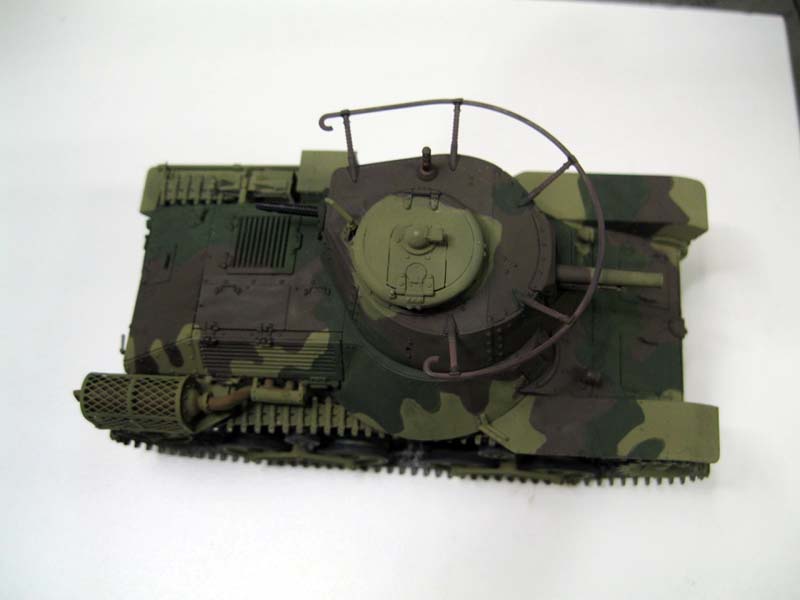
All that is left now is to place the tracks. I painted the kit in a base of my own mixing from Tamiya paints. I made it a while ago and don't remember the colors, but it started with Khaki. I masked with tape and blue tack and applied Imperial Japanese Army green and a home made mix of black brown. I thinned heavily and the paint gathered at the mask edges, leaving some edges. The blue tack also left some residue, so I am debating a repaint, but wanted to get the review completed. I have read that Japanese tank tracks were painted in the base color, so I did the tracks as well. To get the sage, I used CA to attach a wire to the inside of the track run and then formed it to create the sag. The downside to this is that it leaves the track sitting too high on one side. The track is quite long and the sag appears to be excessive, so I will need to shorten it by a couple of links. I am looking at after market solutions as well.
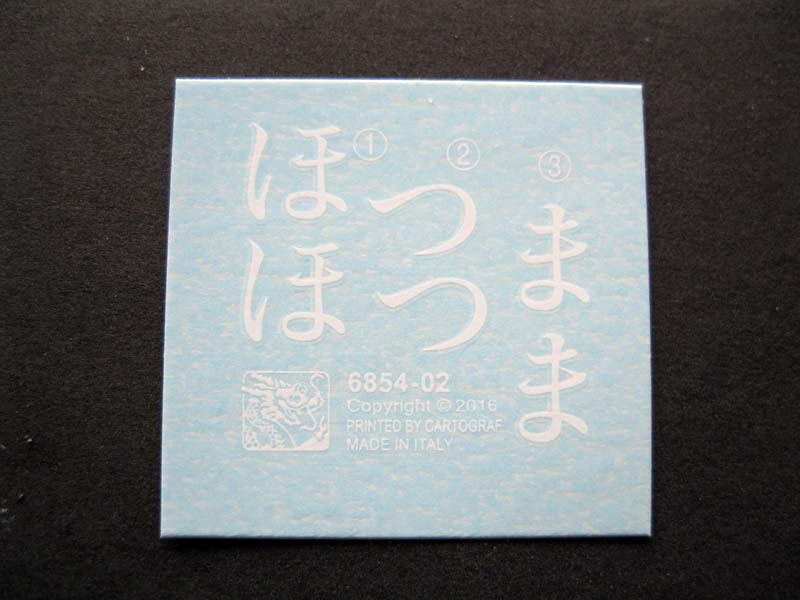
The kit decals offer two marking options, though only one is used in the instructions. They are from Cartograf and are quite thin and cleanly printed. My paint scheme was based on a photo of a collection of tanks gathered on a beach, presumably in Japan after the war, as armament has been removed. The photo is found here, scrolling down to the header on the Type 4 tank. http://www.weaponsofwwii.com/forum/viewtopic.php?t=3130&start=15
I have seen several images of option two, but all are artist images, and without the disruptive yellow stripe. I don't know if Dragon added that as artistic license or had a photo to work with. See here, about half way down the page: https://ikazuchisen.wordpress.com/the-ke-nu-and-ke-ri-type-95-ha-go-light-tank-variants/
Conclusions
I think this is an excellent model kit. Assembly was over the course of a weekend and was hassle free. Any issues I had were user caused, such as my gluing the main gun assembly into a fixed position. The only complaint I could lodge is with the DS tracks, which I am sure are a cost saver for them and are still better than the rubber/vinyl tracks that come with many other kits. I'll have to adapt, improvise and overcome. It is a minor issue compared to the ease and satisfaction with the rest of the build.
For those who want something different, or simple to build while offering lots of detail, or a base to super detail on their own, this is an ideal kit to go after.
SUMMARY
Highs: Easy, very well detailed build and hassle free instructions. Lows: DS tracks are too long, difficult to get to look right. Verdict: I think this is a great kit, perfect for a weekend build, and will offer a break from the ordinary.
Our Thanks to Dragon USA! This item was provided by them for the purpose of having it reviewed on this KitMaker Network site. If you would like your kit, book, or product reviewed, please contact us.
About Russ Amott (russamotto) FROM: UTAH, UNITED STATES
I got back into the hobby a few years back, and wanted to find ways to improve, which is how I found this site. Since joining Armorama I have improved tremendously by learning from others here, and have actually finished a couple of kits. I model to relax and have fun, but always look to improve. ...
Russ,
You built this in a weekend? Incredible!
This looks to be a splendid model and you did a great job with it. Your review is excellent with your step-by-step sequence and tips from your experience. Very useful.
I have yet to build a model with these tracks so I am VERY interested on how they work.
Many thanks for this very informative review... kit will have been perfect with pre-saged plastic tracks that Tamiya is providing in kits like its SU-76m
Thank you for the comments. I ended up using CA glue around the return rollers and shaping the DS tracks around them to get the sag. It worked well, I think. I will post photos when I can.
Im going to the convention in Connecticut this April . I hope to pick one up there . If not Ill order one from Amazon . It looks like a nice change of pace . I have the other Japanese tanks and SPG from Dragon And Tamiya and found them to be nice builds ! !
Watch the sales on Dragon USA Online, that kit has been seen at prices varying from $30 to $40.
I bought mine there at $40 but it went on sale even cheaper a few weeks afterwards.
Cheers,
Christophe
Thank you for that review Russ, and showing the difference in the upper hull shapes around the MG mount. I thought that someone had mentioned when the kit was first announced, that the hull had the wrong configuration in that area for this tank. Either I'm remembering it wrong (most likely), or maybe Dragon corrected the error (less likely, being a Dragon kit, but possible). Whatever the answer, I had not paid any attention to this release, but with that hull being correct(ed?) I'll be getting this kit for sure.


Comments