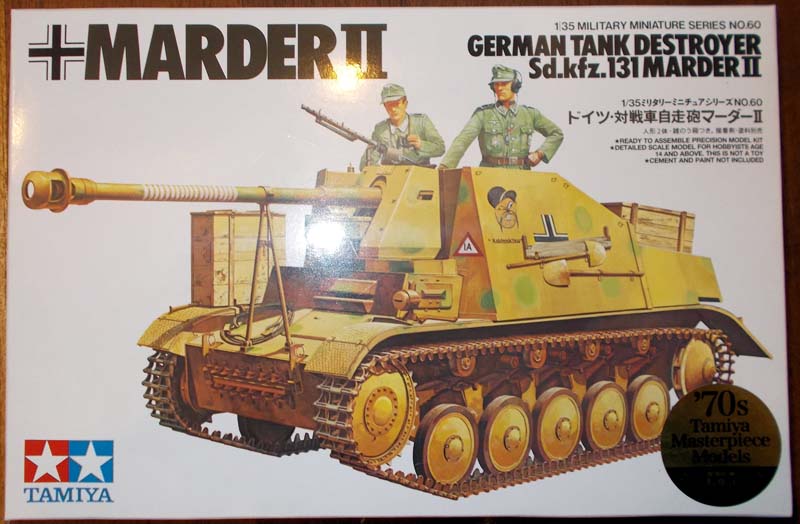
The Marder series was developed in response to the T-34 and KV-1s encountered during Operation Barbarossa. The Marder II was originally a modified Panzer II Ausf. D/E chassis with a captured Soviet 7.62cm F22 gun. These were identified as Sd.Kfz 132 vehicles. The second version was built with the 75mm Pak 40 L/48 anti-tank gun. This version used Panzer II Ausf. A/B/C and F chassis and were identified as Sd.Kfz 131. The fighting compartment was redesigned to have a lower profile, but retained the thin armor of the Sd.Kfz 132. FAMO, MAN, and Daimler-Benz built 576 between mid-1942 through mid-1943. An additional 75 withdrawn Panzer II chassis were converted in 1943-44. The Marder IIs were found on all fronts, but primarily on the Eastern front.
Whats in the Box
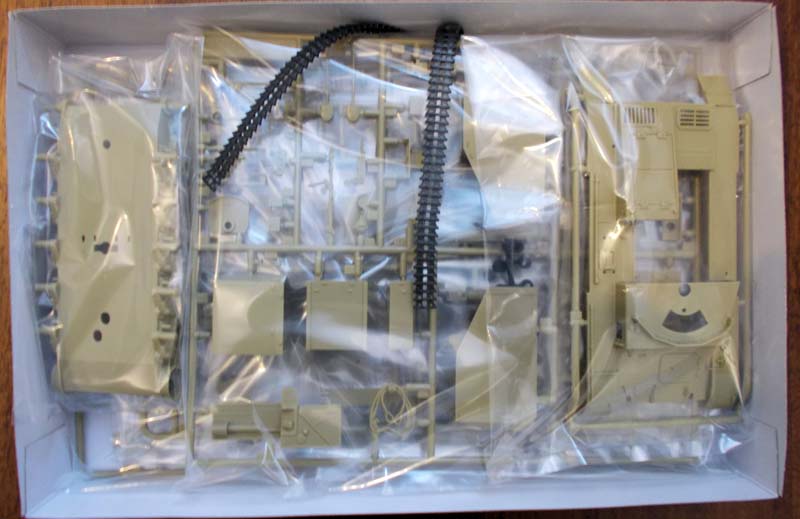
The kit is from Tamiya and was originally released in 1971. This version was reissued in 2001. There are only 163 parts in the kit.
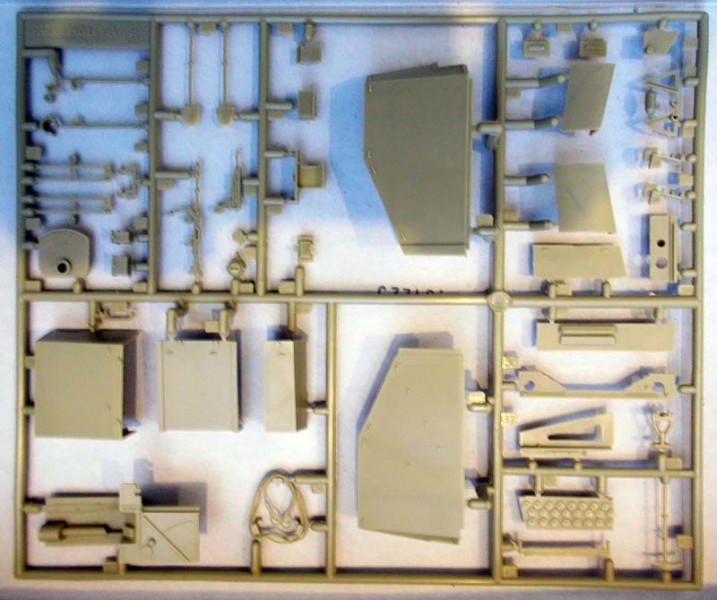
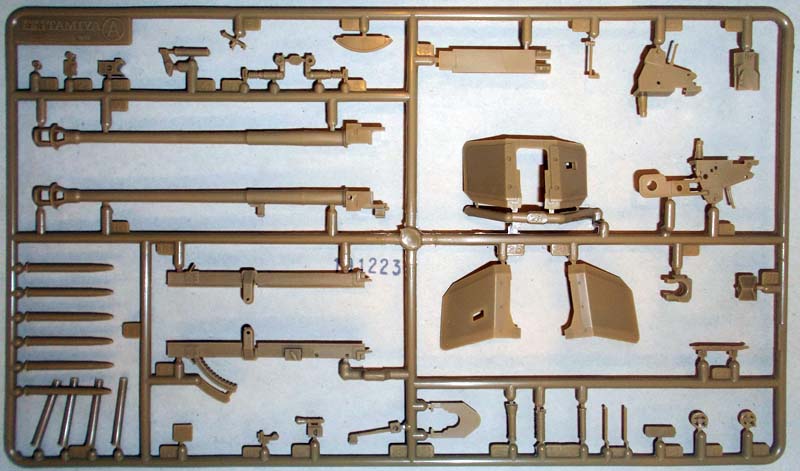
4 sprues molded in beige
Lower/Upper Hull molded in beige
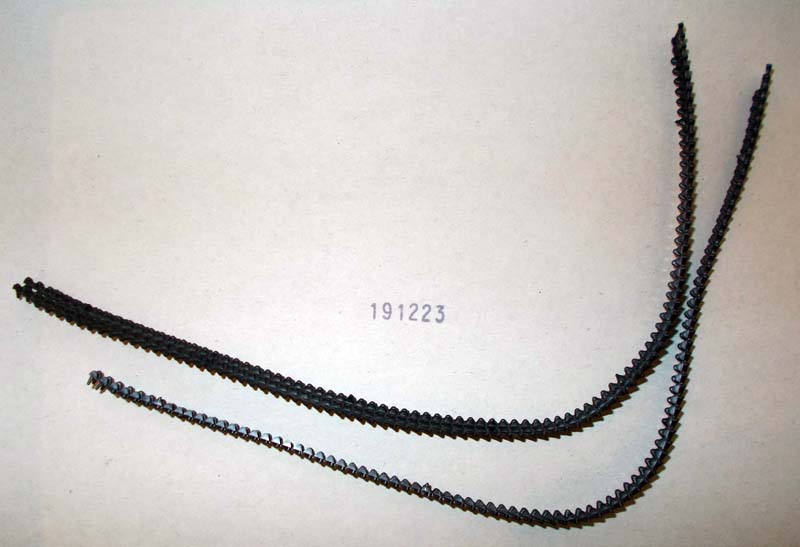
1 Rubber-band tracks
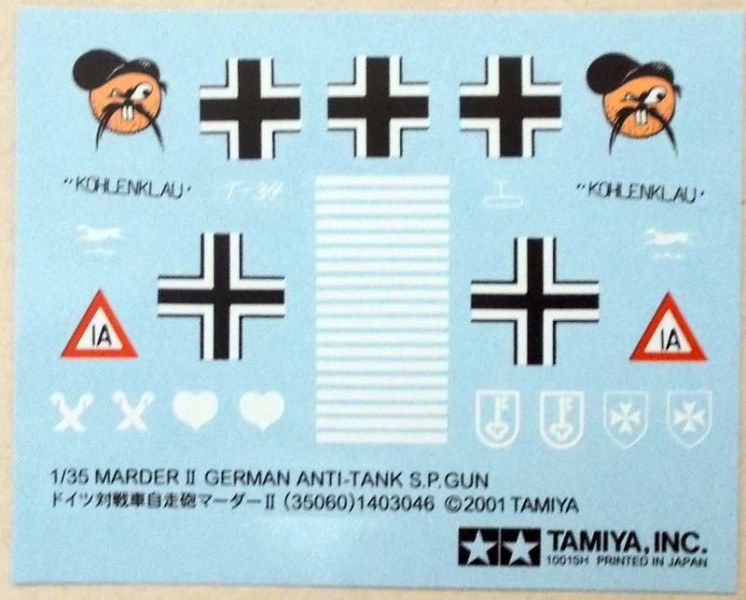
1 Decal sheet
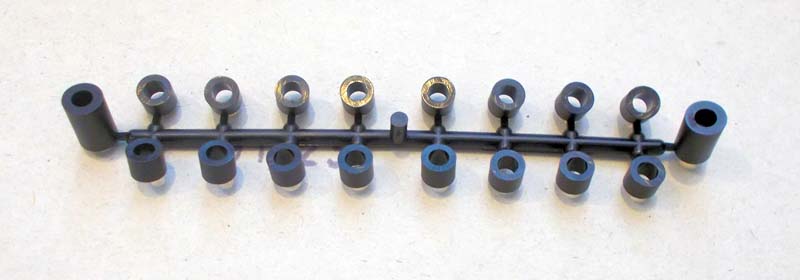
1 Poly-cap sprue
1 8 page Instruction manual
Looking at the Kit
The quality of the styrene is what we expect from Tamiya. There is little or no flash on any of the parts. Any ejector pin marks are located such that they shouldnt be seen once built.
Instructions Unfortunately, Tamiya did not update the instructions. They are the original format (from 1971), which are very dated and not as clean looking. It does, however, include a parts sprue breakdown. The instructions consist of 8 pages, with the assembly broken down into 15 steps (Step 16 is for the figures).
You start with the gun assembly. The barrel is molded in two pieces. Therefore you will have to remove the seam line. The breech can be assembled in the loading or firing position. The rest of the assembly is straight forward. Just be careful as many of the pieces are small and can break easily.
When assembling the gun shield, be careful not to glue part A30. It needs to be able to move with the barrel. The instructions dont really make it clear, and is easy to miss. The entire assembly covers 3 steps.
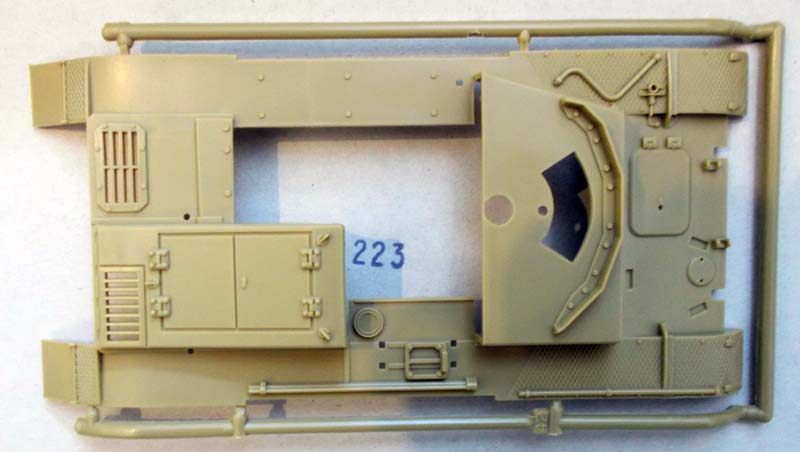
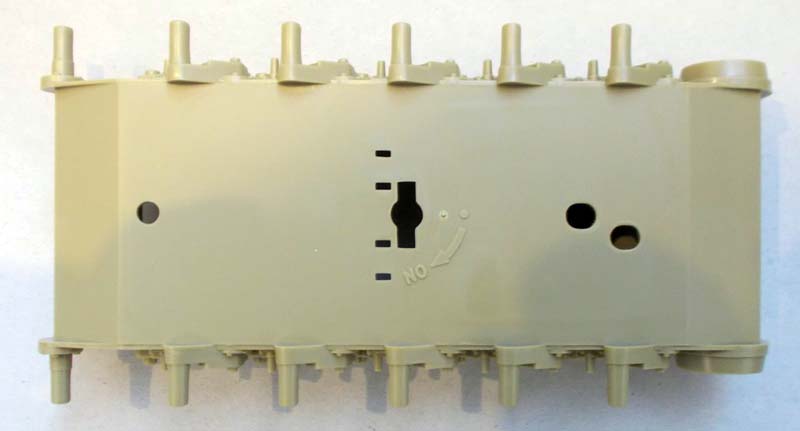
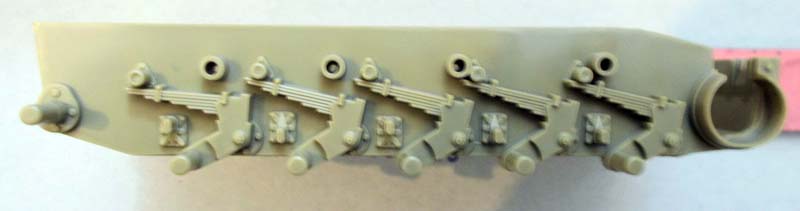
The lower hull is the bathtub style. All of the suspension and running gear are molded as part of the lower hull. As a result, the detail is not what it should be. A floor is installed into the hull. An attempt at representing the transmission is included as is the drivers seat. That is the extent of the interior detail.
Construction of the wheels is straight forward. A positive is that poly-caps are used for all wheels. Assembly consists of the wheel, poly-cap, and cap cover. The return rollers are also single piece and just glued into place. The tracks are rubber band style that you assemble by melting the tabs to fix the joint. As the road wheels are one piece, masking will be needed to paint the rubber separate from the hub.
Steps 9-14 assemble the upper hull and fighting compartment. Assembly is not complicated. However, it is clear there is a lack of detail. For example; you install a radio rack, but there are no radios. Most of the other items installed on the inside of the rear fighting compartment are missing as well.
I did find that Eduard released a PE fret for this kit a very long time ago, SKU# 35048. It will help add some of that missing detail.
Decals Five divisional symbols are provided. However, you will have to figure out what theater, and what year, they operated so you can determine the proper paint scheme for the one you select. (Searching Google, I was able to gather some information):
320th Infantry Division (Eastern Front 1942-44)
216th Infantry Division (Eastern Front 1942-43)
168th Infantry Division (?????-Probably Eastern Front)
16th Mechanized Infantry Division (Eastern Front 1942-43)
10th Panzergrenadier Division (Eastern Front 1943-44)
Painting Instructions show the post February 1943 dunkelgelb basecoat with camo patterns reflecting the Eastern Front. However, if you are doing any of the units for 1942, then the basecoat color would be panzer gray.
SUMMARY
Highs: This is a simple, easy, and inexpensive to build kit.
Lows: It would have been nice if Tamiya had updated the instructions and/or the molds.
Verdict: A quick and easy build to add to your tank destroyer collection. The Dragon release, #6423, would be a better option if you want a more detailed and updated kit.
About Mark (d111298pw) FROM: OKLAHOMA, UNITED STATES
I'm from the US, but have lived most of my adult life around the world due to my work.
I started building models when I was 6. Took a 30 break as other priorities took hold (work,family, etc..). Got back into it a number of years back building F1 kits (Ferrari only). When I got to India, the modell...
Over the years,I've built a few of these and l still have three in my stash.Still a sweet kit after all these years,despite the sheer age of the molds.
Although I don't have solid refs with me here I'm willing to bet a month's salary that this model DIDN'T come out in 1971. I think it was more like 1976, or '77. I realise Scalemates review page says 1971 but I'll stake my next beer on that being wrong.
I have one that is 90% done but abandoned in my stash. Painted and everything, except for the tracks. No AM though the tracks need replacement the most. I think I abandoned it because of the lack of radios issue and the need for AM track. Also that idler issue didn't help either! Maybe I'll pick up a cheap Alan PzIIC and finish up this model...
Damon.
Oh here's a nostalgic build! Had one of these in the stash until not too long ago. Now I'm faced with better details but questionable instructions on the Dragon kit. This one is, in comparison, a fun and quick build and kits like this always leave me smiling even as I try and figure out ways to update the details.
Confusion stems from the fact that the original Pzkpfw II F/G is from 1971. So that date is on the sprue. This actual kit came in about five-six years later.
There was a full article on how to update this kit in an old IPMS/USA quarterly I have from around 1977.
Confusion stems from the fact that the original Pzkpfw II F/G is from 1971. So that date is on the sprue. This actual kit came in about five-six years later.
There was a full article on how to update this kit in an old IPMS/USA quarterly I have from around 1977. [/quote]
Down below on the instruction sheet, the copyright is dated 1976.


Comments