The Sd.Kfz. 182 Königstiger, better known to us English speakers as the King Tiger or Tiger II, was the successor tank to the infamous Tiger I and was the last German war-time heavy tank put into production. It was designed to carry a bigger and better version of the 88mm main gun found in the Tiger I and have increased amour protection up to 185cm thick to withstand anything the east and west had at the time of its design. As a result of these requirements the King Tiger weighed in at close to 70 tons and suffered from frequent breakdowns due to problems caused by its heavy weight and being severely underpowered. It used the same Maybach HL 230 engine found in the Panther tank which was 20 tons lighter than the King Tiger. Though it was considered to be too heavy and over engineered the King Tiger was still feared because of its armor protection and powerful main gun which could penetrate just about anything at ranges over 2 miles.
Meng Models kit # TS-031 is a "Henschel turret" variant of the King Tiger and unlike the recent Takom releases the kit does not come with a full interior or molded on zimmerit, giving modelers who want to avoid a complex interior build another option.
Content
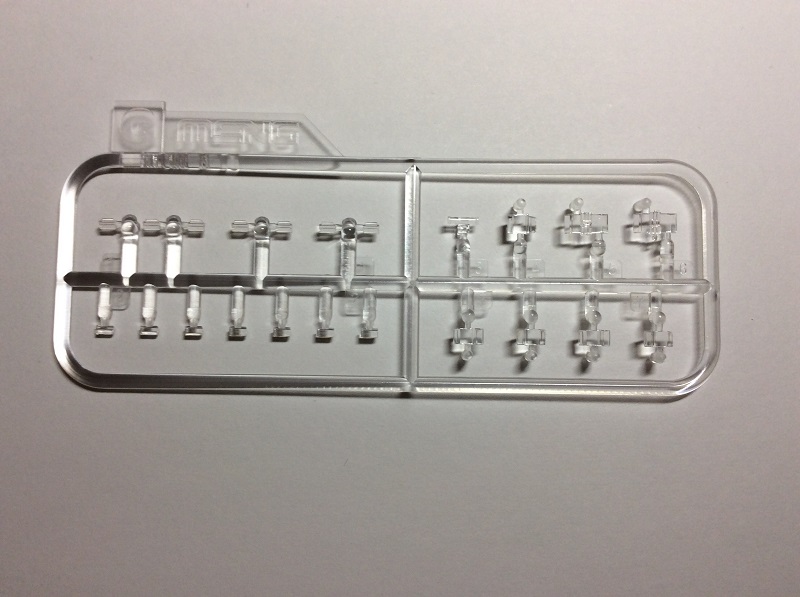
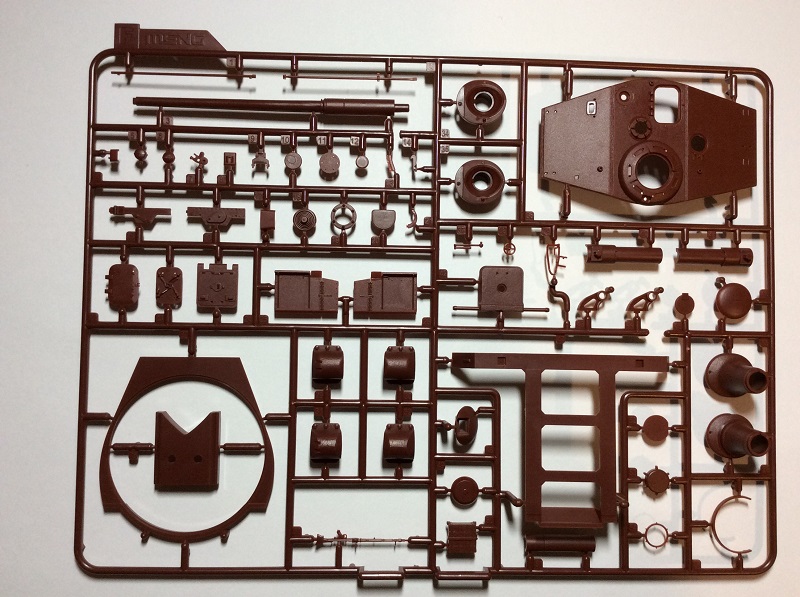
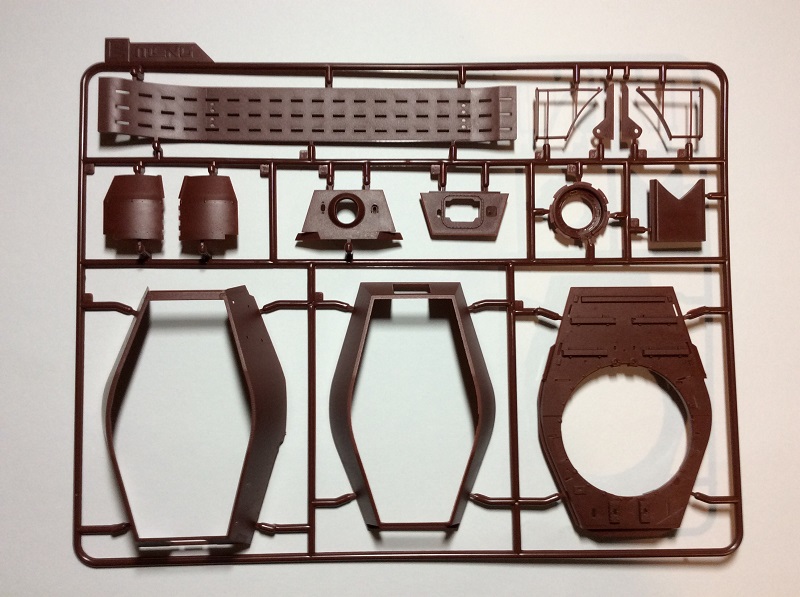
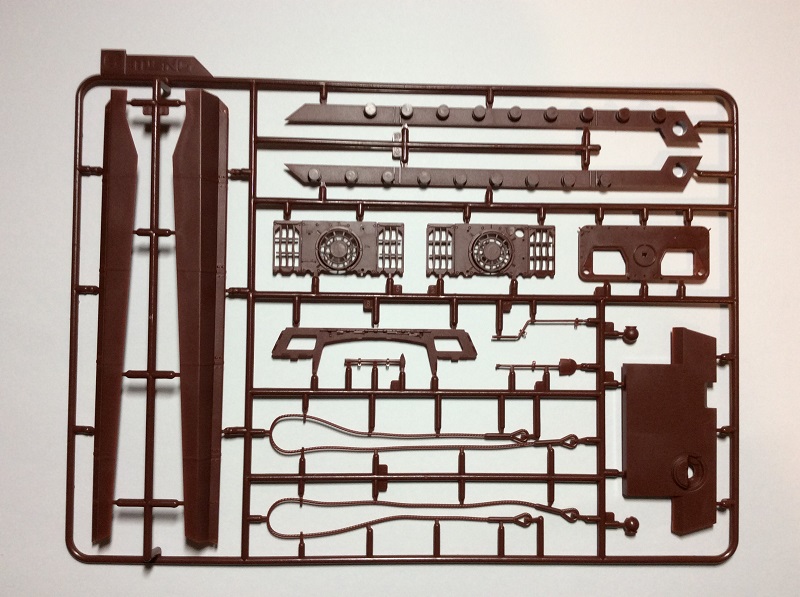
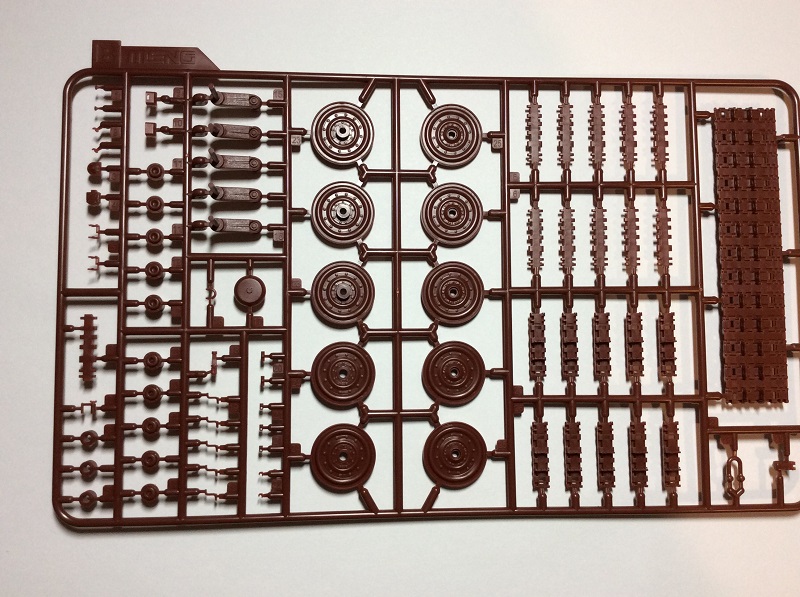
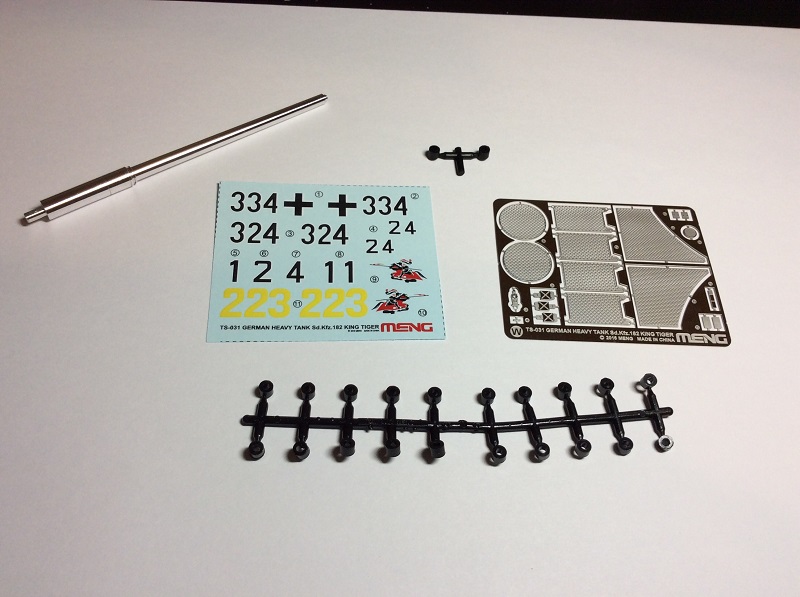
The kit comes in a well-packaged box with some superb art work on the front. The box includes 10 maroon-colored styrene sprues for the tank, 1 gray styrene sprue for the figures, 1 sprue of clear plastic, poly caps, a decal sheet, a photo-etch fret, and a metal barrel which according to the Meng website is only available for the first production batch.
Review
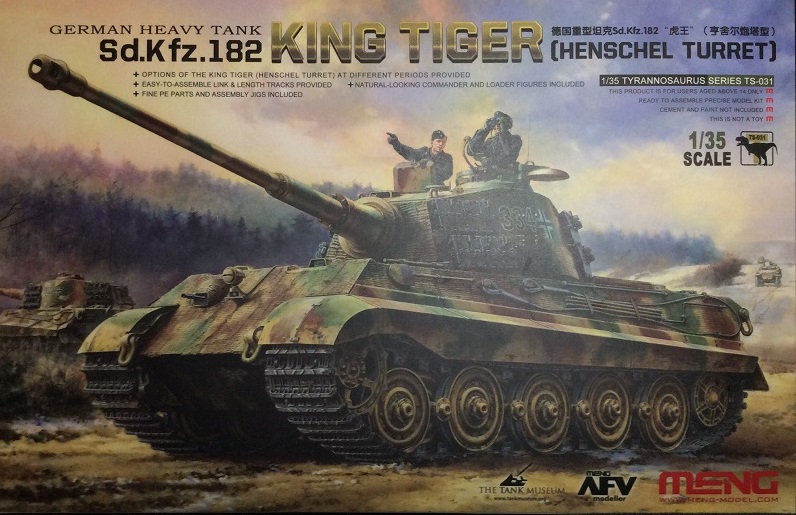
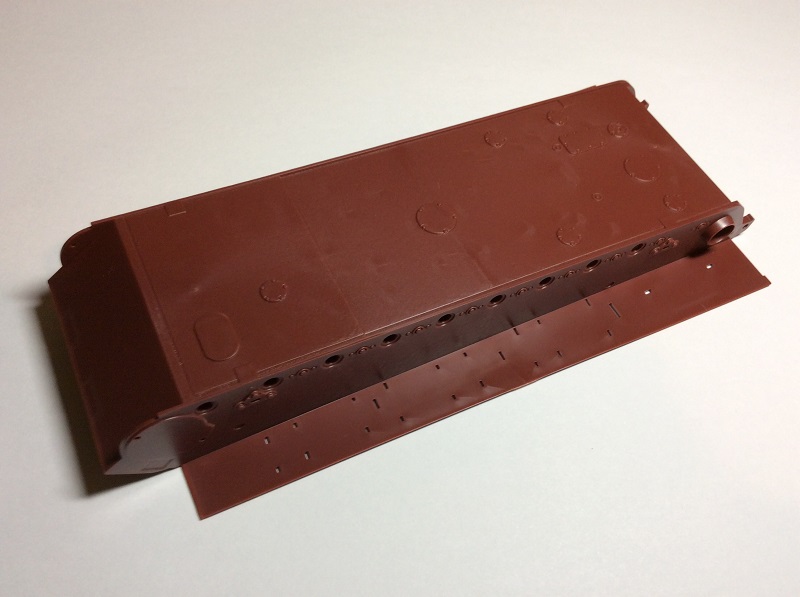
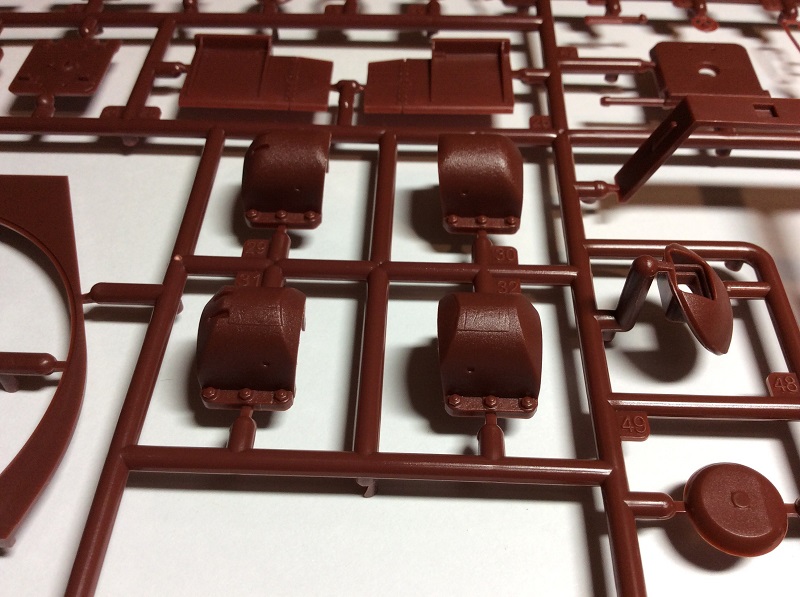
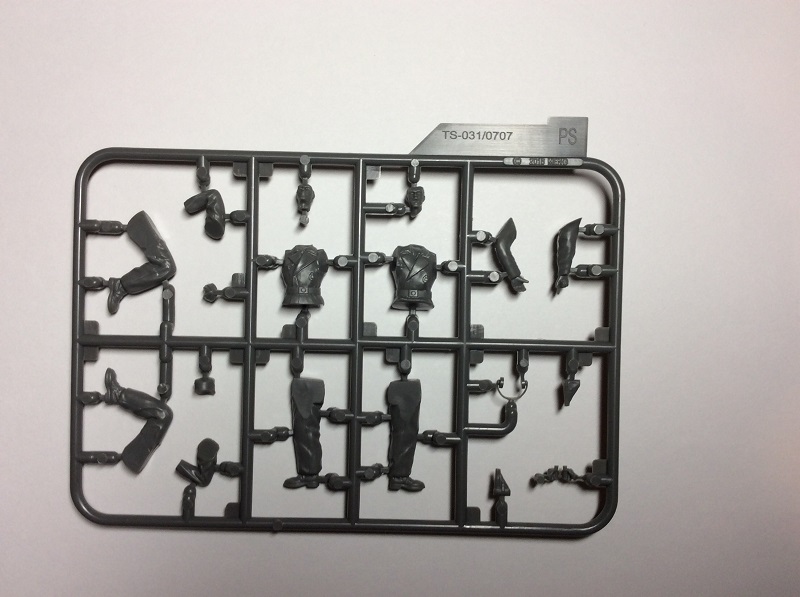
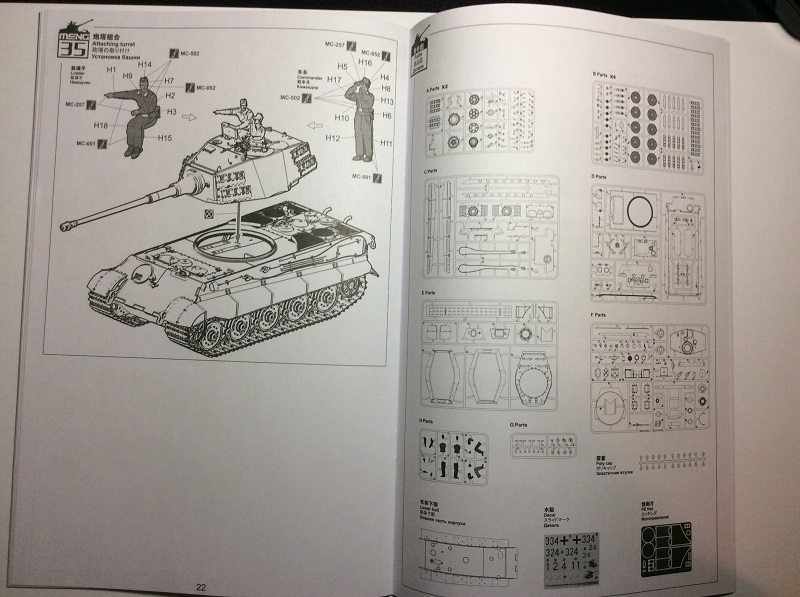
Right when you open the box the first thing that jumps out at you - besides the number sprues Meng manages to squeeze in a box - is the color choice of the styrene used which comes in a reddish-brown maroon-like color very similar to the red oxide primer the Germans used on their vehicles. There are 10 sprues in the red oxide color that are used to construct the tank (Sprue A x2, Sprue B x 4, Sprue C, Sprue D, Sprue E, and Sprue F) and Sprue G with the clear parts for the vision blocks and periscopes. The hull parts are molded with a very realistic looking cast texture which is the most accurate representation I have seen in this scale. The parts are all nicely laid out with no flash whatsoever and hardly any ejector pin marks. The kit uses a link and length type assembly method for tracks which come with jig to help replicate the track sag, this will help you save a ton of time putting them together. The track molding is very nicely done and there are no ejector pin marks to worry about. Meng has put just the right amount of photo-etch in this model so those of you who struggle with it will be happy. They even added a photo-etch bending jig/tool to help bend the radius required on some of the engine grills! If you manage to get a hold of the first productions batches of the kit you will be given an option to choose from the very nicely detailed slide molded barrel or a turned aluminum barrel. The kit also comes with 2 crew figures molded on a gray styrene sprue, though they are a welcome bonus they are a bit subpar on detail for todays standards even for styrene.
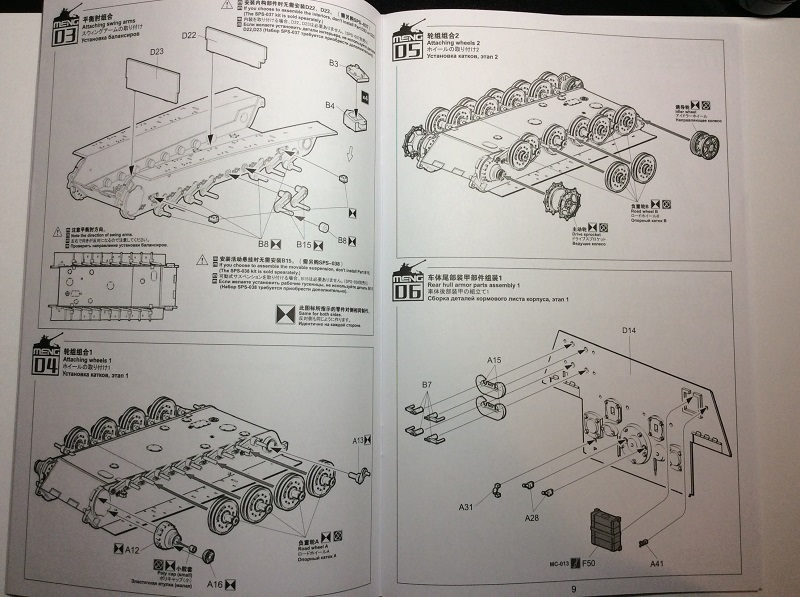
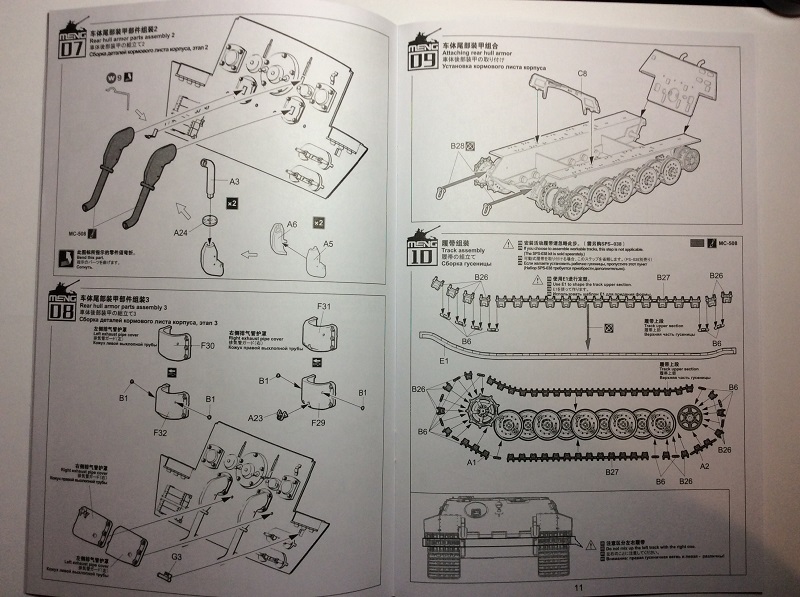
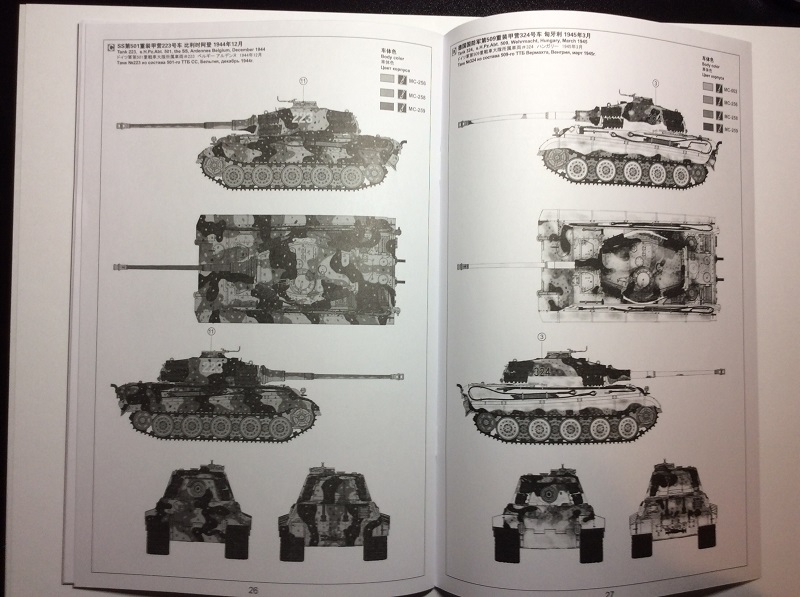
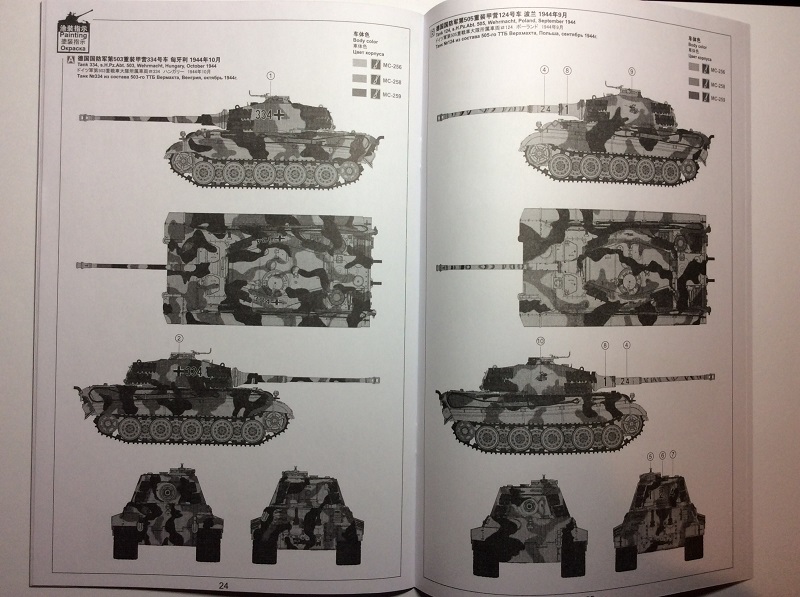
The instruction manual is a black and white booklet with no gloss cover like we have seen on previous Meng releases. The instructions are on par to the standard we expect from Meng and are very clear and easy to follow, there are 35 build steps in total to complete the model from start to finish. The instruction manual depicts four different paint schemes shown in black and white that you can choose from:
Tank 334 of Pz.Abt. 503, Hungary October 1944 (tri tonal cammo scheme with zimmerit)
Tank 124 of Pz.Abt. 505, Poland September 1944 (tri tonal cammo scheme with zimmerit)
Tank 223 of Pz.Abt. 501, Belgium December 1944 (tri tonal dot cammo no zimmerit)
Tank 324 of Pz.Abt. 509, Hungary March 1945 (white wash cammo scheme with zimmerit)
The box art on the side of the box shows two of these paint schemes in color and provides paint references from AK interactive paints.
Conclusion
For anyone looking to build a King Tiger without an interior or zimmerit this latest offering by Meng is probably the best one out the market. Meng does offer a separate interior kit as well a zimmerit one for this model that can be purchased separately. The level of detail in the molding and all the extra goodies packaged into this kit make it stand out in the crowded King Tiger segment.
I cant really see anything I dont like about this kit so far. I highly recommend it for anyone interested in this subject.
SUMMARY
Highs: Compared to the other recent King Tiger releases Mengs assembly approach is more simplified and doesnt compromise on detail. The molding is very well done and the cast texture is probably the best Ive seen. The kit includes many bonuses.Lows: Though they are a bonus, the included figures lack detail and I can see some people not liking the link and length tracks. Verdict: If you are looking to build a competition-level King Tiger minus the interior this is the best kit out there.
Dislikes:
Color of the plastic,hard to sand down and and looks awful.
Suspension swing arms are weak and as you already know makes the road wheels out of line.
Figures just need to be thrown in the bin.
Not enough decal options.
Link and length tracks.
Likes:
Easy to build.
Metal barrel.
Rolled steel texture.
Good fit to most parts.
Having built this kit and half way through the Takom kit I still think Dragon lead the way on Tigers.
Yes, I'am some people not liking the link and length tracks, plus no interior, I think you rated this kit to high! Disappointment with Meng Brands lack of continuity with their kits. I still have alot of fun with majority of meng kits. I noticed that Takom last two kits has link and length tracks as well.
Thank you for the review.
I think I have become spoiled by all the interior kits, so I'll give this a miss and wait for them to produce one with interior
I don't think this kit is bad at all, there's some minor issues here and there ie suspension toe in but if you remove part C3/4 and only use a portion for the idler it's no big deal and an easy fix.
Compared to dragon it's better and the same in some respects the cast texture is a bonus the MG mount better detailed and you get the cable in the kit for the headlight.
I believe there is nice detail on both Meng and dragon, on the track issue no big deal really as the workable set is offered separately which I would rather as I use fruils.
From a modellers perspective I think it's good.
it suits the beginner and passing builder, isn't that what we want not a heap of crap but a kit that's a solid base to either just build or go to town with Aftermarket to suit your taste.
But the best part is there now 4 brands offering the same kit with minor differences that everyone can build and for $52.00 compared to close to the 100 mark for the rest I feel there's no need to complain to much.
Just my thoughts cheers Ben.
Whats wrong with link and length track ?easier to put together than indy ones and way better than that DS crap or rubberband ones. But each to his own .I personally like link and length as its better than the above and its saves buying aftermarket ones at a greater cost.
Well, on the tiger 2, because of the slack track design and the fact that the drive sprocket is at the front, the upper track run is actually under tension and taught when the vehicle is moving forwards, where as the lower section between the drive sprocket and the first road wheel is slack.
But when the vehicle is stopped, or moving backwards, the upper track run is slack, the the lower run between the drive sprocket and the first road wheel is taught.
With length and link, you are pretty much stuck with making the tiger as if it were stopped. You can't change the configuration of the tracks to create a diagram a showing the tank moving.
Also, on a brand new tiger 2 with well adjusted track tension, the upper track run doesn't just rest flaccidly on the road wheels over most of the its length even when the tank is stopped. It actually hangs between the drive sprocket and the idler wheel like a catenary cable, only touching the road wheels in the middle.
With link and length, you are struck depicting a vehicle with somewhat loose track tension.
Im currently finishing Meng's King Tiger with the workable add-on pack .It does remove a lot of the inward slant to the wheels and lower the way the hull sits. But the sanding issues are annoying as are some of the sprue attachment points designed to make you hate people.


Comments