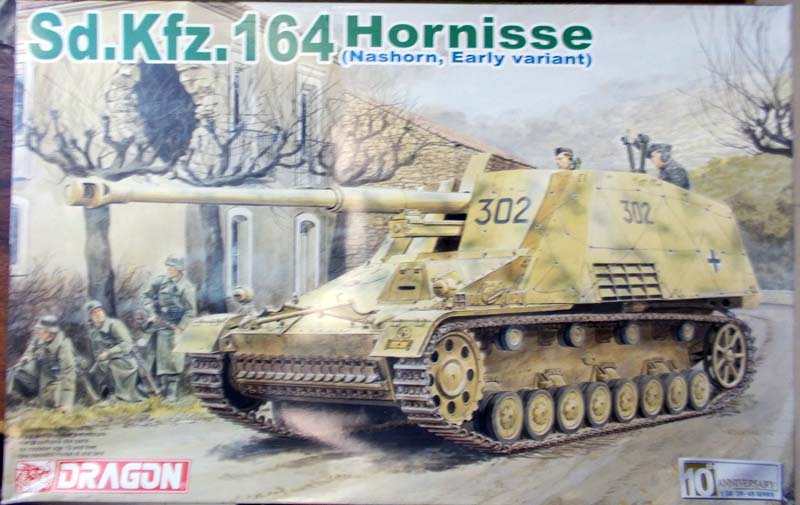
The Panzerjäger Hornisse [Hornet] (Sd.Kfz. 164) was designed by Alket in response to the need for a tank destroyer that used the 88mm gun. Alket took a Geschützwagen III/IV chassis and modified it by moving the engine to the middle and lengthening the chassis. An 88mm Pak 43/1 L/71 gun was mounted in an open superstructure. Crew protection, however, was minimal. The armor plate was only 15mm thick and completely open on top.
Production began in January 1943. Soon after production started; a number of minor modifications were introduced, the biggest being new armor plate for the driver. The bulk of the 345 vehicles produced in 1943 were thus modified versions. In 1944, the vehicle was renamed Nashorn [Rhinoceros]. An additional 149 vehicles were produced from 1944 to the end of the war. Many sources simply refer to all of them as Nashorns.
Contents
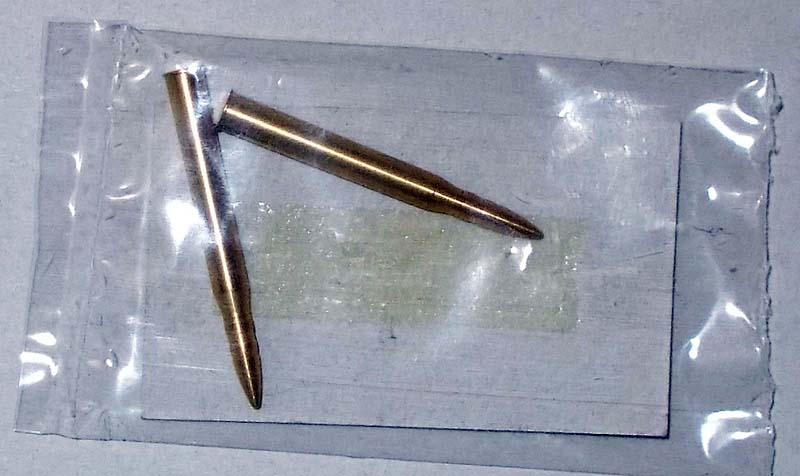
The kit is from Dragon Models and was released in 2002. For those interested, two turned brass shells are included as a bonus. Total parts count is 637 (397 240 track links). 51 parts (11 separate p/ns) are not used with this kit. There is no PE included with this kit.
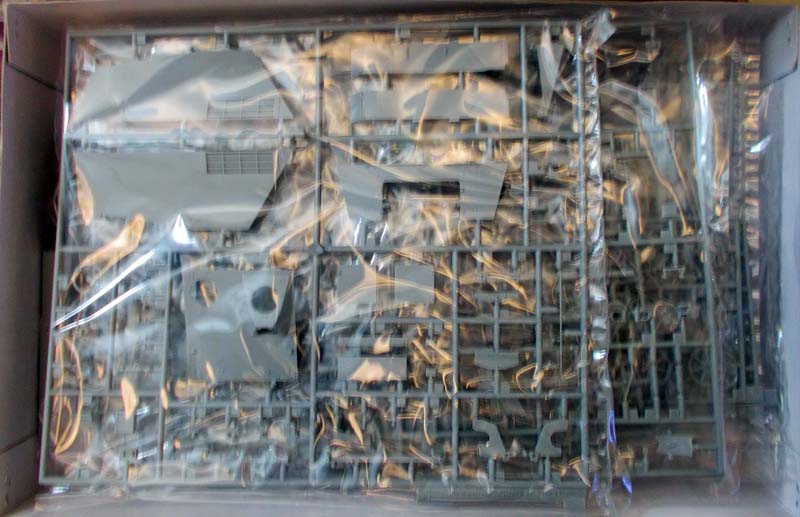
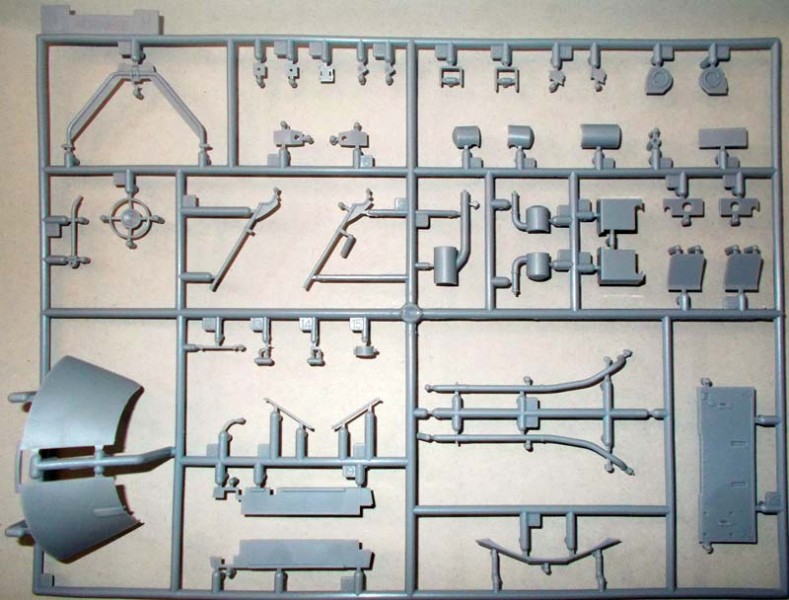
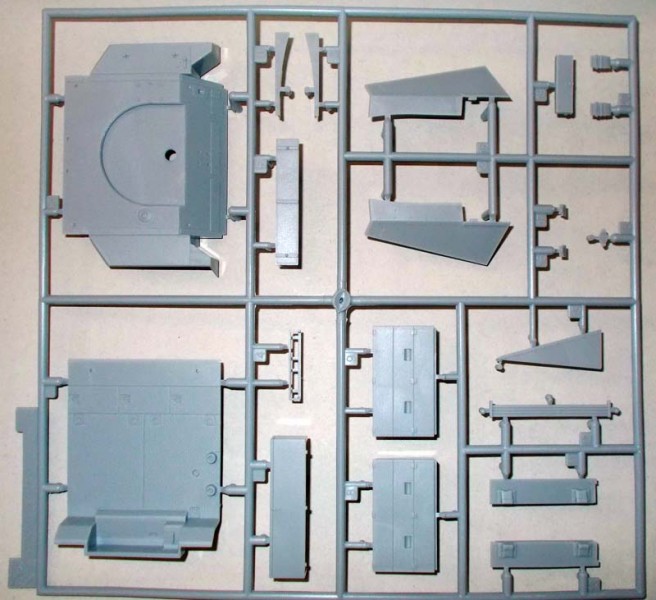
18 Sprues molded in gray
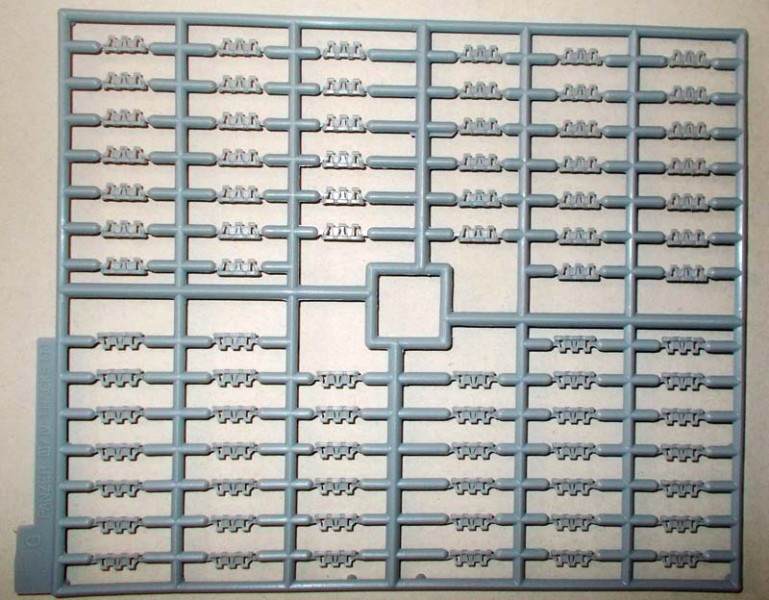
3 Sprues of track links in gray
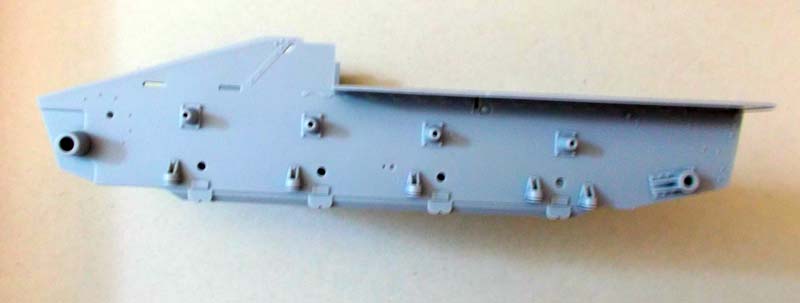
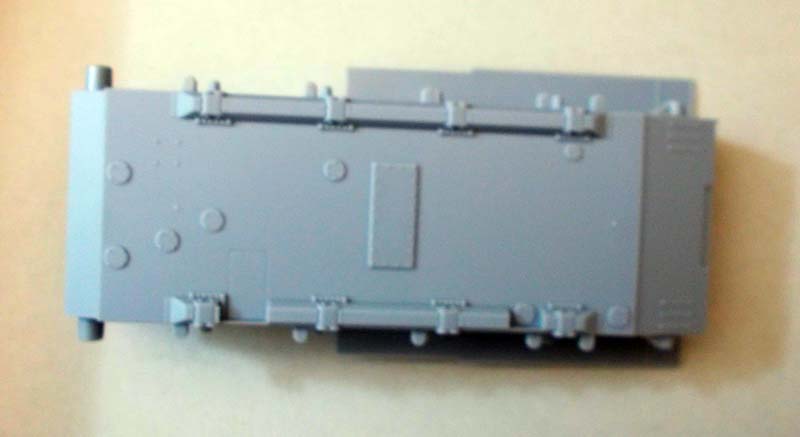
Lower Hull molded in gray
2 Brass shells
1 Decal sheet
1 8 page Instruction manual
1 Painting and marking guide
Review
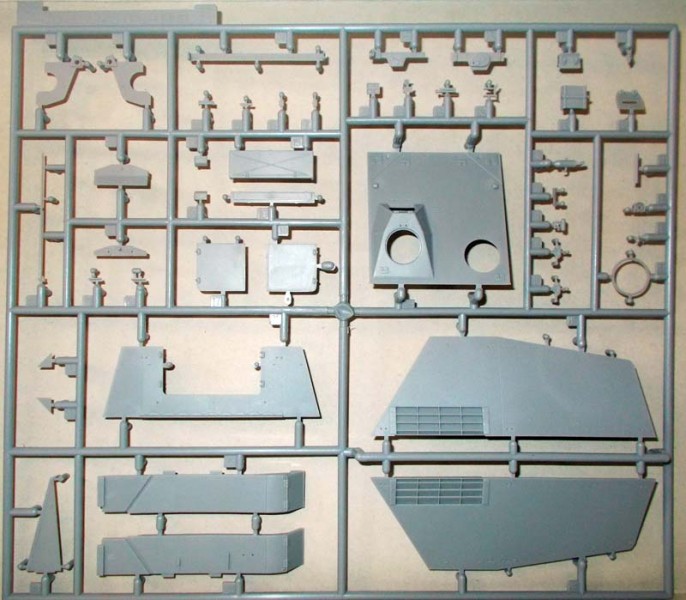
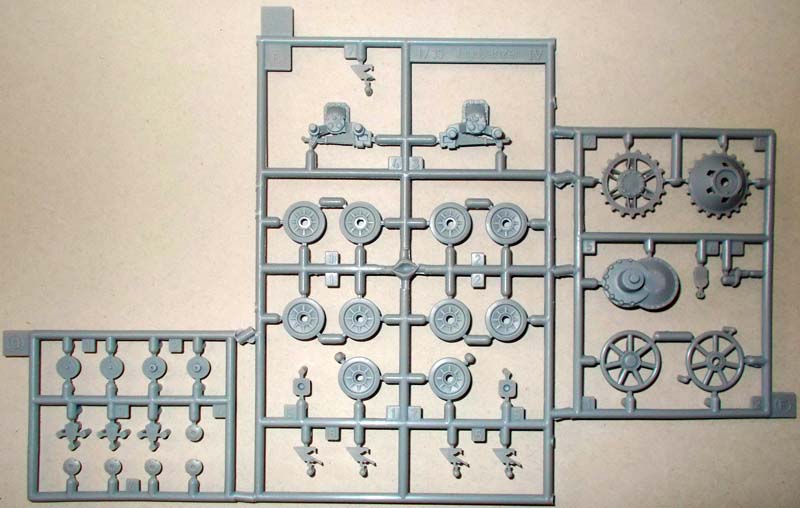
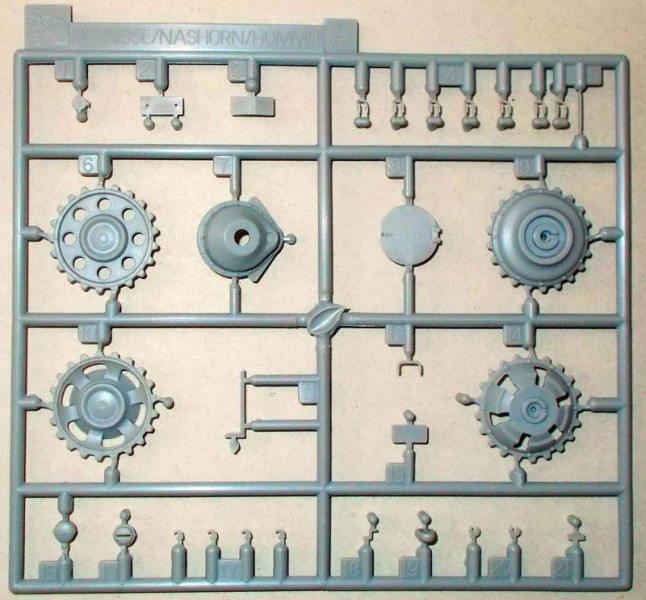
The quality of the styrene is typical Dragon, acceptable. There is little or no flash on any of the parts. Any ejector pin marks are located such that they shouldnt be seen once built. One negative, in my opinion, is that most of the parts have the additional nibs from the molding process. Meaning you will have additional clean-up to do on the parts. Sprue H is specific to this kit. The other sprues are labeled Hornisse/Nashorn/Hummel or Hornisse/Nashorn and common with those releases. The parts sprue for the running gear is labeled Jagdpanzer IV. The sprues for the track links are labeled Panzer III/IV. As is typical of Dragon, a number of sprues are reused from other kits.
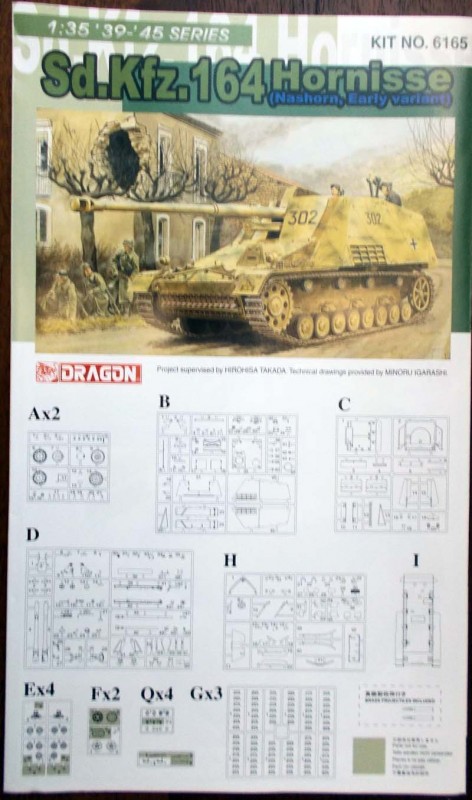
Instructions Standard Dragon format, consisting of 8 pages of color computer generated graphics. Assembly is broken down into 27 steps. As is typical with this format, clarity suffers. Many steps are confusing, as parts are already shown assembled I found one link (posted by Robert Lu on the Track Links Forum) listing 12 errors in the instructions (identified below). This is simply unacceptable.
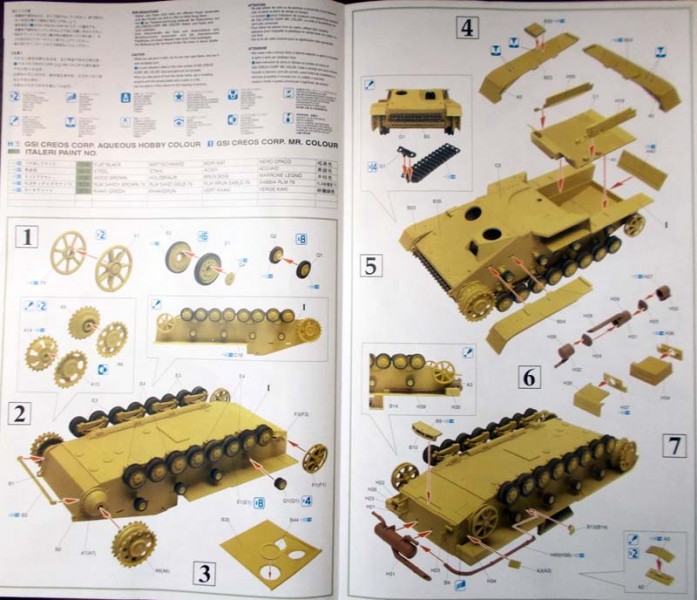
Assembly begins with the Idler wheel, road wheels, and return rollers. The road wheels are one piece, i.e. not a separate rubber part from the road wheel or return rollers. Therefore, masking will be required, unless you brush paint them.
Both early and late drive sprockets are included in the kit. As this is an early version, you should only use parts A6 and A9. The other parts (A10 & A14) are for the follow-on Nashorn and Hummel kits.
In step 4, we have our fist error. Parts H19 & H20 should not be glued to part C1/C2. The instructions would lead you to believe you should. These are only used to properly locate part H1 in step 24. In fact, I see no reason to even install them in this step. They should be easily placed in step 24 and then removed after part H1 has been fixed. The graphic in step 25 clearly shows that they have been removed.
Since the engine was installed in the middle of the vehicle, the exhaust exits the mid-point of the hull and runs back to the rear mounted muffler. You may want to leave these off and install after you paint and weather them separately. Otherwise, access will be limited once the fenders and tracks have been added. This is step 7.
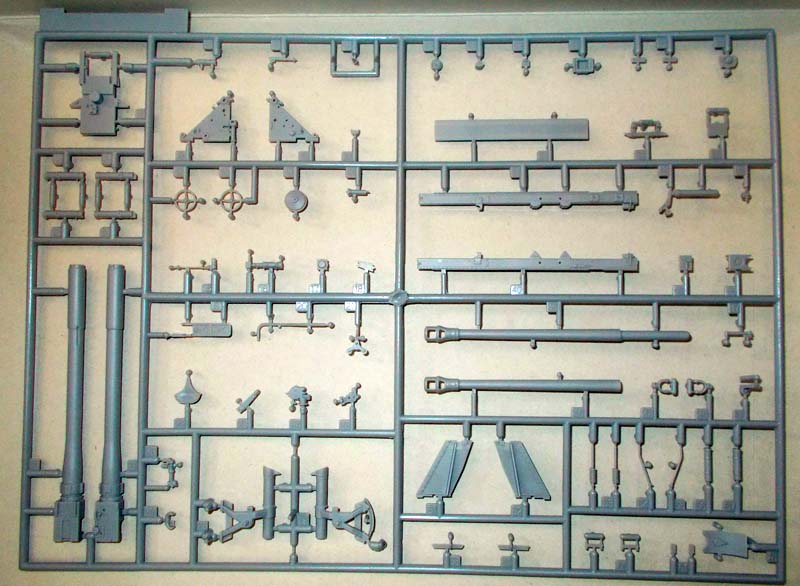
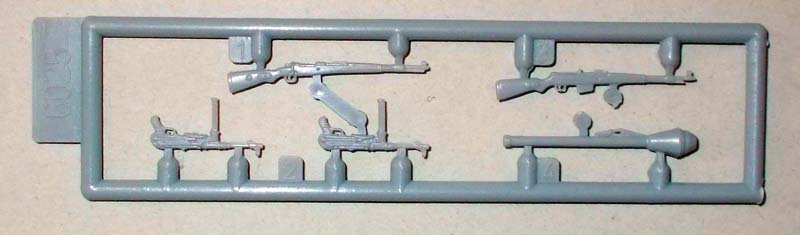
The 88mm gun is a complete kit itself. It covers steps 8-16. It is highly detailed and nicely molded. The barrel is of two piece construction. Therefore the seam lines will need to be removed. However, there are two issues to point out. In Step 9, part D37 is shown installed upside down. In Step 11, part D53 should not be glued to parts D2 & D3. This might be obvious, but it is not noted in the instructions.
Step 17 has some things to highlight. First, the track links are glued together, therefore not workable. The instructions do not say how many links are required on each side. I would guess around 100, but you will have to test fit to determine whats required and will depend on how much natural sag you want to replicate. The other issue is that in the graphic, the track on the right is installed backwards. Ive also read that the gap between the tracks and fender is very tight. Many build reviews recommend installing the tracks before attaching the upper hull. This could have an effect on your painting plan.
In Step 18, part C4 is shown installed backwards. The graphic in Step 21 shows the correct installation.
There are two errors in Step 19. The locations of parts H5 and H6 should be swapped. H5 goes on the right and H6 on the left. In addition, part H30 is actually a step, not a plate that is flush against the rear armor. It should be glued under the cleaning rods and above the upper right of the muffler.
Parts C20, in both Steps 20 and 21, are shown installed backwards. The periscopes should be facing outwards.
Overall, the fighting compartment is nicely detailed. Since two brass shells are included, it would have been nice if an open storage box would have been an option. As such, there is no obvious place to display the shells. You will need to find an aftermarket solution if you want an open shell box.
Part B39 (Step 22) should be swapped with part B40 (Step 23). Otherwise, the head lights will be installed backwards.
Lastly, in Step 24, part H1 is shown being installed backwards. Flip it around when installing. After it has been glued in place, dont forget to remove parts H19 & H20.
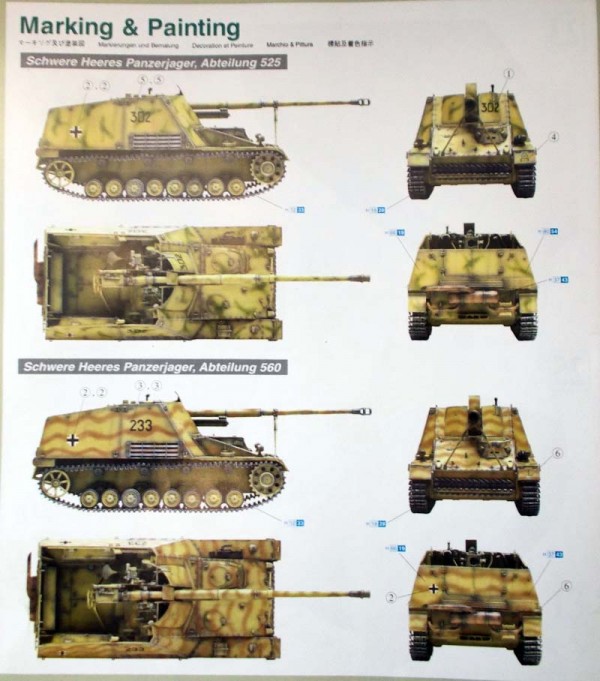
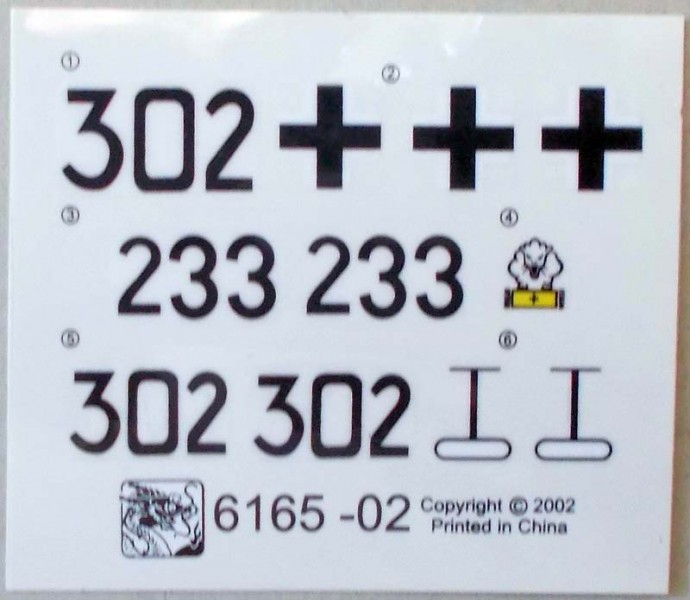
Decals Options are provided for two different vehicles, but doesnt say what theater of operation (Had to Google to find out). Both units participated in the Kursk offensive in the summer of 1943. Both units were then transferred to Italy shortly after Kursk. So, you can paint either a Kursk or Italian campaign livery with the included decals.
Schwere Heeres Panzerjäger Abteilung 525 (Kursk or Italy 1943)
Schwere Heeres Panzerjäger Abteilung 560 (Kursk or Italy 1943)
Paints The paint chart provides color callouts for Aqueous Hobby Color, Mr. Color, and Italeri. Tamiya XF1 would be H12/33; Tamiya X10 is closest to H18/28; Tamiya XF10 is closest to H37/43; Tamiya XF60 is closest to H66/19; Tamiya XF61 is closest to H80/64. Other vendors will have more accurate matches.
SUMMARY
Highs: Sprue layout included on front of instruction manual is always a plus. Not an expensive kit, considering the parts count. Lows: There are numerous errors throughout the instructions. Left to guess how many track links are required. Slide-molded barrel would have been preferred.Verdict: The kit is a significant improvement over the original 1992 release (6201). This will build into a very nice model to add to you tank destroyer collection.
About Mark (d111298pw) FROM: OKLAHOMA, UNITED STATES
I'm from the US, but have lived most of my adult life around the world due to my work.
I started building models when I was 6. Took a 30 break as other priorities took hold (work,family, etc..). Got back into it a number of years back building F1 kits (Ferrari only). When I got to India, the modell...
Let me assure you, there is virtually NO comparison (except names) between the two kits. The original kit (Dragon's first?) was okay if you didn't know better, but this one (and all the freakin' variants that came with it!) is Kodachrome if you're used to only seeing in B&W. No comparison. This is a serious kit with oodles of extras and more detail (and spares) than you'd think the box could hold. I've got this one and a couple of the other variants, as well as a couple of Hummels in there somewhere in my stash. Sigh...
There may be confusion as to what one means by "rebox". While the DML/Shanghai DML 6001 was truly terrible, this kit is a reissued version of I believe 6156 which came out around 2002, but some parts were from previous kits. It was a huge improvement of course, and was further reboxed in various forms over the years. That being said this kit is essentially fifteen years old and I certainly hope we are not expected to pay $100 for it!
Probably will have to spend that much as that's the new "norm". They're messing with us for as long as they can get away with it. Glad I won't need to buy one any more.
One of the biggest screw ups in this kit's directions are parts H19 and H20 -- pieces that the unknowing builder would assume are interior parts. I'm very happy that the reviewer notes this plainly.
The DML engineers MEANT for these to be place as spacers or jigs, so you would know where to mount the internal travel lock. Instead, the instructions seem to have you glue them into place. This wasn't understood by many modelers (why would they, unless they were looking at actual Nashorn interior pictures). This error made it into every published build article at the time.
It got so bad that when Revell was designing its 1/72 Nashorn by lazily using pantograph machinery on the 1/35 DML kit, they duplicated this error.


Comments