The German military realized they needed a more efficient way to retrieve the heavier armored vehicles from the battlefield. As a result, the Tiefladeanhänger für Panzerkampfwagen 22/23t (Sd. Ah. 116) was introduced in December 1940. Even with a stated max loading of 23 tons, it was known to transport up to 28 tons. The trailer was towed by both the Sd.Kfz. 8 (12t) and Sd.Kfz. 9 (18t) half-track vehicles.
At 14.4 meters in length, the trailer required a driver at the rear to help manoeuvre it on the roads. The combination was used on all fronts throughout the war. Loading the trailer was a complicated process. The trailer bed had to be lowered, and then the rear bogy was disconnected and pushed to the side. The vehicle was then loaded and the process reversed.
The Sd.Kfz. 9 (18t) Half-track, better known by the manufactures initials FAMO (Fahrzeug- und Motorenbau GmbH), went into development in 1936 with the production version issued in 1939. The vehicle had a maximum towing capacity of 28 tons. To tow a Panther/Tiger I/King Tiger, it would take anywhere from 2-4 FAMOs. Versions were built with a crane mounted on the rear, and one that mounted an 88mm Flak 18 Anti-aircraft gun. Approximately 2500 vehicles were built.
Contents
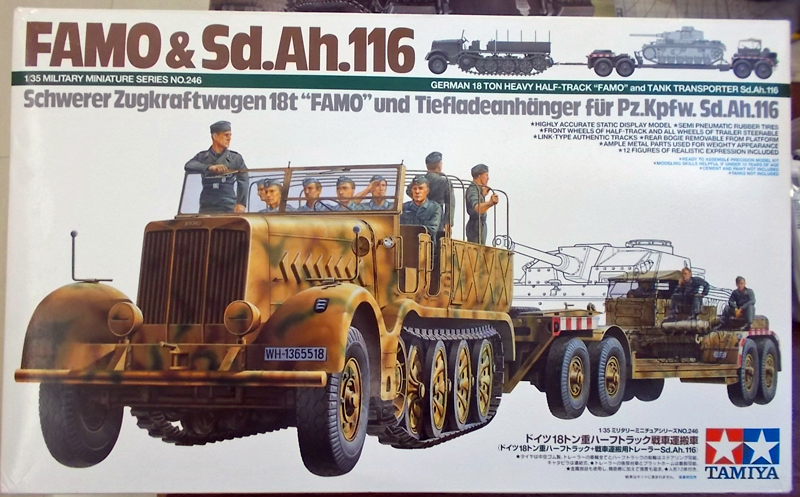
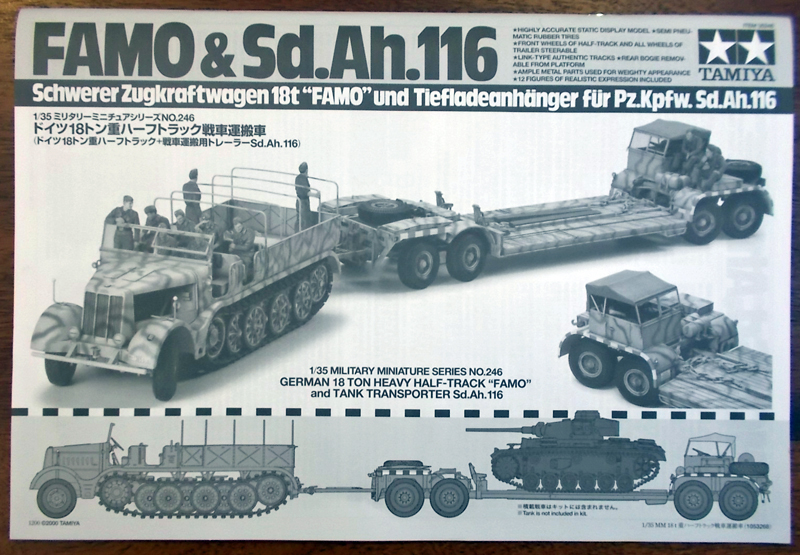
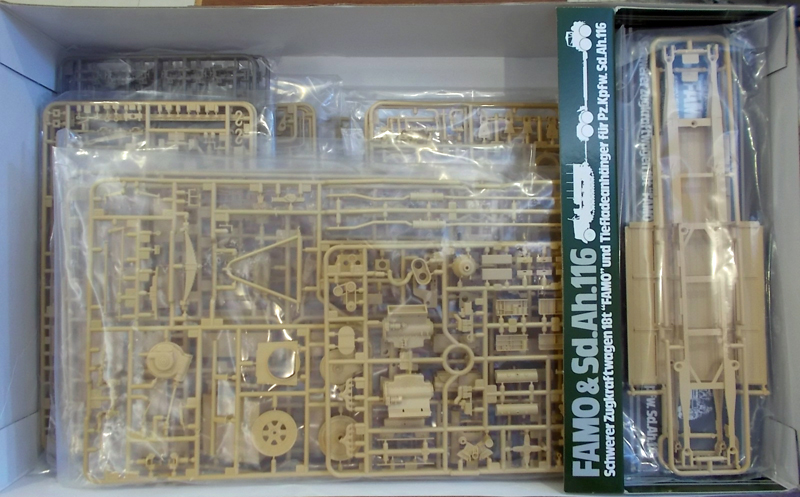
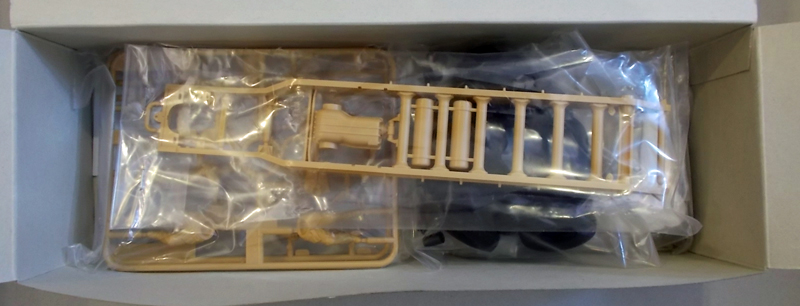
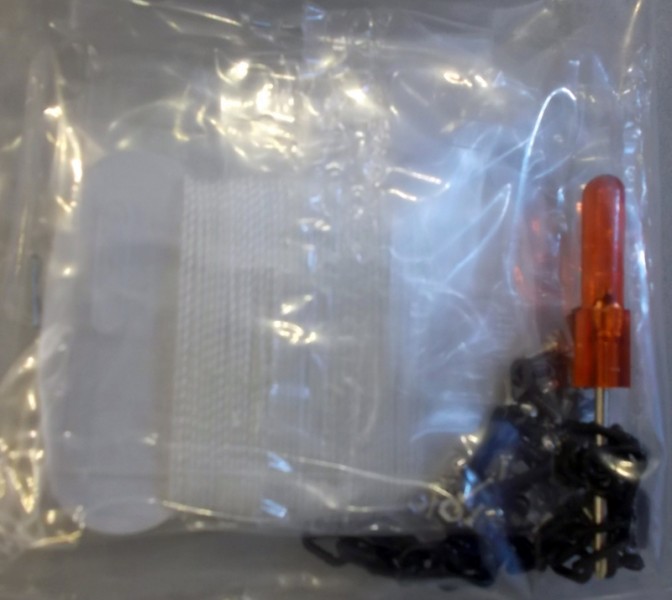
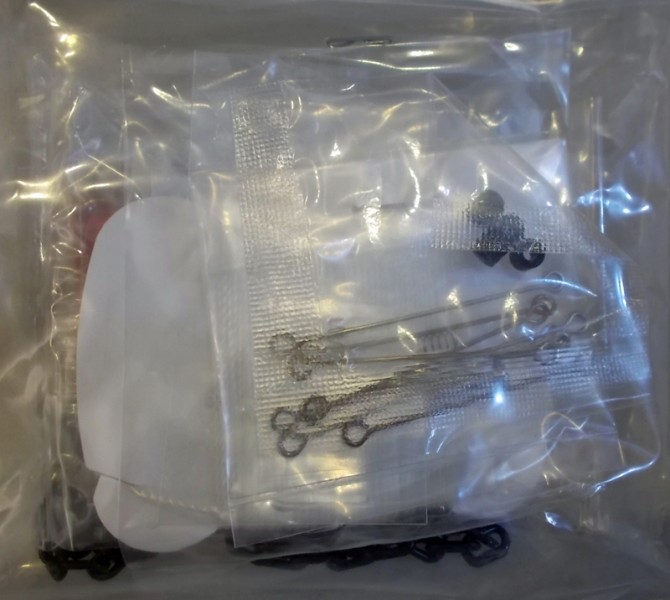
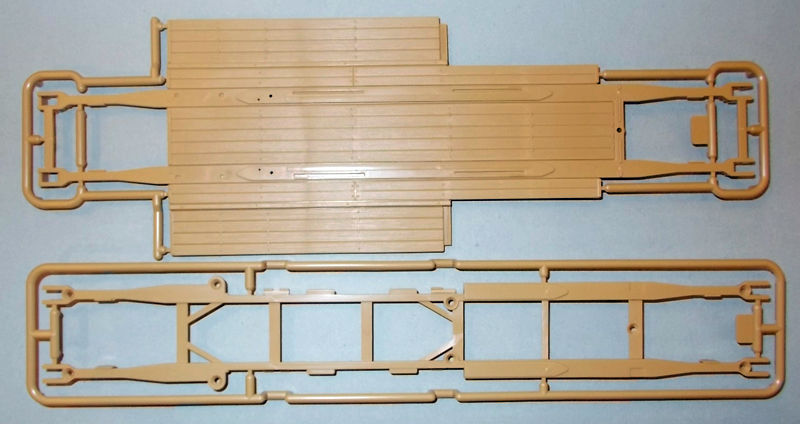
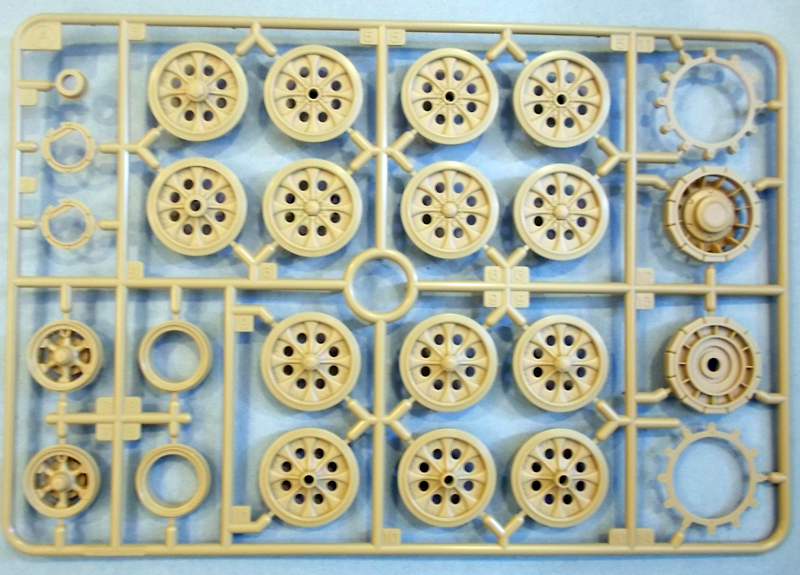
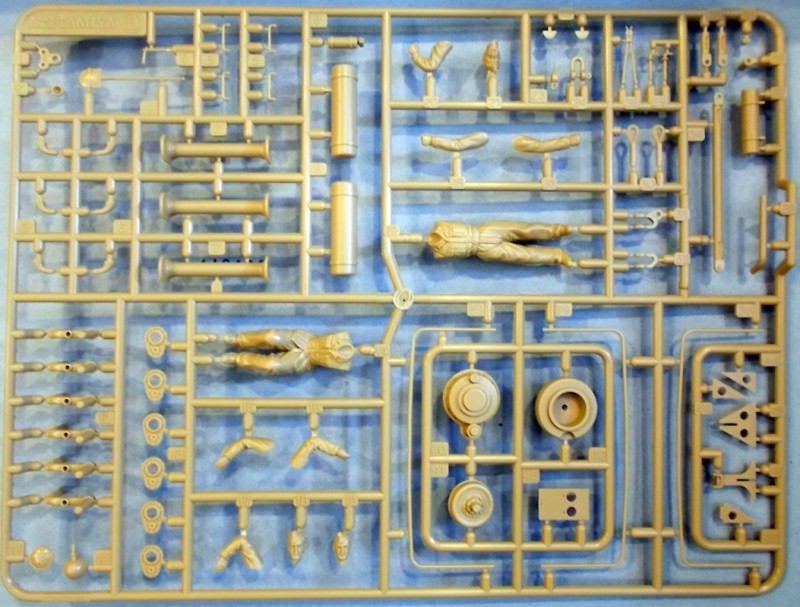
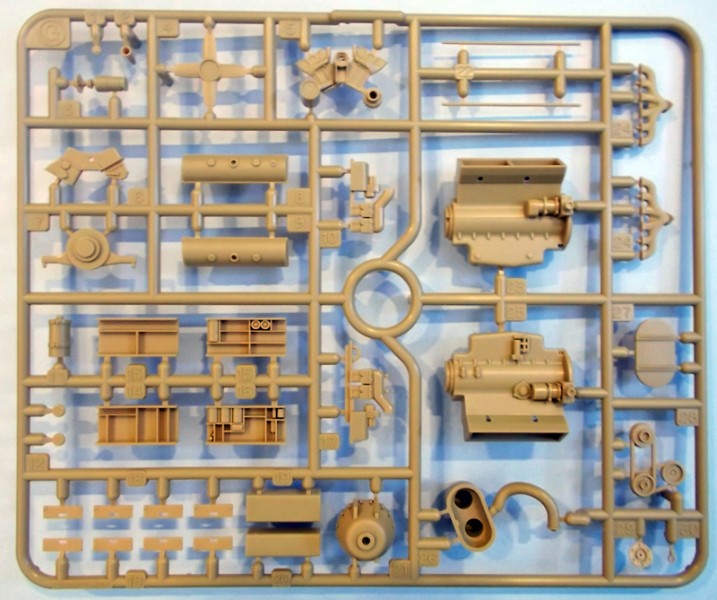
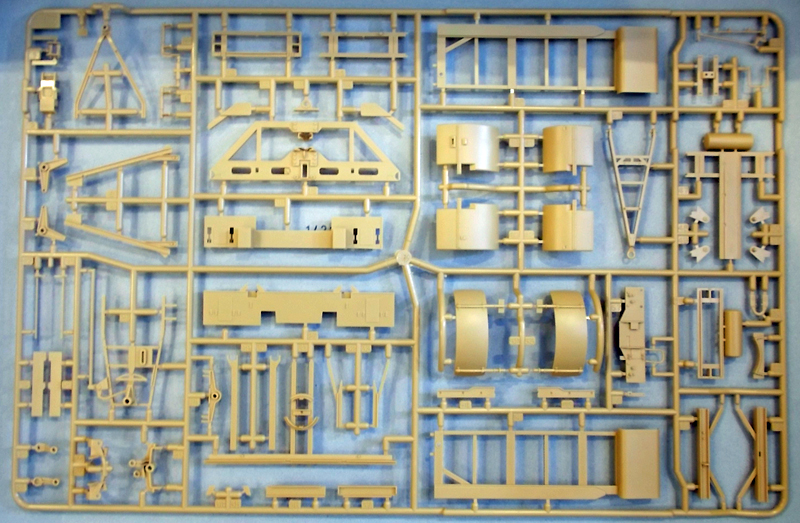
The kit is from Tamiya and was released in 2000. It combines the Tamiya FAMO kit (35239) with the parts for the trailer. This is a big box. All sprues are bagged and the tires and hardware are all included in a separate box. Its really two separate kits in one box. You could even consider that the trailer is really three kits, itself. There are over 960 parts on 22 sprues plus all the other required hardware and parts. Sprues A through G, and the chassis, are from the original FAMO (35249) kit. The rest are new for this kit. The contents break down as follows:
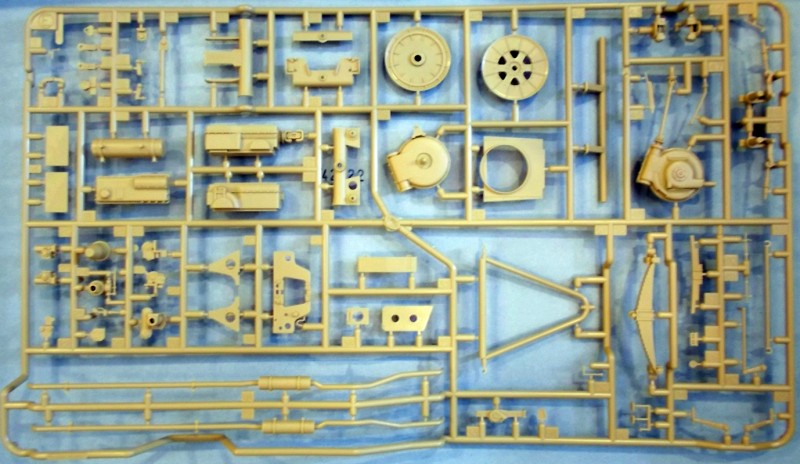
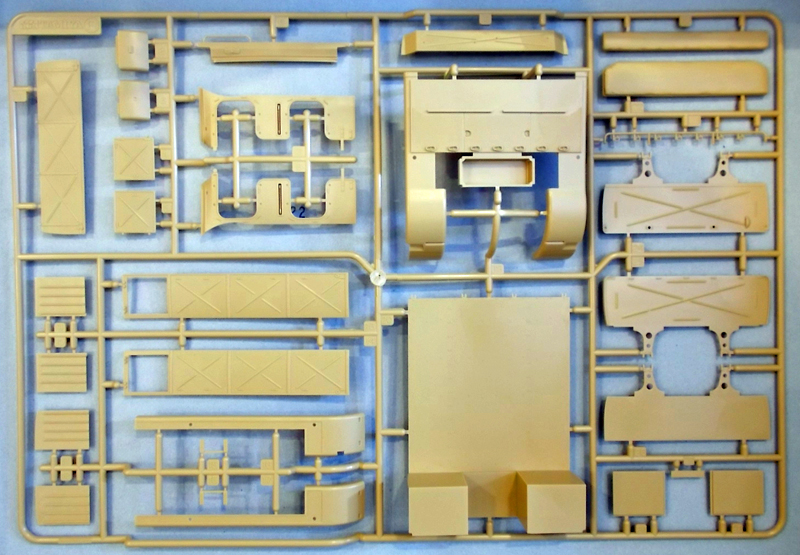
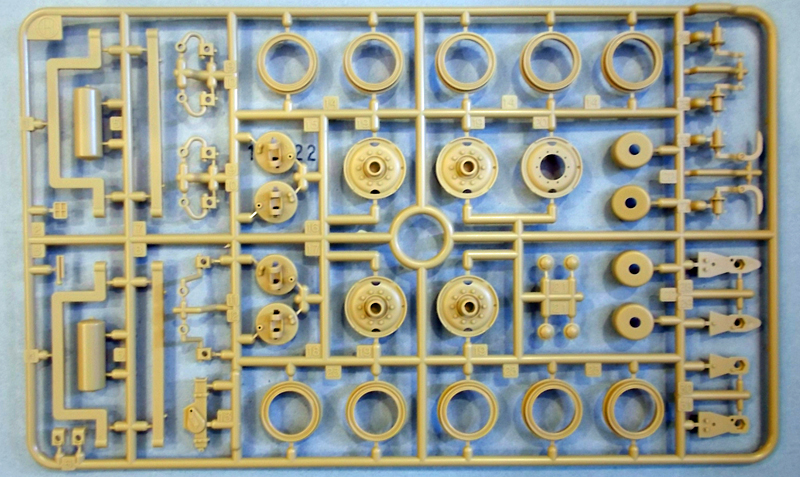
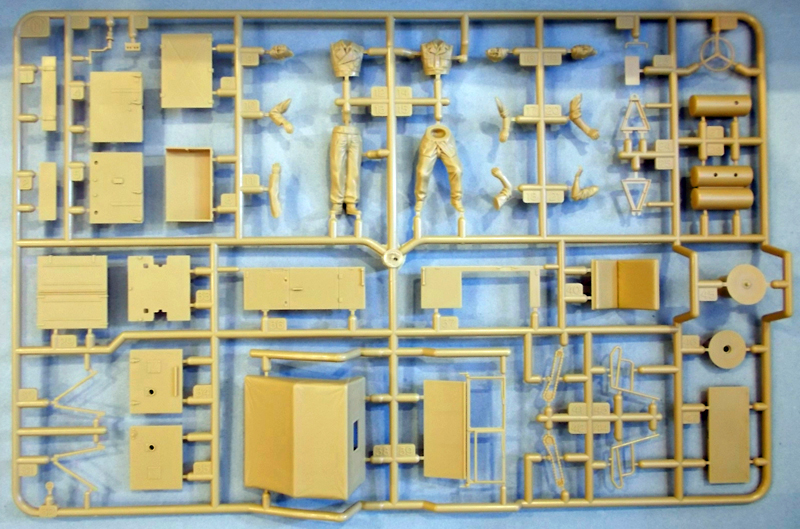
19 part sprues molded in beige
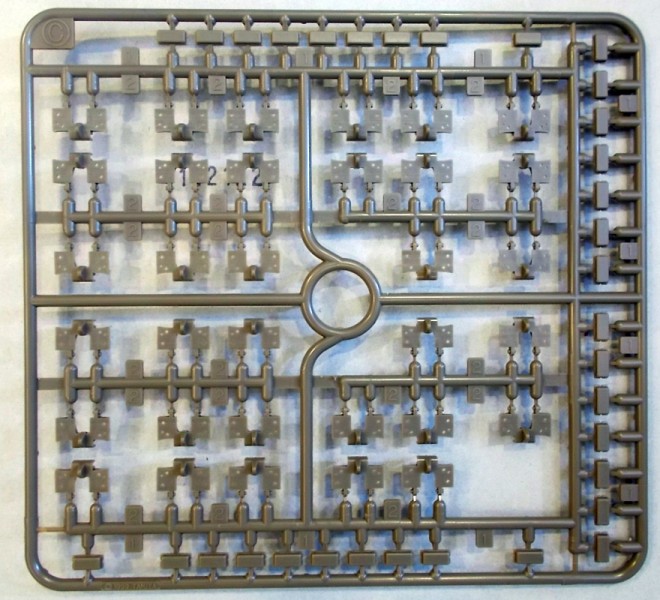
3 track sprues molded in a rust colored brown
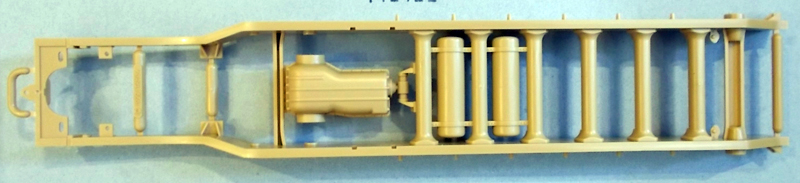
FAMO Chassis molded in beige
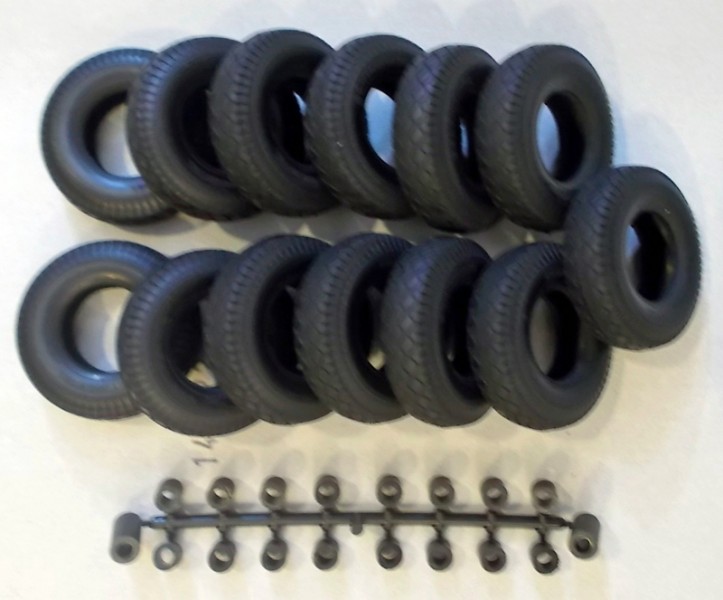
13 Rubber tires
1 sprue of poly caps
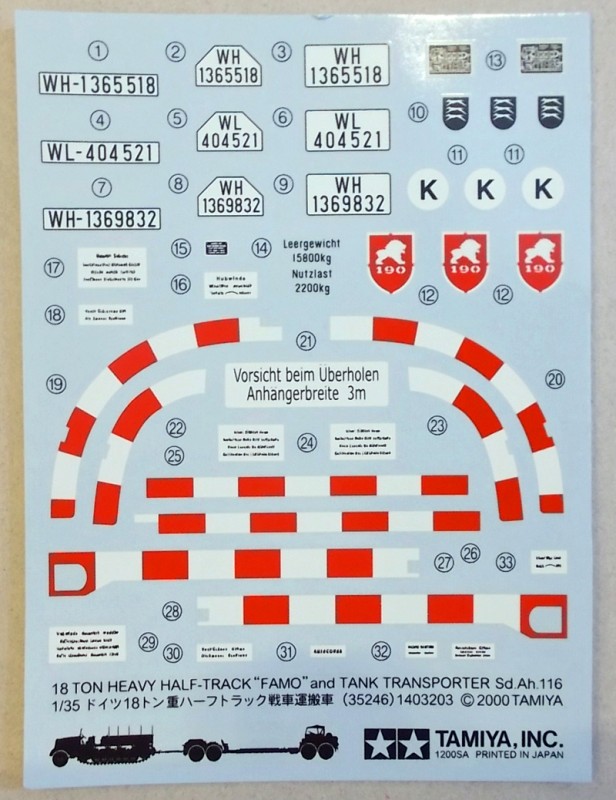
1 Decal sheet
1 36 page instruction manual
1 Length of thread for the cables
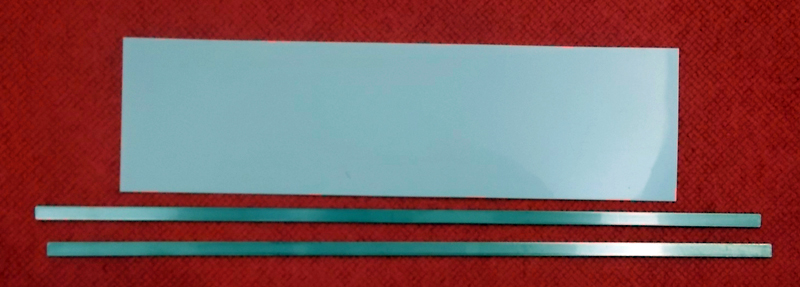
1 Pre-cut clear plastic for the windscreens
1 Styrene-card sheet
2 Strips of metal
Screws and steering links
Review
The quality of the styrene is what we expect from Tamiya. There is no flash on any of the parts. Any ejector pin marks are located in such a way that they shouldnt be visible once the model is built. The instructions are in the standard Tamiya format, consisting of 36 pages. Assembly is broken down into 57 steps. In addition, you are shown various options for how to display the completed kit for dioramas. The instructions start with the FAMO and then the trailer. Step 1 assembles the engine. Its configured such that it can be displayed outside the vehicle, giving additional diorama options.
Building the half-track is straight forward. No oblivious areas that can trip up the builder. The winch is designed so that you can pull out the cable after assembly. However, if you want to reel it back in, you have to do it manually and with no easy or obvious way to do it. It would be better to decide ahead of time if you will need the tow cable deployed or not.
The front windscreen can be positioned up or down. The side engine covers can be installed or removed. The hood vents can be positioned open or closed. The rear gate can be positioned open or closed. You are also provided with a full complement of tools for the storage lockers. These can also be shown open or closed, providing the builder with multiple options to suit their desires.
The supports for the canvas cover can be assembled in the folded or installed position. This will allow the builder to add a canvas cover if so chosen. There are numerous pics out there that show all three configurations. So, whichever you choose, you are correct.
The track is assembled by snapping the links together, and then gluing the pad over the joint. Careful gluing should allow the tracks to be flexible. There are 47 links per side.
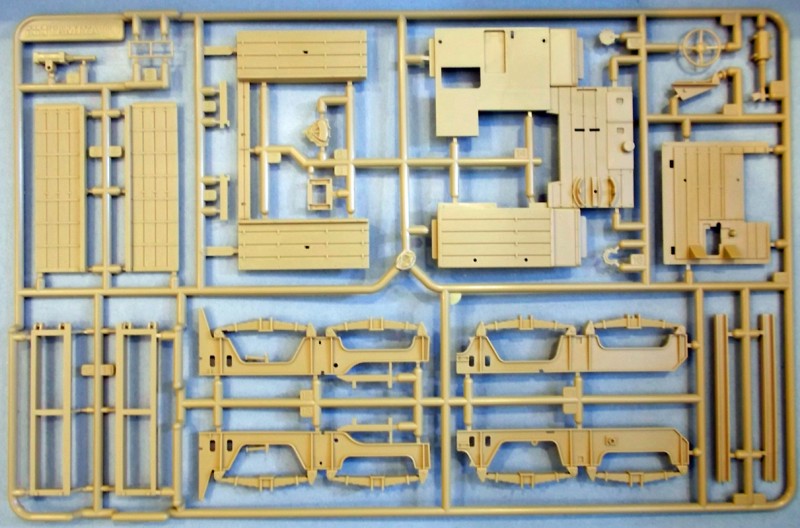
Assembly of the trailer is done in three parts, front bogy, rear bogy, and trailer bed (platform). The biggest issue requiring attention, when assembling the bogies, will be the steering rods. There are two lengths and need to be installed correctly for it to function properly. Fortunately, these are all attached with screws, so, if you do get them reversed, its easy to correct. Just take your time on these steps and you wont have any problems.
There is one spare tire mounted on each bogy. You can easily omit one, if you desire, to match a picture, or for your diorama. Many pictures show one, or both, spare tires missing.
One negative, if you want to call it that, is with the cockpit on the rear bogy. You are only given the option to install the canvas cover in the up position. The kit doesnt include just the supports to build in the folded position (like on the FAMO). It shouldnt be very difficult to scratch build these supports with some wire and card, as there are only two supports required.
The trailer bed, or platform, is not complicated and should be a straight forward build. Two metal strips are used to provide rigidity to the trailer bed. The top and bottom parts are held together with eight screws. Together, they make the trailer very strong and easily able to support placing a vehicle on it for a diorama. The platform attaches to the bogies with screws. This gives you the easy option to reconfigure in the future as desired. You are also provided with ramps, chocks, etc.., that can be positioned on the trailer as desired.
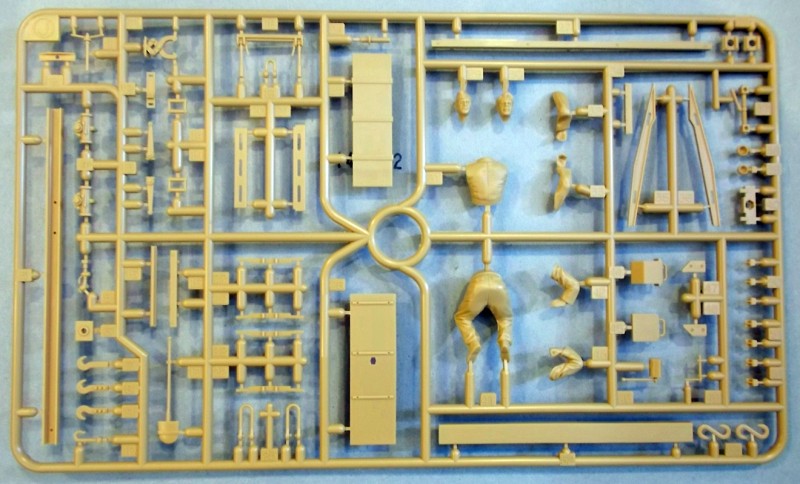
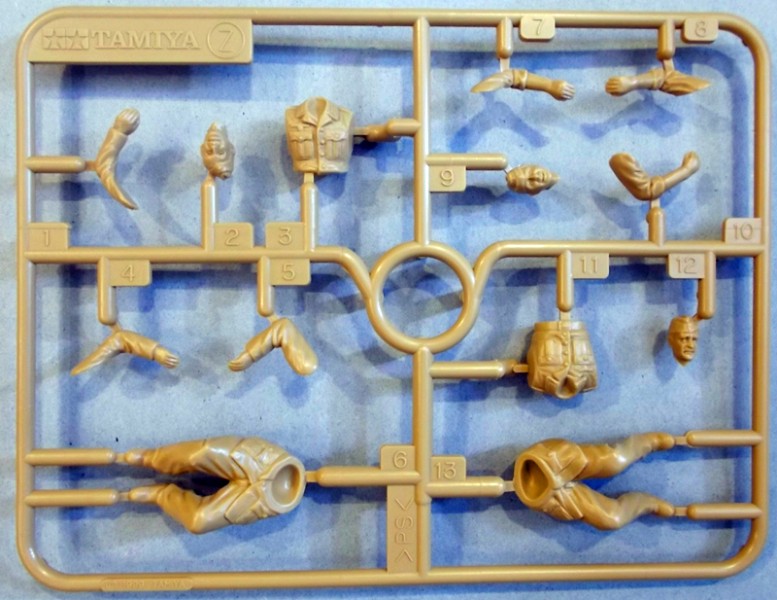
Tamiya has included a total of 13 figures that can be added as desired. Nine are from the original FAMO kit and configured for use with the half-track. Four new figures have been included for use with the trailer.
Painting Since the FAMO was introduced in 1939, and the trailer in 1940, any color scheme will be correct. There are pictures with mixed colors, i.e. gray FAMO with yellow trailer. So, whatever you want to choose, will probably have been out there in the field.
Decals Options are provided to identify four different vehicles: Though, you can build for any theatre of operations with the included decals. Only the number plates would need to be different for those that are sticklers for accuracy. The included decals provide for the following options:
237th StuG Brigade, Russia 1943
190th StuG Brigade, Russia, Spring 1944
Herman Göring Workshop Bn, Vehicle Maint. Co., Germany, 1942 (2 versions)
For the builder that wants that something extra, Eduard and Aber have PE sets for this kit. These sets are really only for someone who is very comfortable with PE and modifying kit parts. You can get replacement resin tires and Friul model has a set of metal tracks for the FAMO. There are also upgrade kits to add the crane or anti-aircraft gun to the FAMO.
SUMMARY
Highs: This is simply an amazing kit. A logical follow-on for the FAMO kit released a year earlier. Lows: It is an expensive kit. Not really one for the beginner. Verdict: This kit provides the diorama builder so many options; only their imagination limits the possibilities. Not a really complicated build, just take your time.
About Mark (d111298pw) FROM: OKLAHOMA, UNITED STATES
I'm from the US, but have lived most of my adult life around the world due to my work.
I started building models when I was 6. Took a 30 break as other priorities took hold (work,family, etc..). Got back into it a number of years back building F1 kits (Ferrari only). When I got to India, the modell...
Wow! I was just getting revved-up to FINALLY start mine and thought that I'd have to go look up a review on this kit, never expecting to find one now! Now this is timely AND useful. Good job.
Was it really 17 years ago that this kit came out? As the others say, how time flies. It was one of the first kits I made on returning to the hobby after a long lay off occassioned by work, family and motorcycle ownership! I seem to remember that it was unsurprisingly voted kit of the year in 2000. The kits expense and sophistication prompted me to buy my first decent airbrush and compressor!
Despite its complexity it is Tamiya at its very best and the build is well structured and organised. The kit is well engineered and showed the big T at the top of its game. Things have changed a bit since in the market, but anyone wondering what the hullabaloo was about Tamiya in the "old days" should make this kit.
I enjoyed Mark's review immensely, I'm almost tempted to get another, but space concerns prevent this!
My only comment would be that Tamiya went overboard on the crew. The crew for a FAMO and Trailer combination was actually three,NCO/commander, driver and mechanic (who steered the trailer). The extra seats were, of course, for the recovered panzer crew (4 or 5). Also they made a mistake with the uniforms. They confused the summer lightweight drill uniform with the drill overall suit frequently worn by panzer mechanics and engineers. This was a plain cement grey suit with no patch pockets on the chest, but two slash pockets in the skirts of the jacket. From 1942 onwards it was frequently dyed Rush Green. It can easily be replicated by removing the detail from the figures provided.
No worries Mark, your review was pretty good and being that your building this in the campaign you appreciate such a big beautiful model it is.
Michael
It's a very good review, though I would question that 95% rating.
I have the kit and started work on it, and it needs updating. Aber has two sets of PE that will enhance the simplifications that Tamiya puts into all its kits, and I would suggest a full brace of resin tires for the trailer, and ones for the front end.
The crew isn't even CLOSE to modern figure standards, so I would suggest replacing it with the Dragon halftrack riders.
I was thinking the same thing Bill, except I ordered the Eduard photo etch set as it is everything that you'd want/need without the craziness that is Aber. Man, that set SCARES me! By the way, which manufacturer would you recommend for the tires, and is there a decent canvas cover for it?
Hi Frank,
The only supplier I found was Tank Workshop.
They do a full set for the trailer and the Famo wheels are in there.Although they come up 1 short for the spare for the trailer
Aber does some pretty comprehensive sets for the Tractor and trailer although 50% of the detail set mainly covers
the engine bay. It would be ideal to display the hood off just to show how much etch there is. It does not justify using it if it's going to be closed up.
Build blog on the front page. Tamiya was the first to provide the Famo with a full set of crew figures back in the late 1990's. It was a big step for a model manufacturer to proceed down this path and with a little work they still look ok to display. Almost chose the Dragon figures as well Bill but they looked too much similar in the seating arrangement.
Michael
Michael, I don't think you went wrong with your choices. I don't normally use Eduard PE because it's both too thick & brittle (and therefore tends to break), and because it often redoes the obvious without adding much additional detail.
Aber can be crazy, and the most-dreaded word in Polish I know (which is about 2 words overall) is "drut" or "wire." Aber doesn't always include the right gauge wire, so it's hunt up spares or go out and buy some.
Voyager sets are usually pretty good with all the parts you need (wires, plastic rounds, etc.). Griffon Model are about the best, but they do very few sets anymore.
The Tamiya figures are the same poses, but the detail is LIGHT YEARS better with Dragon. Some Hornet heads will help the Tamiyas, but won't improve the soft details on the uniforms.
Here we are six months later and I'm simultaneously building three FAMOs to offer three versions: the artillery tractor (mine will be towing the Trumpeter 210mm Howitzer), the workshop/towing version with the spade attachment, and the version with the six-ton Bilstein crane. Whew! Detailing nearly a grand worth of kitbashing is exhausting! Haven't even seriously thought about the Figures yet though I'm leaning towards either the Tamiya with replacement heads, or the Dragon set for the Artillery tractor. Hmmm....


Comments