Developed in the 1970's, the Leopard 2 has shown it is still among the premier main battle tanks around the world and continues to evolve. The Leopard 2A7 variant is a conversion of former Dutch A6NL variants that were returned to Germany via Canada as A6M variants. A total of 20 tanks were converted, with 14 given to Tank Battalion 203 and 4 going to the German Armor Corp Training center.
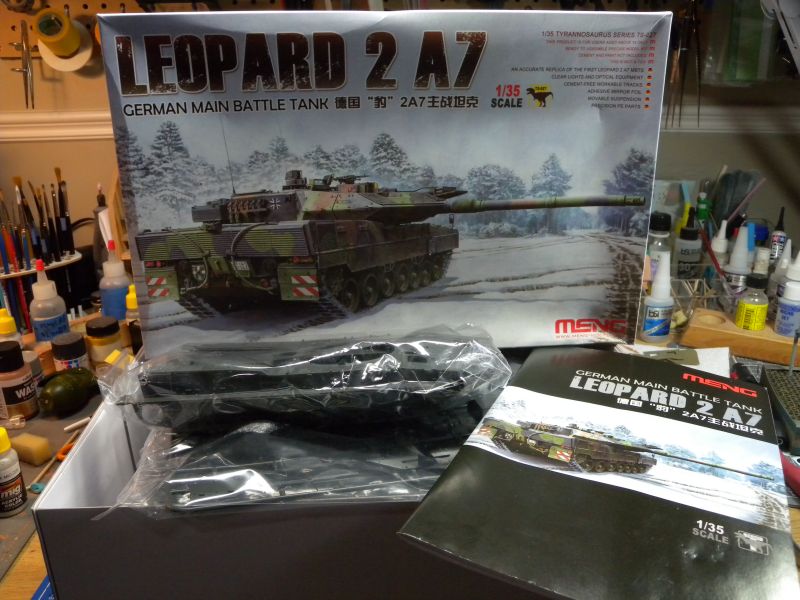
Meng has produced many Leopard kits, and the Leopard 2A7 is a great addition to this line. The kit comes in a sturdy, somewhat large box, and the box is packed with parts, including photo-etch, individual track links, clear parts, and more. Now it is time to tackle this great subject, and put the Meng model to the build test.
Build
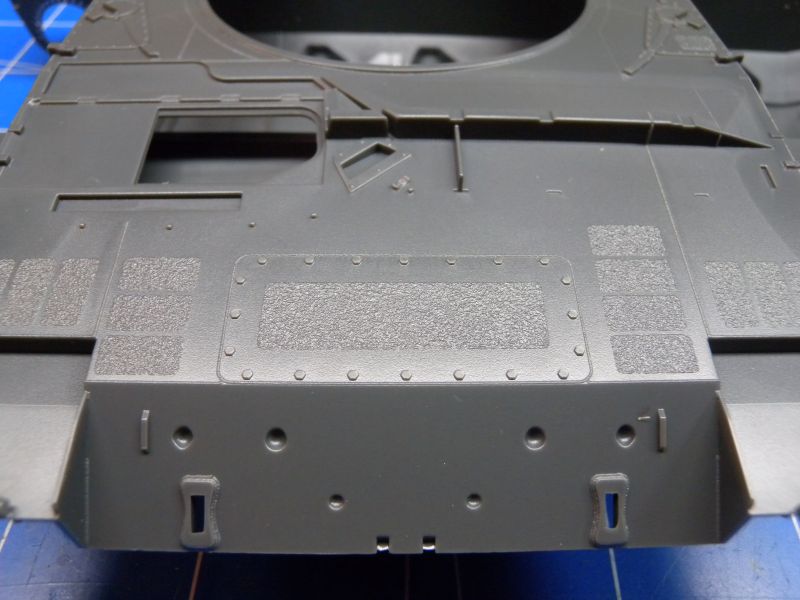
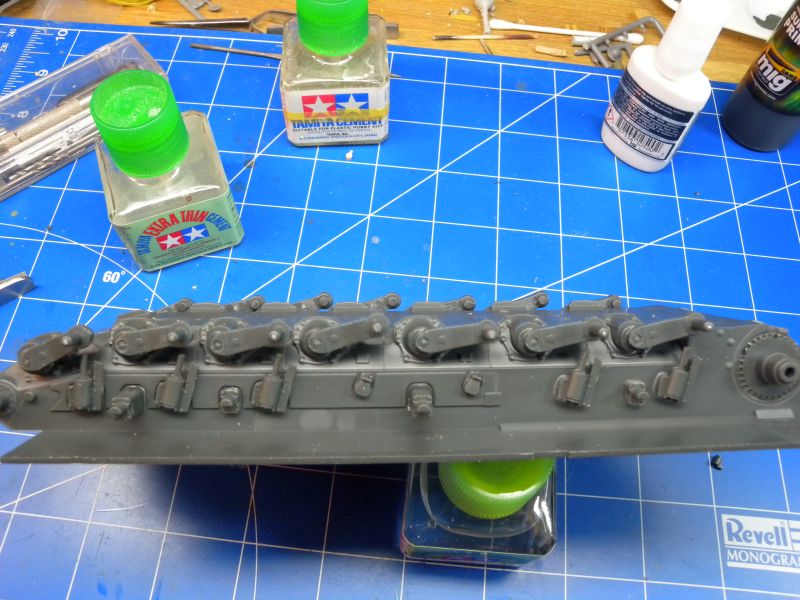
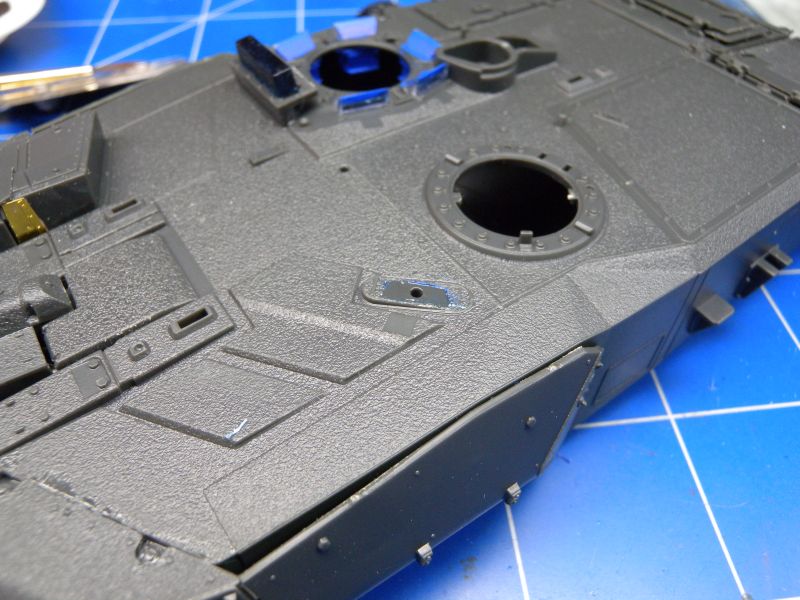
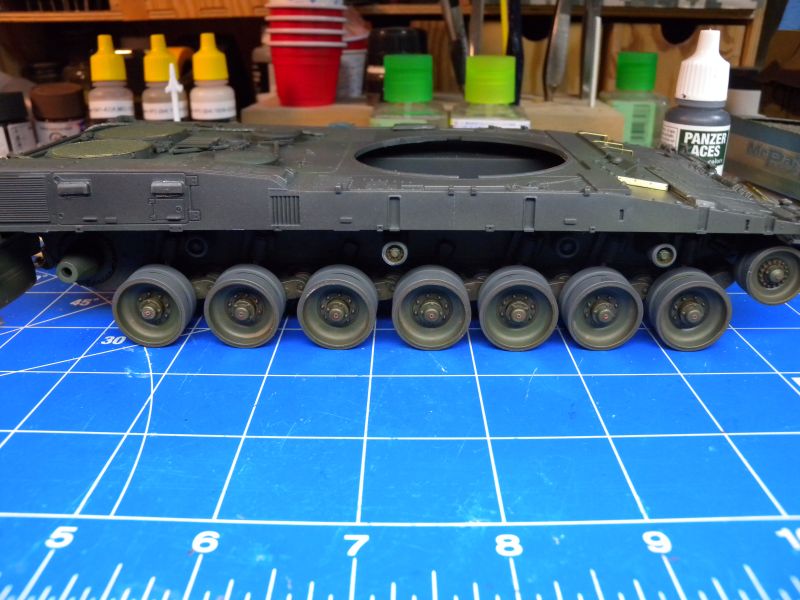
As I start to unpack parts from the box, one of the first things I notice is the well done molded on anti-skid sections. This is definitely a time saver in the build, as it does not have to be recreated, so right away I started on the running gear. The torsion bar suspension can be built to be workable, and is very straight forward to put together.
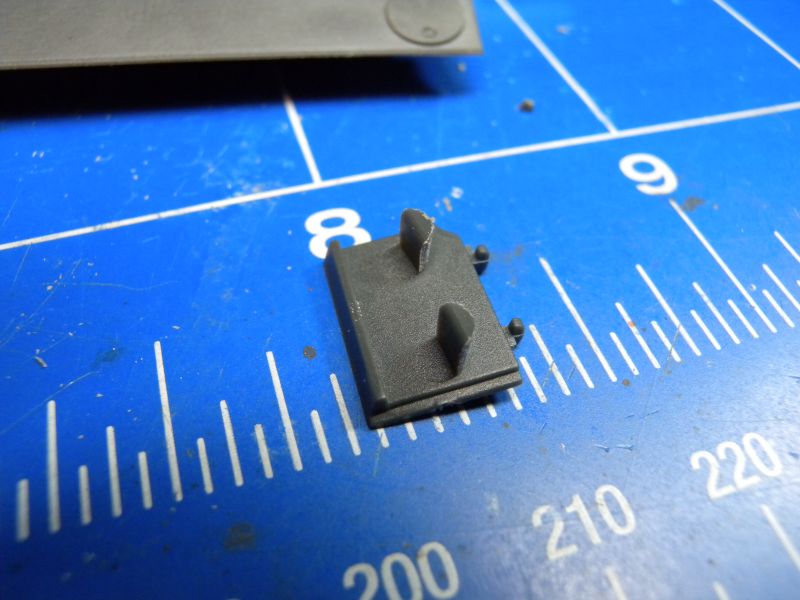
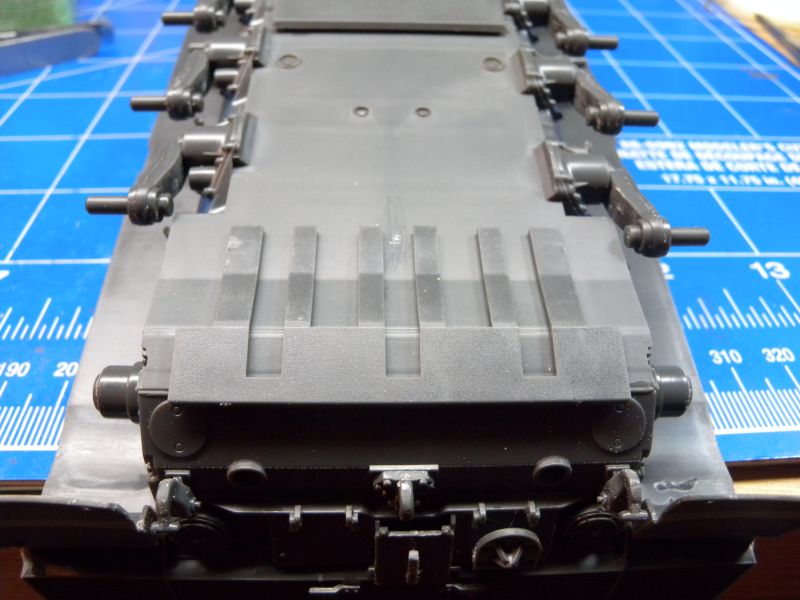
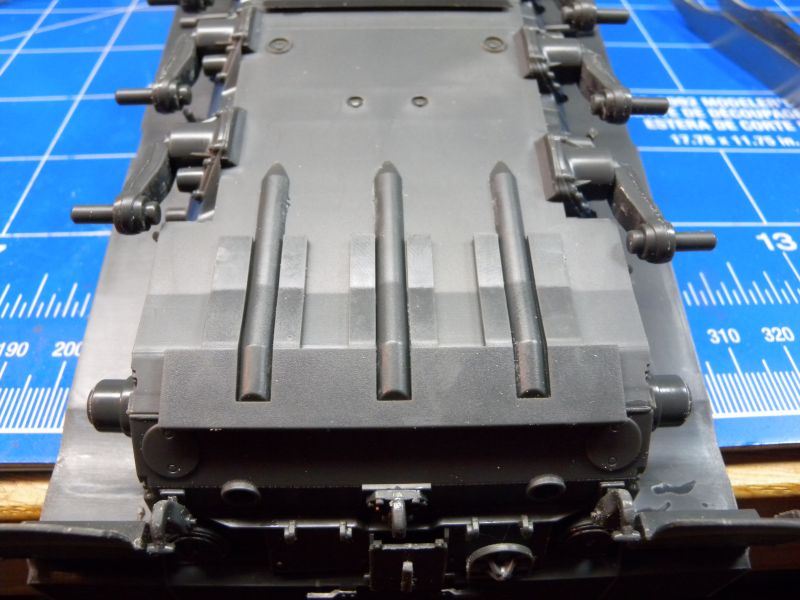
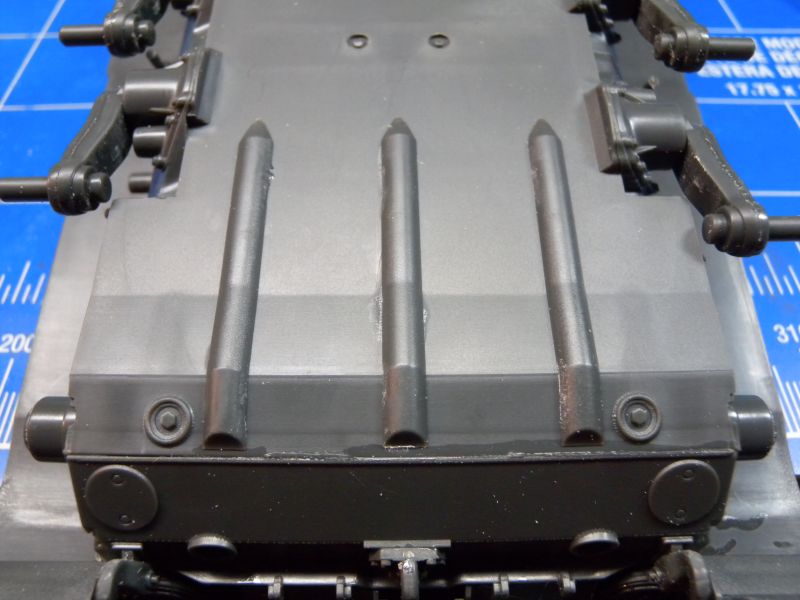
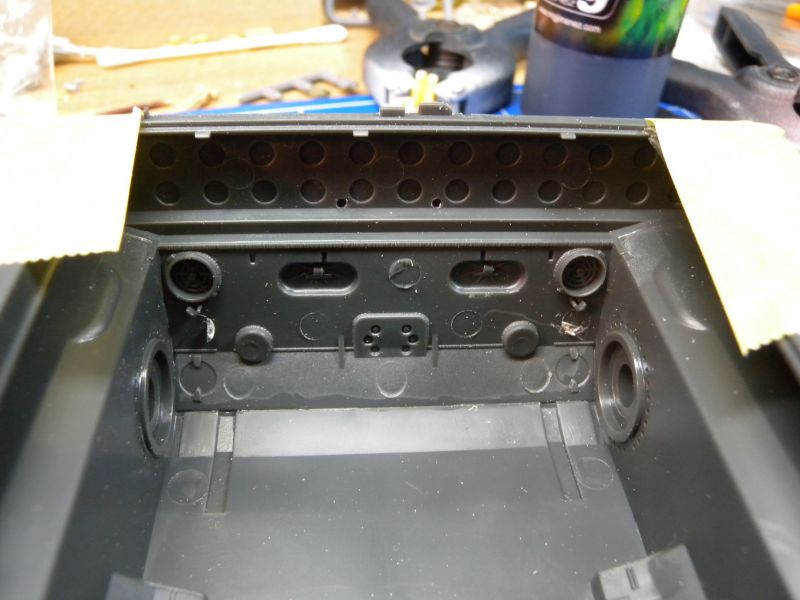
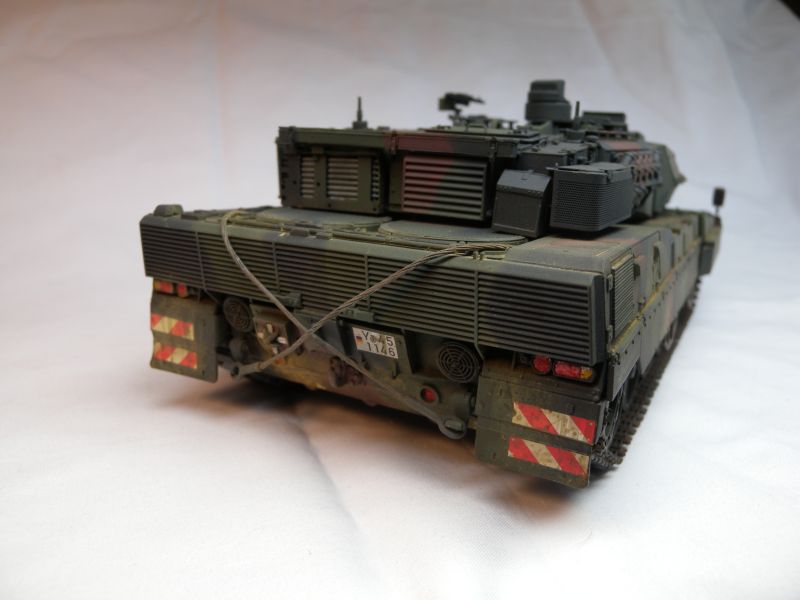
I next moved onto the rear plate, which again goes together rather nicely. One thing to watch out for is the large ejector "extrusions" that will need to be cut off some parts. I do wish that Meng would have made the tow hooks moveable, as I have seen in other kits. To add the strengtheners on the bottom of the hull, Meng has provided a nice template on the sprue. This make lining up and attaching the parts a breeze.
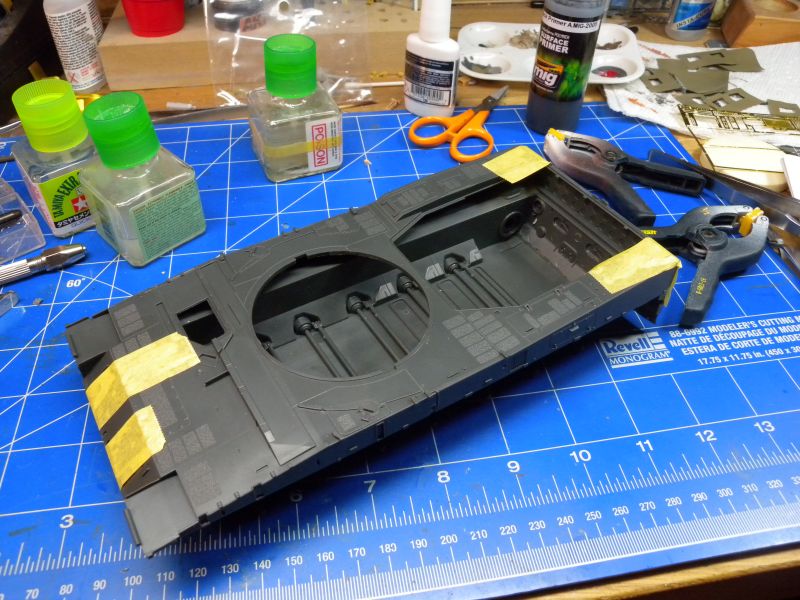
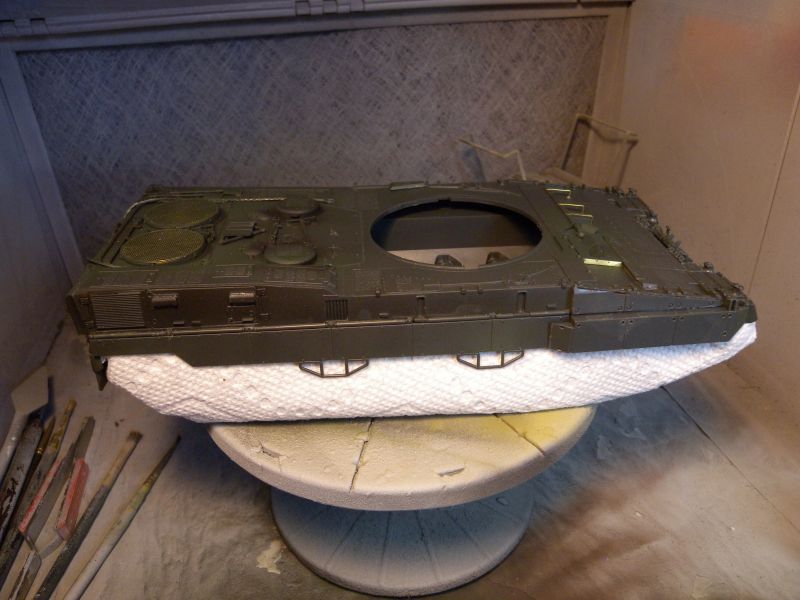
Flipping over the lower hull it is time to attach the upper deck. No issue here, just a little extra help is needed to hold it in place while the glue dries. It was at this stage I noticed some extra details molded on the interior of some parts and the entire engine deck is separate, almost like there should be an engine in the kit. I can only presume it is something coming in the future from Meng.
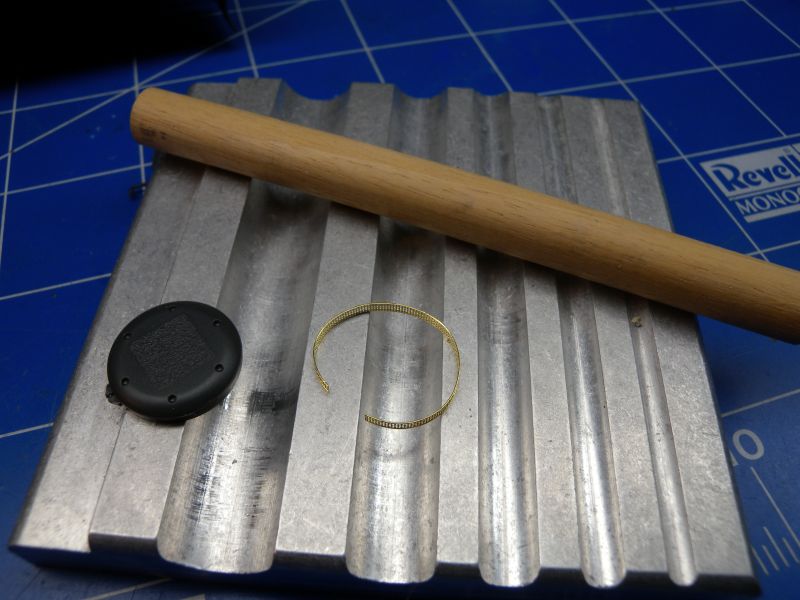
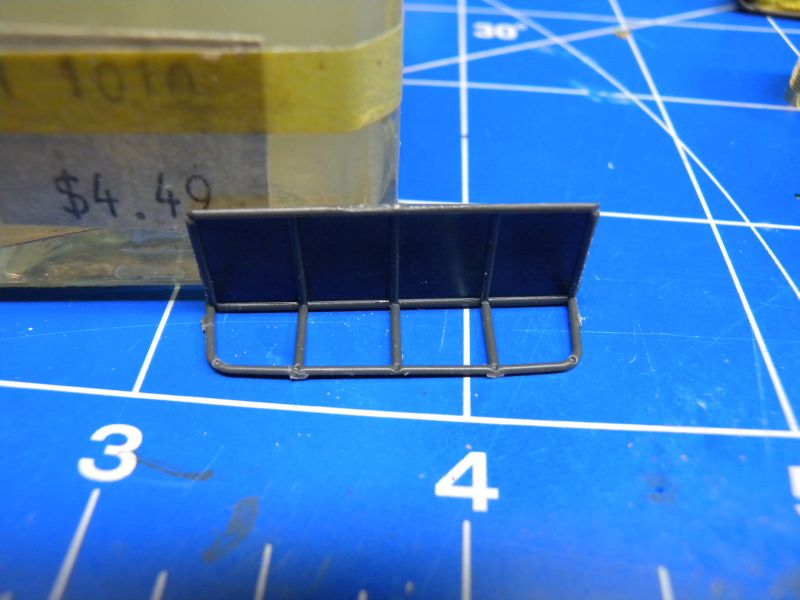
Building the engine deck, Meng has nicely included some photo-etched details, including for the air intakes that will need to be rounded. The rolling set from Small Shop makes easy work of this. The kit does include a length of string for the tow cables, which I replace with lengths of picture hanging wire I had picked up at a local craft store. Before attaching the photo-etched grills for the radiator vents, I did apply some black prime underneath to ensure the dark green plastic gets darkened.
Meng has included clear plastic parts for the view ports. I thought I would try something different this build, and painted the back and bottom a blue color, leaving the glass part clear, then masked the actual view port glass with liquid mask. I was impressed at the end when I removed the mask, but think I should have used a darker blue.
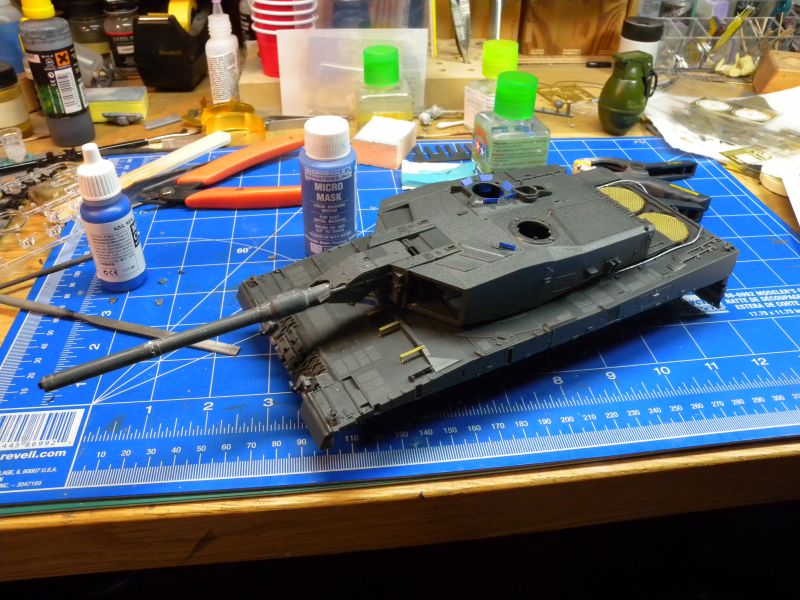
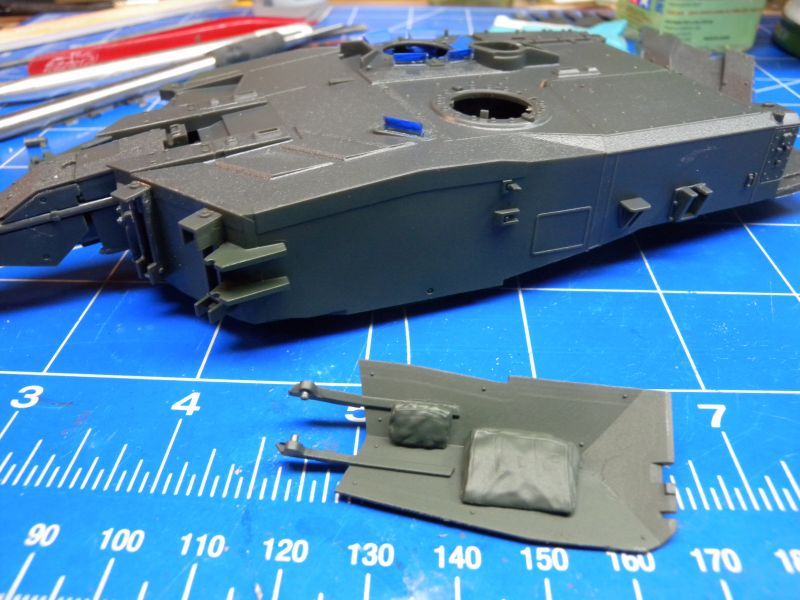
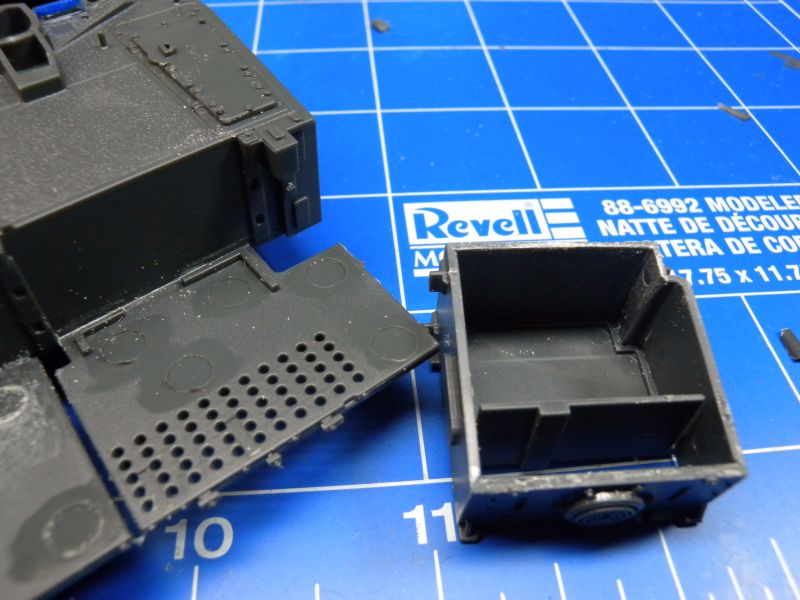
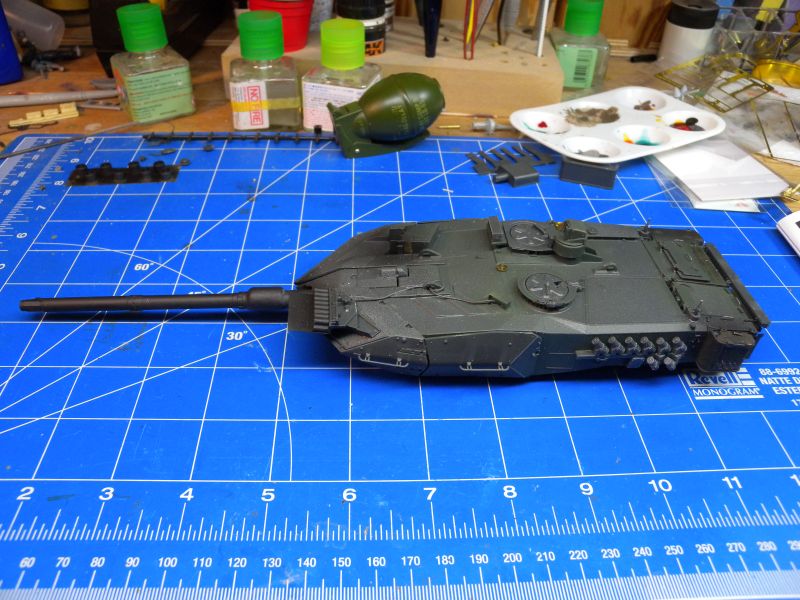
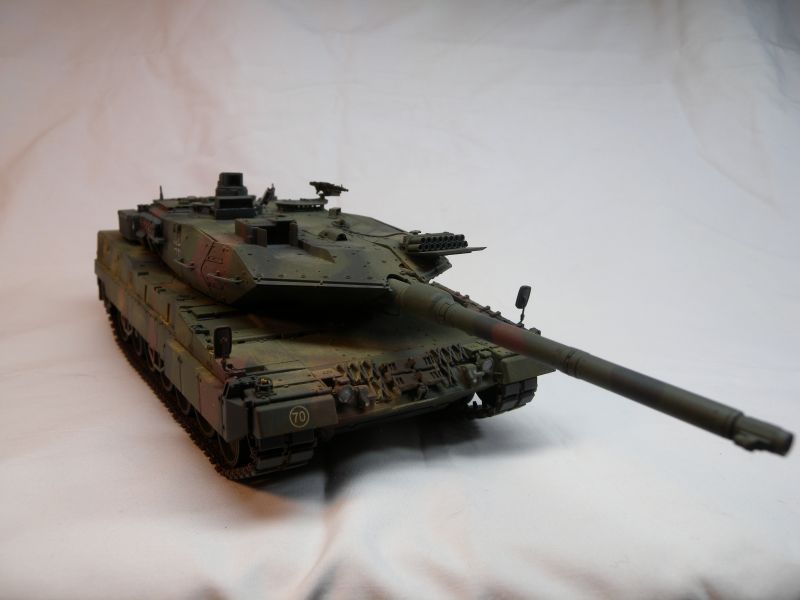
With the lower chassis nearly complete, I started on the turret. Again assembly and fit are rather good. On the turret "wing" armor, there are some stowage bags that if you mount the armor closed, you will not see. The rear stowage and air conditioner unit builds well and is well detailed with venting. Some areas will need extra sanding to remove seam lines to ensure the fit is tight. It should be noted that kit includes a two piece plastic barrel, but it does go together well, and a light application of putty and gentle sanding removes any seams easily.
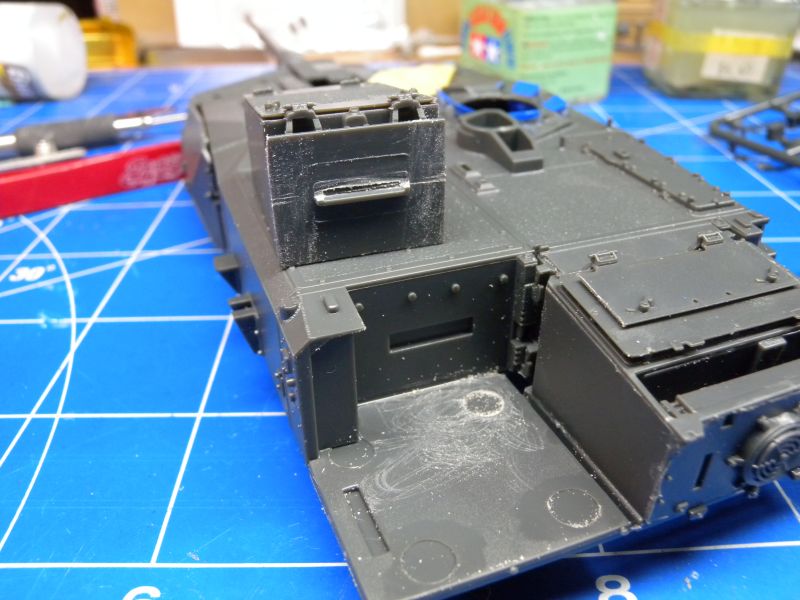
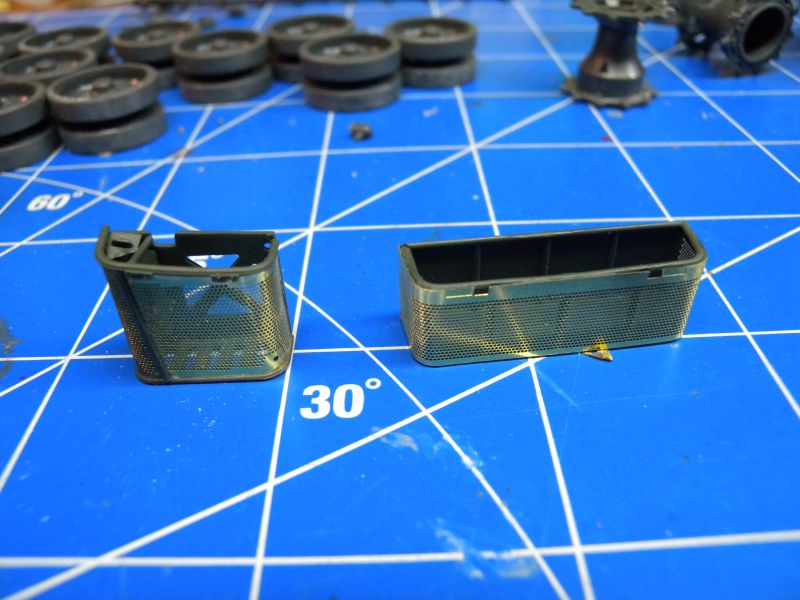
It should be noted that if you want to install the gun firing simulator, you will need to attach the optional part in the view port in front of the loader hatch. As for the stowage bins on the rear, photo-etched parts are used, and Meng again provides a nice template for bending these parts into the proper shape. Prior to mounting the lids for these, I did airbrush some black primer inside.
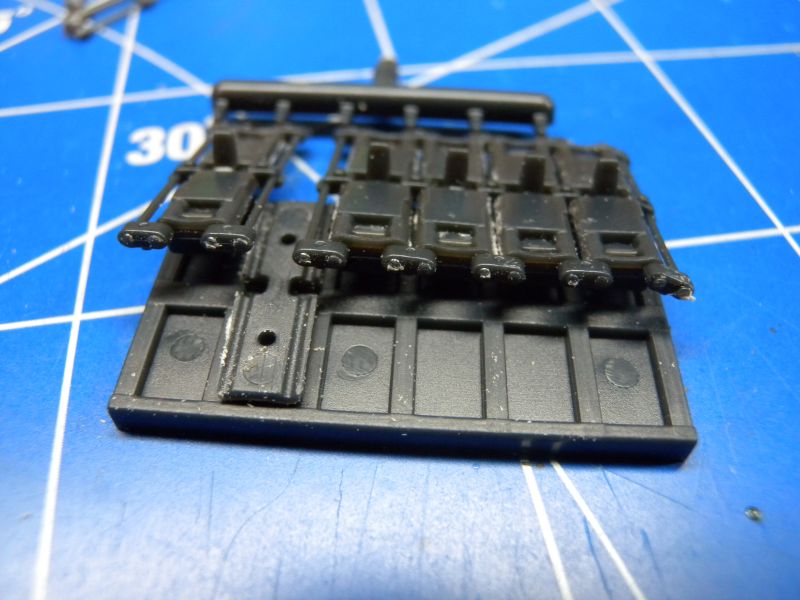
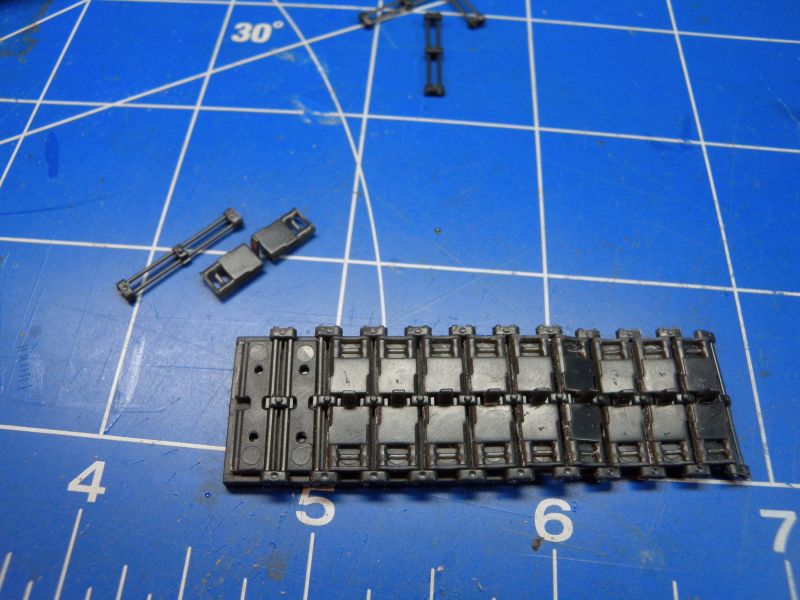
The kit includes individual track links, as well as a template to hold the links during assembly. The instructions show leaving the connector rods on the sprue during assemble and cut off after. I found this a little difficult to sand, so I removed the rods, sanded and installed individually.
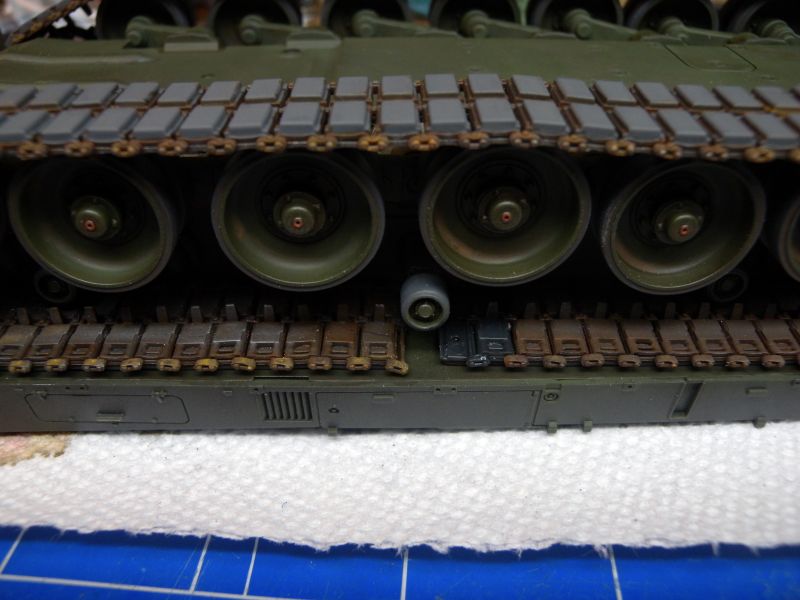
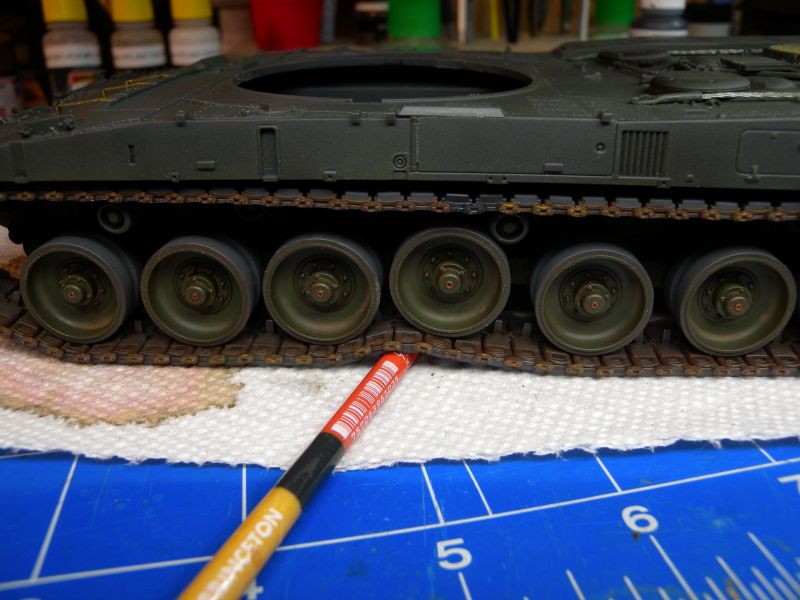
To paint this beast, I stared with painting the underside, running gear, and wheels. This was weathered then the tracks attached. The instructions did call for 82 links per side, I ended up using 83. With the track installed, I have included an image that shows the workable suspension. The track was painted using Ammo by Mig Track primer, Vallejo rust washes, and the track pads picked out using Vallejo Rubber. The track and lower section were weathered with Vallejo European Dust washes and pigments.
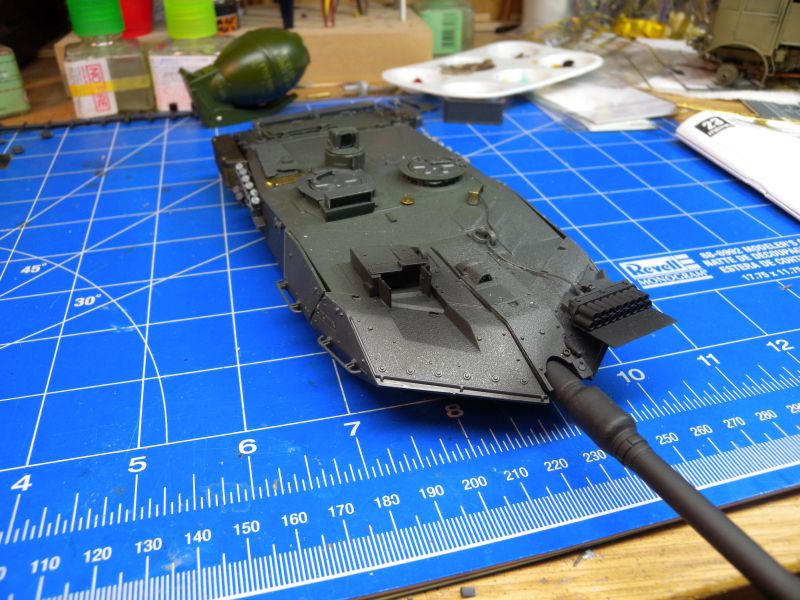
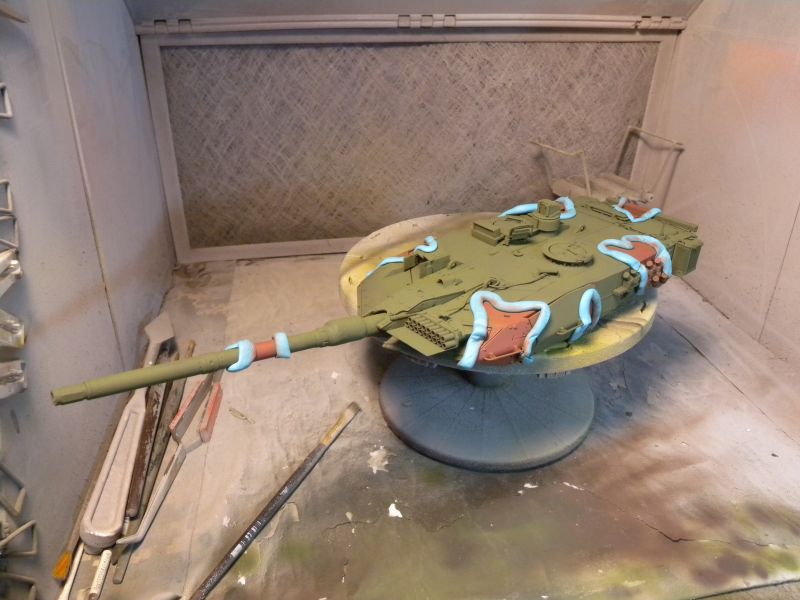
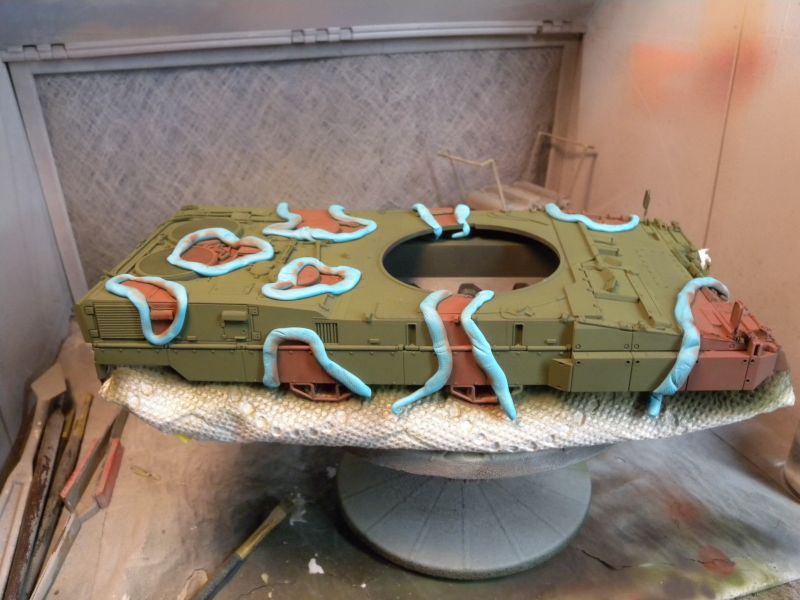
With the lower section masked off with paper towel and a little masking tape to hold in place, time to painting and camouflage. The tank was given an overall prime using Ammo by Mig Black primer. For my choice of NATO camouflage, I prefer the colors from Tamiya, so painting started with an overall coat of Tamiya NATO Green. Using BluTac, I then started masking for the camouflage, starting with NATO Brown, then the NATO Black.
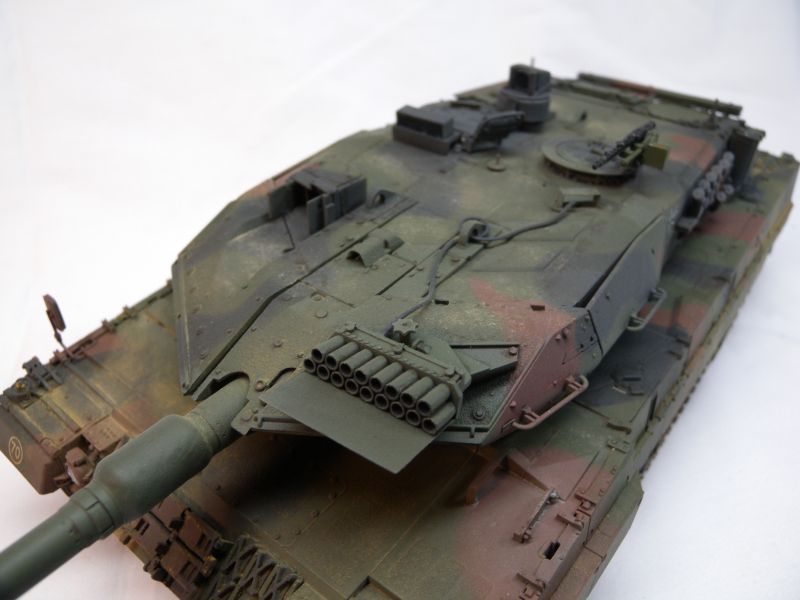
With the paint dried, I applied a coat of Future, applied the decals, another coat of Future, did some pin washes, and then opted for a light weathering effect, using Vallejo European Dust and pigments.
Overview
Overall, I am very happy with this kit from Meng, it builds into a very nice models, and quite an impressive looking Leopard 2A7. The overall assembly showed great fit and the instructions were mostly clear. Other than some rather large extruding ejection marks and a few seams, it is a great kit. I would highly recommend this kit.
SUMMARY
Highs: Great detail, good fit, builds into a great looking model.Lows: Some large ejector pins.Verdict: I really enjoyed building this kit, and it produced a great looking Leopard 2A7, highly recommended.
I am an IT Consultant and father, with a passion for plastic models. I mostly prefer 1/35 Armor and 1/48 Aircraft. My main interests are anything Canadian, as well as WW2 German and British Armor and Aircraft. I have been building models since I was a young kid, got away from it for awhile, but r...
Leo 2s are such amazing subjects to build, and I'm curious about exactly what went into the conversion from A6M to A7. Is the main gun barrel longer? Either way, this is sure to be an interesting addition to anyone's modern armour collection.
Thanks a lot, nice review. Just about to start mine. Only downside of this kit is that main gun in two halfs, other then that it's a great kit. Here's a great video on this subject LINK


Comments