Dragon Models has become famous for getting the most out of a set of sprues with numerous offspring from the original base kit. One of their more extensive lines of kits is the German StuG III series which they have kitted out in a plethora of forms. Here we take a look at the latest iteration; the StuH. 42 Ausf. E/F version.
Contents
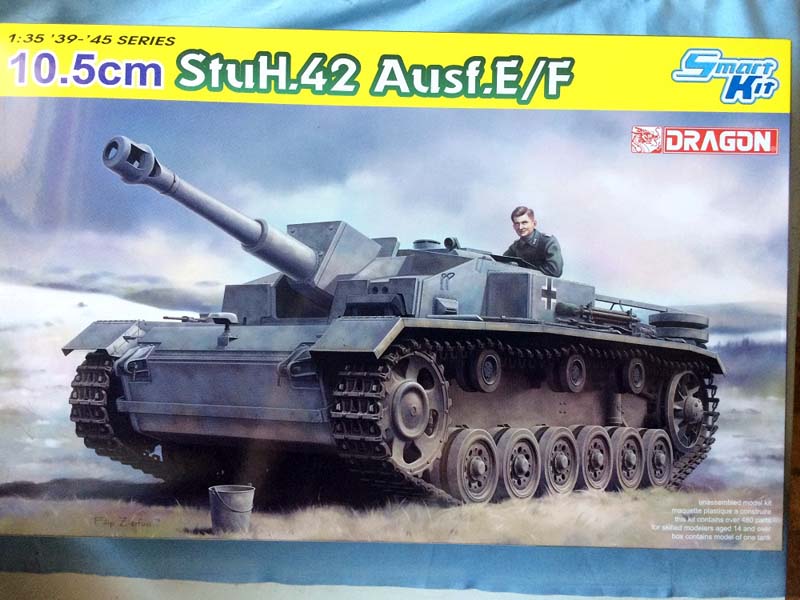
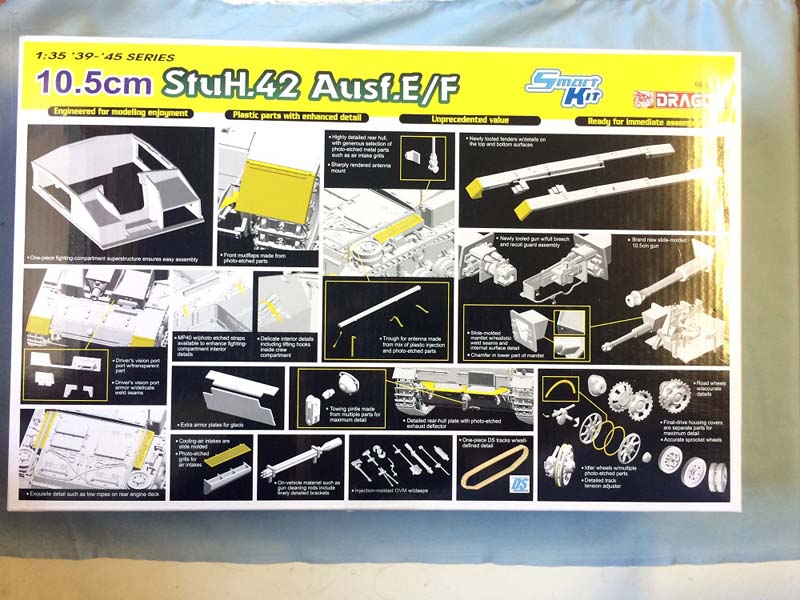
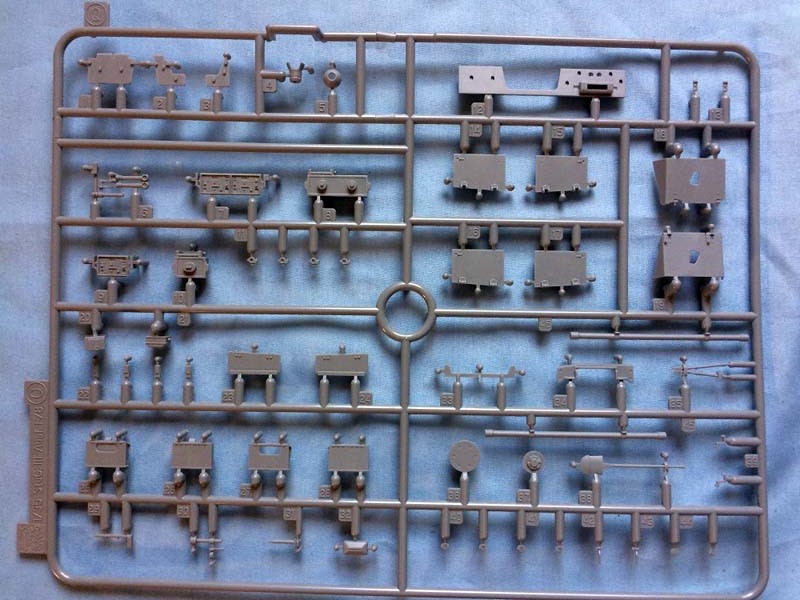
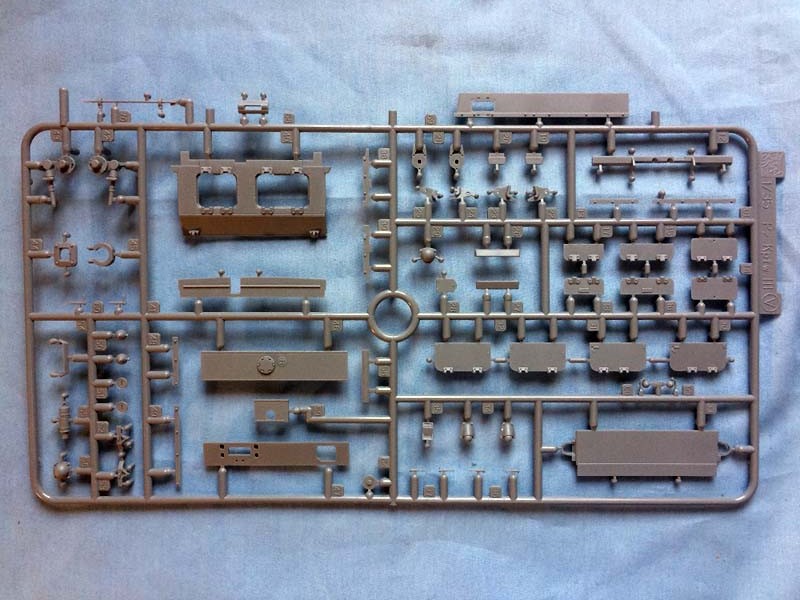
The kit comes packaged in the standard Dragon slip cover box with a decent illustration on the box cover and the features of the kit on the box bottom. The contents are as follows:
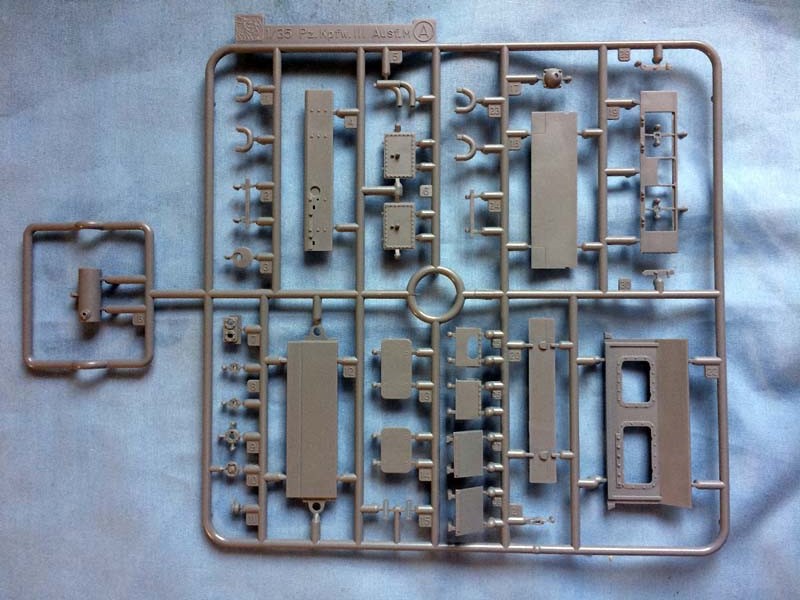
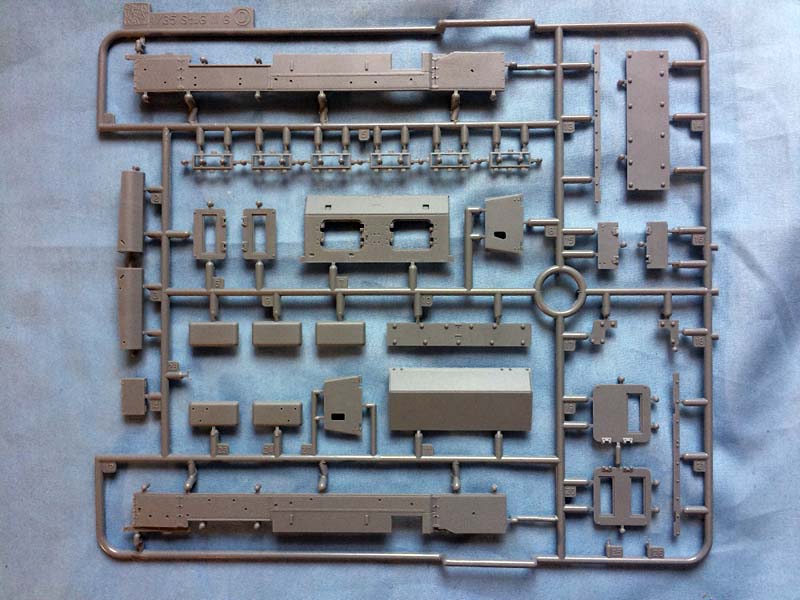
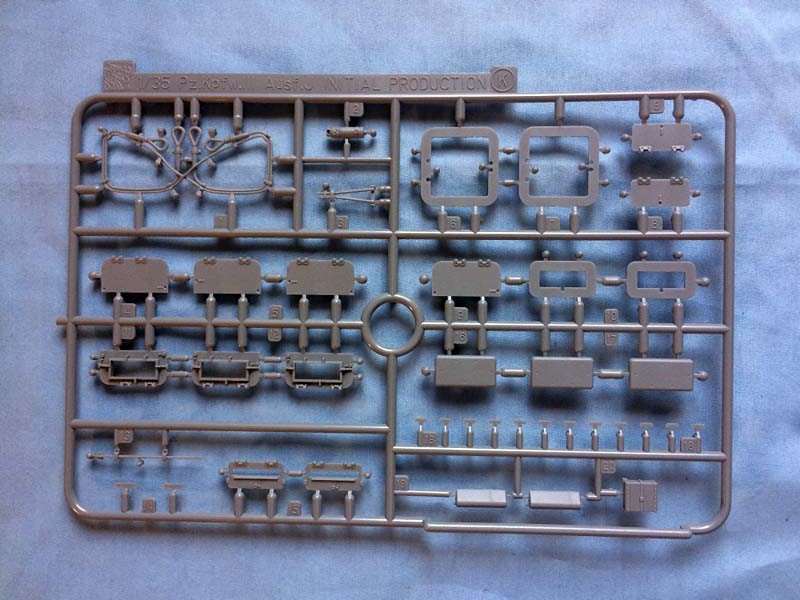
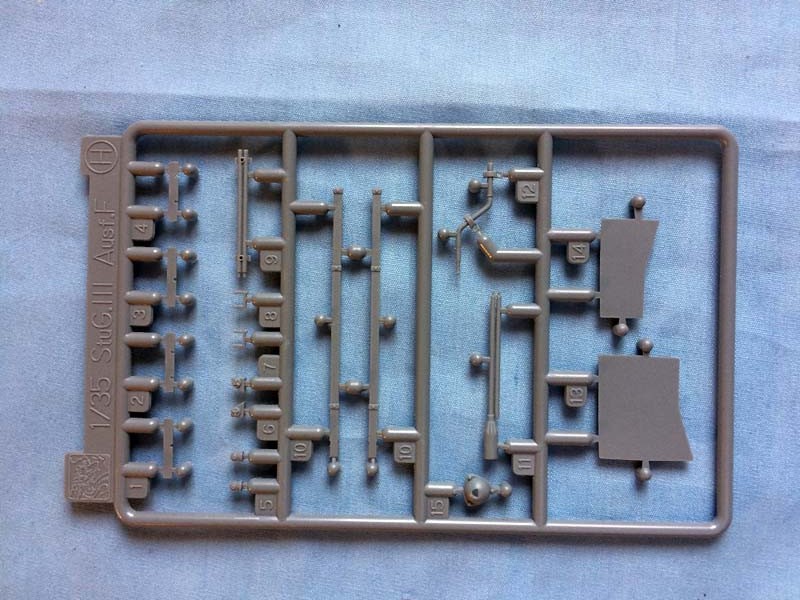
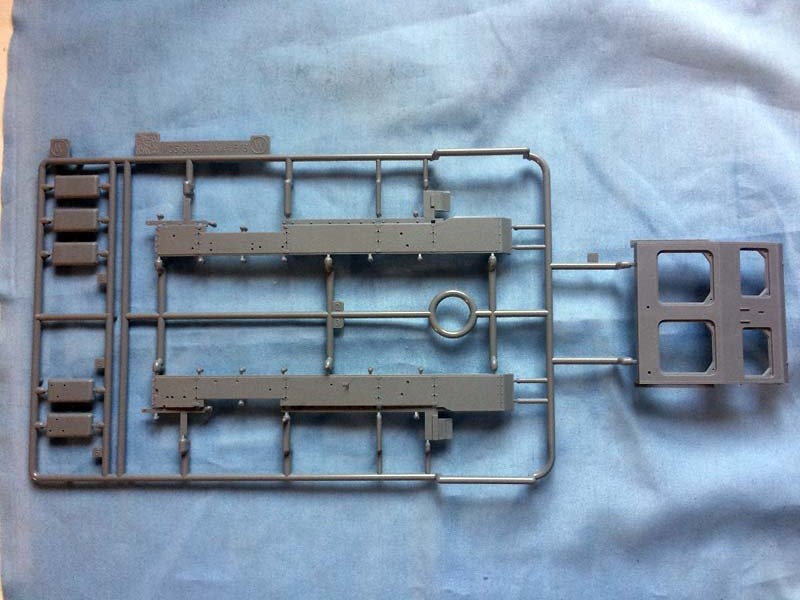
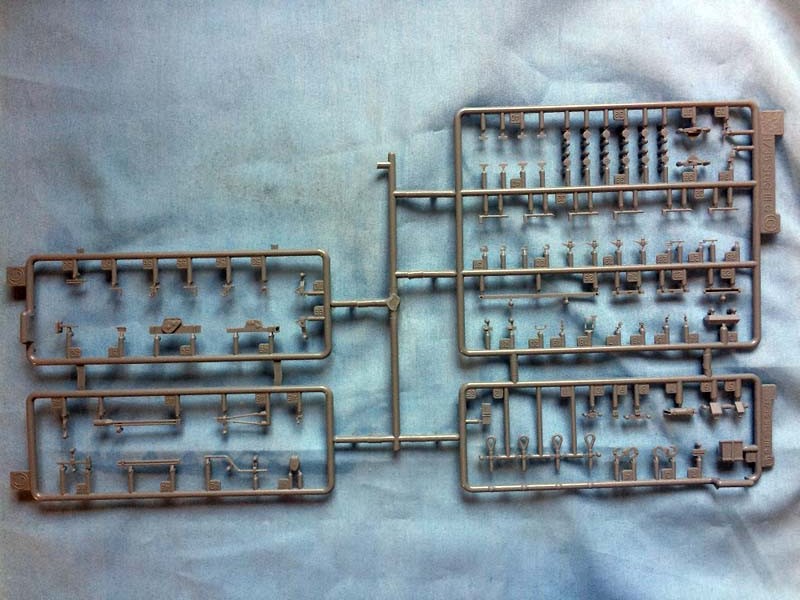
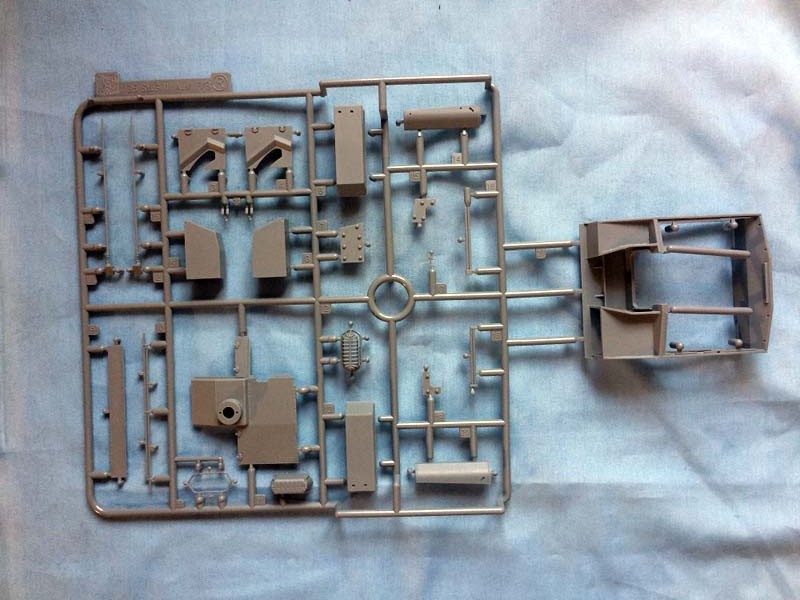
18 sprues molded in light gray
1 lower vehicle hull in light gray
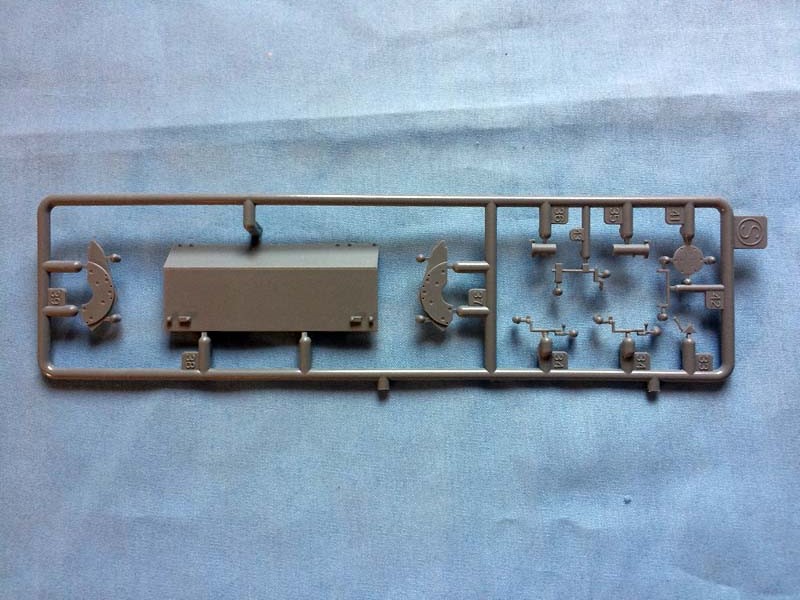
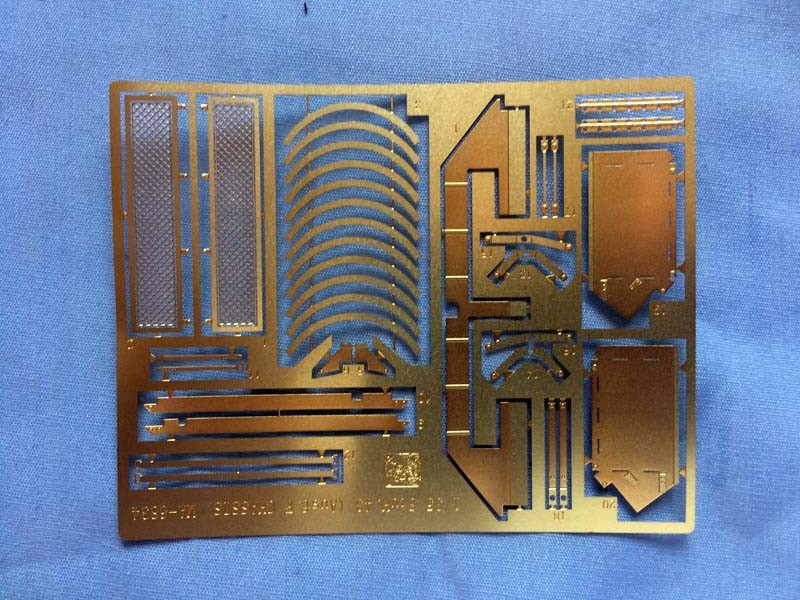
1 photo-etch brass sheet
1 set of DS tracks
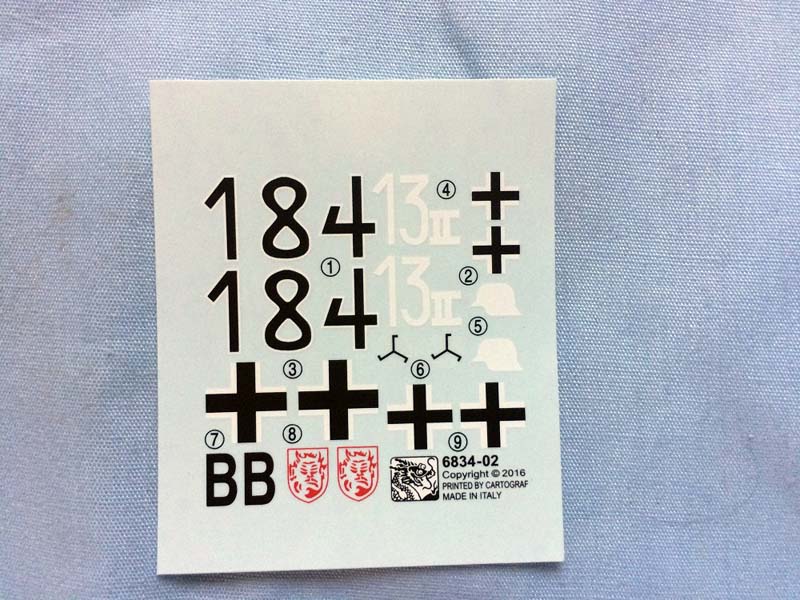
1 small decal sheet
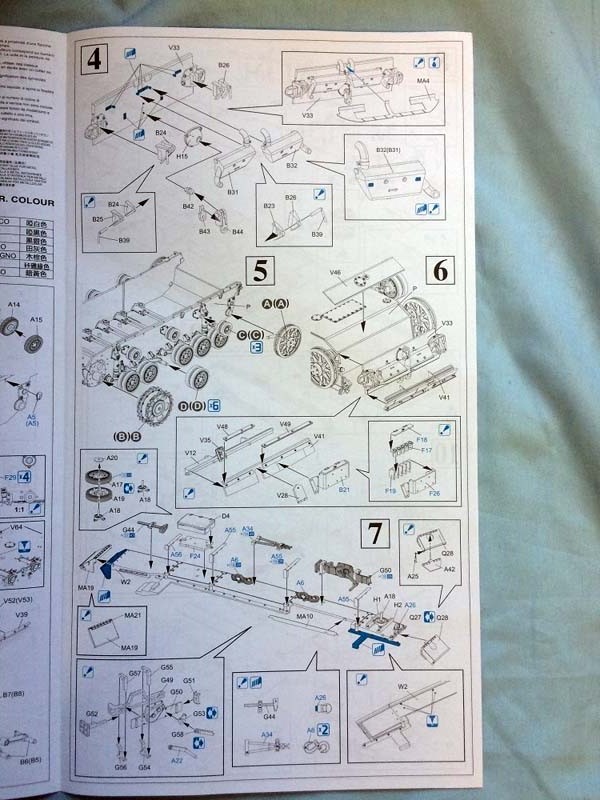
Fold out style instructions covering 18 steps of construction
Review
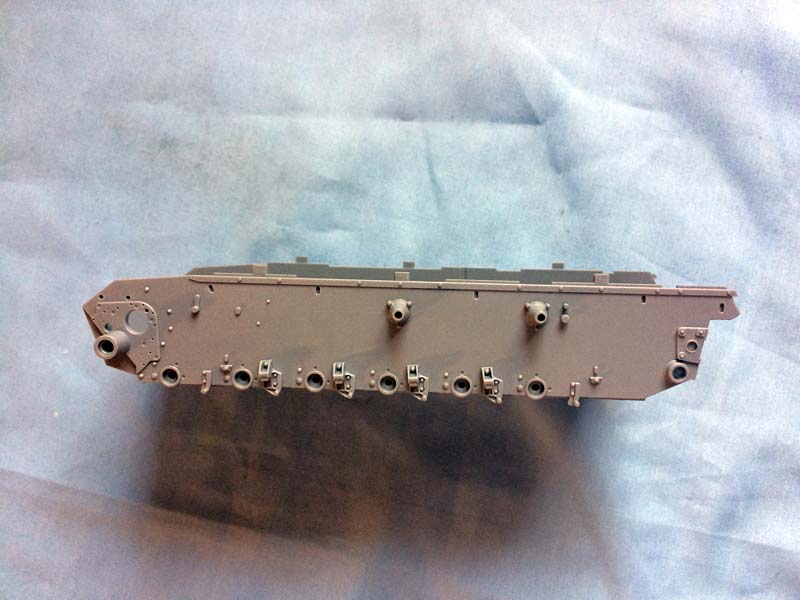
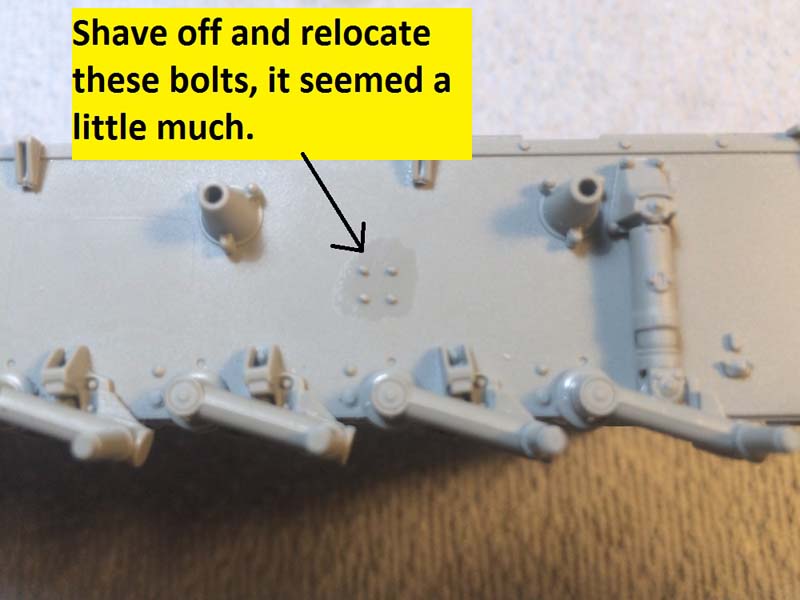
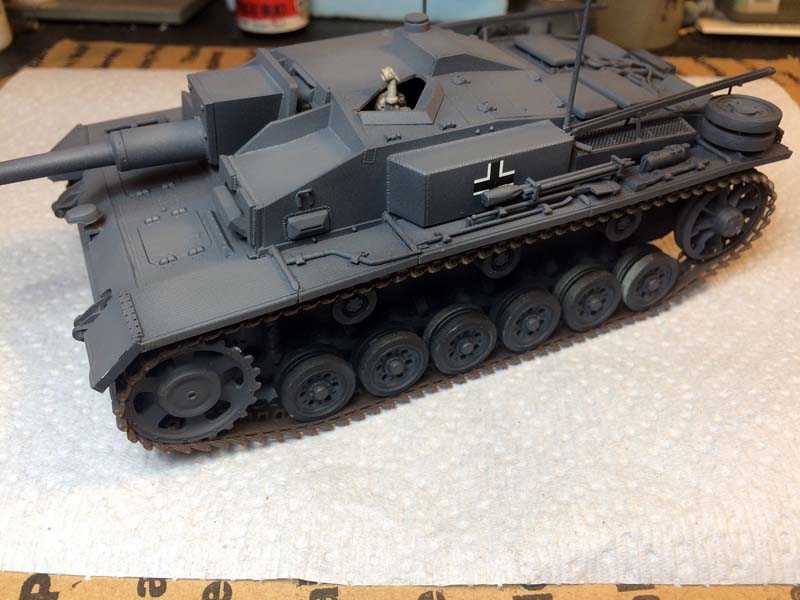
Hull: Working from the bottom up which more or less follows the instruction steps as well, lets take a look at how it turned out. If you are familiar with Dragon kits the suspension and lower hull are well detailed but a little fiddly to put together. One moment of pause in the construction was the three different sprues all marked as A. This added a bit of extra search for the parts that grew tiresome after a bit. If you are not used to Dragon mix and match type kits you may be surprised at the amount of material that will need to be removed or shaved off to make the correct hull. This kit is no exception with several small fittings, bolts, flanges, etc. that need to be removed or placed in a new location.
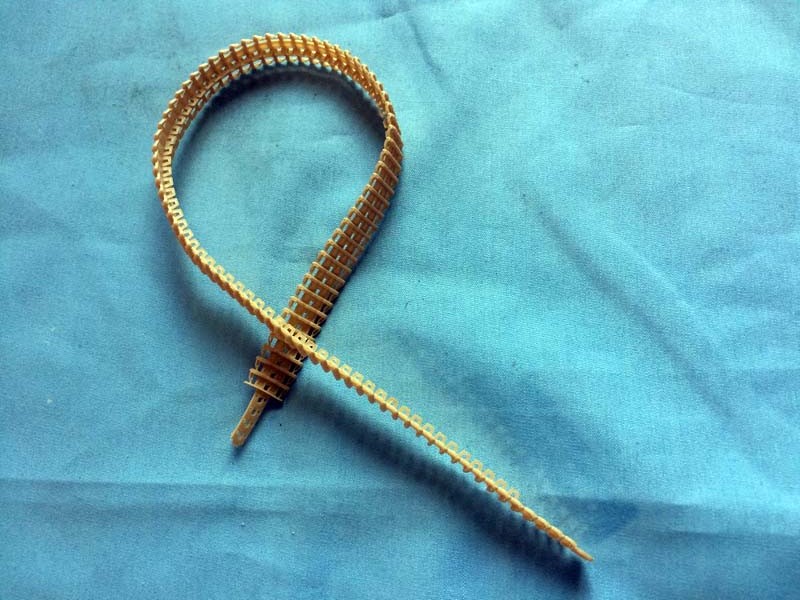
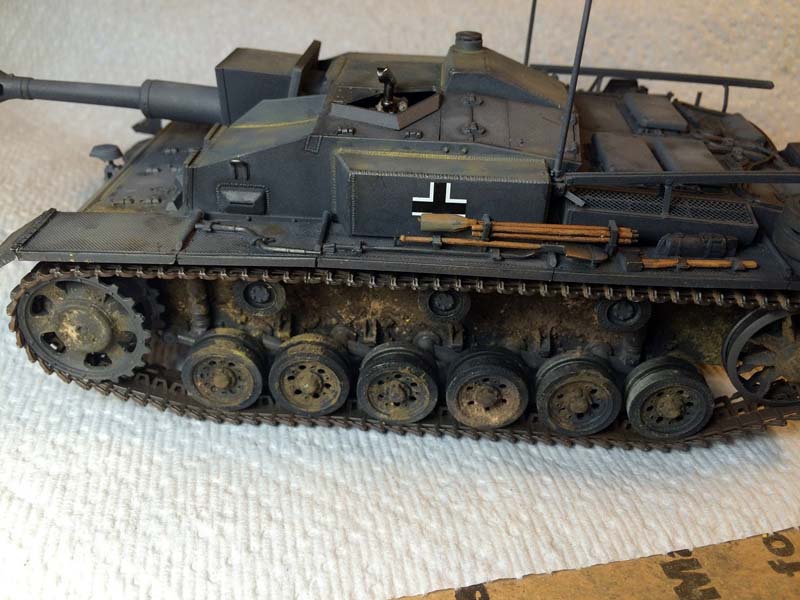
The kit does come with a full working torsion bar system that enables the modeling of an articulated suspension. However, the kit provides DS track which are not workable and much (all?) of the effect is lost without replacing the track.
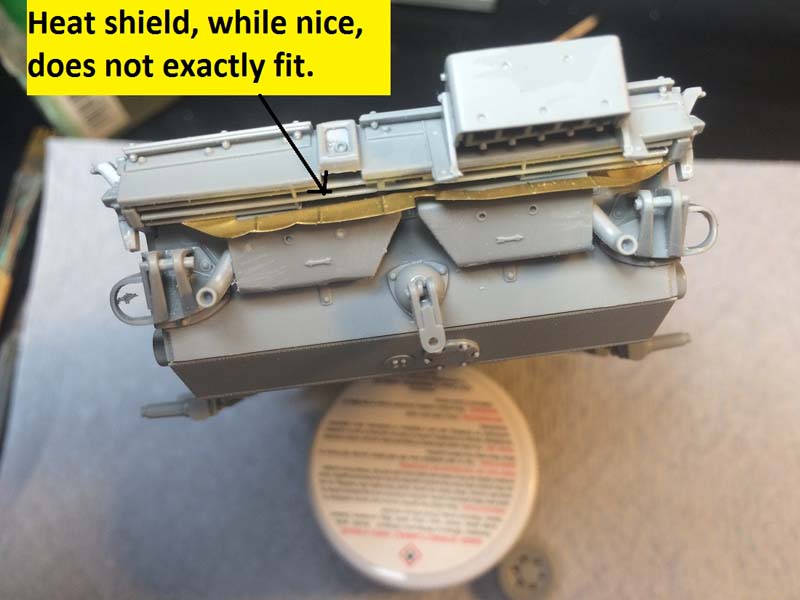
The rear end is very well detailed, with multi-part assemblies for the towing points and towing shackle as well as nicely done mufflers and an attractive photo-etch heat shield. The heat shield has a hard time fitting into its location as the mufflers are just a bit too wide; I ended up filing them out a bit and jimmying it into position. Also, be aware that you will be shaving off some of the muffler attachment detail that is molded onto the rear panel that will then reappear in the instructions later on. It looks like it should be removed and that the reappearance is just a function of a reuse of the instruction CAD drawing from a previous version of the StuG without updating it for this kit.
The wheels, idlers, drive sprockets, and return rollers posed no issues at all. The idler wheel includes the photo-etch inner rings to provide even greater definition. I constructed all of these and then set them aside for painting and to be added at the end of the build.
Fenders: I include these as a separate section because they are constructed separately and then added to the hull side later on. Again, you are removing mud guards and locating tabs of the fenders in order to make them compatible with the StuH version of the vehicle. I followed the instructions as closely as I could, honest. I say that because I could not get them to fit into the hull and ended up cutting away all of the rest of the locating tabs and simply gluing them on with an improvised butt joint. Not an optimal arrangement but as the finished model will be part of a diorama and undergo a minimum amount of handling it should be adequate.
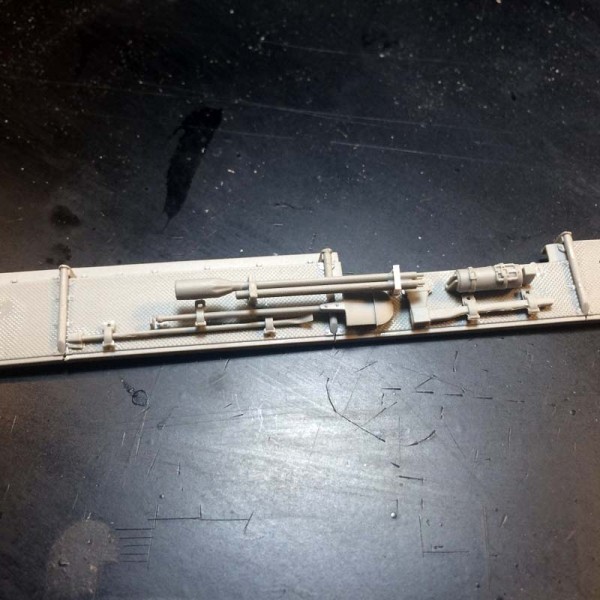
The tools were first rate and include a jack with ten parts including an optional part if you want to leave the crank in jacking positon. The rest of the tools have the clamps attached and look decent. I kind of miss the optional tools without clamps that they used to include, but these do at least look the part. Some modelers will still want to carve these away and add an aftermarket solution and while they are not perfect they are more than just merely acceptable.
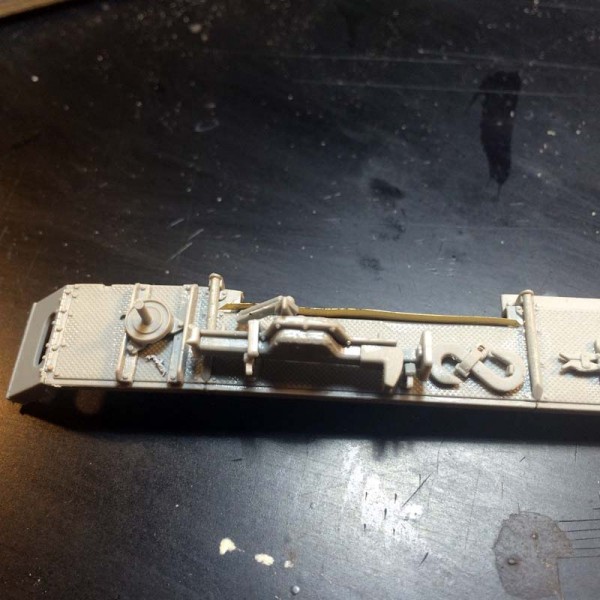
The other issue I had with the fenders was the tool placement. I know you have never heard this complaint before, but Dragons instructions in regards to placement leave something to be desired. Lots of vague stick this here kind of support with providing anything for an exact placement. Normally, you have a bit of wiggle room but not with this kit as you will be dealing with the overhang of both the engine air intakes as well as the two armored sponsons attached to the casemate superstructure for the radios. You will need to be careful here, especially if you build the kit in the recommended order. I would urge you to build the fenders up toward the end just to make sure that you dont attach the wire cutters for example in a location that will be blocked off by the radio sponson.
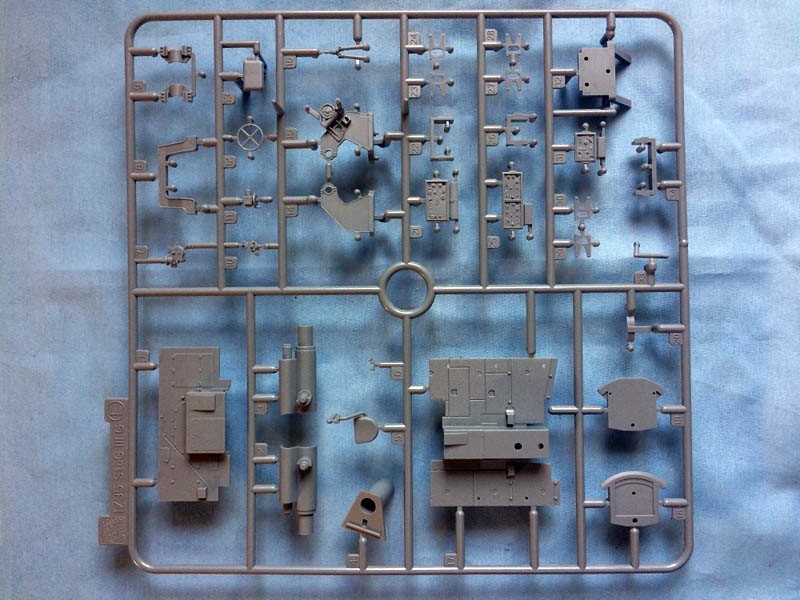
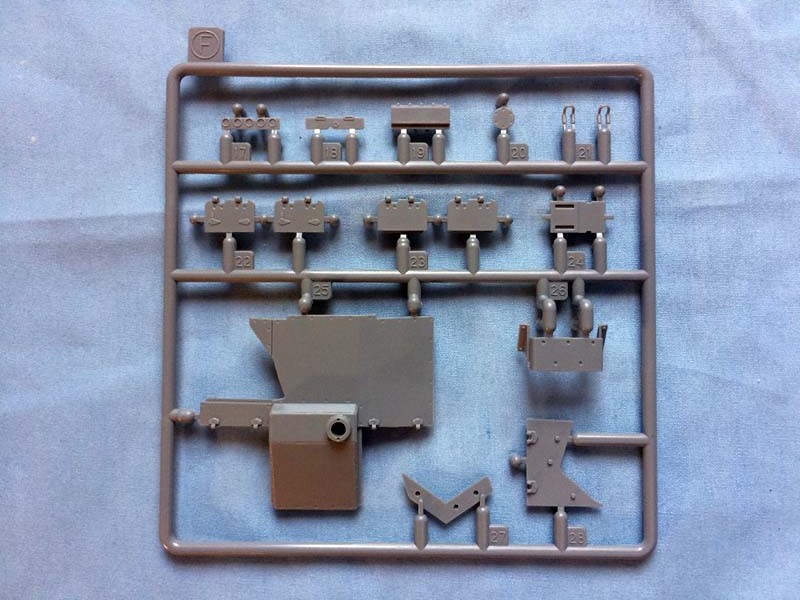
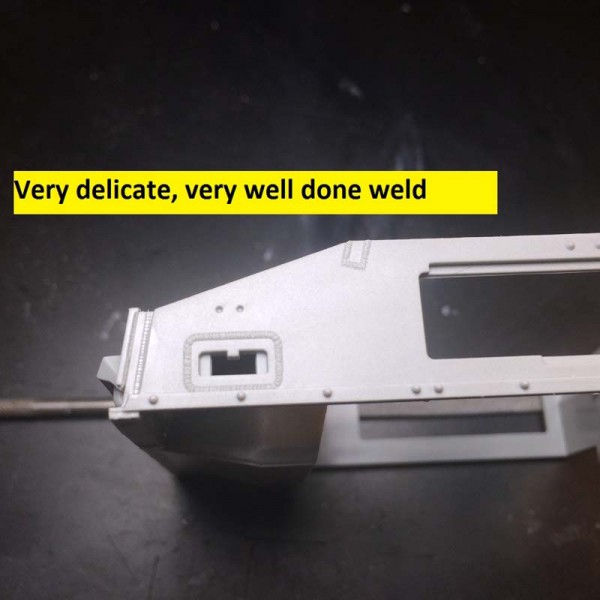
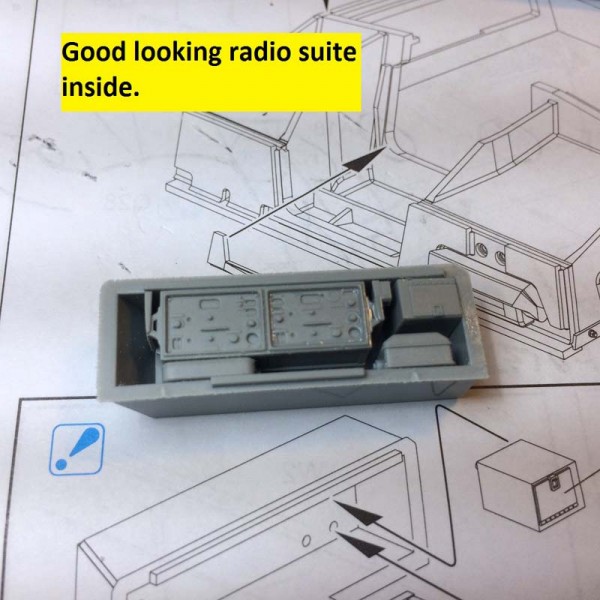
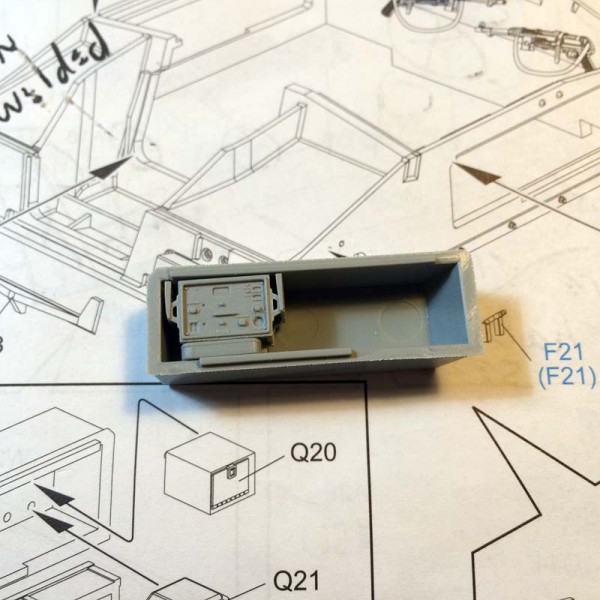
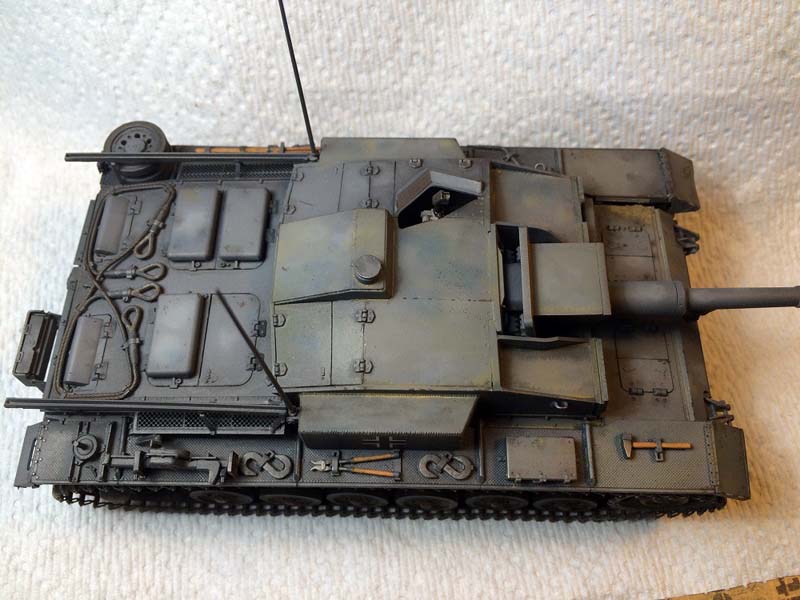
Casement: The casement for the gun is first rate. The main piece is one large casting which really helps to keep everything nice and square. The delicate weld beads are very well done and help to remind one why new tooled kits are usually superior to offerings from the 1970s! The roof is a one piece installation as well, which is a boon considering the number of individual plates and angles that make it up. The hatches are well done with good detail on both sides including individual hinges and handles in case you are planning for them to be opened. The sponsons which hold the radio gear also show off some very fine weld detail.
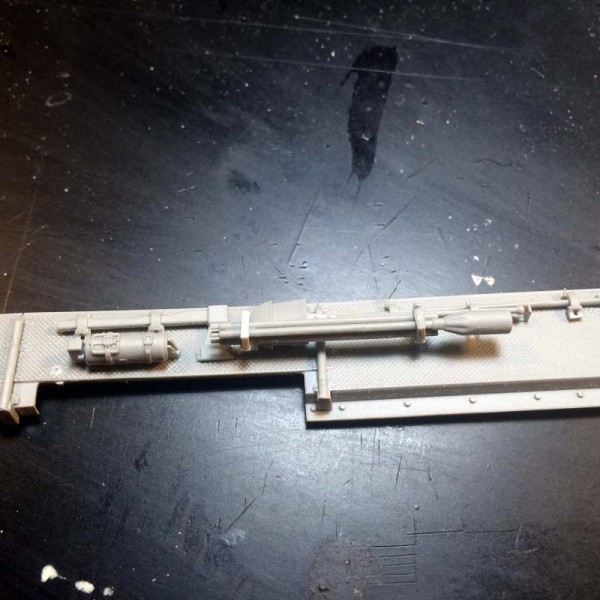
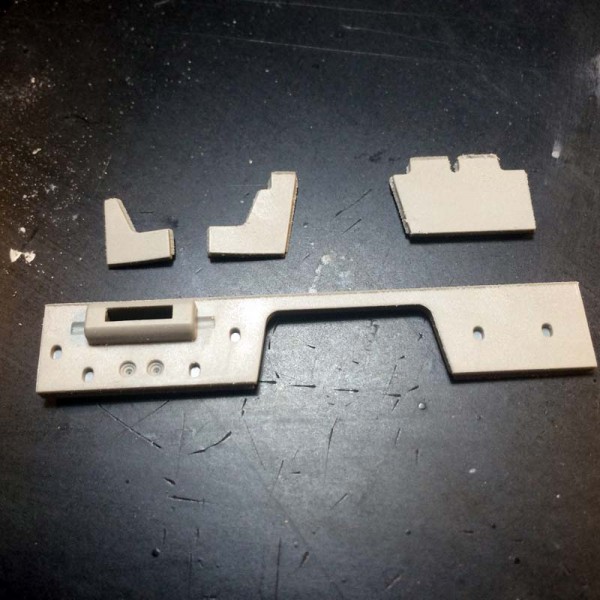
Inside the casement you have a very nice start to an interior with a decent fighting compartment. Dragon provides a complete gun including breech, pedestal, gun sight, commanders and gunners station, radio sets, and personal arms for the crew and firewall. No drivers compartment but you cant have everything. I wasnt planning on my model having opened hatches so I went minimal with the interior and saved a very nice set of radios for some future project down the road. It is engineered such that even if you are not opening hatches you will still need to build up a good bit of the pedestal and breech end of the gun in order to sit the gun and the gun sight which I needed to sit proud of the roof. Everything inside went together easily, much easier than much of what you find on the exterior of the vehicle in fact. The gun barrel itself looks very nice with all the slide molded wonders of the current state of the art with a separate collar and a two part muzzle with enough detail for just about everyone.
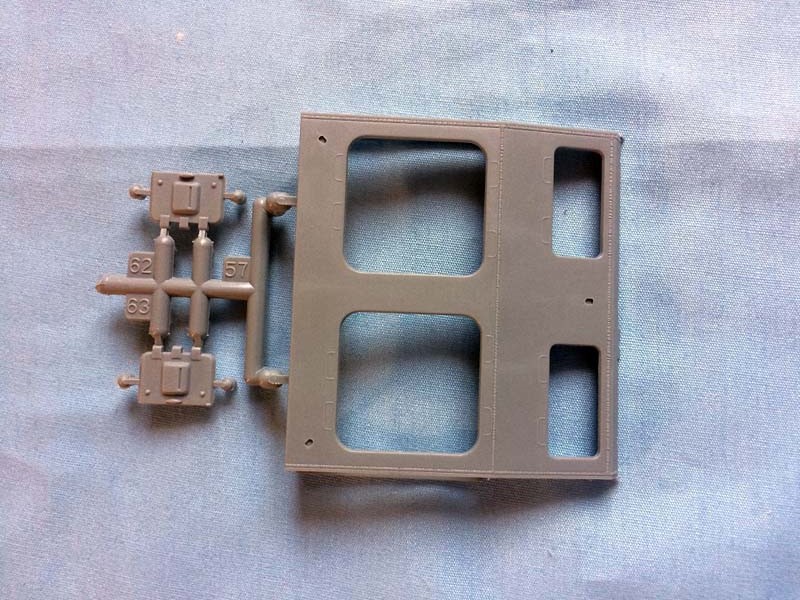
Front glacis and rear deck: The front glacis is well detailed with nice weld detail and a well done set of three piece towing points. However, again you are looking at some chopping and shaving to get the extra armor plates fitted. The transmission inspection hatches are well done with some very well done counter sunk screw and bolt detail. The inside of the hatches have a well done set of interior locking mechanisms but without any interior detail Im not sure how much they add; if you have an aftermarket kit with the transmission and drivers compartment they will make a nice addition.
The rear deck is equally well detailed. Engine hatches all look good and the much appreciated photo etched grills for the air intakes add a nice level of detail. The tow cable is molded already clamped down with all the holds and clamps molded in place. I used it as it was provided, just understand that the part will need a bit of extra care in clean-up and painting to get it to look the part. If you dont like the cable already stowed you have the option of adding all the individual holds and clamps without the actual cable. The antenna troughs were a bit tricky to get the photo-etched supports right, in the end I managed to get everything where it belonged but not without a few moments where the issue hung in the balance.
Everything else: The tracks are the now standard DS style. However you line up in the DS track standoff you have to admit that the level of detail is top notch. The sag that everyone craves with German track is, of course, nonexistent. I havent tried a hot air drier on them so I cant really comment on how well that works. You could make it all a moot point by adding some aftermarket tracks if you wish.
The decals are for three different vehicles, one is a vehicle from the 185 StuG battalion in October of 1942, the other are from that largest of all German formations, the famous unidentified unit in 1942 and 1943.
The instructions are best not mentioned. Okay, but just a bit. They are difficult to follow with lots of things that disappear and then reappear later, they provide no decent guidance for placement of the tool suite on either fender which is vitally important for any vehicle with this much attached to the exterior. Even the paint and marking section was a let-down as you get a front, rear, and left side view. I assume the right side is the same, but that is only an assumption that Dragon could have easily addressed.
Conclusion
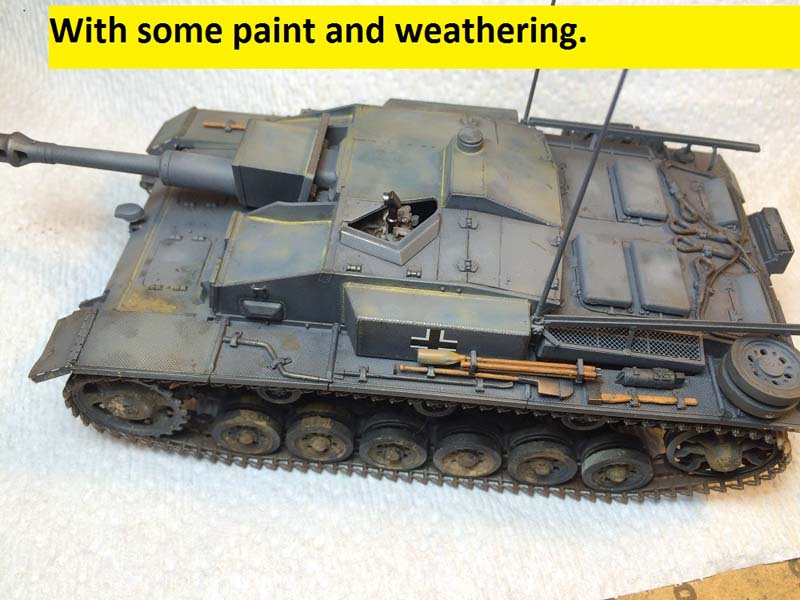
This kit is something of a smorgasbord of parts, it will, with a bit of extra care and planning, build up into a pretty nice model of an important German vehicle. Yes, I understand that Dragon has kitted out a huge number of different vehicles by using an aggressive mix and match strategy when it comes to the use of already molded sprues, this can create a bit of a mixed bag for modelers. On the one hand you do end up with a fairly state of the art kit of another vehicle in the StuG family. On the other hand, Dragon has certainly not made it an easy build with lots of ambiguous directions that provide only a minimum of guidance as well as a good bit of alterations to the parts involved.
In the end this is not a kit I would recommend to anyone that does not already have a goodly number of builds already completed. If you do have some experience building and with Dragon kits then you should be able to build up a very nice rendition of the StuH. 42 and end up with a nice pile of leftover parts for another project.
SUMMARY
Highs: Great detail throughout, finely molded weld detail. Easy to use DS tracks. Great subject and a very well done set of tools to dress up the exterior. Photo etch is sensible and really adds to the look of the kit. Lows: Instructions are a bit of a mess, no clear placement for some parts and some things appear and disappear in the CAD drawings. DS tracks with no discernible sag. Some parts don't fit well. A fair amount of cutting, shaving, relocating of parts. Verdict: Builds up to a nice looking kit but even with the DS tracks this is not an easy build.
Our Thanks to Dragon USA! This item was provided by them for the purpose of having it reviewed on this KitMaker Network site. If you would like your kit, book, or product reviewed, please contact us.
About Rick Cooper (clovis899) FROM: CALIFORNIA, UNITED STATES
I have been modeling for about 30 years now. Once upon a time in another century I owned my own hobby shop; way more work than it was worth. I tip my opti-visor to those who make a real living at it. Mainly build armor these days but I keep working at figures, planes and the occasional ship.
looks cool! great job! the thing is someone from Dragon has to be seeing these reviews; I would think after a while they would step up their game on details, fit, instructions, etc. so that kits like this are a little more user-friendly; Dragon has some cool subjects but I think some modelers (myself included) are put off by the problems mentioned in the review; hard work has its rewards but we're also trying to have fun and enjoy our hobby
Great review thanks.
Being a StuG/StuH fanatic I had to buy this kit.
I got it for less than half-price so can live with its quirks. :-)
Cheers,
Christophe
I'm getting a little tired of EVERYTHING Dragon re-releasing as "New And Improved!", implying that what we bought earlier and crafted into great kits were only marginal at best. I built this kit as a cobble-together YEARS ago using Dragon, Tamiya and anything else that took my fancy to create what was (then) something unique. We've all done this, and I am tired (I did mention that earlier, didn't I?) of this never-ending carousel of rehashes and tweaks. Gimme new or gimme clear improvements. Now back to the bench as I kit-bash something that Dragon will, no doubt, release fourteen versions of soon enough...
Hi, All!!!
AGREE with everything that Frank just said in his post...
"DS" Tracks are CERTAINLY NOT an improvement... One can get away with them on US-built AFVs, but on WWII German stuff? UH-UH...
IMO, I wish DRAGON would just bring back their "Magic Tracks", OR go on an all-out "improvement campaign", and just REPLACE all of those "DS" Tracks with their new "link-and-length" "Neo Tracks"... Not gonna happen...
Otherwise, this "new" but NOT improved StuH.42, despite DRAGON's typically confusing/misleading instructions, looks like a nice kit...


Comments