The Luchs was the final version of the veritable Panzerkampwagen II series, and was designed to serve as a reconnaissance light tank. It differed so much from any of the previous versions that it could be argued that it was a completely different design. It was equipped with wide tracks, a torsion bar suspension, and large overlapping wheels which account for its good cross-country capabilities, and relatively high top speed. (It was also quite large for a light tank.) The tank was produced by MAN from 1943 to 1944; a total of about a hundred vehicles were made (from the original 800 planned). A version armed with a 5cm cannon was also in the plans, but this tank was never produced. The chassis was developed by MAN, and the superstructure and turret was developed by Daimler-Benz, based on the VK 901 experimental vehicle. The engine was a 180 HP Maybach HL66P engine. The total weight was 13 tons, and the vehicle had a top speed of 60km/h, with the range of 260km on road, and 155km cross country. The tank had a crew of four (commander, gunner, driver and radio operator.) Being a light tank with the role of a reconnaissance vehicle, it was armed only with a 20mm Kw.K 38 cannon, and an MG34 machine gun. The vehicle was surprisingly well-armored for a light tank. The main weapon of the Luchs was the FuG12 and FuG Spr Ger F sets.
It served on both the Eastern and the Western Front in reconnaissance detachment of both the Wehrmacht and the Waffen-SS. The vehicles serving on the Eastern Front were supplied with additional frontal armor (Zusatzpanzerung, add-on armor); this model represents these vehicles. The experience on the field was mixed; there were issues with reliability, and the concept of the light tank was already outdated by the time it arrived to the front, so after the first batch of 100 vehicles the production stopped.
For a long time only a resin models of the Luchs was available in Braille scale, but lately three companies started to issue different injection molded versions. Maco and Armory both have covered the up-armored version, and now Flyhawk has put out their Zusatzpanzerung model as well. (It would be interesting to compare the three kits side by side.)
Review
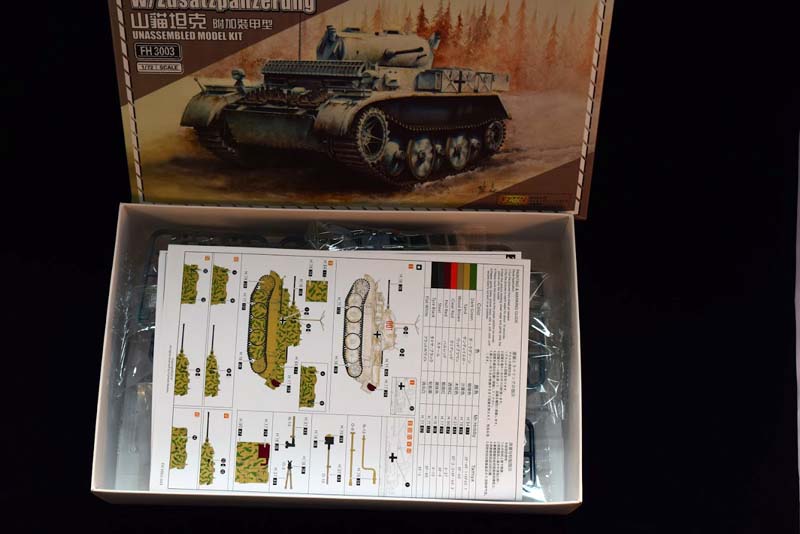
This model is for obvious reasons very similar to the previous Luchs Flyhawk produced. Gone is the fancy packaging (which was frankly a bit too much, but it did give a certain high-end, luxury goods feel to Flyhawks models), and we get a more traditional box with the sprues wrapped in cellophane bags. (Interestingly there are two types of cellophane used in packaging.) Some parts became detached from their sprues during the transit, as the bags are free to move about in the (relatively) large box, but nothing was damaged. The box art is -not surprisingly, again- a painting of the tank. (I really like the artwork, but its obviously not a main feature of the kit.)
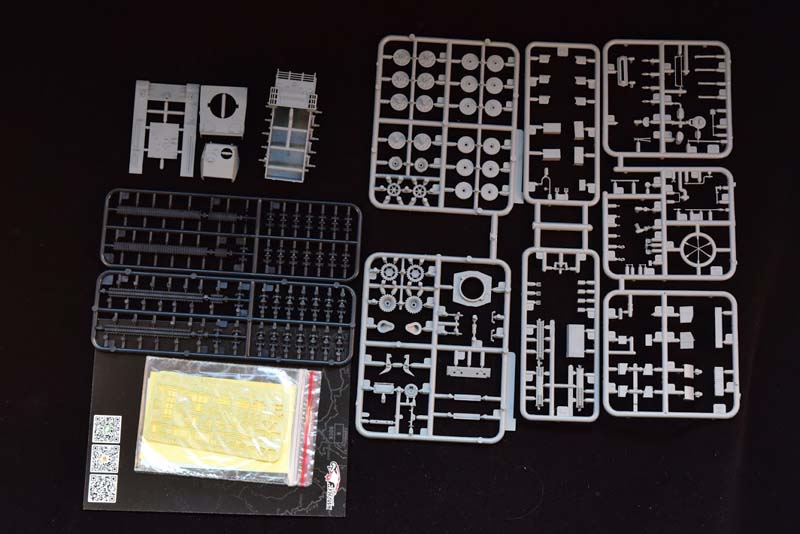
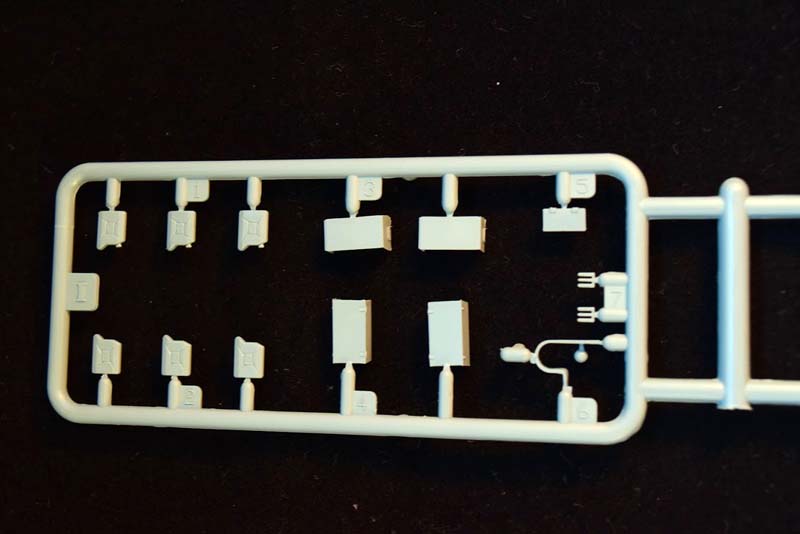
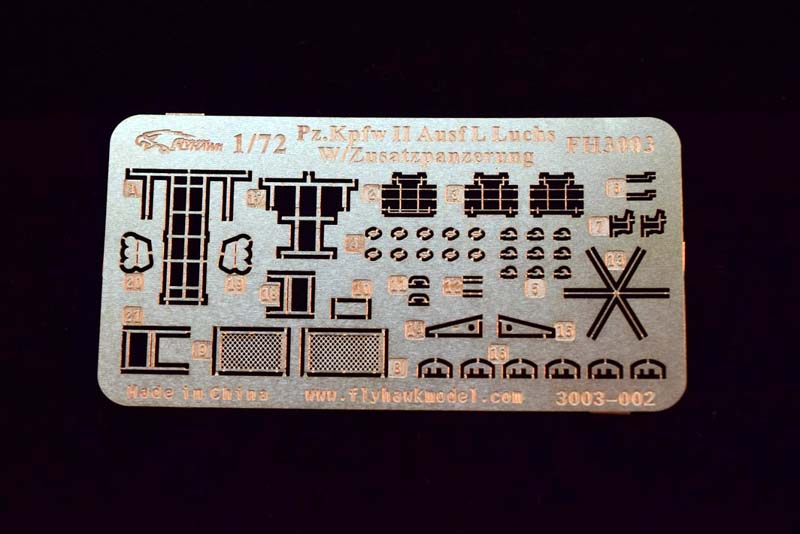
The number of parts is relatively low, and we get a comprehensive PE sheet. The PE sheet and the decals are mounted on a black cardboard sheet, which has a cobblestone pattern on the other side (which can be used as a display base).
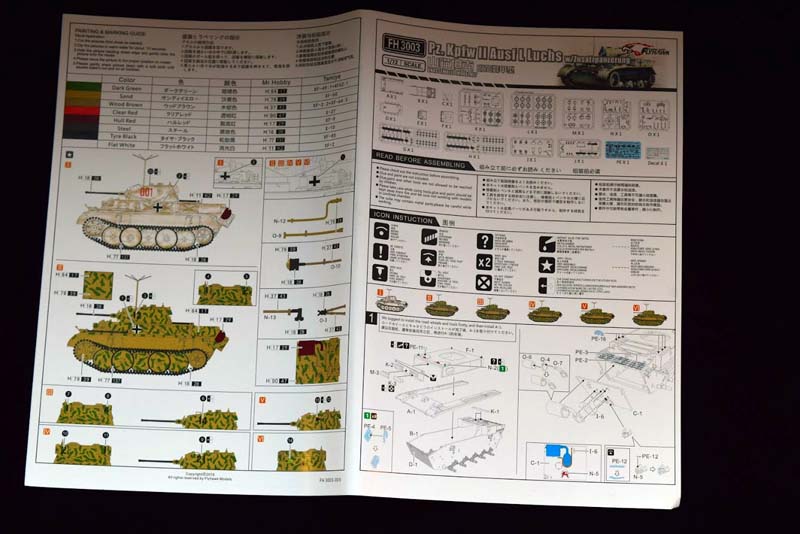
The instructions are really nice; they are well laid-out, and use color to help the modeler with understanding the assembly very effectively. (Colors are especially helpful when it comes to the assembly of the tracks.) I have to say Flyhawk has some of the best instructions Ive ever seen so far. The only gripe I have with the instructions is that they are tad small; the drawings could be bigger. Before the assembly steps there are six tiny drawings of the Luchs, which correspond to the six painting options given at the end; Im not sure what their function is in this context.
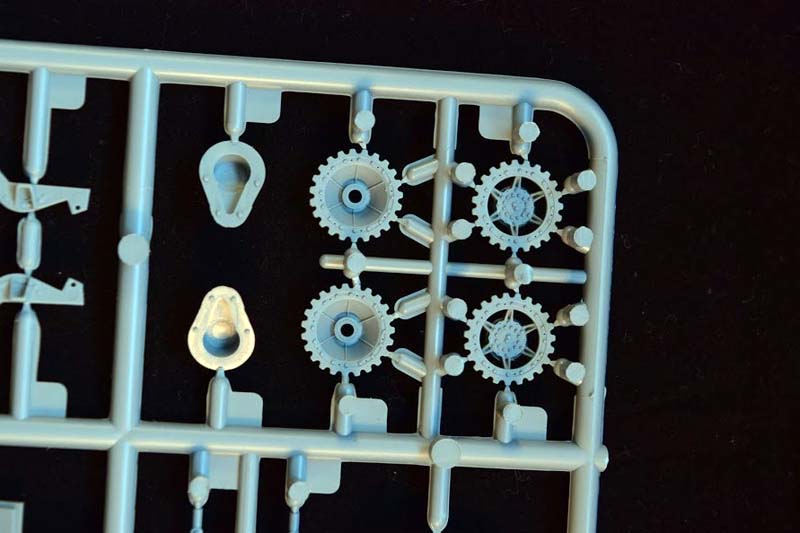
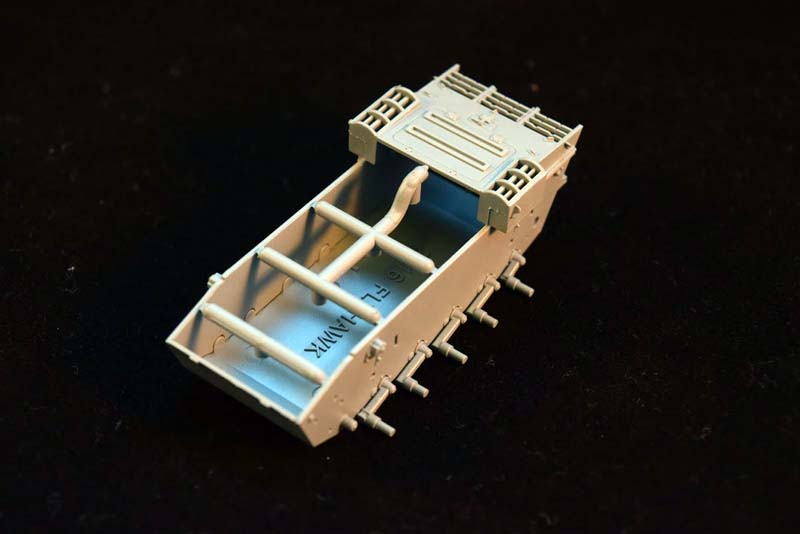
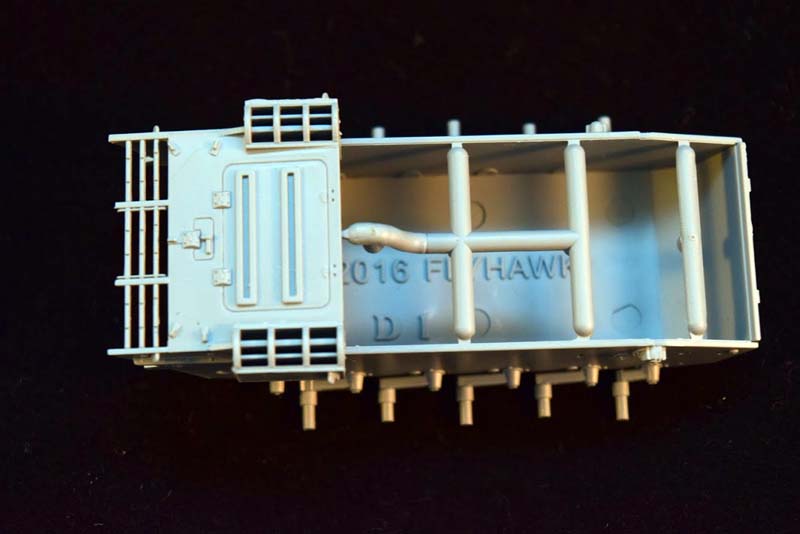
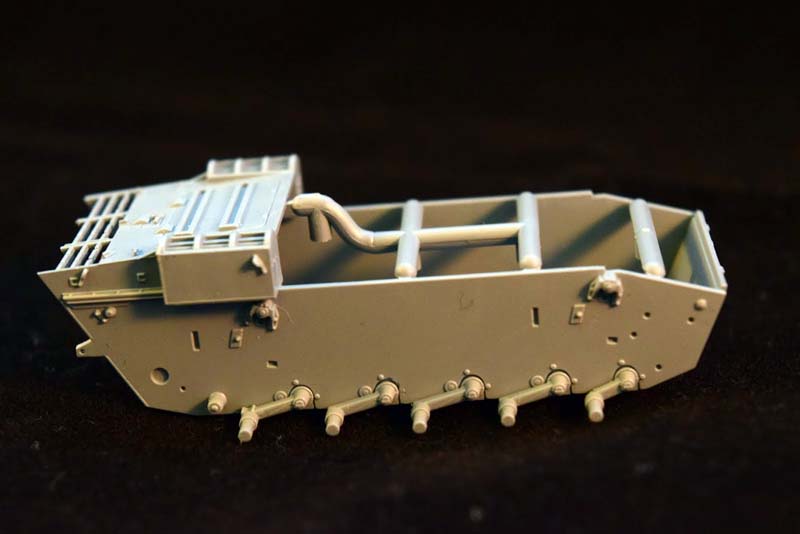
The part breakdown is pretty simple to follow, and logical; you will not be looking for sprues every step of the build trying to find one particular plastic part. (See photos.)
I have a minor issue with the kit: there is no metal barrel provided with the tank. (Which is a shame as they are much better for a fragile, long part, like a 2 cm cannon. The plastic barrel is perfectly adequate, however. The one advice I can give here is to install it only once the turret is safely in its place; otherwise you risk breaking the barrel when you handle the turret.) The armor plate protecting the lower front plate could have been provided as a PE part as well, since it would have made depicting damage to it easier. Since it was a 2 cm thick metal plate, I would say its probably more realistic to use plastic instead, but I would have still liked the option.
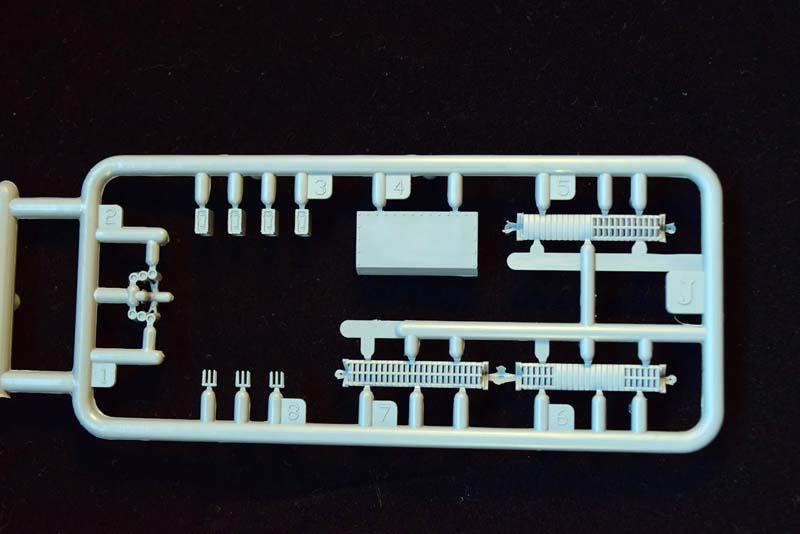
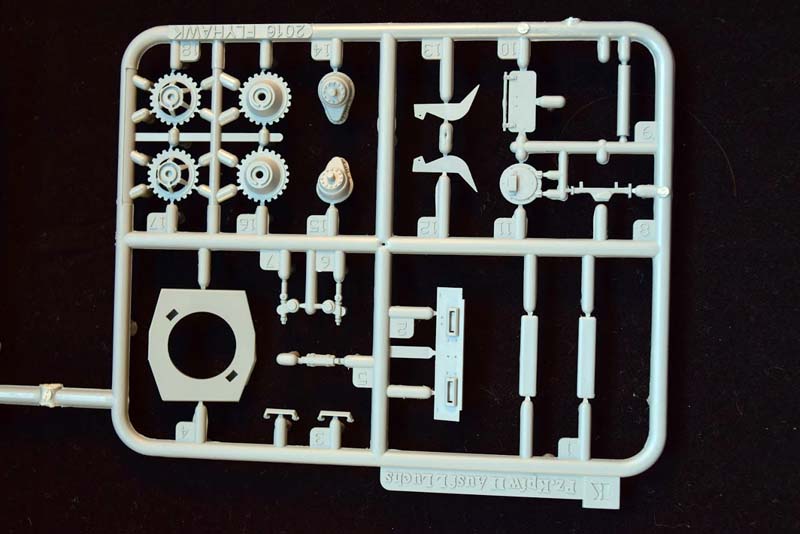
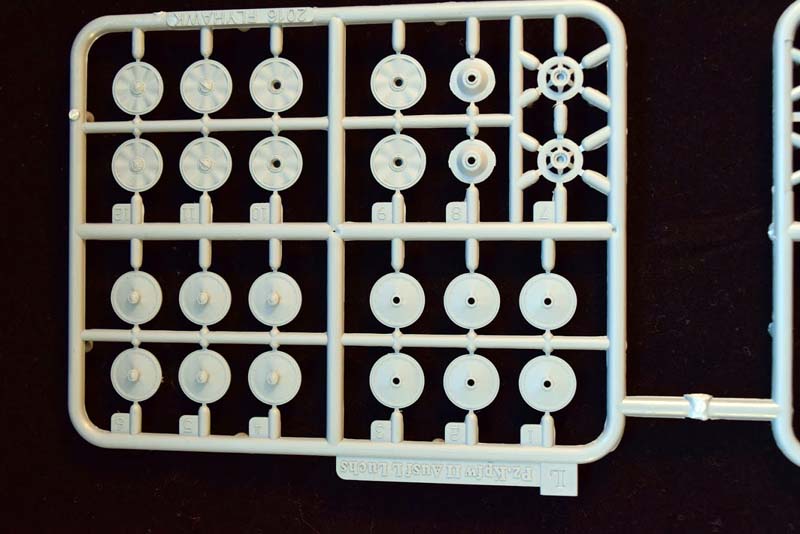
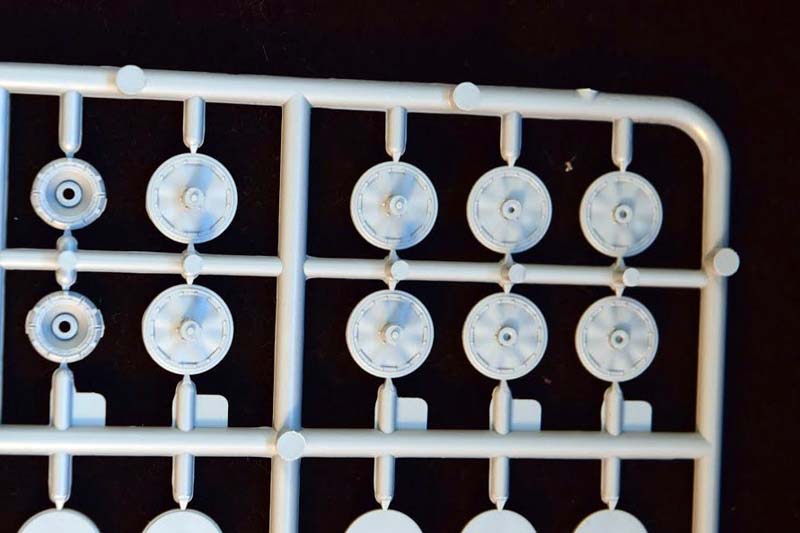
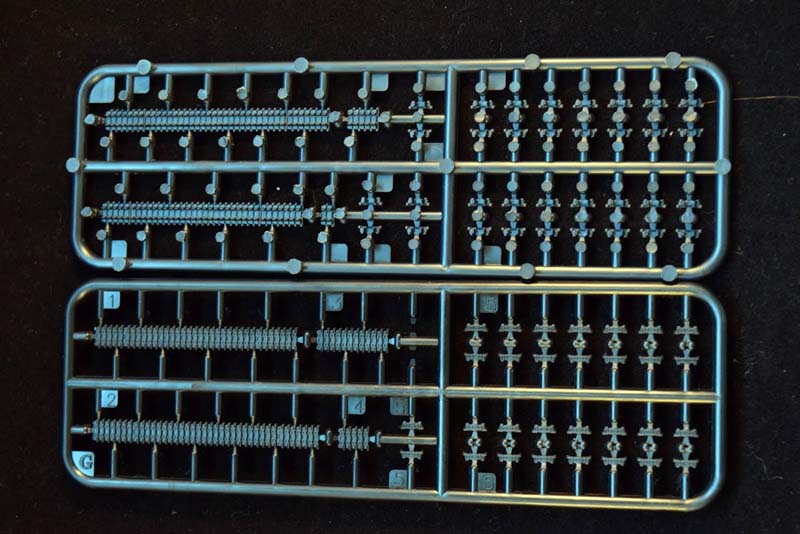
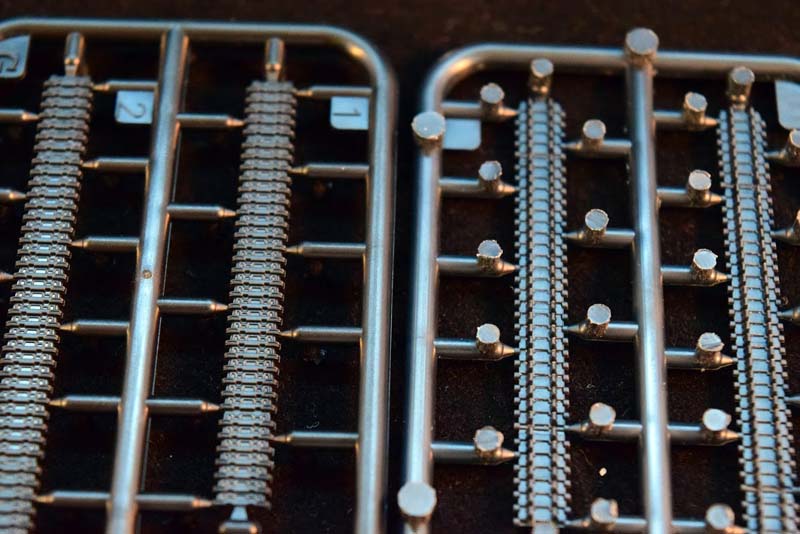
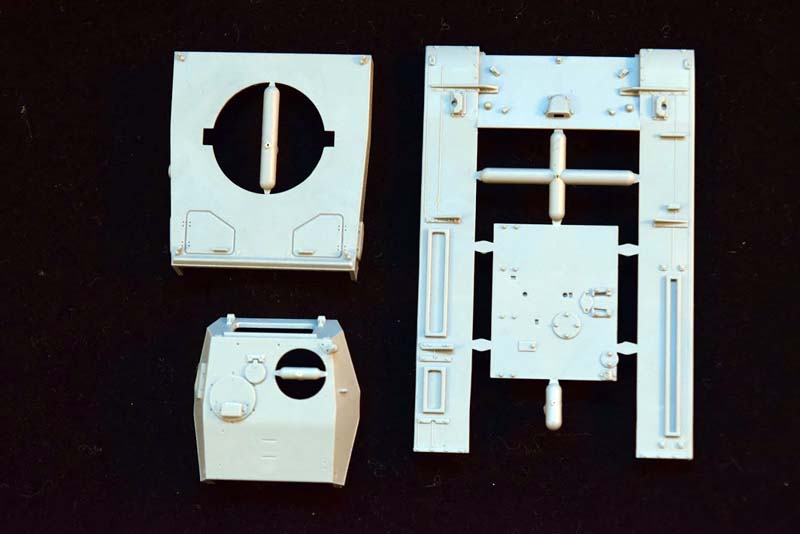
The plastic is very flexible, and quite pleasant to the touch (and great to work with); clean-up is minimal, as there is almost no flash. (There are some large plastic chunks on the underside of the mudguards where the plastic was injected into the mold, but they can be cut off without any problems whatsoever.) The hull comes as one piece, which is very impressive feat of injection molding. In fact the bottom of the hull came already attached to the sides/top of the hull; it took a while to realize its not a single part. (Some glue will be necessary, though.) The road wheels are detailed very nicely, even on the side that faces towards the tanks hull. The tracks are link-and-length type; probably the best solution in this scale.
We also get the tiniest plastic parts Ive ever seen (the lifting hooks for the turret), and you literally will need a magnifying glass to figure out what position they need to be glued on. Alternatively a pair of smoke grenade launchers can be mounted on the sides of the turret. I was really happy to see they provided the launcher as a two part assembly: a thin metal base and the candles; most 1/72 smoke grenade launchers l have seen so far looked a bit toy like having been made out of a single plastic piece. The detail is nothing sort of amazing for this scale; Im especially impressed with the welding lines where armor plates are joined.
The tools and the jerry cans are really well detailed. I managed to break the width indicators when I built the previous version of this model, because its so delicate. I would suggest using either a PE replacement, or rods made out of stretched sprue. This is true for some of the grab-handle on top of the turret (N10) and the antenna mast, too- sometimes its just easier to use a piece of wire than trying to clean up a very thin, plastic part.
As usual, you also have the option to use PE parts, like the grab handles and the antenna, should you prefer to. Most of these choices are there to make the difficulty level of the model scalable. This is a very sophisticated, high-end model which requires some experience working with multimedia parts (PE in this case, and very small parts at that). By including PE alternatives, Flyhawk made sure that less experienced model builders can finish the kit without too much frustration. If you dont want to bother with the tiny grab handles you can just leave the molded-on detail on the tank. If you want to go all-out, you can use the PE option. Not all PE can be avoided, though (the engine grilles, the holding clips for the jack, etc.), so keep that in mind if this is an issue when determining which Luchs kit (Maco, Armory or Flyhawk) you want to build. Some detail is simply over-the-top: you even get PE wires running to the headlights. They are frankly not very easy to install, since they are only a millimeter or two long. Fine, needle point tweezers are very much necessary for this build.
There are some minor differences from the previous Luchs kit apart from the add-on armor: metal the racks on the back mudbuards, the smoke grenade launcers, sections of tracks mounted onto the frontal plate, and some extra ammo storage on the mudguards. The jerry cans also migrated to the back of the hull from the sides of the turret. There are optional plastic parts, like the armor protection over the vision blocks (J-6,5,7) but no indication what the difference is (which might be important if you want to build one particular vehicle.)
There are six options in the painting guide; one white-washed and five tanks with the same camo pattern with different markings. The problem is there is no indication of the unit and time period given.
This kit does not come with a figure, unfortunately. (The previous one had an excellent resin tanker included.)
With all the detail and PE, this model looks more like a miniaturised 1/35 scale model than a 1/72 one. (I certainly built recently issued models in 1/35 which had significantly less detail, and did not come with PE.) I can highly recommend it to anyone who enjoys a well designed model, and has an interest in German armor. Even if you normally dont build 1/72 kits, Id say its worth giving it a shot just for the experience. (The same can be said about all other Flyhawk kits that Ive built so far.)
SUMMARY
Highs: Incredible detail, great instructions.Lows: Somewhat difficult build due to the size of certain parts (both plastic and PE); no metal barrel.Verdict: A great kit, but not for beginners.
I am a biologist by trade, and as a hobby I've been building scale models for the last twenty years. Recently I started to write reviews of the models I bought. These reviews are written from the point of view of an average model builder; hence the focus is on quality of the model, how easy it is to...
I've bought and assembled all Flyhawk kits, whether armor or 1/700 ships. They're all fantastic models, and certainly at the top of their classes. I'm always eagerly awaiting their next release, whether armor or ship.
If you do decide to try a Flyhawk ship model be advised; they are 1/700 so they are quite small - a destroyer is around 3 1/2 - 4 1/2 inches long. They are not for beginner modellers. Some parts are quite small, but very detailed. Engineering is good as there is never a fit problem. I've never had to use putty on any Flyhawk kit (armor or ship). Kits come with complete PE, so no AM products are needed (unless you really want some). They build into a very satisfying scale model.
An example of Flyhawk's 1/700 WWl German destroyer:
The detail on the two 1/72 FT-17 Flyhawk kits I have is amazing and included PE or molded alternatives for several parts. For several of the parts, the molded alternative is so detailed for 1/72 that it's almost not worth the trouble to use the PE. In addition to having an OptiVisor or magnifying glass handy, I also strongly recommend working over a clear Tupperware container or something similar to catch any parts you drop because they can be so small.
Biggles2,
Small is good I live in a small apartment in London- so I have no room.
The FT looks amazing; I've not had a chance to build one yet. (I went with the Meng kit with interior; perhaps I should get the Flyhawk just for the exeperience )


Comments