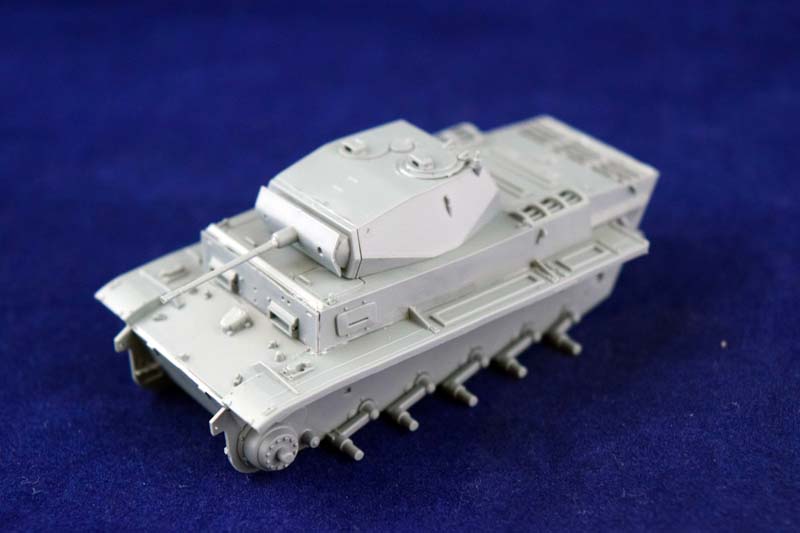
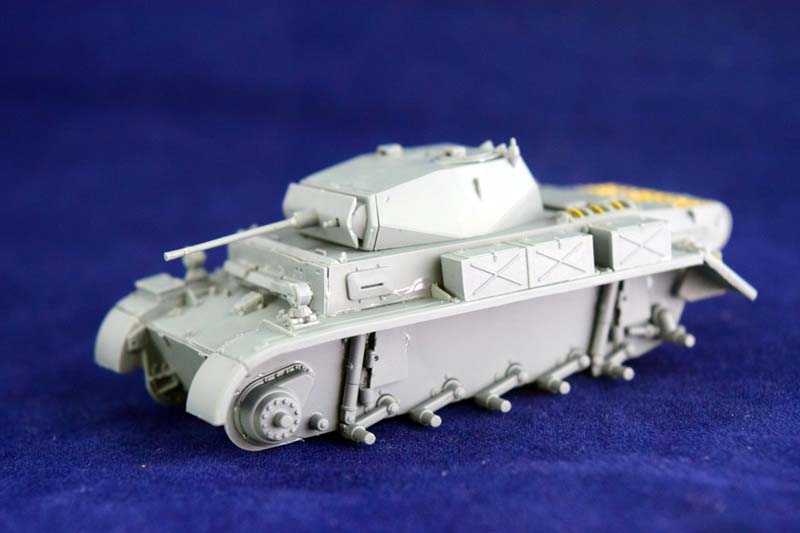
The Luchs was the final version of the veritable Panzerkampwagen II series, and was designed to serve as a reconnaissance light tank. It differed so much from any of the previous versions; it could be argued that it was a completely different design. It was equipped with wide tracks, a torsion bar suspension, and large overlapping wheels which account for its good cross-country capabilities, and relatively high top speed. The tank was produced by MAN from 1943 to 1944; a total of about a hundred vehicles were made (from the original 800 planned). A version armed with a 5cm cannon was also in the plans, but this tank was never produced. (The word initial on the box hints that this version is in the works, too.) The chassis was developed by MAN, and the superstructure and turret was developed by Daimler-Benz, based on the VK 901 experimental vehicle. The engine was a 180 HP Maybach HL66P engine. The total weight was 13 tons, and the vehicle had a top speed of 60km/h, with the range of 260km on road, and 155km cross country. The tank had a crew of four (commander, gunner, driver and radio operator.) Being a light tank with the role of a reconnaissance vehicle, it was armed only with a 20mm Kw.K 38 cannon, and an MG34 machine gun. The vehicle was surprisingly well-armored for a light tank. The main weapon of the Luchs was the FuG12 and FuG Spr Ger F sets.
It served on both the Eastern and the Western Front in reconnaissance detachment of both the Wehrmacht and the Waffen-SS. The vehicles serving on the Eastern Front were supplied with additional frontal armor. The experience on the field was mixed; there were issues with reliability, and the concept of the light tank was already outdated by the time it arrived to the front, so after the first batch of 100 vehicles the production stopped.
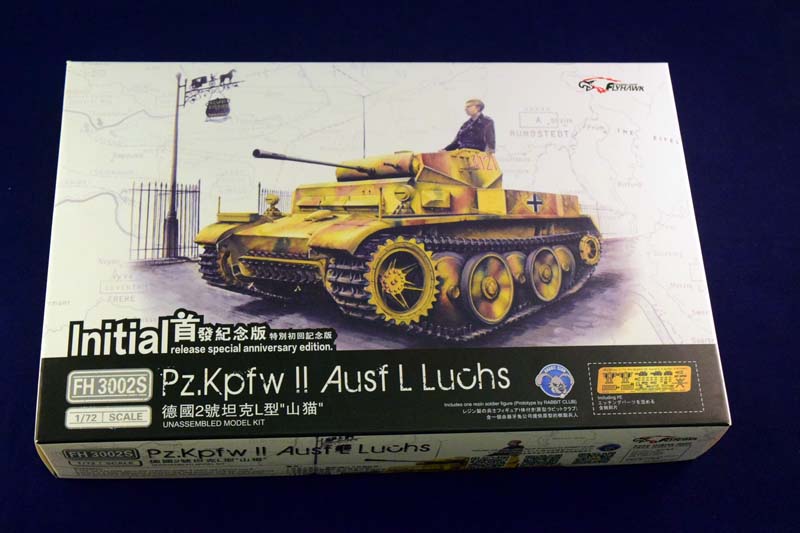
The box
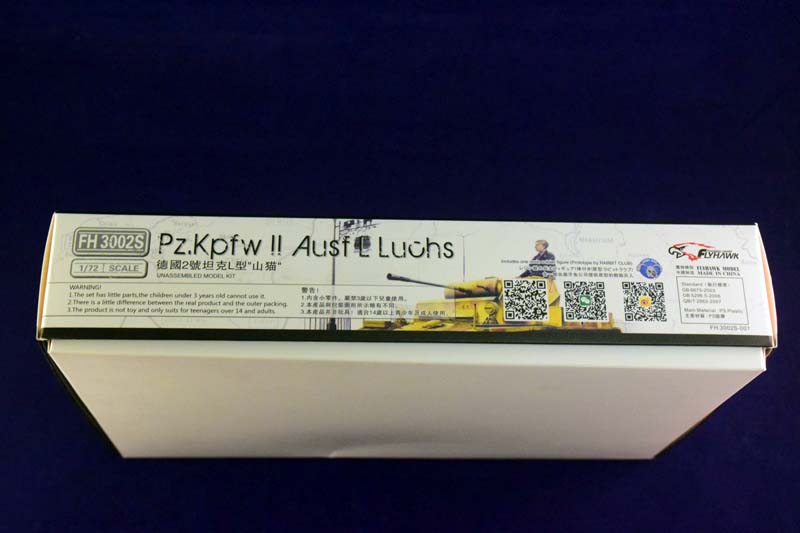
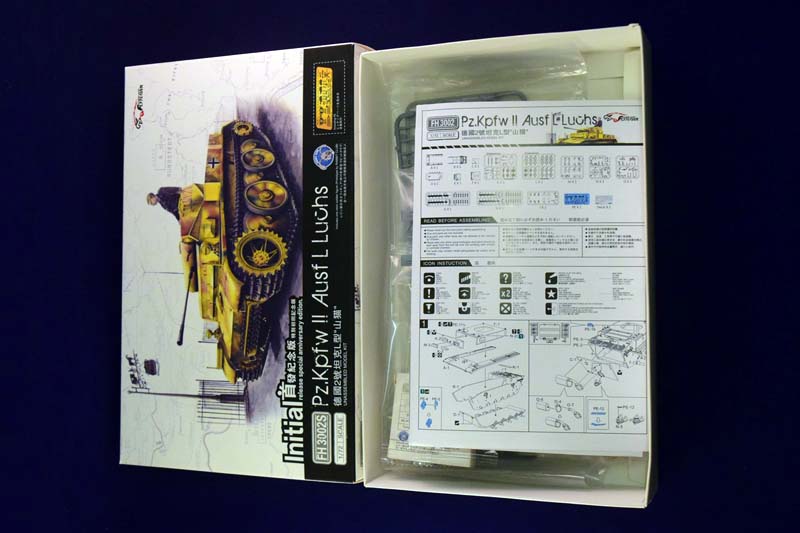
Flyhawk seems to have abandoned the previous high-tech super-packages their previous models were shipped. The model arrived in a fairly large, rectangular box, with the sprues packaged in cellophane bags. (Interestingly there are two types of cellophane used in packaging ) Some parts became detached from their sprues during the transit, as the bags are free to move about in the large box, but nothing was damaged. This is a minor point; I really liked the previous version of packaging. It gave the model a feel of having a very polished, very advanced model in your hands kind of like the Apple feel you get when you pick up a brand new gadget they sell. Nevertheless, this is the least important part of this review; after all, most of the packaging will end up in a landfill, so minimalizing it makes sense on the environmental protection point of view, and not the least because it helps keeping the cost of the model down. The box art is a painting depicting the tank, with a map as a background.
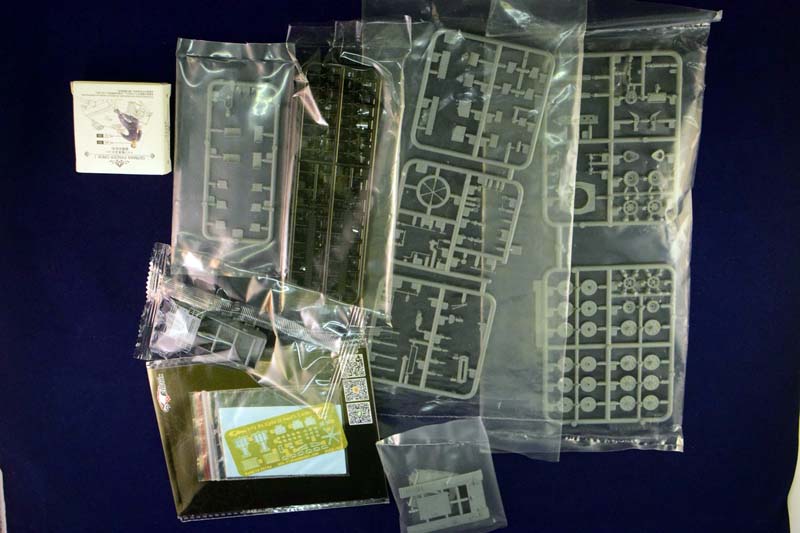
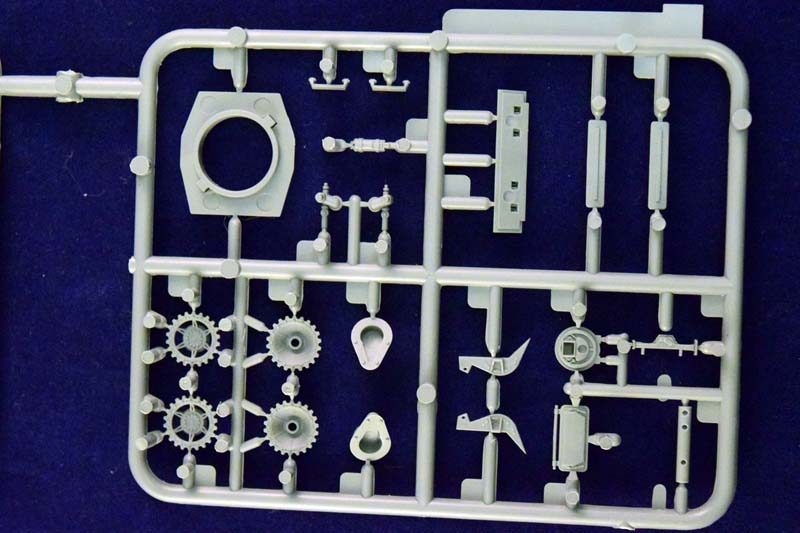
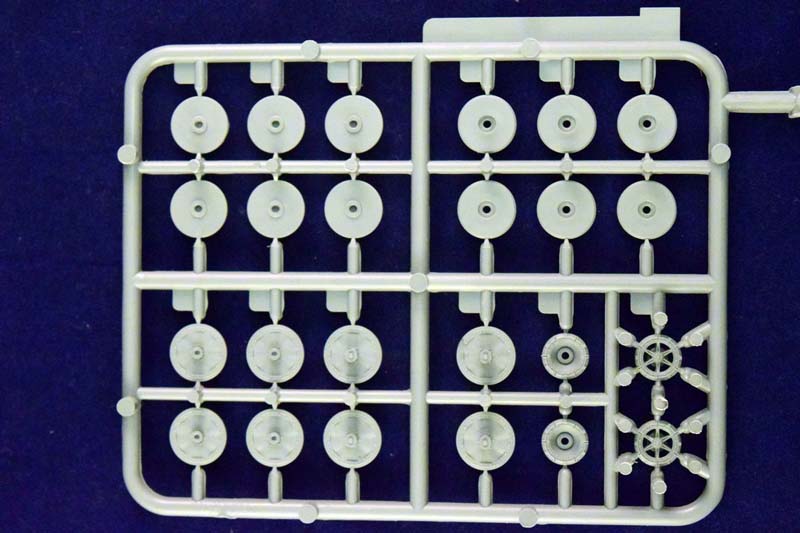
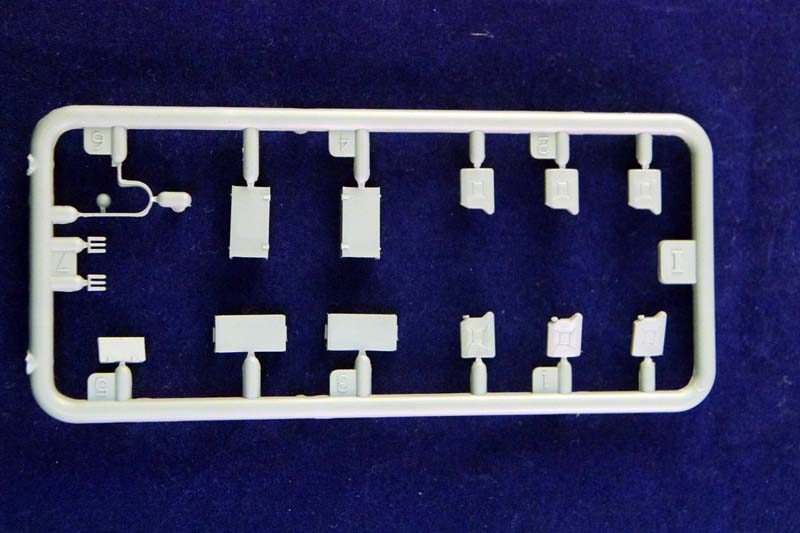
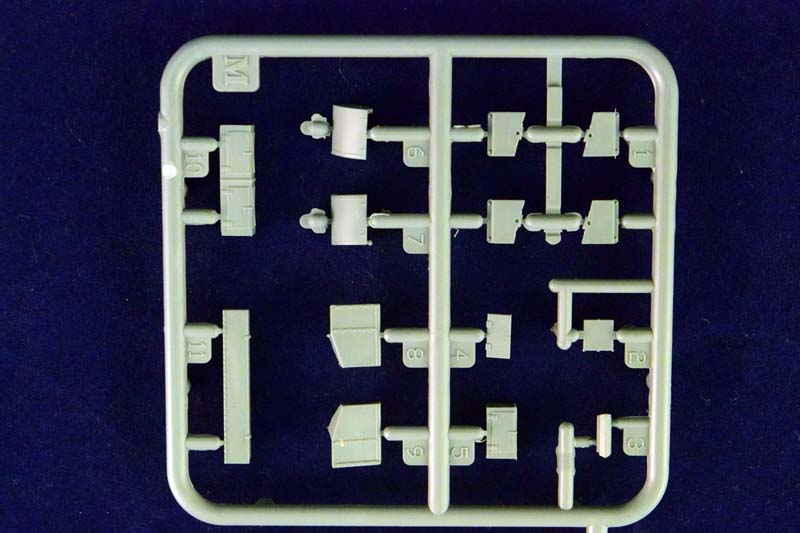
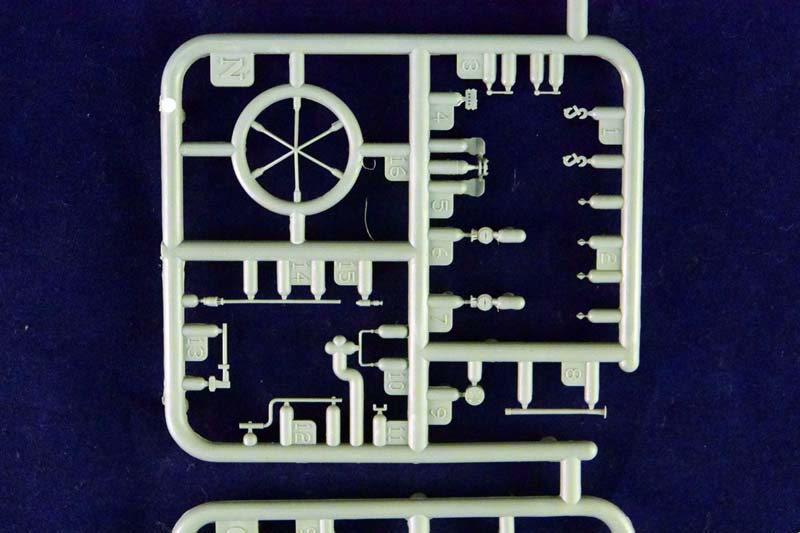
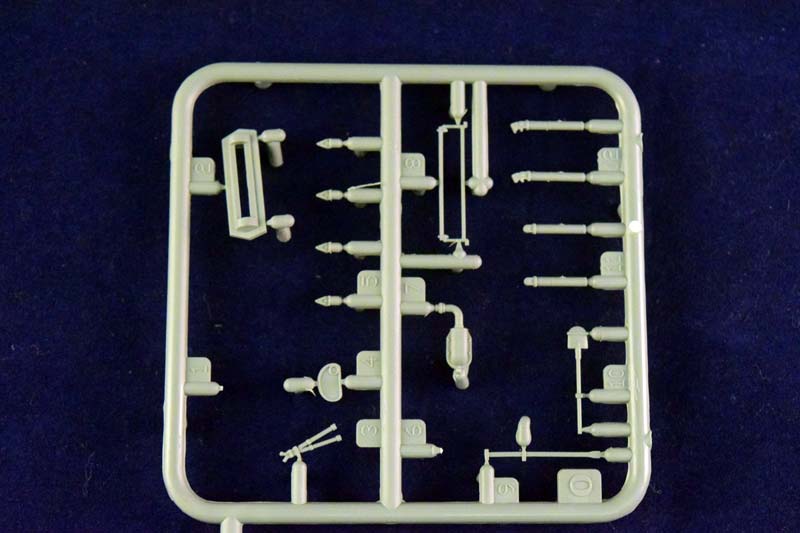
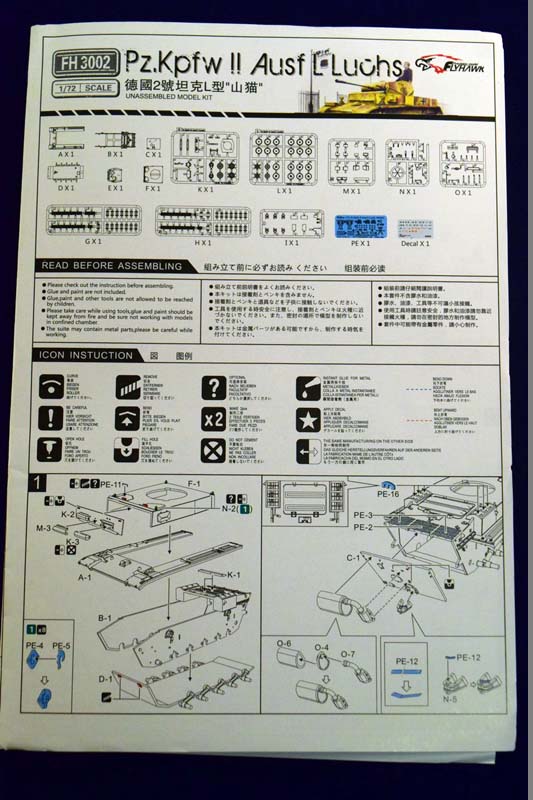
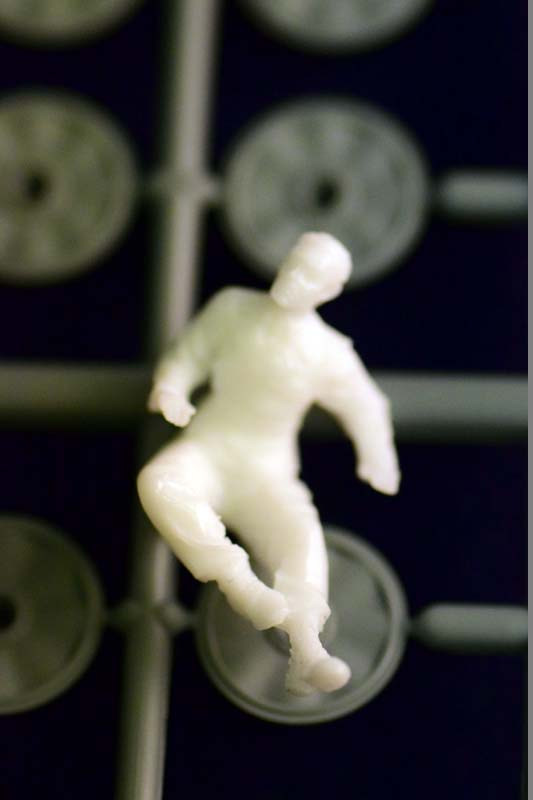
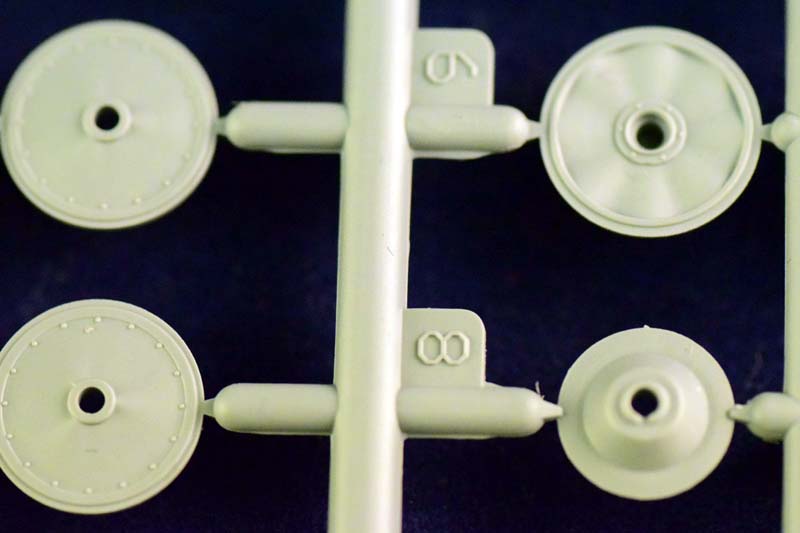
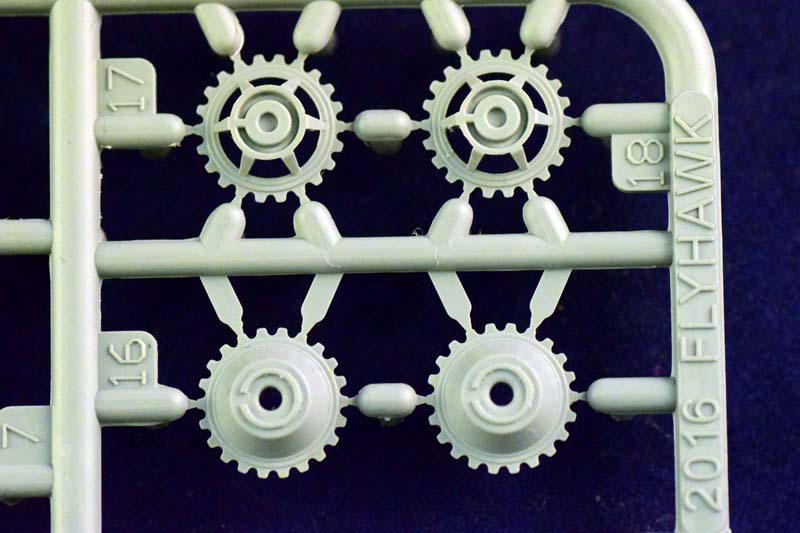
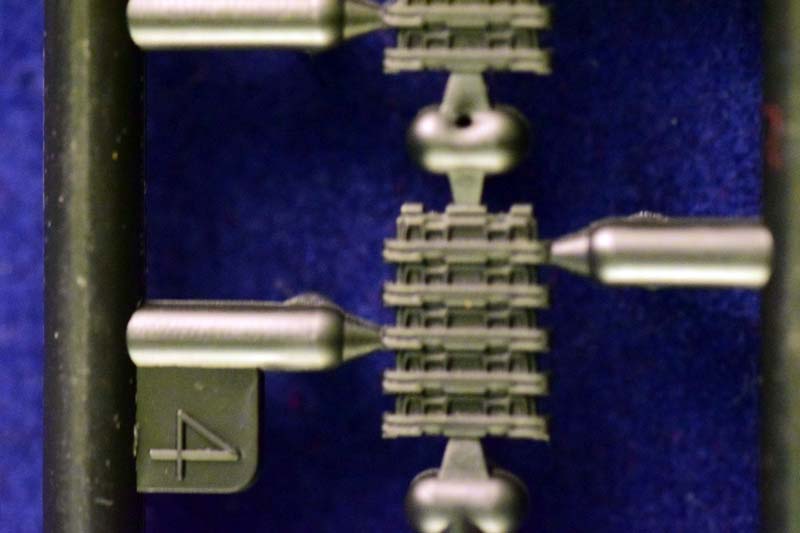
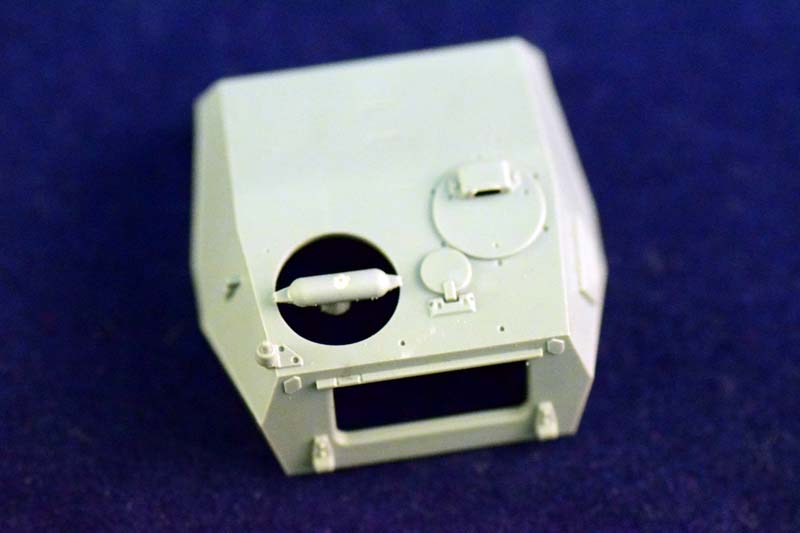
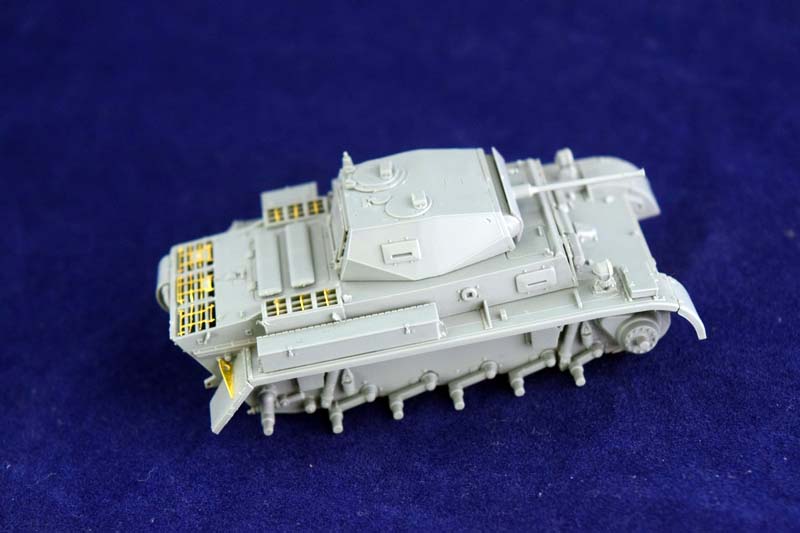
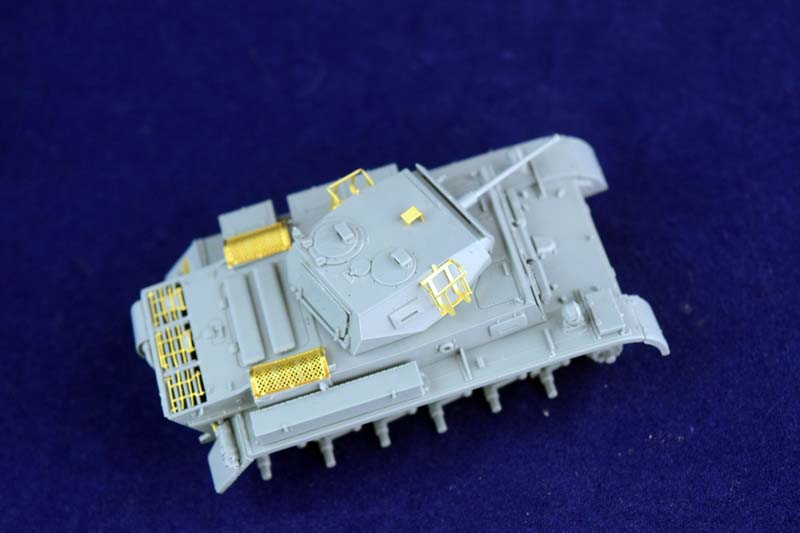
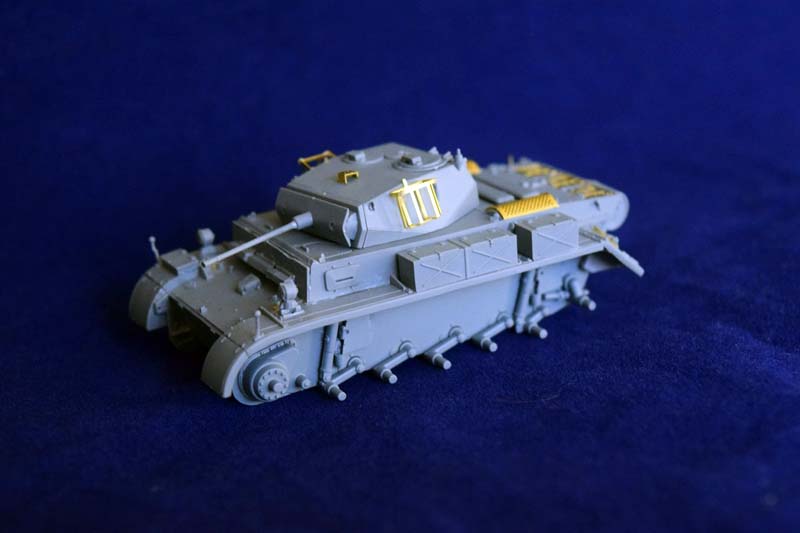
The number of parts is relatively low, and we get a nice, comprehensive PE sheet along with the plastic. There is no metal barrel provided with the tank. (Which is a shame, because I prefer to use them, especially in the case of a fragile 2cm cannon. The plastic barrel is perfectly adequate, however.) The plastic is very flexible, and quite pleasant to the touch (and great to work with); clean-up is minimal, as there is almost no flash. (There are some large plastic chunks on the underside of the mudguards where the plastic was injected into the mold, but they can be cut off without any problems whatsoever. I only had one issue: part XXXX snapped into two when I tried to remove it from the sprue (it snapped when the cutters touched it; it was probably either too thin, or already cracked). It is not a problem to replace it with a wire bent into shape. The detail is really nice (for example the padding on the interior of the turret hatch is shown; I opted to close it, though, as there is no interior detail provided.) The road wheels are detailed very nicely, even on the side that faces towards the tanks hull. We also get the tiniest plastic parts Ive ever seen (the lifting hooks for the turret), and you literally will need a magnifying glass to figure out what position they need to be glued on. You also have an option to make these hooks out of PE Were talking about a two-part assembly, which is smaller than a pinhead. (I took a look at them, and decided that although I do like challenges, this time Ill go with the plastic parts.) As usual, you also have the option to use PE parts instead of several plastic parts, like grab handles and the antenna, should you prefer to. (Again see previous point Ive decided not to shave off the moulded on grab handles and lifting hooks from the hull, but Ill definitely use the PE antenna for the radio.) As an extra, we get a reclining resin figure of a tanker by Rabbit Club in his own little box.
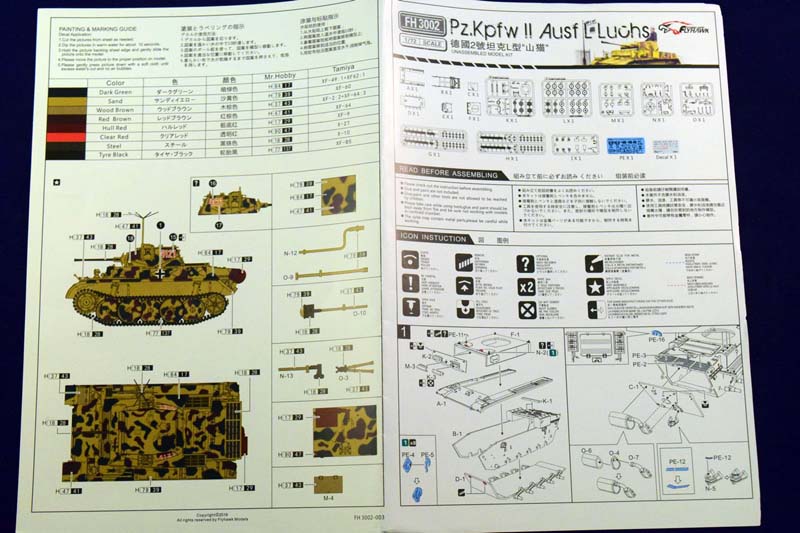
The instructions are really nice; they are well laid-out, and use color to help the modeler with understanding the assembly very effectively. I have to say Flyhawk has some of the best instructions Ive ever seen so far. (The English is sometimes a bit clunky, but since Im not a native speaker either, Im not going to start throwing stones in this particular glass-house ). We only get one option for finishing; a late-war three tone camouflage, but the painting guide does not say from what unit the vehicle is from.
Assembly
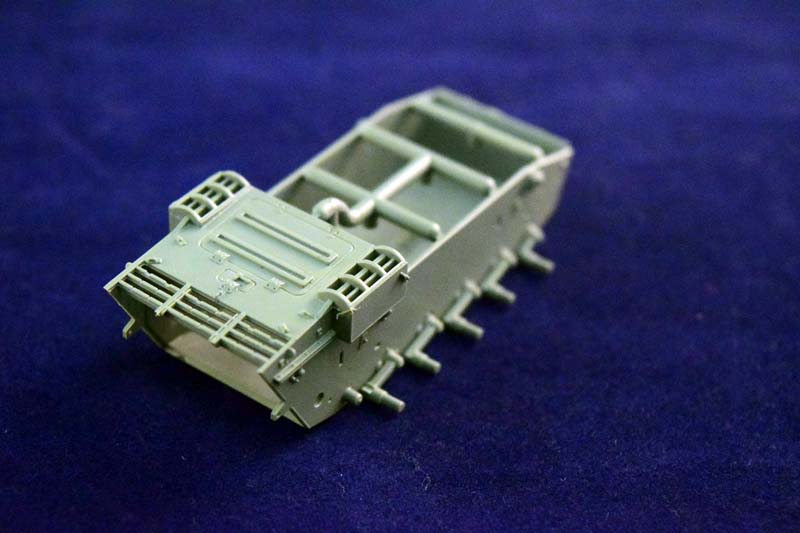
I only received the tank a day ago, but I could not resist building it. Its pretty much finished, apart from the tools, the antenna, and the running gear and tracks. (Those will be installed after much of the painting and weathering is done on the lower hull, and Ill leave the antenna until the very last step is finished.)
In short, the assembly was a breeze. The instructions are logical and clear; I really appreciated the fact that they contain a drawing of the finished area if it makes it easier to understand what part goes where. (This is a constant problem in many other companies manuals ) Clearly, a lot of thought went into designing the instructions.
The fit is perfect -I did not realize at first that the sides and the bottom of the hull are two different parts, as they were already fitted together when the model arrived, for example. Despite of my initial misgivings, I had no problems handling the small parts, either. (Good tweezers are a must, though.) The only issue I ran in was the detachment of some delicate PE parts from the sheet; the metal was difficult to cut with razor blades without warping the part. A dedicated PE cutting tool is probably the best to handle these situations.
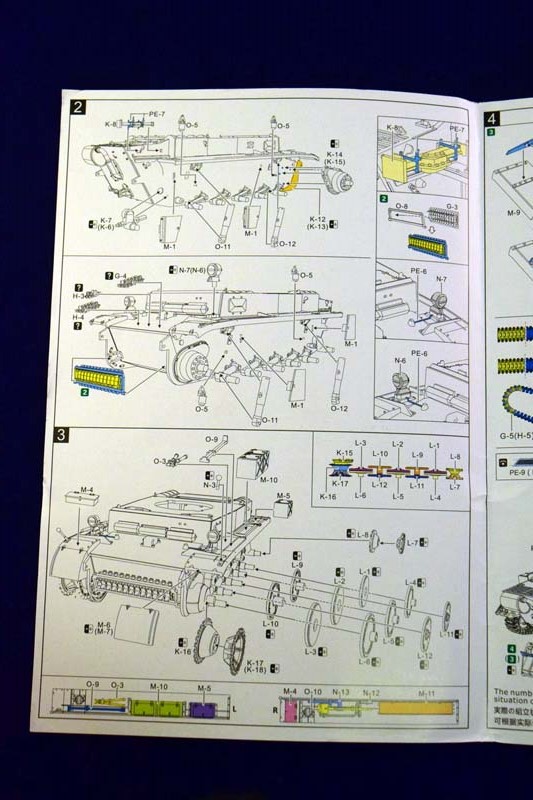
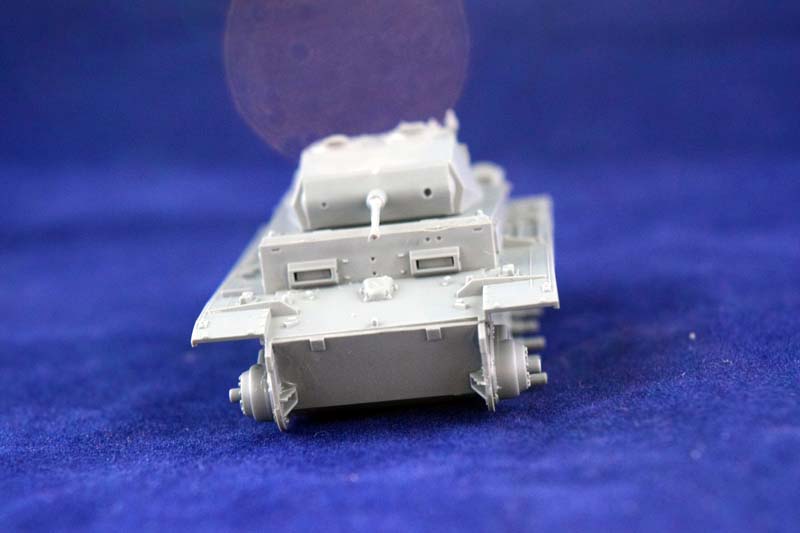
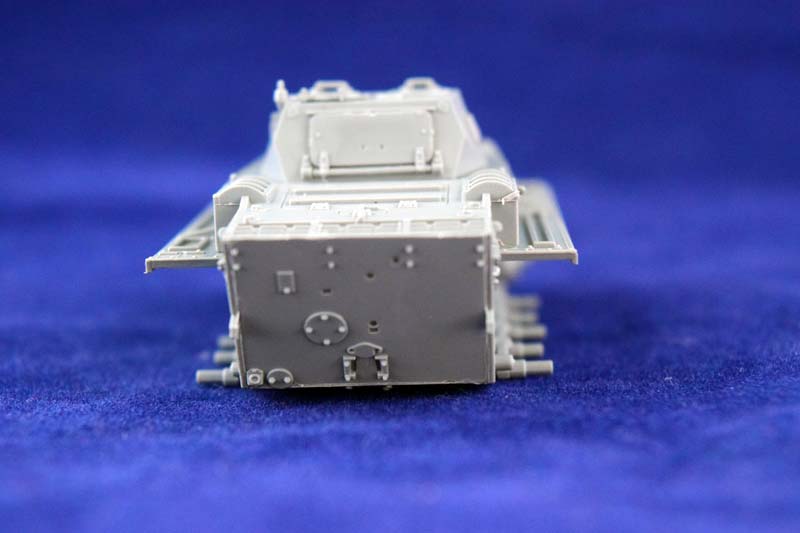
The first two steps detail the assembly of the main parts of the hull, which is followed by the suspension, and the running gear (along with small titbits added to the hull). Step four details the assembly of the rear parts of the mudguards, and five-six details the assembly of the turret. The colors for the painting guide are given in Mr Color and Tamiya codes.
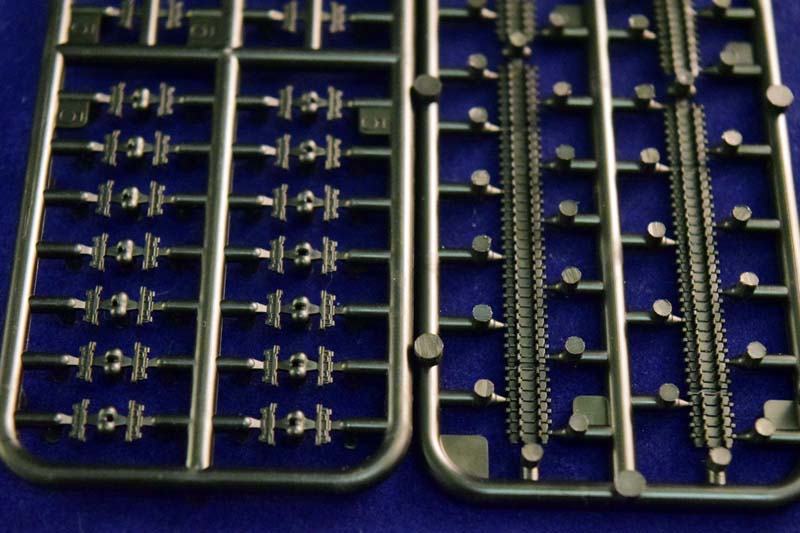
The running gear is made out of an overlapping wheel system, and a set of link-and-length tracks. There are individual track links for the drive wheel and the idler, while youre supposed to carefully bend the straight part of the tracks to shape. The instructions provide a really clear (and colored) diagram of the track assembly.
The assembly of the turret is quite straightforward as well; I was worried a bit about the PE jerry-can holders, but they went together like a charm. There are no markings on the turret side where they are supposed to be attached, but that should really not be a problem.
The assembly to this stage took about two hours; as I said its not a very complicated kit to build. (The next steps will be priming, painting, fixing the tools in place, weathering, adding the wheels and tracks, weathering, mounting onto a base, and adding the antenna. Ive managed to damage one of the width indicators already, so no more delicate, easy-to-break part will be added until the model is secure )
SUMMARY
Highs: high level of detail, very good fit, and a very good quality plastic.Lows: very tiny parts can be a challenge to handleVerdict: if you are looking for a Braille-scale plastic model of the Luchs, look no further. It is a really nicely detailed, and easy to assemble model.
I am a biologist by trade, and as a hobby I've been building scale models for the last twenty years. Recently I started to write reviews of the models I bought. These reviews are written from the point of view of an average model builder; hence the focus is on quality of the model, how easy it is to...
I got them from Flyhawk, but they should be out now. I have to say it's an awesome little model. (I switched to Braille seven years ago, and have not regretted this; the models are getting better and better...)
I have several Flyhawk kits, both 1/72 armor and 1/700 ships. They're all fantastic kits with enough PE not to need any AM. They're like Dragon USED to be, but better!


Comments