Introduction
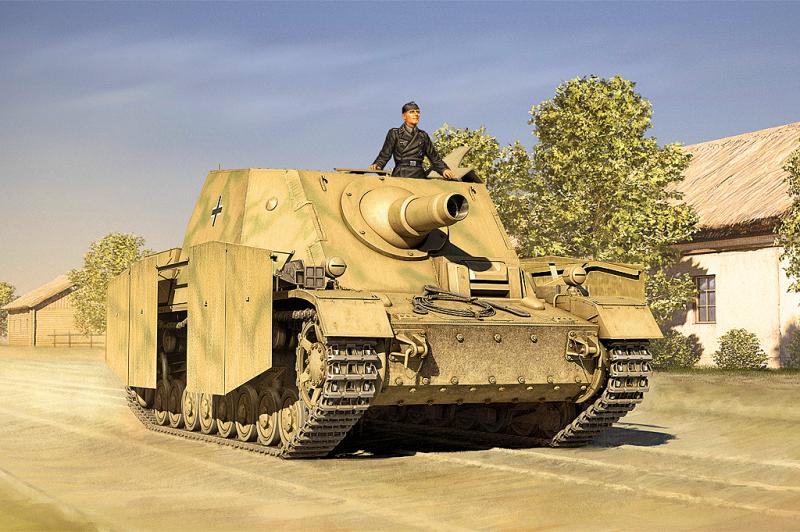
The Sturmpanzer IV was a means of mounting the 15cm sIG 33 heavy infantry gun on to a heavily armoured tracked vehicle, so that the weapon, with its short range but high explosive power, could be deployed rapidly and close to its target. Alketts design, integrating Skodas gun on to the chassis of rebuilt PzKpfw IV tanks and utilising other existing components, was quickly put into production, with the first twenty of the original batch of sixty being delivered in May 1943. Although effectively a form of Sturmgeshutz, Hitler wanted it classified as a tank so that it would fall under the command of Guderians Panzertruppen rather than the Artillery, hence the designation Sturmpanzer.
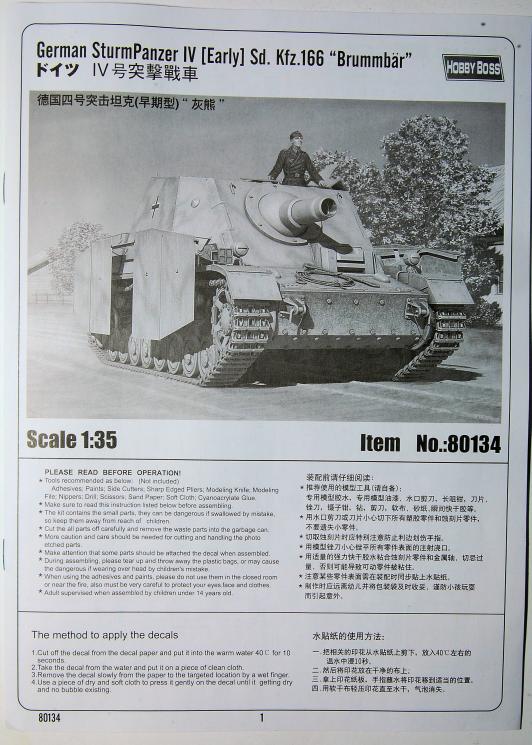
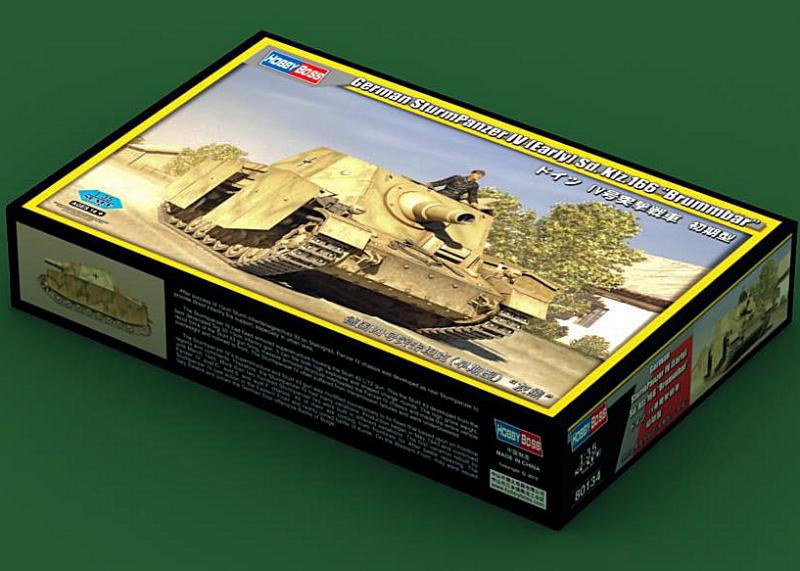
This kit was originally released in 2008 by Korean model company Tristar who unfortunately produced their last kit in 2011 before going out of business. Trumpeter purchased the Tristar moulds, resulting in several of the kits becoming available again over the past few months under the Hobby Boss label. Creative Models Ltd in the UK have supplied Armorama with a sample, so let us take a look at how it breaks down.
Contents
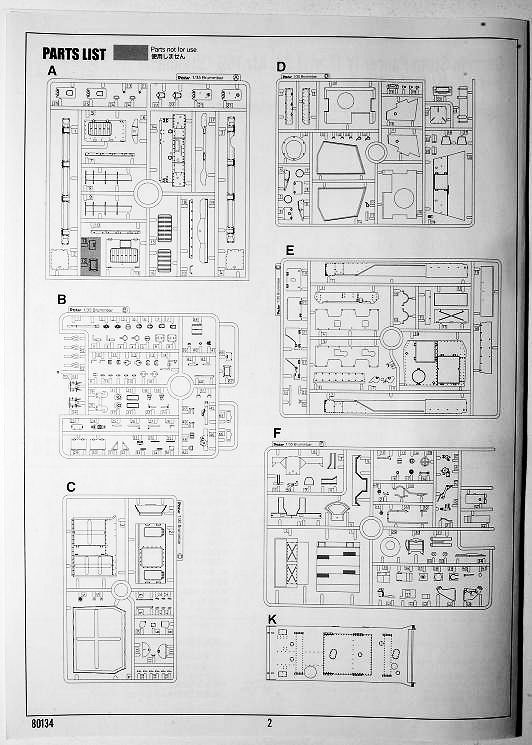
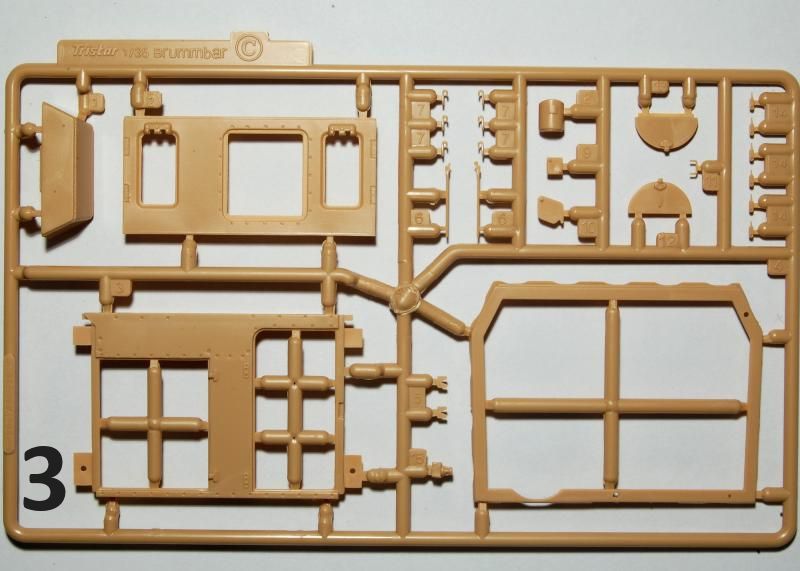
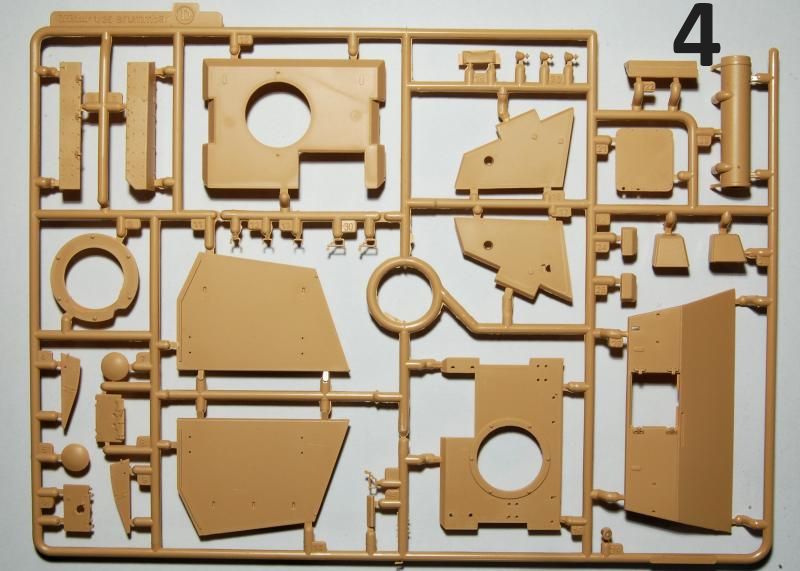
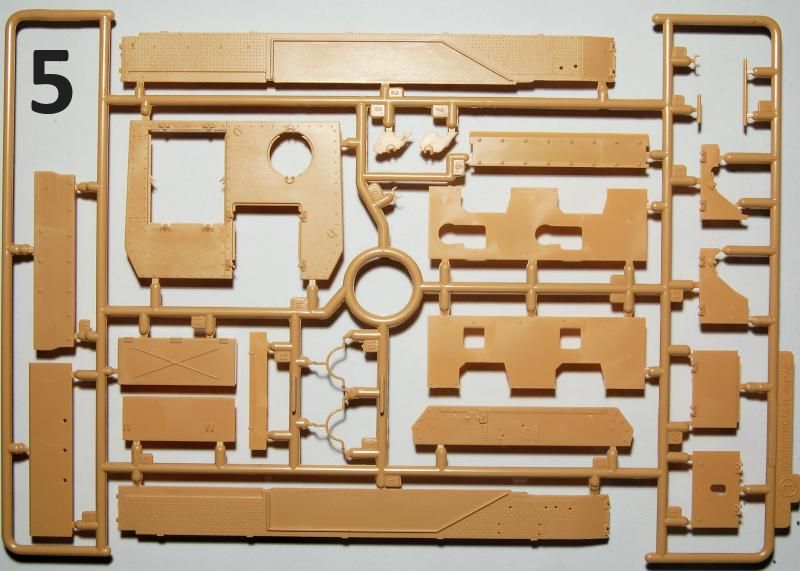
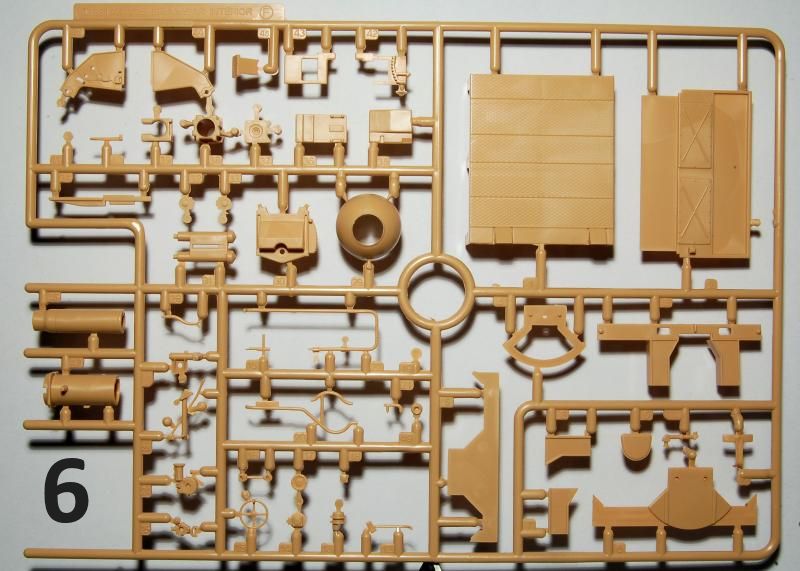
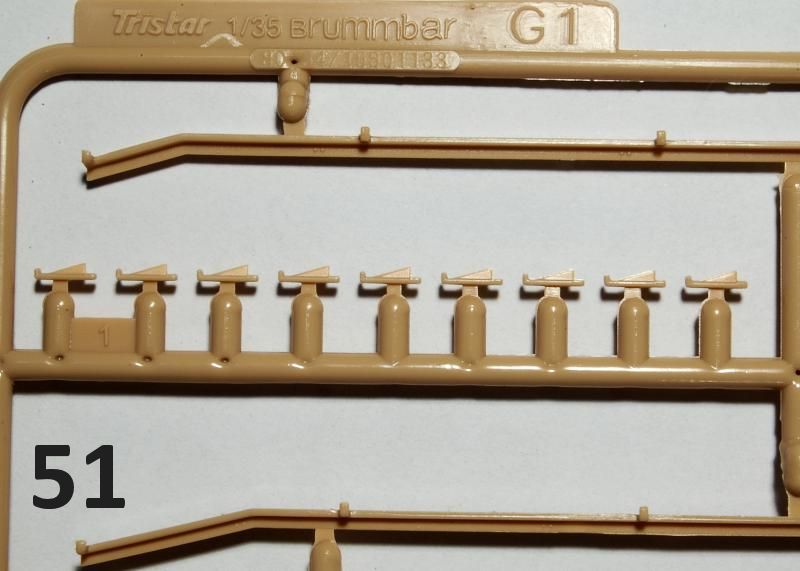
Straight away we can confirm that it is indeed the Tristar kit as most of the sprues still bear the Tristar name, and in fact the box top art is also the same. Despite being based on a PzKpfw IV, virtually all the sprues in the box are Sturmpanzer specific, so very few unused parts are included.
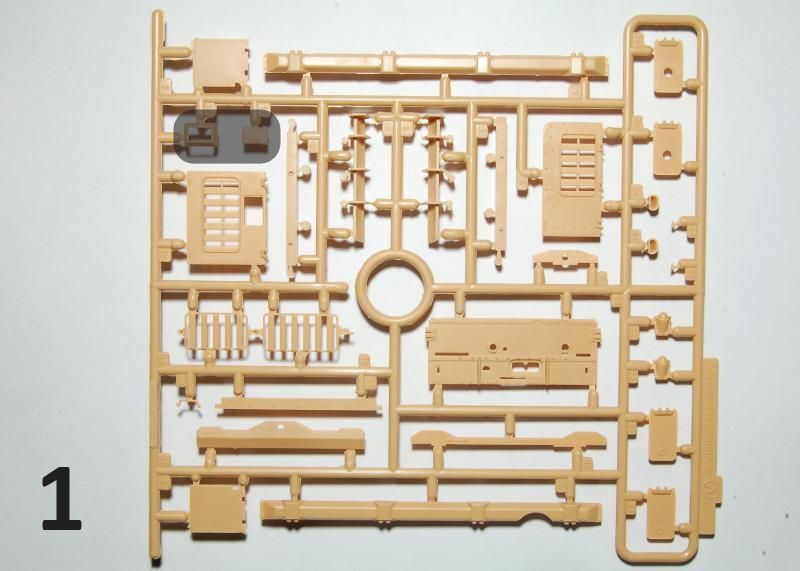
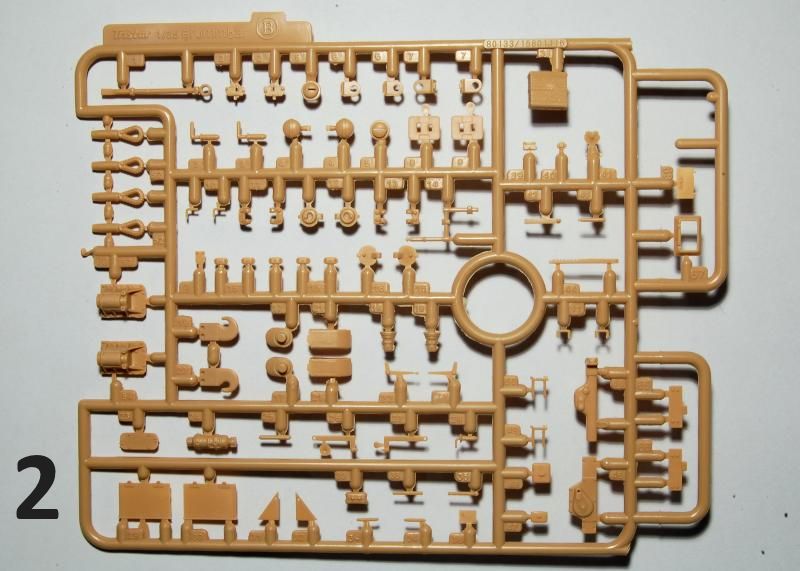
- Six major sprues hold the Sturmpanzer parts (photos 1 6)
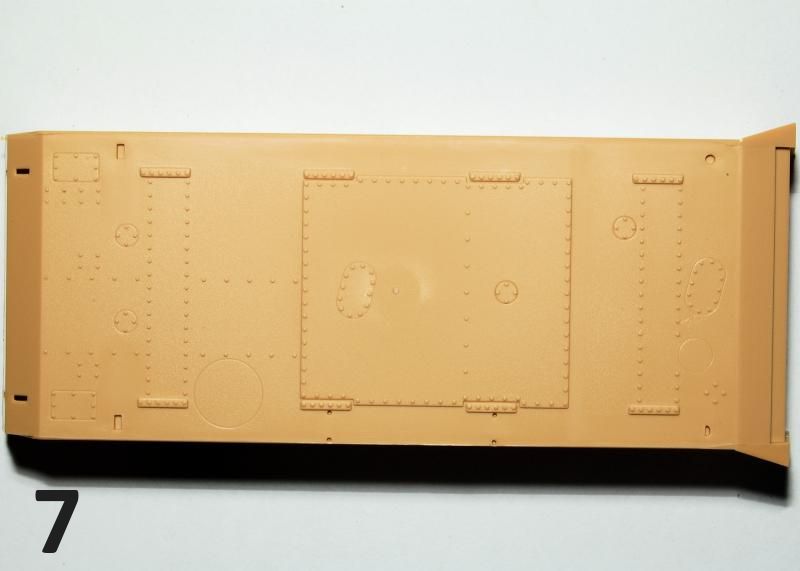
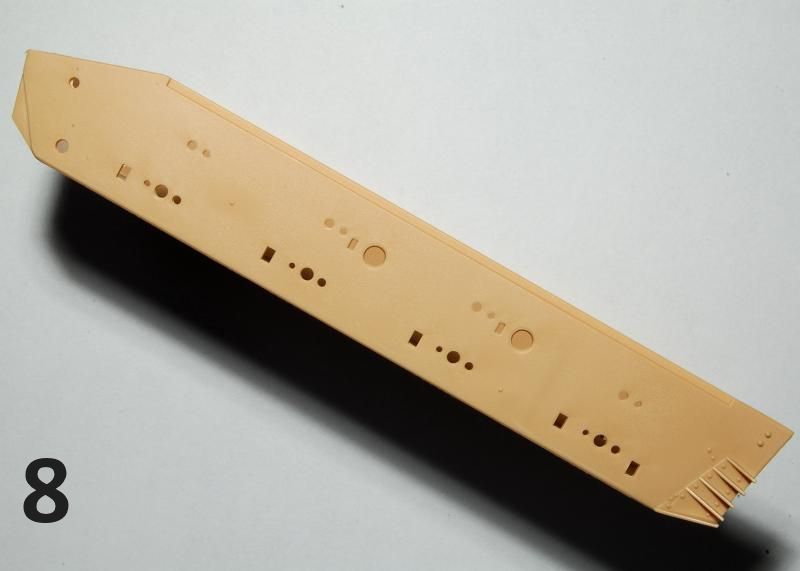
- Single piece hull tub (photos 7, 8)
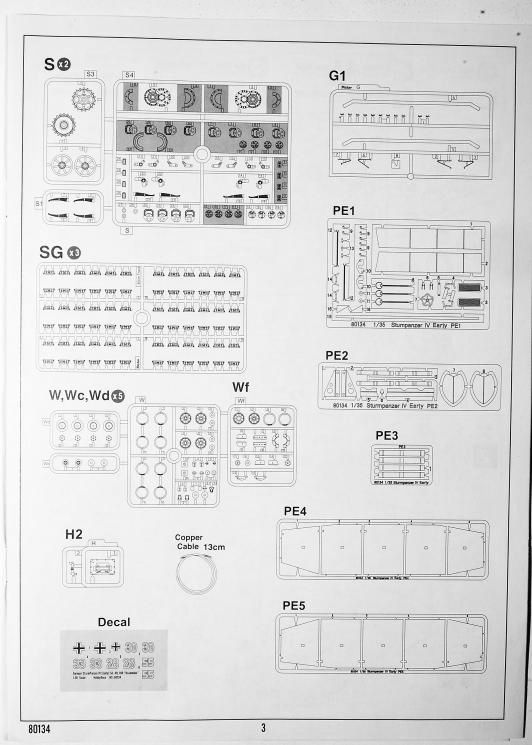
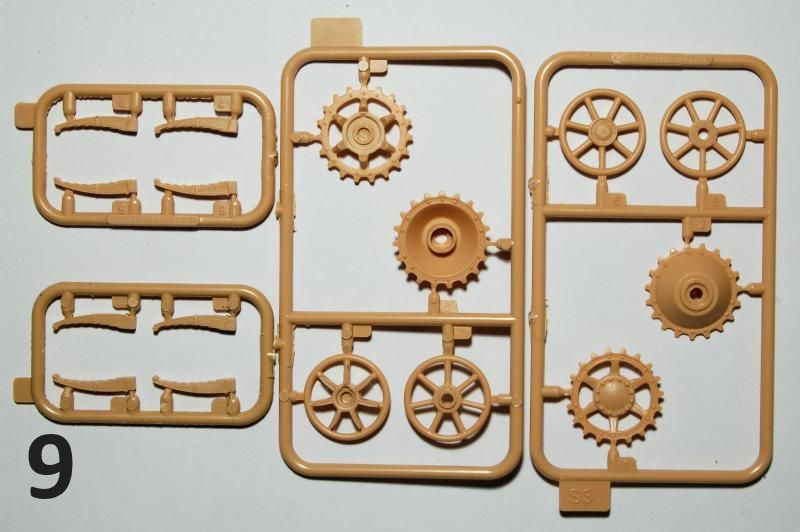
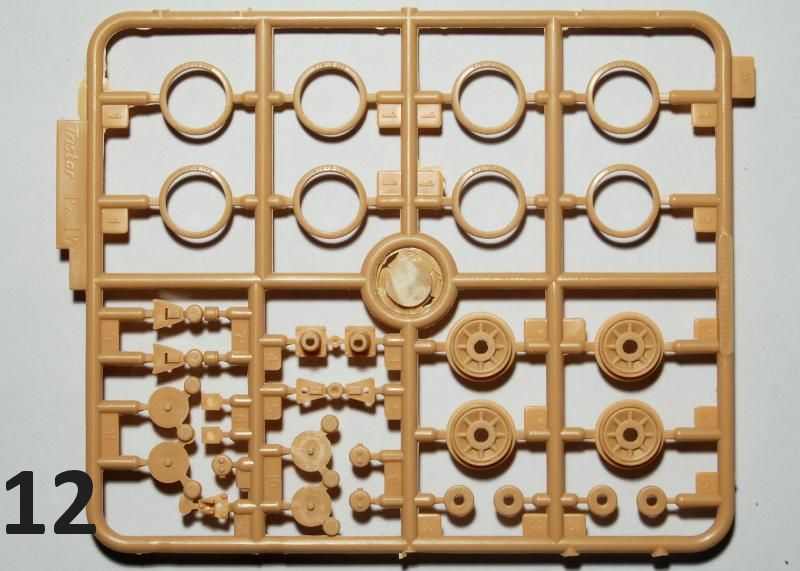
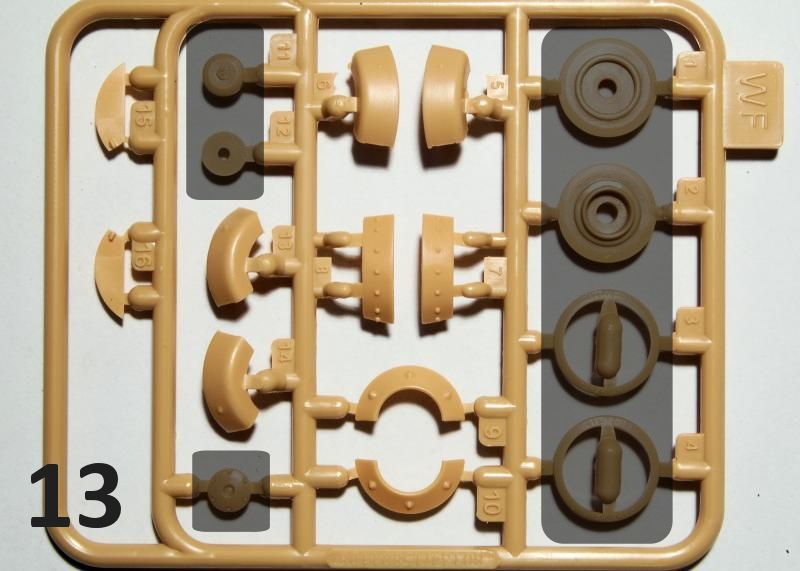
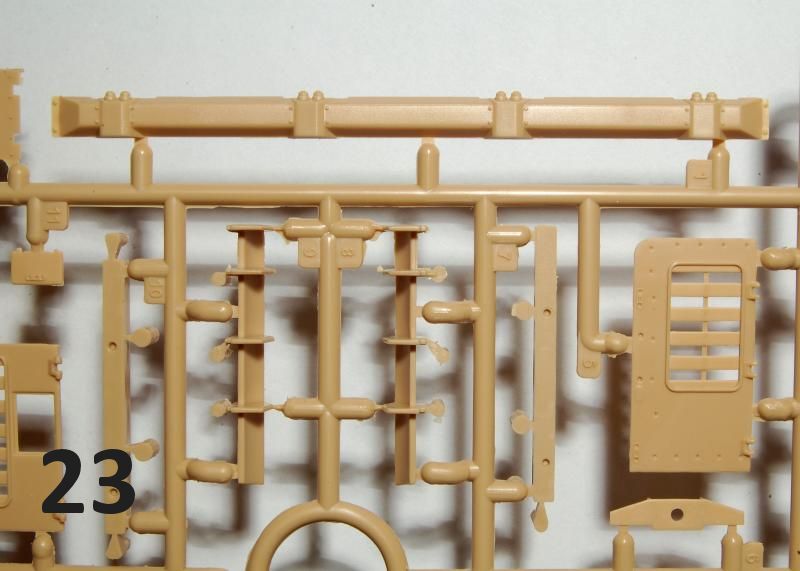
- Multiples of smaller sprues carry the running gear and track links (photos 9 13, 20 - 22)
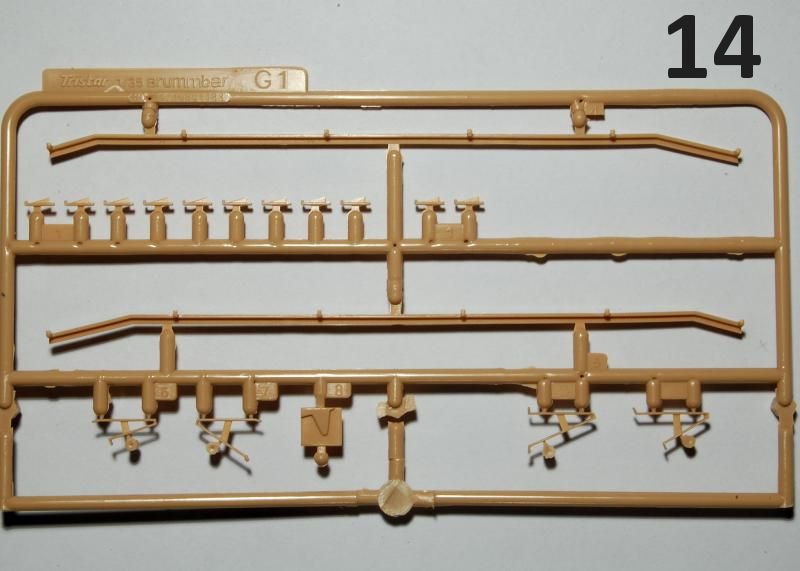
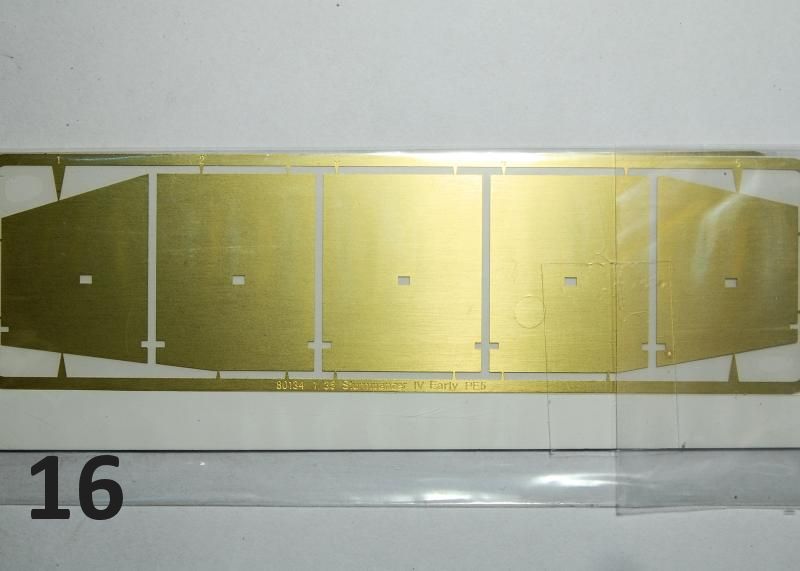
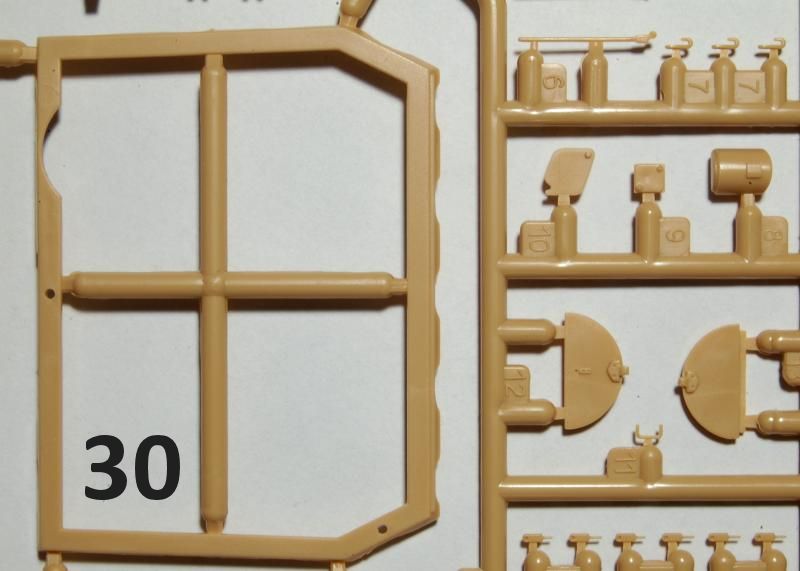
- Two large photo etched schurzen (photo 16) plus a sprue with the schurzen mount (photo 14)
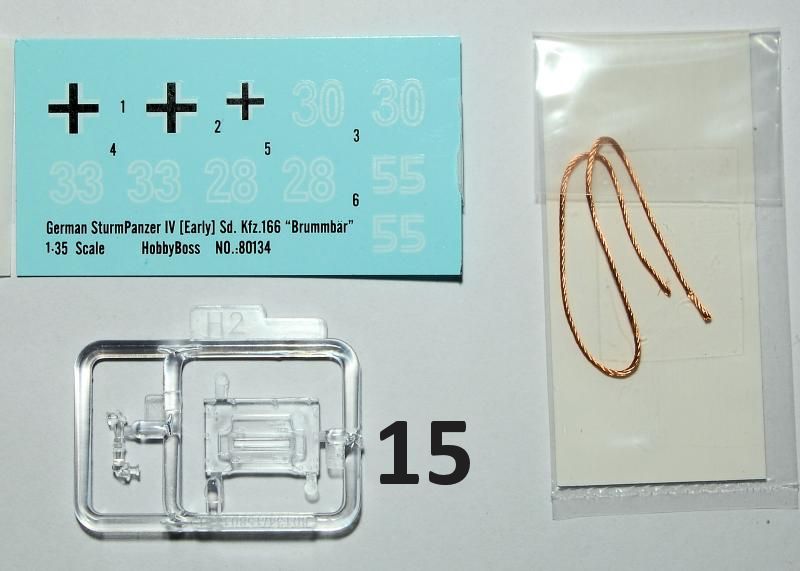
- Pack of brass wire, small clear sprue with vision block and periscope, decal sheet (photo 15)
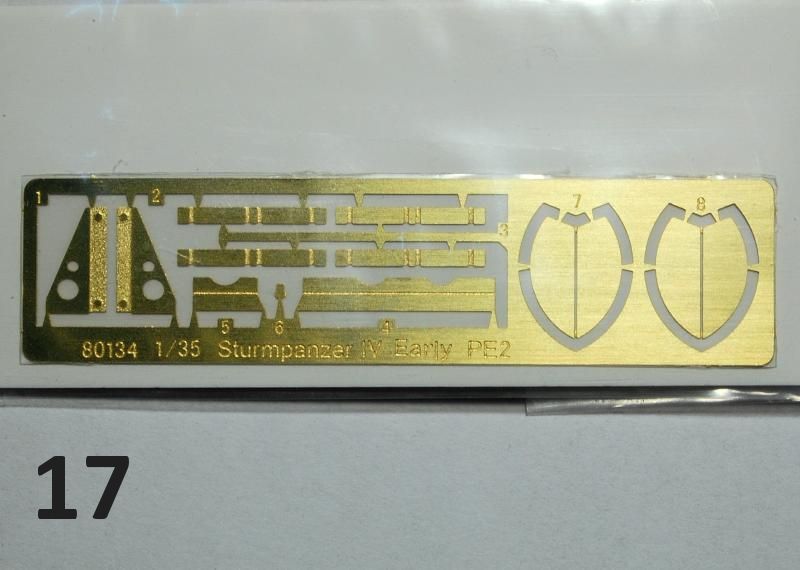
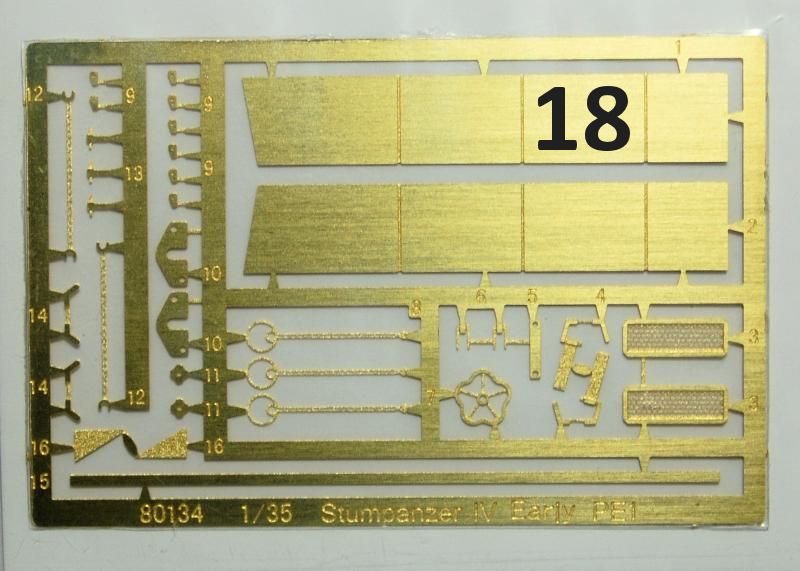
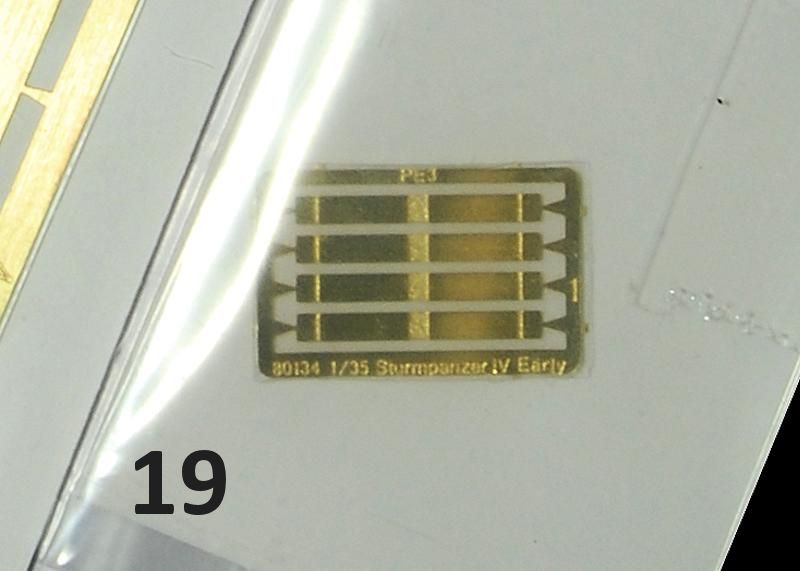
- Three further photo etched sheets of detail parts (photos 17 - 19)
- Instructions are black and white booklet type, with Tamiya and Mr.Hobby paints listed.
So the content is basically identical to the original Tristar release with just a few subtle differences, the main one being that the side skirts are now supplied in etched metal instead of the black plastic used previously (a photo of which can be seen in Jim Starkweathers Armorama review of Tristars later model Sturmpanzer, link at the end). The track sprues are now presented in metallic dark grey styrene, and the same decal options merely have a different layout on the sheet.
Review
For a relatively simple looking slab sided vehicle, the kit is broken down into quite a large number of parts, with the hull tub being the only big structural element; the rest of the hull and superstructure is made of more or less flat plates, broken down in mimicry of the real thing. This means the build will require more time and care but should produce a better result as fewer compromises will have been made in the design in order to make the mouldings achievable. Ill run through the build steps, picking up any apparent issues on the way:
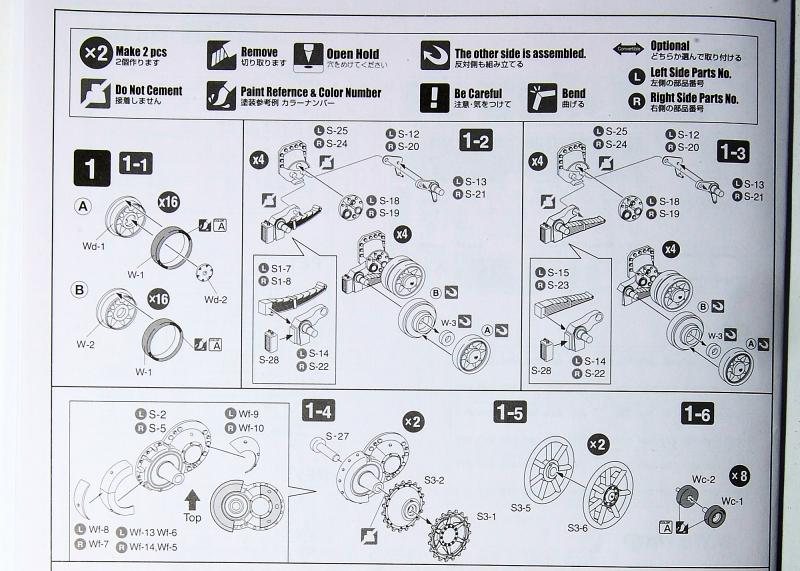
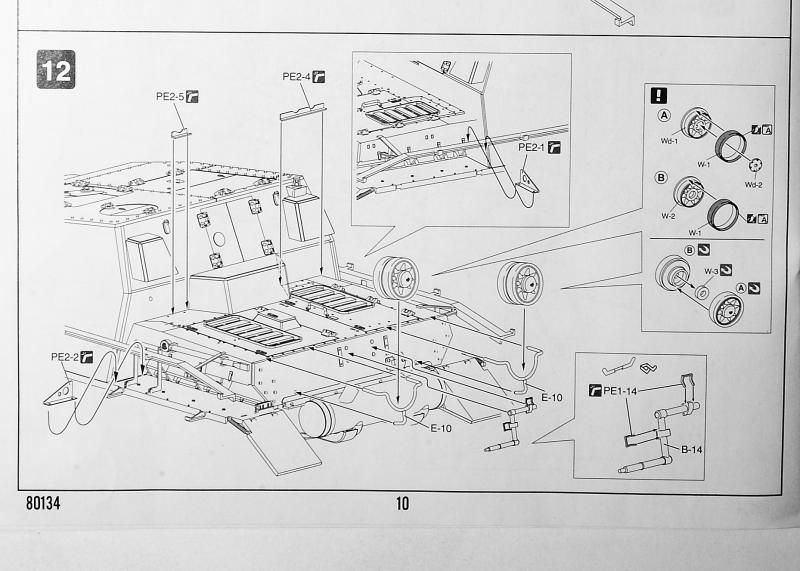
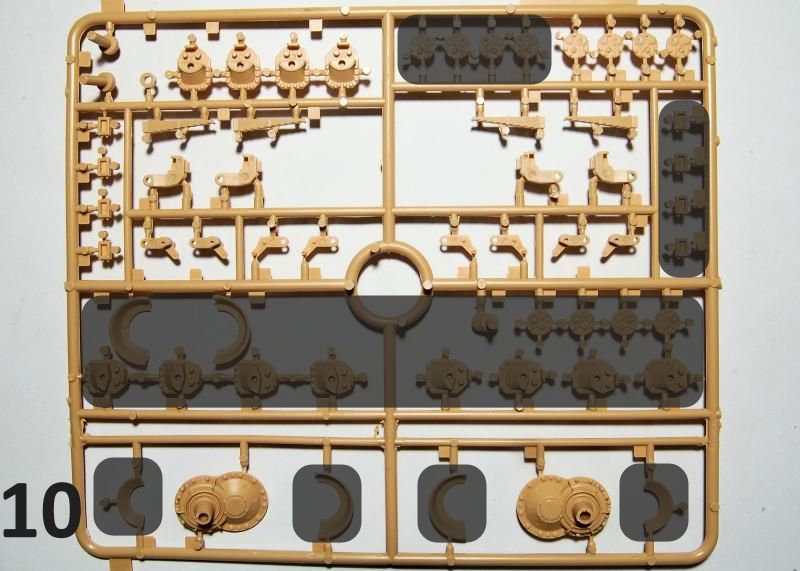
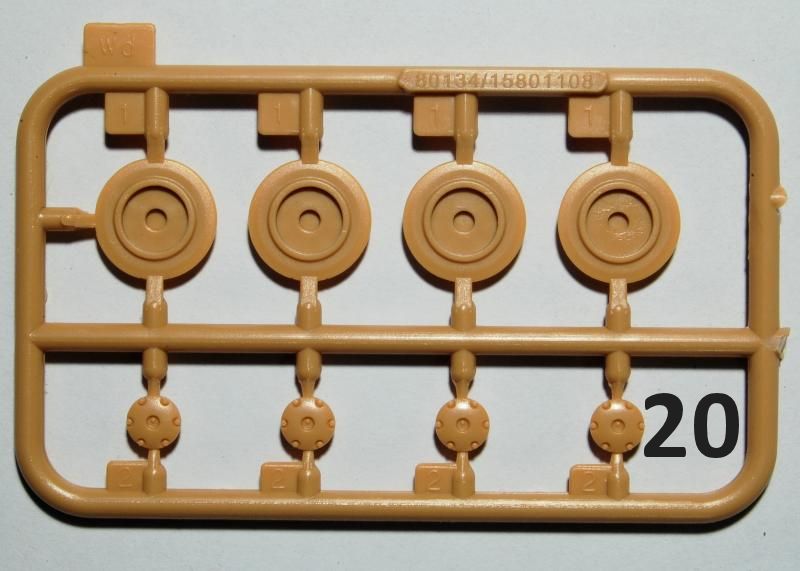
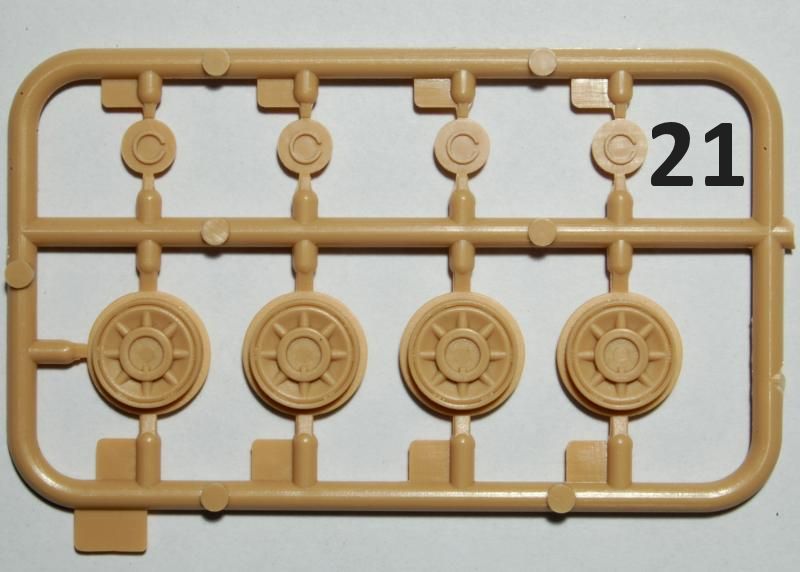
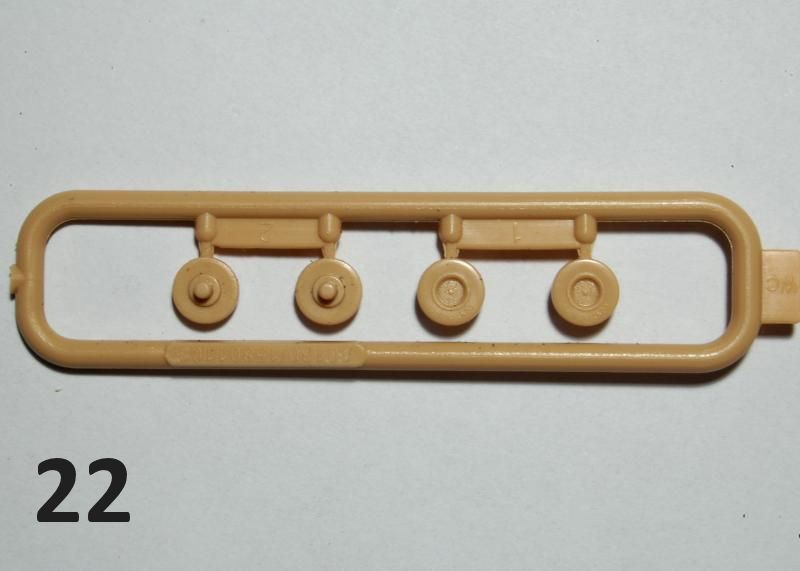
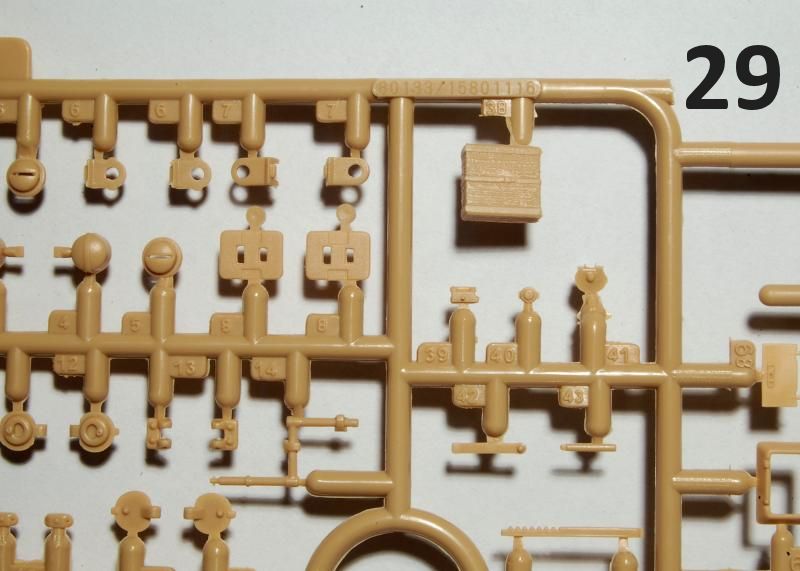
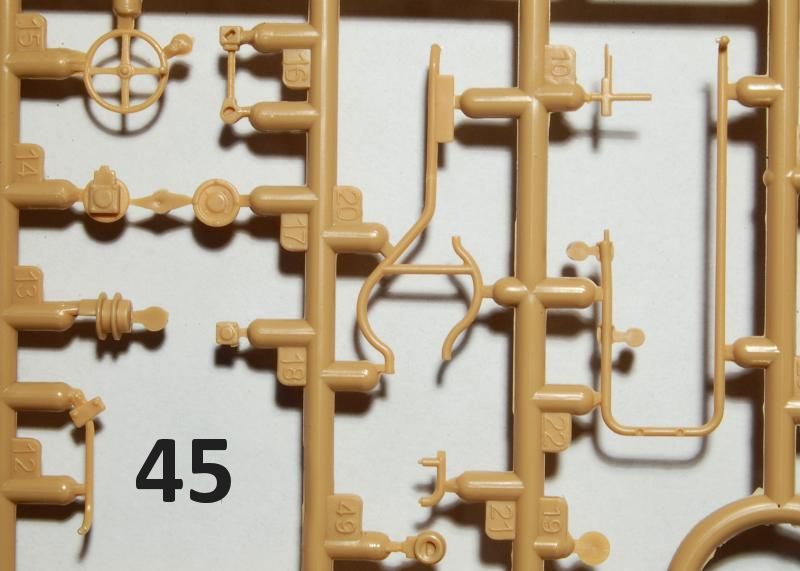
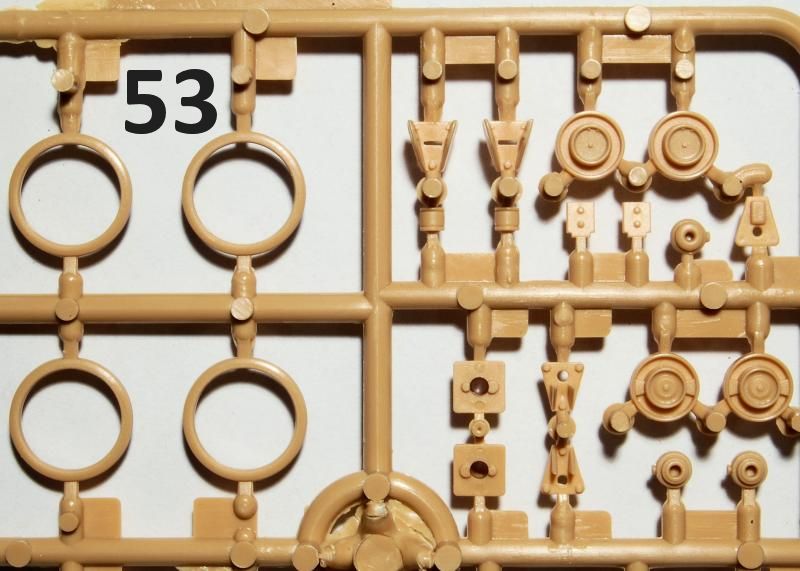
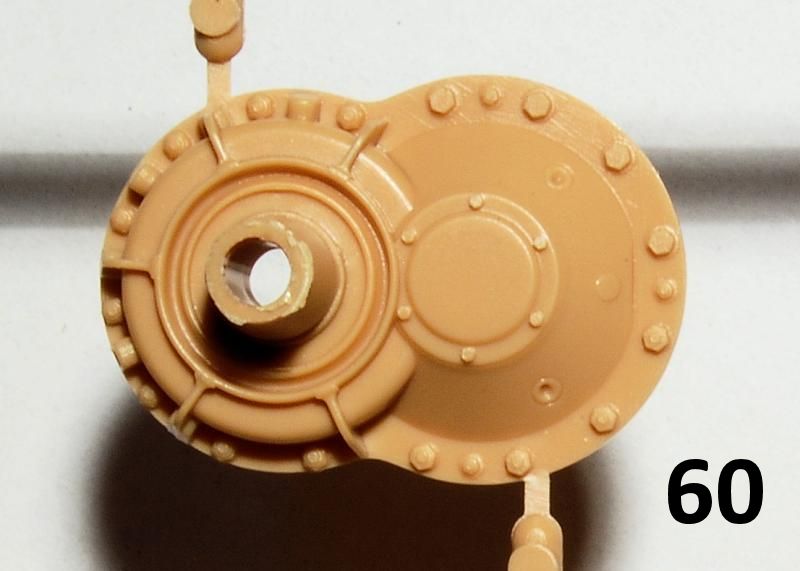
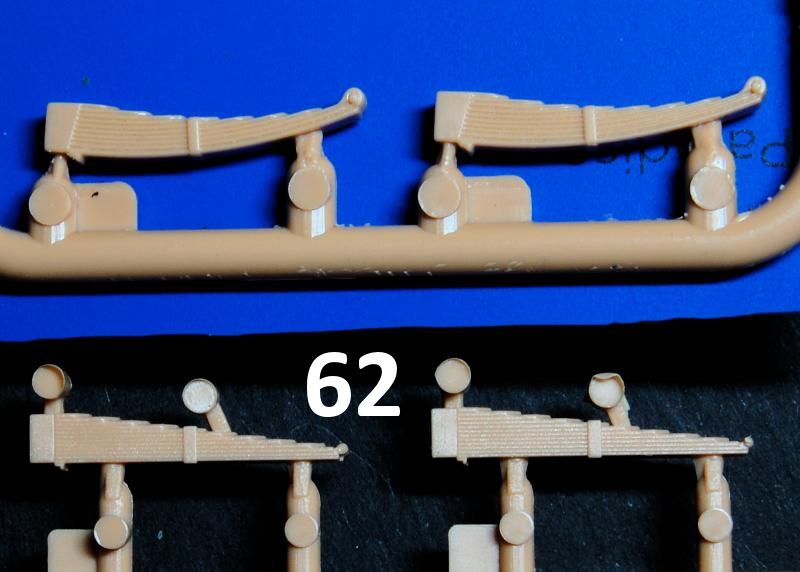
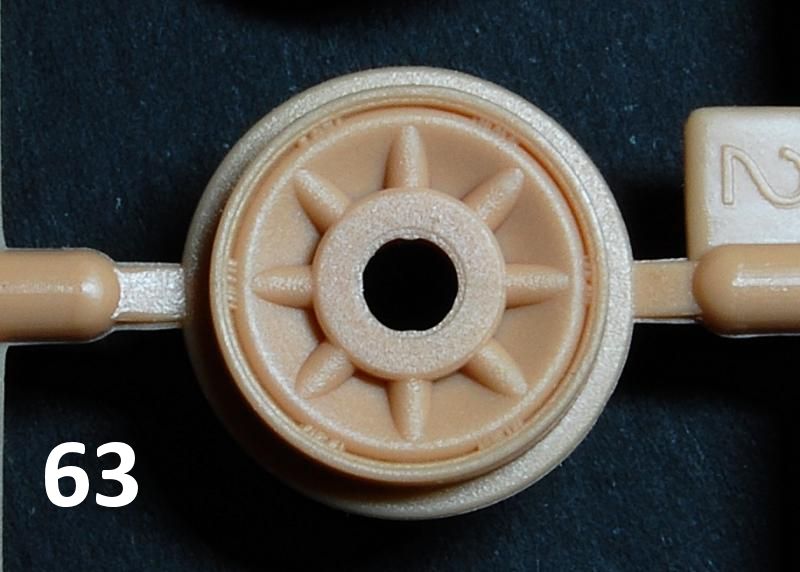
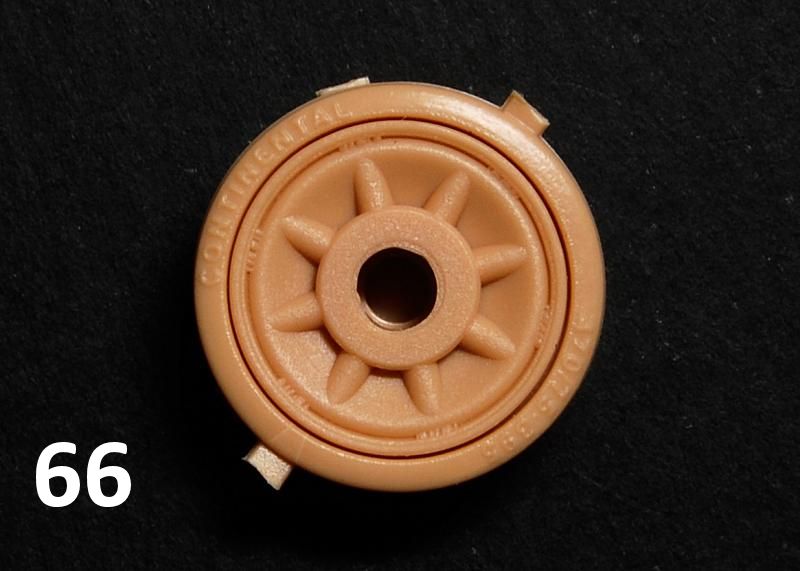
First up is the road wheels and bogies. The wheels themselves are the correct type with the six bolt hub cabs, as shown in the first drawing (photos 20, 21, 63 66). The next few drawings show the older type cap with the recessed centre bolt, but there is in fact only one such part supplied in the kit on sprue WF (photo 13, part 11 greyed out) so its unlikely to produce much confusion. Care needs to be taken to use the correctly numbered bogie mounts as there are variant parts included on sprue S4 (photo 10, greyed out). Then there is a choice of whether to use curved leaf springs or straight (photo 62). This option relates to the fact that the vehicle was not well balanced, with undue stress being placed on the front bogies, resulting in this spring compression. Later models would see some or all of the tyred wheels replaced with all steel items.
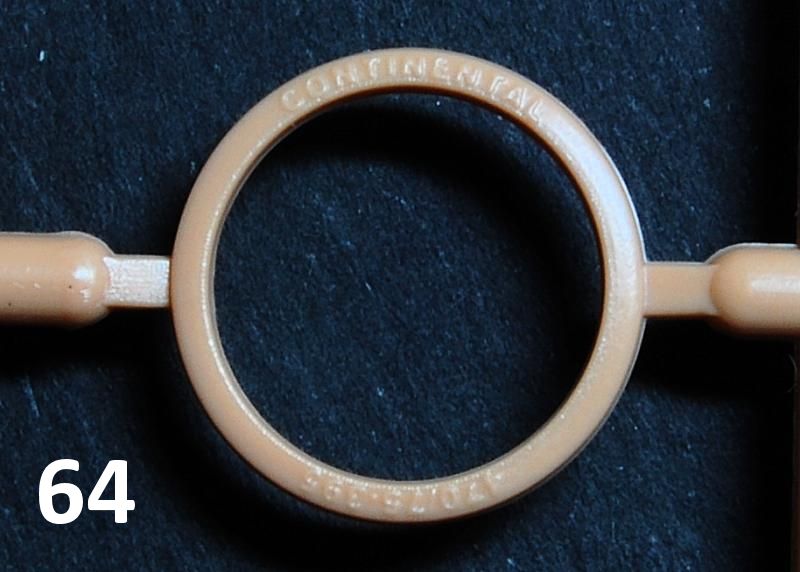
The separately moulded tyres feature the Continental name and tyre data, and the fit on to the wheels (which feature weld marks) is perfect and could be done without any cement (photo 66), so painting may be simplified. It is however with the tyres that there is an accuracy issue, pointed out by other reviewers in relation to the Tristar kit, and which has not been corrected in this release: the tyres represented are 75mm wide (it even has it written on them: 470/75-359) when they should be 95mm wide (470/95-359). While the difference at 1/35 scale comes to approximately 0.57mm, it does have an effect on the appearance in that the bigger tyres can be seen to stand slightly wider than the wheels in photos of later PzKpfw IV variants compared to earlier examples where the wheel rims are the widest point. Rectifying this issue could be done by shimming or filling between the tyre and the inner face of the wheel half, possibly not too difficult.
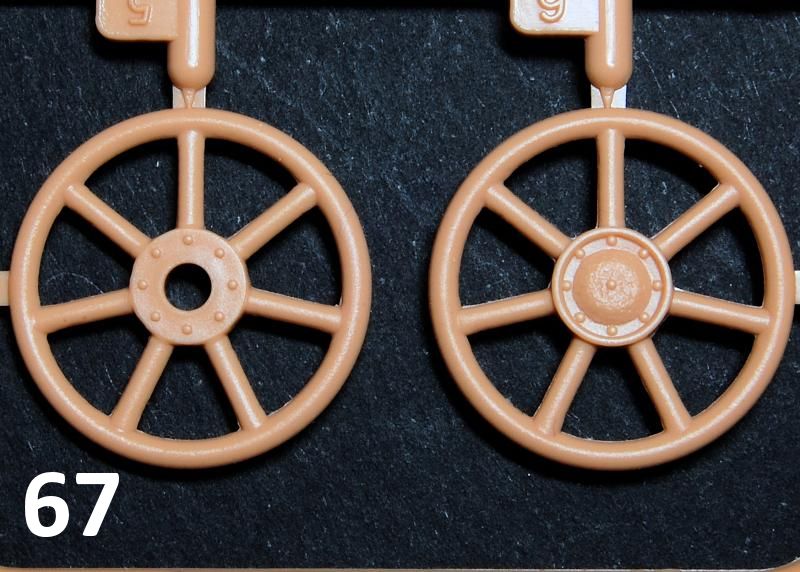
The wider tyres was one of the modifications that was carried out so that the Ausf. E, F and G PzKpfw IV tanks that were used to produce this first type of Sturmpanzer were effectively upgraded to all conform to Ausf. G specs, and this kit supplies the correct type of Ausf. G dished sprockets and tubular idlers (photo 9, 67).
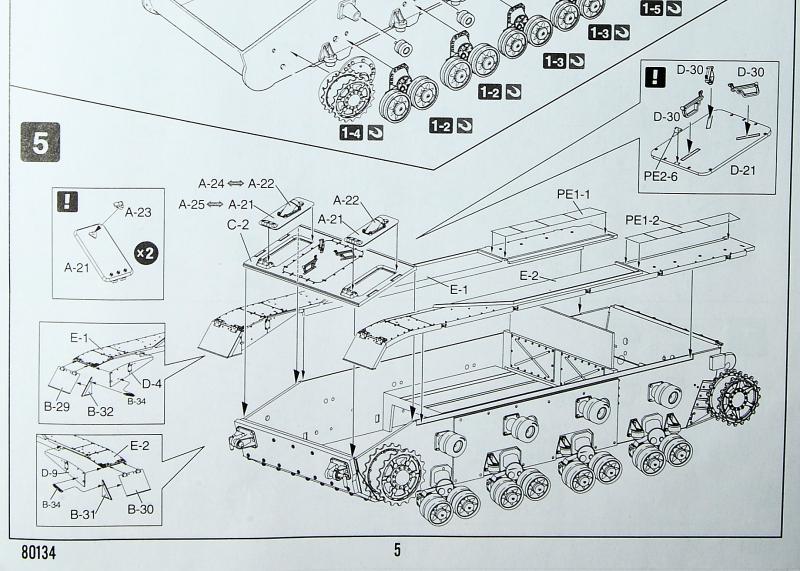
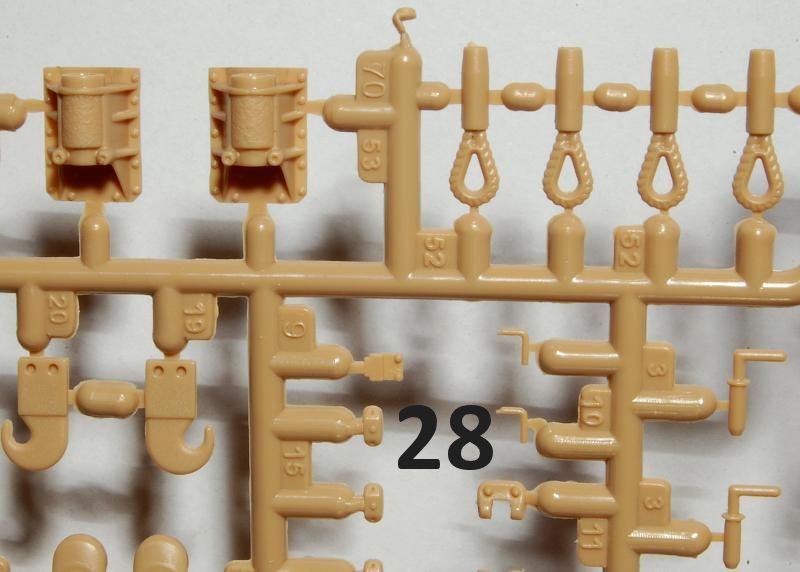
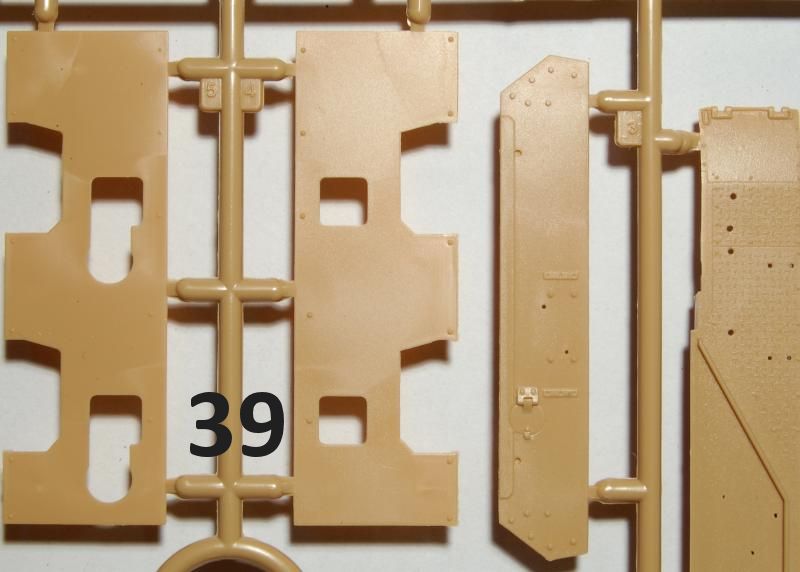
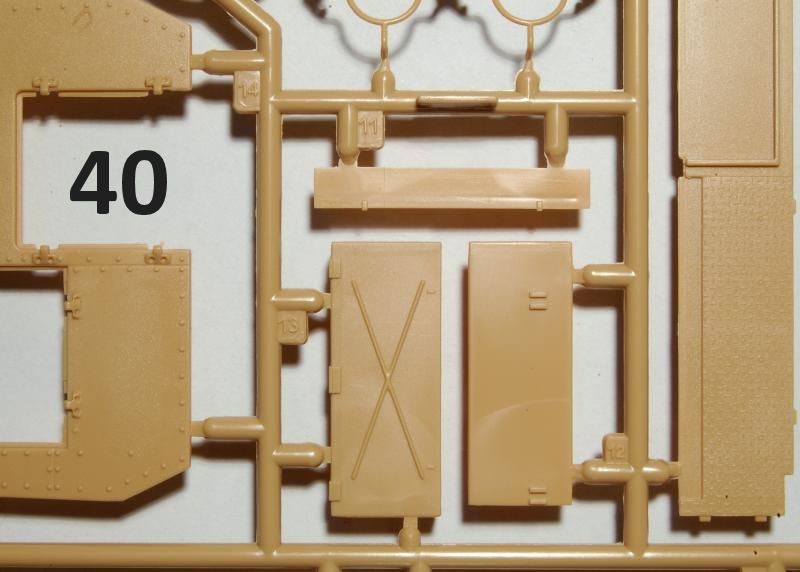
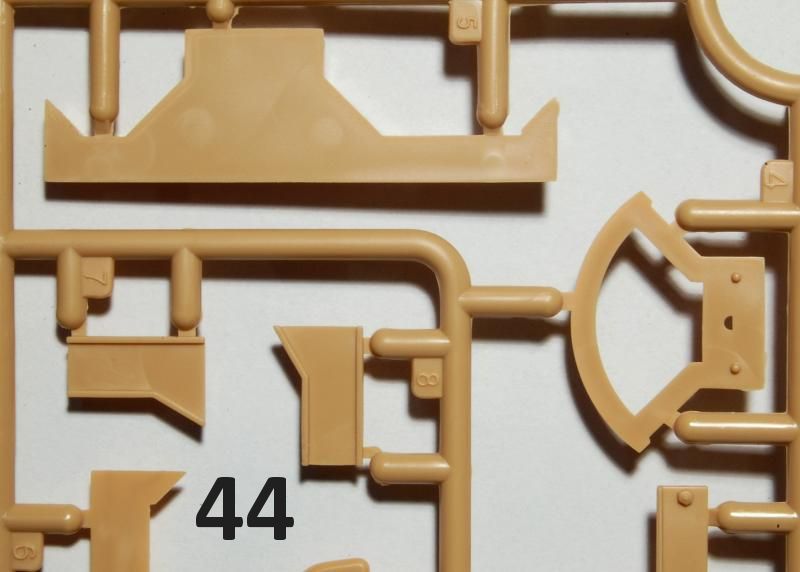
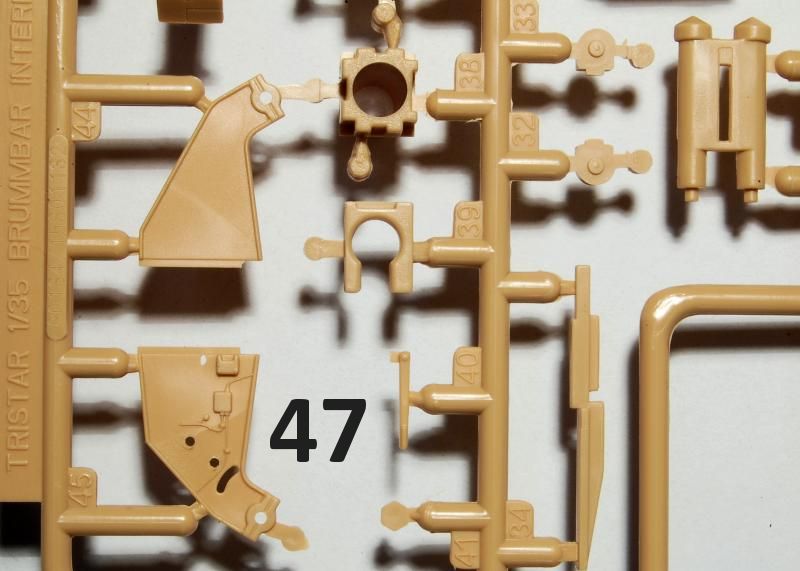
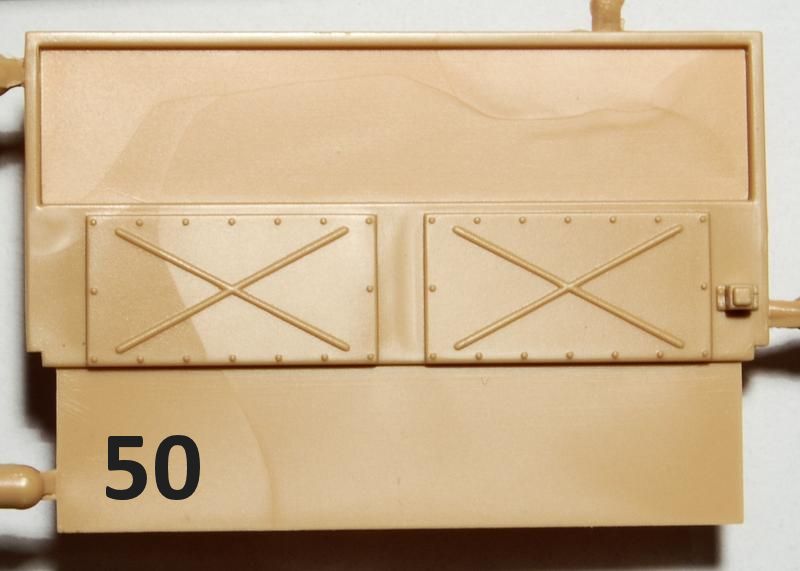
An example of the prototypical design of the kit can be seen in the building up of the hull tub details, where bolt-on 20mm armour plates are added to the side walls (photo 39). Similarly additional armour plates of 50mm and 30mm respectively are applied to the upper and lower nose plates; these could have been moulded in place, but the point is that the plates are of scale thickness. Towing eyes are made up of three parts with separate pintles and etched metal chains.
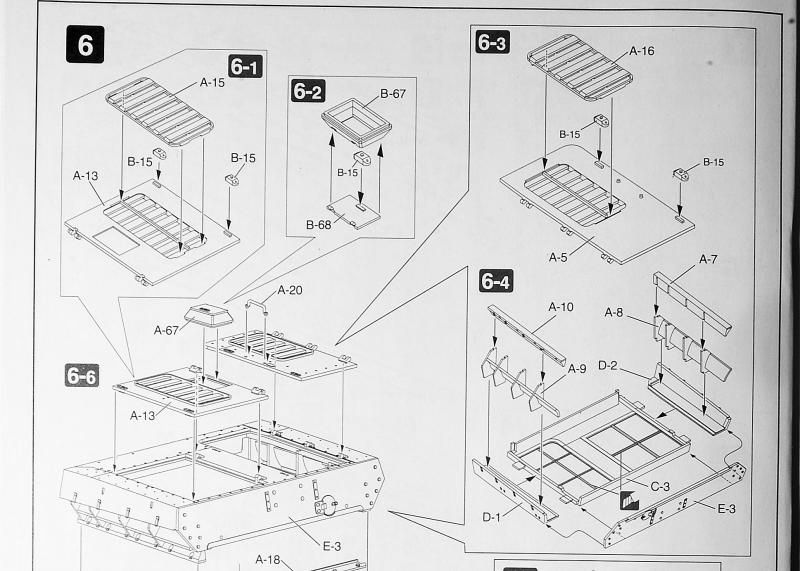
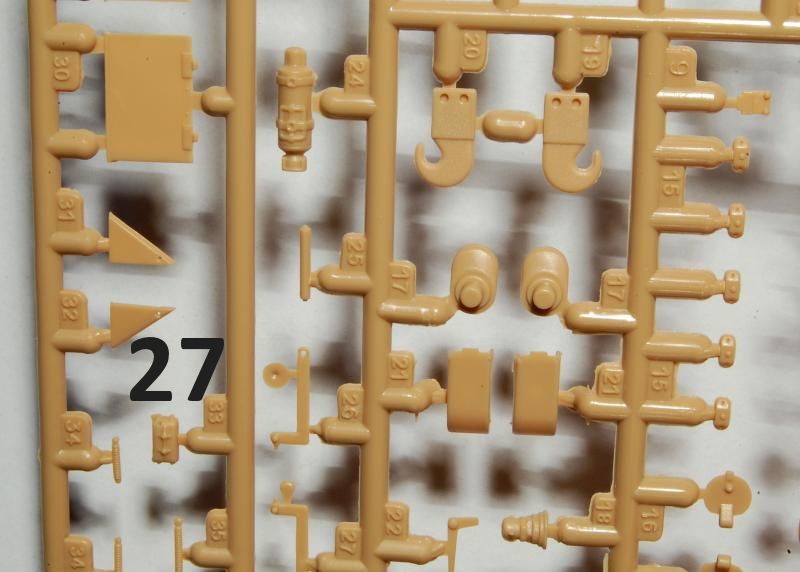
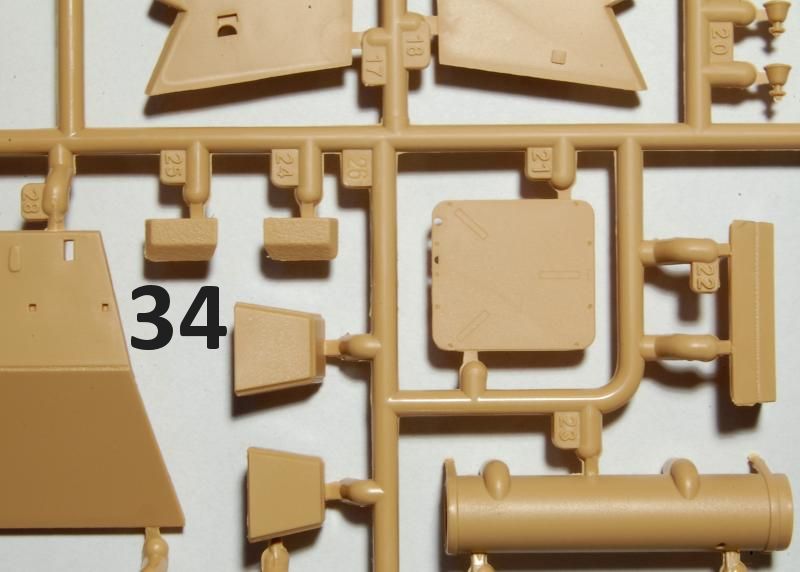
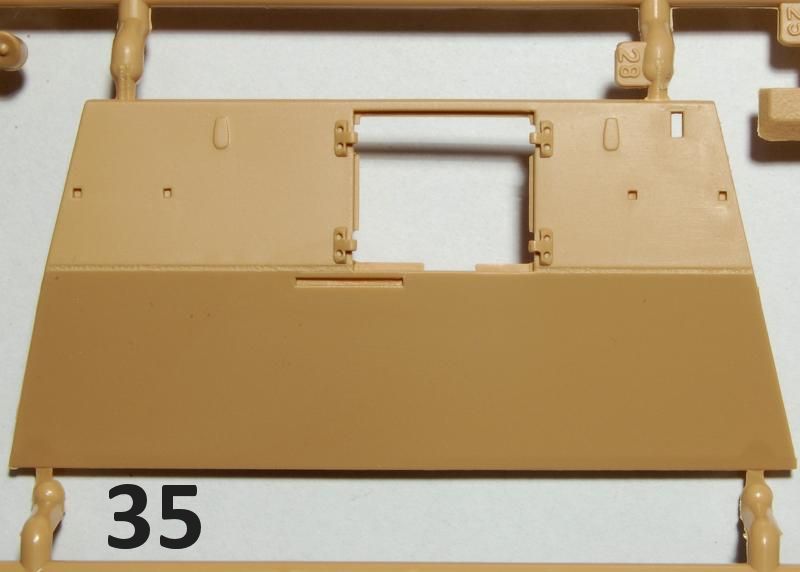
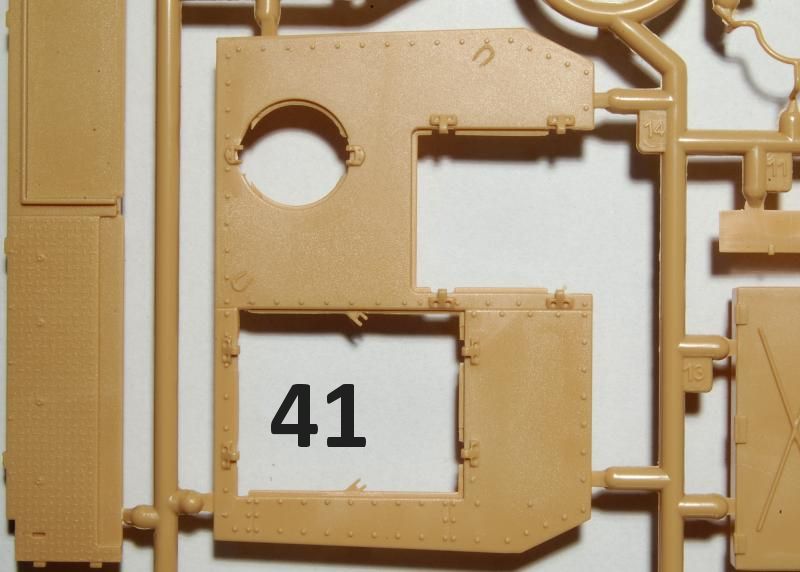
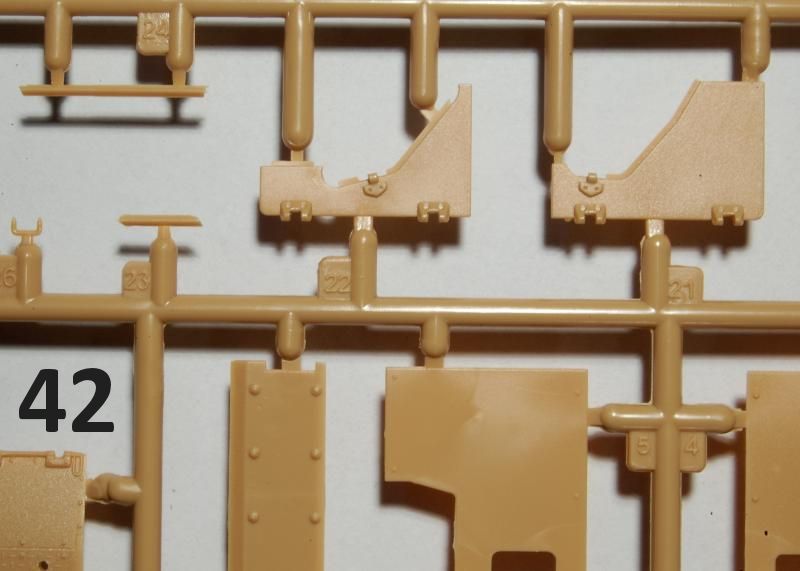
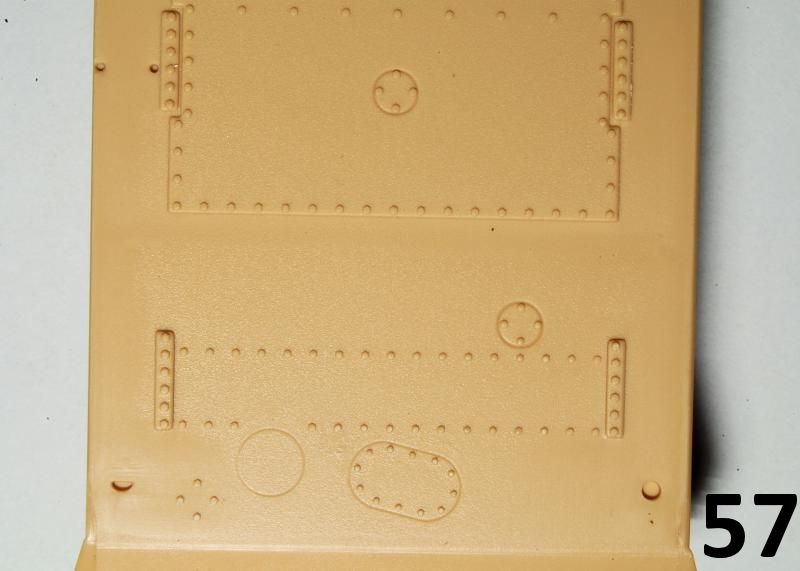
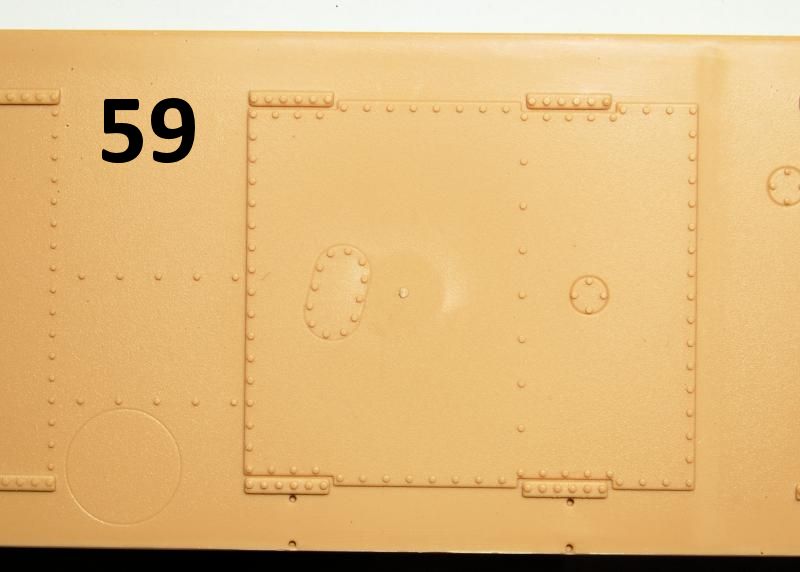
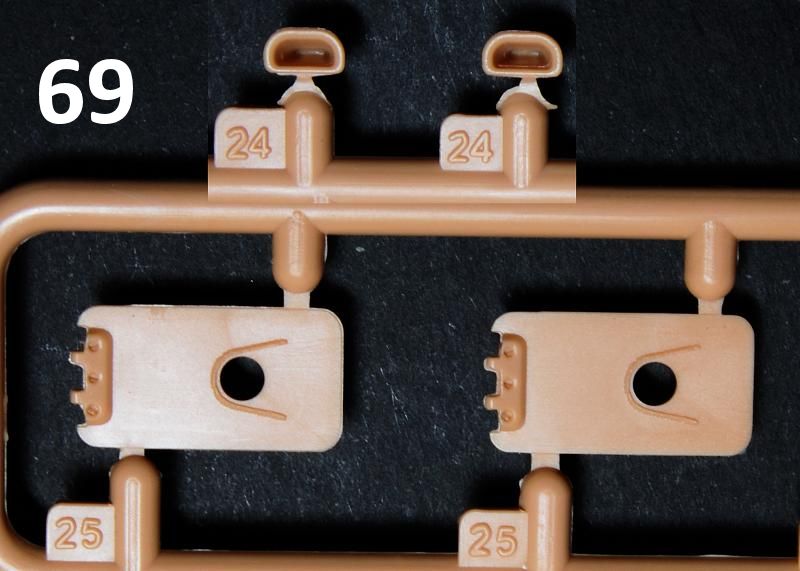
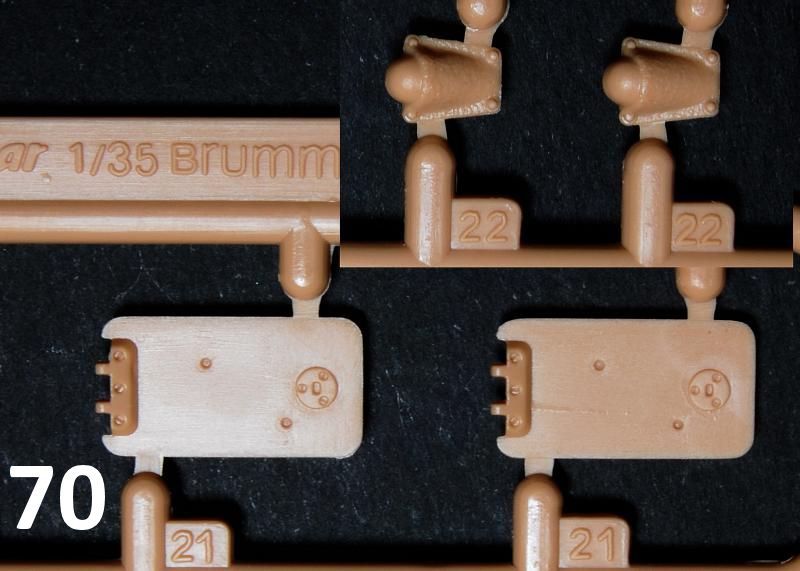
Another option comes up with the forward deck plate: Ausf. E PzKpfw IVs had unvented brake inspection hatches, but when rebuilt as Sturmpanzer, ventilation holes were cut into the hatches and protected with armoured covers salvaged from scrapped PzKpfw IIIs. This means that a Sturmpanzer built on an Ausf. F or G chassis can be represented using parts 24 and 25 (photo 69) or alternatively an example based on an Ausf. E chassis by using parts 21 and 22 (photo 70); note the cast texture on parts 22.
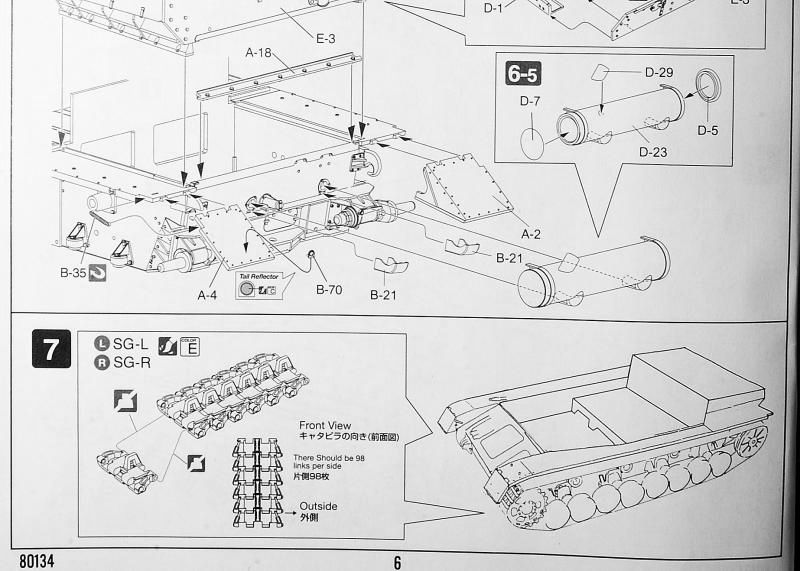
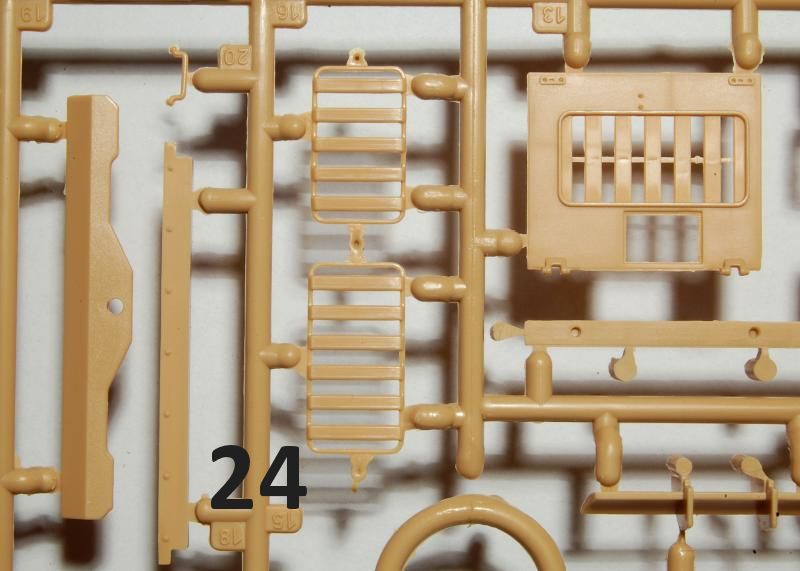
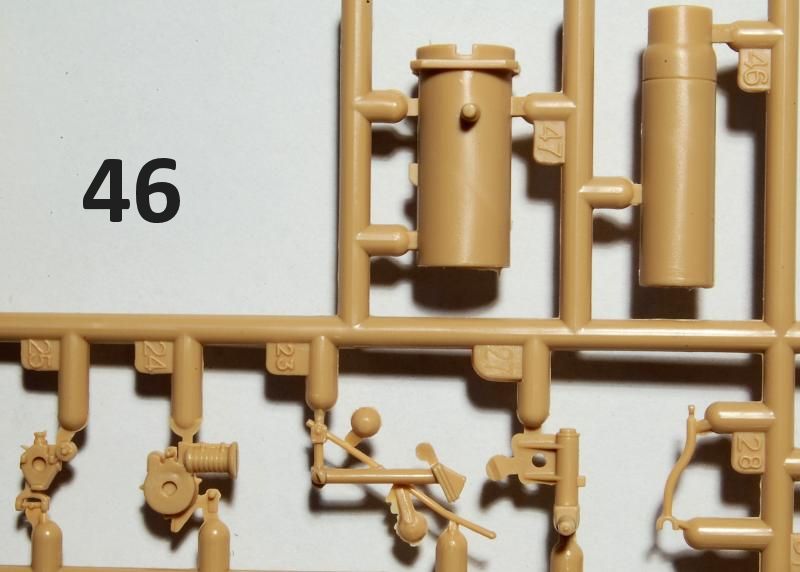
On to the engine deck and more instances of the prototypical breakdown of parts, with the hatches and grilles (photo 24) all being separate parts. Note that there is no engine included, but if the modeller can source one, then there is the facility to open up all the hatches to display it. The exhaust muffler (bottom of photo 34) appears to be the long type that featured on the Ausf. E and earlier models, but as with other components, and according to the 2014 Panzer Tracts No8-1, this would have been changed to the shorter Ausf. F onwards muffler. For some reason too, the instructions indicate the exhaust outlet being angled to the right, when it should point left.
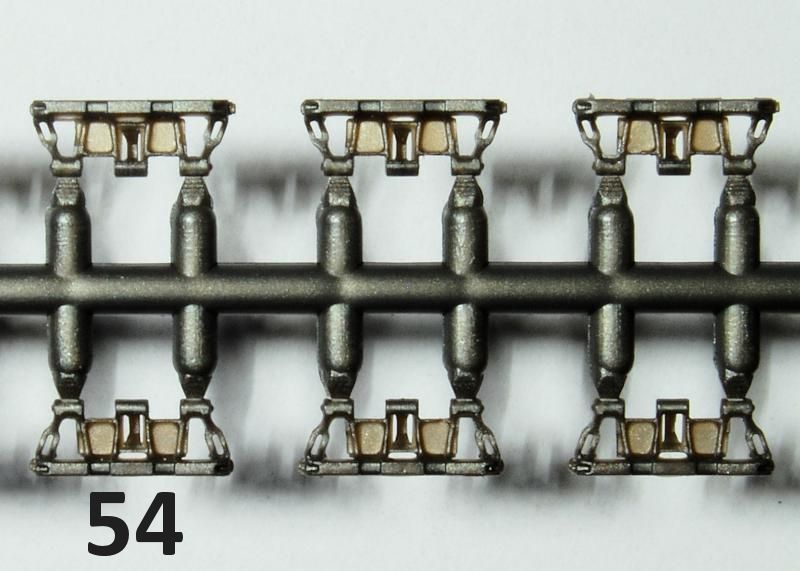
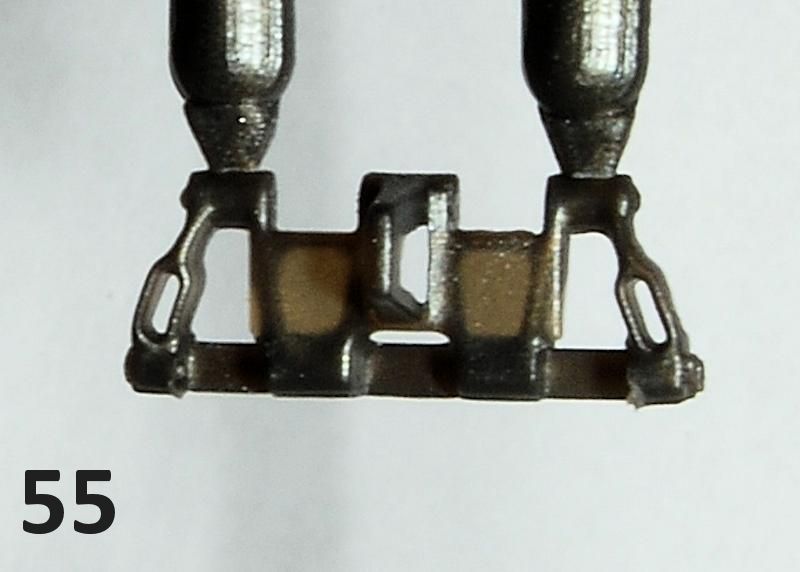
The tracks are supplied as individual links and are of the correct 400mm type again noting that this applied even to Sturmpanzers based on the Ausf. E chassis. The links have very nicely moulded openings on the edge elements as well as open guide horns, and virtually no visible flash, just two attachment points on each, and note that the sprues label them as Left and Right links (photos 54 56).
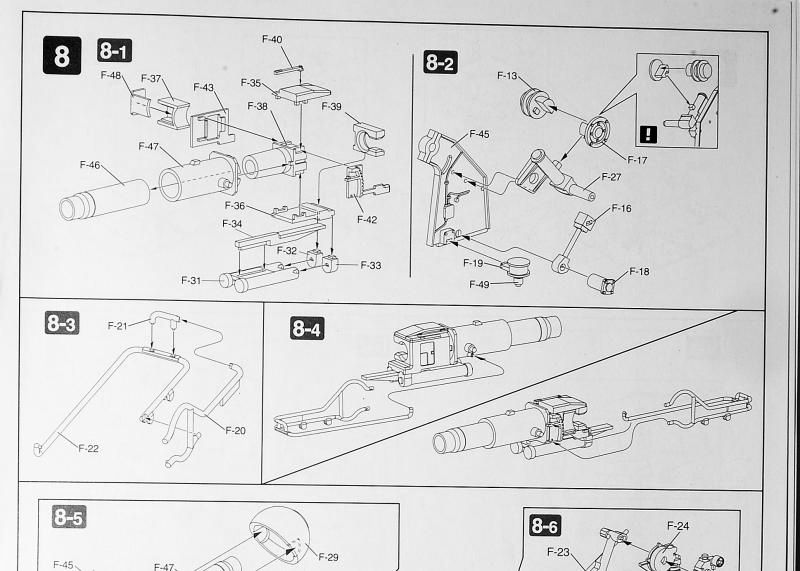
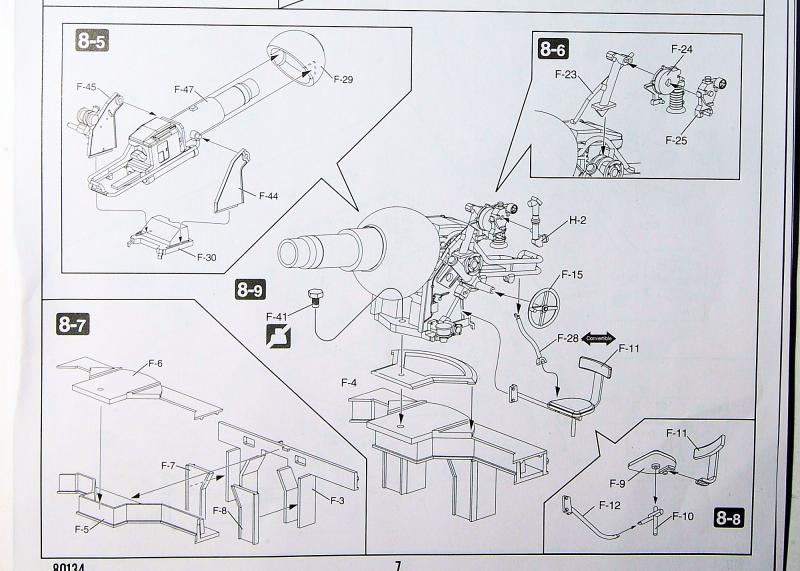
There is a fair amount of assembly required for the gun itself, as it comes with a fully detailed breech and multi-part mounting, including a gunners seat, despite the fact that the rest of the interior is not detailed. If you wished you could possibly shortcut this stage of the build in order to save time on adding details that will be hidden.
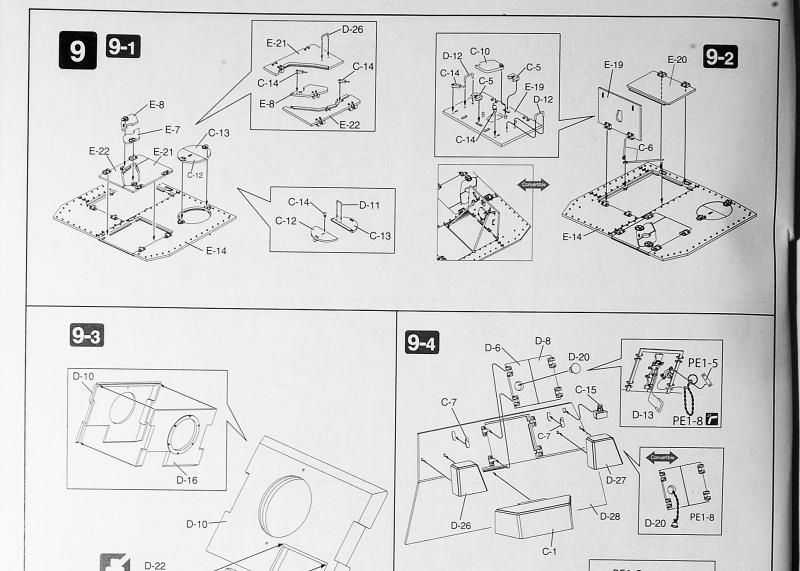
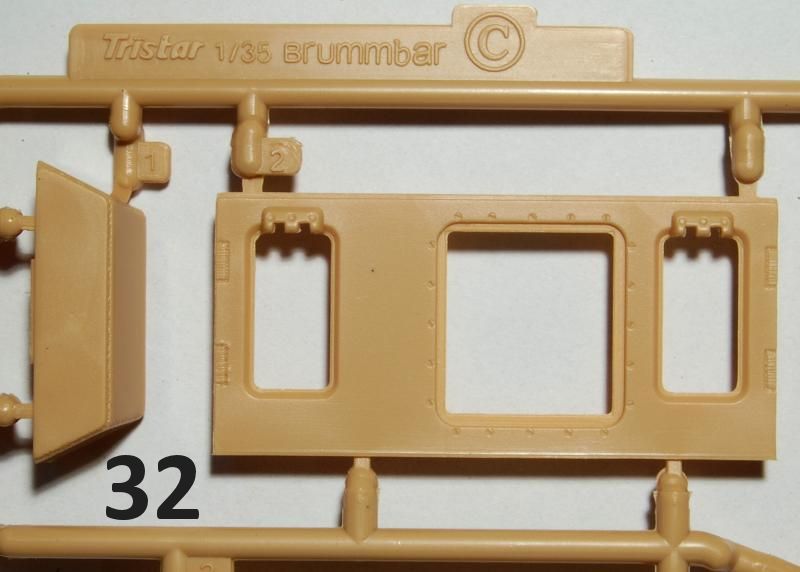
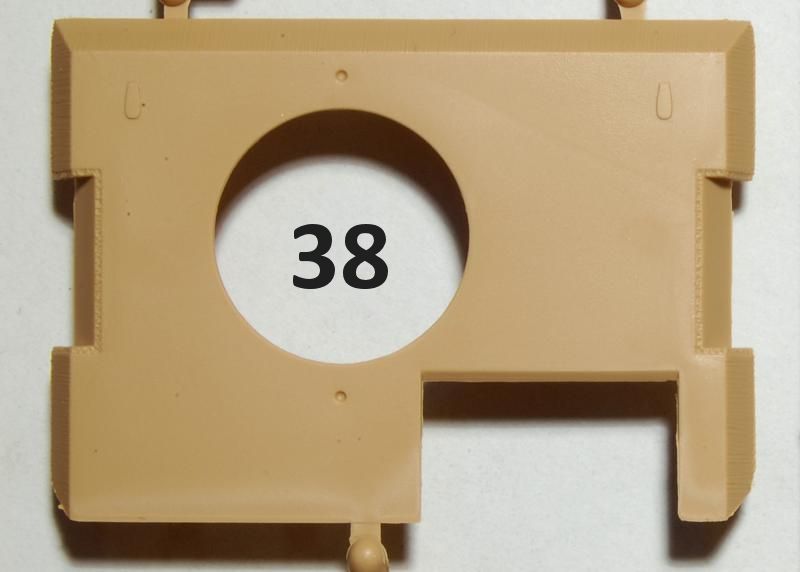
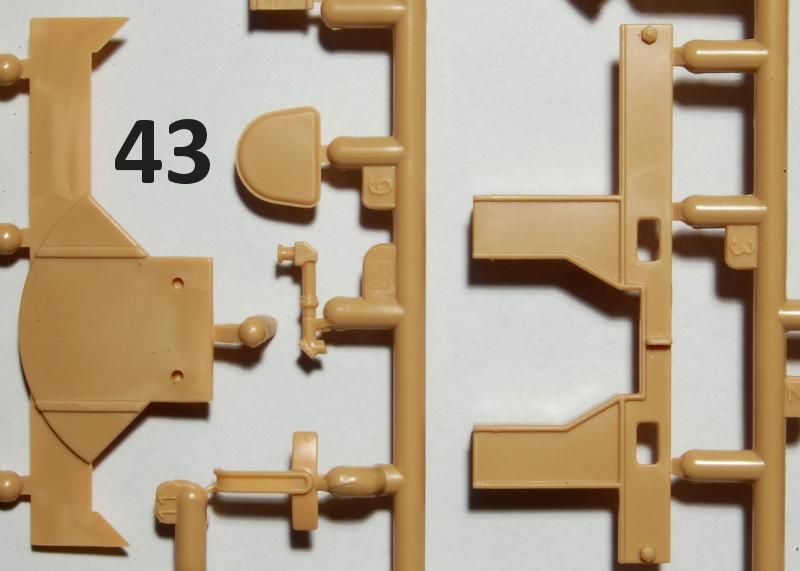
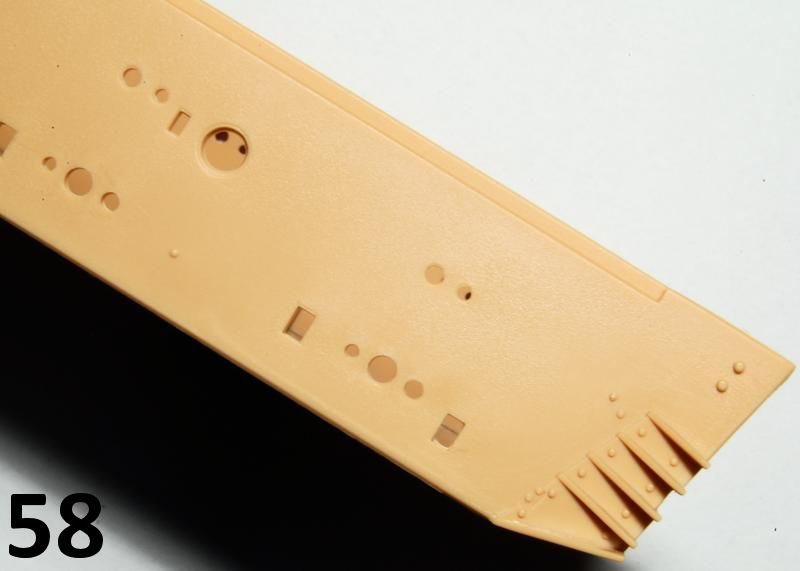
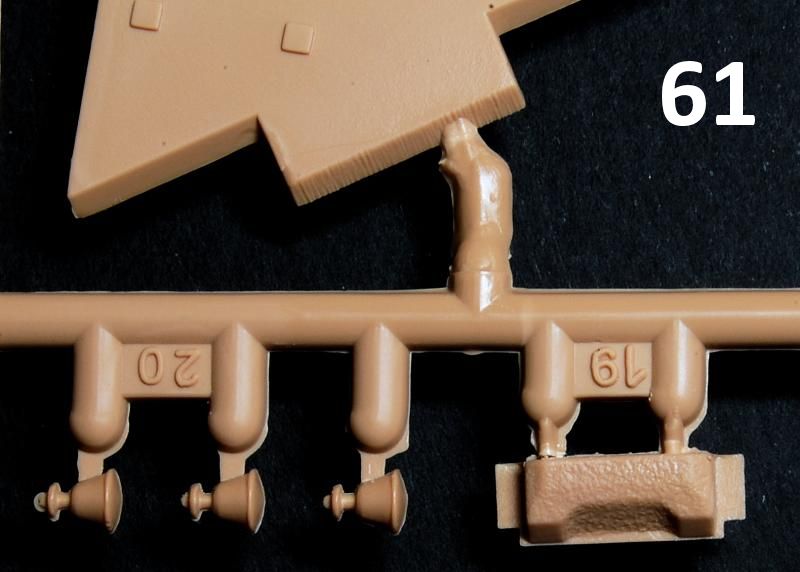
The upper superstructure builds up from flat plates, with the thickness of the armour being well represented, for example the 100mm front plate with its welds (photo 38) or the angled side plate with its flame cut edges (photo 61). Note too that this early Sturmpanzer utilised a drivers visor salvaged from the conversion of Tiger(P)s to Ferdinands, adding to the massively armoured appearance, and, again, the cast texture of the top cover is well rendered (part 19 in photo 61). As well as more separate hatches here, there are also open pistol ports complete with armoured plugs and etched metal chains.
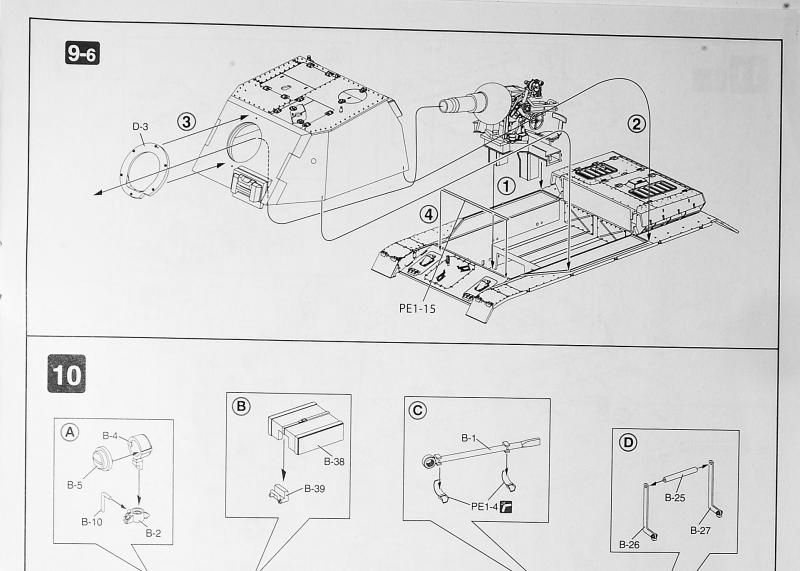
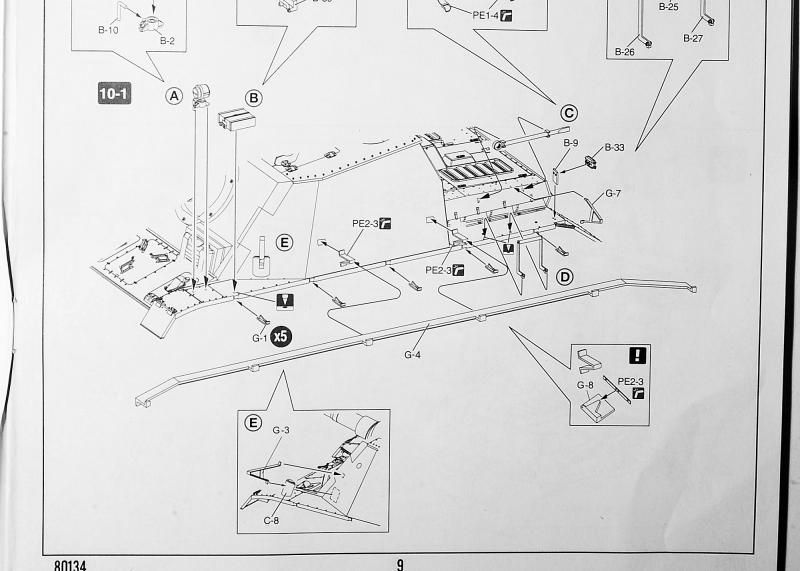
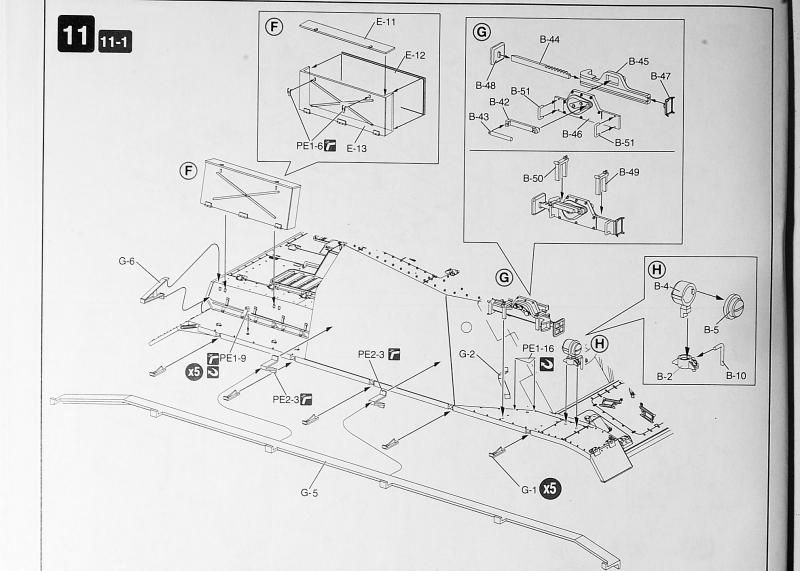
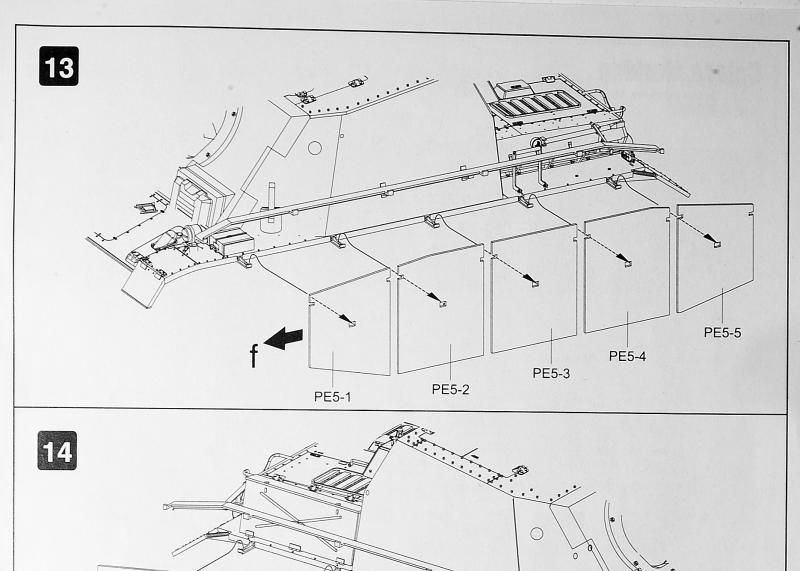
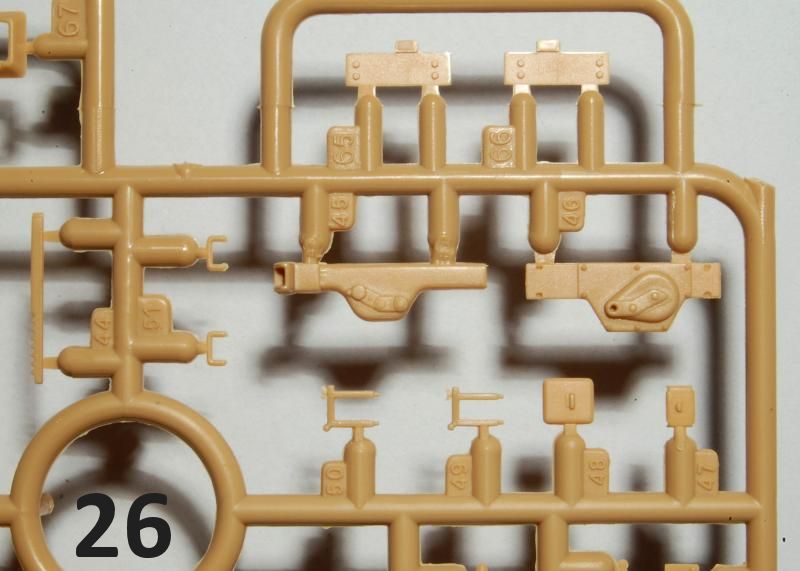
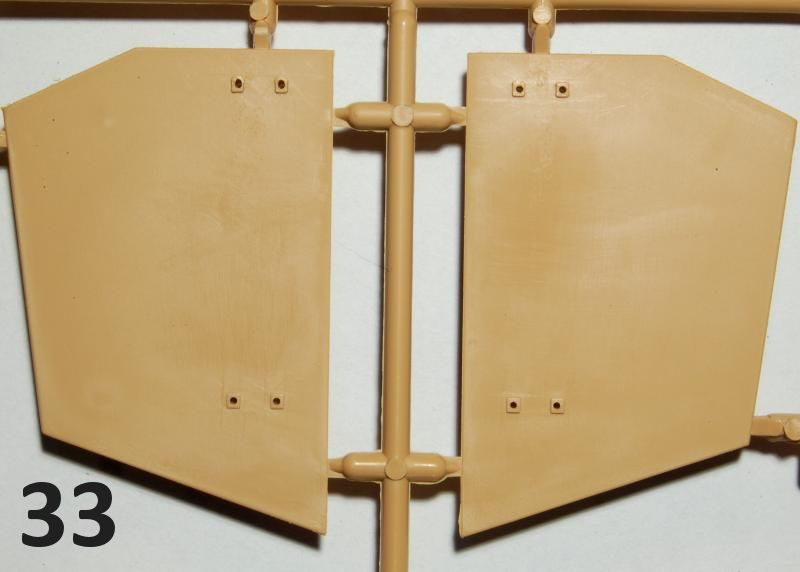
Moving towards final assembly, theres the usual hull top details, but relatively few tools with this vehicle, it seems just a multi-part jack (photo 26) and a track tensioner with a combination of moulded on and etched mounts. Some careful work will go into successfully building the brackets and then mounting the individual schurzen plates, as they attach to the hangers in, again, prototypical style, and once they are in place, the model will need to be handled very carefully.
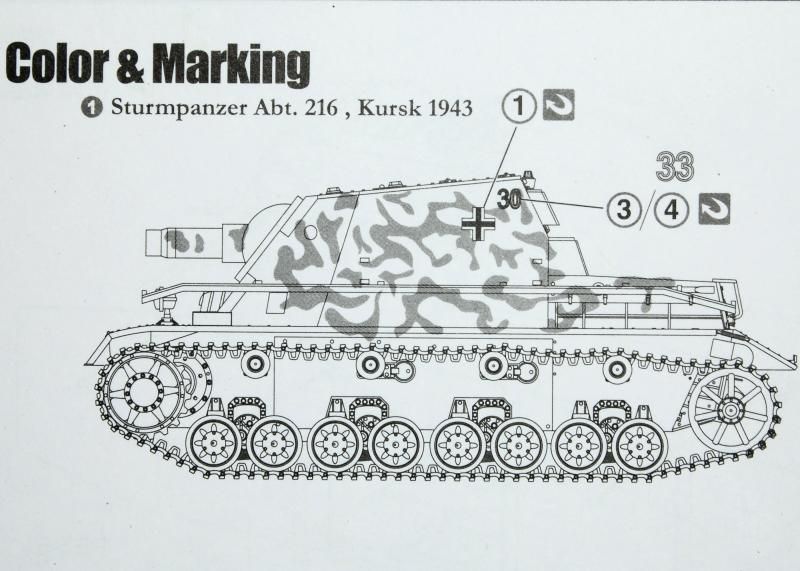
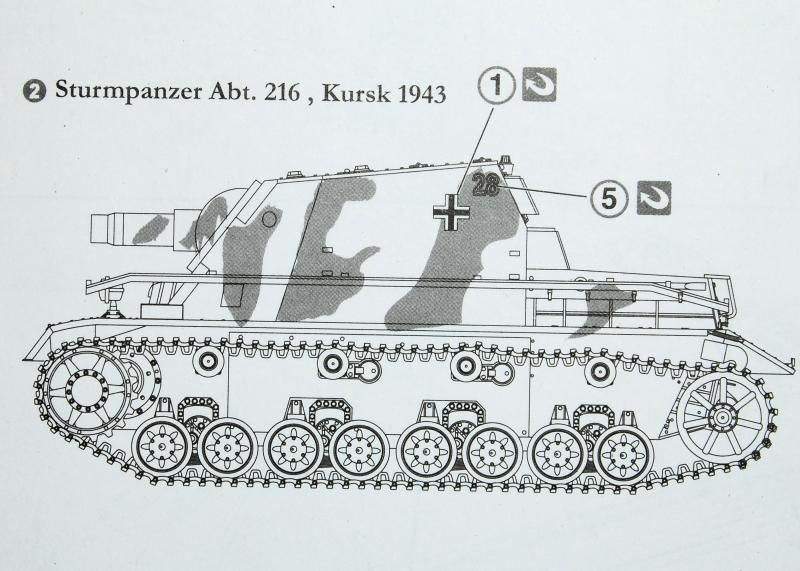
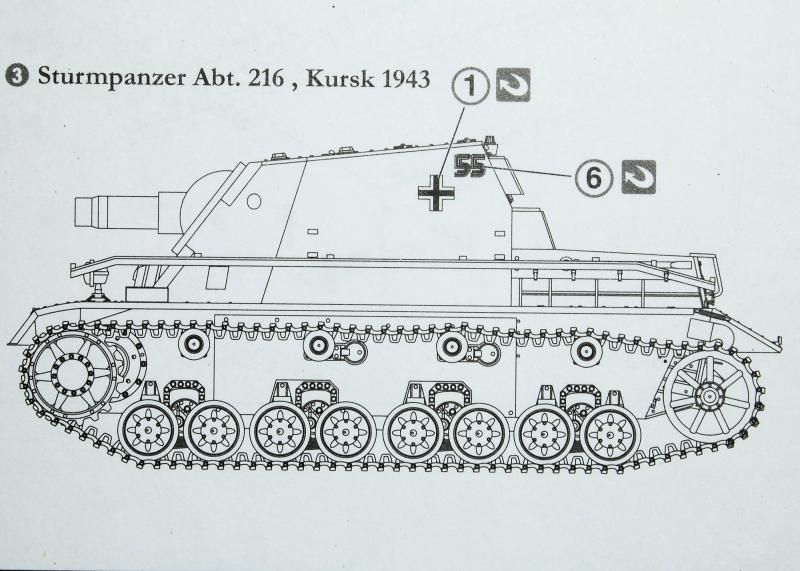
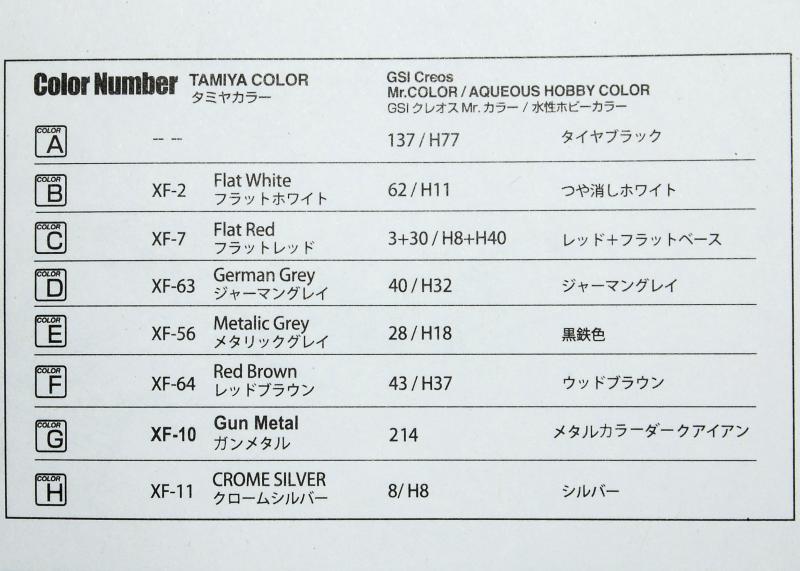
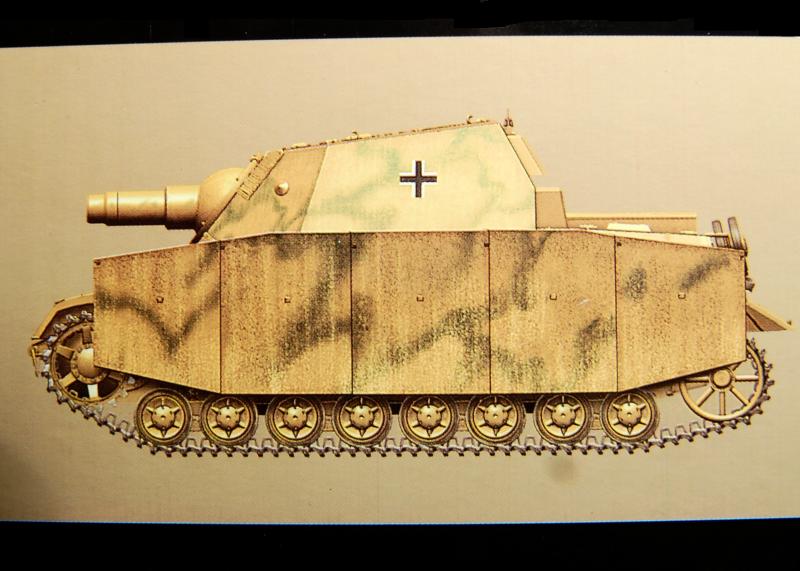
The three finishes presented are all for Sturmpanzer-Abteilung 216, specially formed to receive the first of the production run (specifically vehicle numbers 28, 33 and 55). Established in April, receiving its first Sturmpanzer and training in May, in June it joined Army Group Centre, and in July moved up to take part in Operation Zitadelle. Despite the instructions giving paint call outs for individual details during construction, there is a failure at the end to indicate which colours are being suggested for the overall paint scheme, and indeed the paint chart doesnt include a dark yellow, which is what the overall base coat should be, and the camouflage patches should probably be red-brown. For some reason the first colour in the chart isnt labelled and is only given as a Mr Hobby colour, not Tamiya, but is tyre grey.
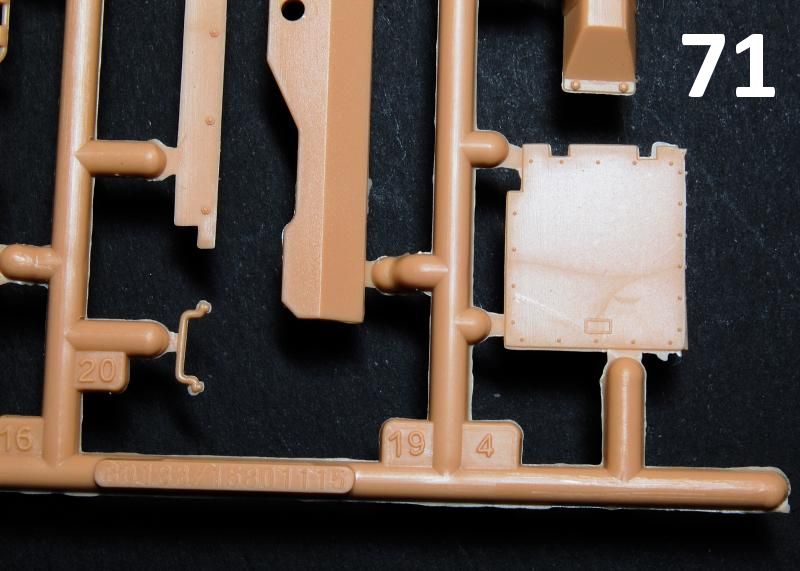
Viewing photos of these sprues in reviews of the original Tristar kit, the moulding looks as if it is very clean indeed; eight or so years later, and with a change of ownership, it is possible that some of the sprues exhibit a little more flash, noticeable particularly on one edge of sprue A (photo 71), although note that this level of flash is not present across all components even on this sprue, and certainly not across the whole kit, as should be evident from the close up photos.
Instructions seem clear enough, with only one or two stages being quite busy, and with no silly instances of hidden mounting points. From what I can tell, one or two incorrect numbering issues in the original Tristar instructions appear to have been corrected, although the drawings are the same.
Conclusion
Overall impression is that this is a relatively complex kit to build that will suit the more experienced modeller, but one that should prove satisfying to build in terms of the amount of, and accuracy of, the details. There is the issue with the incorrect tyres, though with them being separate from the wheels, it is correctable for those that wish to fix it, and then the apparently incorrect muffler type. Otherwise the details, including main dimensions, seem accurate as far as I can tell, when compared to the reference of Panzer Tracts No.8-1, which has been published since the original kit was created.
So it seems that Tristar did a pretty good job of designing and executing the original kit, and now Hobby Boss have done a good service by taking on and reissuing the kit as it was, without any corners being cut. Even better news, despite all of the good stuff still being in the box, and despite it being such a nice kit, is the price: in the UK this is retailing for £27.99, which in the current context of kit prices seems like good value.
References
Hilary Louis Doyle, Lukas Friedli, Thomas L Jentz Panzer Tracts No8-1 Sturmpanzer (Panzer Tracts 2014)
Bruce Culver, Don Greer PzKpfw IV In Action (Squadron/Signal 1975)
Related reviews
Sturmpanzer IV Early/Mid-Prod.


Comments