Vehicle history
On 5th August, 1940, the Inspektorat(In) 6 instructed the Wa Pruef 6 to develop a reconnaissance vehicle suitable for underdeveloped regions (Panzerspahwagen fur Colonialzwecke), a concept generally associated with the Afrika Theater, but that would be equally useful on the Eastern Front. The vehicle was to use similar components to the Sd Kfz 231, but with an air cooled diesel engine, improved fording capacities, monoblock chassis and strongly armored (30mm). The chassis was ordered to Büssing Nag and the engine to Tatra.
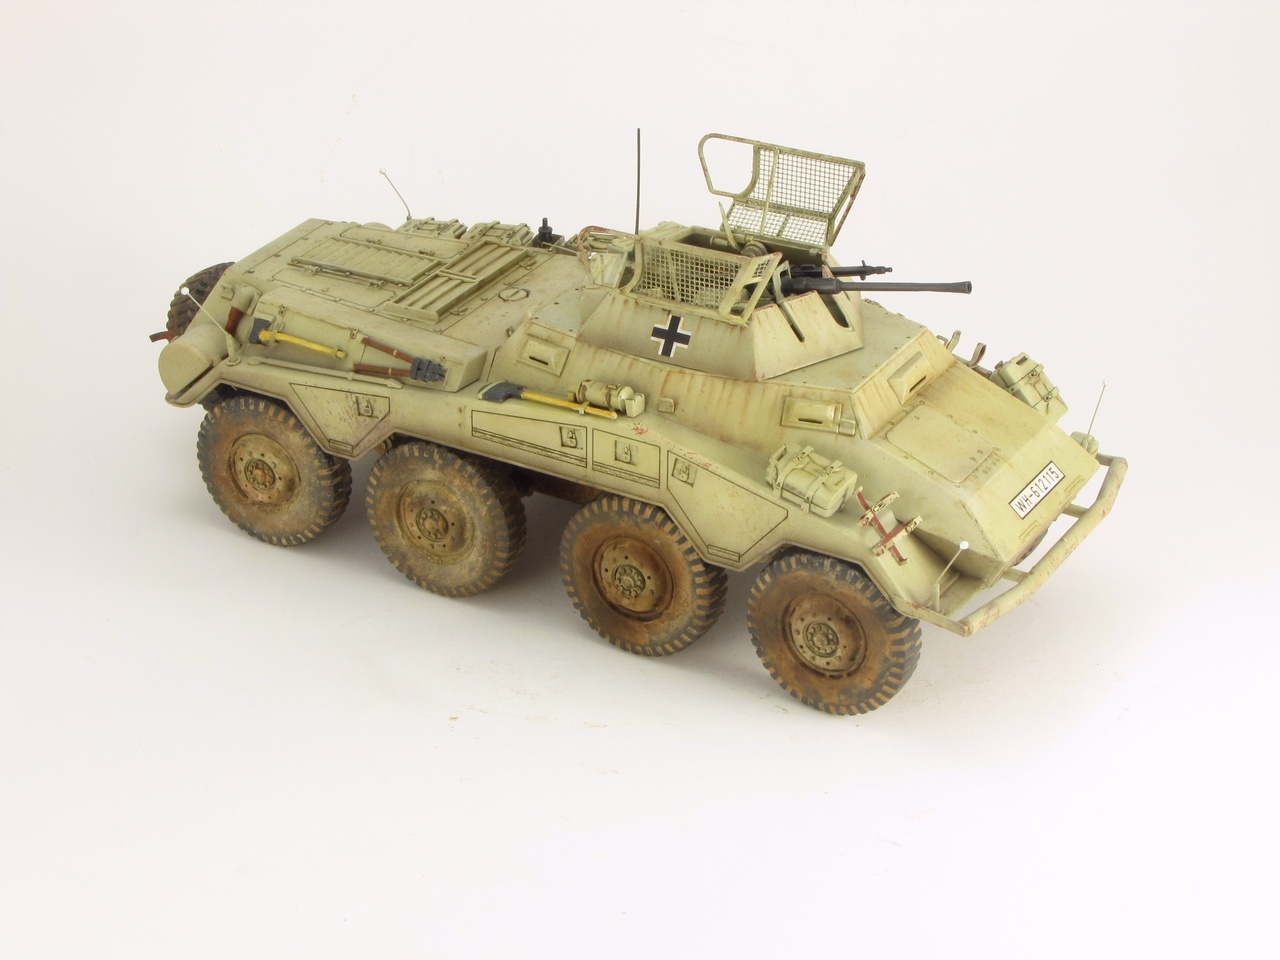
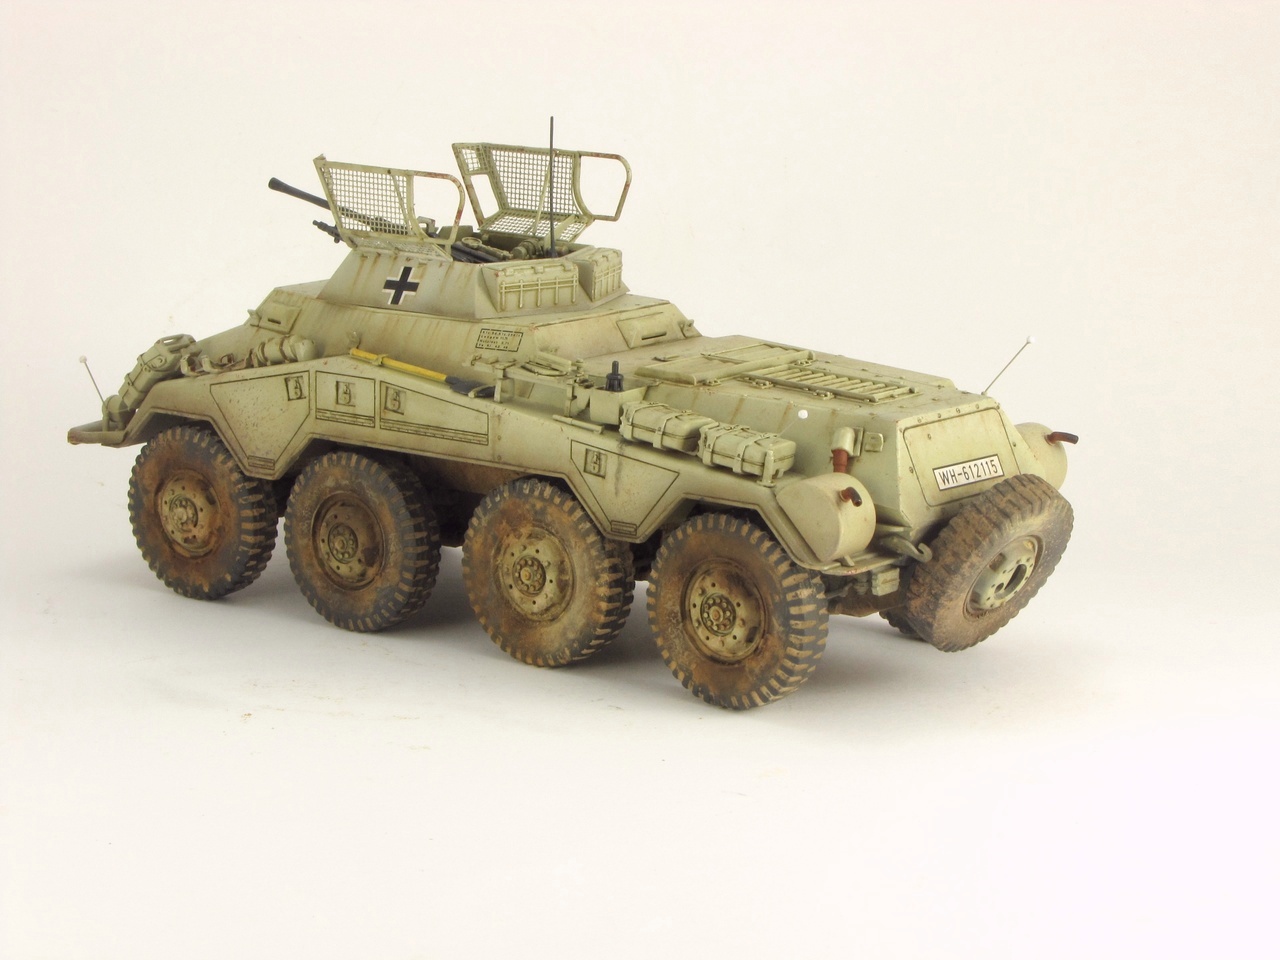
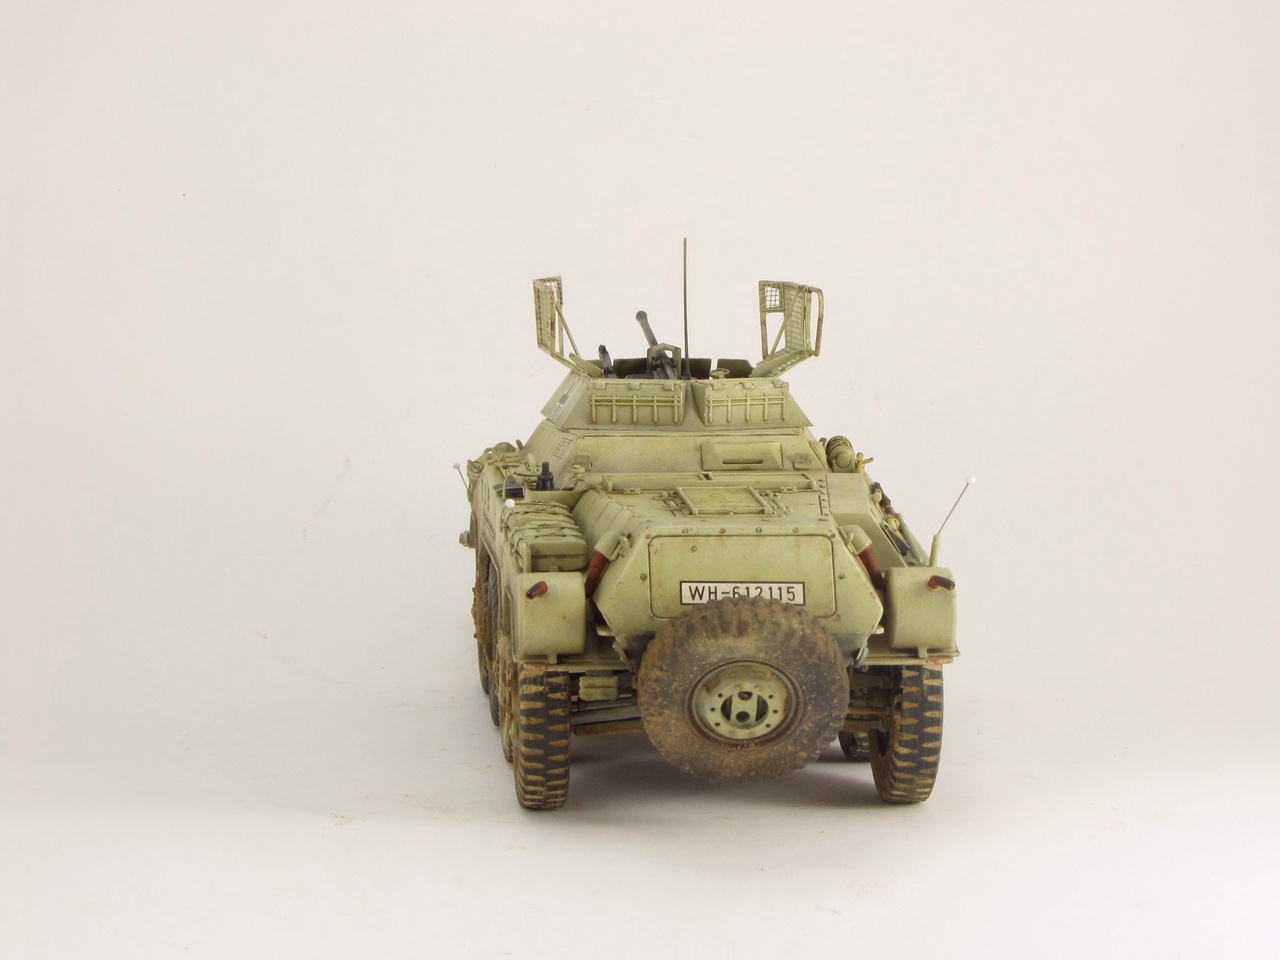
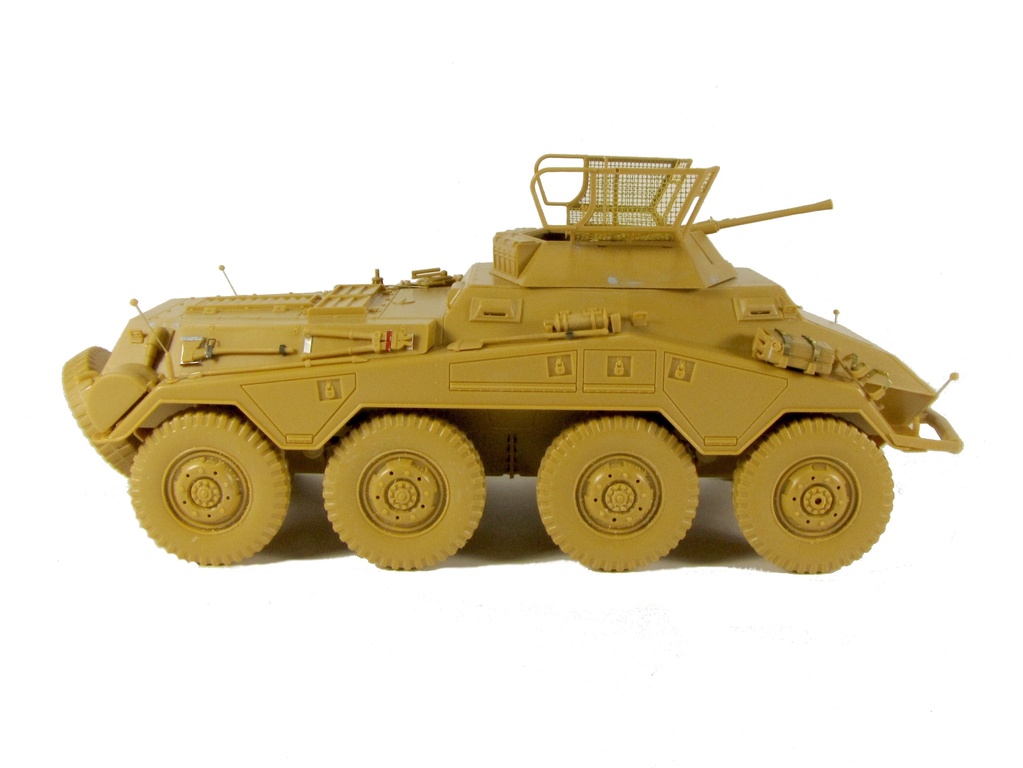
At 11,5 Tons, they were heavy vehicles and despite what you may think of a wheeled vehicle, remarkably large. Compared for example with early models of StuG III, it was longer and higher.
The first vehicles were of the 234/2 variant, however in September 1943 it was ordered than 50% of the vehicles had to mount he KwK38 gun.
200 of the 234/1 were built, and saw service on Aufklaurung Abteilungen of several units from July 1944 onwards.
References
The best references I have found are quite old, and probably hard to get. Military Ordnance Special nº 24 has many great photos of the captured vehicles for all the 234 series, reproduced in large format. Ground Power magazine nº 7 has also excellent detail shots that will be useful for any 234 kit, both of the captured vehicles and wartime.
Other books like Kagero #20 and Armour Photo Gallery #4 focus on the two preserved vehicles, a 234/3 and a 234/4. While they offer a much better detail, everything has to be taken with care as the restorations have been quite creative...
And of course you can find several photos online. But unfortunately there are not that many photos of these vehicles in service.
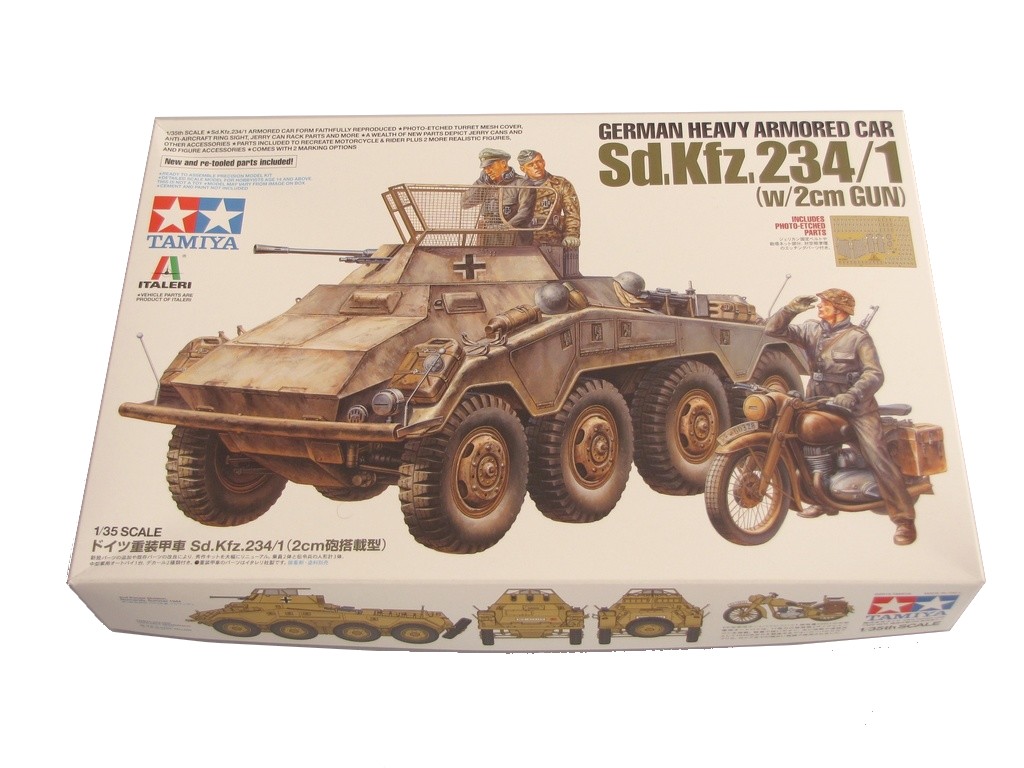
The kit
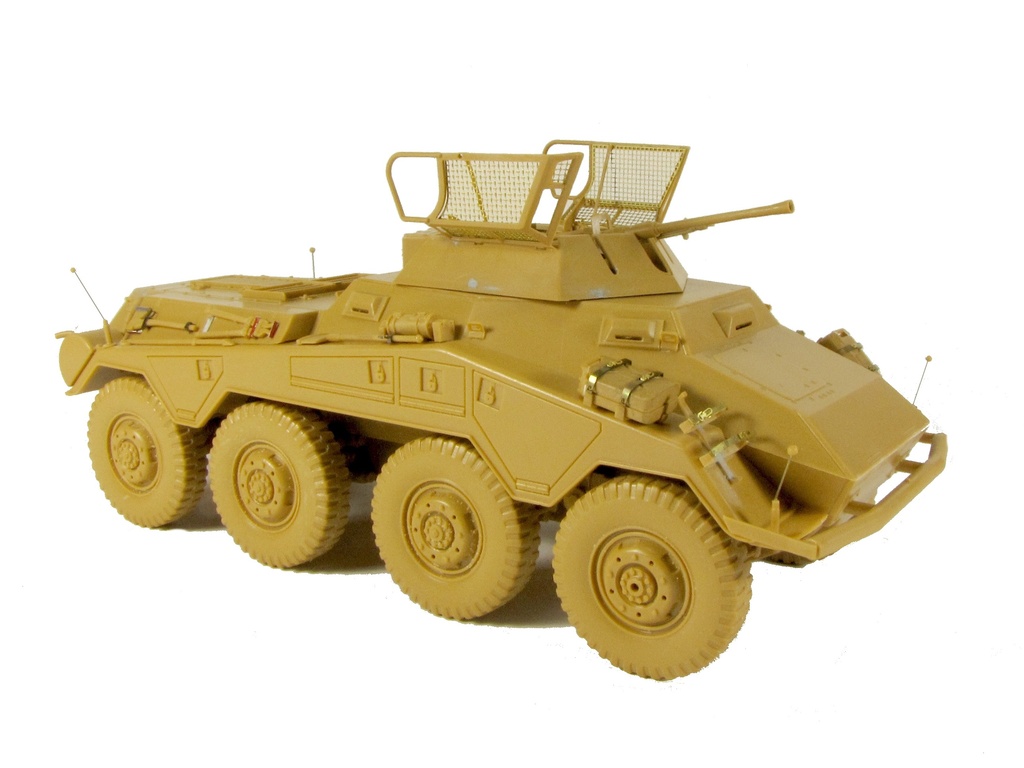
The base for this kit is the old Italeri ref. 294, reboxed by Tamiya and with the addition of several extras.
The overall quality of the model is not up to XXI Century standards, with somehow soft details, incorrect measurements and wrong interiors. However it has a decent fit, not too many parts and the result is fairly nice.
It has been updated with several parts that improve the original model, but for example the photoetch is marked with Italeri logo, so I am not sure which ones are from Tamiya exclusively.
There is a new set of jerry cans as well, which were a priority for this kit.The old Italeri ones were completely out of shape. Now they look right
Also you get a photo etch fret for the bins straps, turret mesh and gun sight.
The tools and lamps sprue is new as well, and much better compared to the old ones.
Marked as Tamiya items are also three figures, a bike and their classic German infantry equipment set.
The instructions have been reworked by Tamiya. They are very clear,with additional side views and notes when needed. It was very easy to follow them and there is no doubt about where and how each part goes.
Contents
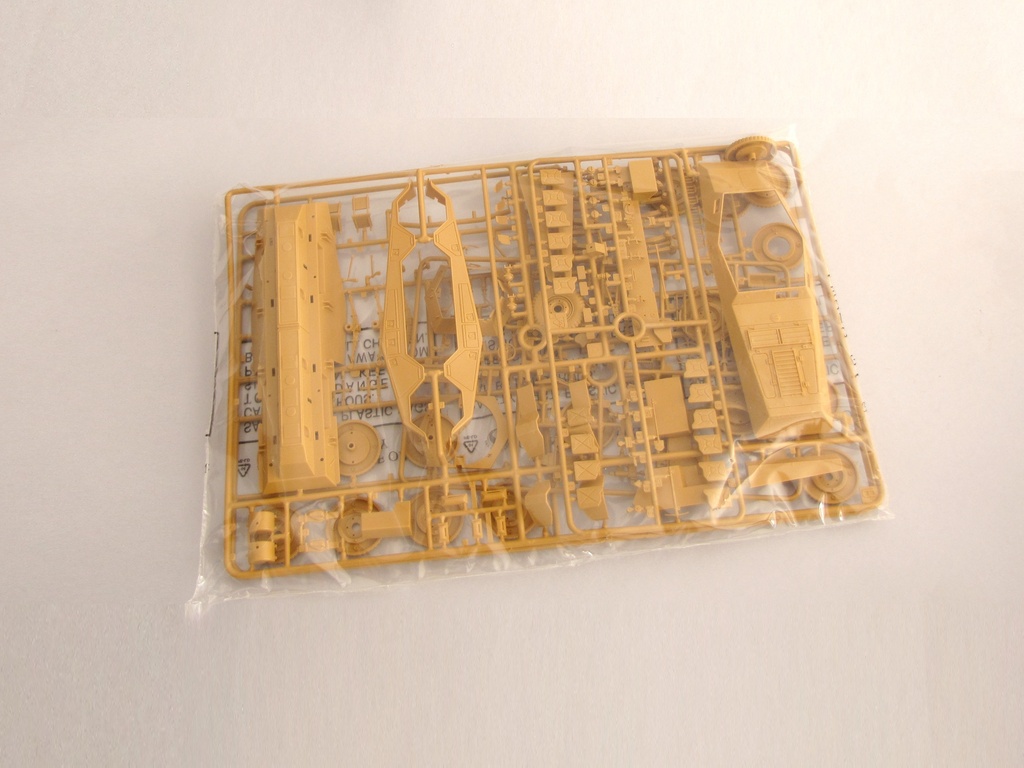
Inside the box we have 5 plastic bags with:
- The vehicle sprues
- The DKW NZ 350 motorcycle
- German infantry equipment sprue
- Photo etch
- Figures
- And a sheet of decals
Building
The first five steps cover the
suspension and wheels.
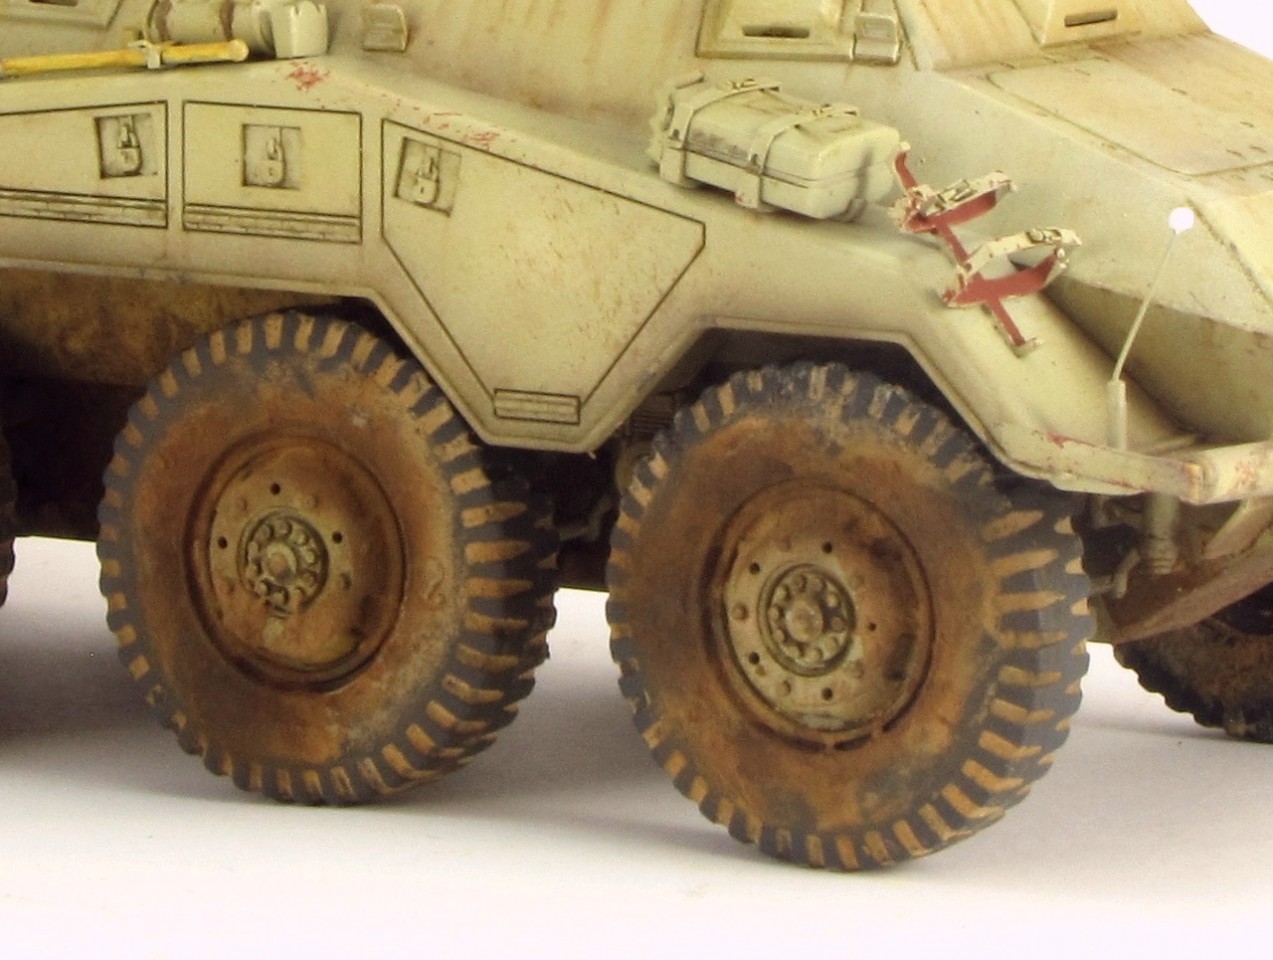
The suspension could be superdetailed using appropriate references, however and considering that most of it will be hidden I think it is not worth the effort.The vehicles of this series could be driven from both ends, so all 8 wheels were directional and you may show them all angled. Just keep in mind that the front four rotate opposite to the rear four, and the four middle ones rotate less than the front and rear ones.
The wheels are fixed to be shown straight. However is quite easy to turn them. Make two cuts on part A6/A7 to separate the ball and reposition it on the desired angle. Cut also A14 so it keeps in touch with A6.
There are not many special remarks in this area other than carefully follow the instructions. Some parts are handed and it is easy to put them on the wrong side.
The suspension arms and springs have a very prominent seam as a result of mould misalignment and need intensive work with the file. Most probably very little can be seen once everything is in place, but i removed it just to be on the safe side.
While the instructions attach the suspension arms on one side each time, I prefer to work both sides at the same time, to ensure they are correctly aligned. As they do not fit tightly, it is much easier to check if they are straight when you can compare both sides.
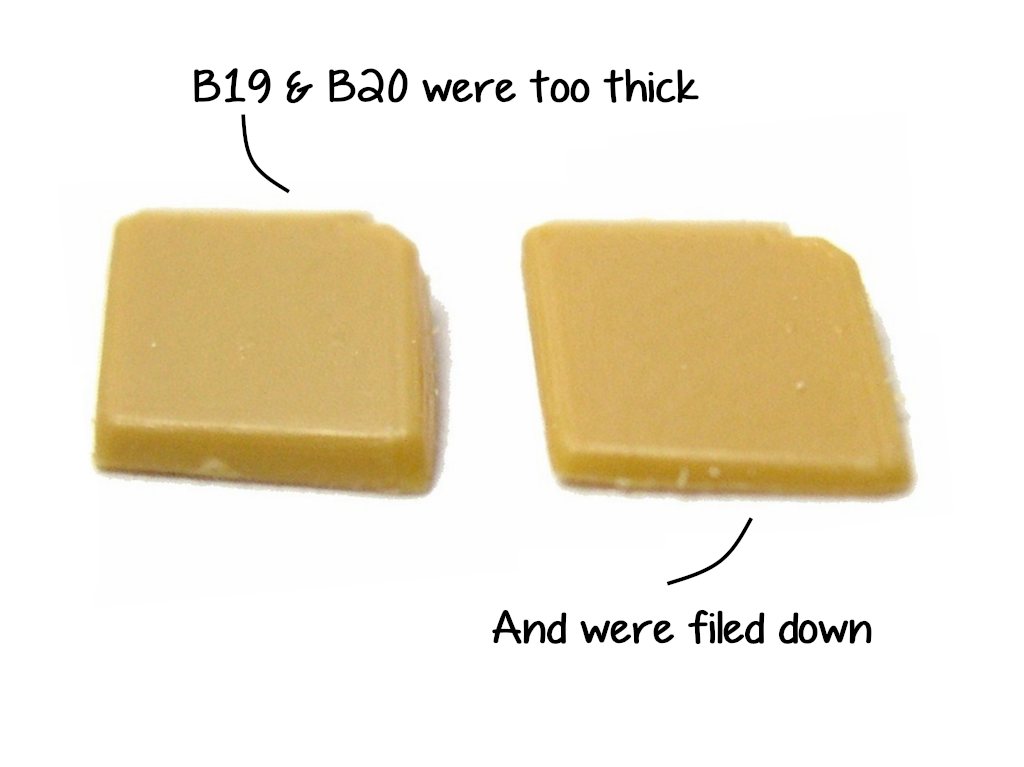
Parts B19 and B20 look too thick so I filed them down. From the photos I have seen I think they should be angled from the hull and in an insider position than shown on the instructions. Anyway the attachment to the hull is wrong, but it was too late when I realized. The mudguards are slightly narrow and would be better with 1,5mm more.
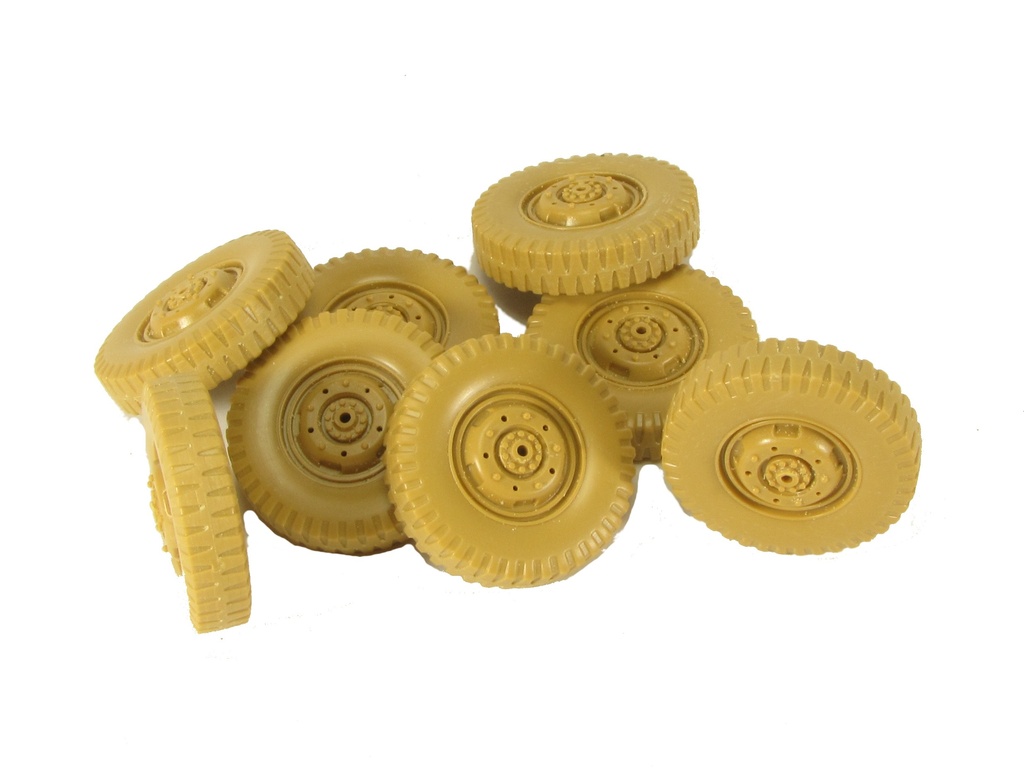
I have left the wheels apart for easier painting of them and the lower hull. They will be glued in position once everything is painted. They could be left free to spin but I do not see the point. Both halves do not match very good and they leave a seam that should be removed. You may consider an aftermarket set of wheels, some even have different tire patterns (which was common on these vehicles).
Next comes the
interior, which is in fact useless. First because almost nothing can be seen once the turret is in place -even less if you put the figures- and second because it is so poor that it will be better used on another project. Therefore mine went straight to the spares box and i simply painted it flat black. I kept the engine firewall B31 because it reinforces the hull sides.
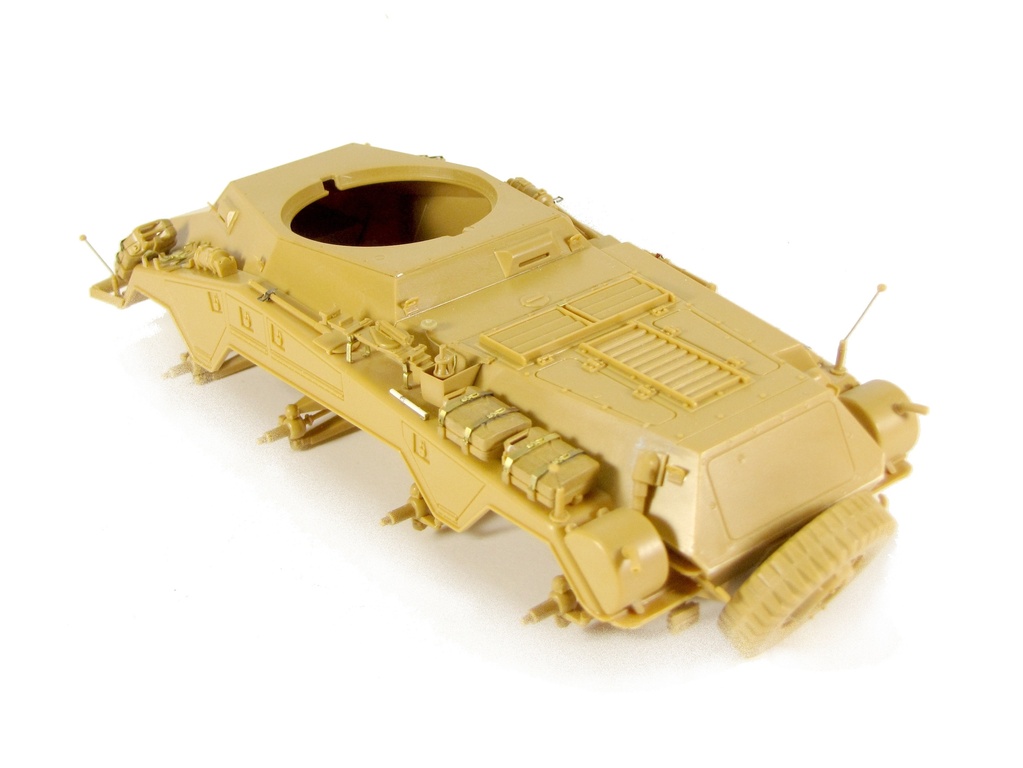
Closing the hull is not difficult. The fit is less than perfect because the upper hull seems to be slightly warped and there is a medium sized gap on the rear, but gluing the front and forcing the rear part afterwards is enough. Only a small gap remains because it is a bit smaller but can be easily corrected with filler.
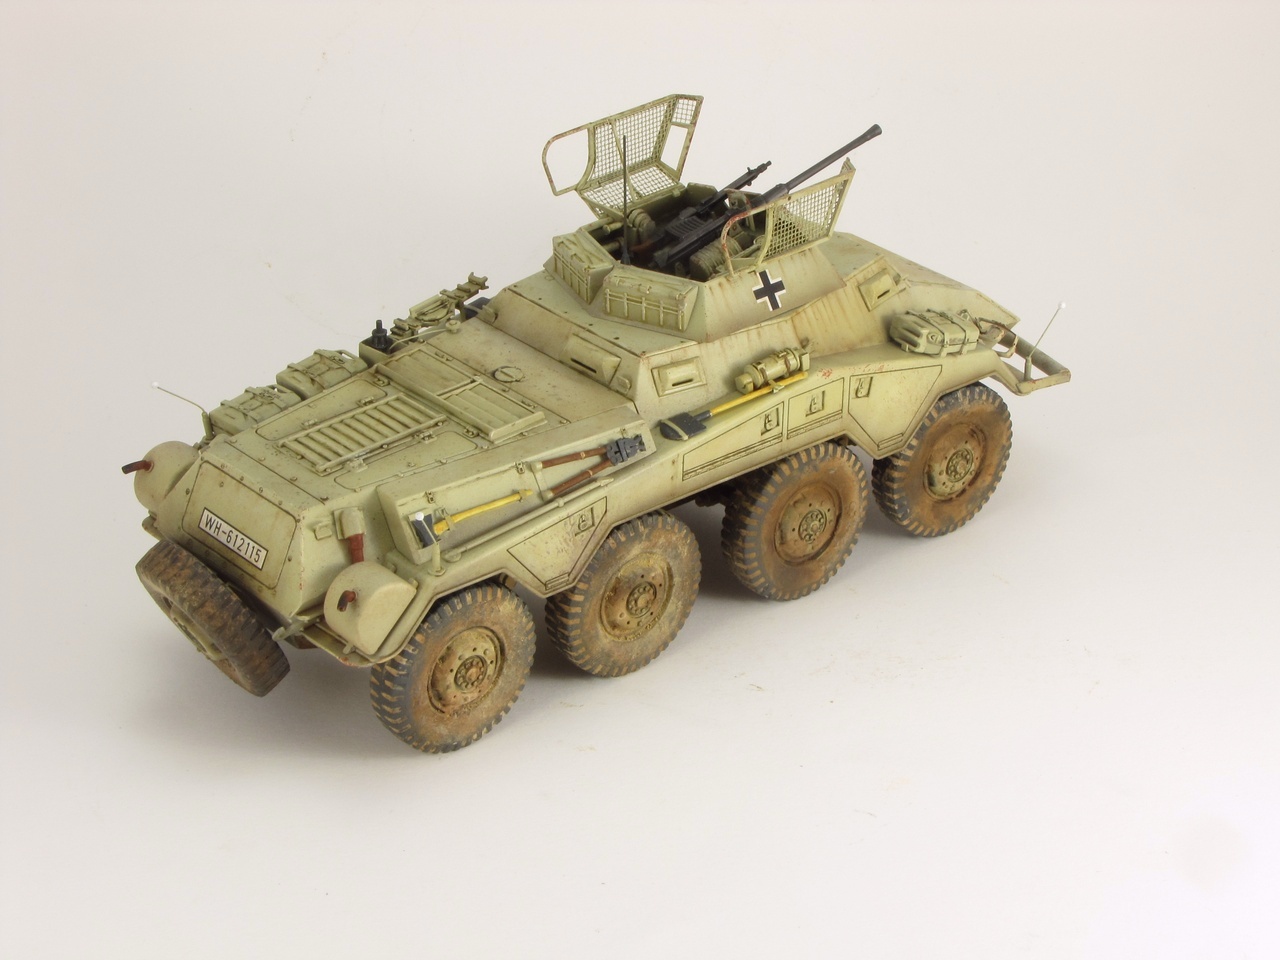
As for the
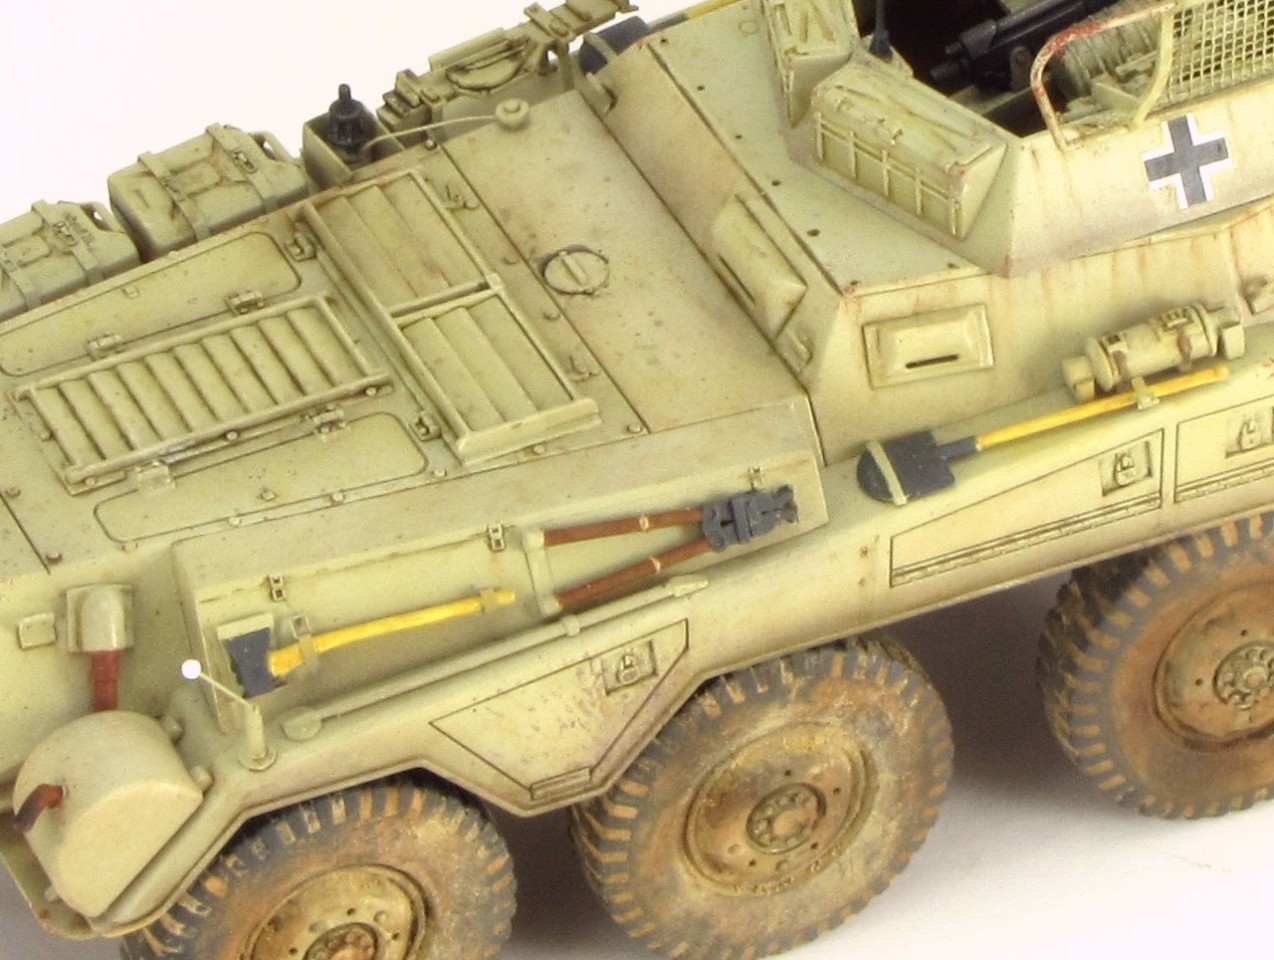
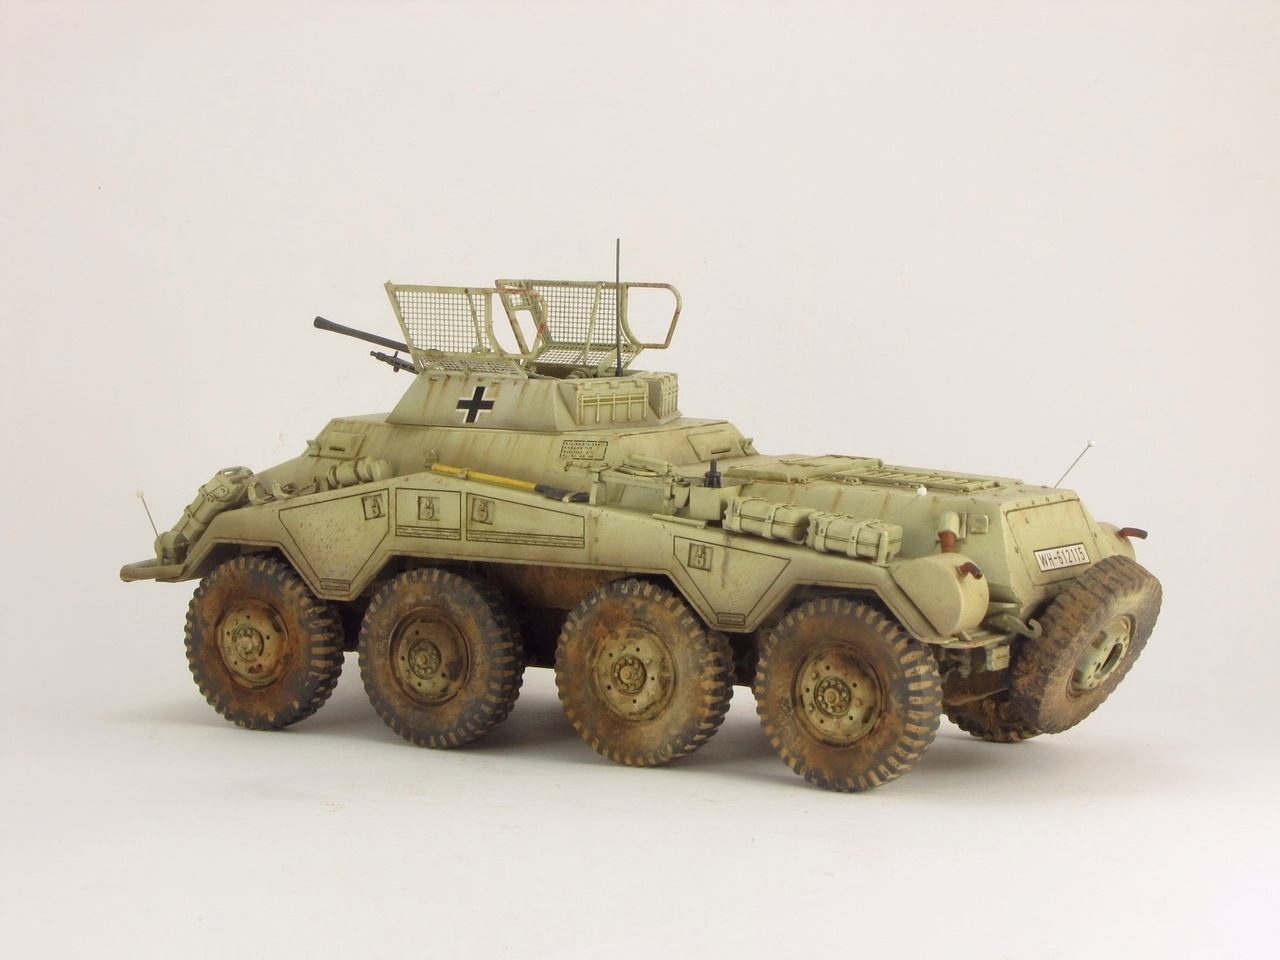
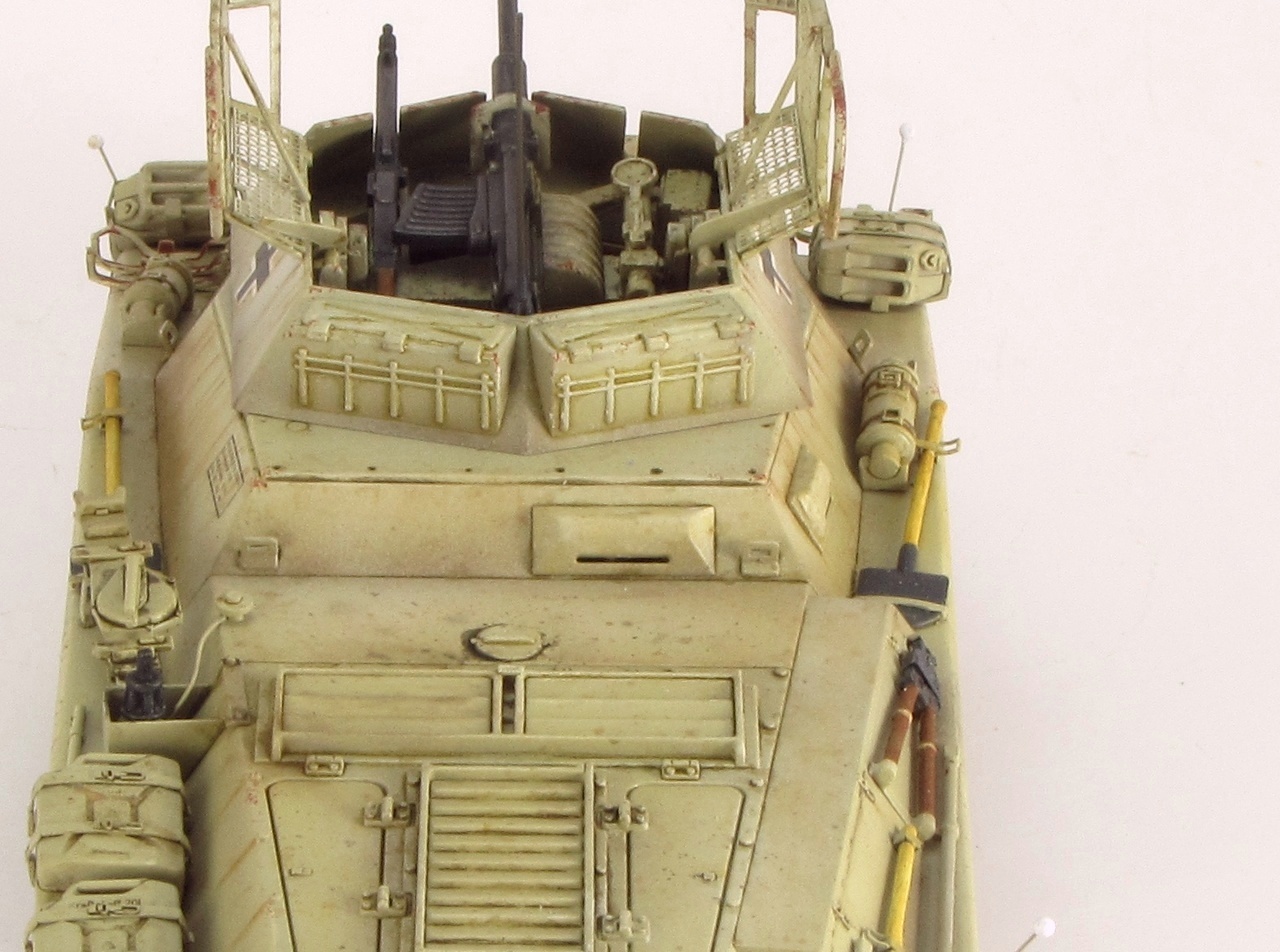
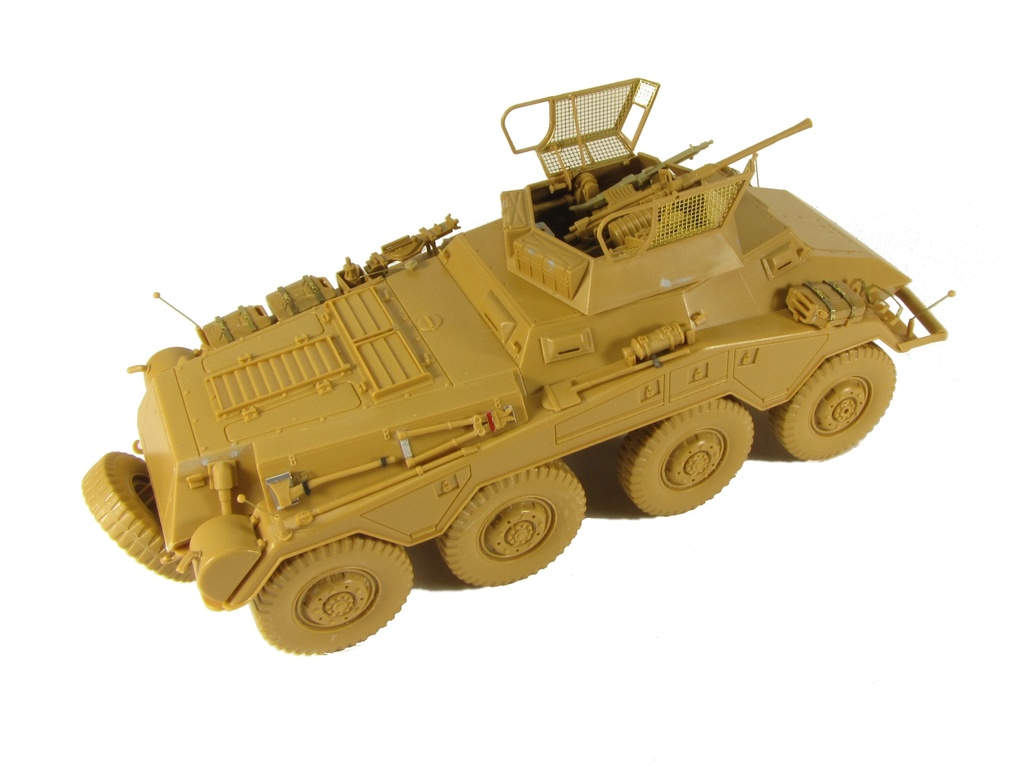
on-vehicle equipment, the axe and pincers supports on the large toolbox are completely wrong, I made new ones from aluminium foil and replaced the straps with a generic Eduard PE set I had. Both shovel straps were replaced as well. The lamp base is not correct and had to be rebuilt, I used the base of the original kit removing the sides.
The tie downs A48 are way too thick, sanding them will be enough to make them look much better without using additional photo etch. Same for antenna base cover (D12) and jack supports (D24, D25). The latter can be built using PE leftovers and bending them.
You can add also the connection point for the antenna, its cable and the lamp cable. There was a wrench carried on the left hand side mudguard, close to the antenna. It can be easily built with a thin styrene rod.
The new jerry cans are very nice, and you can either use them all or leave some empty supports. The base of these supports is, again, too thick (1 mm at 1/35 means they would be 3,5 cm!!). From the photos I have seen it was more common to have them with the spout facing outwards and the rear ones pointing forward. However any combination is possible.
Note that the front ones should be positioned higher than seen on the instructions, its upper arm does not rest on the angled part of the mudguard.
The width gauges are too thick so the poles were replaced with thin wire.
The tools, width gauges, jerry cans etc. on the mudguards are really cramped and the kit does not provide any guiding marks at all, so you should either put everything at once, or at least, dry fit all items together to ensure there is room enough. I did not take it into account and had to reposition several items once glued.
I am almost sure a couple of ammunition boxes were carried on the front right mudguard, because the supports can be seen in a photo. However,I have not been able to find any proof of it in use.
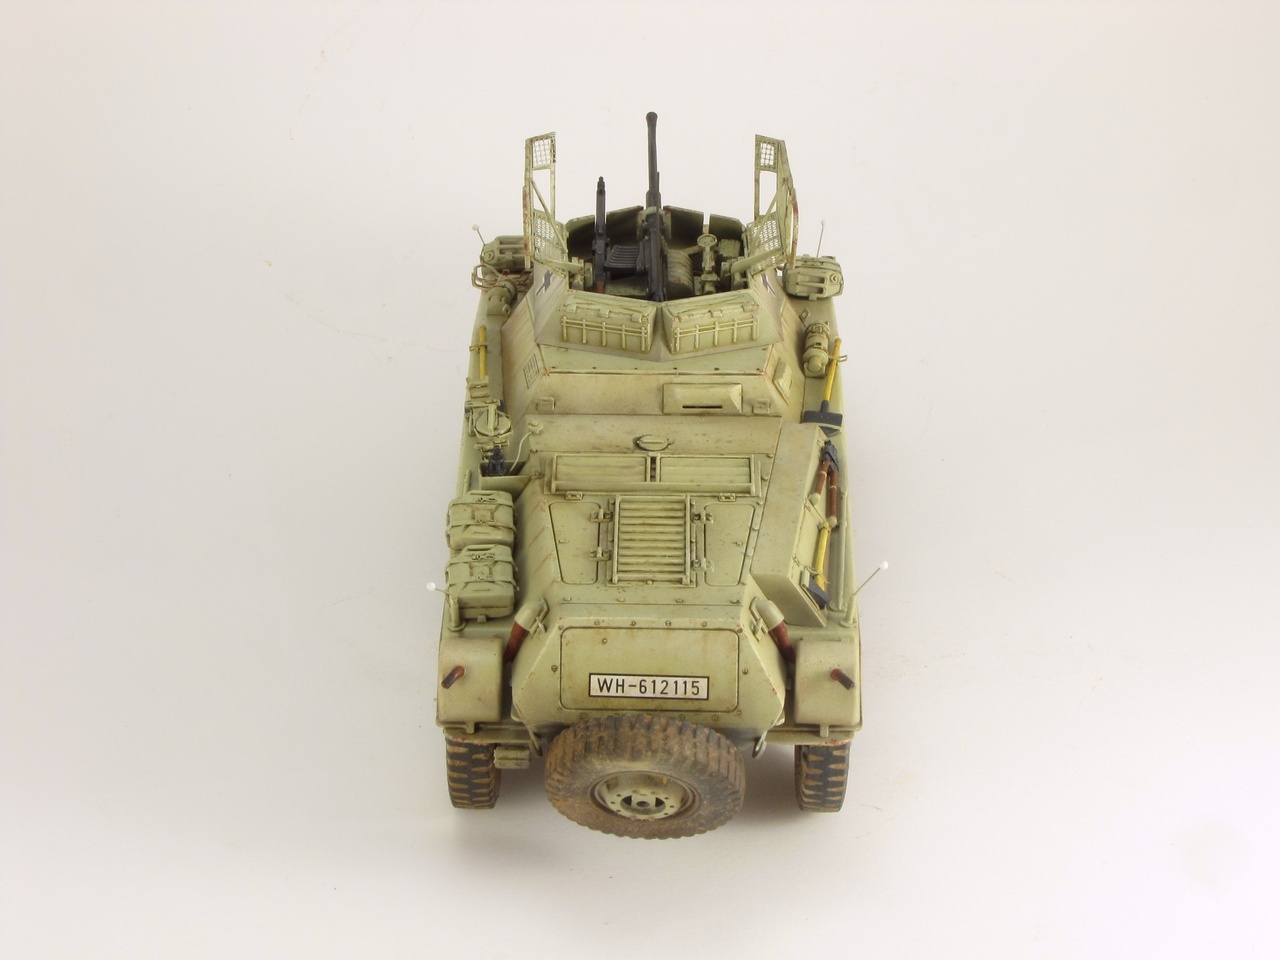
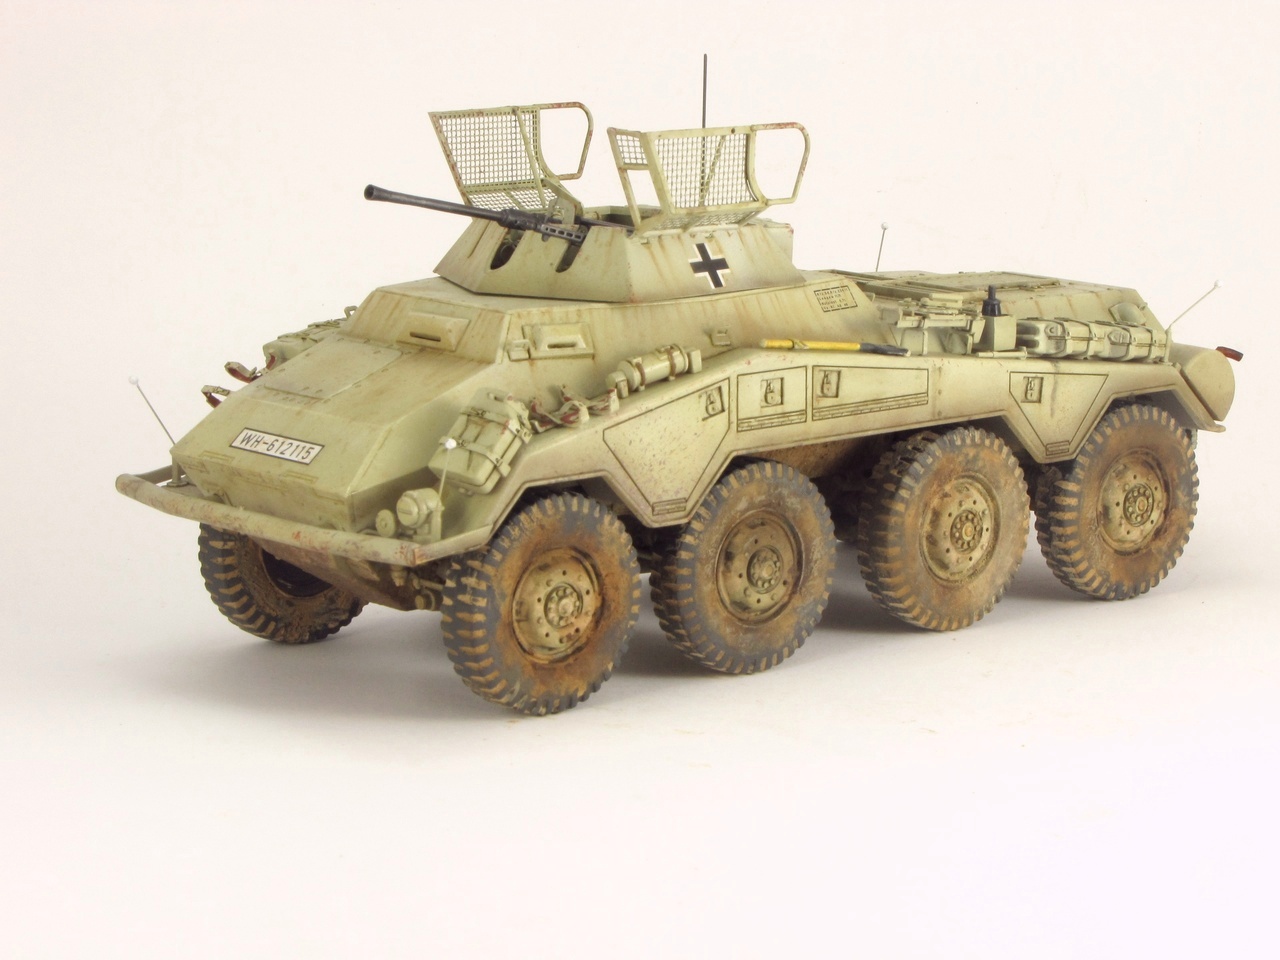
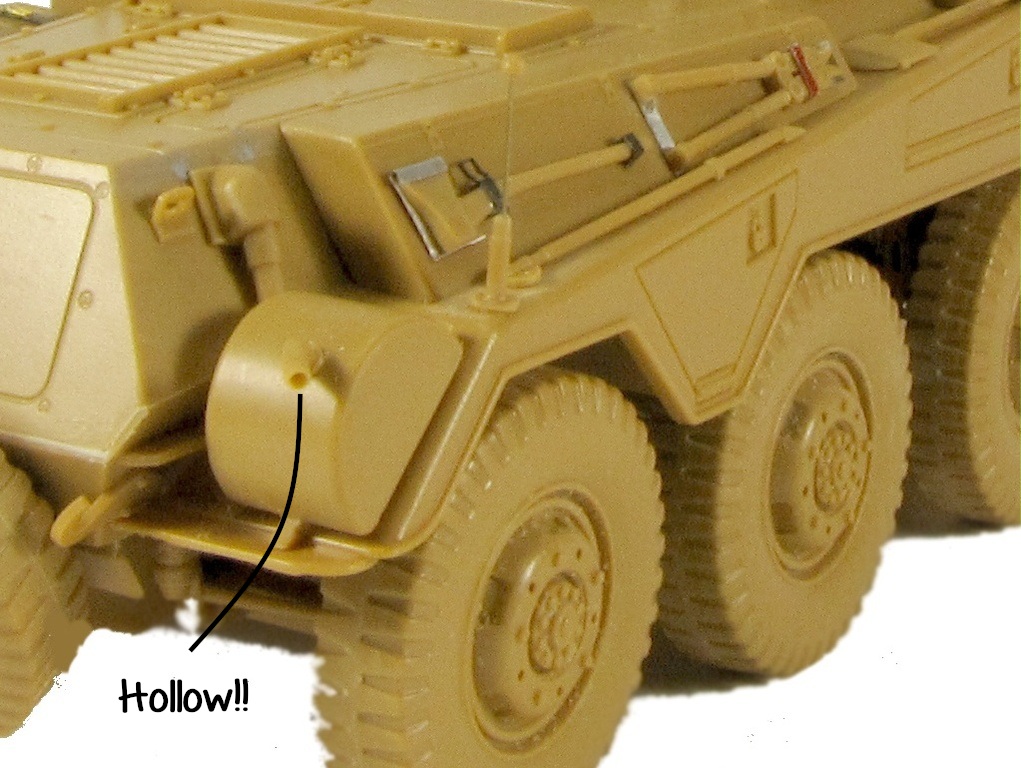
Positioning the
mufflers is a bit tricky, as they do not fit well if the exhaust pipe (A59) is already fixed in place. It is better to glue both at the same time so you can adjust the position. According to the photos I have seen, the real exhaust were hollow, unlike parts A61 so they will look better if you carve the tip with a sharp blade (or drill).
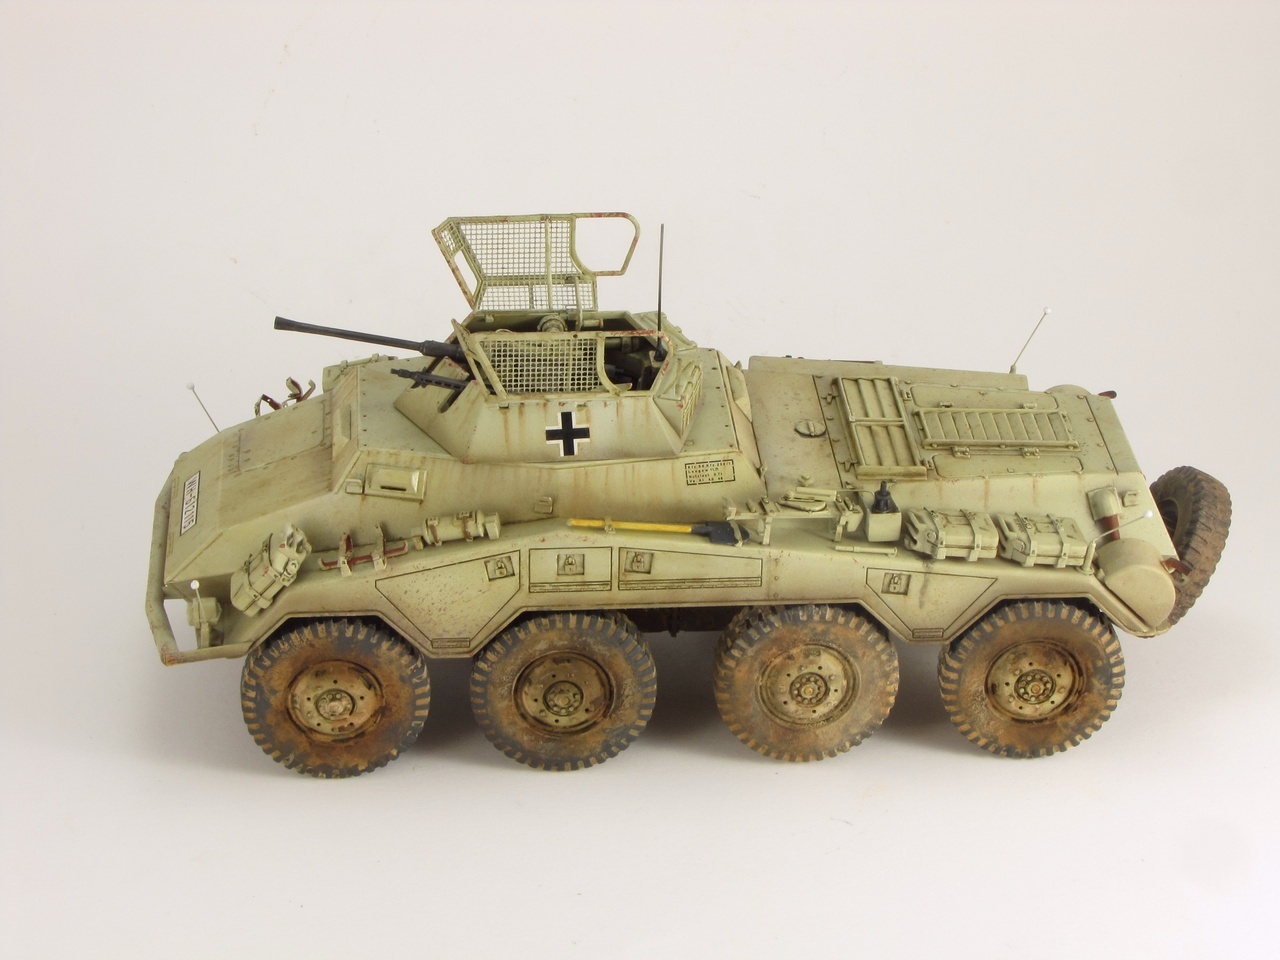
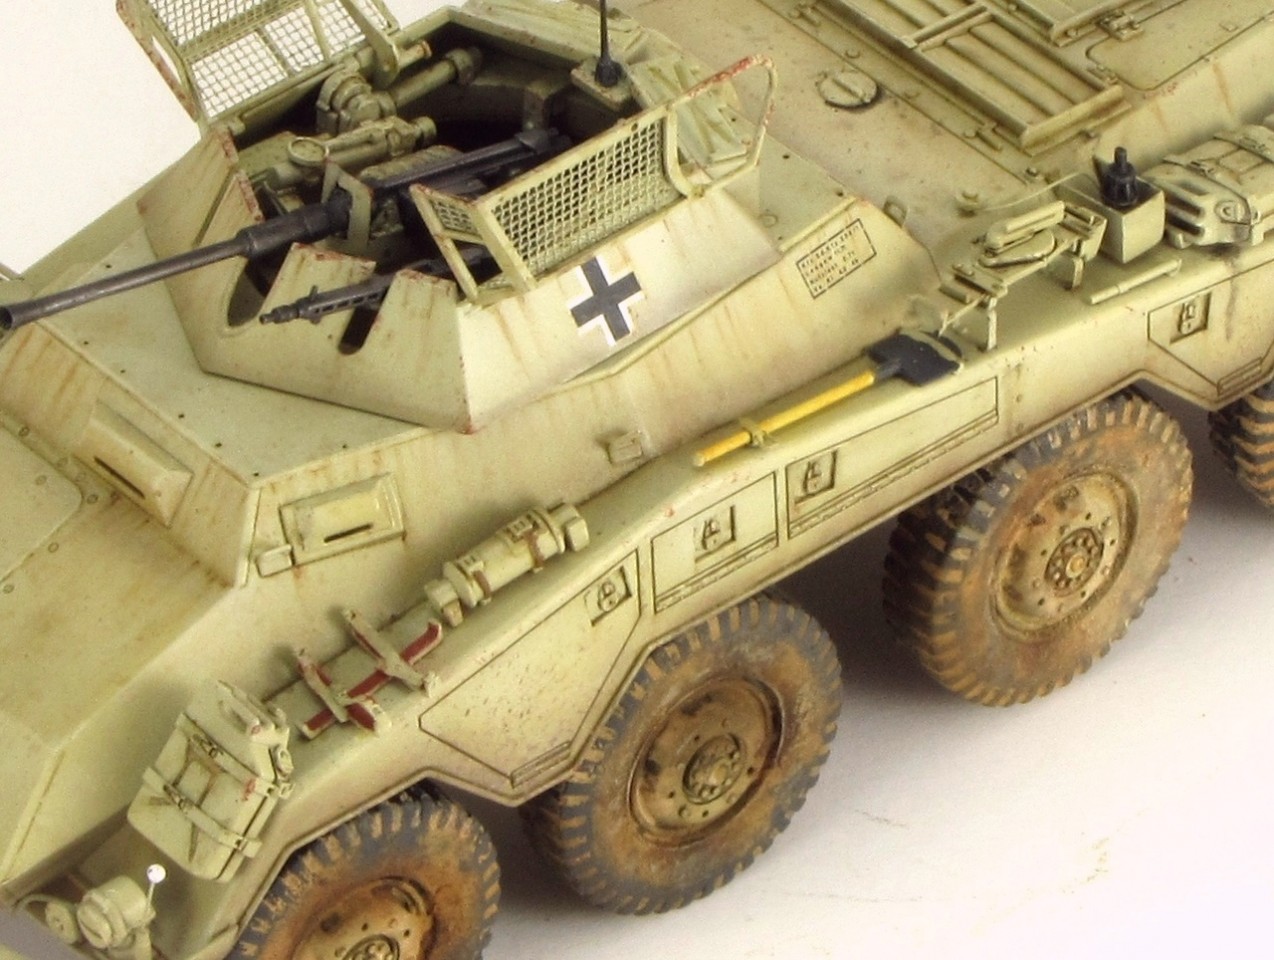
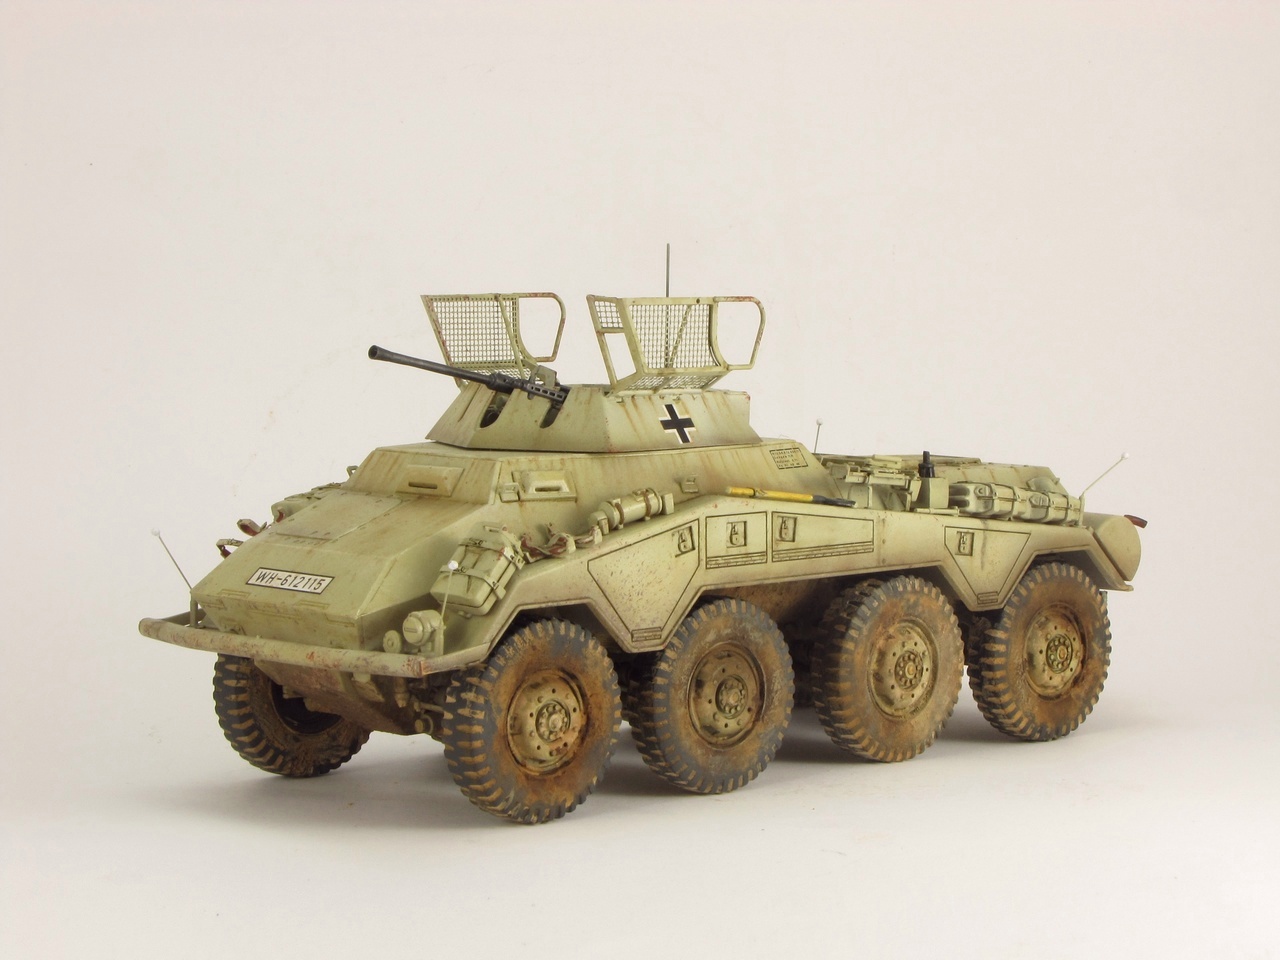
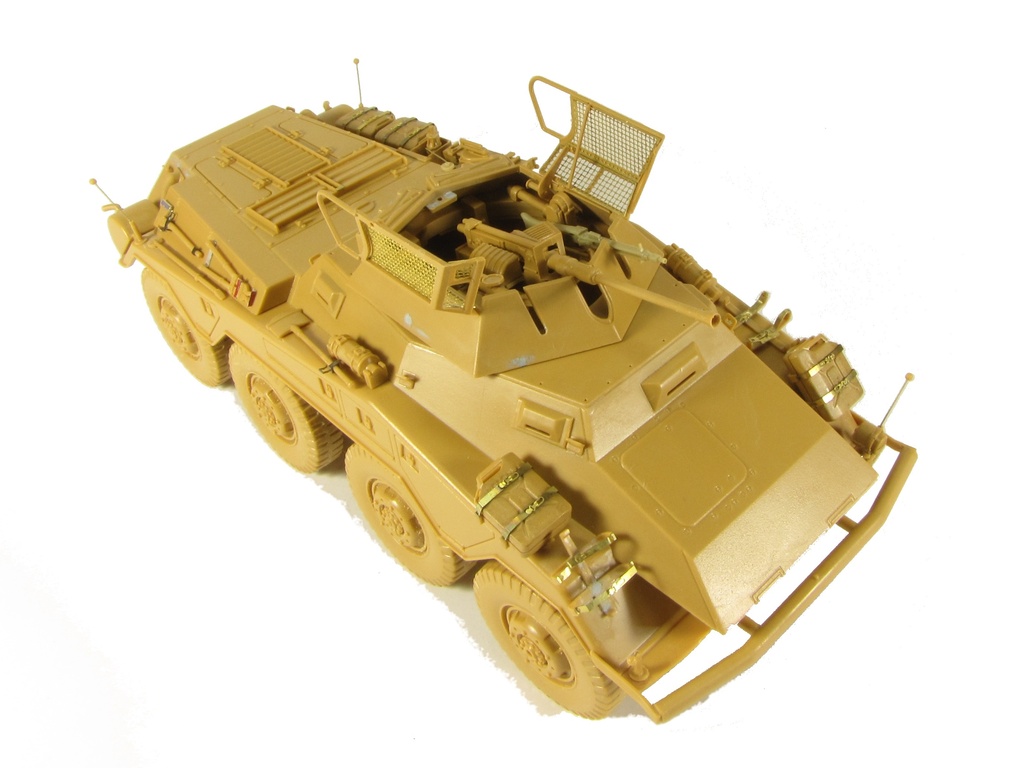
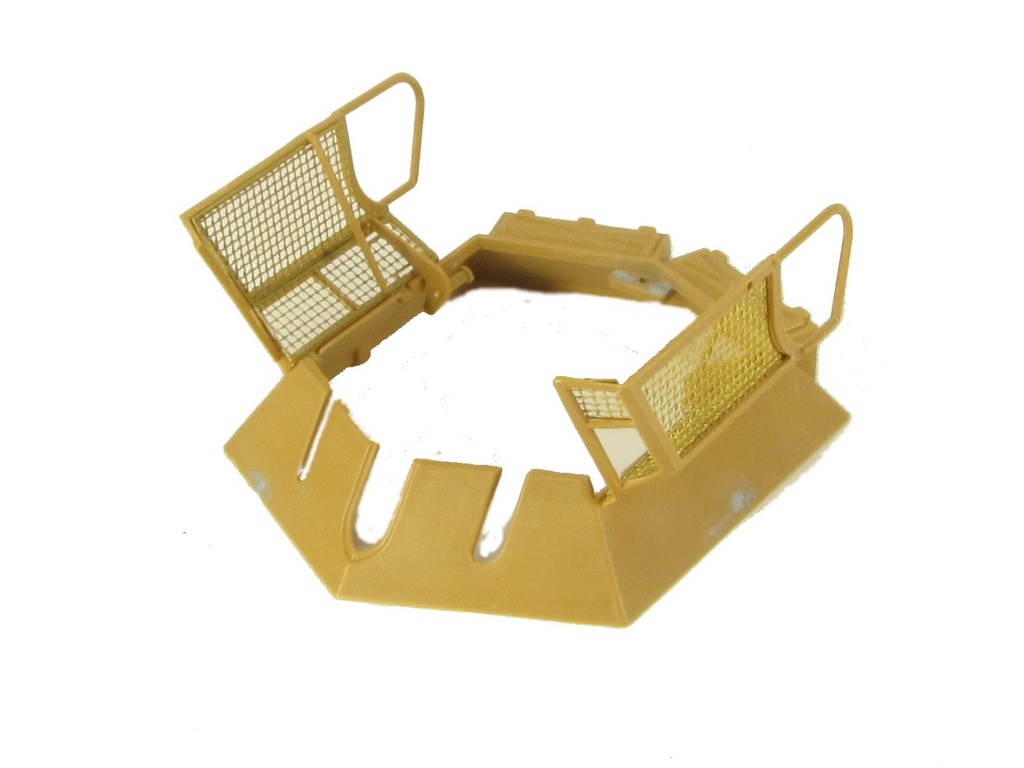
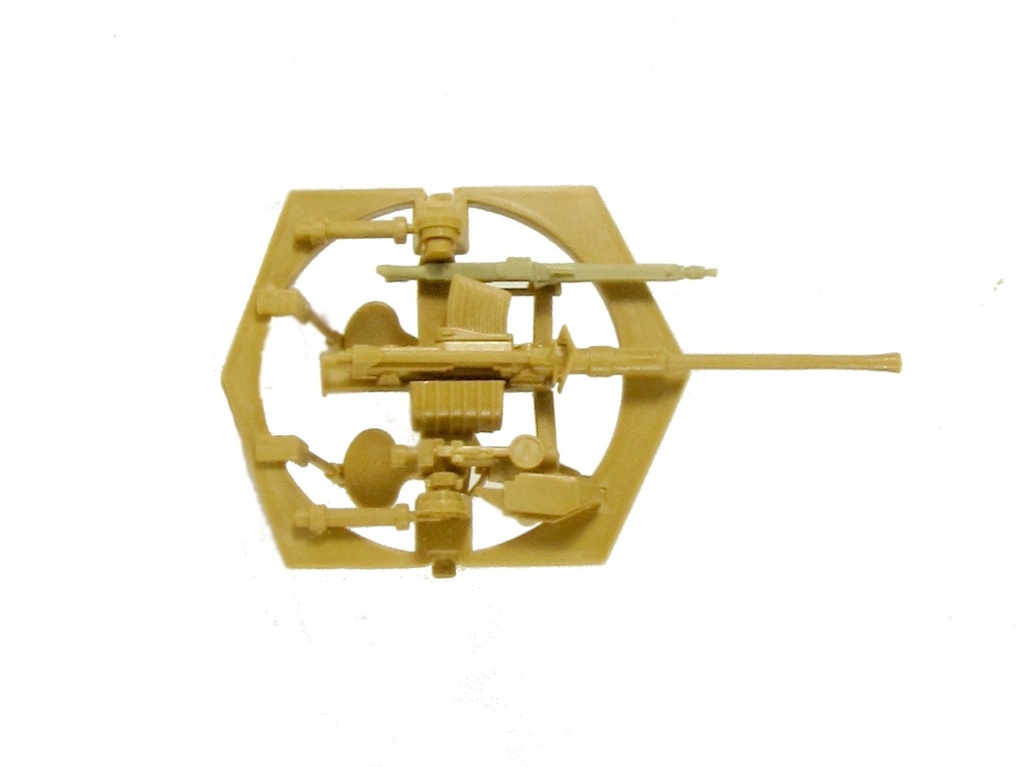
The
turret has more than a few issues. A lot of interior parts are missing, the seats have a completely wrong shape, the outside has several sink marks to be filled and again there are many mould seams.
The barrel is especially sensible to this mould misalignment. It is quite hard to leave it round again, and the front part has a step also. Therefore the muzzle (C82) does not sit flat. I had to cut the guiding pin at the barrel tip and leave both this part and the muzzle flat. Dry fit required. All in all, I would recommend to get a turned metal barrel.
The gun arms C87 and C91 have some tricky fit so it is better to leave the hand wheel C89 out until these parts are in place.
On the other hand, the PE mesh was very easy to put in place.
Summary of Improvements
In short, these are the changes I made to the kit:
- Sanding several parts that are way too thick.
- Add a wrench missing on the left side.
- Change tool straps on shovels and large toolbox
- Add wiring for the lamp
- Add antenna connection and its cable
- Add connecting rods to engine grills
- Reposition the front jerry cans
- Change the width gauges
- Rework the lamp base
Extras
Apart from the 234/1 itself the box comes with other extras that, although not needed, are welcome.
First is their German infantry equipment set. You may be using the MG 42 and the rest can be used to dress the model. There are machine guns, pistols, anti gas mask cans, bags, canteens and other items.
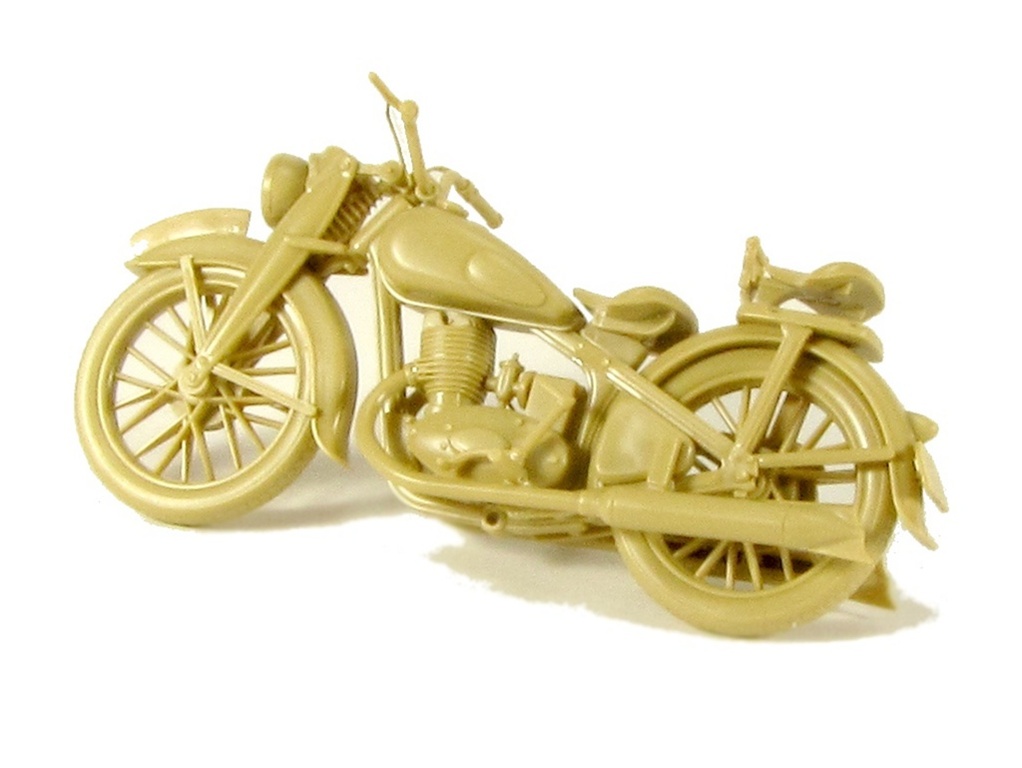
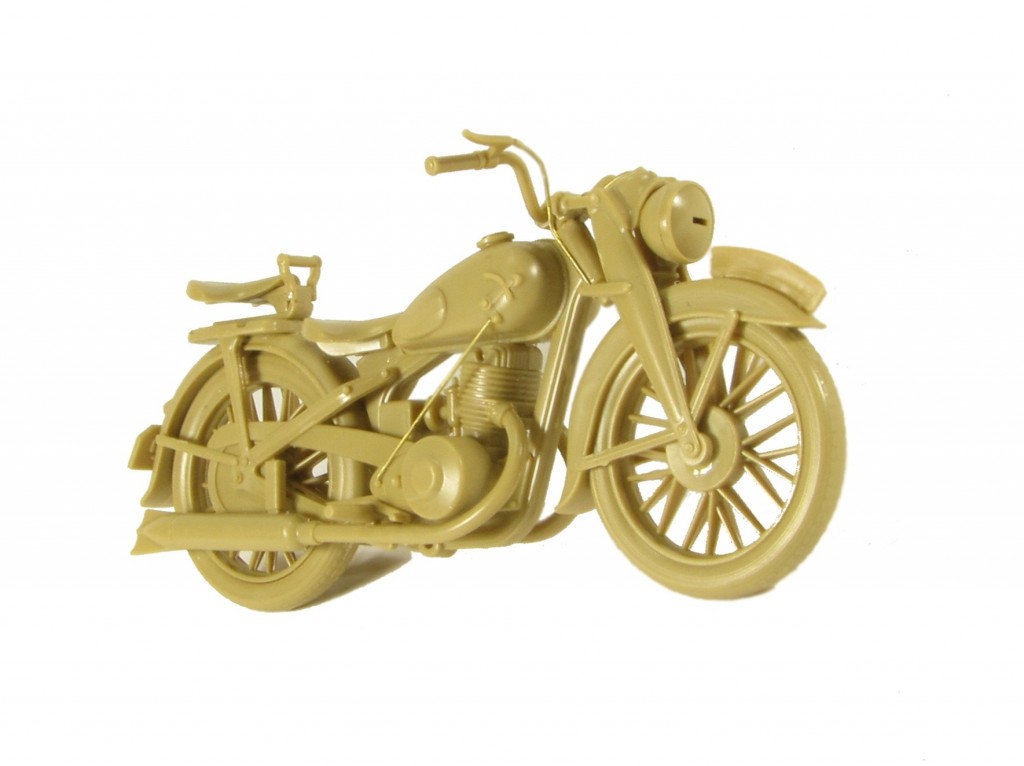
There is also a DKW NZ 350 bike, again fairly well detailed. It comes from German Motorcycle Orderly Set nr. 35241 and I built it old-style, without checking any reference: just cut parts, clean them and glue. It took me less than one hour and I really enjoyed it. There are a few mould marks that go away easily (unlike the main vehicle).
It was a refreshing change from usual builds!
Anyway you can not deny your nature for a long time
so I ended looking at pics on internet and adding a couple of cables.
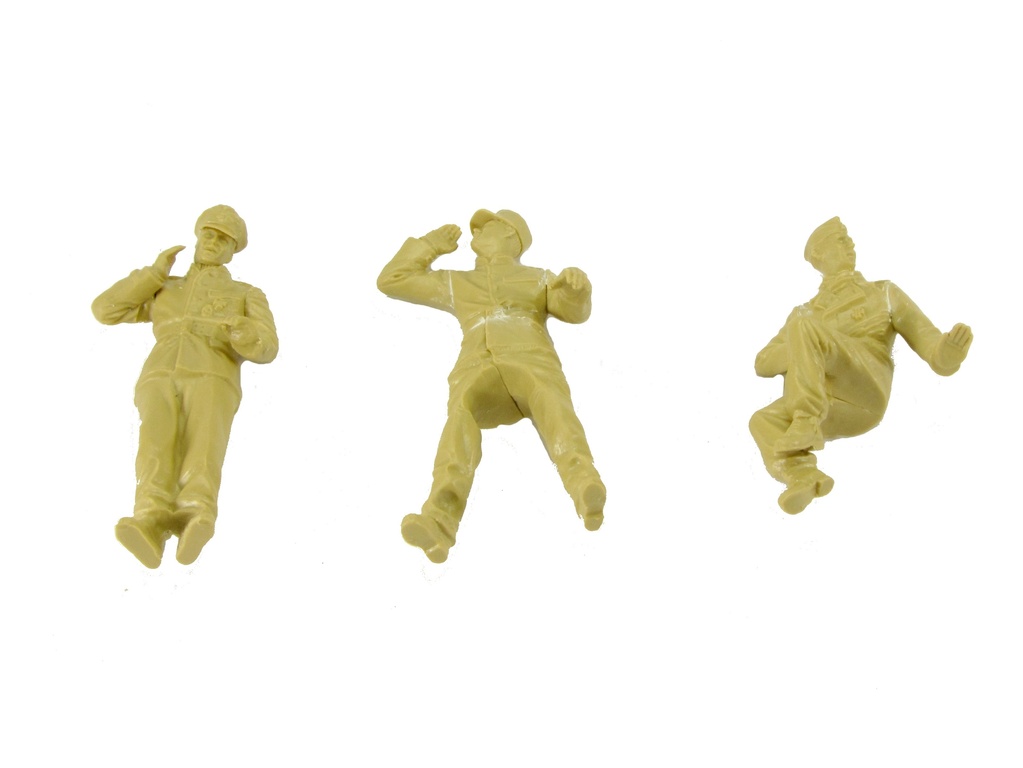
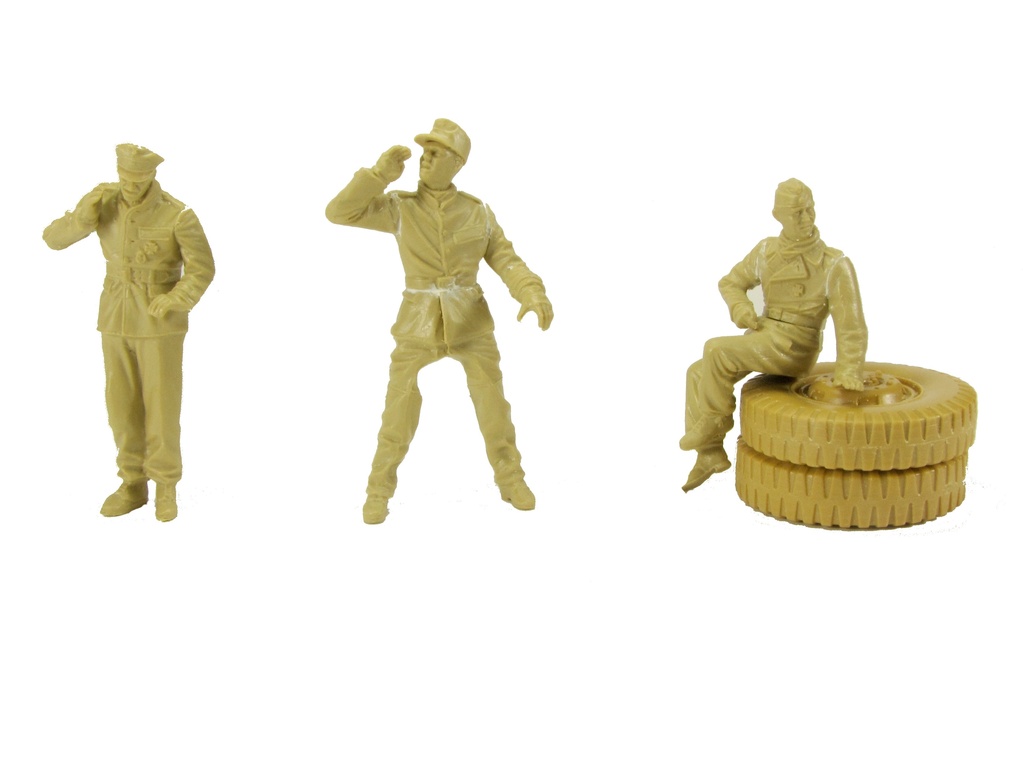
Finally you get three figures, with fine detail and two of them having realistic relaxed poses. The third one is standing on the bike.
The fit is not very good and will need some filler, specially the joint between torso and legs. But apart from that I liked them.
Conclusion
Although this kit is well below in terms of quality from the newest Dragon offering, it has its advantages. With a slightly lower price tag, it can be built easily and faster. And you get also three figures and a bike.
Whether the higher cost is worth compared to the original Italeri kit or the extras compared to the Dragon one is a personal decision.