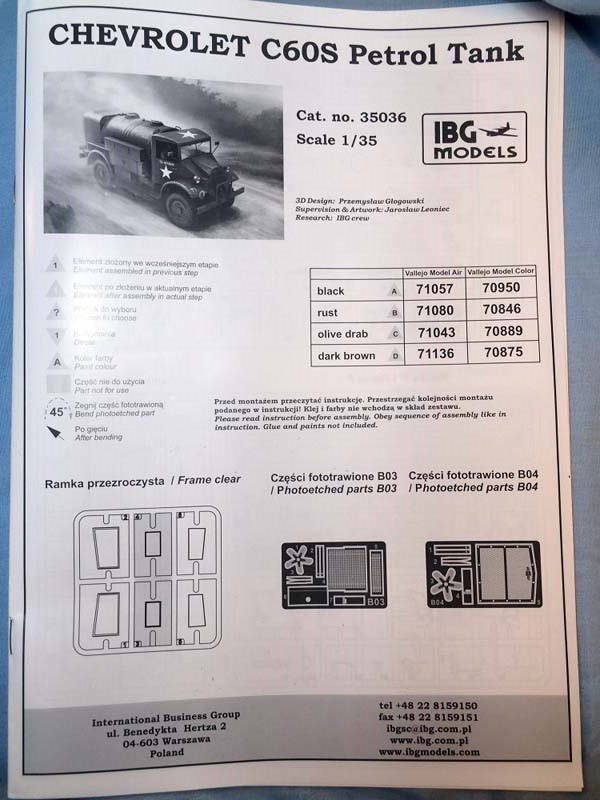
The most recent release from IBG, the Chevrolet C60S Petrol Tanker, is now widely available. This kit continues the Polish manufacturers series of Commonwealth trucks and vehicles built on truck chassis such as the Marmon-Herringtons and the Otter.
The C60S is one of the long line of Canadian Military Pattern trucks that were built in Canada to British specifications during the war, mainly by Ford and Chevrolet. The vehicles were used around the world to support the war effort and were seen in literally dozens of different configurations. By the end of the war over 500,000 of the vehicles were built.
Review
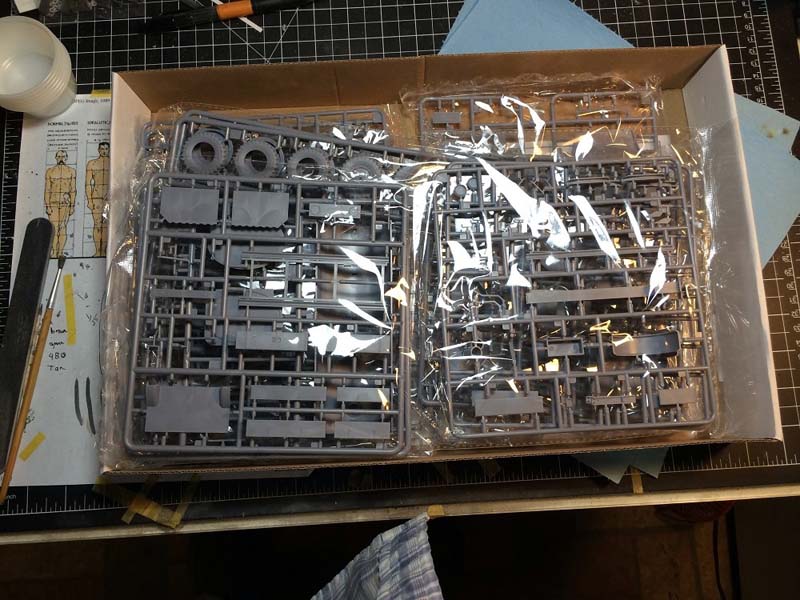
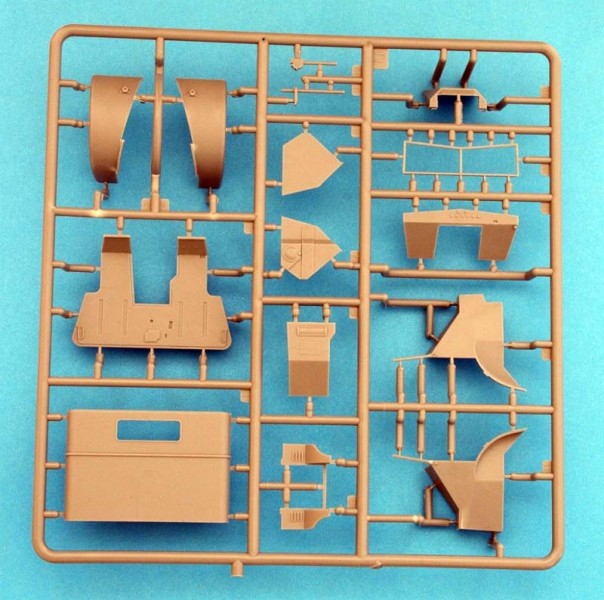
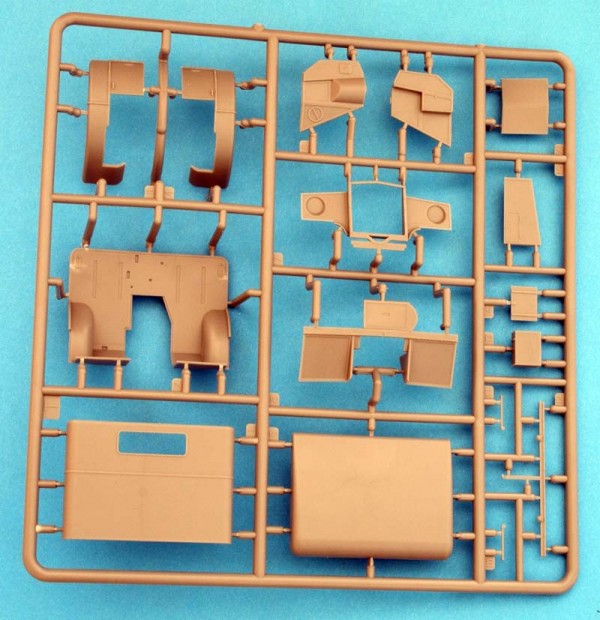
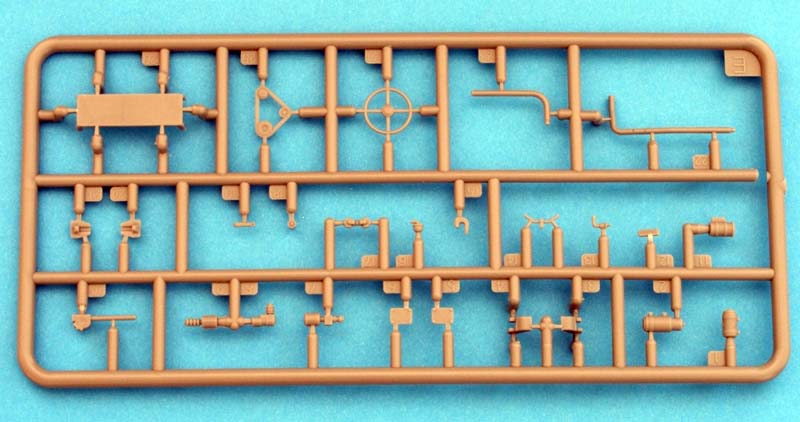
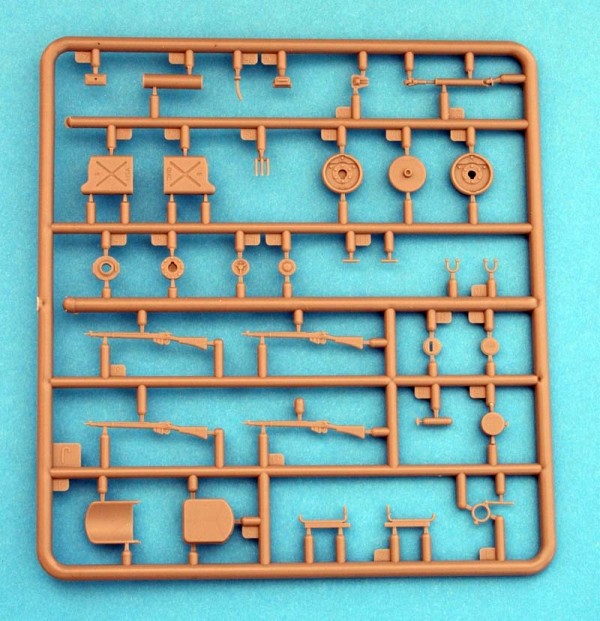
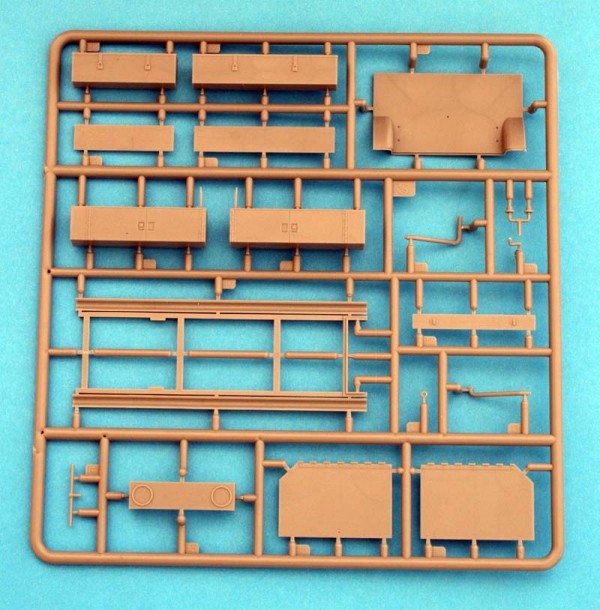
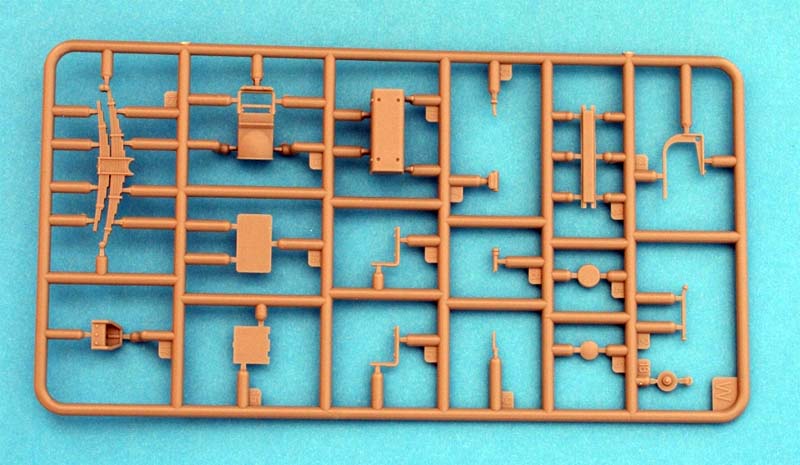
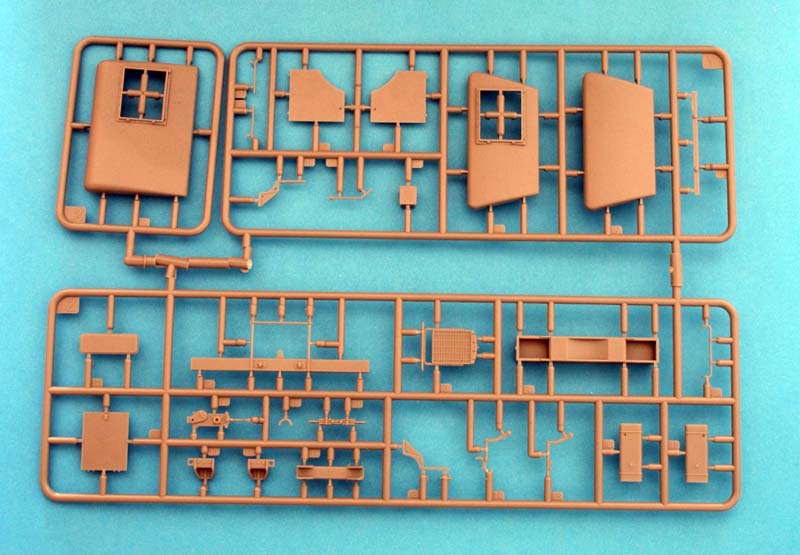
On opening the box you are confronted with 16 sprues of light gray styrene. The plastic is high quality; not to brittle nor to soft, it removes from the runners easily and any attachment nubs sanded away without issue. You will also find a sprue of clear parts that carries the windscreen pieces for both cab versions. The decals are for two vehicles, one for each of the cab configurations, and are very thin and easy to work with.
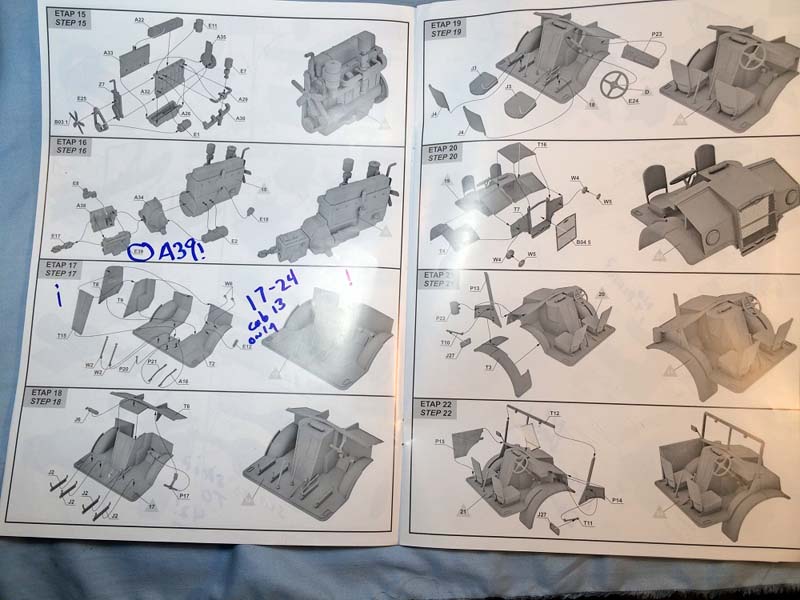
The included instructions are a 20 page affair that consist of 50 steps not including the final markings step. The instructions are of the CAD variety which have many detractors, however, these are very clear throughout without any of the very dark images that have caused problems in other kits.
The Build
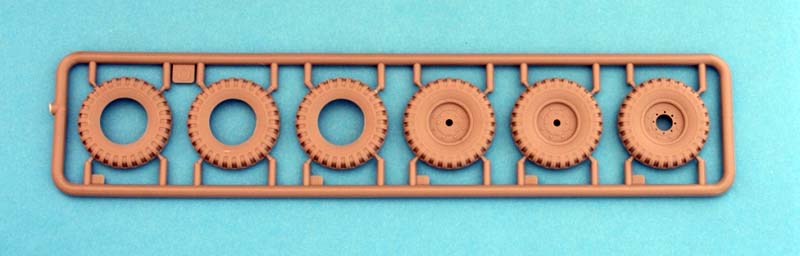
On to the build! The first steps are an odd assortment of minor sub-assemblies. Tires go down first and have keyed locating holes which helps keep the tread pattern correct. After the tires you will tackle the towing pintle, side board steps, and side mounted saddle fuel tanks. Each of these assemblies goes together easily with no discernable problems. It is during the construction of the running board steps that you will need to decide if you are building the cab no. 12 or 13 version as you only have tread plate running board parts for one cab.
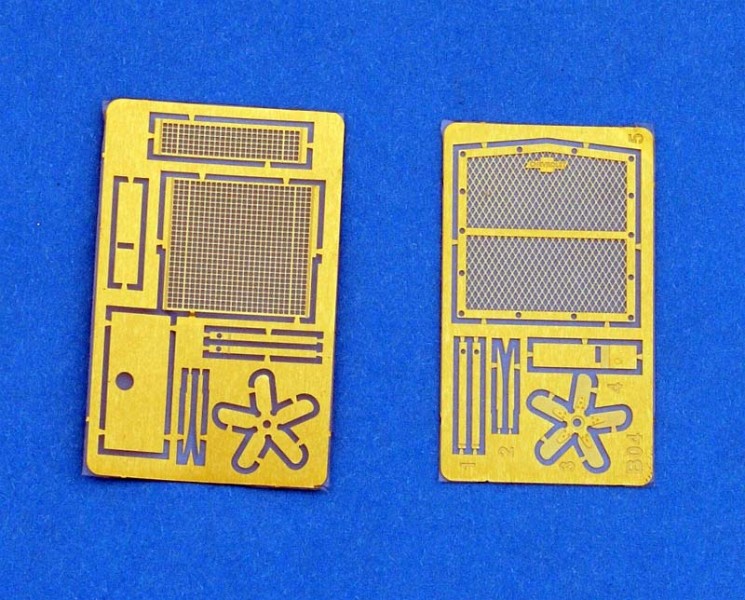
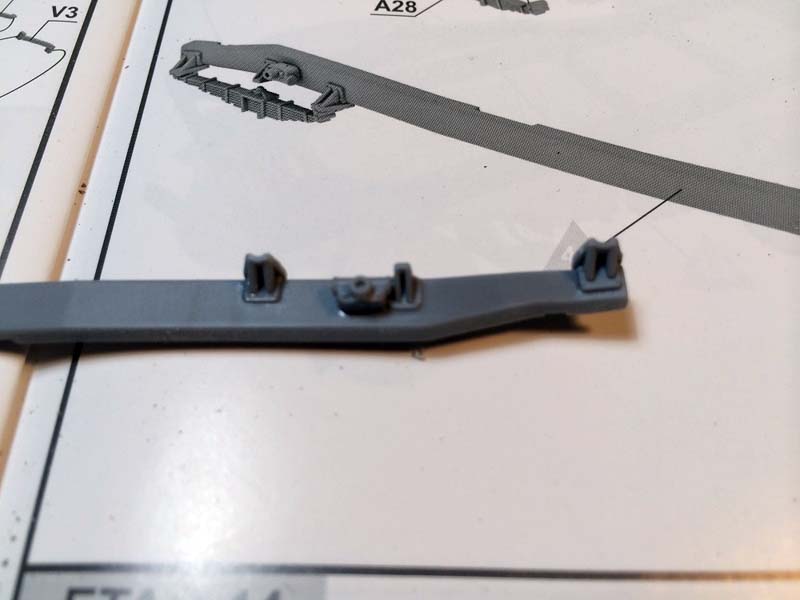
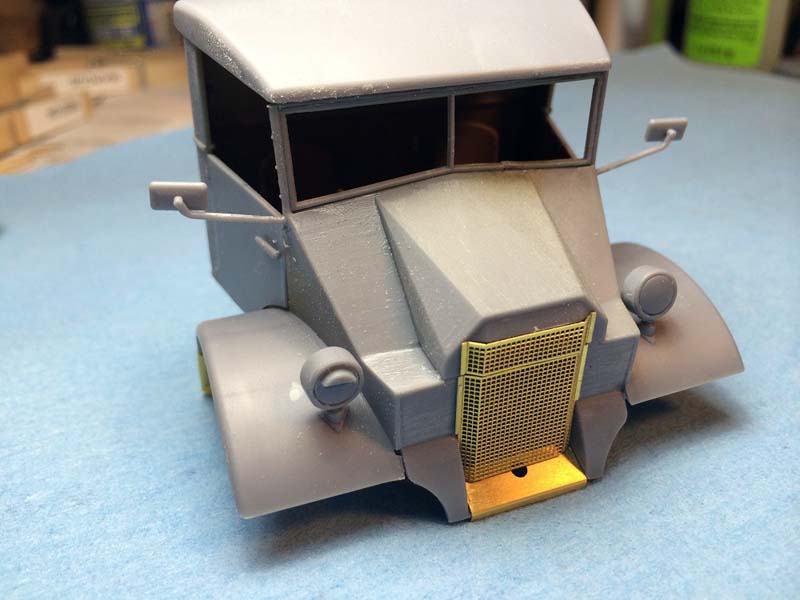
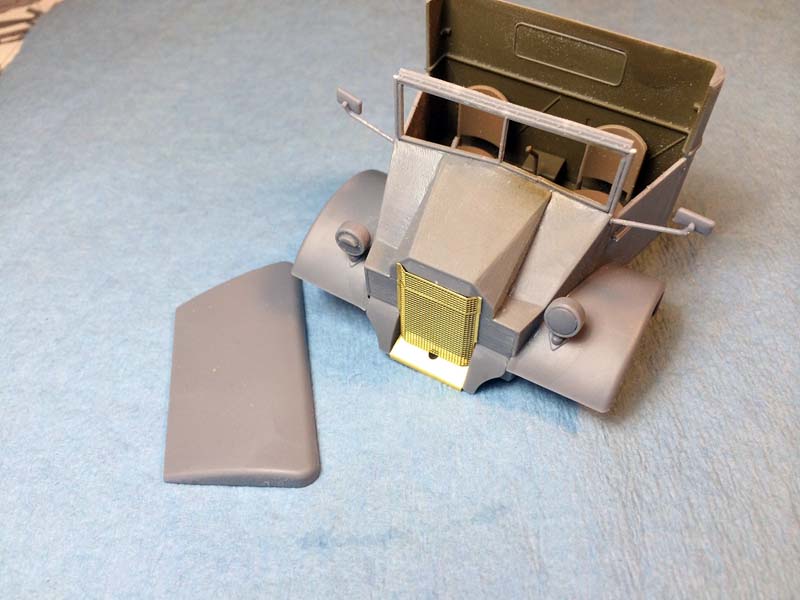
After that you get to jump into a bit of photo etch work; a small bracket for under the frame is begging for a quick bend to get you started. After that step 9 and 10 provide the grill for the cab no. 12 version. Be aware that the instructions are not marked that this is assembly only need be completed for the no. 12 cab, so if you are planning on building up the no. 13 skip these two steps altogether.
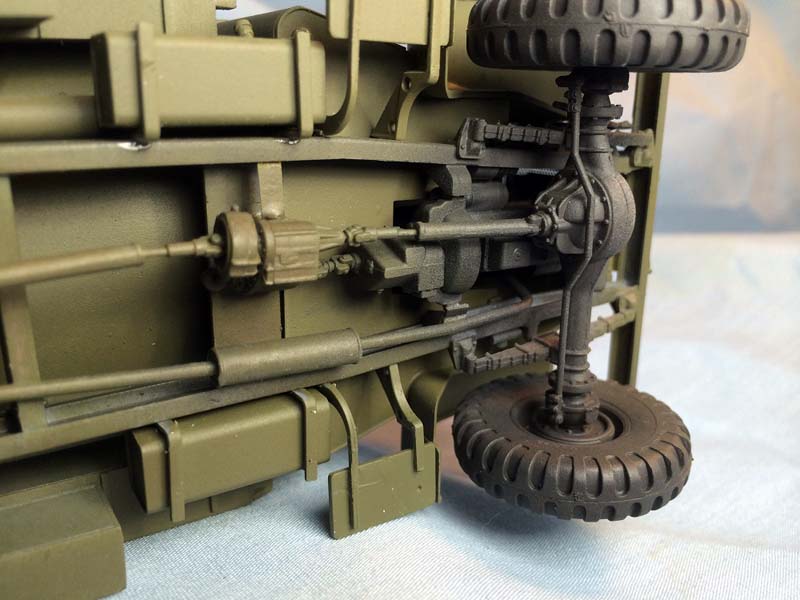
When you have that accomplished you will move on to the drivetrain. Step 11 builds up the transfer case, step 13 and 14 fit out the front and rear differential. All of this will mostly end up hidden underneath which is a real shame as the drivetrain is very well detailed throughout and was a piece of cake to assemble. I left out step 12 because that is when IBG decided that the assembly of the front bumper couldnt wait any longer! While it is an odd time for the assembly it fits with IBGs overall less than stellar planning of the layout of the instructions as well as the parts layout on the sprues.
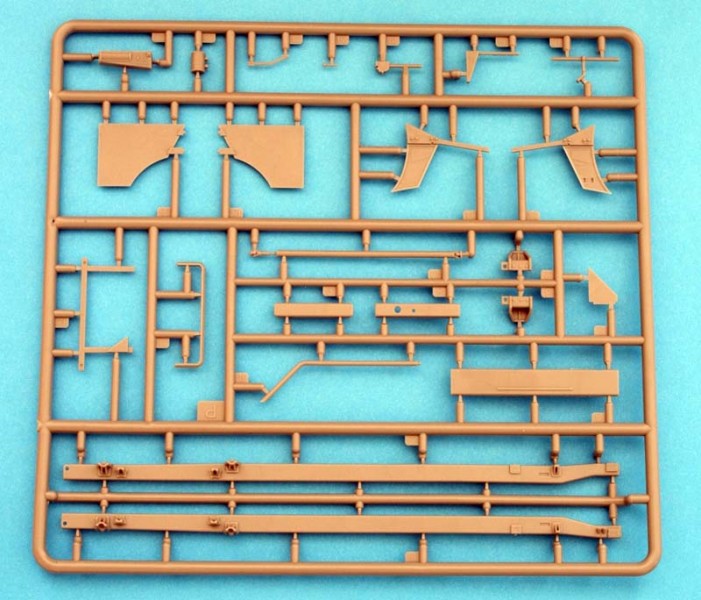
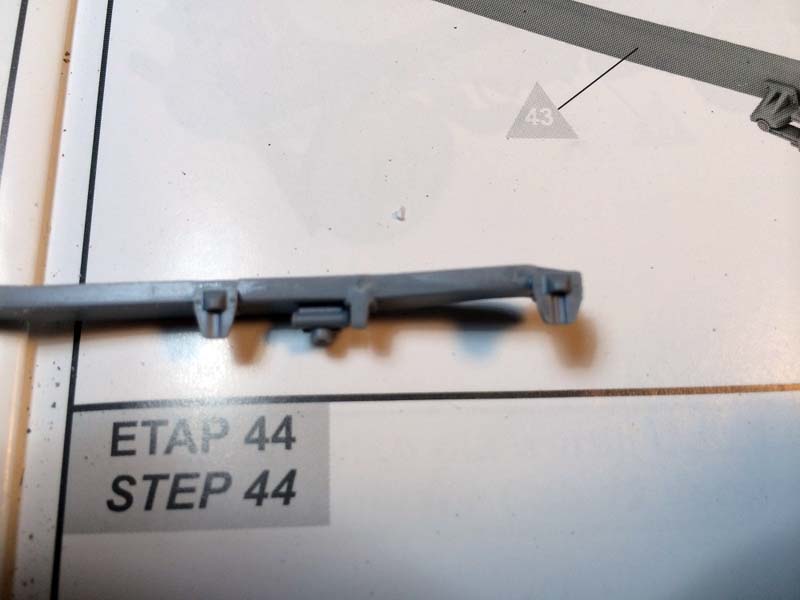
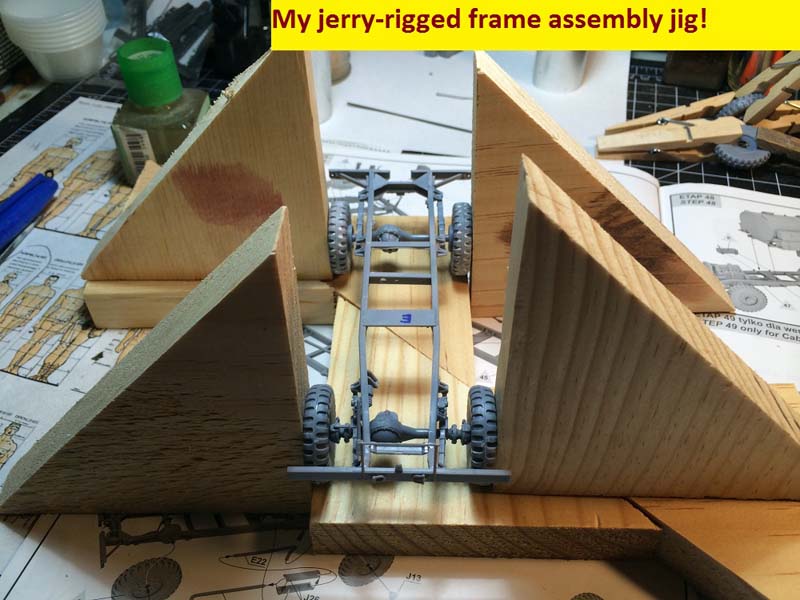
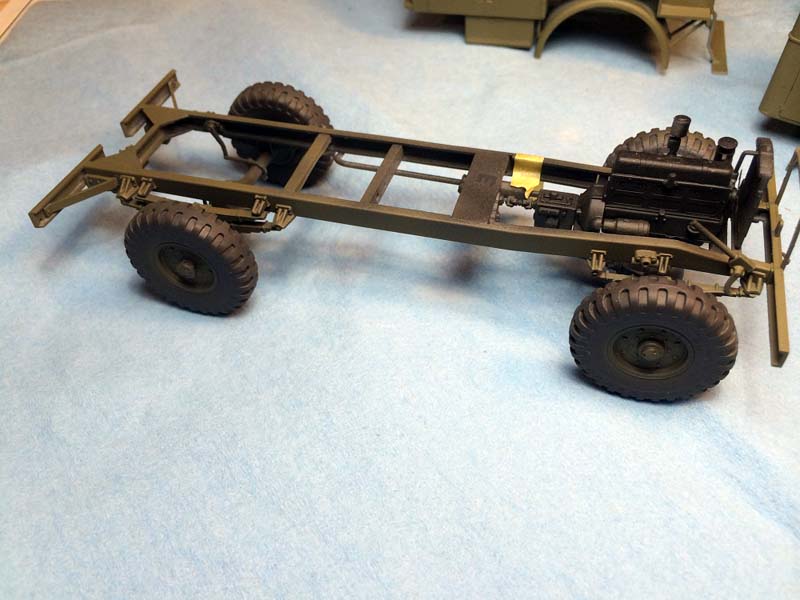
When I had finished up the differentials and transfer case I decided to continue work on the frame and rest of the undercarriage. To do that I skipped ahead to step 42 and 43 and got to work on the two frame rails. I attached all the parts called out except for the leaf springs. I wanted to leave the springs off until I was ready to attach the differentials just to ensure that I had everything squared up as I normally have a very hard time getting all four wheels to sit on the ground. I have found that more often than not if I have a floating wheel it is due to one of the leaf springs not sitting at a true 90 degree angle. Step 44 adds the frame cross members. Here is a great place to pull out a square and check to make sure that your frame is square. When you have checked it twice against the square let it set off to the side while you go back and tackle the engine. One extra note; part Q4 has a hole on one side that I assumed was for the exhaust pipe to run through, it doesnt so dont waste 20 minutes like someone I know trying to find which way to put the cross member in because it doesnt really matter.
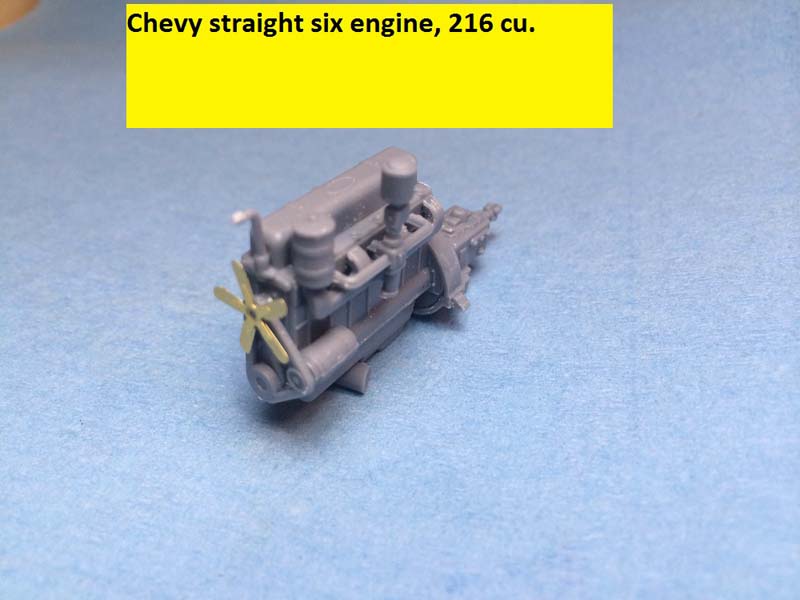
Back to the engine and step 15. I love that everyone is now including a full engine in darn near every soft skin produced but I scratch my head at the concept of also including a hood (bonnet) that does not open without major surgery. Of course I rant because that is what we encounter with this kit as well. A decently detailed Chevy straight six 216 ci (3.5 L) stove bolt engine will sit inside the engine compartment when you are done. Unfortunately, you will be the only one to ever see it. But as modelers often say, at least YOU know its there. Hopefully some aftermarket company will come along with an opening hood so that the engine can be displayed as well. I ended up just painting mine flat black and setting off to the side to dry until I would install it and hide it away forever.
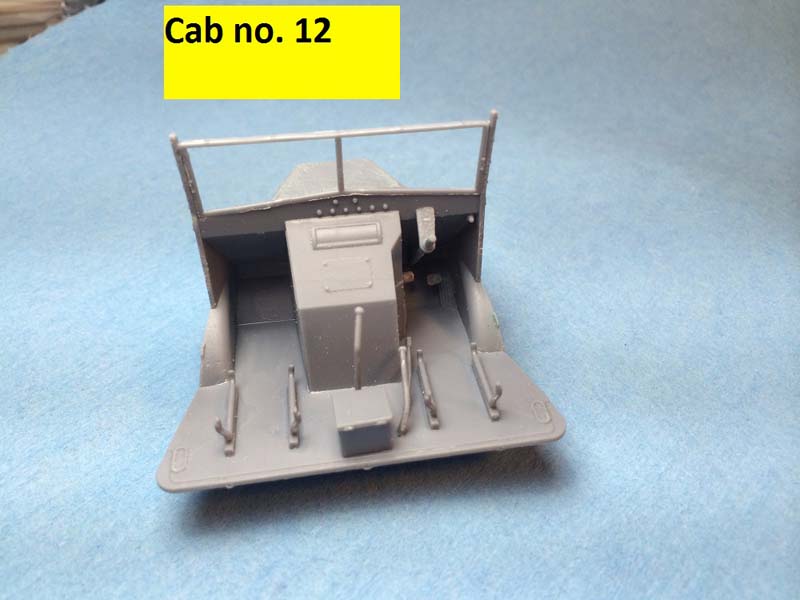
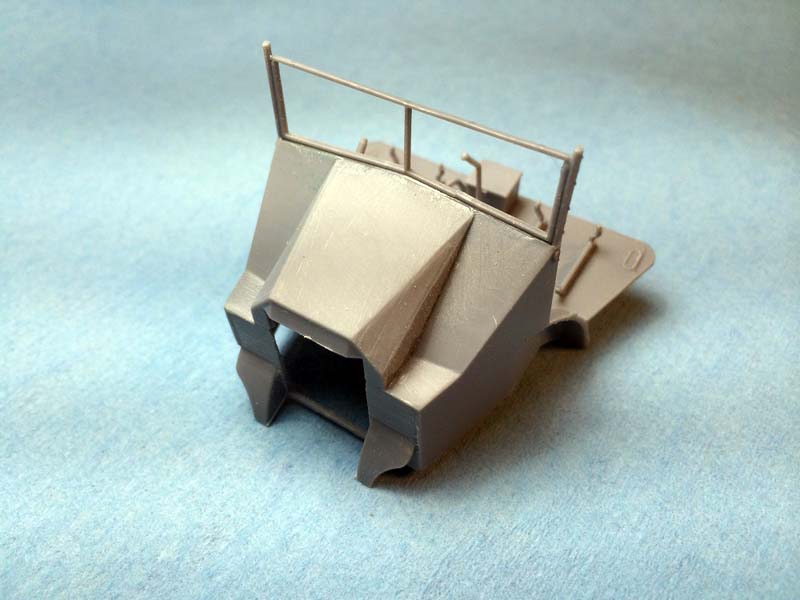
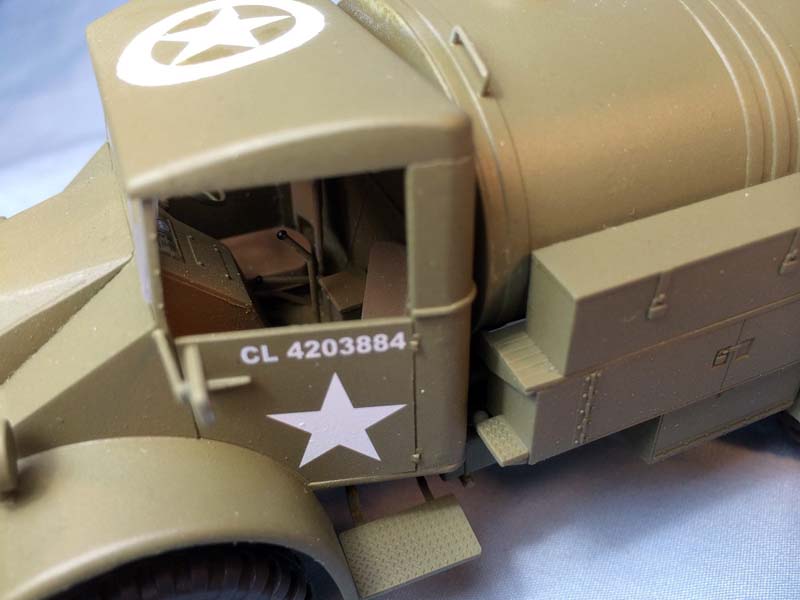
When all that was set aside I turned to the cab. I had decided on the cab no. 12 for my build so I was able to skip steps 17 through 24 as they are only for the cab 13 build. The floor provides a base for everything to attach to. Gas, brake, and clutch pedals are all provided as are the three shifters. The dash is a straightforward affair as are the seat rails, seat cushions, seat backs and the steering wheel and column. There is also a small box that attaches between the seats on the floorboard. The floorboard in the CAD drawing shows a tread plate pattern but the actual part does not have this feature. I was very disappointed that the instrumentation, sparse as it is, was not provided for with a decal or a piece of photoetch material. It would seem a small inclusion, especially in the form of a mere decal that could have really dressed up the Spartan cab. IBG provides some poorly done SMLE rifles, but without any straps or brackets for retaining them and so I decided against them as I wanted an out of the box experience for the purposes of the review, you may decide otherwise for your build.
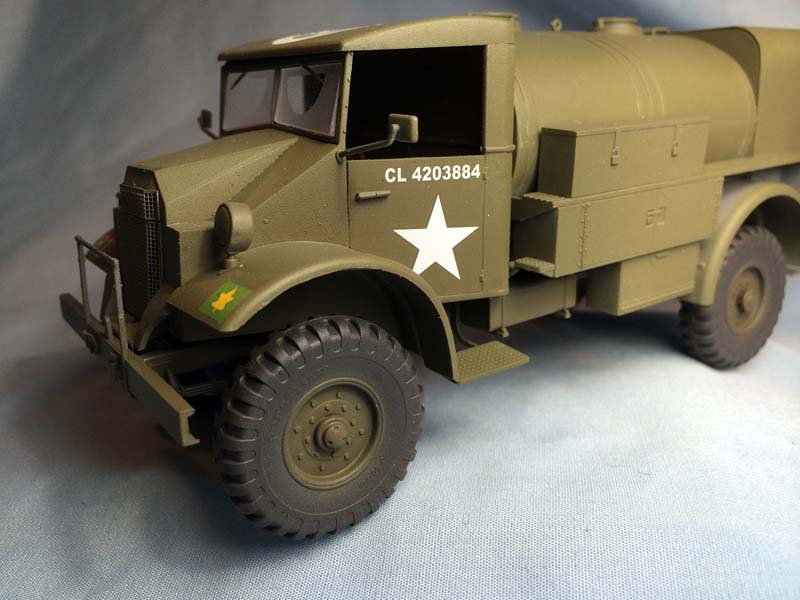
With the interior complete I headed outside to the hood, door, and fender assemblies. Separately molded door handles, black out headlights, and side view mirrors finished off the smaller fittings. The doors, cab rear panel and fenders all attached with a nice tight fit that required no putty at all. I left the windscreen and the small photoetch wipers off until the end because I knew they would not survive the build if I put them on before. Also, I left of the roof of the cab until the very end in case I needed to make any changes or additions inside.
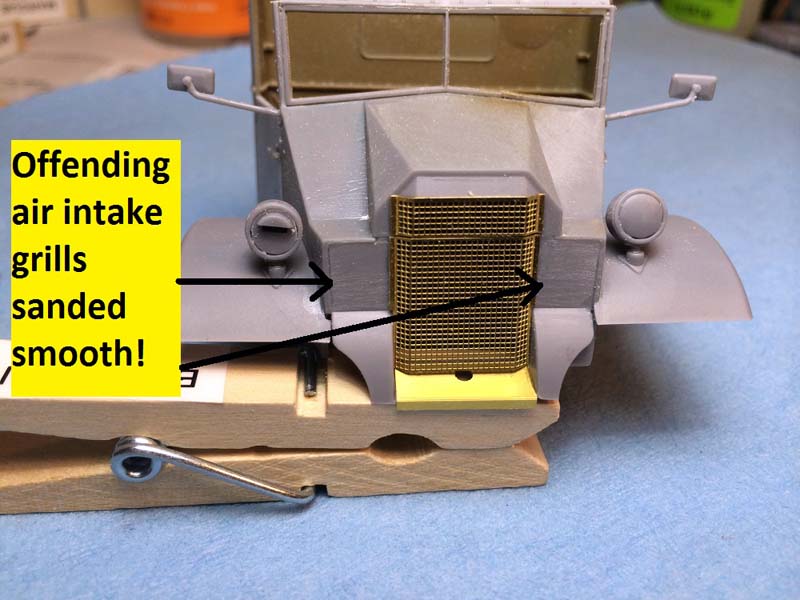
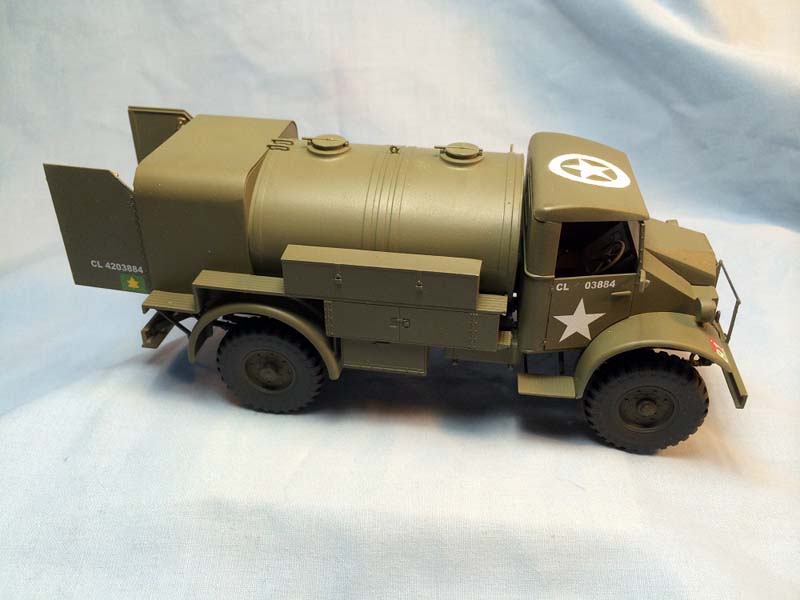
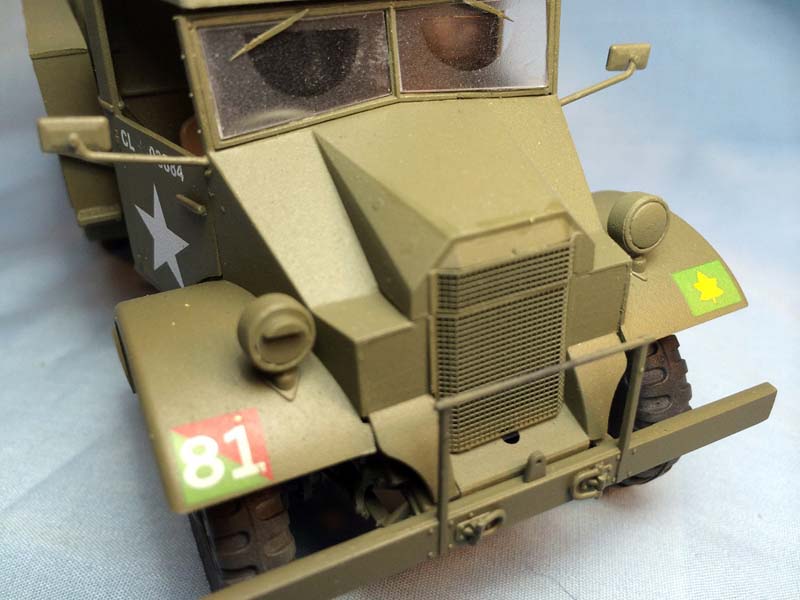
IBG has made what appears to me to be a mistake with the sides of the front face of the cab. The small flat panels have a set of cooling louvers on both sides but I believe that is only for Ford built vehicles. Early cab no. 12 vehicles just had a flat plate while later versions had a round hole for additional air intake. As it is the louvers are not really well done and are easily sanded off so that is just what I did better creating an early version of the cab no. 12 design.
One of the great benefits of picking up this kit is that you end up with the complete spare no. 12 or 13 cab depending on which one you dont build. I want to set the record straight on that; you get the basics for two complete cabs but not quite everything that you would need for the second cab. You would need another set of seats, drivers pedals, steering wheel, and side mirrors to build up another complete cab.
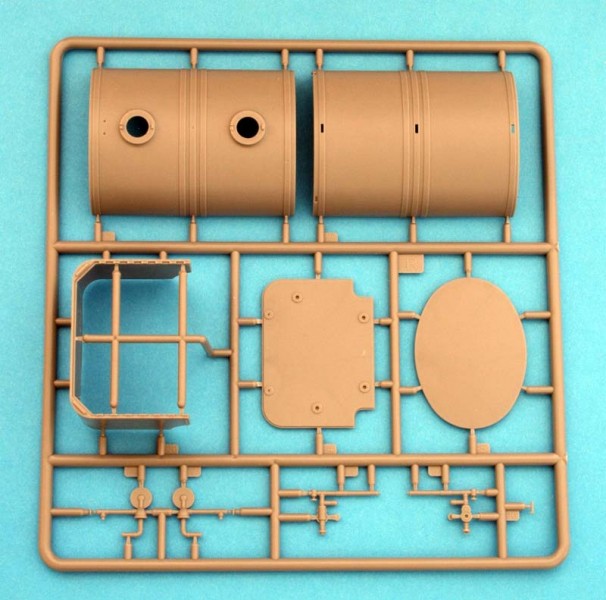
Next up is the support cradle for the tank in step 32. It goes together quite easily although my example did need a quick wipe of putty for the two piece tubular section. After that I followed the instructions and went to work on the rear compartment of the petrol tank.
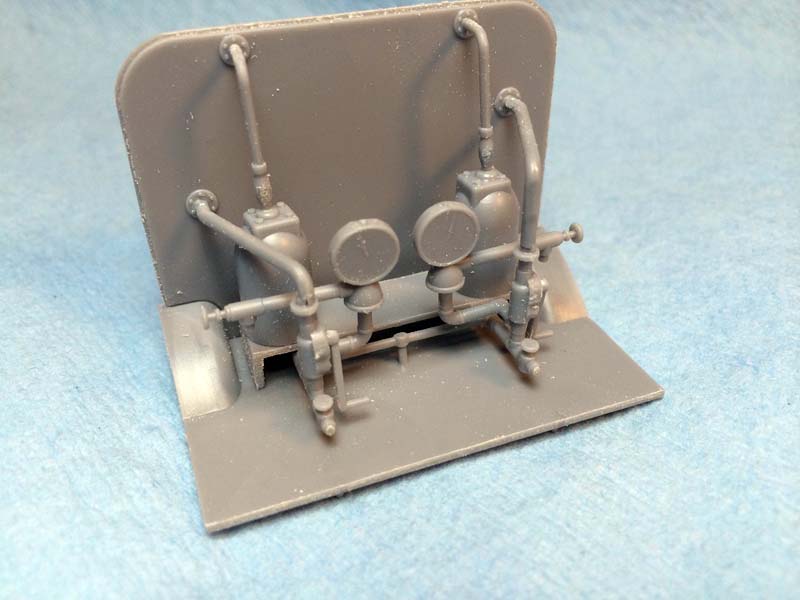
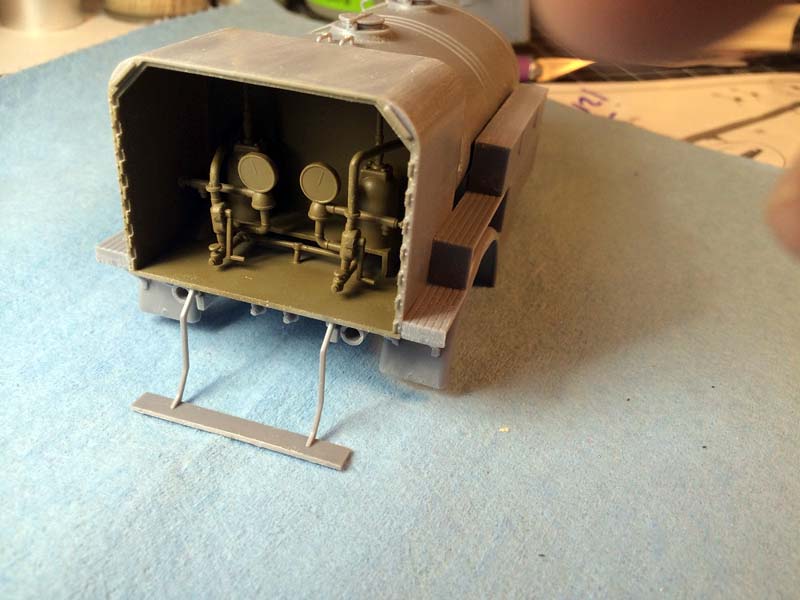
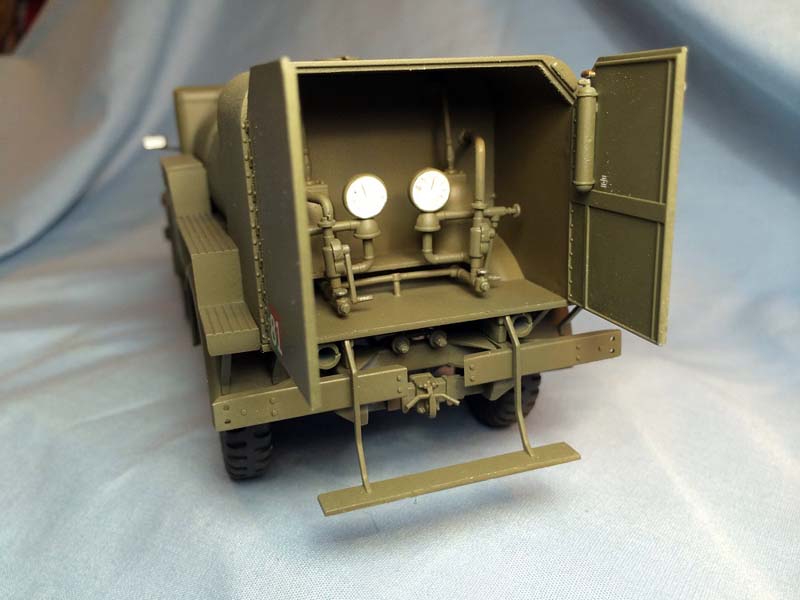
The rear compartment has a lot going on and is spread out over three steps in the instructions, 33, 34, and 35. It includes the valve system for the petrol along with the pump/compressor and vapor recovery equipment. Ok, Im kind of guessing exactly what is in the rear compartment, but it makes sense to me. If you have experience with a gasoline tanker and the fuel delivery system please add a note at the bottom of the review for everyones benefit. At any rate the rear compartment is more than sufficiently detailed with a small maze of pipes, dials, valves, cranks, pumps, etc. The pipes can be a bit tricky to get everything in place while leaving room to manoeuvre for later parts so I would recommend that you work from the rear wall forward and follow the steps in the instructions rather than find your own way to get it all in. The painting can be a bit of a challenge here as well. I pre-painted the entire compartment before I added any of the gas delivery system and left the rear doors off until the end (the fit of the rear door hinge is so good that they are still not glued on my model so I can still position them as needed).
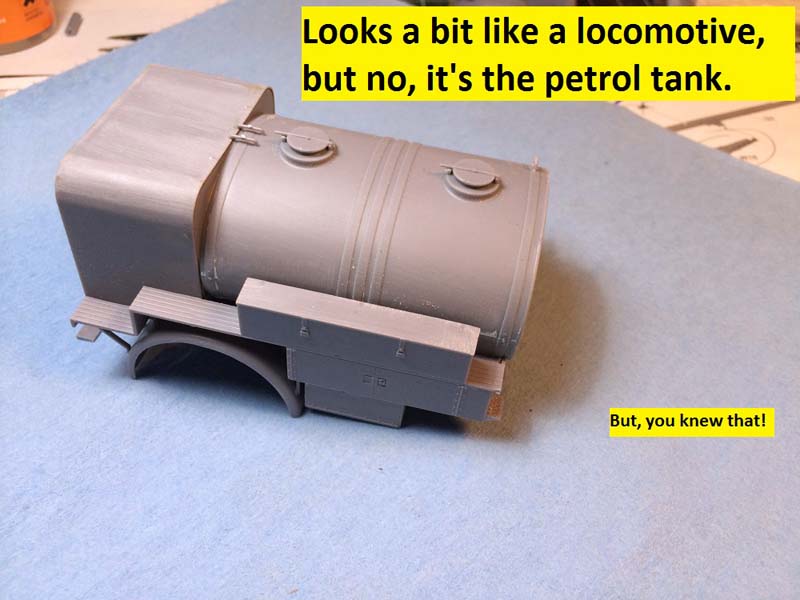
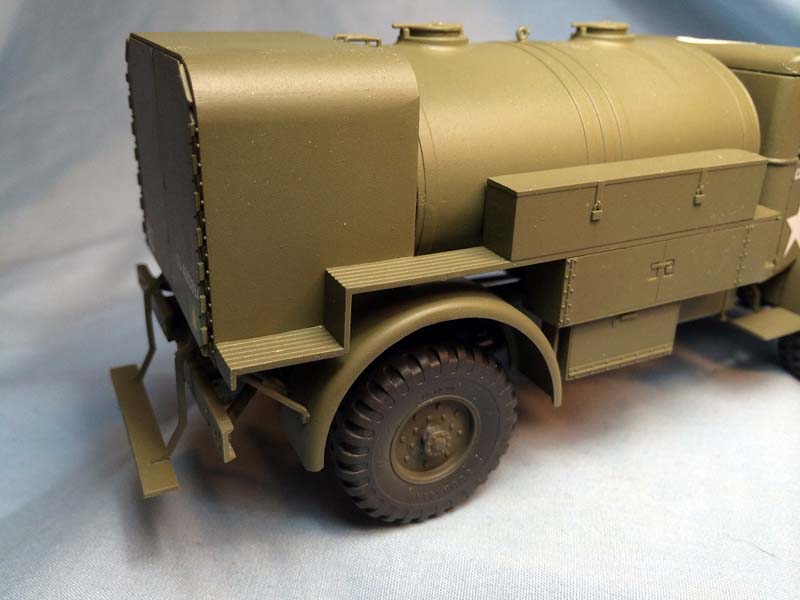
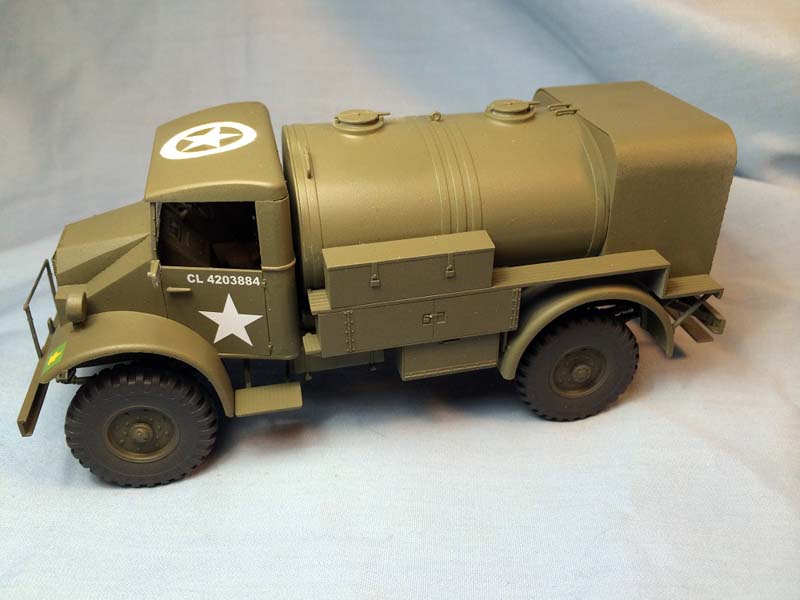
The main tank consists of two parts that will need a bit of putty to clean up the horizontal seam. The top of the tank has a pair of nice hatches on top with decent locking detail although super detailers may want to have a go at them. The tank also has nice reinforcing rib detail which will make cleaning up the seam just a bit of a challenge. A couple of grab handles and an eye bolt between the hatches will finish it off.
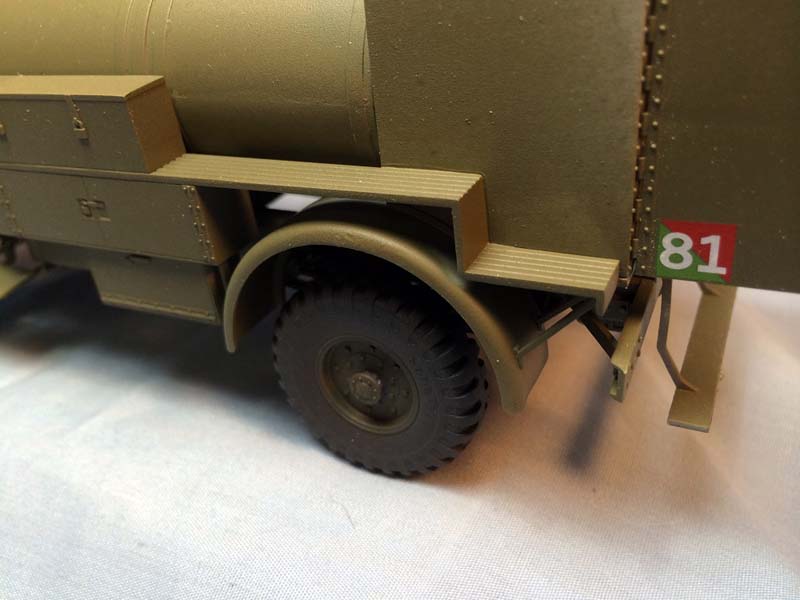
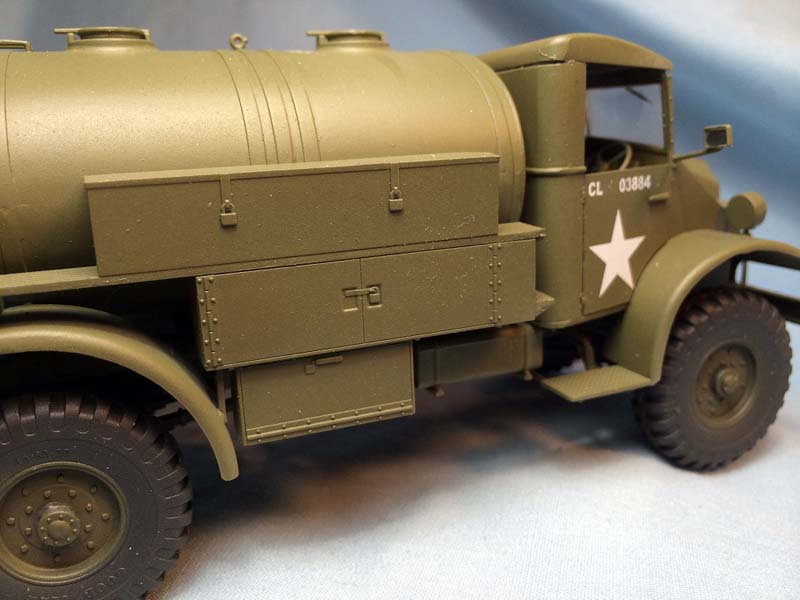
The many storage boxes and running boards for the tank assemble come next in steps 38 and 39. These are all well detailed with molded in detail for the hasps, padlocks, and hinges. Each of the storage boxes comes with a back which I always see as a nice addition after cutting my modeling teeth on so many older kits with open backs to everything from ammo cans to sponsons. The exact location of the boxes is not exactly clear as there are no location marks on the actual parts so check the instructions carefully. The largest storage container that attaches to the underside of the running board should be placed right at the edge of the cut-out on the end for part V5, the attachment rib to the tank. Take care not to cut off the strut from the same large box, S7, you need it to attach to the rear wheel fender in a few minutes. I almost did thinking that it was a piece of the sprue runner for the part.
With the storage boxes done you can flip the tank on its back and start attaching the running boards as well as the fenders for the rear wheels. I was a bit worried that something would be just a bit off throwing the placement of the fenders off but the kit is engineered so that everything fits just right as long as you are careful. The underside of the tank also gets a couple of what I assume are drain valves for the tank, a step for the rear pumping station as well as struts for the fender attachment.
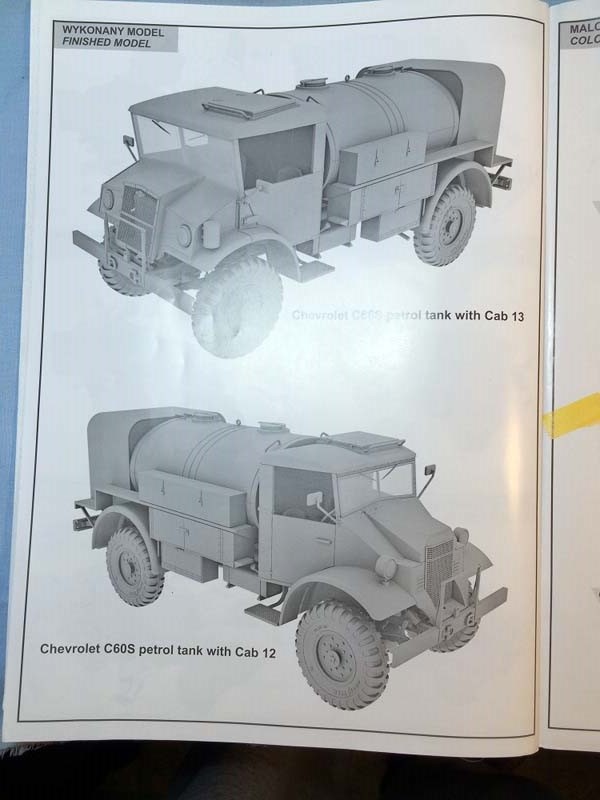
With all that done it is time to put it all together. I attached the cab to the frame without any problems at all, it fit onto the frame like a glove. Next came the tank assembly which also went on without any problems at all, everything was sitting nice and flat on the frame and was perfectly square. With the cab and tank in place I attached the running board steps for the driver and passenger side of the cab. The saddle fuel tanks proved a bit of a challenge; the CAD drawings of the kit (with either cab attached) have what almost amounts to an optical illusion as they show what appears to be a significant gap between the running board storage bins and the rear of the cab into which the fuel tank should fit nicely. However, when you attach the tank this gap is not present making the addition of the fuel tanks a bit of a squeeze with very little room for the fuel filler neck and cap.
All that was left was to make sure that I hadnt forgotten any of the small fittings that I usually find after I put the finished model on the shelf. Couldnt find any but Im still not ruling it out completely, so if you see something missing in any of the finished photos please let me know.
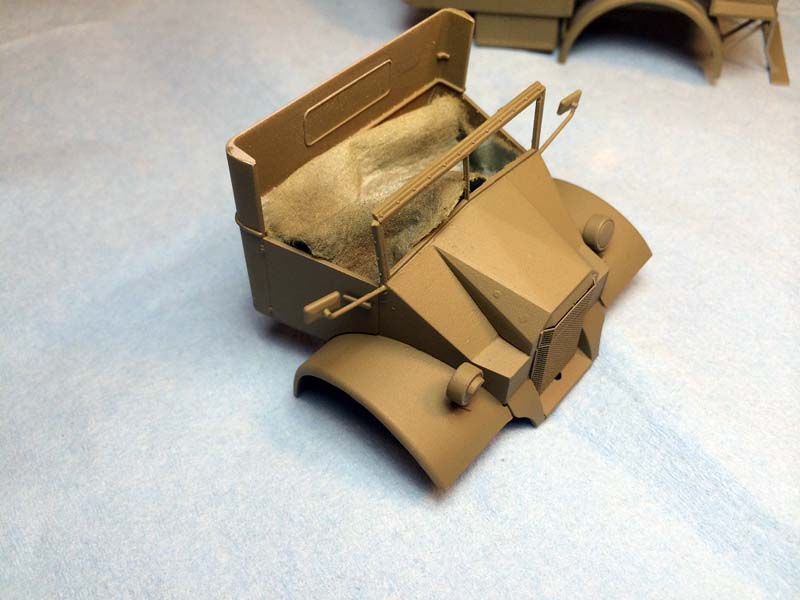
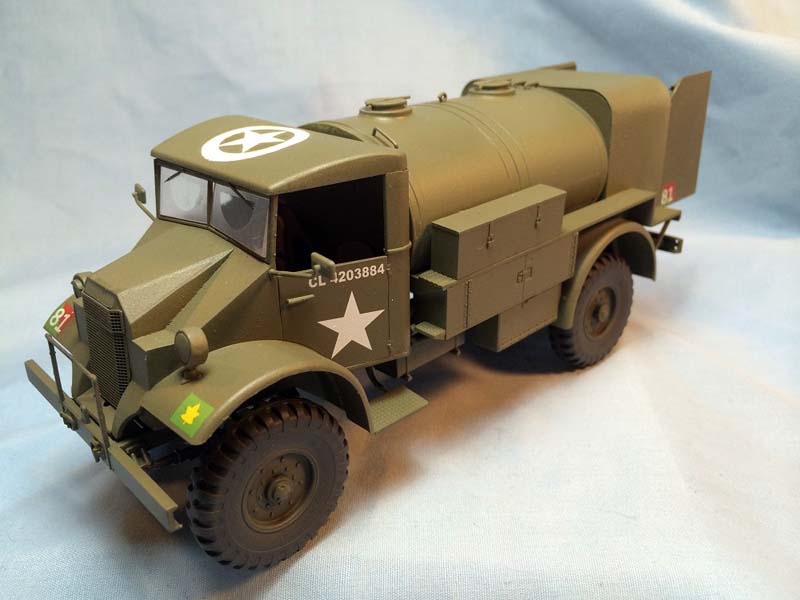
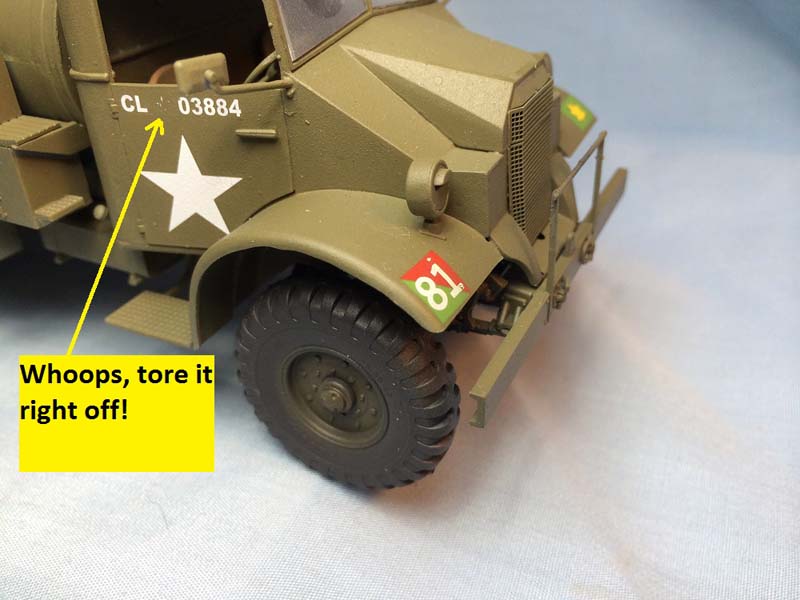
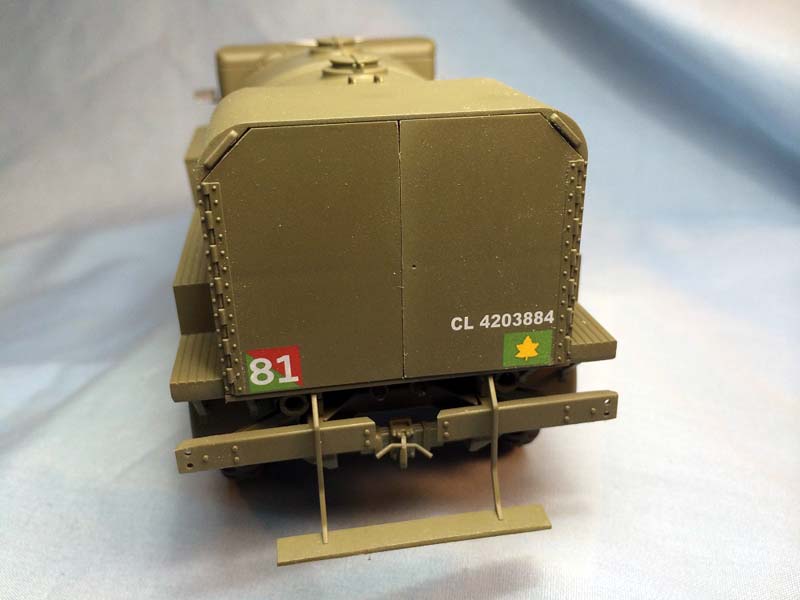
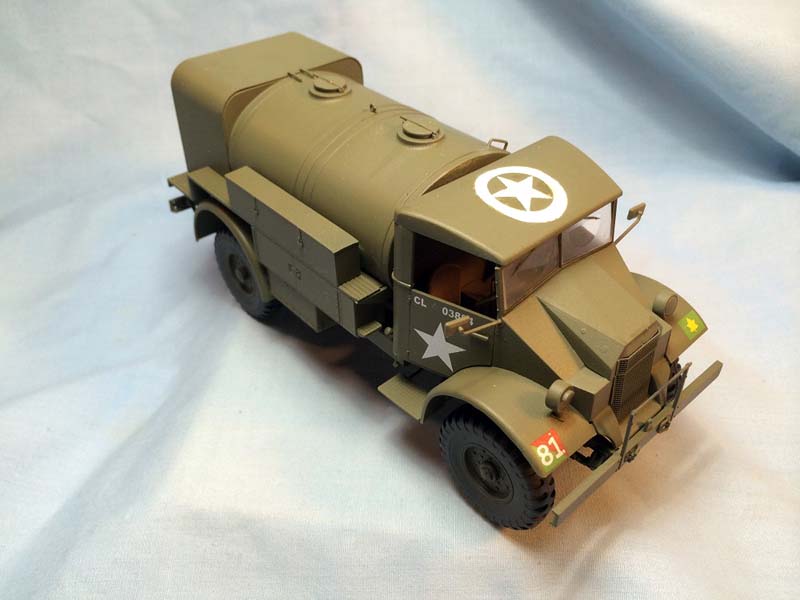
Painting was a simple affair as I wasnt really going to do any weathering so that I could get this review finished up in something like a timely manner. I painted it up with Vallejo Air #16 US Dark Green which is a fair approximation of SCC15. I lightened the color with Vallejo Air #45 US Grey Light. In retrospect it may be lightened a bit too much but I like the color as it is. The decals are extremely well done, very thin and very easy to apply. In fact, they are the thinnest kit decals I believe I have ever worked with. The kit comes with two marking options, one for the no. 12 cab version the other for the no. 13 cab. I applied the markings of the Canadian 4th Armored Brigade, 4th Armored Division. The markings for the no. 13 cab are a 2nd Canadian Infantry Division vehicle with the 5th Infantry Brigade. Both sets of markings are from August of 1944. Be sure to seal the decals unlike yours truly who tore the roof decal right off while attaching the cab roof at the end of the build. I rectified my error by using an old Eduard mask and airbrushing a new marking on.
Conclusion
First lets get the negatives out of the way so we can end on a high note. I know there are lots of questions about just how common this vehicle was. I have searched and searched and could not come up with a single photo of the short wheelbase C60 with a petrol tank body fitted. So it may be that none were ever built on this particular chassis. That. Of course, will be quite a drawback to many modelers. The placement of the side saddle fuel tanks was a bit tricky and the lack of instrumentation in the form of decal or photoetch was a let-down. I would have enjoyed having an option to open the hood and display the engine. Also, a couple of decals for the large faced gauges in the rear pumping compartment would have been a real plus. The wheels measure out to 40 inches, they may be undersized by a couple of inches but that is assuming the Goodyear 10.50 x 20 tires are correct.
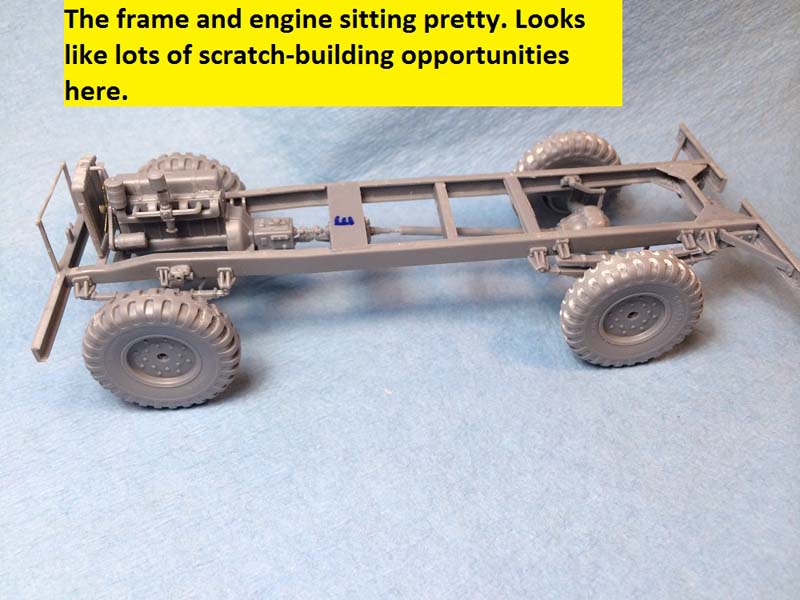
Now, the positives, which I believe outweigh the negatives here. First and foremost, it is a challenging kit with 45 steps to the instructions and 300 parts, but it is an inherently buildable kit with instructions that while not perfect were fairly easy to follow. There is nothing that should frustrate modelers with even a minimal amount of experience as long as they dont rush things. As well, the spare cab is a real bonus despite needed to source out a new set of seats and the other small fittings. The cab and frame combination alone should prove to be a real boon to dedicated modelers and fans of Allied soft skins as any number of different truck body designs can be scratch built. The fit of nearly every part is glove tight, I never glued the rear doors and the cab doors didnt really need any either. It was easy to keep the frame squared up as well which is always the key to keeping all the wheels firmly on the ground. Finally, the engine and drive train are very well done despite the drawback of no way to open the hood.
SUMMARY
Highs: Fit is great just about everywhere. Very interesting subject, plus you end up with a nearly complete spare cab. Decals from Techmod are superb. Well detailed engine and undercarriage. Lows: Can't open hood for either cab choice. Some parts placement is a bit tricky. Could have used some decals for instrumentation and pumping mechanism. Some question as to how common this vehicle was and difficult to find any photographic evidence. Verdict: Despite the sketchy evidence of the vehicles actual existence, based on what is in the box I really enjoyed this build. I would recommend it to those who are okay with that kind of build, plus you end up with an extra cab for another project.
Our Thanks to IBG Models! This item was provided by them for the purpose of having it reviewed on this KitMaker Network site. If you would like your kit, book, or product reviewed, please contact us.
About Rick Cooper (clovis899) FROM: CALIFORNIA, UNITED STATES
I have been modeling for about 30 years now. Once upon a time in another century I owned my own hobby shop; way more work than it was worth. I tip my opti-visor to those who make a real living at it. Mainly build armor these days but I keep working at figures, planes and the occasional ship.
Very comprehensive article. Thank you. You said you did not find information that this was used on the short wheel base, did you find anything that came close?
Not so much, there are so many different configurations for the CMP vehicles it can be bewildering. I found petrol tankers on other chassis and other truck bodies on C60S but not this combo. Asked IBG about it but they have not gotten back to me as of yet.
From what I have seen, I have seen that tank configuration on an F15(Ford), labelled as a water tank truck, and I have seen a tank mounted on the C60L, but not the short wheel base. I am wondering if IBG did it because they already had the short wheel base from the C15TA kit.
I have combed through all me CMP books, and nothing shows. I did manage to find a C60S with a tank, but it was an after war modification for work on a farm in Alberta.
C15 has a 101inch wheel base where as the C30S has a 134inch wheel base.
Long wheel base are 158inch
There are three original Factory photos of this type of tanker but with the earlier 11 cab and not the cab 12 or 13.
The photos are all of the one vehicle.
from the Factory CD by Service Publications
these are the ONLY 3 photos I have seen of this type of Tanker on a short wheel base CMP chassis in over 35 years of looking
I have been in contact with Adam Andrzejewski from IBG regarding the reference that they used for the vehicle. He has informed me that the designers were working off of photographic evidence that they had access to but that the photos are from a private collection and they do not have permission to publish them. He has noted they are aware of the issue and have attempted to gain permission to publish them but thus far to no avail. Hope that helps for anyone who is wondering about whether or not the vehicle existed in this form.


Comments