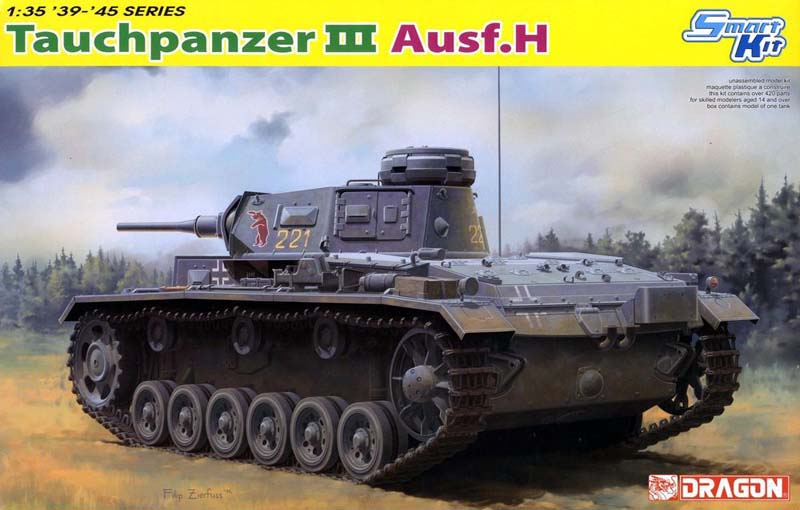
Tauchpanzers (diving tanks) as we know them in this form are a reminder of a bizarre plan that never came to pass. The traditional Tauchpanzer was meant to be dropped off of a barge and drive its way on the ocean floor to the English shore. This type, which was actually used is simply a deep wading tank used to cross rivers. They had to do something with the converted Panzer IIIs after all.
Contents
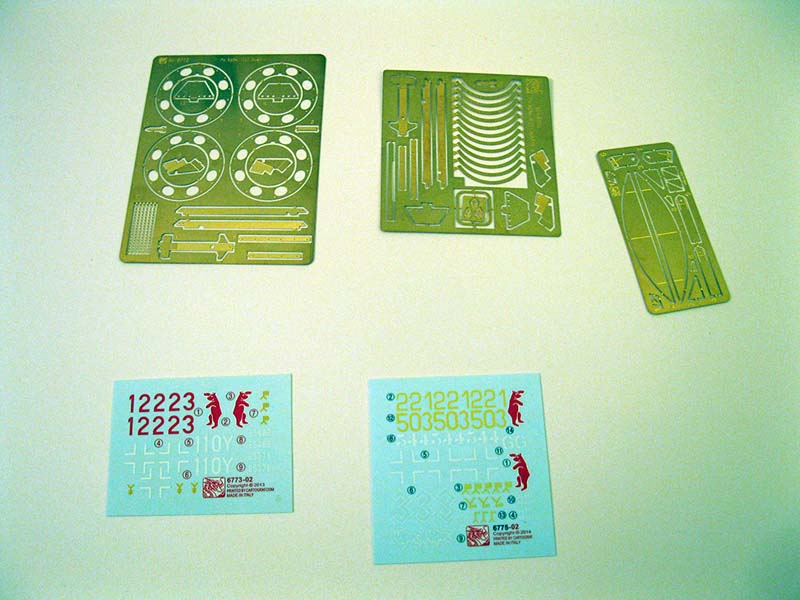
The kit comes in the smaller size standard Dragon Model box, in the modern style. By that I mean most sprues are three or so to a bag and there is no Dragon Model card, there were also two separate little bags with decals and PE. The DS tracks were not in cardboard sleeves so there were some damaged guide horns. They were however not the correct type of tracks to fit this kit,, more on that later.
Review
The instructions are typical Dragon Model, however this particular kit leans very heavily on cutting parts off and filling them. The plastic was good on some sprues, and felt a little soft and thin on others. Some of the specific Tauchpanzer sprues (almost all of which is included but little used from the Cyber-Hobby White Box) felt especially thin. There was also a very large amount of unused parts in the kit. Some of these were not even listed on the instruction sheet. In my sample I had a complete second turret. This was not a duplicate but an early Panzer III turret. I am not complaining, but it was not called out in the instructions as an option. Nor was the early Panzer III PE sheet I received ever mentioned. There were completely unused sprues and PE sheets in the box which gave me the feeling like someone just chucked whatever in there without too much care. Not a good feeling.
The Build
Steps 1-3
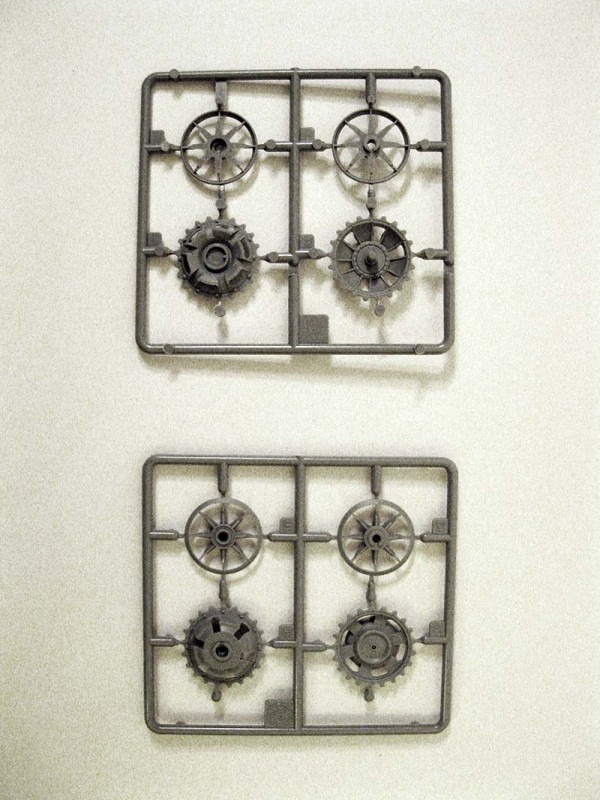
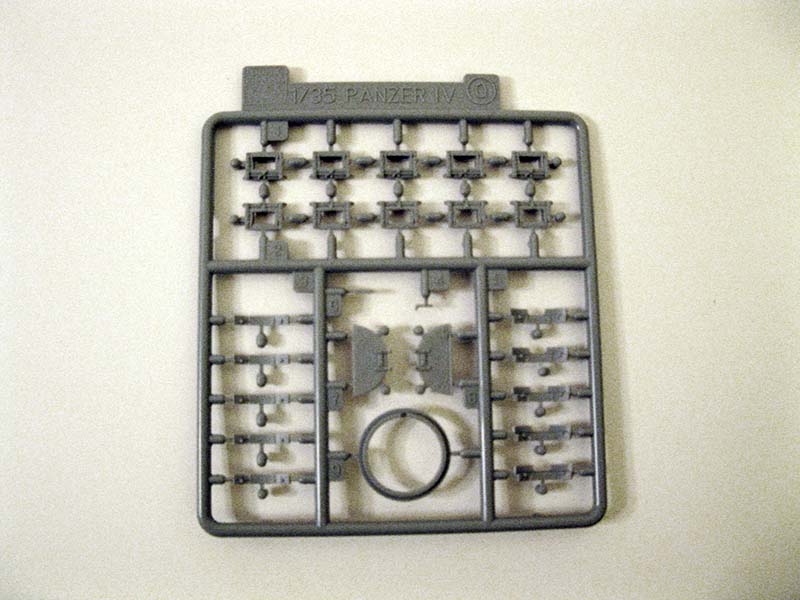
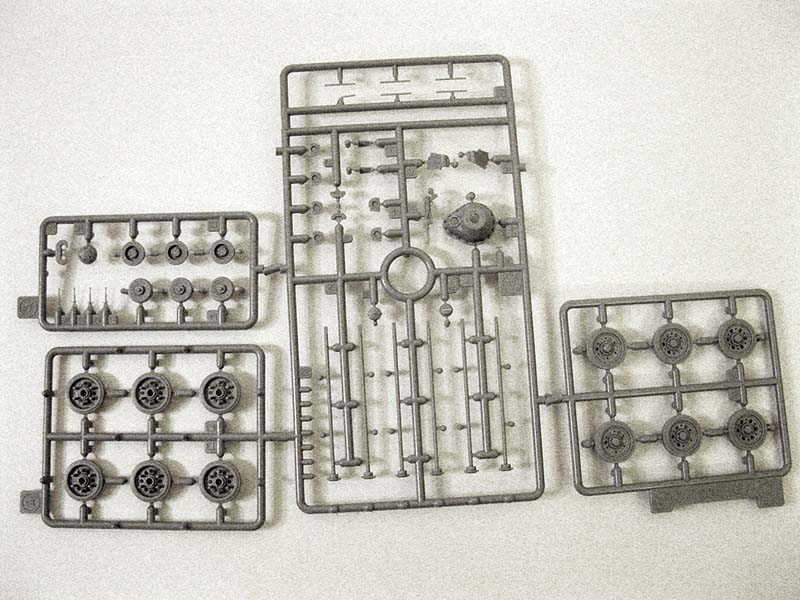
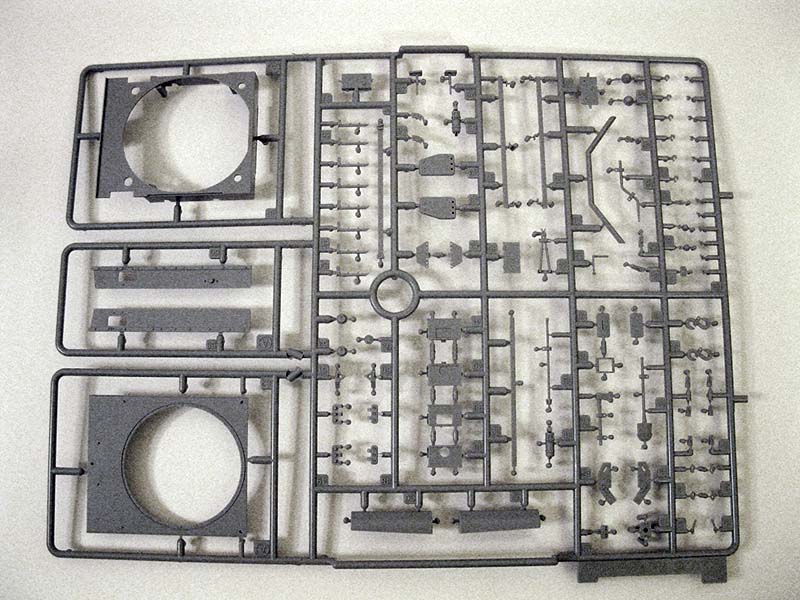
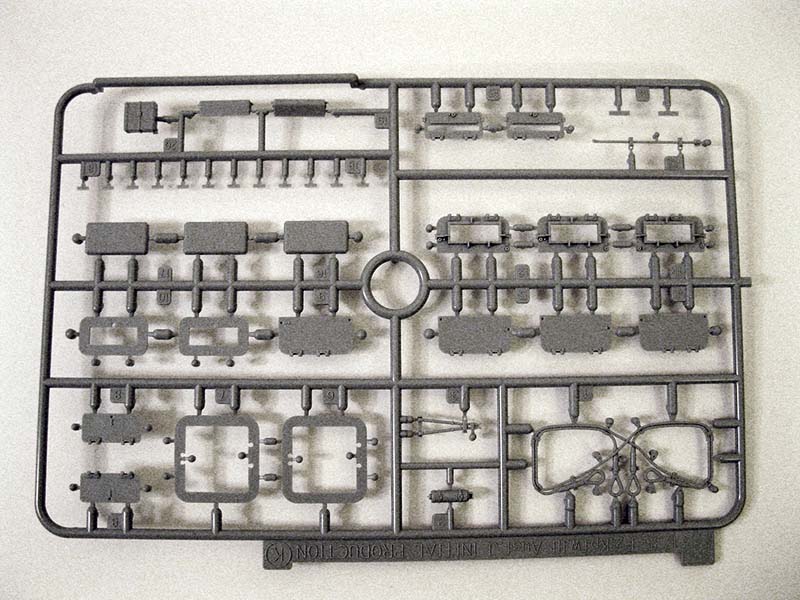
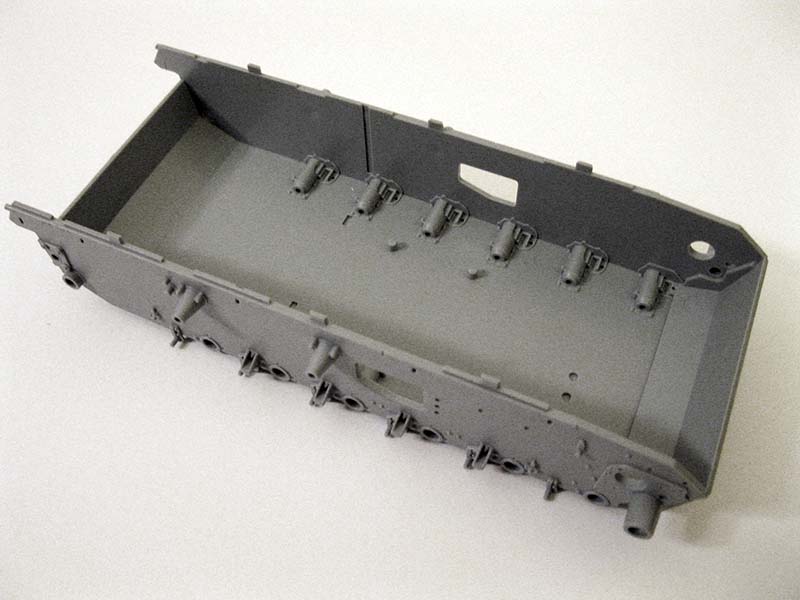
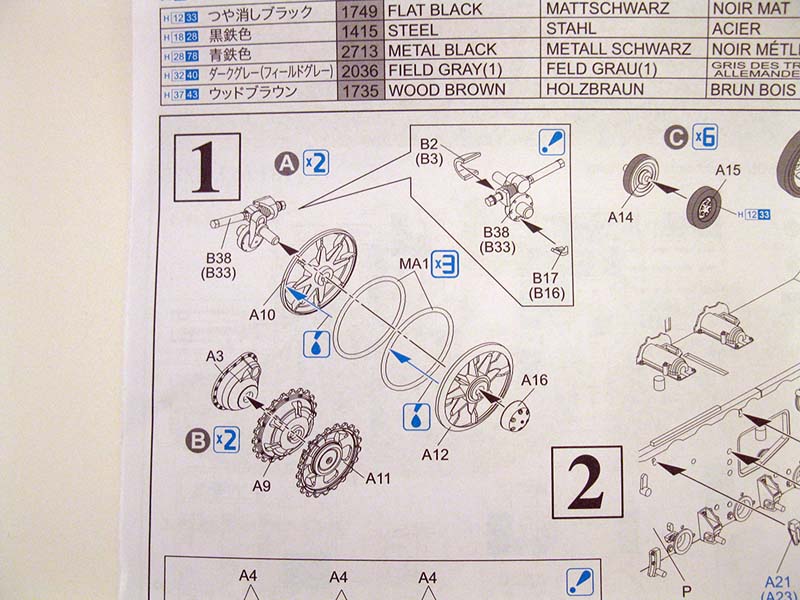
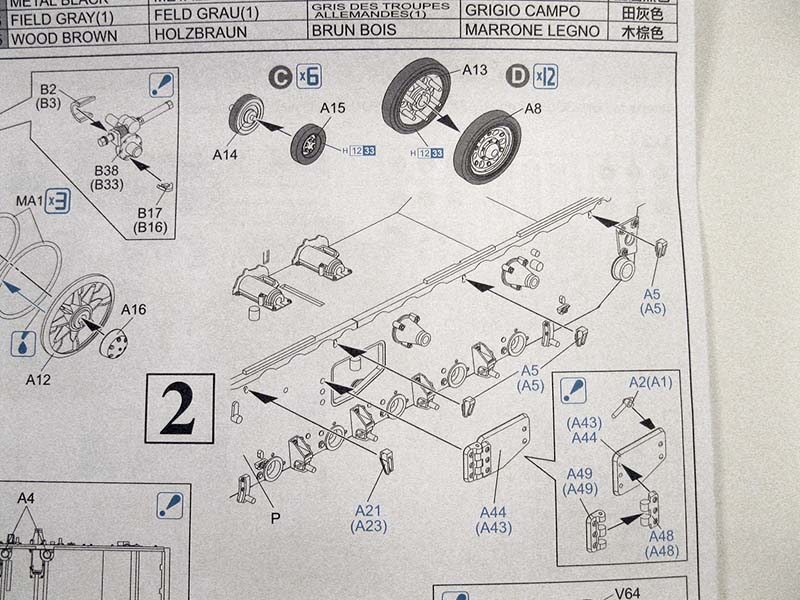
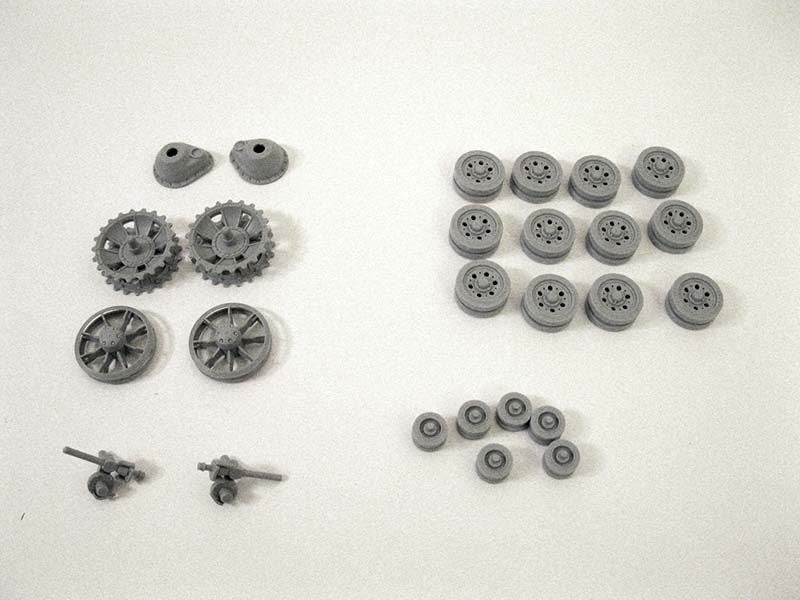
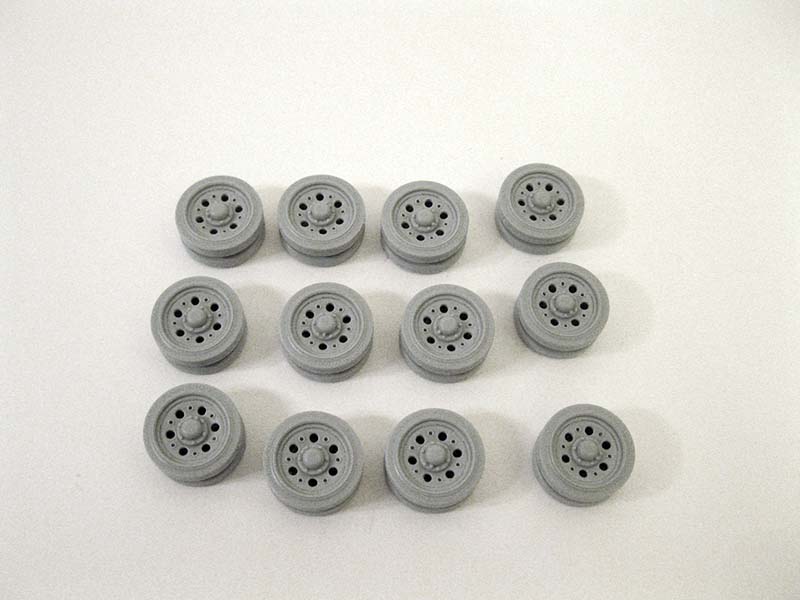
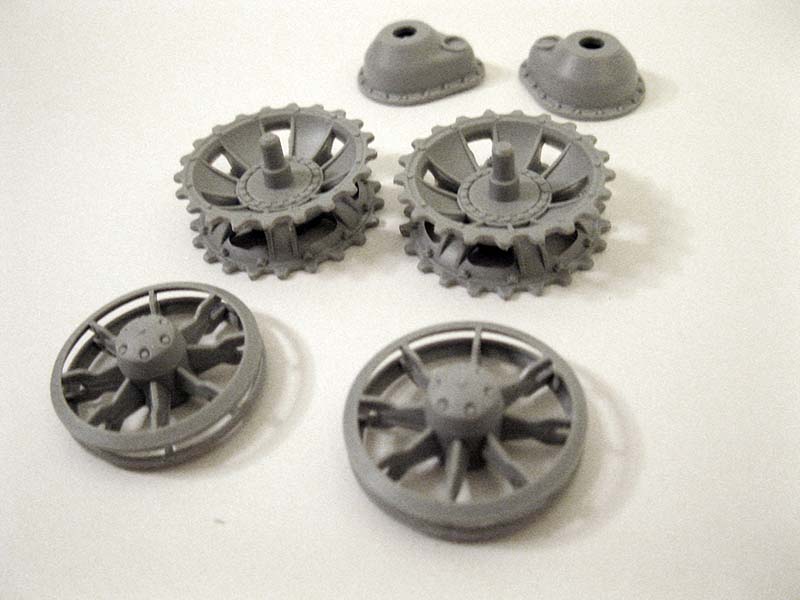
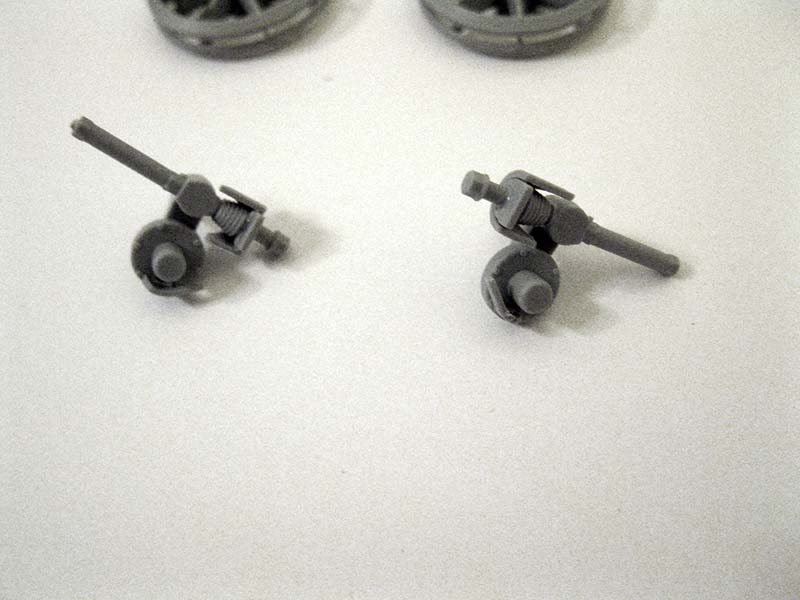
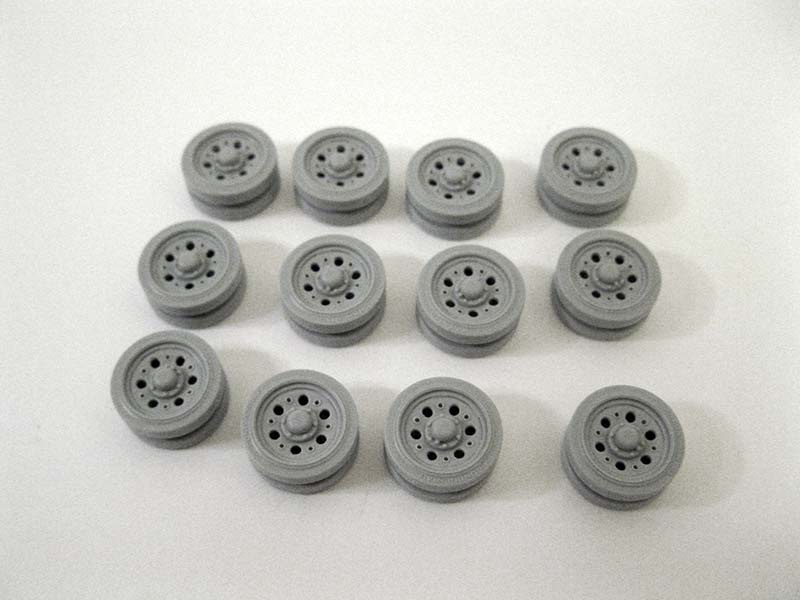
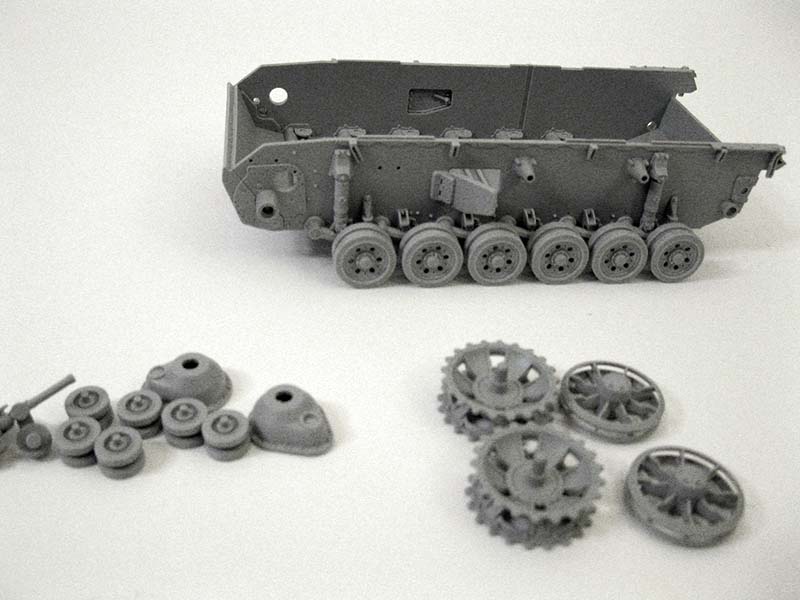
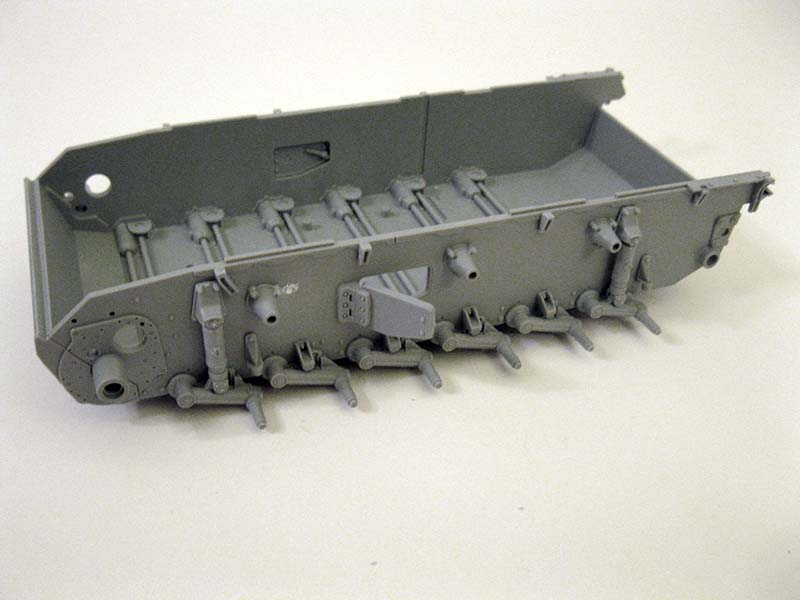
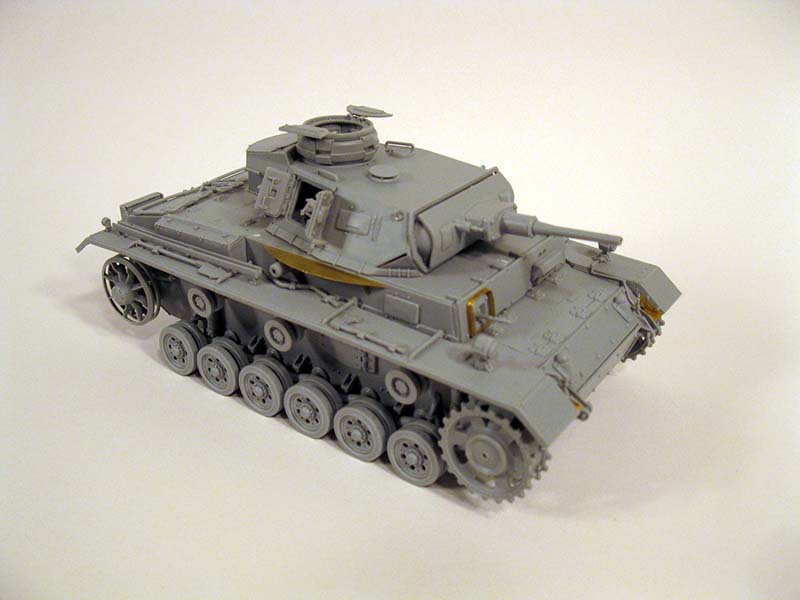
Things went wrong from the start as although an early Panzer III PE sheet was included the correct later one was not. So The PE for the Idler which was called out in the instructions was nowhere to be found. As I was reviewing the kit I chose to just carry on. The wheels sprocket and final drives were all of the crisp high quality we're used to in Panzer III and StuG III kits. The torsion bars and bump stops were all painless as well as all of these sprues are exactly what we're used to seeing.
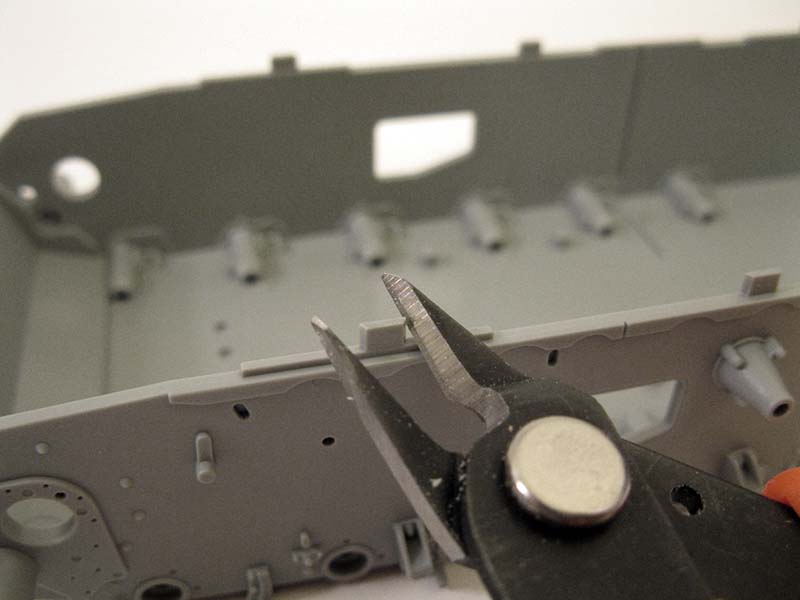
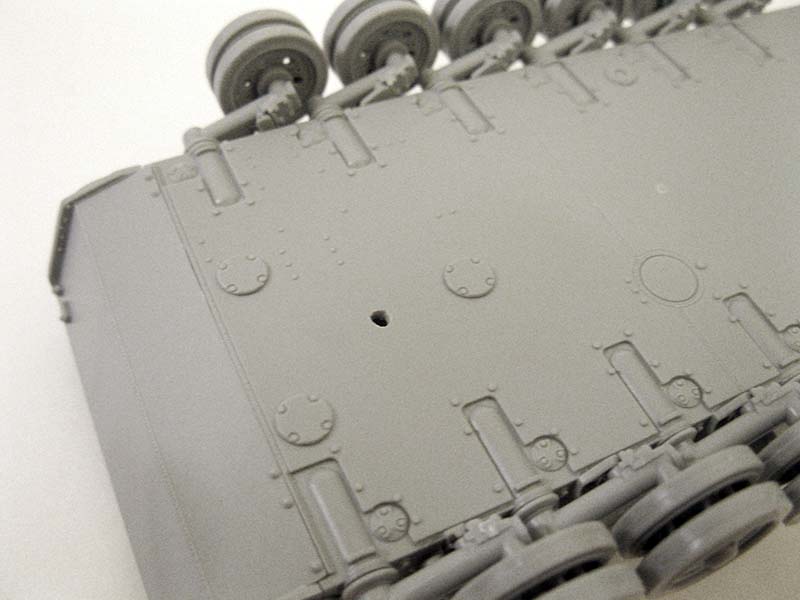
There is one hole you have to drill to install an access hatch of some kind on the bottom of the lower hull. And yet again you need to fill the hold behind the front return roller as you need to place that station. The front return roller on the Panzer III was moved forward during the production of the Ausf. G and forward. So the hull in this kit only has the rear two stations molded, and as they use this hull for multiple variants we must place that front station ourselves. Also be mindful here to remove the large tabs on the lower hull as the fenders will not go on correctly with them in place.
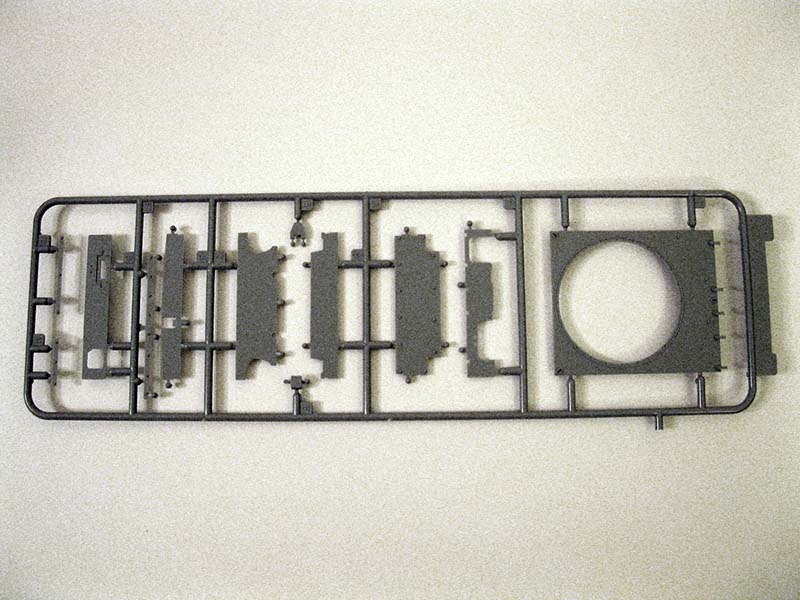
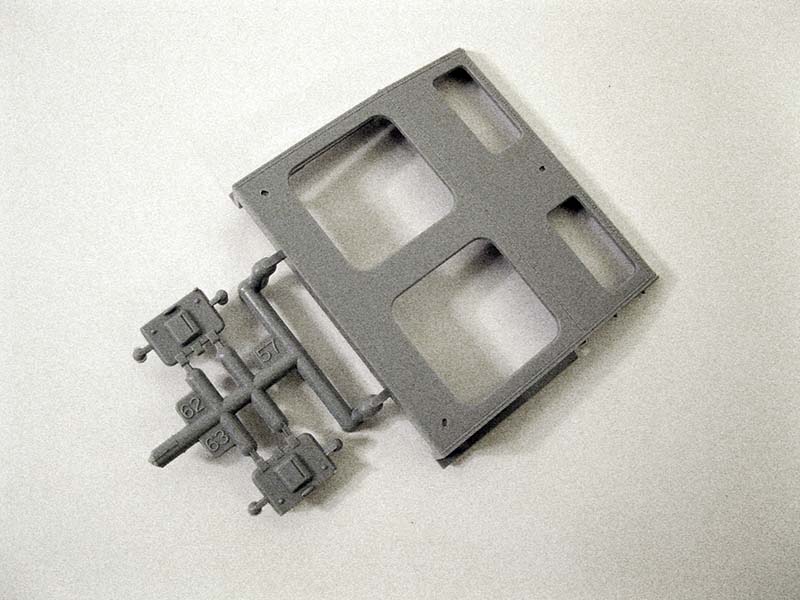
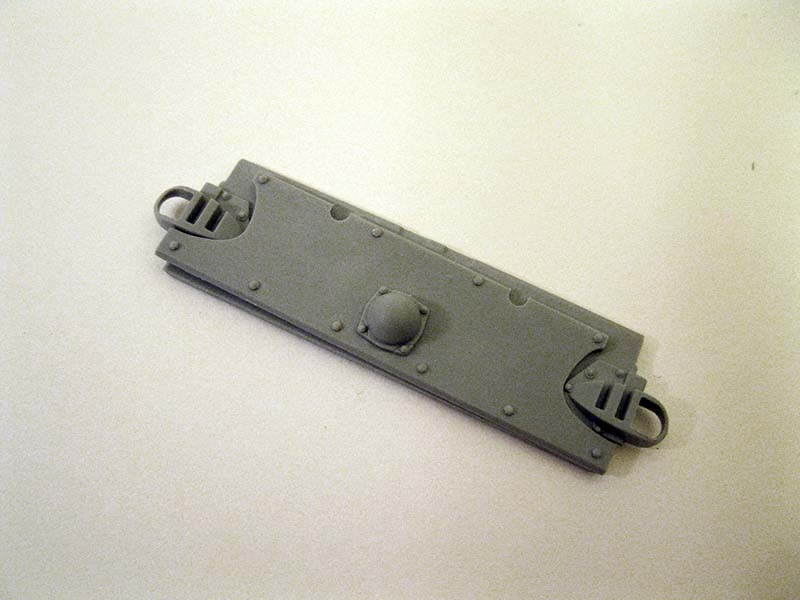
Rear plate and Fenders
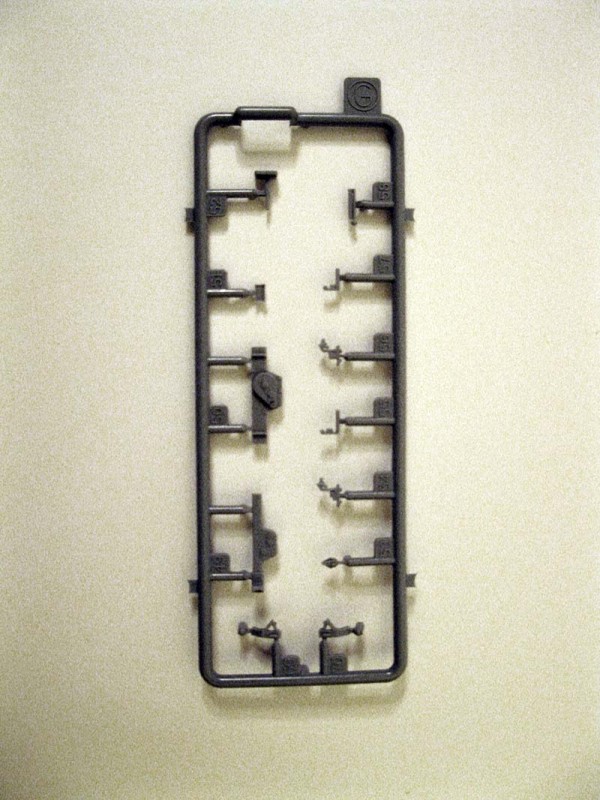
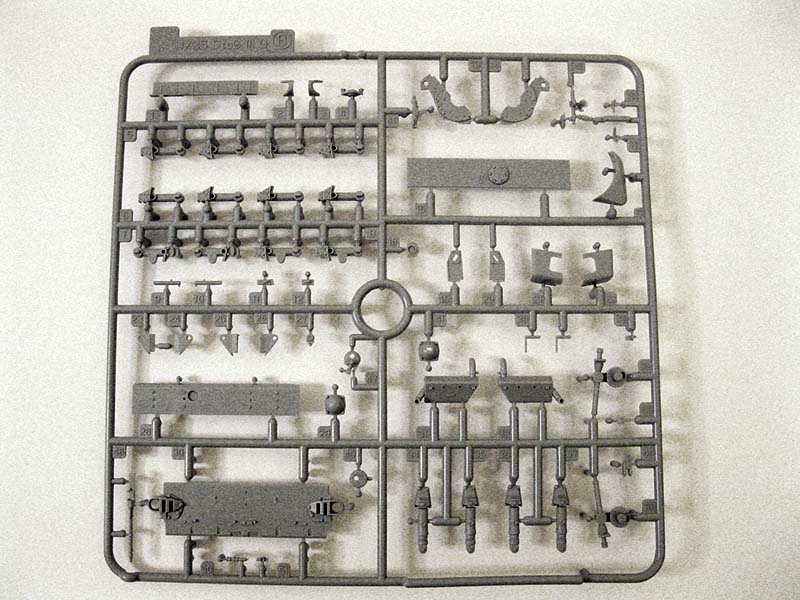
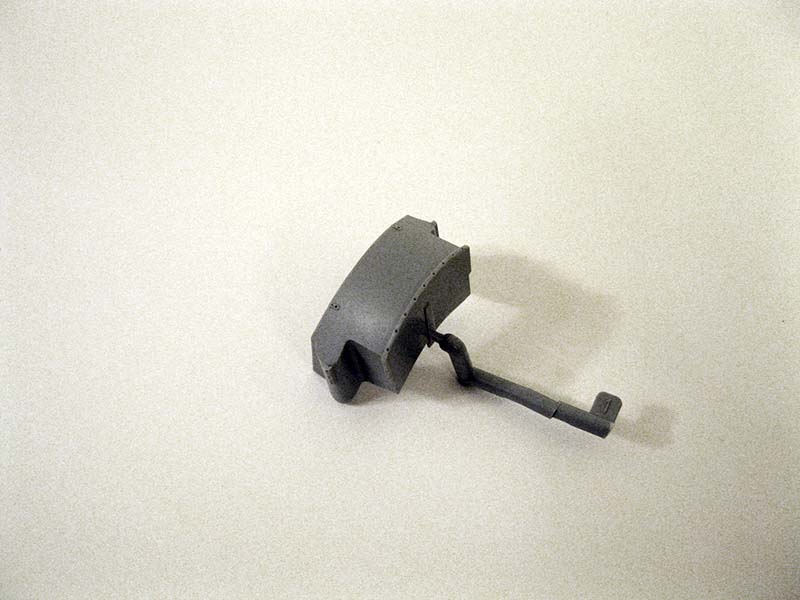
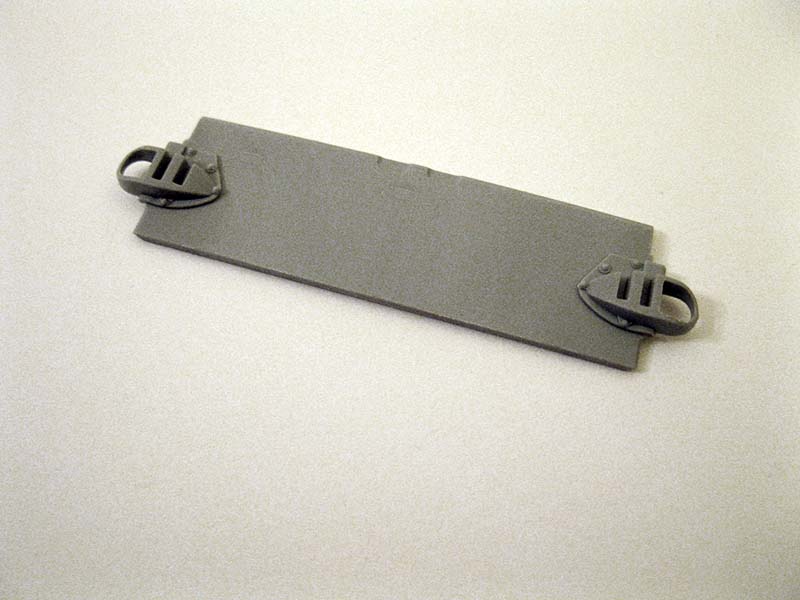
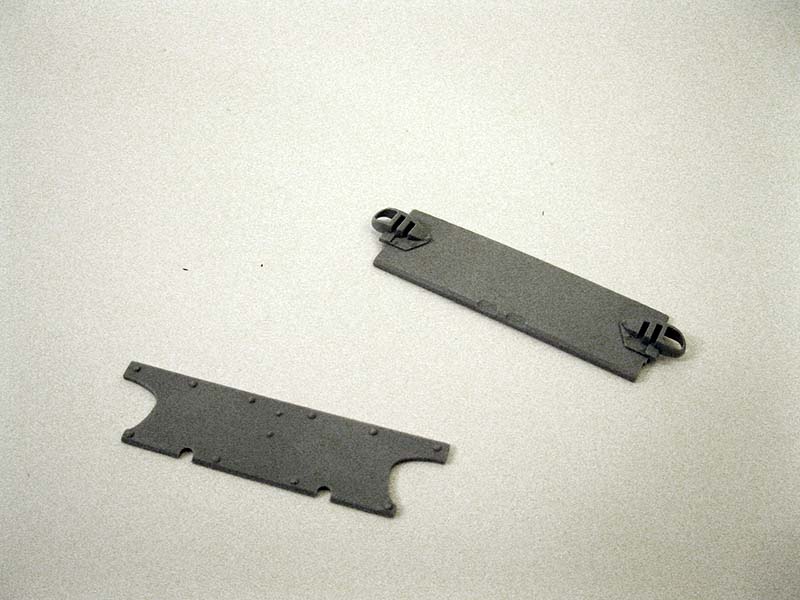
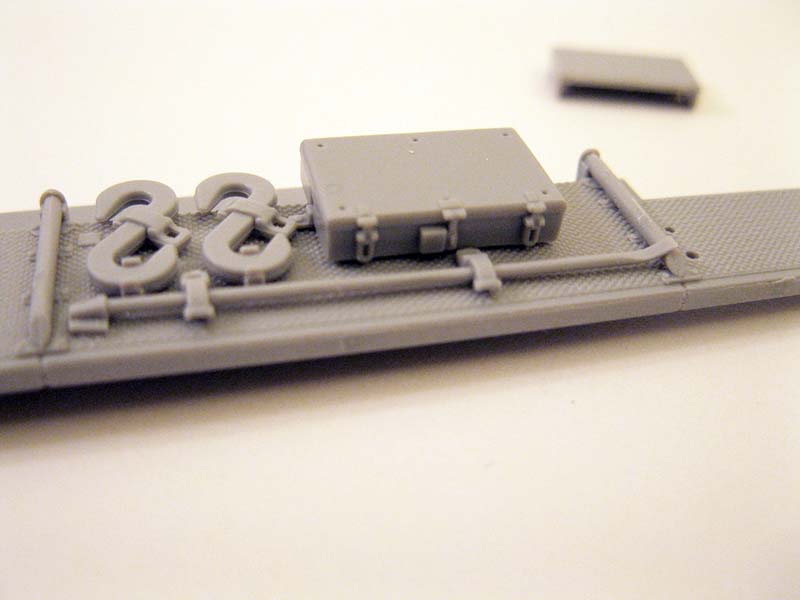
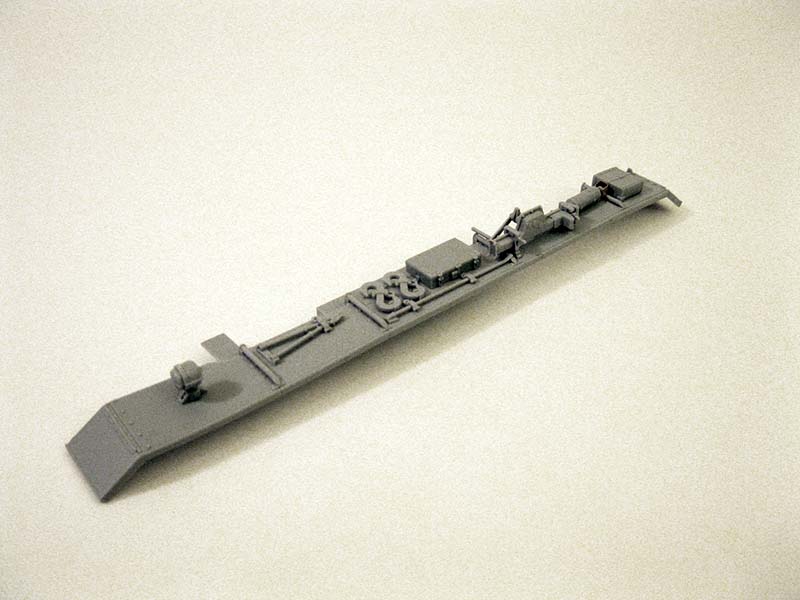
This is where things started to grind for me. The rear plate pieces require tons of small details be removed, so much so that I wondered why they didn't just mold me a piece that was correct. No less than 13 separate areas needed to be sanded smooth of details on just two parts. I also felt like the instructions for the muffler on the rear (the wading option) was not clear at all. We are asked to remove the familiar inner back part of the fenders so that we can fit the custom shape of this kit. It is a little fiddly but very doable. But again hack and slash on a purpose made model kit? That gets to be a bit much after a while. The tools on the fenders are the same we're used to seeing on these sorts of kits with molded on tool clasps. They are plenty crisp enough for my personal build style, with the jack being the most complex part.
I would like to point out though that the headlights have a tiny little part to glue to the back of the fixture (A31) which I found just impossible to get right or clean up. After looking around in my spares I found that many of my kits (in this case I think it was from the Dragon Nashorn) that part is molded on so I chose to use my spares. Here you can also choose the styrene molded option or two piece PE and styrene option of the rear flap. I used the styrene ones as I never had before and wanted to see how they looked. Lastly here they have you remove and fill a spot behind the headlight on the right fender. This would require you to re-scribe the diamond plate which I did not see going well. SO I left this detail as it was.
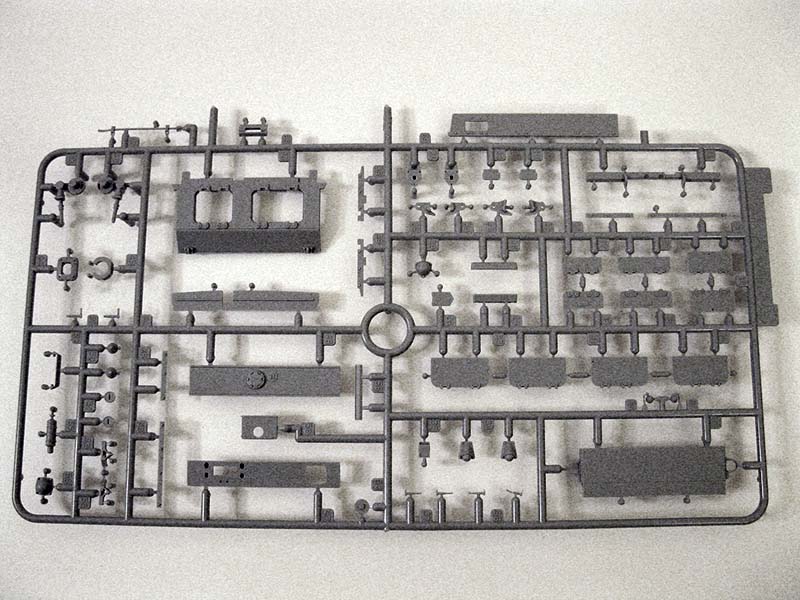
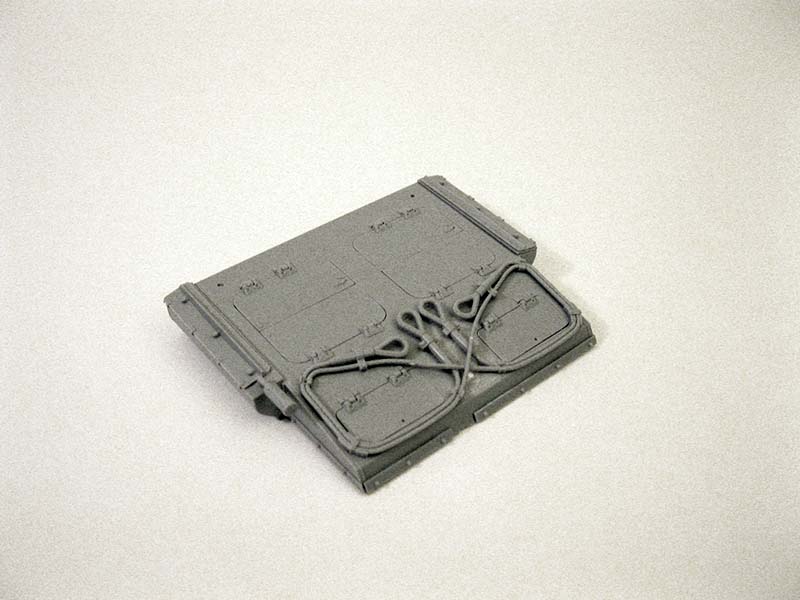
Engine deck and upper hull
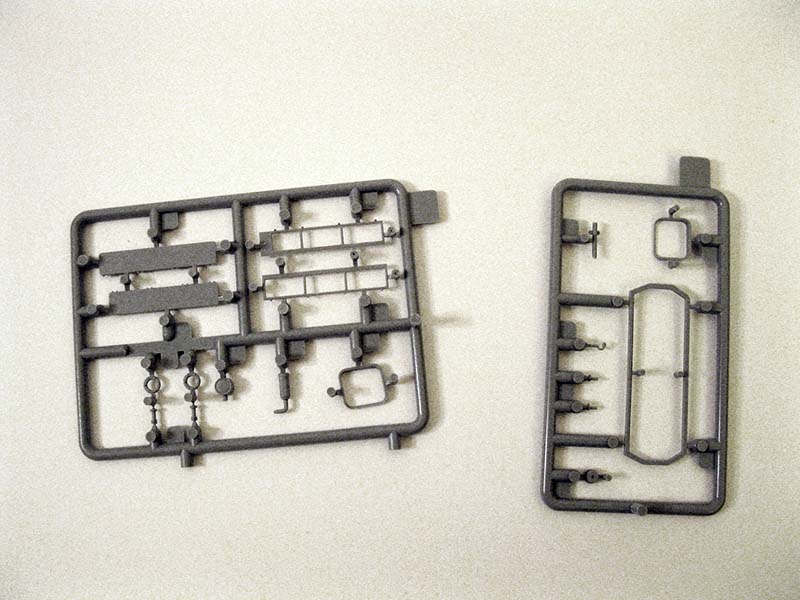
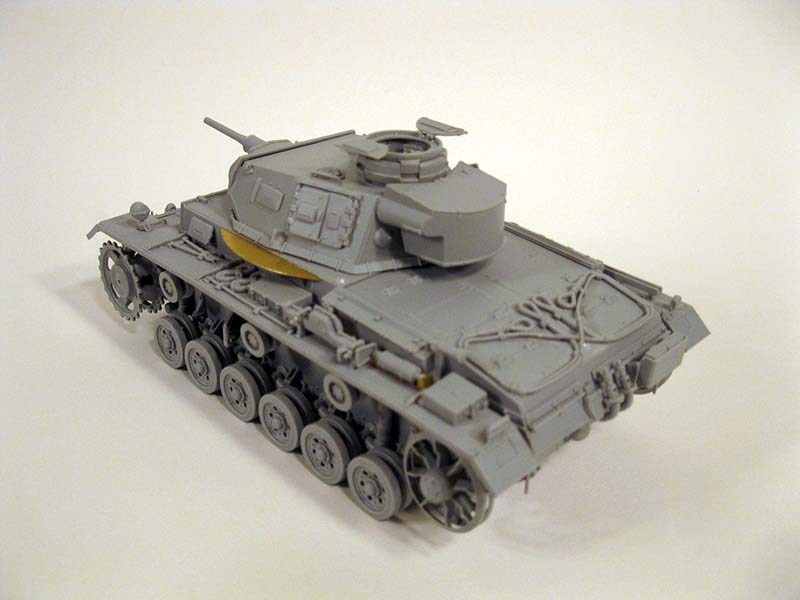
The engine deck is the same slide molded piece we're accustomed to in Panzer III kits, but I didn't see any locator holes to fit the styrene tow cable. Also you are instructed to fit it lower on the back than usual, so the rear central tie down cannot be fitted if the tow cable is, so I chose to fill the spot. We do have the interesting closable doors instead of PE grills on this kit, although this is some of the plastic I found to be too soft and thin.
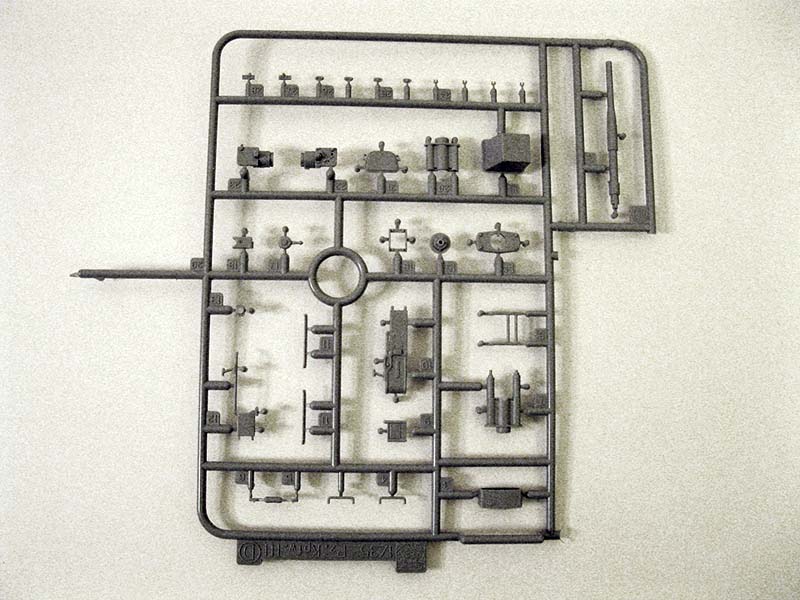
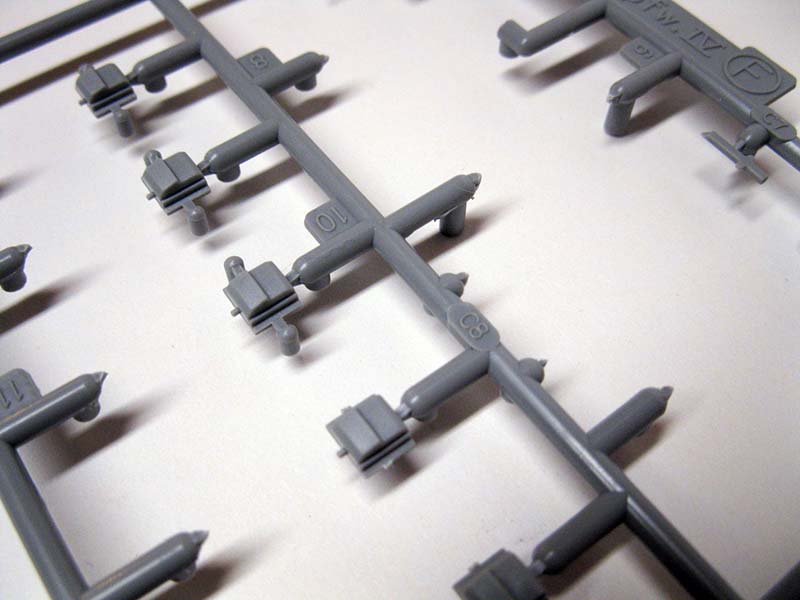
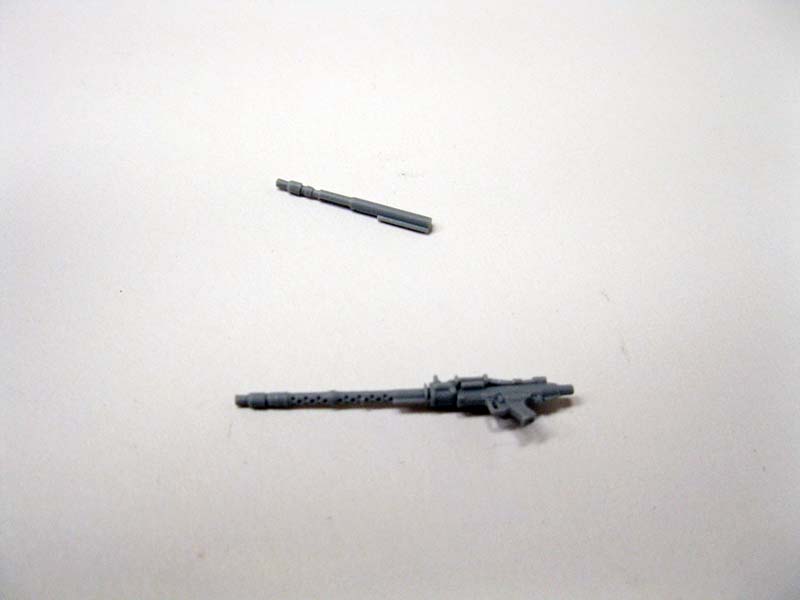
The front plate and add-on armor are pretty straight forward, but the upper deck of the upper hull has many small bits to be removed and filled, again...Also here they have us cut the barrel off of the ow MG and glue a different one on. I have done this in my own modifications but this is not a strong bond as you're gluing a flat piece to another flat piece. Again modification.
The plate with the drivers and radio operators hatch is pretty simple, there is a photo-etch option here I chose not to use as I had my hatches closed. The side plates with vision ports were exactly as previous Panzer III's I had done and no problem at all.
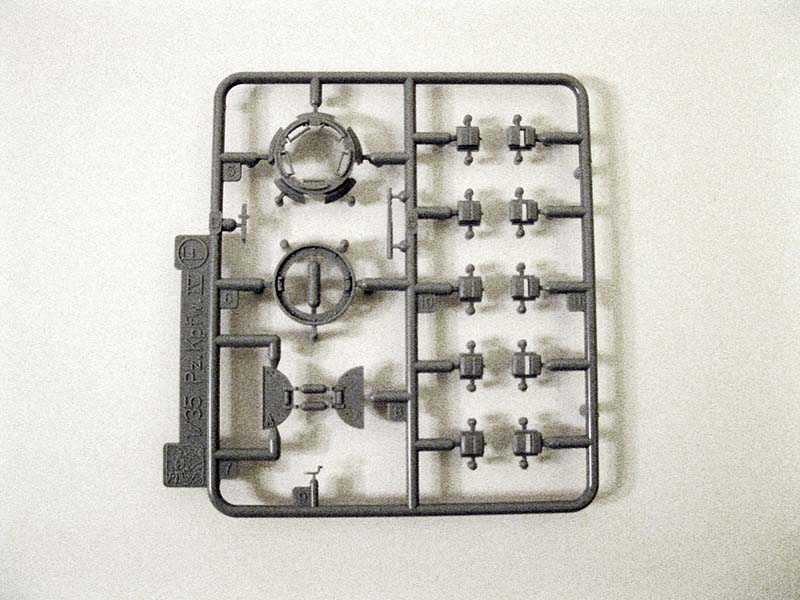
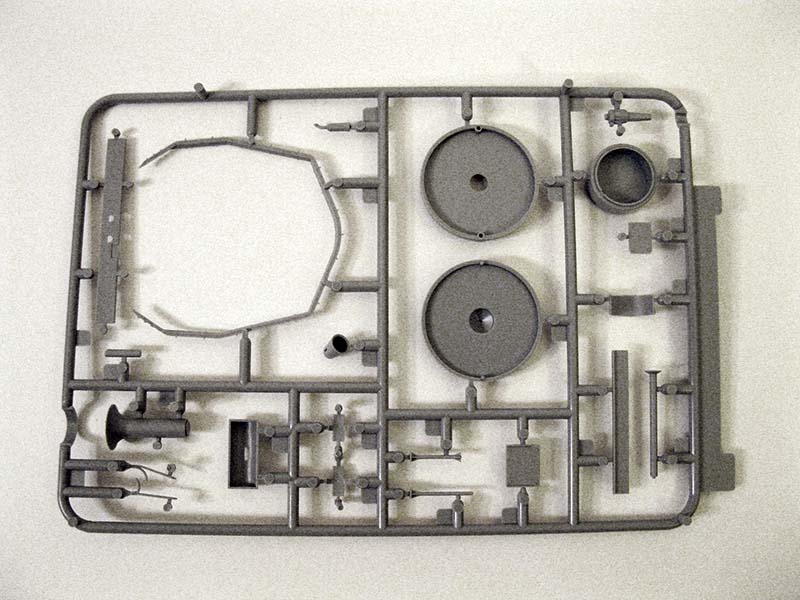
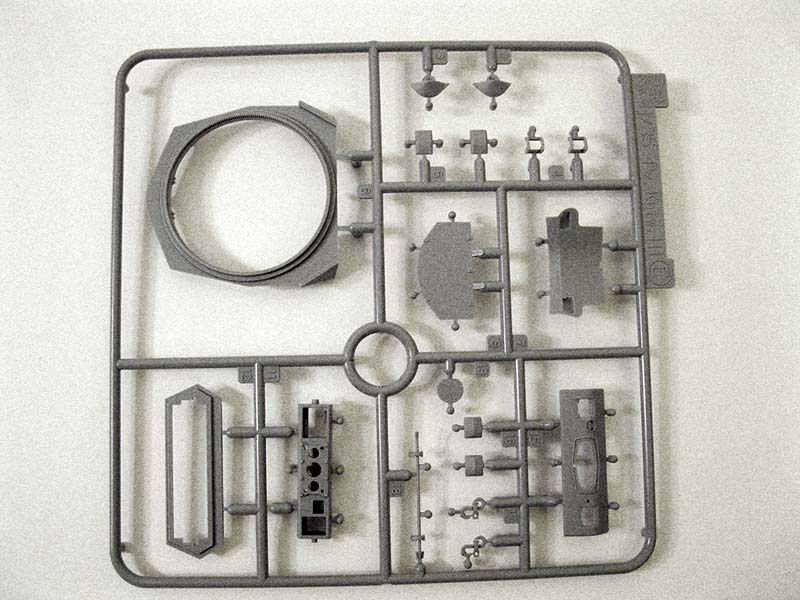
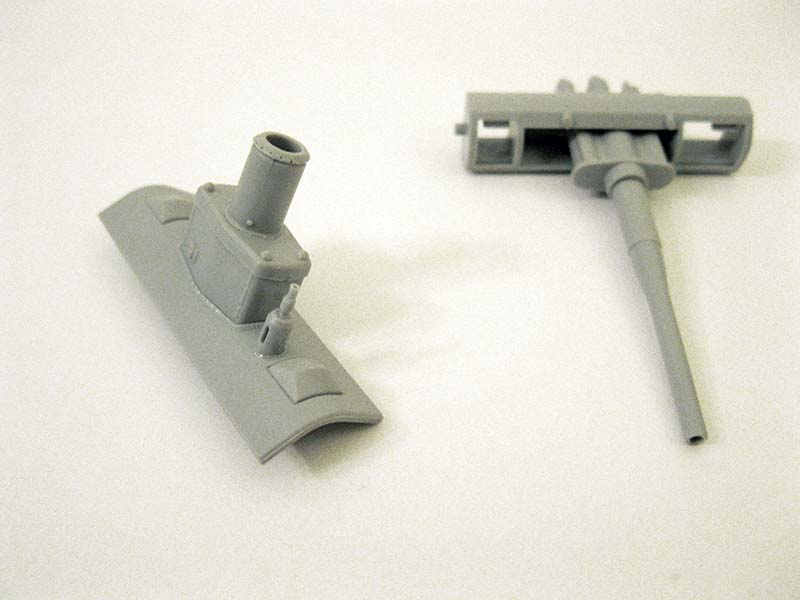
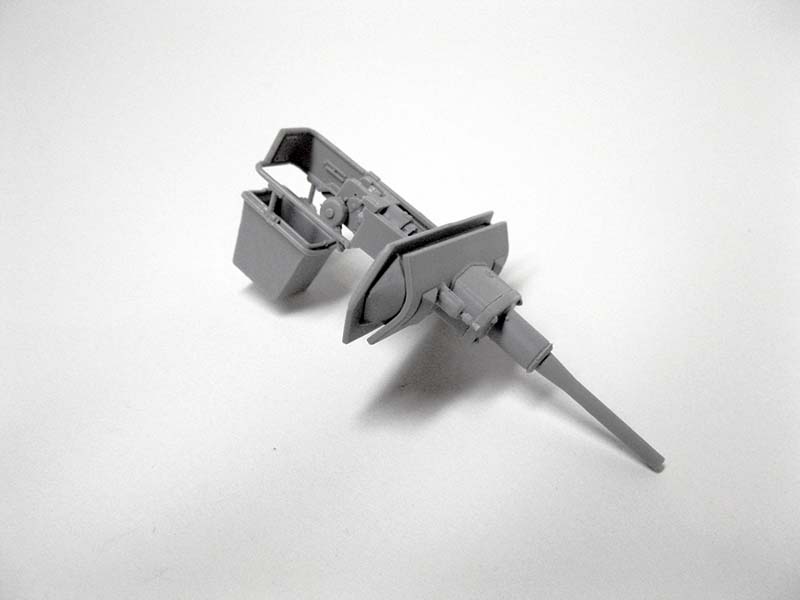
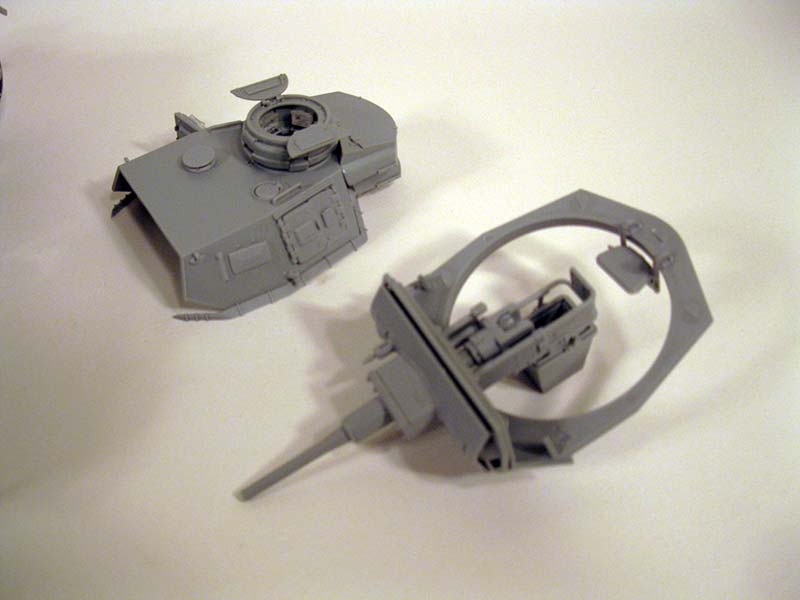
Cupola and gun
The cupola for the turret is the same late version assembly you get in many Panzer III and IV kits, and went together very well. I noticed there were enough parts for either the 50mm turret called out in the instructions or the entire 37mm early turret, but I chose to follow the instructions and build the 50mm mantlet. The parts are top notch Dragon Model parts and went together easily. Slide modeled gun and just a few other bits to glue on. The breach and inner parts are also a pleasure to build and the gun and interior details were done very quickly in my case.
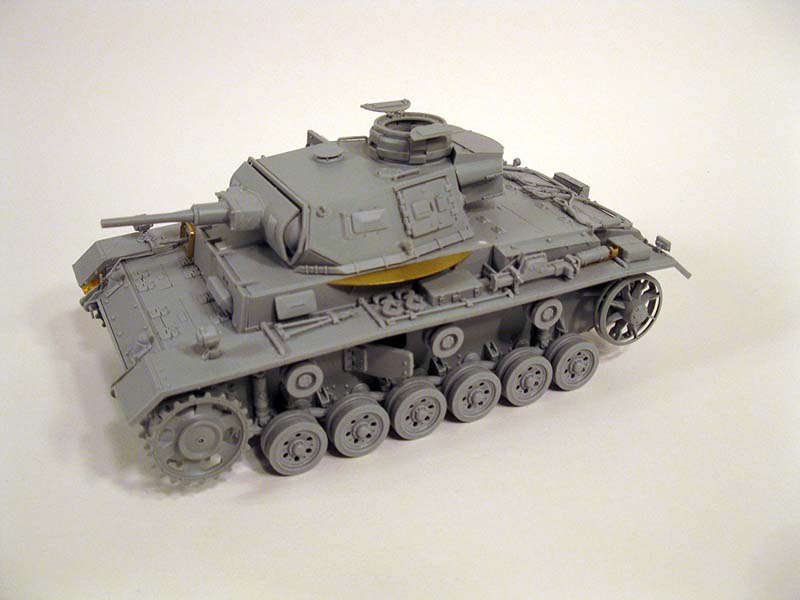
Hull assembly
Here I attached the majority of sub-assemblies. Engine deck, fenders and hull pieces. There were no major issues apart from my example having one warped fender I had to fight with.
After that is done we are asked to attach some more armor plate and tow connections to the front of the tank. The only confusing part is that you need to attach the tow shackle connections to the front plate before you attach the folded PE parts that go right above them. I did not do this yet managed to get them correct, but I was pretty annoyed with myself when I saw I would have had more connections points if I had done it the other way.
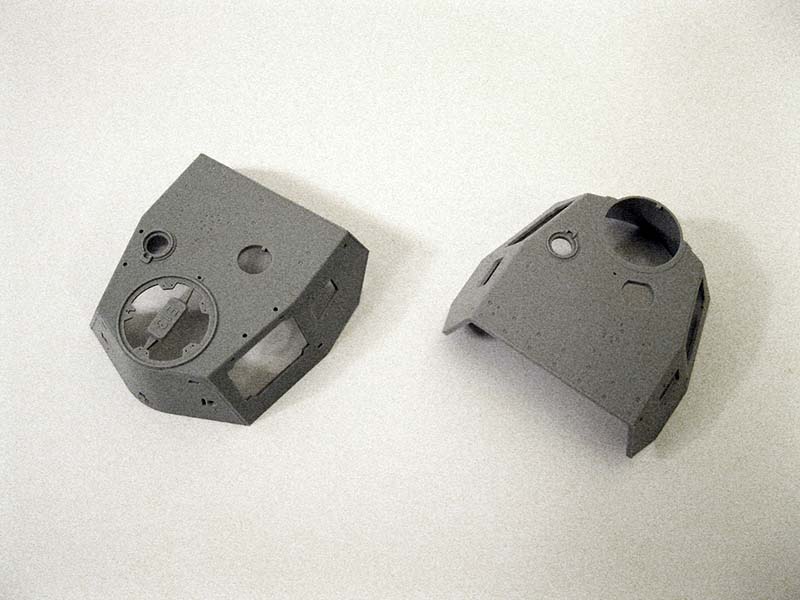
Turret Exterior
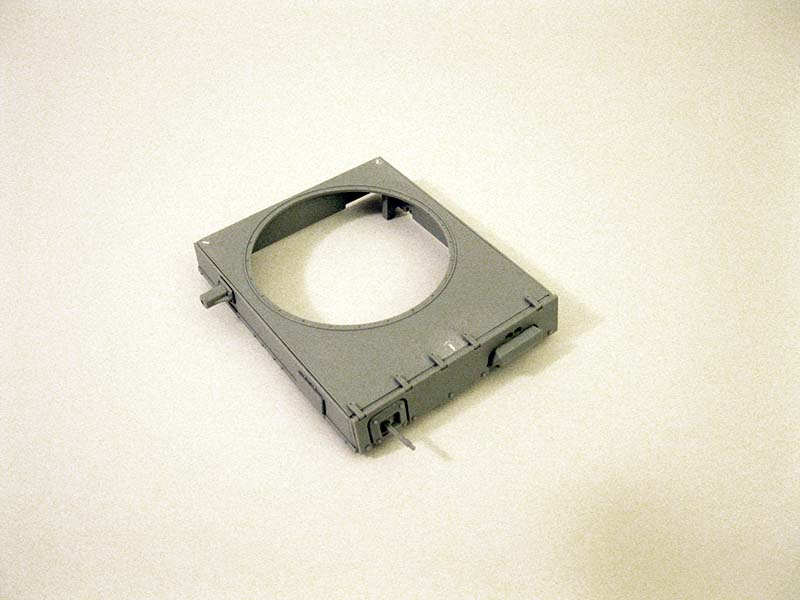
Now we're completing the turret Right away they have us filling tons of small holes in the turret roof as this variant would not have those included in the kit. The ventilators and vision ports are from the excellent Panzer III series from Dragon Model and went on no problem. Two marking options use the turret basket and this is where you choose to use or leave off the basket. I chose to use it and was promptly told to remove the details from the bottom and sides of it. The tie downs here can be a bit fiddly as they're two parts, but big problems here.
Final assembly
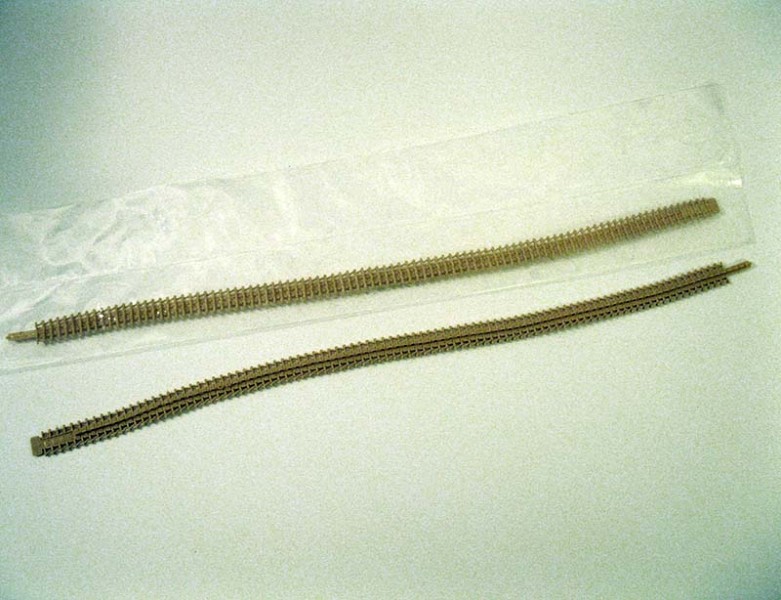
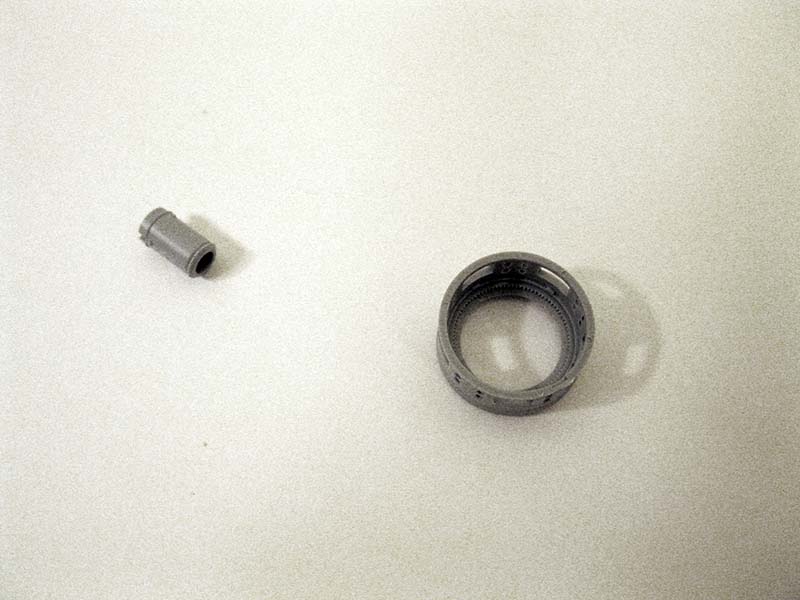
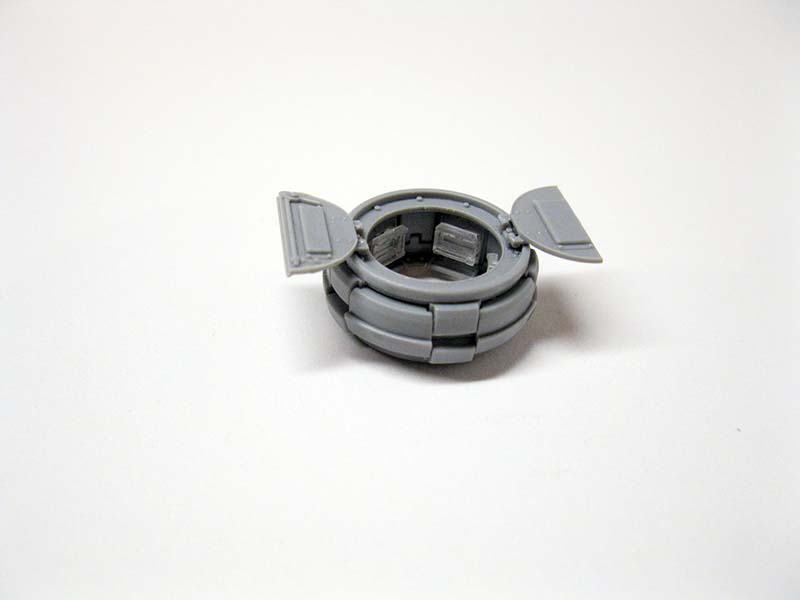
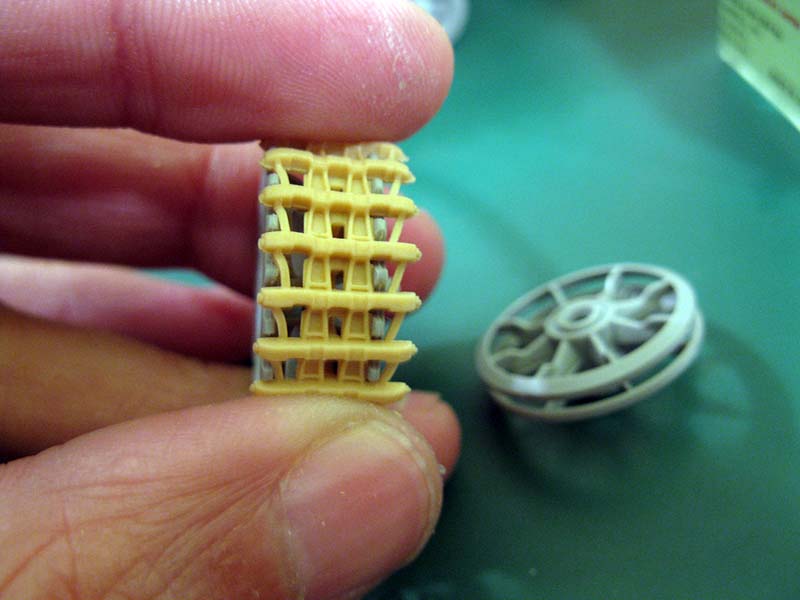
Finally we are told to add some water-proofing rings around the turret and mantlet as well as something around the bow MG. Be aware the piece C7 will not fit if you use the turret basket so I did not use this. This is when I finally tried to use the DS tracks. One run ripped as I applied the glue to attach them, right at the thin point and frankly the connections did not fit properly so I had to trim the things and basically just glue them straight as the overlapping part had given way. The other run didn't fit well together but was less hassle.
They were however 36cm tracks where this Panzer III uses 40cm tracks. I scoured the box for earlier sprockets but no other sprockets were included. I can only assume this was a mistake, but I have to assume that every version of this kit has the wrong tracks.
Conclusion
In the end I was very let down by this kit. During the whole build I felt like I was trying to build something that was just thrown together by someone saying "just add some Ausf. H parts to the Tauchpanzer sprues and BAM! Tauchpanzer H!). Except no. I had to modify a ton of parts, and even after that there was missing PE, the wrong tracks and random parts I didn't even need. I've built kits where I felt like I was crafting something that someone had put a lot of work and passion in to, but this kit feels like a money grab, and can't even build a tank without either aftermarket tracks or complaining to the company. I would recommend everyone stay away from this kit and find a good Panzer III with Magic Track from Dragon Model for half the price on ebay. I love Dragon Model armor kits, but the trend of them skimping on parts and throwing out poorly thought out kits is making me rethink that.
SUMMARY
Highs: Not many of note.Lows: Wrong tracks and too many parts needing to have detail removed.Verdict: Stay away from this kit and find a good Panzer III with Magic Track
Our Thanks to Dragon USA! This item was provided by them for the purpose of having it reviewed on this KitMaker Network site. If you would like your kit, book, or product reviewed, please contact us.
About Adam Mann (Mannloon) FROM: WISCONSIN, UNITED STATES
I am a professional video game artist specializing in hard surface modeling and PBR texturing. I started making armor models a few years ago and have been trying since to translate my digital skills to paint and plastic, which isn't always easy. My specialty is German Armor in 1/35.
Hi Adam
Just to make this absolutly clear, I think you've done a great and very informative review. I very much respect you for being honest, which is important, not just for the fellow builders, but also for sending a signal to the manufactors. It was just the 60% label, which nagged me, that's all.
Hope we're good
Jacob
DS TRACKS!!! Dragon has been getting worse and worse. Well, at least there's Trumpeter and and Eastern European manufacturers have been getting better.
I think it is a good sign to have a review being totally honest, which means to say, yes, this kit is really crap, too. From the text only I would have thought you'd give it even less than 50%.
basco I almost did. I wasn't sure what to rate it. I teach at a college right now and 60% is the lowest D possible. Maybe that had something to do with how I got that number. Should have given it a 59% maybe. The lowest I'd seen previously was like 85% so I was a bit concerned being this up front. But seeing support from you guys means a lot and I appreciate it.


Comments