The Leopard 1 has served a multitude of nations exceptionally well over the years. As with any tank upgrades and modifications are part of the life cycle. These are the necessary evils of advancing technology and attempting to keep a tank as capable as possible on the battlefield.
The steadfast and battle proven L7 105 mm main gun saw an upgrade process on the Leopard 1 to ensure it kept hitting the target. Beginning in 1972, Leopard 1A1s received a number of modernization upgrades. One such upgrade was the addition of light metal thermal jackets to the main gun. In a nut shell the barrel jackets assist in reducing potential barrel bend/warp by evenly distributing heat built up on the barrel during firing. The barrel jacket components attach to the barrel and mantlet with a variety of clamps and brackets.
The Leopard Workshop has produced several new Leopard 1 barrels to suit the needs of detail minded modellers. Using a wealth of reference information the Leopard Workshop has taken a hybrid approach to producing the L7 by combing both resin and turned metal to capture all the details required to display the L7 in multiple configurations.
One of the L7 guns recently released caters to those modelling wanting an accurate gun for any Leopard I using the standard thermal jackets. This can be referred to as the European version due to the style of barrel jacket clamps utilized. The barrel jackets were used on Leopard 1 ranging from the A1A1 to the A5. Details on the muzzle end varied depending on the version, upgrade, and timeline.
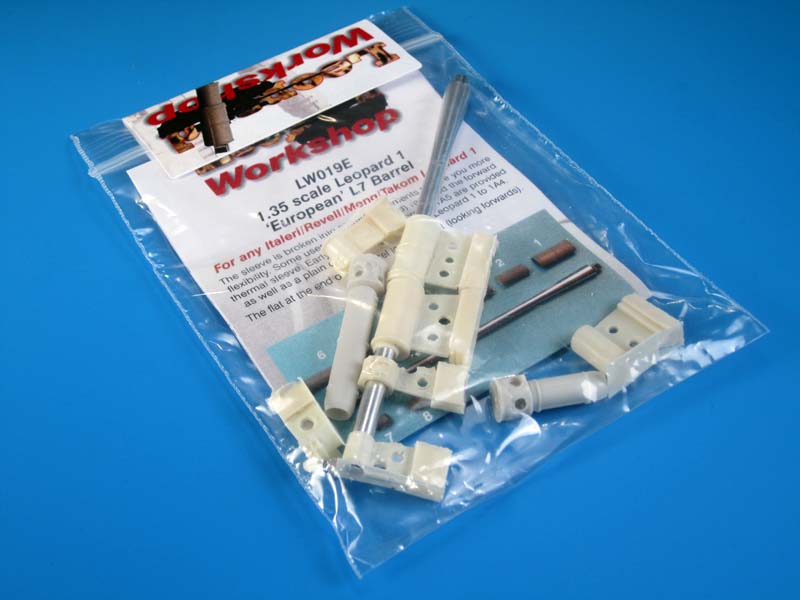
Contents
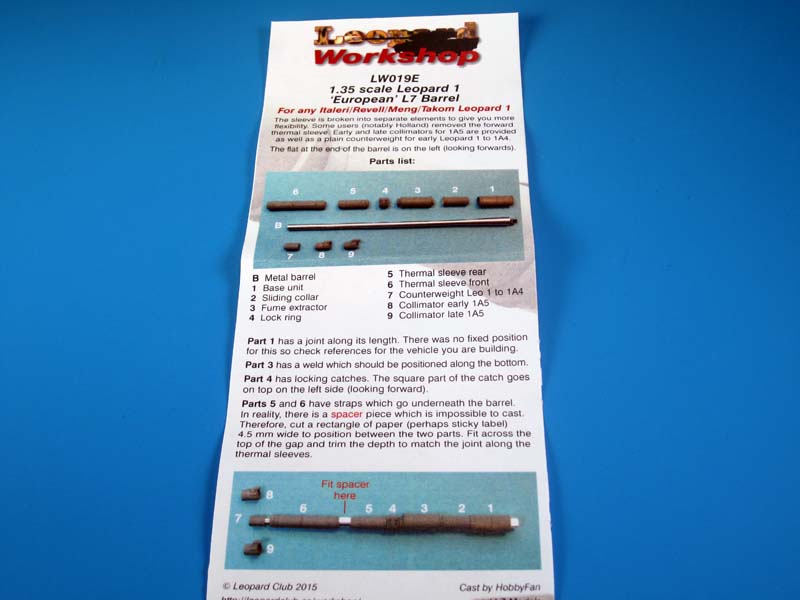
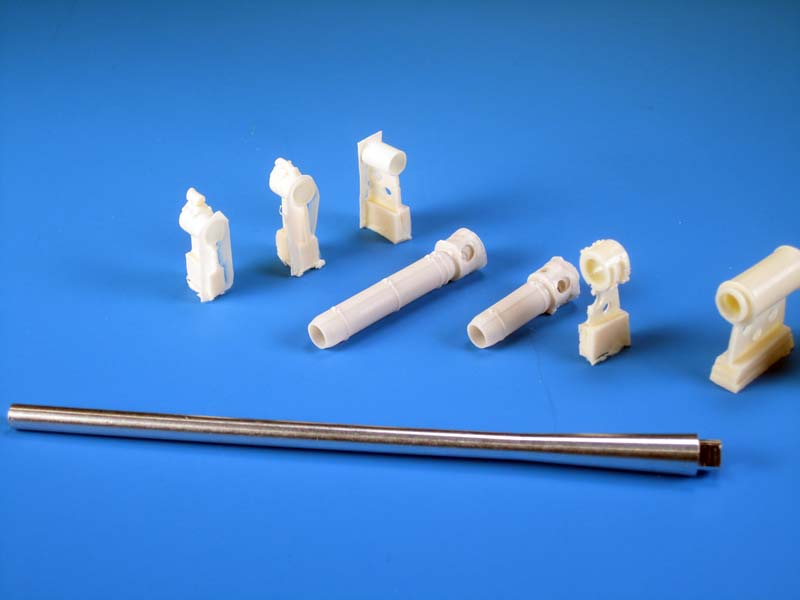
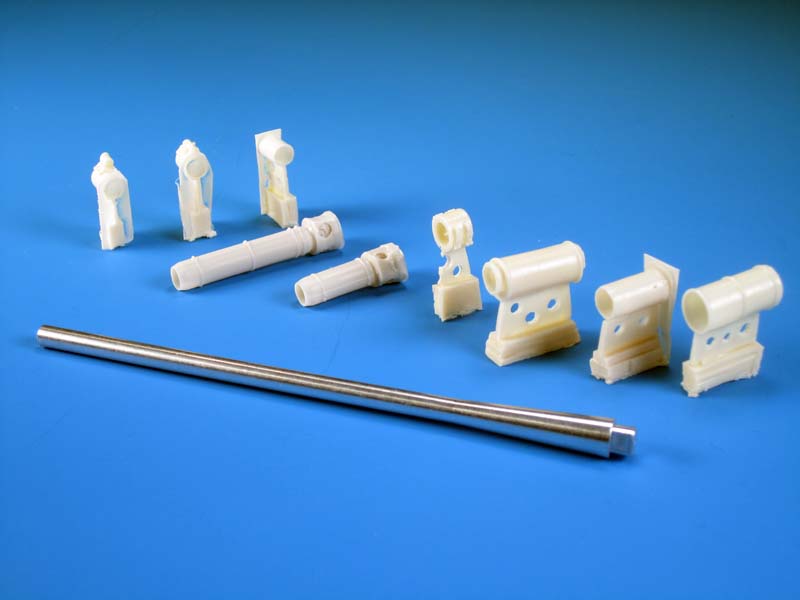
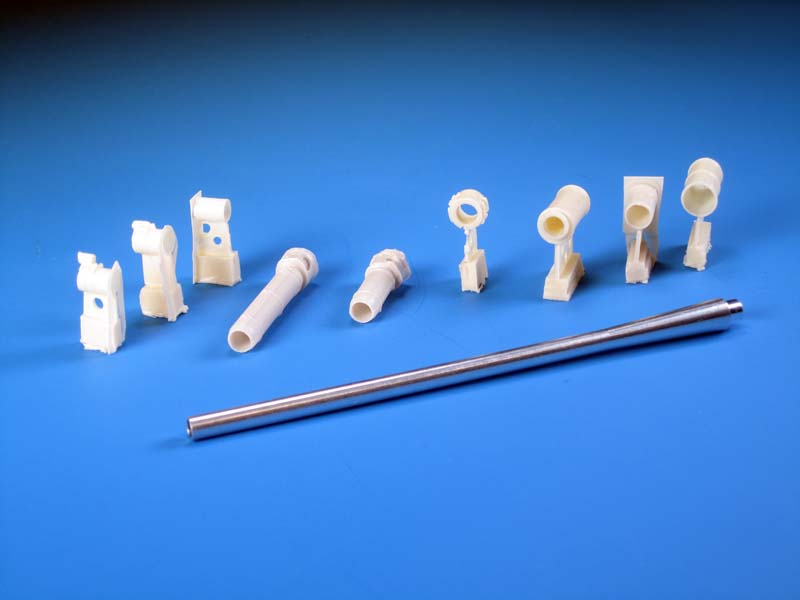
The LW019E Leopard 1 L7 Gun Barrel set consists of the following parts:
1. Turned aluminum barrel
2. Base Unit (closest to the mantlet)
3. Sliding Collar (telescopes partially inside the Base Unit)
4. Fume Extractor
5. Lock Ring
6. Thermal Sleeve Rear
7. Thermal sleeve front
8. Counterweight Leopard 1 to Leopard 1A4
9. Collimator for early Leopard 1A5
10. Collimator for late Leopard 1A5
These ten parts can create the L7 as it was used on multiple versions of the Leopard 1.
Review
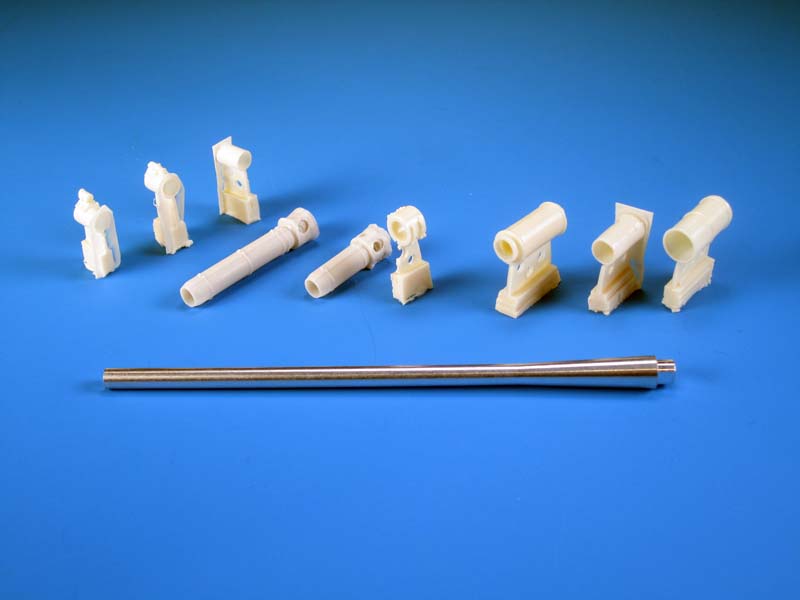
The turned metal barrel is nicely produced. The taper is visible and adds to the look of the barrel as it reaches the gun trunnions and mantlet area (although this is covered by the barrel jackets). The barrel is designed for use on the Italeri, Revell, Takom, and Meng Leopard kits. This is a Wunderbar option for modellers with old or new kits awaiting refit with a new aftermarket barrel.
The rifling depicted in the turned metal barrel muzzle is easy seen. For the perfectionists the rifling is not angled into a twist. I was not overly concerned with counting the lands and grooves to ensure absolute accuracy.
The remaining nine parts are cast in a cream coloured resin. Overall the detail is very nice. On the real tanks the barrel jackets do get dings, scratches, and crinkles. The resin parts do display a bit of this effect simply from the casting process so do not expect pristine looking components. I did not notice any warping of the resin parts.
All of the resin parts will require cleanup to remove the casting blocks. Be careful not to remove the weld seam on the bottom of the Fume Extractor as it is supposed to be there. Keep in mind that only the Leopard 1A5 will use the Collimator on the muzzle counterweight. Make sure you know which way the Collimator should face when sliding it on the barrel in order to not have it positioned backwards.
Assembly of the barrel follows a sequence in order to put the parts on the barrel in the correct order and to ensure they are placed properly. All of the parts are designed to slide over the metal barrel. Some are a bit snugger than others and this is perfectly OK.
The Base Unit has actually been shortened from what it actually looks like on the real tank. This is because all of the Leopard 1 kits provide the final portion of the Base Unit already attached to the mantlet. The Base Unit when attached to the kit mantlets will then replicate the proper size and additional mounting clamps.
I would like to touch on the two halves of the forward barrel jackets. On the Leopard Workshop set three parts actually should make up the actual upper and lower thermal jacket upper and lower halves. The upper and lower front thermal jackets extend from the front of the fume extractor to the muzzle counterweight as two long pieces. The top half overlaps over the bottom half. The parts used to create the front thermal jackets are as follows:
-Lock Ring
-Thermal Sleeve Rear
-Thermal sleeve front
The Lock Ring is not actually a lock ring. It is the end of the thermal jacket. The upper and lower have fit together and four permanently attached clamps hold them together over the actual locking ring underneath.
Missing from this barrel is a narrowed section of the thermal jacket in between the Thermal Sleeve Rear and Thermal Sleeve Front. I understand the reasoning for having this part absent as it is difficult to cast longer components while maintaining the structural integrity. The instructions state that there is a spacer piece that needs to be placed in between the front and rear sleeves. In reality the entire component should be a single piece but again there are limitations to creating good quality castings. The Leopard Workshop does explain that due to casting limitations that this piece cannot be produced in resin. The suggestion is to create the spacer with a piece of paper. This will likely create a false seam and the entire section should blend together. As well, wrapping paper around the barrel will not replicate the overlap of the top section over the bottom section. Experimentation with different options and consult reference images to get the look you want might be the best approach.
Clean up of the resin of the parts needs some special attention. The casting blocks are a bit large. Use good reference images to make sure you know what you are cutting and sanding before you put blade to resin. I found the muzzle counterweights particularly delicate and careful sanding is required to removed the casting lug and ensure the shape remains round. The casting lug on the muzzle counterweights with the Collimators designed for use on the 1A5 cuts horizontally across the clamps. Be very careful or you will sand off detail. I applaud Leopard Workshop for including both types of Collimators. The early version is the smaller Zeiss version and the late version is the larger one.
The barrel jacket components are easier to cleanup and do have very nice details. On the European version the barrel jacket clamps do not go entirely around the two jackets. They form a U shape on the bottom portion that clamps on to the side of the upper portion. Ensure that you follow the correct assembly sequence and test fit everything before applying glue. There is some leeway with placement of the Base Unit and Sliding Collar. As I mentioned previously the Sliding Collar actually telescopes a bit inside the Base Unit. Why you may ask? Because the gun has to recoil when fired and go back into battery when it is fired. As the gun recoils the Sliding Collar moves into the Base Unit. The Base Unit is attached to the front of the mantlet so it is static. Again, use reference images for correct placement as depending on how much you slide the collar into the base unit will impact the spacing of all the other parts. If you keep the Base Unit flush with the rear of the metal barrel and then work forward you should be OK as long as you dont slide the collar too far inside the Base Unit.
I did a Mk.1 eyeball side by side comparison to the 1/35 Leopard drawings in Volume 3 of the Leopard Trilogy with the Leopard Workshop barrel. I was very happy to see the lengths were the same.
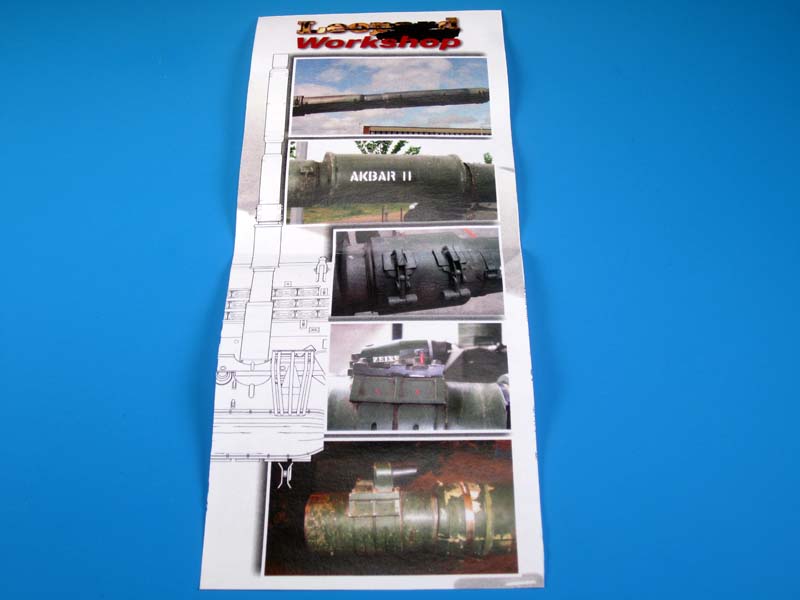
The instructions are simple and straight forward. A single sheet provides a view of the parts, the proper placement of the parts, and the positioning of the barrel on the mantlet. There is a flat notch on the end of the barrel that should face to the left side in order to use the barrel universally on all the Leopard kits previously mentioned. There are small colour images on the reverse side of the instructions that show close ups of the Fume Extractor details. Some of the parts look similar whether you have them the correct way or not. Ensure you know which end goes where and which details should be on the top and bottom of the jackets when attached to the barrel.
Conclusion
A well crafted and nicely detailed barrel to improve the look of your Leopard 1.
A unique approach to create the look of an L7 with the thermal jackets.
SUMMARY
Highs: Definable details on the metal barrel and resin parts.Lows: Large casting blocks may create issues with clean up.Verdict: Thumbs up recommendation for your Leopard 1 projects.


Comments