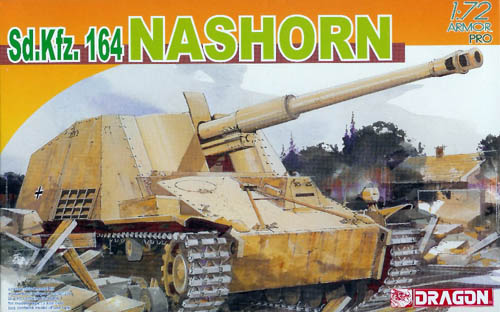
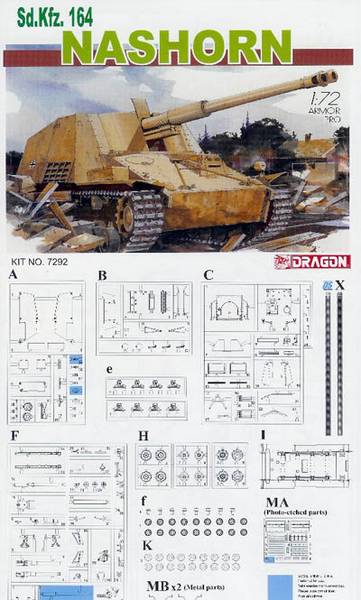
The German Nashorn follows closely on the heels of the Sd.Kfz.164 Hornisse (kit 7234). It is virtually identical to its older sibling being the later version of the 88mm gunned tank destroyer. The kit contains 168 styrene parts, 17 etched metal parts, and 2 DS plastic tracks and decals for 7 versions. Moulding is crisp and there is no flash evident on the review sample.
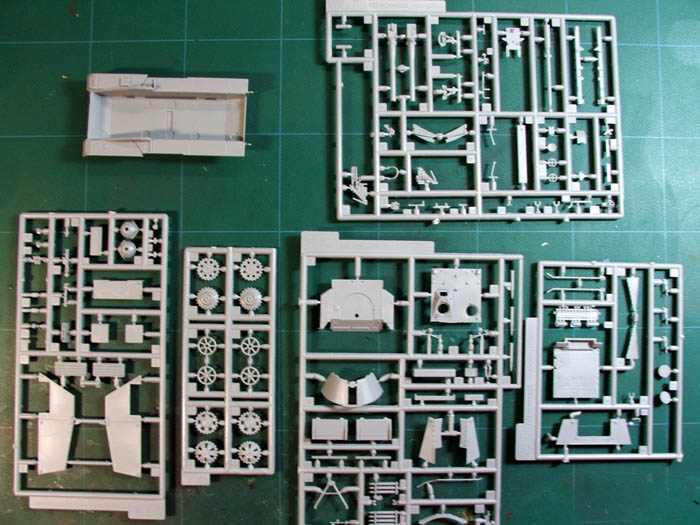
steps 1 & 2
Here we assemble the running gear and lower hull. No surprises here it went together very well. The road wheel hubs are moulded separately from the wheels like several of these new Dragon 1/72 kits and it is a nice touch which helps in the painting, especially given the small size of the wheels. The DS plastic tracks were a little tight but the idler has some adjustment to its position as well so I may have simply had mine a little too far back, but this is something to watch out for when you assemble the running gear.
steps 3, 4 & 5
These steps involve the construction of the gun and mount. I found this to be an involved process and best taken slowly. There are a lot of small parts and care needs to be taken that you install them in the correct locations. The gun is moveable if you take care with the cement. I deviated slightly from the instructions and got the basic gun and cradle built then added the detail parts. This seemed to be easier than trying to fit everything together with all the small details already added. One thing Dragon could do on the multi-part gun barrel (F12 along with F5/F4) is use a longer pin on the barrel section for a more positive fit. There is barely anything to glue to and I was concerned about alignment when I did this, but simply go slow and when you have it together put it aside overnight to ensure it is dry before continuing.
steps 6 & 7
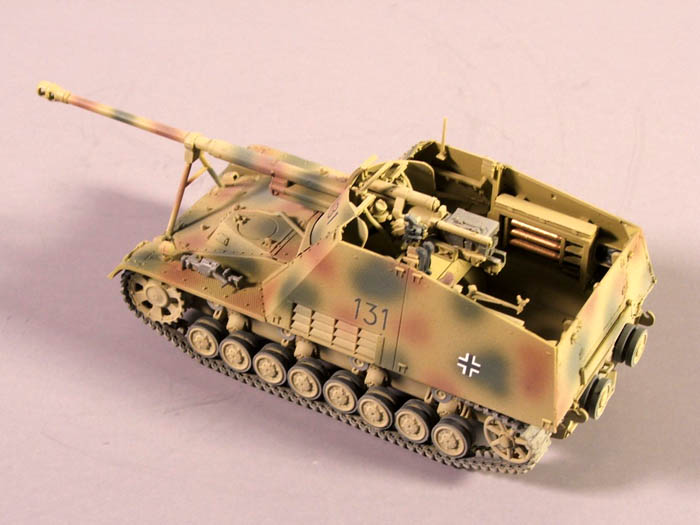
Next we work on the upper hull of the vehicle. There are some photo etched options here for the air intakes and ammo bins. Dragon also supplies both parts in plastic as well as giving you the option of opening the ammo bins up to show the rounds which are stowed. These rounds are nicely moulded and I elected to show mine open for some colour and interest in the fighting compartment. The fighting compartment itself goes together very well. I installed the plastic air intakes as they look fine and I was not fussy about building them from the supplied photo etch. However the parts are there to do it that way if you desire to do so.
step 8 final assembly
In this final step we install the gun into the vehicle, add the drivers vision ports and the travel lock for the gun. A negative with the kit which can be fixed by some simple scratch building is that the gun is moulded with the travel lock on it in the locked position. This means if you want to show the tank in action you would need to work on the locking mechanism to show it in the stowed position as well as sand the clamps off the barrel. I would like to see this revised so that you can add the lock like the 1/35th kits perhaps even offering these parts as etch. Also missing is the portion of the lock which resides in the fighting compartment. This part is quite evident on the 1/35th version of this kit so I am puzzled why it was omitted from this one. Still it could easily be scratch built and doesnt detract from the overall look of the assembled vehicle.
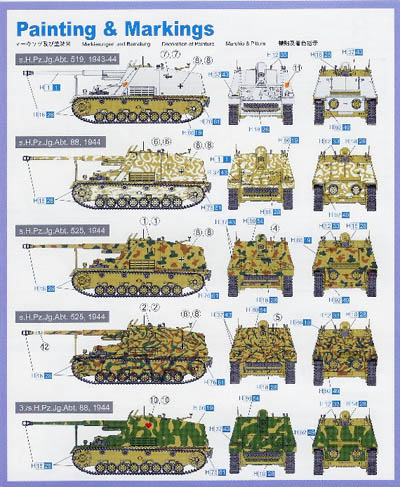
painting & weathering
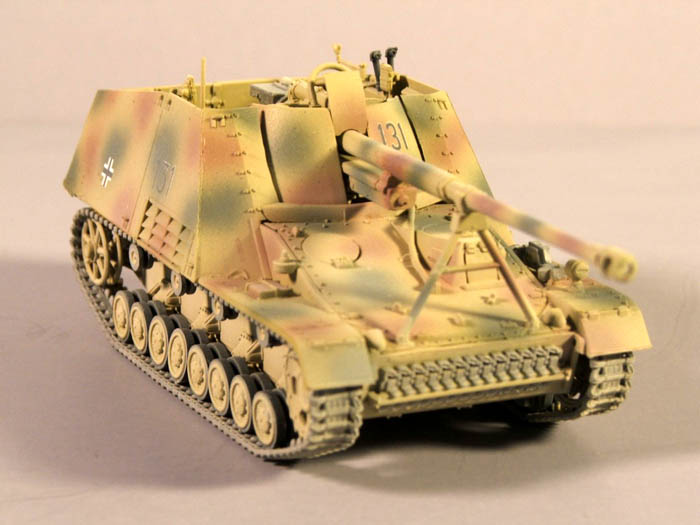
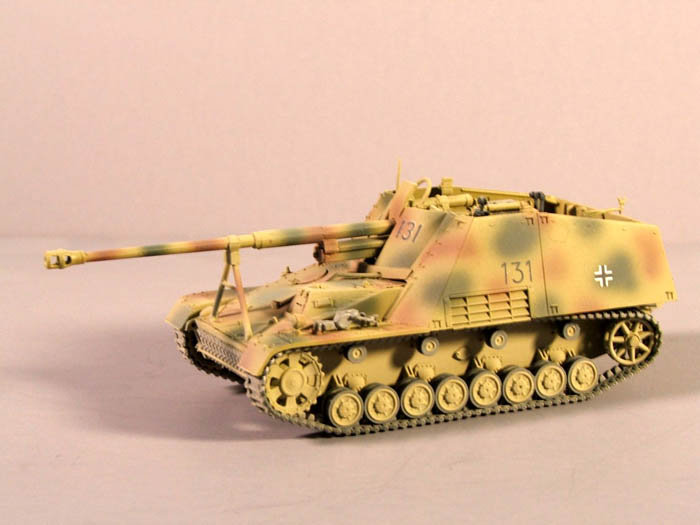
There are markings and instructions for painting the Nashorn in 1 of 7 different paint schemes which range from plain dark yellow, winter to several different camouflages. I elected to paint mine as s.H. Pz Jg Abt 525 (1944). This scheme is overall dark yellow with the upper hull surfaces covered in dark green and brown patches. Painting was done after assembly, something I do with 1/72 armor and I find it works well. Tamiya paints were used, XF-60 Dark Yellow (base) with XF-58 Olive Green and XF-64 Red Brown as the camouflage colours. After the paint had dried I did a future overcoat and set it aside to dry. Next I added the decals and a further coat of future to seal them on. A matt coat was sprayed on and after this dried I used a mixture of 85% water and 15% XF-57 Buff to give the model a dusty look and tone down the camouflage. Further weathering will follow at a later date when I decide what setting I am going to place the model into.
conclusion
Another nice model from Dragon in the new series of 1/72 scale armor kits. This is my 3rd build in the series and in my opinion they keep getting better. This kit has a very detailed fighting compartment for a vehicle in this scale and the additional shells and photoetched ammo bin doors are a nice touch. I would rate the kit as intermediate to advanced due to the small parts and complicated assembly of the 88 gun and mount. Take your time though and it goes together just fine. This kit builds into a nice replica of the Nashorn and I highly recommend the kit and the series to anyone interested in 1/72 Axis armor.
My Thanks to Dragon for the review sample.
SUMMARY
Another nice model from Dragon in the new series of 1/72 scale armor kits. This is my 3rd build in the series and in my opinion they keep getting better. This kit has a very detailed fighting compartment for a vehicle in this scale and the additional shells and photoetched ammo bin doors are a nice touch. I would rate the kit as intermediate to advanced due to the small parts and complicated assembly of the 88 gun and mount. Take your time though and it goes together just fine.
About Rob Feehan (rfeehan) FROM: KANSAS, UNITED STATES
My main interests are 1/35th scale WW2 and modern armor with some aircraft and sci-fi when the mood hits me. I am particularly interested in Canada's armor and aircraft and I enjoy modeling those subjects as much as I can.
I am Canadian born and moved to the USA in 1994. I am currently living i...