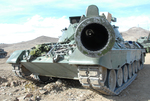
We need a good, accurate, Leopard 2A4. This is what I wrote when I reviewedRevells last 2A4 (kit no. 03193). This iconic tank has been poorly treated in 1/35 scale plastic, so have Meng come to the rescue? Let us see what we get.
First Look
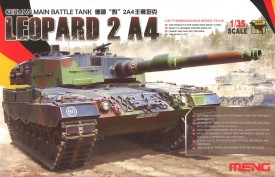
The first thing to notice is the box itself has a nice image of the tank and notes about its features and options. Everything inside is well packed and certainly fills up the box.
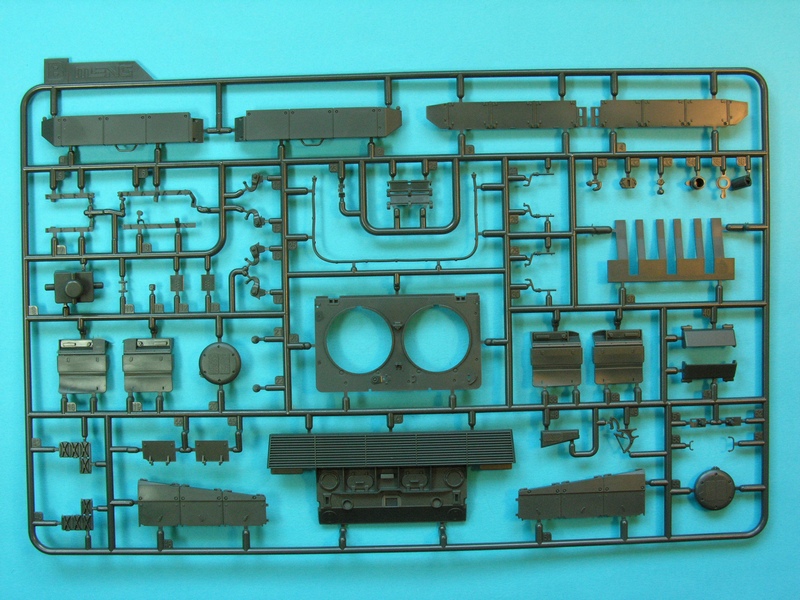
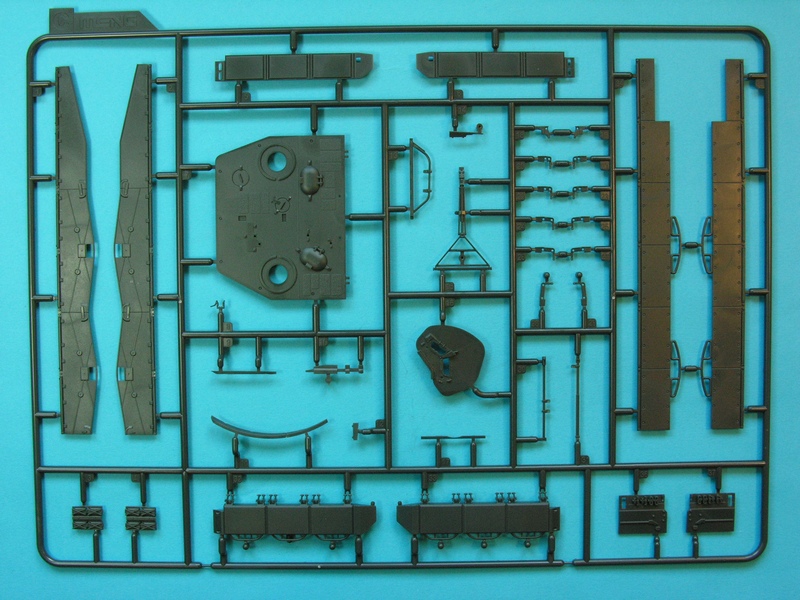
The sprue breakdown is conventional and is exactly what you might expect of any tank model, however, the tracks are not vinyl (there is no option) all you get are individual links in styrene. You do get optional rear engine decks as separate panels (possibly with a powerpack in the offing sometime in the future). You also get optional skirts for both early and later batches. The front skirt sections can also be posed in the transport position as they have detail on the reverse side. Other minor options are included and the markings are limited to Bundeswehr only.
What is actually in the box?
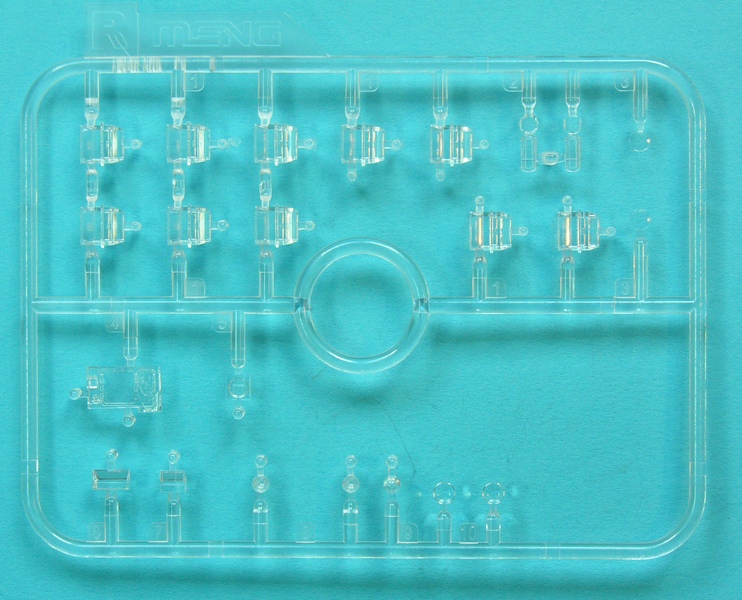
There are nine sprues, two of which are duplicated and one four times (the tracks). There is a clear sprue and includes periscopes, headlight and optical lenses. In addition, we have hull top and hull bottom, turret top, an etch fret, silver foil for the mirrors, vinyl (for the mantlet cover, mantlet plugs and polycaps) and a piece of string for the tow cables (possibly the least desirable item). Apart from the string the quality of the parts is completely top-notch. This model is a vast improvement on ANY previous Leopard kit 1 or 2. It is so good I really dont know what to say.
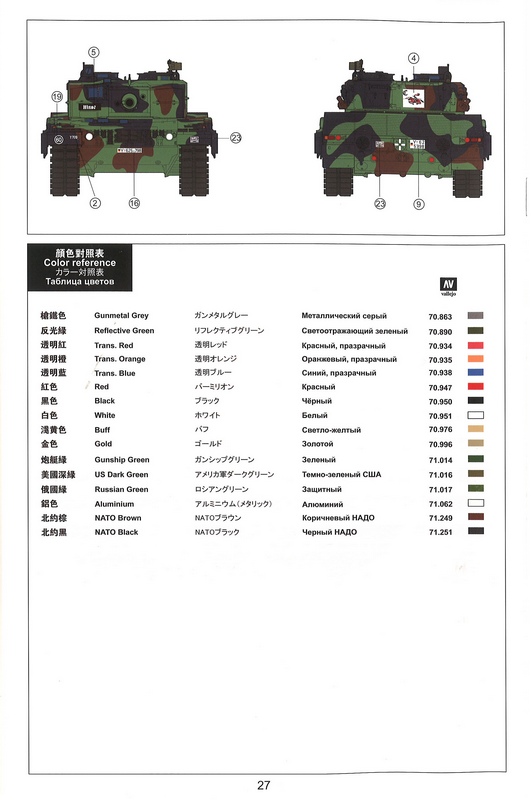
The instructions are contained in a 28-page booklet with colour on the covers and for the (virtually identical) profiles at the back. The introduction is quite long in several languages before we get into the nitty-gritty of the 29 building stages.
The Hull
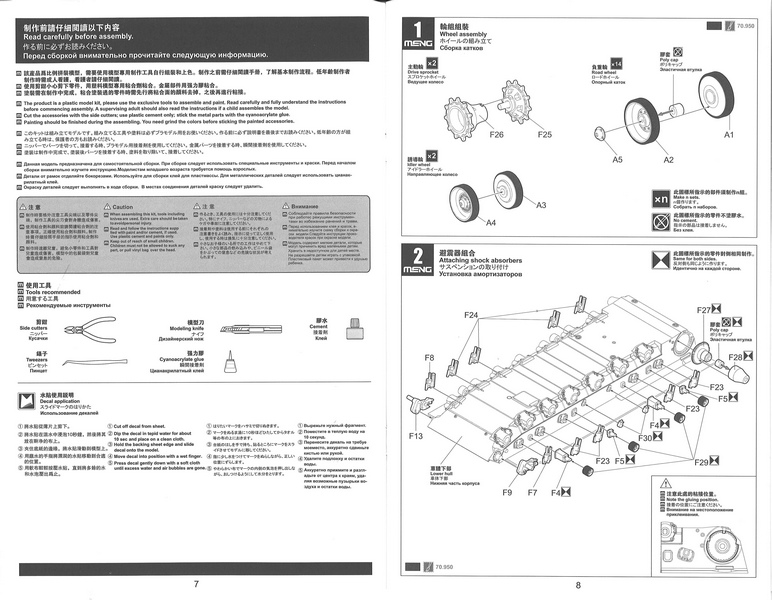
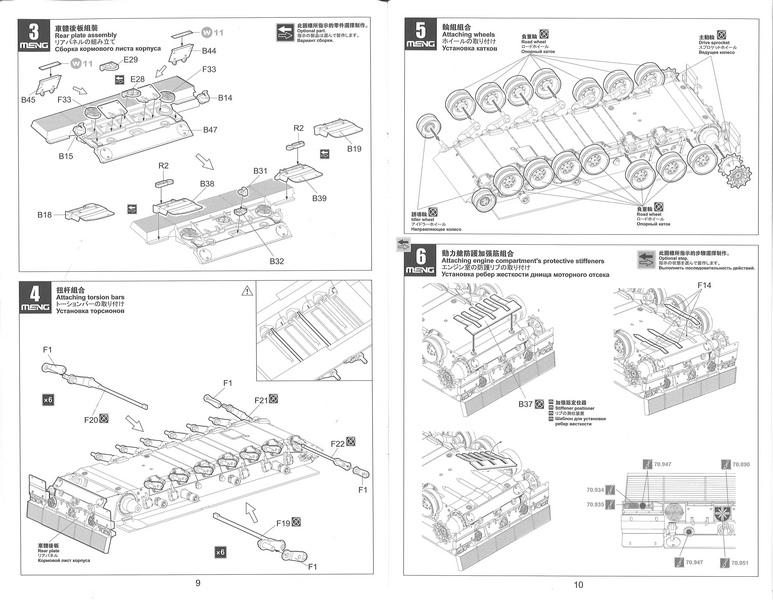
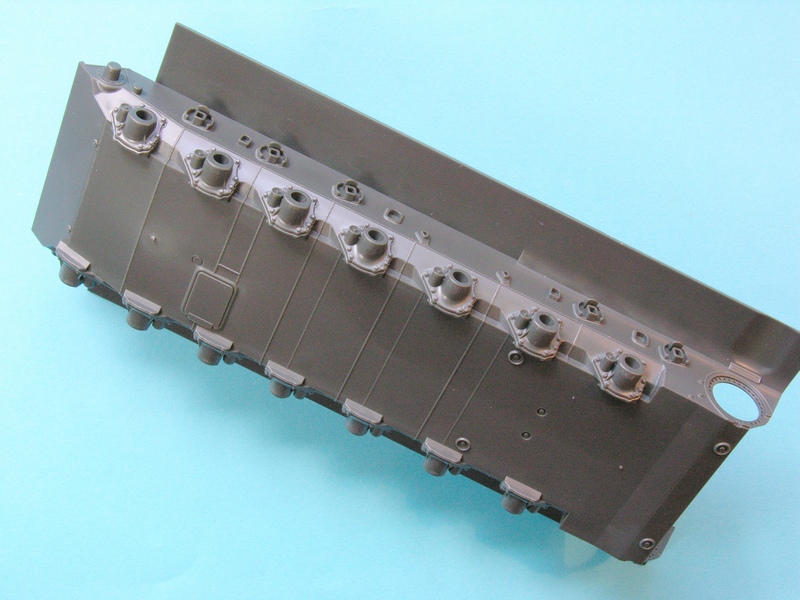
As I said above, there is nothing unconventional about this kit. The suspension has the now-usual torsion bars so the road wheels can be posed on uneven surfaces. The trailing arms have separate faces which have to be slotted over the axles which is slightly unusual.
All wheels have polycaps to aid installation which is good for Leopard Workshop! The rear faces DO have some detail on them unlike Mengs previous Leopard 1 wheels, but because of the polycap housing, these are somewhat compromised. Accurate wheels are available from Leopard Workshop I have checked the fit and the Meng axles are a little thinner than the Leopard Workshop axle holes as they were designed for the Tamiya/Hobby Boss wheels, however, they do fit if a little loosely.
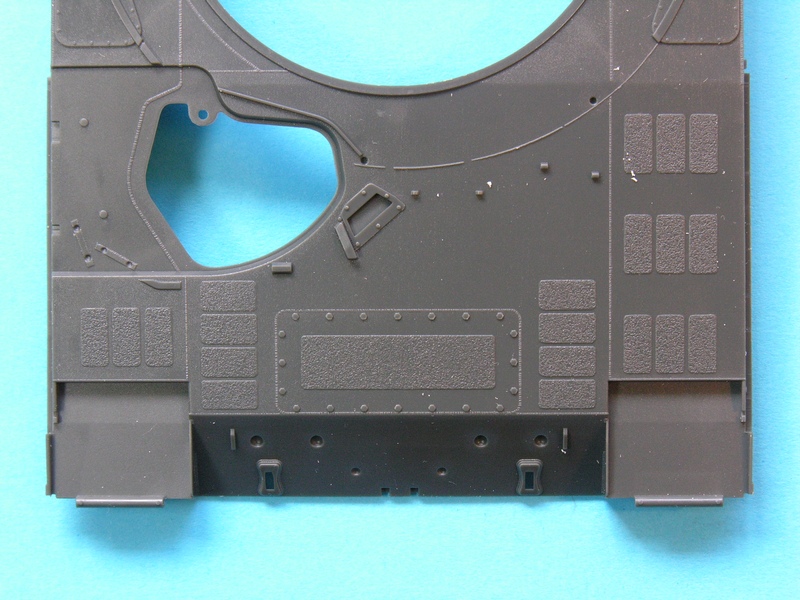
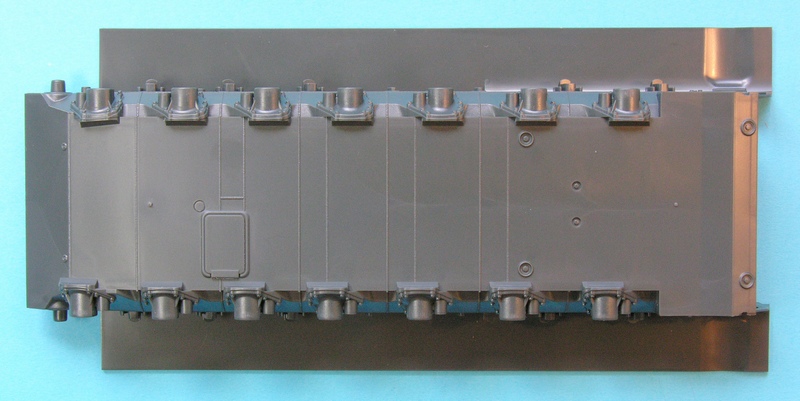
The hull tub is beautifully moulded and has location points inside for a possible future powerpack. Even the bolt holes around the sprocket mounting point are represented in the hull sides. The hull top is even better. Everything is very well presented including the weld lines which all have subtle texture on them. The non-slip patches maybe a little too prominent but certainly nothing to complain about. Grab handles are solid but are easily replaced with wire.
One thing that may be a problem is that the Leopard 2 has a large turret and a common complaint - in all Leopard 2 kits - is that the hull top sags when the turret is fitted, this means the long turret bustle often touches down on the rear deck. Looking at the hull top straight from the box it already has a sag in it just behind the turret ring. I would advise gluing in a rectangle of 40 or 60 thou card 95 mm x 5 mm to straighten this up and to help support the turret.
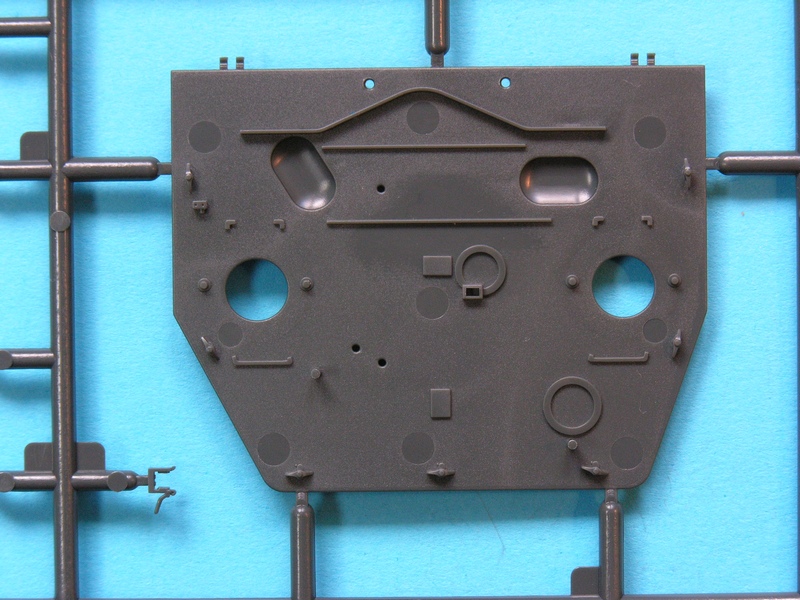
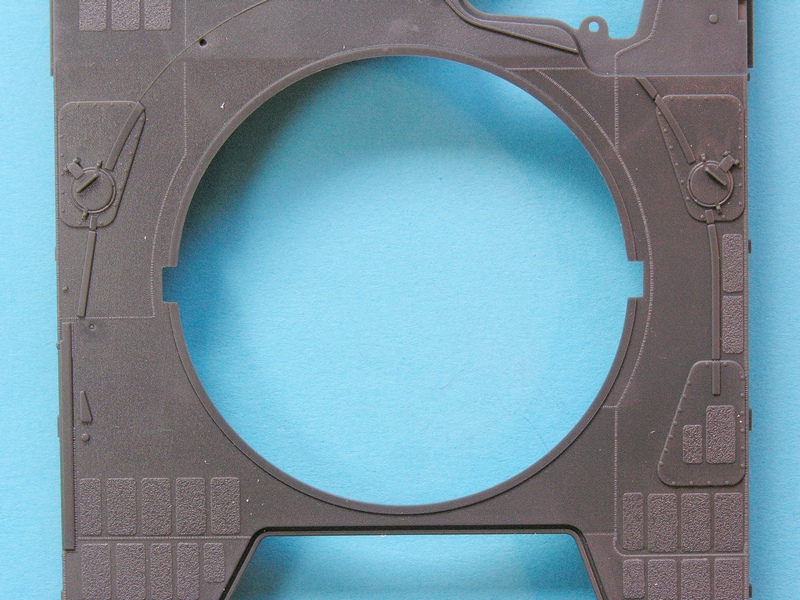
The hull rear plate also has detail on the inside face but also has large ejector pin marks, the inside of the grille is not represented, however I guess this could be a separate drop-in piece if and when an engine is produced.
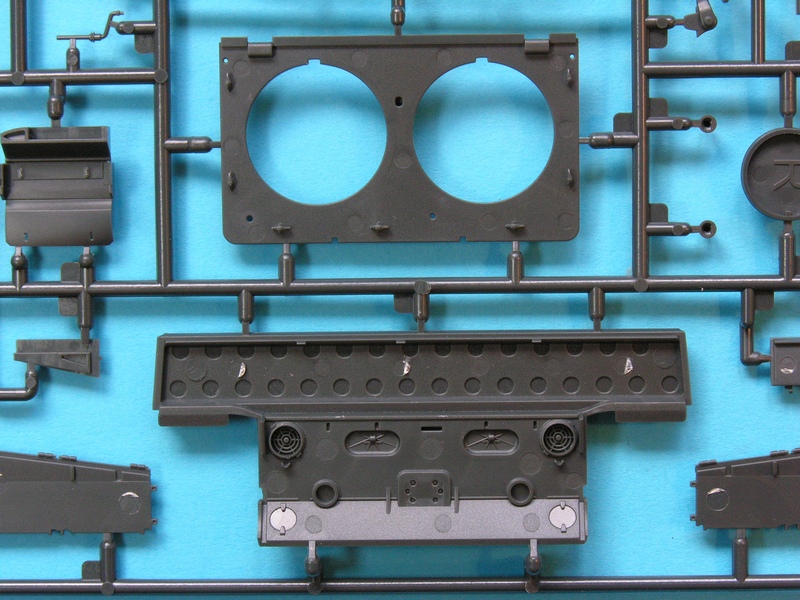
Two rear deck panels are supplied, at first glance they are identical but they do have minor differences, so be careful when deciding which version to build. The one moulded and attached to the rear hull is intended for a set of earlier pattern grilles. Alternate, later grilles with rubber dampers are also supplied as a second optional deck. These dampers were introduced in 2004 as part of the 2A5/2A6 programme, I believe, so watch the time period of your tank when deciding which one to use. I dont think they would have appeared on Bundeswehr 2A4s, but I stand to be corrected on that statement, both decks have some detail underneath.
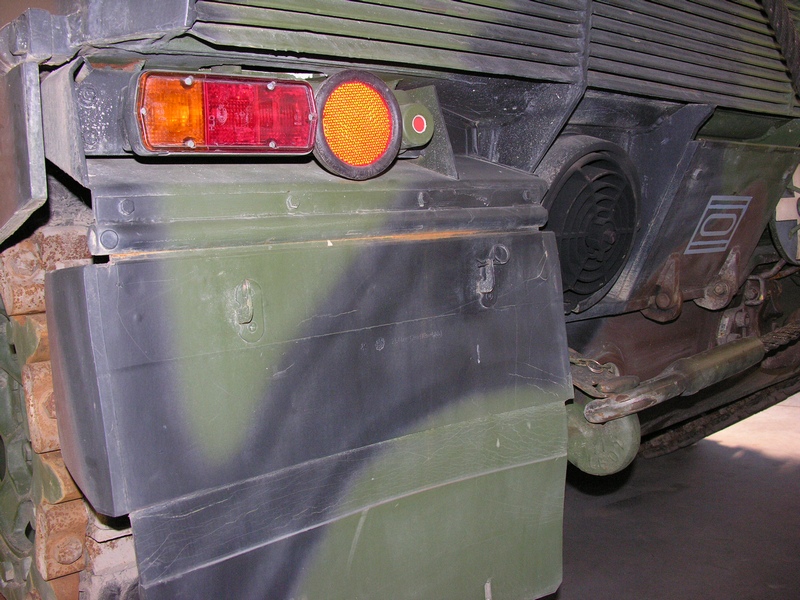
Another option that is included are the two types of rear mud flap and light mounts. One has a boxed in area on the inside edge which, I think, is indicative of earlier Leopards (2A0 to 2A3). These earlier Leos were all upgraded to the 2A4 standard and these were not upgraded. The alternative parts have an open box which seems to be more common, especially when comparing to photos. It is also possible that these are just small factory differences as Leopard 2s were built by both KMW and MaK.
Even the convoy light has options, two are supplied one without a guard (allowing the use of photo-etch which is curiously not supplied) and one with the guard moulded on. Etch screens are supplied for the tops of the two rectangular vent boxes which is a nice touch.
Yet another option are the reinforcement strakes under the rear hull. A plastic template is cleverly supplied for positioning these. These strakes were uncommon on the 2A4, especially Bundeswehr machines. KMW did offer these as a factory modification so just a few may have been fitted. They have been added on some export versions for Finland and Greece (not covered in this kit's decal options). These would be appropriate for any future export releases or possibly the 2A5/2A6.
Meng have treated the tracks in a similar way to the Leopard 1 tracks released by Meng (SPS-016) except each link is only made from three parts instead of five parts. In fact, they are similar to Broncos tracks, but the pads are more in scale and they have more finesse. Also moulded are the inside and outside faces of the end connectors and these are noted in the instructions so make sure you build them the correct way round for left and right tracks. A jig is included to help with the construction and Meng claim that glue is not necessary. I have press-fitted some links together and can confirm this is correct. They should not take too long to build either so dont be put off by individual links. If you read my Leopard 1 track review you will see that they do not like white spirit/oils. The same is going to apply to these Leopard 2 tracks, so use water-based washes for weathering.
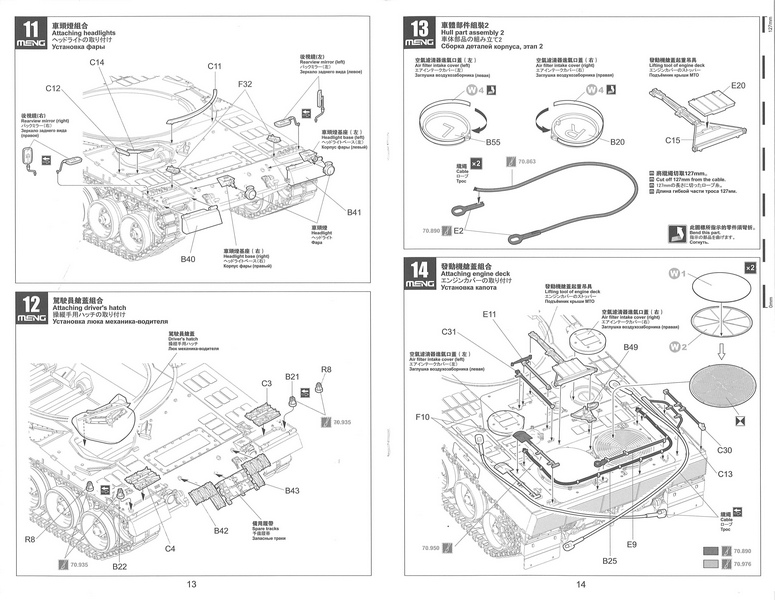
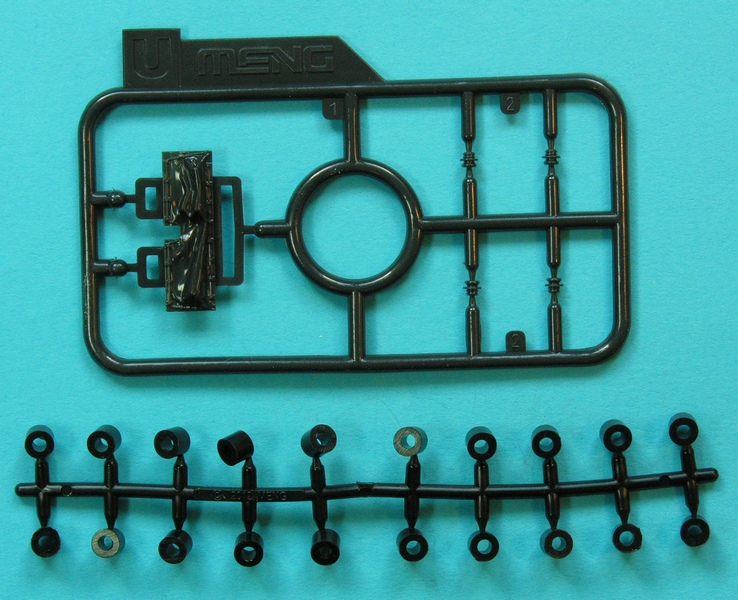
Optional rear-view mirror arms are supplied for either upright or folded down options. Self-adhesive pre-cut silver foil is also supplied for the mirror glass.
All of the hull top tools have very fine attachment loops. These have a thin film inside them which can be cleared if you are very careful for a more accurate appearance the mountings for the tools are moulded onto the hull.
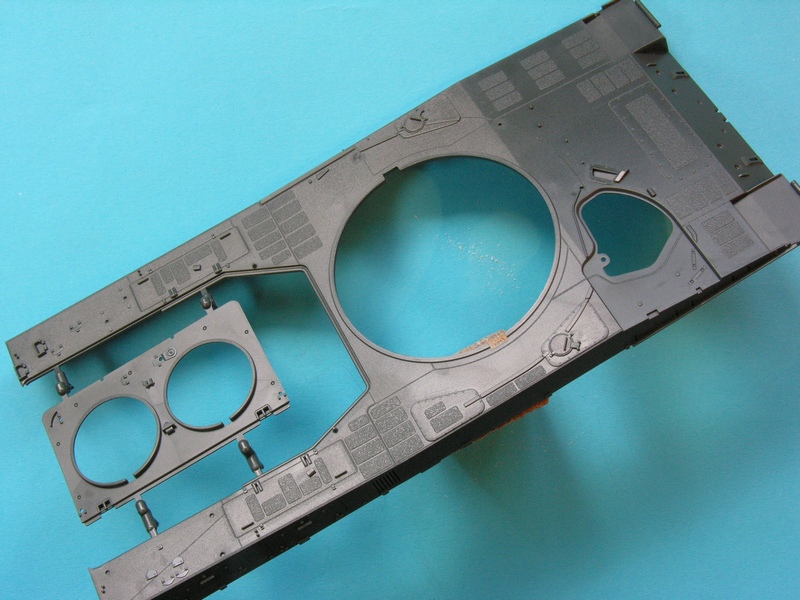
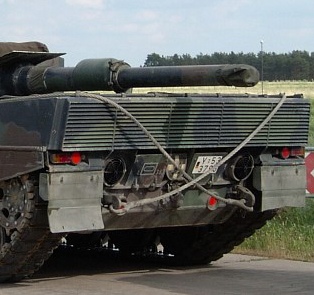
The circular forward intake covers have fine mesh to wrap around them. Nice! The two large rear grilles have two layers of etch to add to them a six-armed support frame and the top mesh screen. The tow cable supplied in the kit should be thrown in the nearest bin. The quality of the whole kit makes you wonder why Meng have not supplied braided brass cables. There are alternative available from Eureka.
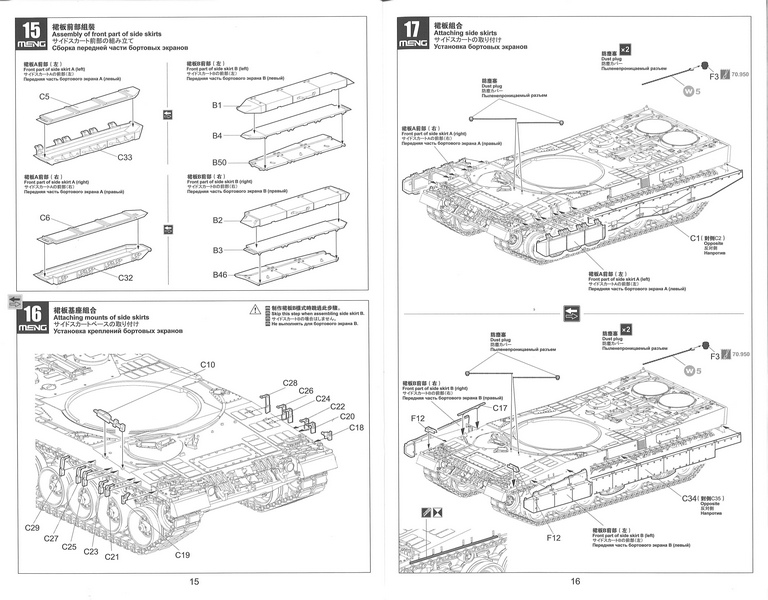
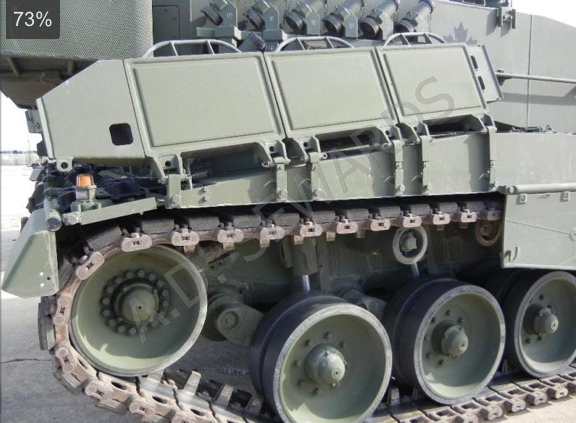
Further options include two styles of side skirt the Leopard 2 was built in eight batches. Batch 6 and 7 introduced the same style of heavy front skirts (the first three panels) that were developed for 2A6 and 2A6, the rear sections remained the same. For Batch 8, the entire skirt matched 2A5/2A6. The Batch 8 skirts do not need the bracketry on the hull of the early skirts. The instructions do not mention the Batch 6/7 option, but Batch 8 is included as an option to the earlier, more familiar skirts.
The inside faces of the front skirts have detail on them, so they can be modelled in the rail transport mode. The earlier skirts are simply lifted through 180° and locked into a near vertical position. The Batch 8 skirts fold in a different way. They are identical to 2A5/2A6 skirts. Their back plate is left down (parts B46 and B50). The outer plates (B2, B3, B1, B4) hinge 180° downwards on the bottom edge of the back plate. None of the above is mentioned in the instructions - though it is noted on the box top! However, one problem is that the front section of the Batch 8 skirts should be separate as they fold over the hull top on arms (F12). These skirt sections will therefore have to be cut off.
For once, mantlet plugs have been included! These are on the vinyl sprue and they have photo-etch chains, too! Neither the plugs nor the chains have the finesse of Leopard Workshops plugs, I know Im blowing my own trumpet, but it is true! Staying on the glacis plate, the large hatch was originally bolted in place from Batch 1-5. It was bolted and welded as per the kit. In later upgrades from Batches 6-8, it was welded, so remove the bolts. Some careful scoring will have to be done if you want to remove these welds.
The turret
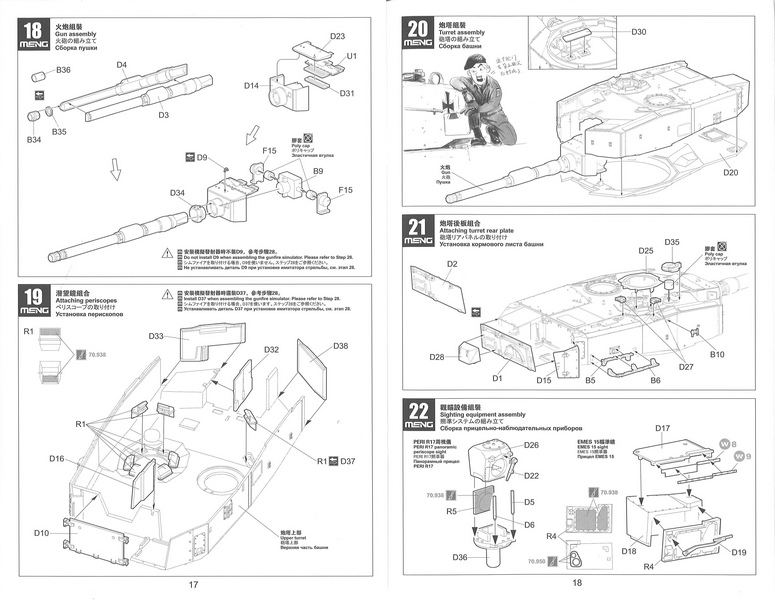
The gun is the usual split in half affair with optional muzzles - early plain and later with collimator. This is possibly the most disappointing aspect of the kit as the fume extractor is distinctly skinny and the dust cover doesn't have the correct attachment bands. Leopard Workshop will soon have replacement guns available (LW017). The gun is mounted in poly caps so it remains moveable the mantlet cover is also vinyl and the way it is designed it that the gun may retain at least some movement.
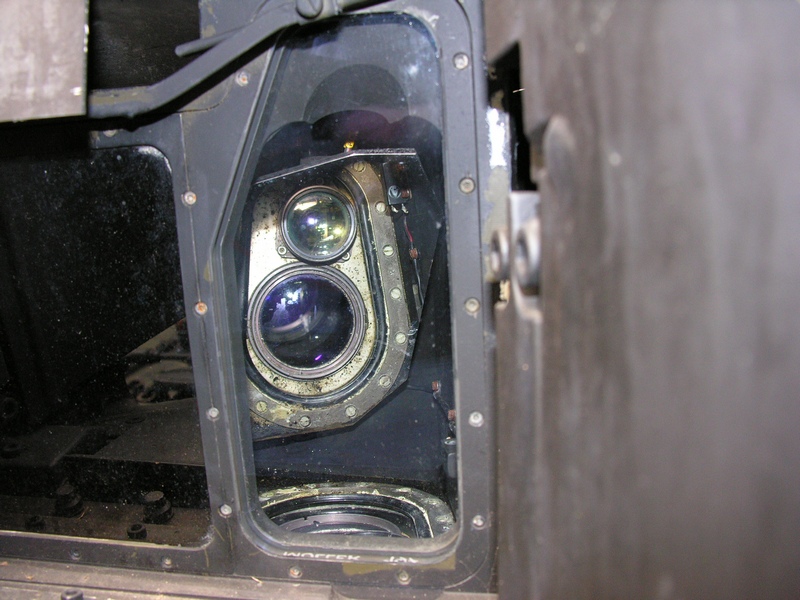
The periscopes are all clear as are the sight windows for the PERI R17 and the EMES 15. The EMES window even has an impression of the sight inside it nice! Both sights are multiple parts and not the usual blobs of plastic. The painting call out for the EMES window suggests blue for both windows. In fact, the outer window is tinted black and the inner window is clear, both sights have wipers! The PERI even rotates on its own poly-cap and the EMES doors are hinged. Periscopes have to be fitted from inside the turret top before the bottom is added.
The turret rear plate has two options one with and one without the snorkel seal. The whole turret rear is far better detailed than any other 2A4 kit. The same goes for the rest of the turret, of course. The hatch on the side of the turret is depicted as welded shut which happened during Batch 4. From Batch 6 onwards, the hatch was completely deleted, so sand off the weld line.
The two turret rings are commendably thin and the periscope covers are bent from etch. Alternate MG3s are provided both with and without butts, they are nicely rendered. A notable omission from the etch fret are chains for the smoke launchers. A gunfire simulator is included which even has a curly plastic lead which has to be lead through the loaders periscope opening so leave out the periscope if you do this. There is even a clear plastic flashing roof light supplied and more mantlet plugs and chains!
Conclusion
This is a bloody marvelous kit - pardon my French. As with any kit, there are one or two quibbles, but these are very minor.
Overall, this 2A4 is a quantum leap over any other Leopard 2 kit from any other manufacturer. As great as the Tamiya 2A5 and 2A6 are, this kit edges them into second place with its options, separate engine deck plates, individual track links, clear parts, photo-etch and mantlet plugs!
Well done Meng! This kit is thoroughly and very highly recommended.
Highs: Almost perfect. Good range of options though some are of dubious application to the Bundeswehr markings offered.Lows: String for the tow cables but not much else.Verdict: A quantum leap over any other Leopard kit (1 or 2) on the market.
About Michael Shackleton (mshackleton) FROM: ENGLAND - SOUTH EAST, UNITED KINGDOM
Graphic designer by trade, military vehicle enthusiast by choice. Wrote Leopard 1 Trilogy and Tilly Colours and now runs the Tilly Register - opposite ends of the MV spectrum!
Also runs Leopard Club, Scorpion Miniature Models and Trackpad Publishing


Comments