Introduction
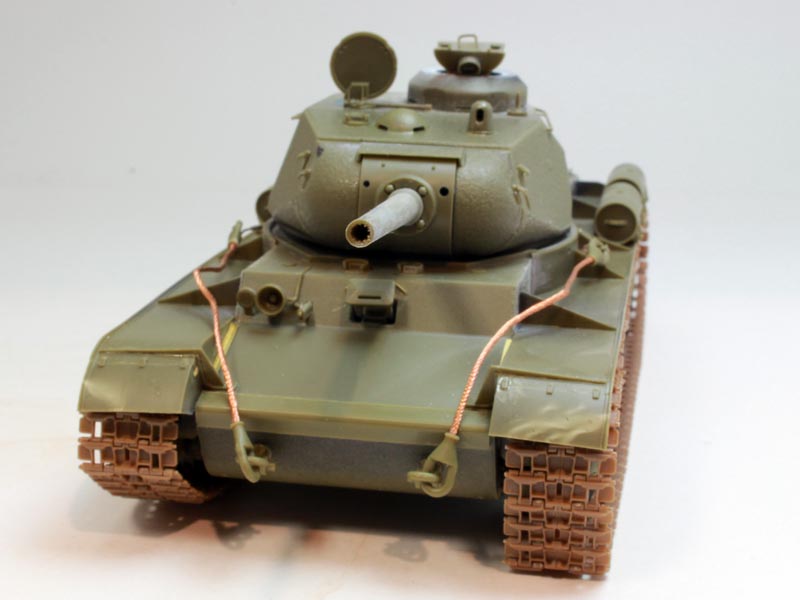
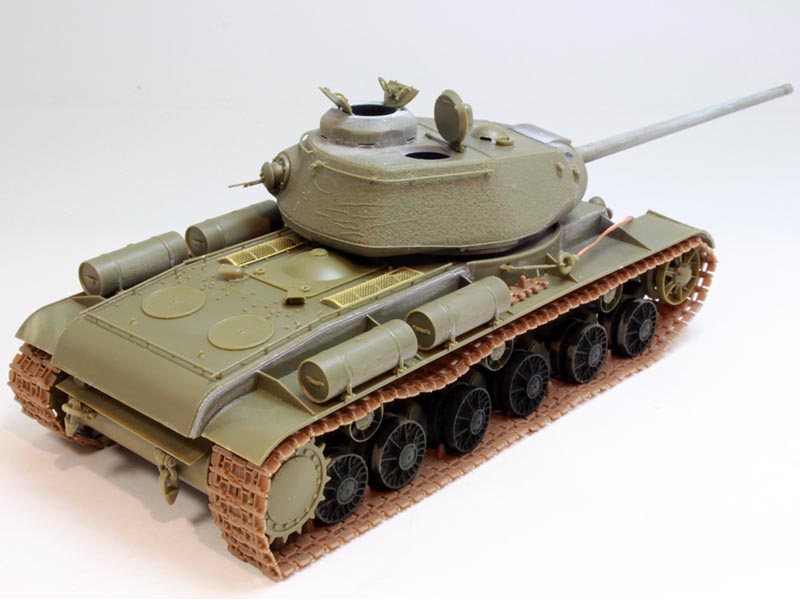
The KV-85 was an interim soviet heavy tank introduced to counter the new German Panther and Tiger tanks. The standard 76mm guns of the T-34 and KV-1 were no match for these newer German tanks, so the KV-85 was produced. Based on the lighter KV-1C hull, it had a new turret mounting the 85mm D5-T gun, similar to that used in the T-34/85 and the SU-85 tank destroyer. Production began in September 1943 and ran to March 1944, with only 148 tanks produced due to slow production and a shortage of the D5-T gun. The KV-85 weighed in at 46 tons and was powered by a 600 hp V-12 diesel engine which gave it a road speed of 40 km/hr and a road range of 250 km. Armor ranged from 30mm up to a maximum of 160mm thick.
Bronco has just released their take on the KV-85, and this build will see how it goes together.
Darren Baker's in-box review of this kit can be found here:
KV-85 In-Box Review
Review
The instructions are presented as a 20-page booklet with colour used on the cover and the paint /decal profiles, as well as calling out multiple part assemblies. Each of the 27 assembly steps is illustrated in a logical order with clear black and white line drawings.
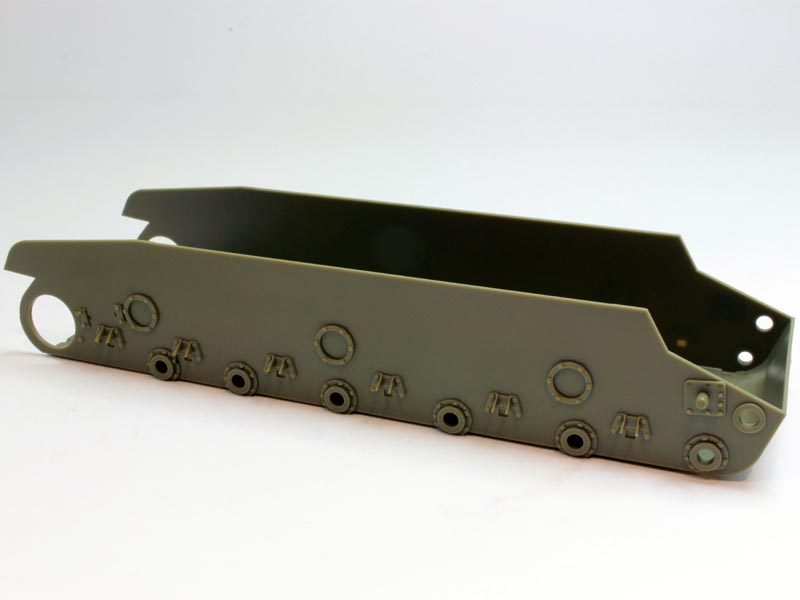
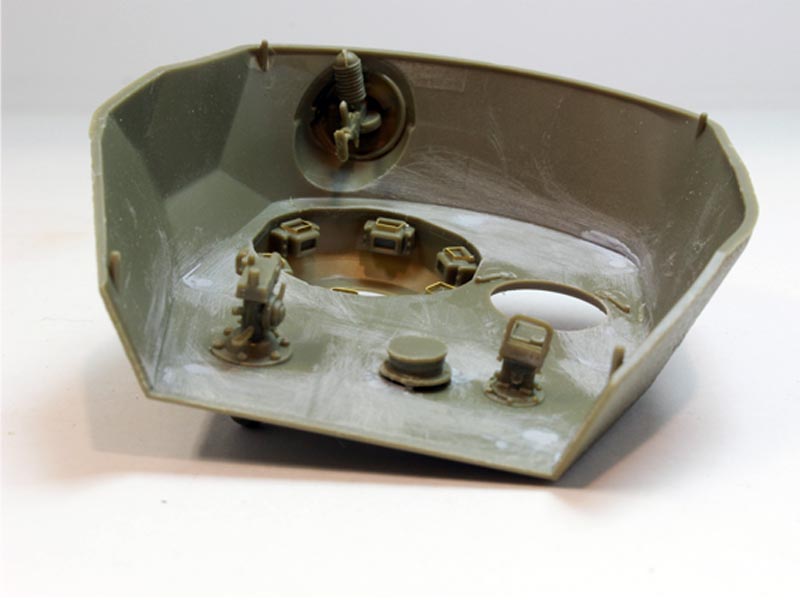
Steps 1 to 8 involve the assembly of the lower hull, torsion bar suspension, running gear and a basic interior for the drivers position. Assembly is quite straightforward with parts going together reasonably well. Some of the parts do need some minor trimming to fit properly as the tabs are often just a tad too large for the slots/holes they are meant to fit into. There were also some very pronounced sink marks on parts D15 & D16, but these will not really be visible unless you build a knocked out tank with the hull blown open. A la Dragon, there are also some errors in the instructions, with the torsion bar part numbers being called out wrong.
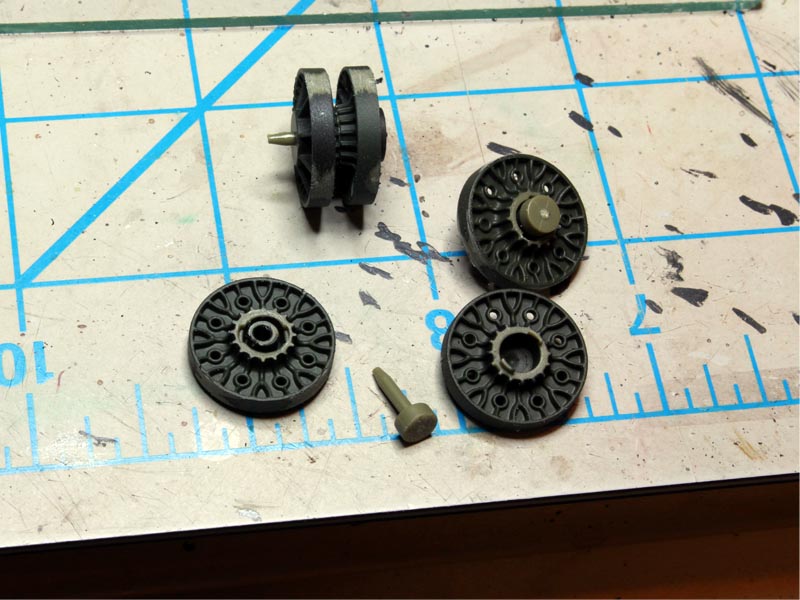
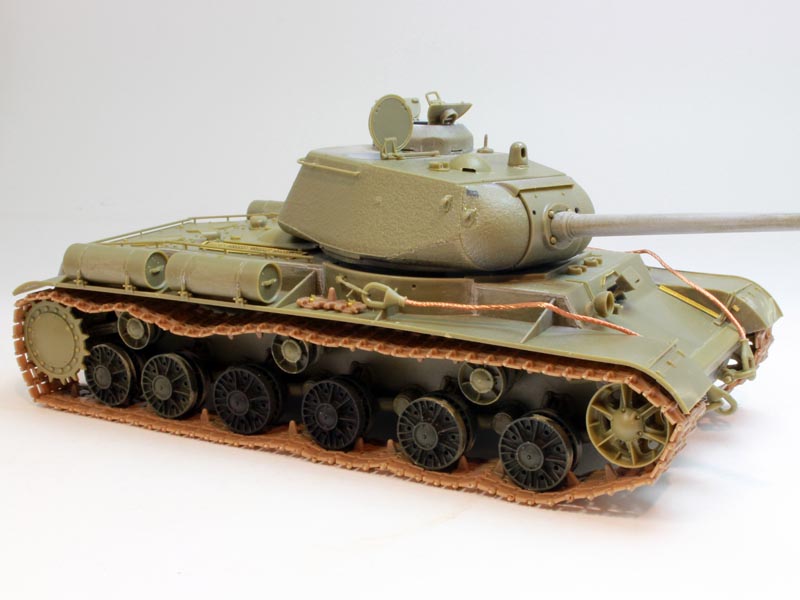
The road wheels, idlers and return rollers are all three piece assemblies, with axles that allow for them to rotate. The problem with these is that the axles are tapered and have a very sloppy fit in the suspension sockets, and in addition, they slide in and out of the wheel assemblies, so it is very hard to get a good fit in the socket. Because of this, I glued everything together, but the sloppy fit of the axles means you will have to be very patient and hold the wheels in position so they align correctly. The torsion bars were also a bit difficult to fit and some trimming was needed.
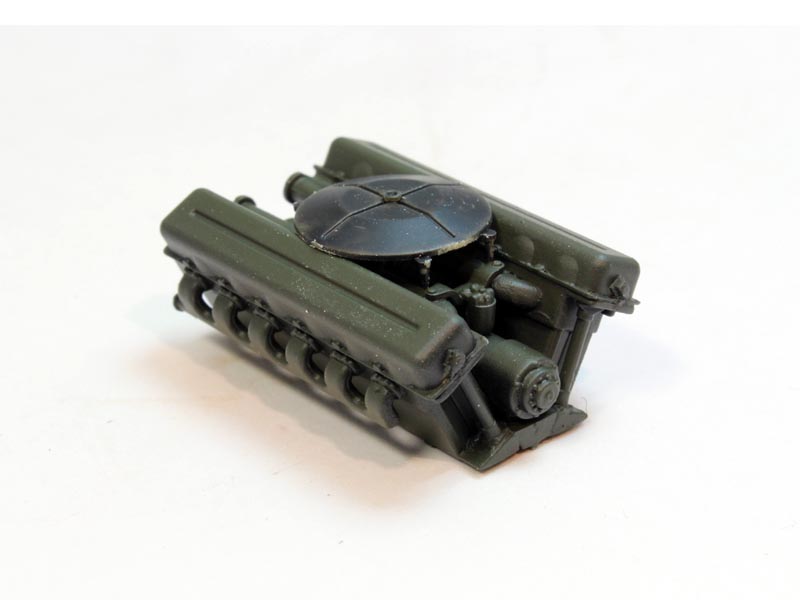
Step 9 covers the assembly of the engine. This is a nicely detailed piece that goes together quite nicely. The hatch can be assembled open to show off the engine and it provides an excellent basis for those who wish to do some extra detailing to show all the wiring and small details. The fore and aft ends of the engine bay are left open so firewalls will have to be built as well.
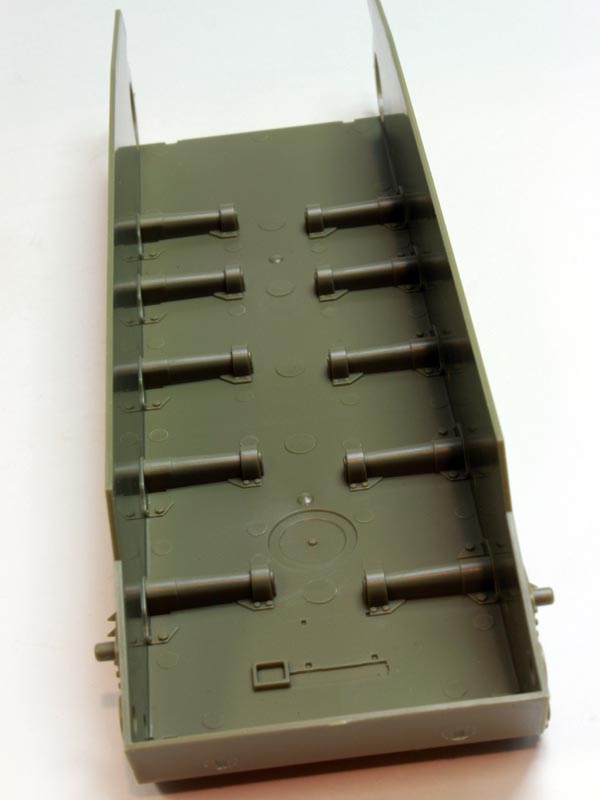
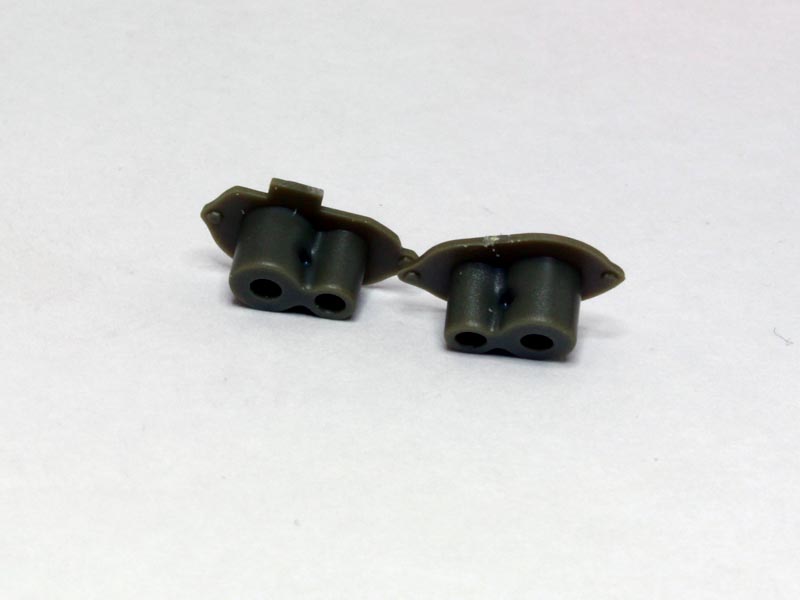
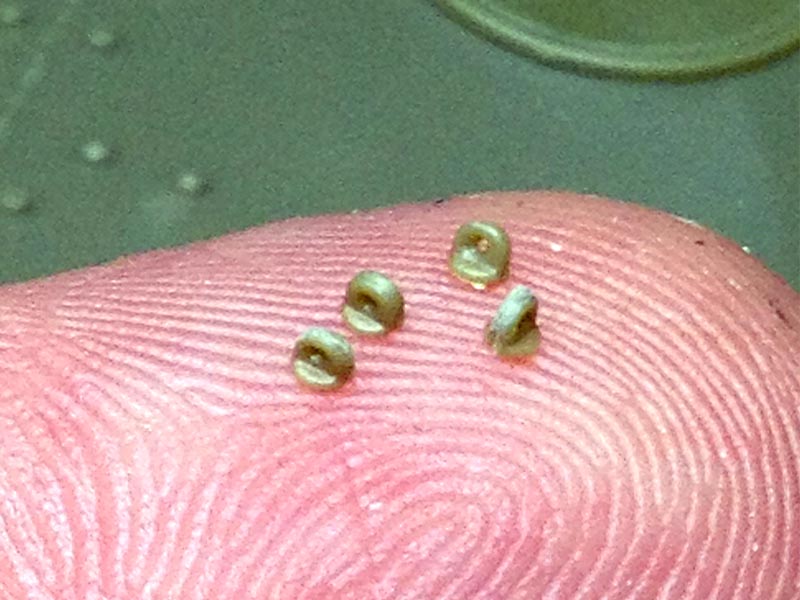
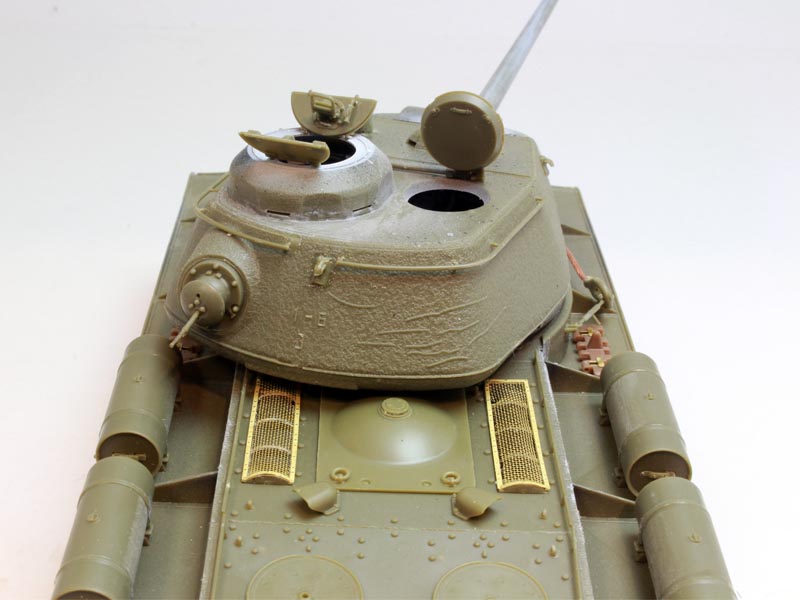
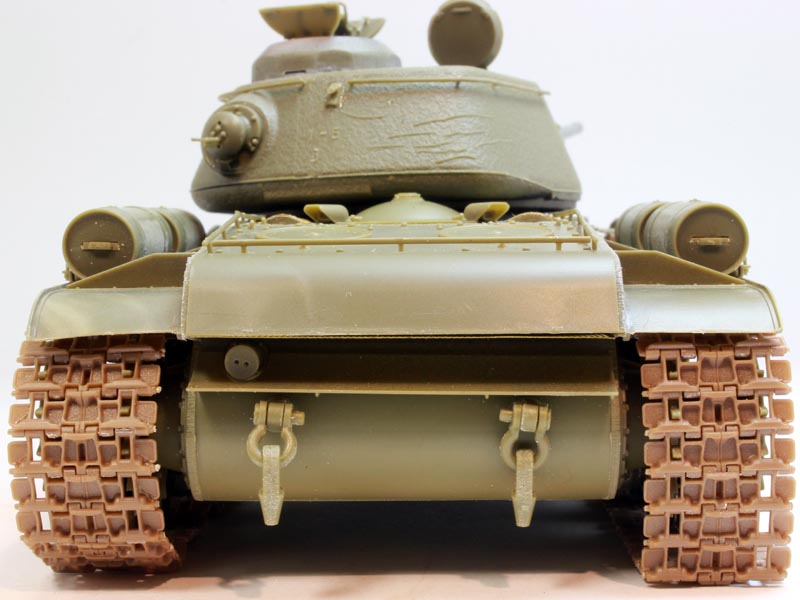
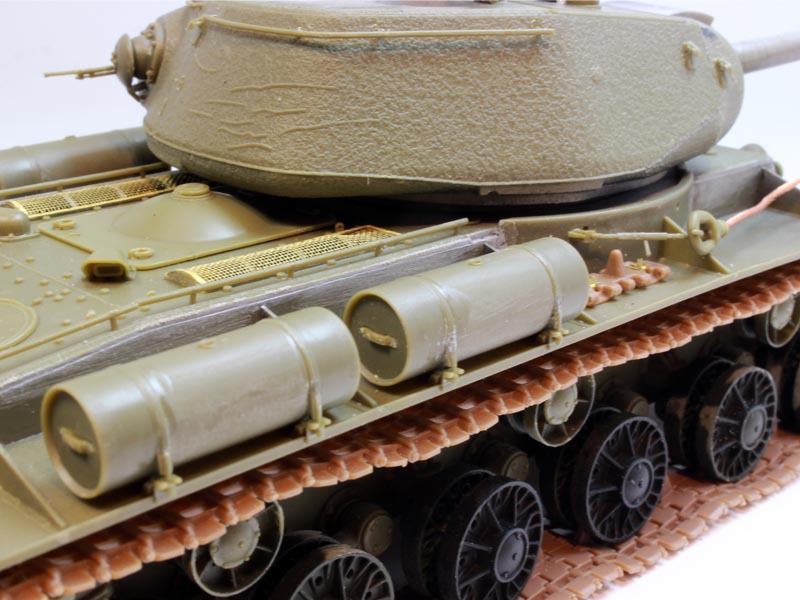
The upper hull is covered in steps 10 to 17. There is some good interior detail with a full bow machine gun assembly, periscopes and drivers visor assembly, but again, this detail will not be seen. As mentioned, the engine access hatch can be posed open or closed, and the two circular transmission hatches are workable, but there is no interior detail to show, so why? That said, the parts all come together quite nicely with a minimum of putty work required where the upper hull meets the lower hull, and some mis-labelled parts. There are two options for the radiator grills, molded and photoetch. The PE option definitely looks better but each grill consists of 5 separate PE pieces, so some patience and a lot of care is required to get things aligned properly. There are a number of tiny eyebolts that can be easily lost, but there are lots of spares at least. The handrails around the rear deck require a delicate hand, and there are no indents or other guides to show where they have to go, so you have to wing it (I checked some photo references).
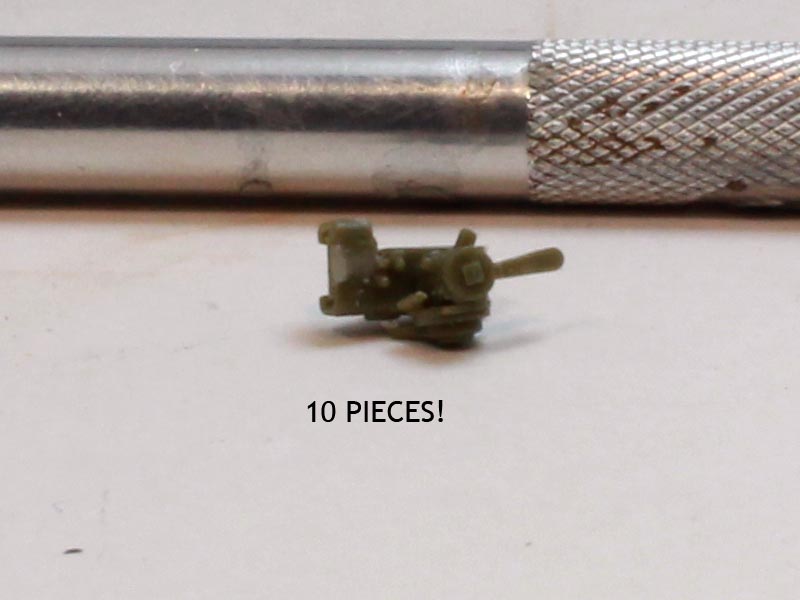
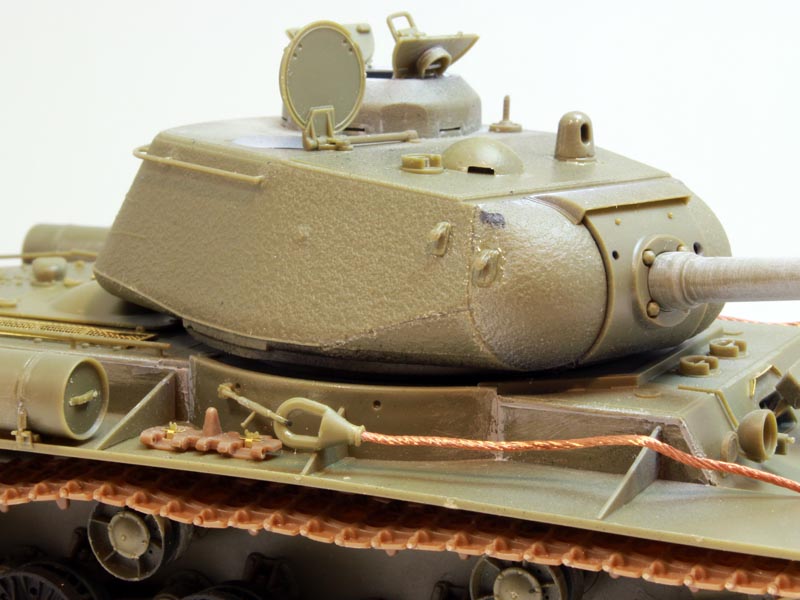
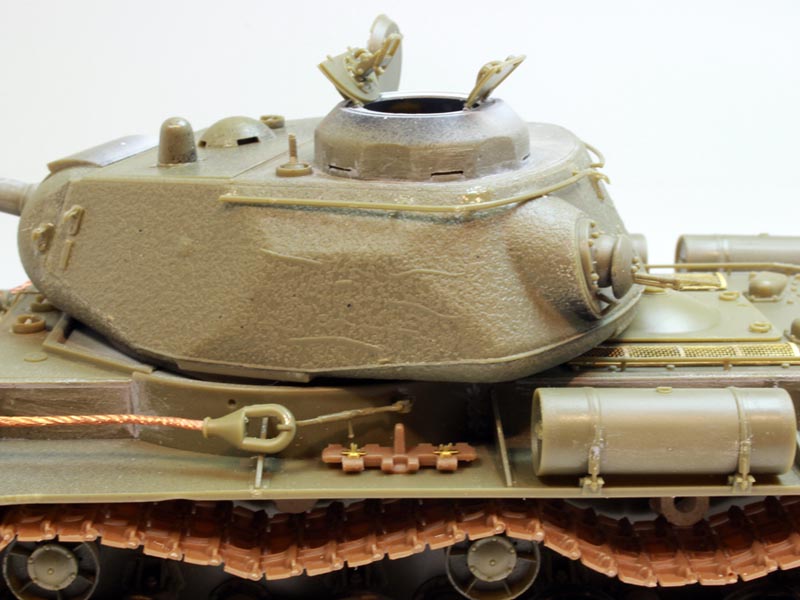
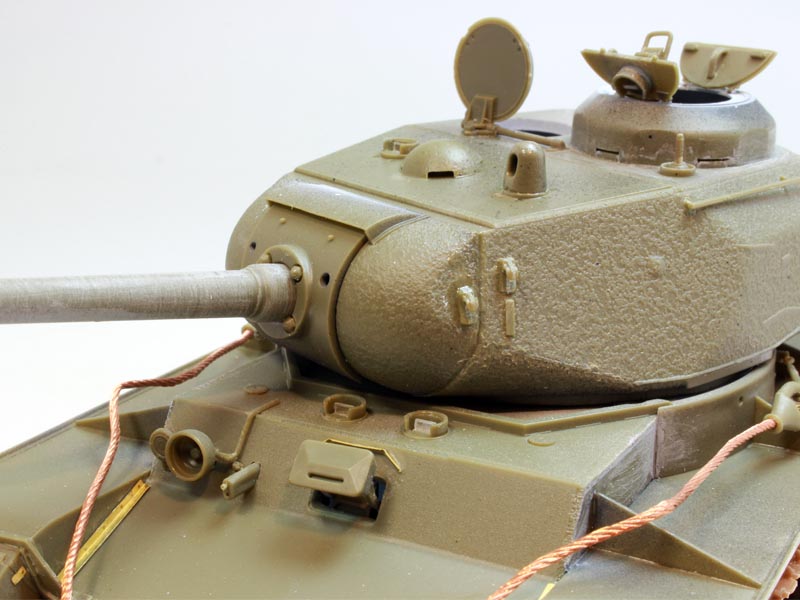
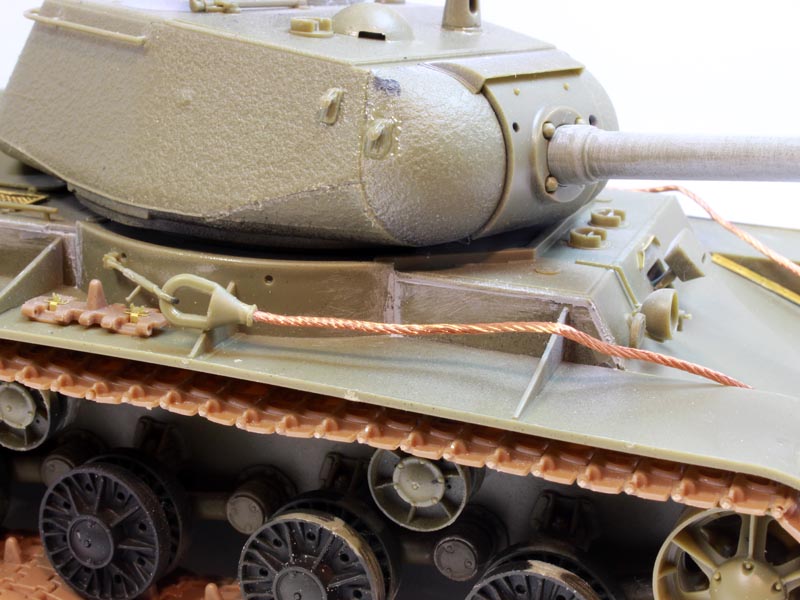
Steps 17 to 25 cover the turret with interior and fully detailed breech and coax machine gun assembly. Everything fits together quite will again, but I did have some issues getting the coax and gunners site to line up properly with the openings on the mantlet, but no-one will see so much detail that will not be seen! One of the sight assemblies alone consists of 10 small to tiny pieces. The commanders and loaders hatches can be positioned open or closed (at least open you can see some of the turret detail!), and with care the loaders hatch can be workable. A very good basis for those who want to detail the interior. As with the handrails on the rear deck, the turret does not have any markings to show proper placement of the handrails or lifting lugs. The rear mounted machine gun has a very delicate barrel and you have to be careful with it when handling the turret, or leave it off until the last possible moment, I broke mine off twice. The gun barrel is molded in a single piece, but there is still a noticeable seam to get rid of.
Bronco has provided visible rifling, but a turned aluminium barrel would be an improvement.
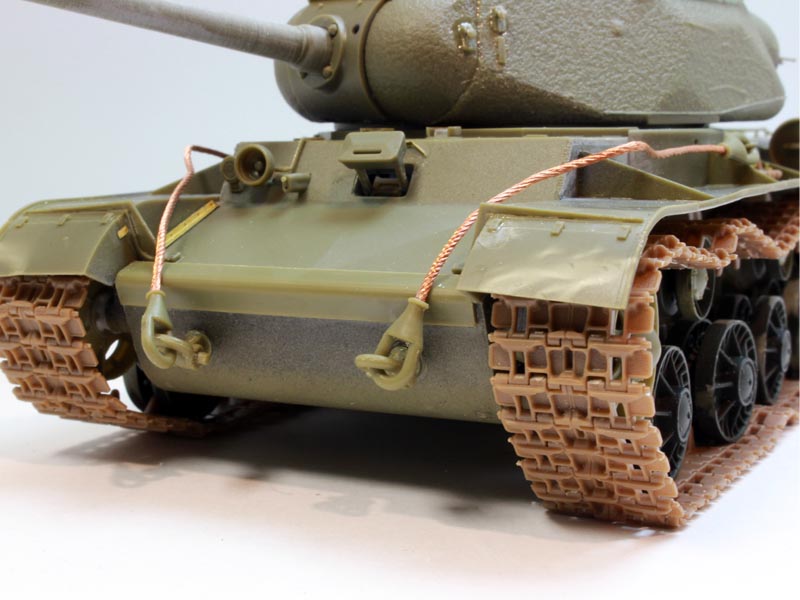
The last few assembly steps cover miscellaneous parts on the hull, including the tow cables which are provided in copper cable.
This was my first encounter with
Broncos workable tracks, and I must say I love the template they provide, and the way you can install the pins eight at a time. Not so keen on how loose the pins were, but Im being picky. There are 88 links per side, and each has to be cut off the sprue and the four attachment points cleaned up, so it is a tad tedious. Looking at the photos it is obvious that 88 links is too many, so I will remove a couple of links per side. Theres a good 60 spare rack links and pins provided, so youll have a lot of appliqué armour available for other models!
As this kit shares older parts with
Broncos KV-1 and Su-152 kits, there are a good number of extra parts for your spares box.
Conclusion
Overall this is quite a good kit and builds up into a very nice model, but I was a little disappointed with the suspension/running gear fit issues, and what I felt was a fairly excessive amount of flash on a lot of the parts (by todays standards). There is a lot of interior detail provided, but most of it will never be seen, and many of the tiny parts seem a bit overwrought, including a lot of tiny PE on parts that will never be seen.
A photo feature of the painted model will follow, I just have to fix up a few things and decide which of the suggested schemes to use, there are two Russian units, both in basic 4BO green, and two that were in use by the Germans, one in basic 4BO, and the other with a winter whitewash.


Comments