Introduction
Due to the new self propelled artillery units role on the battlefield, a new way of spotting for the artillery was needed. It had to be highly manoeuvrable and give the spotters protection, when operating close to the front line. Old Pz. IIIs ausf. E to H were converted to this role, meaning removing the main gun, the co-ax and the bow machine gun, and installing a machine gun in a
Kugelblende were the main gun had been. To disguise this special vehicle, a dummy gun was mounted on the right half of the mantle, so it would appear as a normal Pz. III. 262 vehicles were converted between February 1942 and April 1944, and they served mainly in Wespe and Hummel batteries.
Kit contents
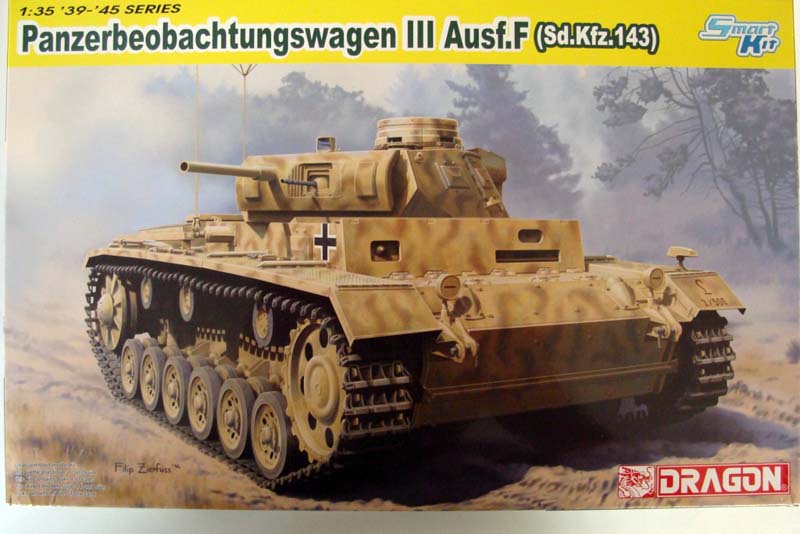
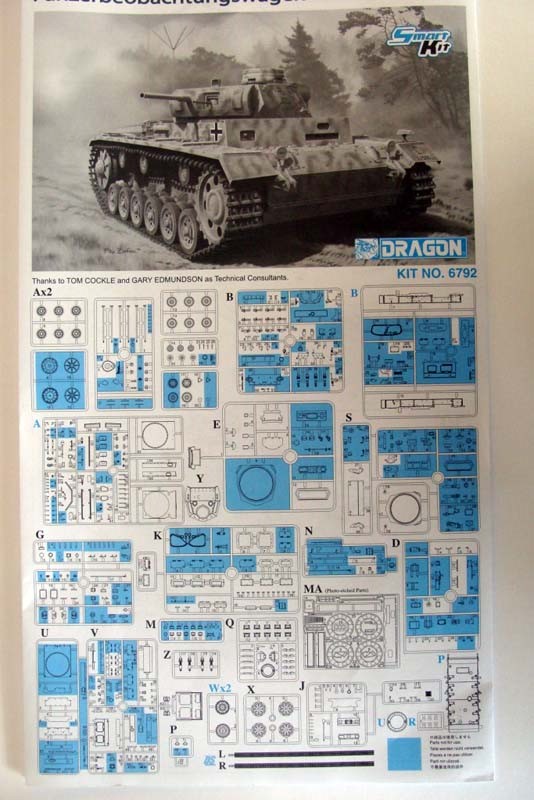
The kit comes in the old familiar
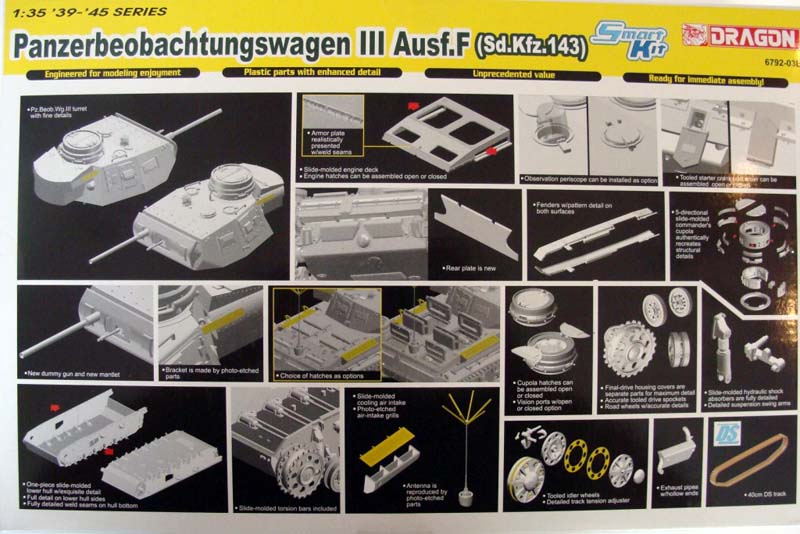
Dragon Models sized box, with a nice box art from Filip Zierfuss. On the side and bottom of the box, theres depicted the numerous special features of the kit. The sprues come in clear sealed plastic bags, and the whole kit contains 410 parts and includes the following:
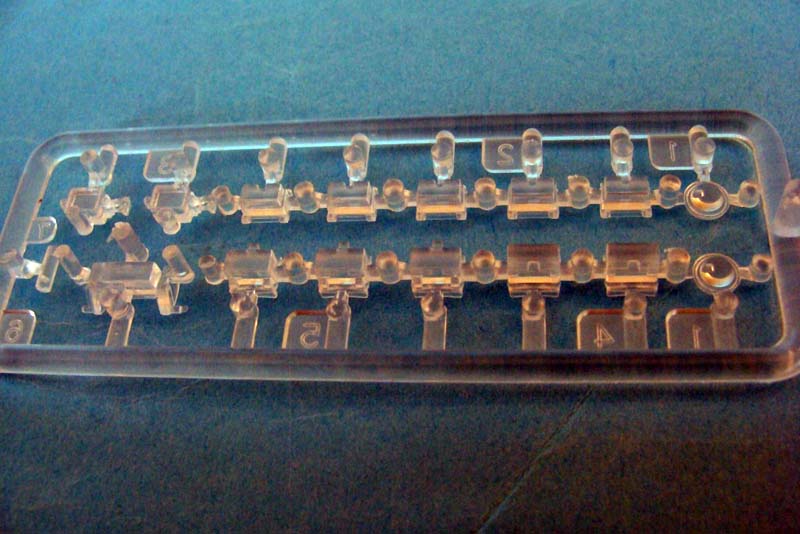
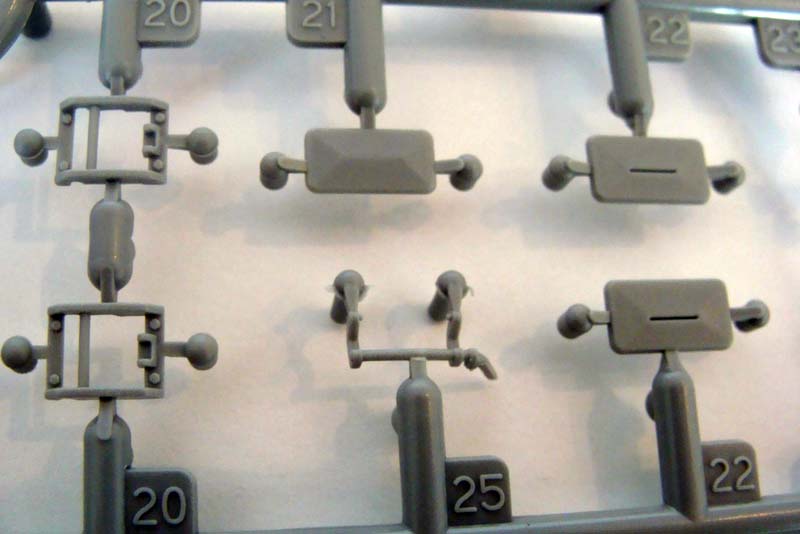
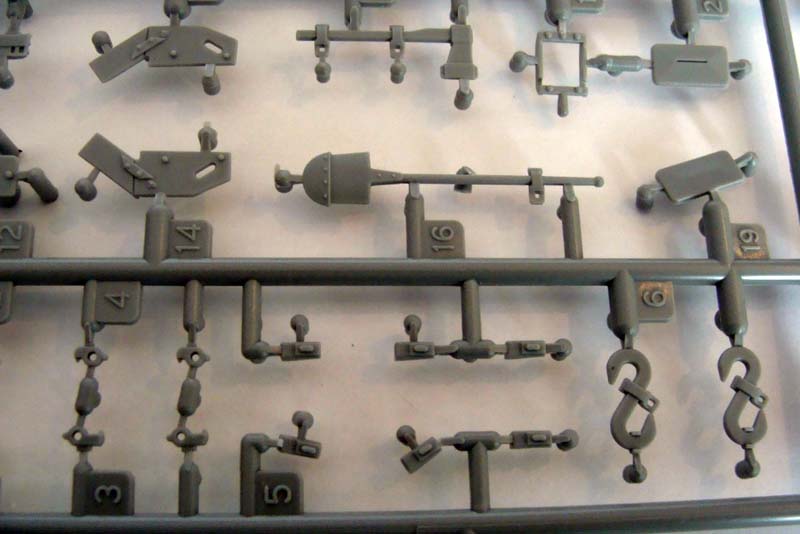
- 19 sprues molded in grey styrene
- 3 sprues molded in clear styrene
- 1 separate hull tub
- 1 separate turret top
- 1 separate commanders cupola
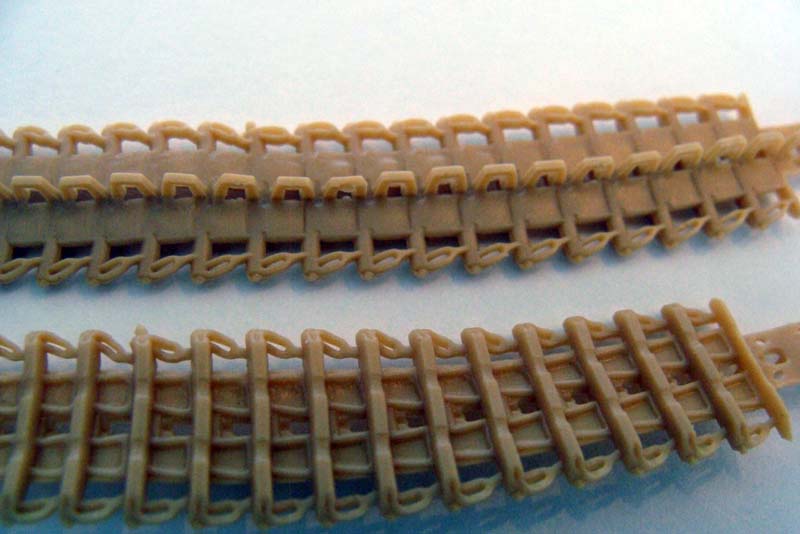
- 1 pair of DS Tracks
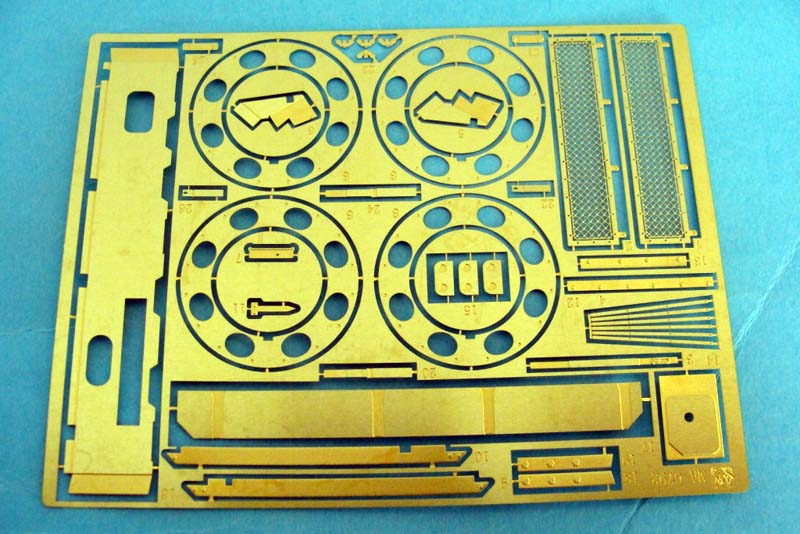
- 1 fret of photo etched parts
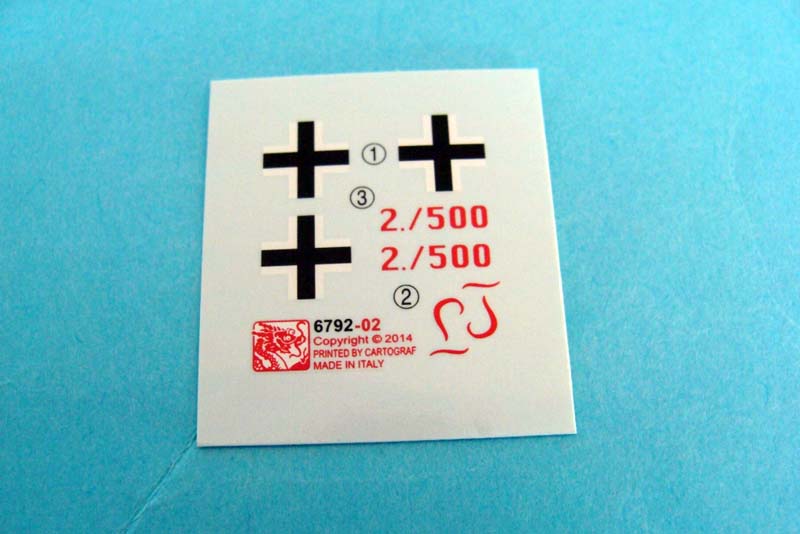
- 1 very small decal sheet
- 1 instruction booklet (Black and white)
Review
Dragon Models has released this kit as a SmartKit, which means that the details and parts are simplified, and should be easier to assemble. Thus simplified, it doesnt lack details; on the contrary, this kit has loads of crisp and well engineered details. Even under the turret and on the underside of the fenders there are nice surprises to be found. As a
Dragon Models tradition, there are also a lot of parts, which are for other Pz. III (and even some Pz. IV) kits, and therefore not to be used on this kit. Id estimate about 40% of the parts are not to be used in this kit, so plenty for the spares box.
The Running Gear
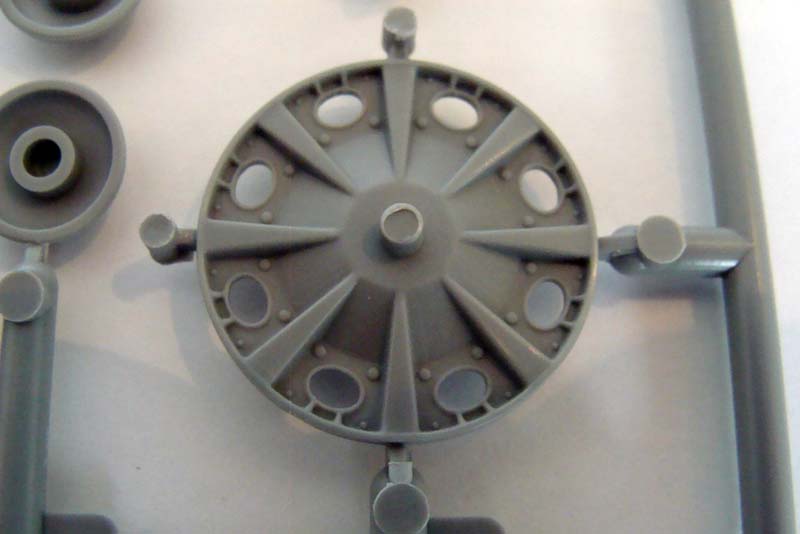
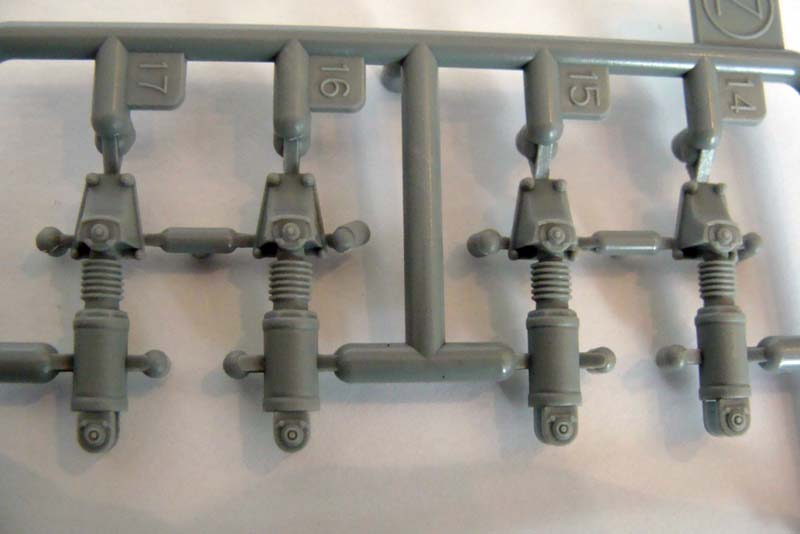
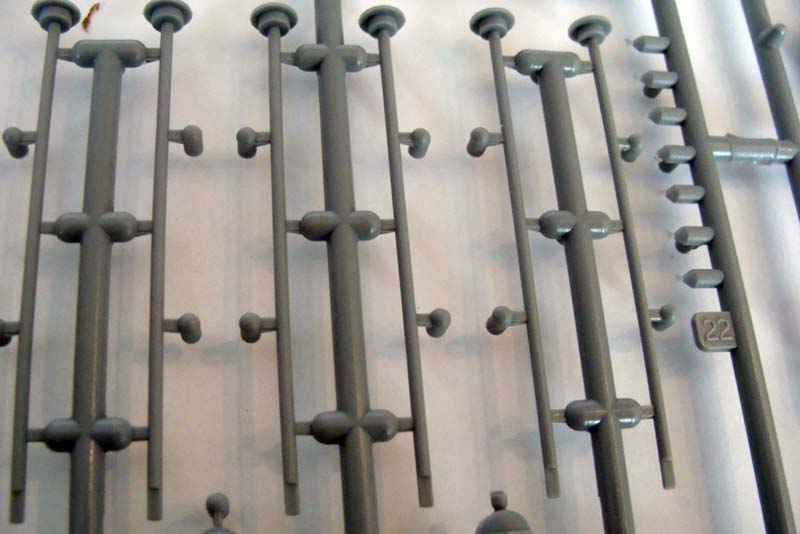
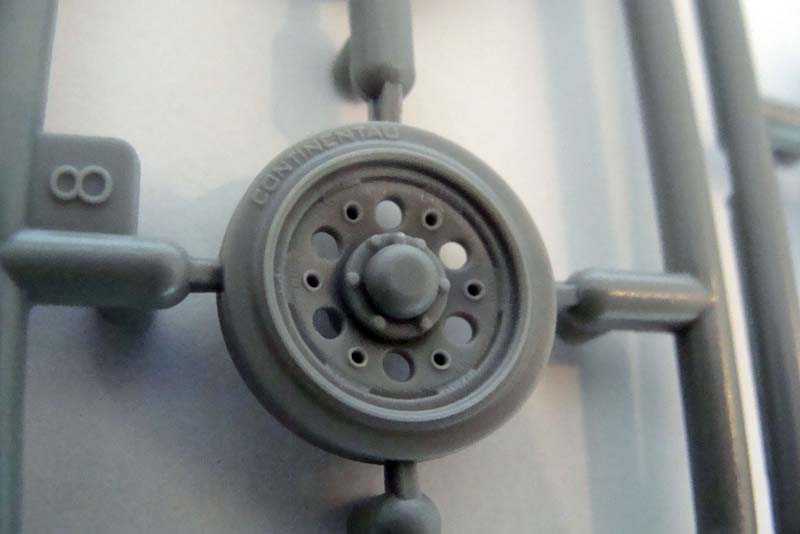
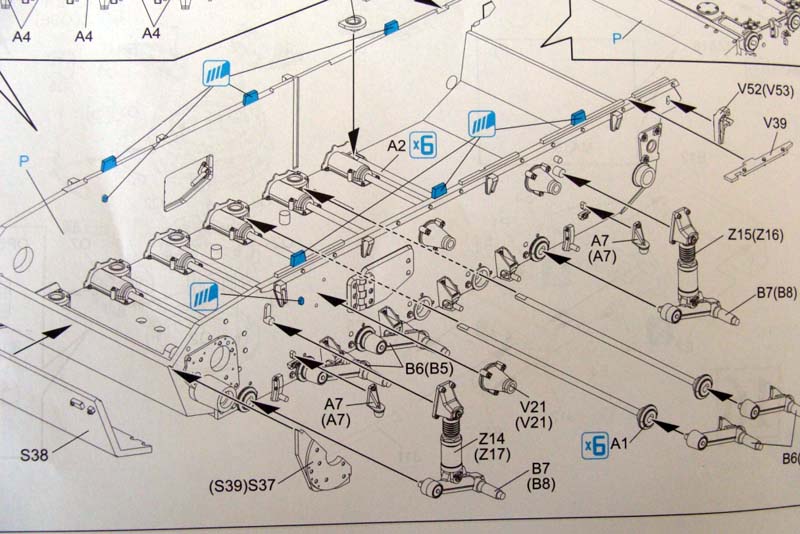
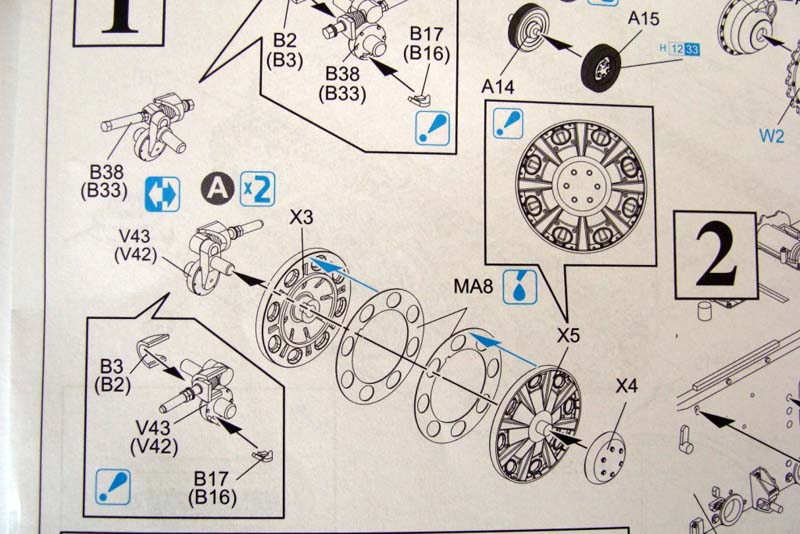
The assembly starts with the drive sprocket, idler wheels, return rollers and the road wheels. The drive sprockets and idler wheels are all new tooling, and depict these early Pz. III features beautifully. Especially the idler wheels, which are of the old Port hole type, are excellently executed, with PE for that extra detailed look. The road wheels and return rollers are from Dragons earlier StuG. Ausf. G kit and they are nice and crisp and very well detailed, which even have Continentau (the last u should be made an l) molded on the rubber rims, and the hubs on the road wheels also has the screw for filling and controlling oil. A well thought detail. The track tension mechanism is made up of 3 parts, and looks so much better than the lumps from the old kits from back in the 90s.
This kit also has the workable torsion bar system, which actually, if very careful with the glue, does work!
Lower Hull
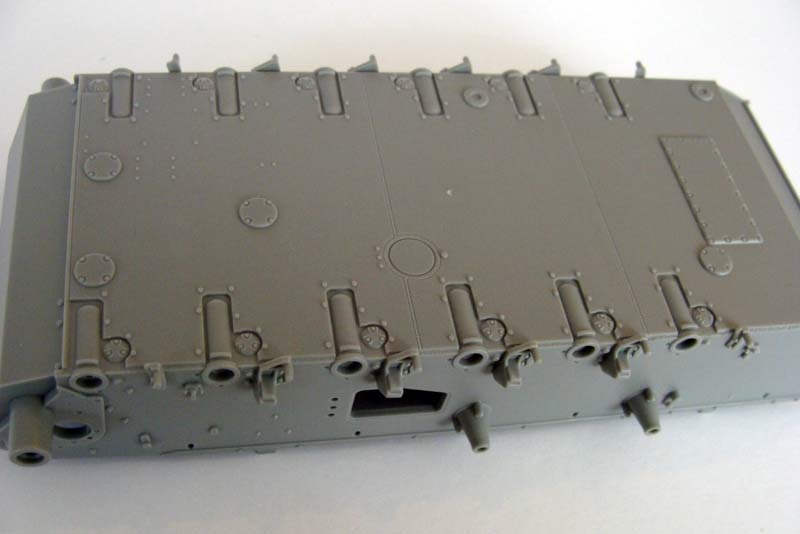
Next is the hull assembly, which starts with inserting the torsion bars and road wheel arms. This is followed by the escape hatches, which can be made either open or closed, and have nice details inside, such as bolts and handles. Beware though; there are 2 nasty punch marks on the inside of each hatch. The lower hull tub is a masterpiece itself. If you for some reason want to portray the vehicle turned over, the bottom of the hull is loaded with details, even very realistic weld seems! The shock absorbers are of new tooling, and these are truly small gems. Very well detailed, and with a minimum of clean up.
Step 4-6 is the assembly of the rear hull plate, which holds two 3 piece towing eyes. The exhaust pipes are hollowed out for you, so they look like the real deal. The drive sprocket, idler wheel, return rollers and the road wheels are fitted, as well as the rear hull plate and the rear top armored plate.
There is, though, something very weird going on at this stage of the build. In the instruction (Step 6) theres clearly shown an armored pot with smoke candles attached to the rear plate, but its not supposed to be used on this vehicle.
Dragon Models has simply reused some old drawings, and forgotten about this, and who knows, maybe some vehicles did have this mounted.
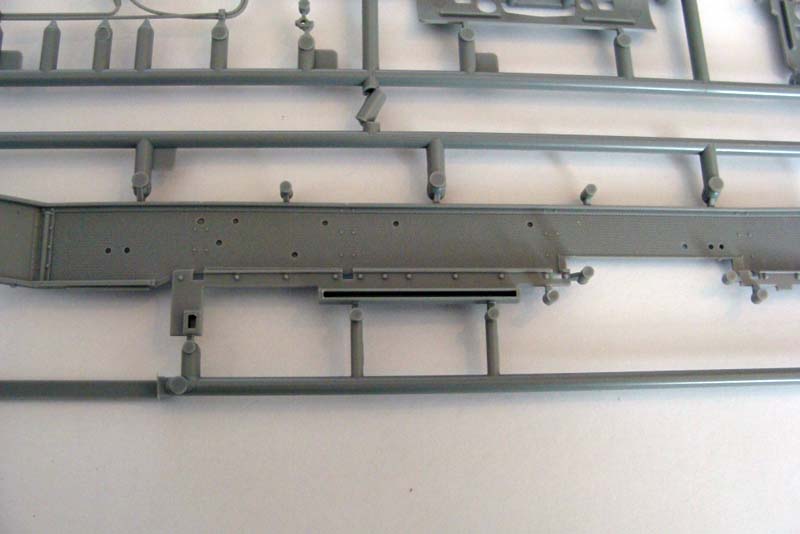
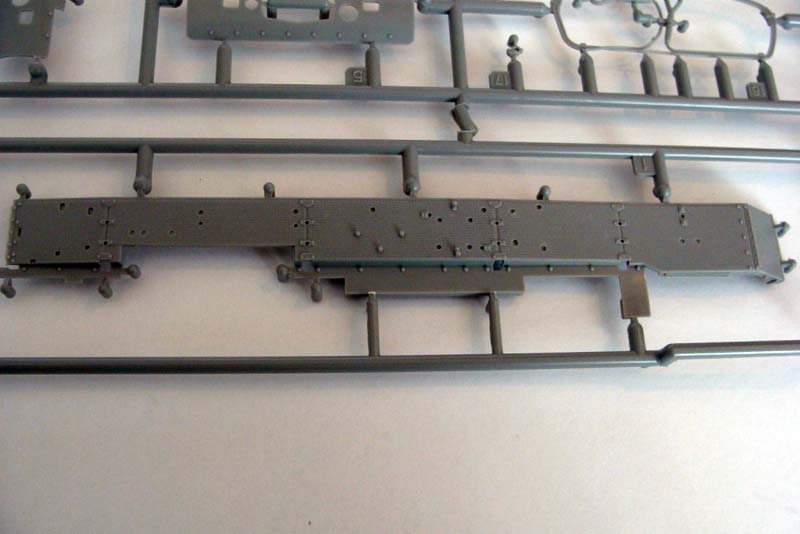
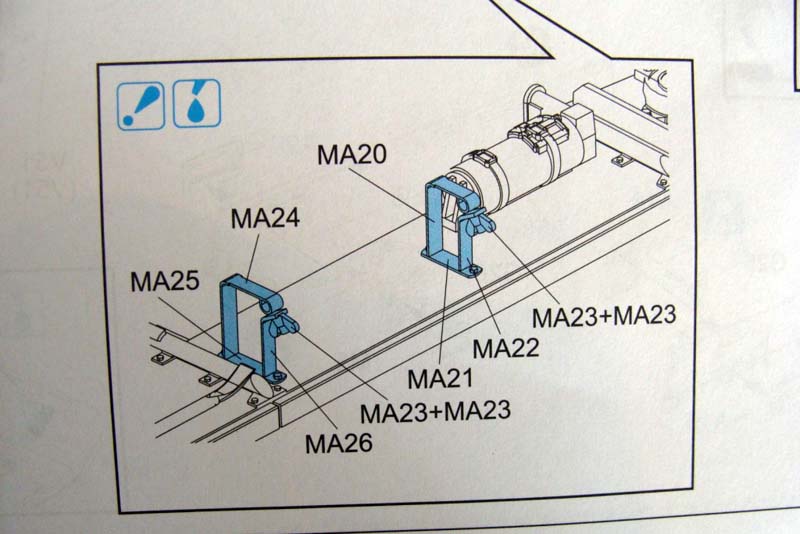
Next up is the fenders, which in my opinion are excellent executed. Theres just as much detail on the underside than on the top side. The fenders are made thinner in the ends, so they look more in to scale, and even the small hooks for holding the mud flaps into place are included both in styrene and etch. The tools are very nice in detail. I really like the tool clamps, they are a huge improvement over the old lumps from the dark ages. The Bosch head light come in 3 pieces! Be careful to remember to drill the right holes in the fenders for some of the tools. Its very annoying to discover, that these should have been made after you have glued the fenders on.
But something is missing; the jack.
Dragon Models has provided us with some lovely holders for this vital equipment, but they have left out the jack itself. This is very strange indeed, because every German vehicle had one, and its clearly depicted on the drawings on the painting and markings part in the instruction booklet. This is a major mishap.
Tracks
Dragon Models provides us with a set of DS Tracks, which I personally see as a huge step back in model evolution. I guess
Dragon Models done some thoughts on this issue, I just dont agree with the outcome. Let us have the Magic Tracks back again, PLEASE!
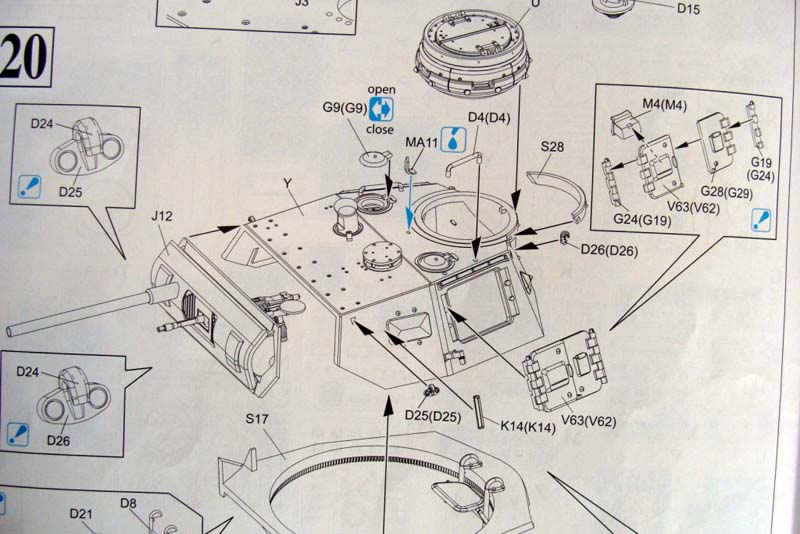
Upper Hull
The assembly of the upper hull deck starts with the engine cover. Again
Dragon Models does something very strange, with neglecting to give us the option of fitting the tow wire or not. Only the cable holders are shown for use, but the kit actually contains two sets of molded styrene cable, its just on the not to use list. All the hatches on the engine deck can be glued in either open or closed position, and they are fully detailed on both sides. And these hatches have no sink marks! The same goes for the inspection hatches for the transmission, which also can be set at open or closed, but on these the handles are molded on the hatches.
Dragon Models also supplies some nice PE grills for the air intake.
The stern antenna or crow foot is excellently produced, with both a hollowed out armored mount and some nice PE.
The front glacis has its ball mount Kugelblende 30 removed for this conversion, so in this case the hole is plugged shot.
Dragon Models provide a piece of PE for this. The sides of the upper hull are fitted with vision blocks and once again clever designed, so they can be set as opened or closed. The antenna mount is going on the radio operators side, but I strongly suggest, not gluing the antenna on until the rest of the vehicle is assembled. I would definitely break that thing of several times, before I would have finished the model.
Dragon Models has provided us with spaced frontal armor in PE, which probably will make it look more in scale.
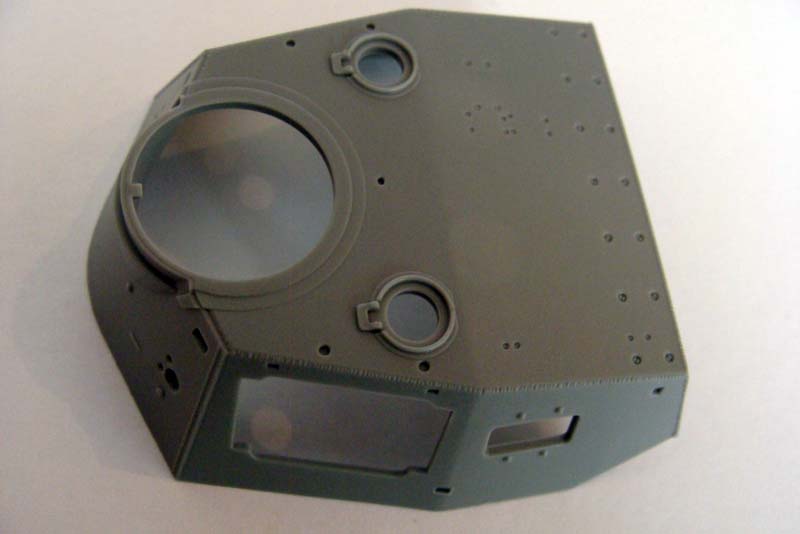
Turret
Now its turret time, which starts with assembling the dummy gun and mantle. The dummy main gun is beautifully slide molded, which means the barrel is hollowed out for you. You just have to be a bit careful when removing the sprue, so there wont be a dent in the gun barrel. I will suggest using a very sharp knife and then a fine file. For the ball mounted MG 34 machine gun,
Dragon Models provide their excellent and fully detailed standard MG 34. This is, apart from the vision blocks on the side walls and the commanders seat, the only interior at all. It would have been very nice, if
Dragon Models had put in some of the radio equipment or observation telescopes.
The commanders copula is actually a model itself. Its build up of no less than 20 parts, and can of cause be modeled either open or closed for both the observation periscopes and the hatches.
The top part of the turret comes in one slide molded piece, and looks quite good.
Dragon Models has done a wonderful job on this. Great weld seems and some really minute screws on the top. The only punch marks are inside on the roof part of the turret, but these will be very hard to spot, once the whole thing is assembled. They can be filled and sanded, but if you going to do this, I suggest doing it before youve started the assembly. Remember to cut or drill out the hole for the ventilator and observation telescope in the turret roof, before starting the constructing!
All the hatches in the turret can be open or closed, and the observation telescope can be either raised or lowered.
Painting and Markings
Dragon Models gives you the following options for painting and markings:
Abt. 500, Eastern front 1943 in a green on dark yellow two tone camouflage.
Unidentified unit, 1942 in an all panzergrey paint scheme.
Conclusion
This is a really nice and well executed kit. It represents the Panzerbeobachtungswagen III ausf.F very well and it can be produced into a great kit straight from the box.
Dragon Models has paid a lot of attention to even the smallest detail, which in the end will make this kit top of the line. Maybe they are preparing a late version of this vehicle, and thereby giving us some schürzen to add on. I highly recommend this kit, and Im sure
Dragon Models will keep pressing on to give us these and maybe even more impressive kits in the future. I thank you for this fine review sample.


Comments