Introduction
The Tiger I was developed in Germany during the Second World War in answer to the need for a better tank on the Eastern Front capable of dealing with the T-34 and especially KV tanks which were protected well enough to withstand the guns of Panzer II, III and earlier variants of Panzer IV. At the start of the invasion of the Soviet Union, the German army had to use powerful anti-aircraft Flak36/37 guns to confront the Soviet armour and the tank version of that gun KwK36 was a main armament of Tiger I. The production began in 1942 and in September 1942 they saw action near Leningrad and then participated in Stalingrad offensive as well as in Tunisia. The very first 20 vehicles built were termed initial and then several modifications were introduced leading to production of so-called early Tiger I (until mid-1943). For development and modifications of Tiger I please refer to Tiger I webpage.
Tiger I webpage Live links
One of the features that distinguish between Initial and Early Tigers is the tracks. The initial vehicles had handed or mirrored tracks, while Early got that aspect simplified - tracks were no longer mirrored, but absolutely identical. The Initial Tiger I kit is available from Dragon Models (several catalogue items released) and early can be found from both Dragon and Tamiya. While Dragon Model kits are equipped with magic tracks (I am not sure if all of them?) Tamiya has vinyls which are on the improvement list of many modellers in the first line. Several brands are available on the market today, providing both resin and metal tracks and here we have two sets from
Masterclub which might be of interest for those who prefer white metal offerings.
Review
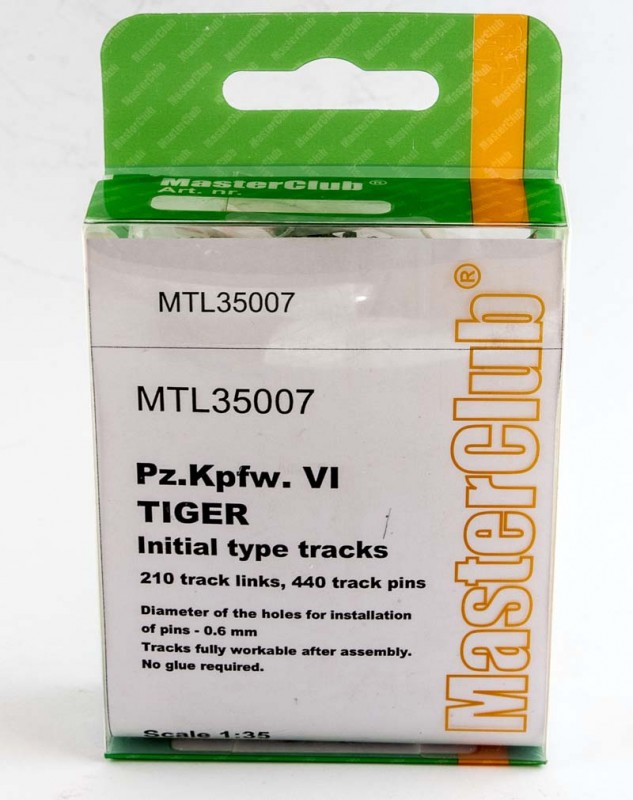
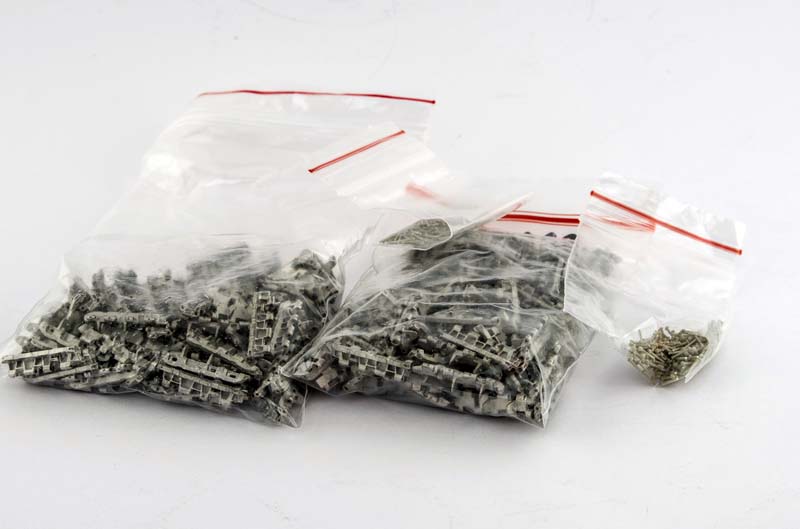
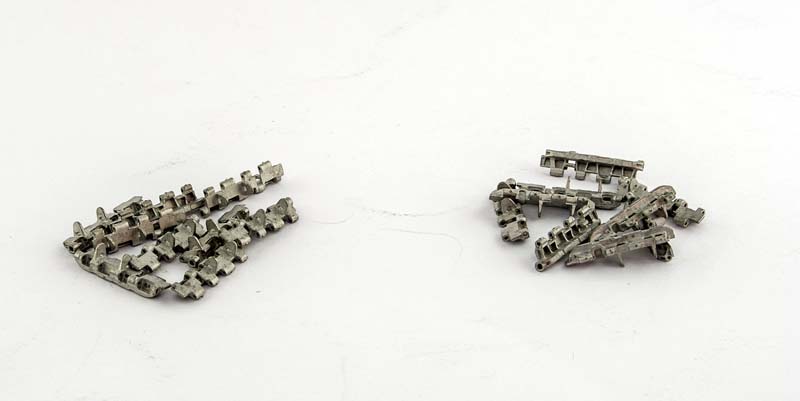
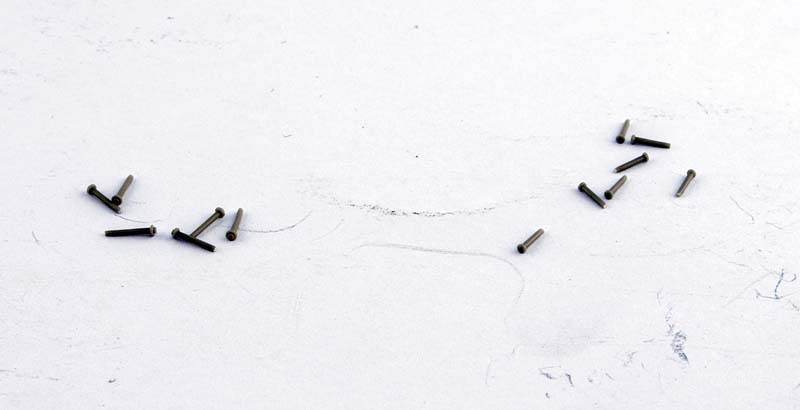
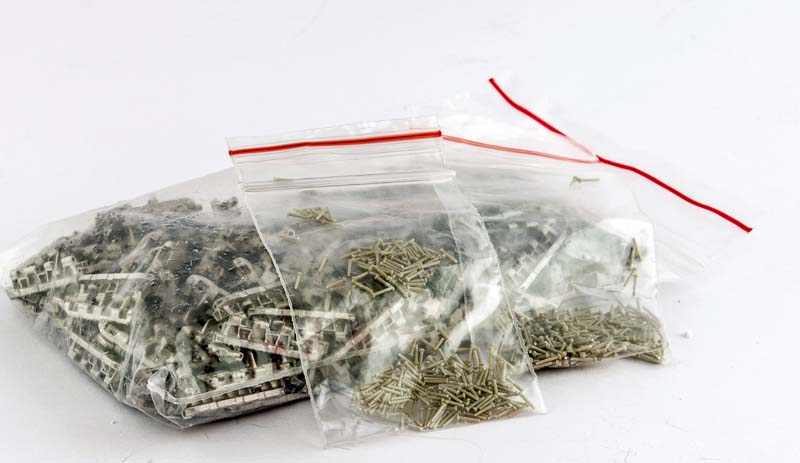
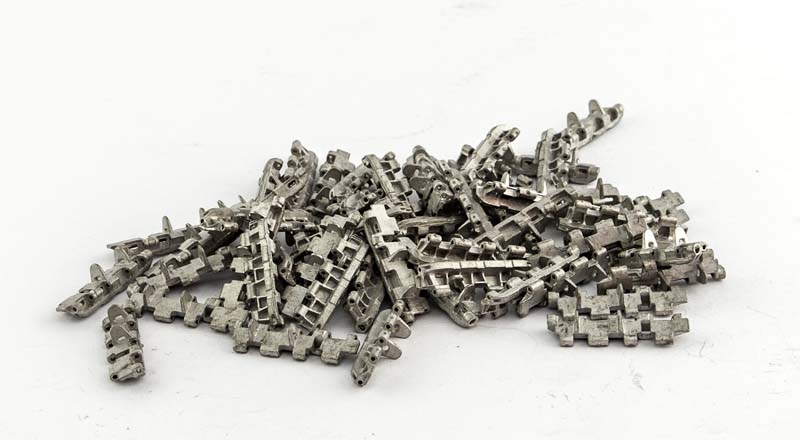
Masterclub covered both Initial (MTL 35007) and Early (MTL 35006) tracks and these are provided in packaging standard for that manufacturer little coloured plastic box that has a piece of paper with name and catalogue number; parts being packed in individual zip bags. Initial tracks set has 4 bags that contain 210 white metal track links (divided into left and right) and 440 track pins (outer with washer and track pin head, inner with only track pin head). Early tracks set also contains 210 white metal track links (uniform) plus 440 resin track pins. Tiger I had 96 links per side meaning that a bit more than 10 links will remain or can be used in case there are deformed links. My samples had no visible defects on the metal parts showing sharp detail with minimal burs that can be either removed with a knife or just eliminated when tracks assembled and pressed into each other. The resin pins are finely cast with no defects and do not require any clean up.
The assembly is simple and so far these sets are the easiest to assemble from
Masterclub, that I have seen. Just align the links together and insert the pins. Personally, I find it easier to build the tracks first and then blacken them with a chemical solution as I feel that the insertion of the pins might be harder after the metal is treated.
Some might want to replace the pins with steel wire for strength, while according to manufacturer there is nothing to worry at all - the assembled chain should hold up to 3kg weight! No glue is necessary for assembly with resin pins and thanks to that they are fully articulated and will form characteristic sag on the model.
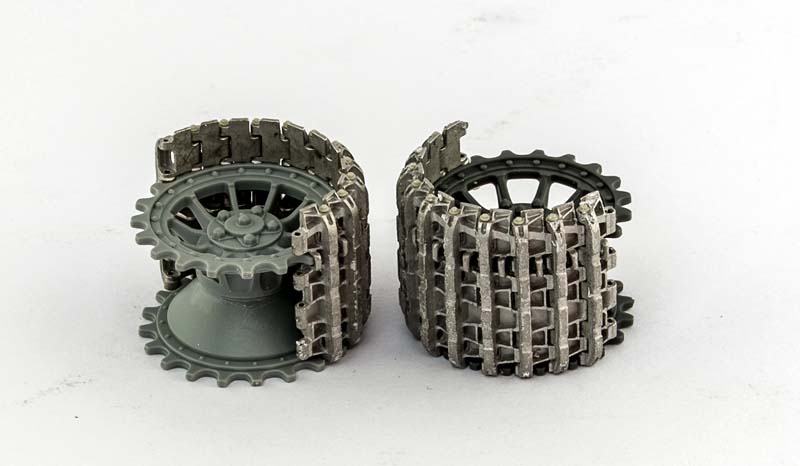
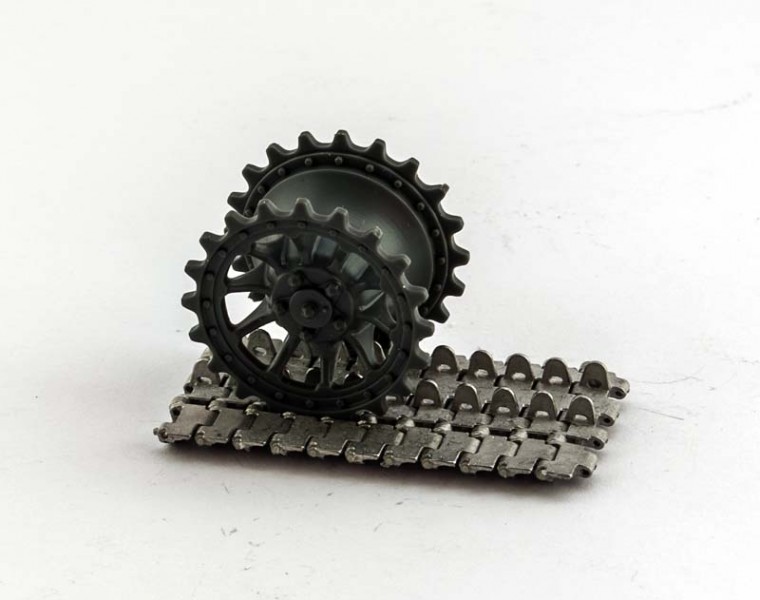
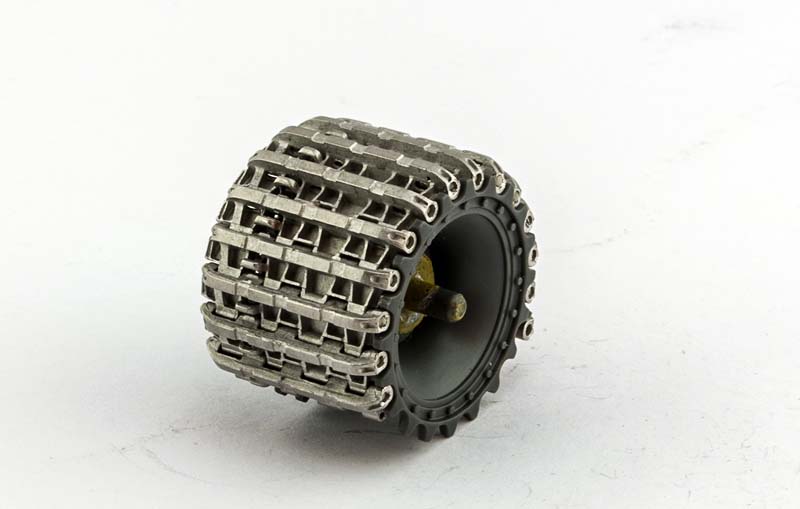
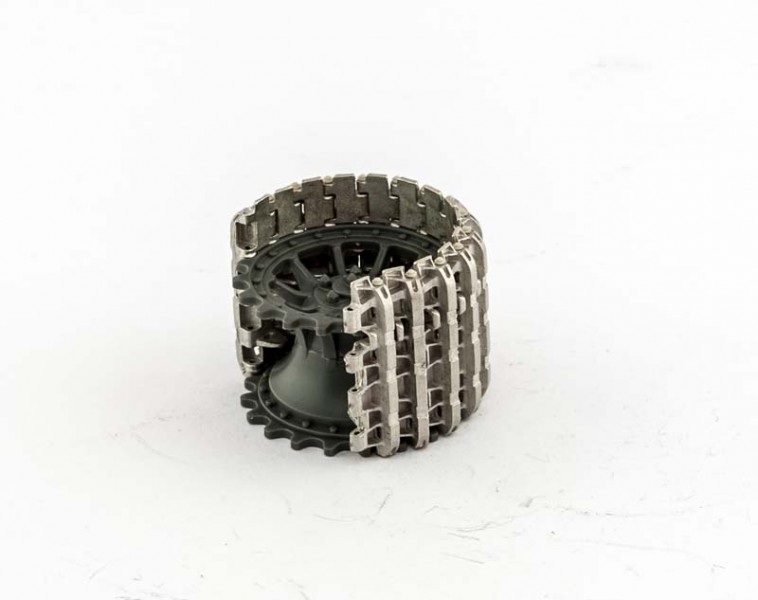
Dimension-wise these tracks are very accurate with minor discrepancies reflecting imperfections of my measurement equipment (numbers in the bracket indicate original size downscaled to 1/35th): width 20,5mm (20,7), length 5,0 (original 5,2), height 5,6 (original 5,57), guide horn width in the middle point 0,48 (0,46), distance between guide horns 6,5 (6,46). The fit was tested on 2 drive sprockets from Dragon Models kits (light grey styrene) and Tamiya kit (dark grey) and as you can see on the images it was good.
Conclusion
I think these are very welcome sets as they are equally priced as other metal tracks on the market and at the same time feature realistic tracks pins and full articulation. The choice is of course up to modeler and modelers budget.
"This item was provided by the manufacturer for the purposes of a review directly to the author.


Comments